1.Why use thick-cut tortilla chips instead of thin regular ones for loaded nachos?
▾
Thick-cut tortilla chips are non-negotiable for loaded nachos because thin, delicate restaurant-style chips turn soggy within minutes under the weight of seasoned beef, melted cheese, and toppings. Their sturdier structure holds every layer without snapping when you grab a bite, and they retain their satisfying crunch from first chip to last, even with juicy toppings.
2.Can I use a leaner ground beef than 80/20 for the nacho topping?
▾
You technically can, but 80/20 ground beef delivers the best, most flavorful result without extra add-ins. The 20% fat content keeps the seasoned beef moist and rich, so it doesn’t dry out while browning or sitting under melted cheese. If you use leaner beef, mix in a tablespoon of olive oil while browning to replace that missing richness.
3.Why do you recommend low-sodium taco seasoning instead of regular?
▾
Regular taco seasoning is often packed with excess salt that can make your nachos taste overly briny once paired with salty cheese and tortilla chips. Low-sodium taco seasoning lets you control the salt level, so you get all the warm, savory taco spice without the harsh bite that masks the fresh, bright toppings and creamy melted cheese.
4.How do I keep my nachos from getting soggy before serving?
▾
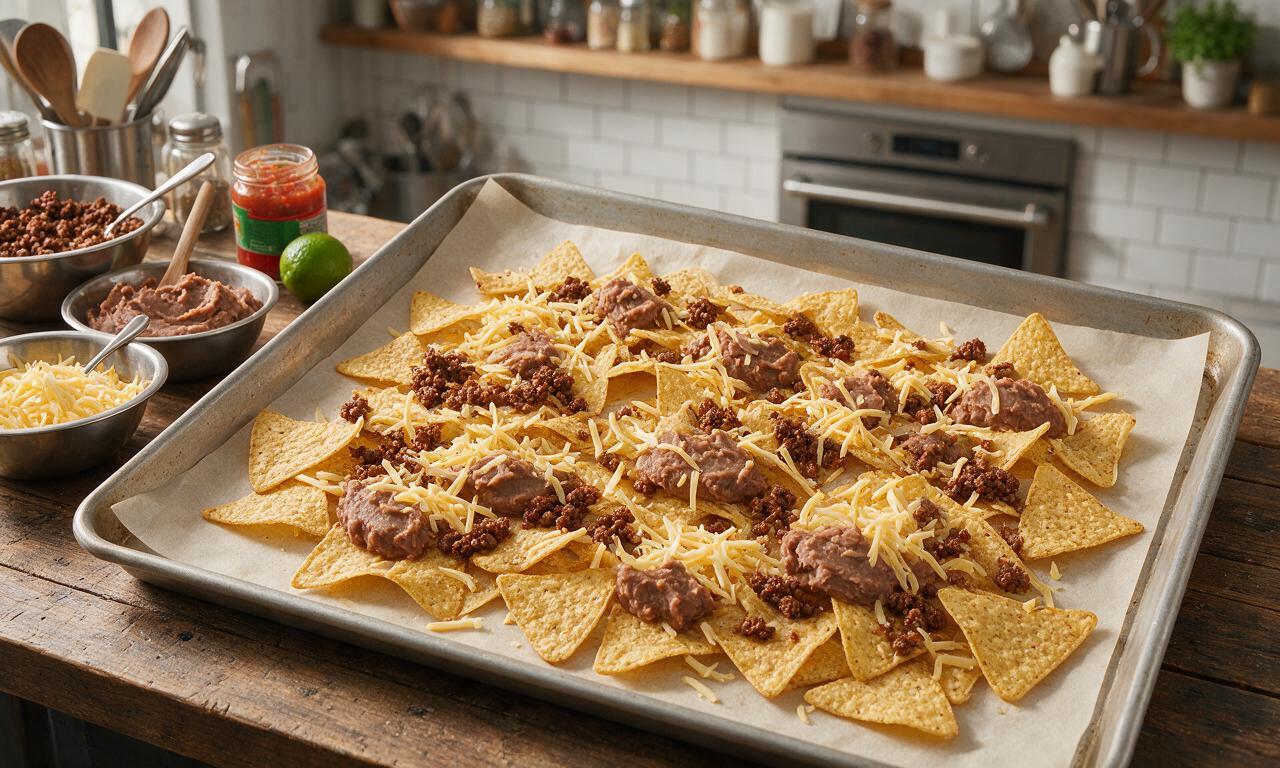
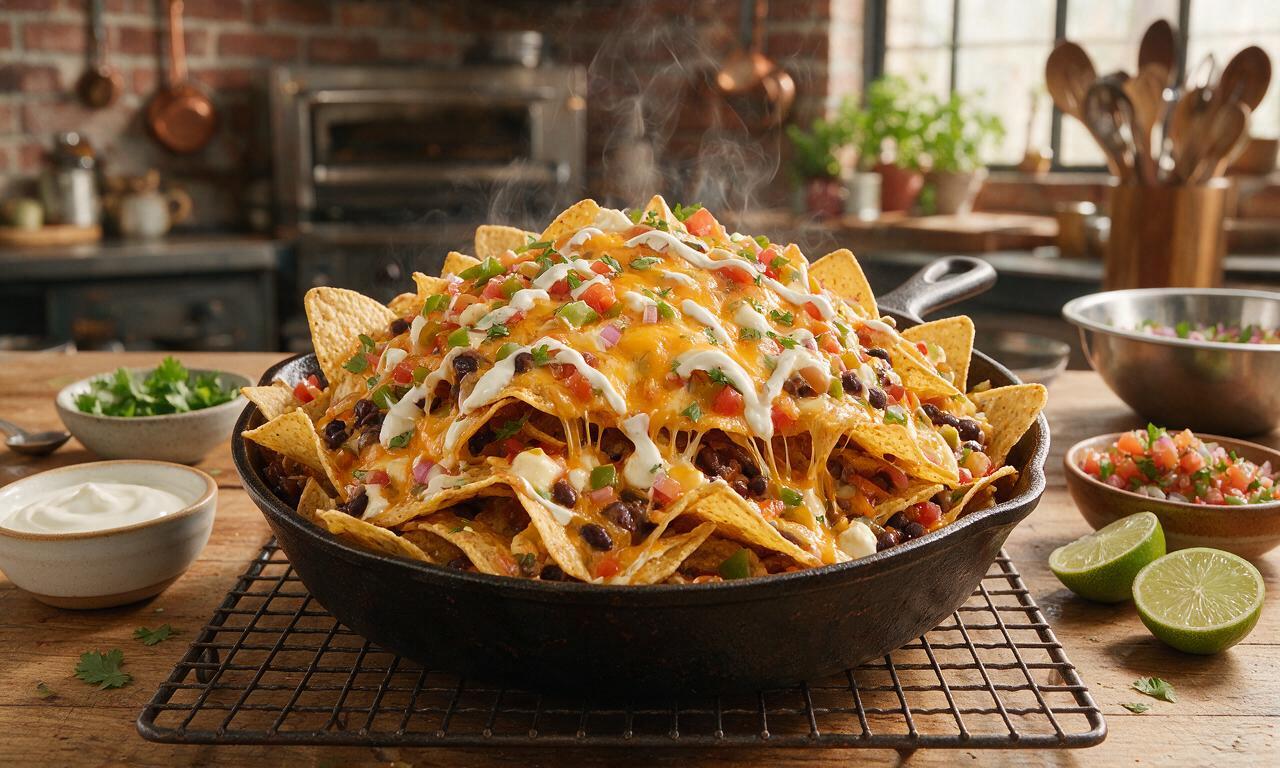
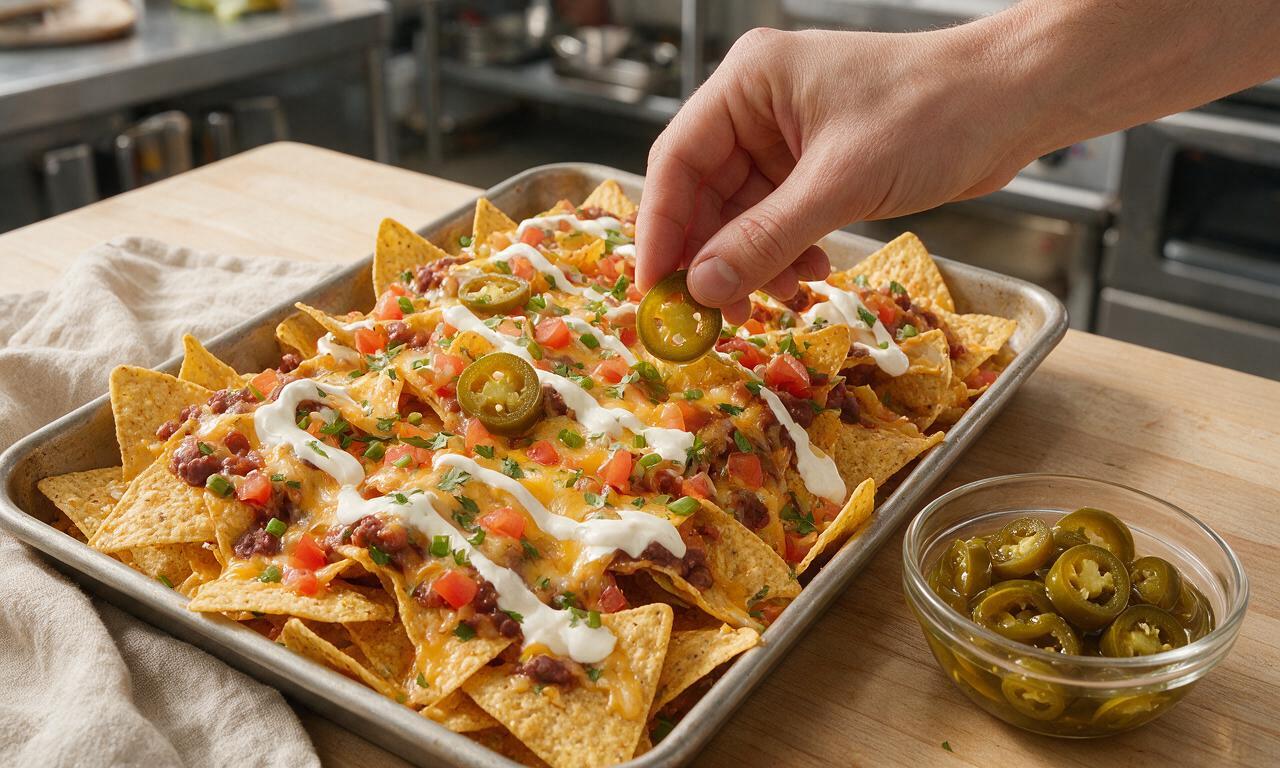
The key to avoiding soggy nachos is layering strategically and serving right after baking. First, spread your thick-cut chips in a single, even layer on a sheet pan without stacking them too deep. Add cheese first under and over the beef to create a moisture barrier, and hold cold, wet toppings like salsa until right before you set the platter out.
5.Can I prep the seasoned beef ahead of time for game day or parties?
▾
Absolutely! The seasoned beef is perfect for prepping 1 to 2 days ahead of your gathering. Brown the beef, mix in taco seasoning and water, let it cool completely, then store it in an airtight container in the fridge. When you’re ready to assemble nachos, rewarm the beef gently so it doesn’t cool the cheese down while baking.
6.What’s the best way to melt cheese evenly across all the chips?
▾
For perfectly even, melty cheese, shred your own Mexican cheese blend if you can—pre-shredded cheese has anti-caking agents that make it melt less smoothly. Sprinkle half the cheese directly on the chips first, add warm seasoned beef, then top with the remaining cheese. Bake at 400°F for 7 to 10 minutes, until cheese is bubbly at the edges.
7.What fresh toppings pair best with this base loaded nacho recipe?
▾
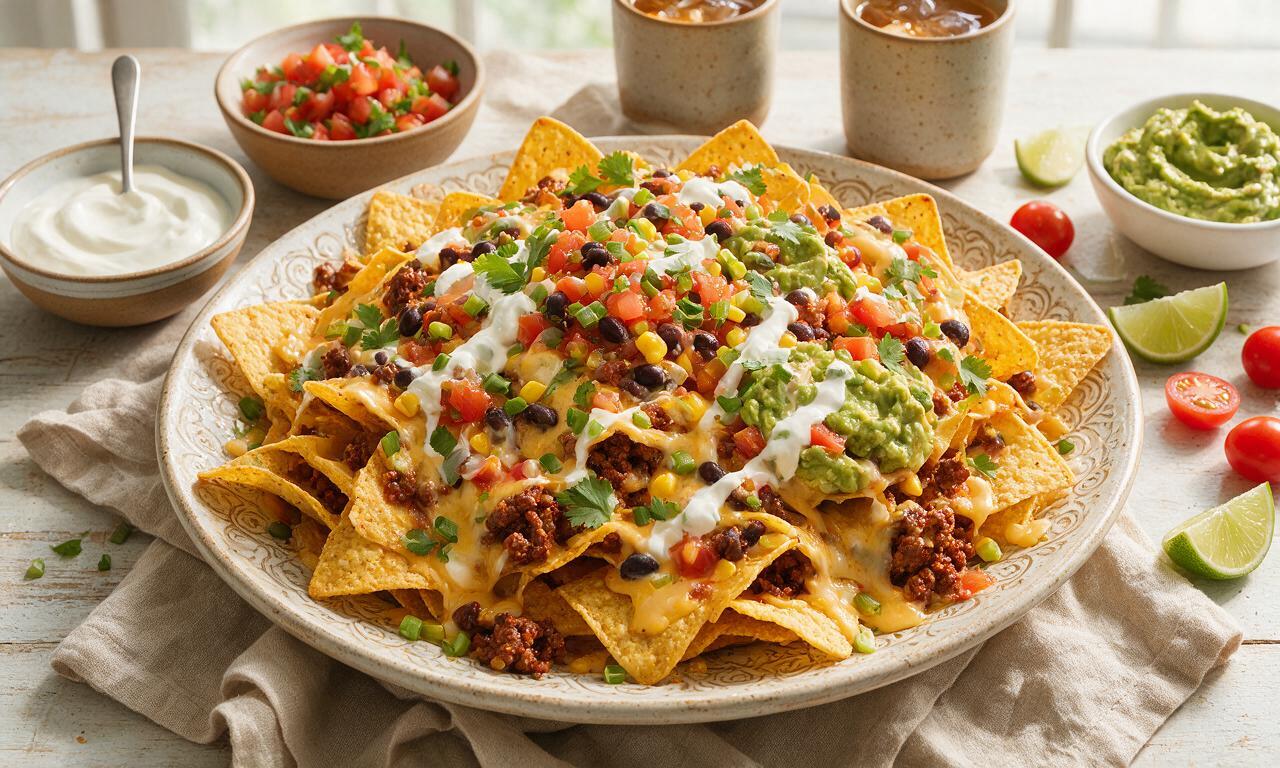
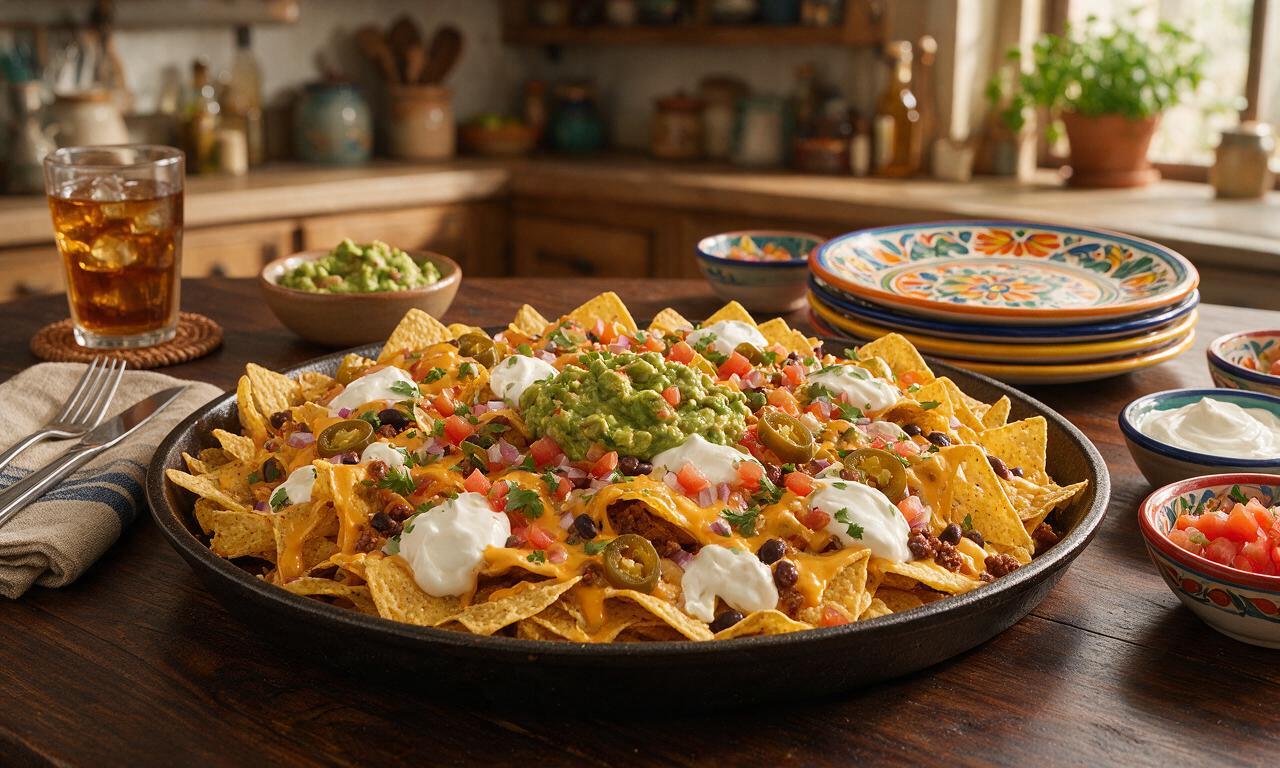
Stick to bright, high-contrast fresh toppings to cut through the rich beef and cheese: seeded diced Roma tomatoes (to cut excess moisture), thinly sliced pickled jalapeños, chopped cilantro, a squeeze of fresh lime, diced red onion, sliced black olives, a dollop of sour cream, and a scoop of mild guacamole are all classic, crowd-pleasing picks.
8.Can I make these loaded nachos in an air fryer instead of the oven?
▾
You totally can! Assemble a smaller batch of nachos in the air fryer basket (don’t overcrowd it, or chips will get soggy) and cook at 375°F for 4 to 6 minutes, checking frequently to make sure cheese melts without chip edges burning. Air fryer nachos come out extra crispy, since circulating air hits every side of the chip layer.
9.Why do I need to add water when cooking the taco-seasoned beef?
▾
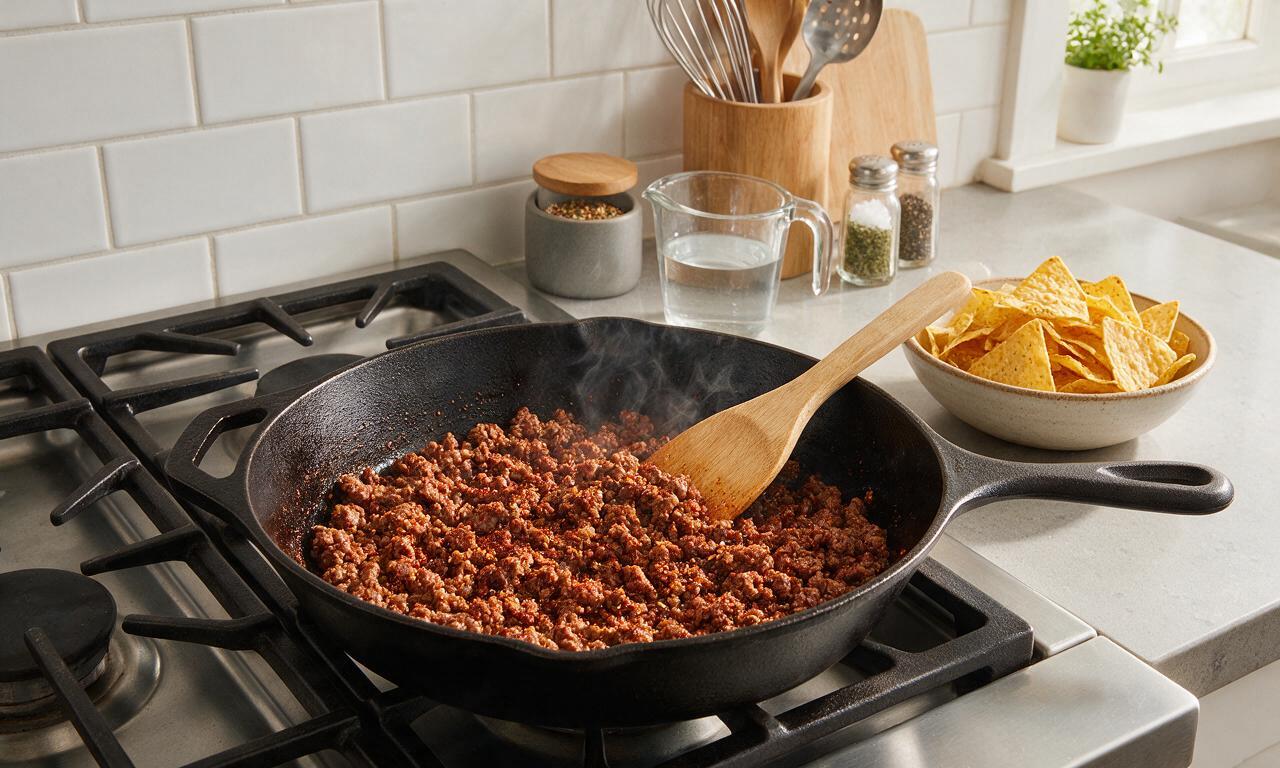
The small amount of water mixed in with taco seasoning creates a light, evenly distributed sauce that coats every crumble of ground beef, instead of leaving dry spice clumps stuck to random bits of meat. It also keeps the beef from getting too dry and crumbly, so it sticks to chips and cheese instead of rolling off the platter when served.
10.Can I make these nachos vegetarian for guests who don’t eat beef?
▾
Absolutely, it’s easy to swap the beef for a plant-based ground crumble that matches the texture of 80/20 ground beef. Brown the plant-based crumble the same way you would regular beef, toss it with the same low-sodium taco seasoning and water, and layer it with cheese and chips exactly as directed for a nearly identical, crowd-friendly result.
11.How do I make sure every chip has toppings, instead of all the good stuff sinking to the bottom?
▾
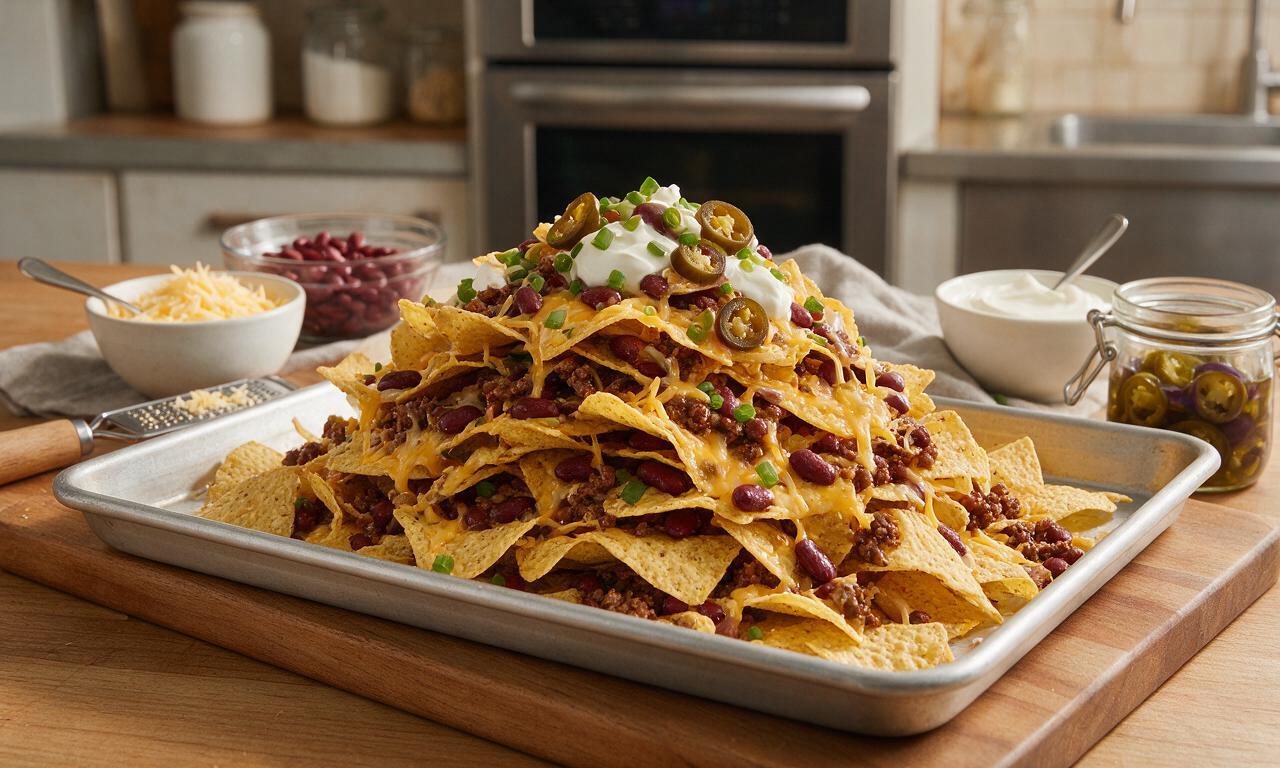
Skip the giant mountain of chips with a single layer of toppings on top! Build your nachos in thin, staggered layers on a rimmed baking sheet: a single layer of chips, a sprinkle of cheese, a scatter of seasoned beef, another light layer of chips, more cheese and beef, until you’ve used all your ingredients to eliminate sad bare chips.
12.Is there a substitute for the Mexican cheese blend if I don’t have it on hand?
▾
If you don’t have a pre-mixed Monterey Jack and mild cheddar blend, just shred equal parts of those two cheeses yourself for the exact same melt and mild, creamy flavor. Skip hard, strongly flavored cheeses like aged parmesan or extra-sharp cheddar here—they don’t melt smoothly, and their bold flavor will overpower the seasoned beef.
13.How long can I leave loaded nachos out at a party before they’re unsafe to eat?
▾
Per standard food safety rules, don’t leave loaded nachos out at room temperature for more than 2 hours (1 hour if your space is over 90°F, like a summer backyard cookout). The cooked beef and dairy cheese can grow harmful bacteria past that point, and chips will be fully soggy long before that anyway, so bake small fresh batches as needed.
14.Can I add beans to these loaded nachos, or will that make them too soggy?
▾
Beans make a delicious add-in, as long as you prep them correctly to avoid sogginess. If using canned black or pinto beans, drain and rinse them really well, then pat them dry with paper towels to remove excess starchy, wet canning liquid before scattering them across chip layers. Skip straight-from-the-can refried beans, as their high moisture will soak through chips fast.
15.Why is my taco beef coming out dry and crumbly instead of moist?
▾
Dry taco beef usually happens for one of two reasons: you used too-lean ground beef with no fat to keep it moist, or you overcooked it at too high a heat. Cook 80/20 beef over medium heat, breaking it into small crumbles until just no longer pink, then stir in taco seasoning and water and simmer 2 minutes—don’t cook off all the moisture completely.
16.Can I use homemade tortilla chips instead of store-bought thick-cut ones?
▾
Homemade thick-cut tortilla chips work beautifully here! Cut corn tortillas into wedges, toss with a light coating of neutral oil and a pinch of salt, and bake at 400°F for 10 to 12 minutes until fully crisp before adding cheese and beef toppings. Just make sure they’re completely crispy first—soft, underbaked homemade chips turn soggy instantly under toppings.
17.What’s the best type of pan to use for baking loaded nachos?
▾
A heavy, rimmed aluminum baking sheet is the ideal pick for loaded nachos. The raised rim keeps toppings from rolling off onto your oven floor, and the metal conducts heat evenly so cheese melts consistently without hot spots that burn chip edges. Skip glass baking dishes here—they hold heat too long and make bottom chips steam and turn soggy.
18.Should I add cold toppings like guacamole and sour cream before or after baking?
▾
Always add cold, fresh, wet toppings after you pull fully baked nachos out of the oven. Adding sour cream, guacamole, salsa, diced fresh tomato, or cilantro before baking will make those toppings heat up, separate, or release excess moisture that turns chips soggy, and you’ll lose that bright, fresh flavor balance that makes nachos taste great.
19.Can I freeze leftover assembled nachos for a quick meal later?
▾
I don’t recommend freezing fully assembled nachos—the chips will turn mushy and soggy as they thaw, and the cheese and beef will have an off, grainy texture when reheated. You can freeze leftover cooked, seasoned beef for up to 3 months in an airtight bag, though, so you can pull it out to assemble fresh, crispy nachos in minutes whenever a craving hits.
20.How do I reheat leftover nachos so they’re crispy instead of soggy?
▾
Skip the microwave for leftover nachos—it turns chips chewy and cheese rubbery. Instead, spread leftover nachos in a single layer on a baking sheet and reheat in a 375°F oven for 5 to 7 minutes, until cheese is re-melted and chips crisp back up. Scrape off cold fresh toppings before reheating, then add fresh sour cream or salsa after warming for best results.



OMG these loaded nachos were such a win for our family movie night last Friday! My kids loved piling on their own toppings after I baked the chip and cheese base, and my husband said they’re way better than the ones we get at our local sports bar. I added a little dollop of sour cream and fresh guac on top and it was chef’s kiss. Total cook time was actually even less than 25 minutes for me, super easy for a busy weeknight!
Total game changer for our weekly poker night with the guys! I loaded these up with extra ground beef, black beans, corn, and a blend of cheddar and pepper jack, and my friends were begging for the recipe before halftime even hit. Only thing I did different was add a drizzle of queso on top for extra cheesiness. 10/10, no more sad takeout nachos for us!
Super easy recipe for a dorm floor hang! I didn’t have an oven so I made these in the microwave (don’t judge) and they still turned out SO good. Only reason I’m not giving 5 stars is I wish there was a note about how to keep the chips from getting soggy if you’re piling on a lot of wet toppings like salsa. Otherwise perfect cheap meal for a group!
I was skeptical nachos could work for meal prep but I prepped all the topping components separately on Sunday and assembled quick single-serve batches for my lunch all week! It was such a nice break from my usual boring salads. I used baked tortilla chips to keep it a little lighter and added some grilled chicken for extra protein. Obsessed!
Just pulled these out of the oven and WOW. I added pickled red onions, sliced serranos, and a dash of hot honey on top and the flavor is insane. Easy enough to whip up after work even when I’m dead tired, no fancy ingredients needed. Already sent the recipe to my whole family group chat!
Made these for our neighborhood block party and they got so many compliments! My only note is that the recipe says 25 minutes cook time but when I made a double batch for a crowd, it took closer to 35 minutes to get all the cheese fully melted. Definitely still worth it though, I’ll just budget extra time next time I make a big batch.
I made a fully vegetarian version of these for my partner and I last weekend, swapping the ground beef for seasoned black beans and roasted corn, and it was SO good. We ate the whole tray in one sitting no shame. This recipe is so customizable it’s basically a blank canvas for whatever toppings you have in the fridge!