1.Why do you recommend boneless, skinless chicken thighs instead of chicken breasts for these enchiladas?
▾
Chicken thighs stay juicy and tender even through baking, with a deeper, savorier flavor than lean breast meat that won’t dry out if your bake runs a few minutes long. If you only have chicken breasts on hand, poach them gently over low heat, shred finely, and toss with ¼ cup of enchilada sauce before rolling to lock in moisture.
2.Can I use flour tortillas instead of the 6-inch corn tortillas called for?
▾
The classic recipe uses 6-inch corn tortillas for their slightly earthy, soft texture that holds up to sauce without getting mushy. You can swap in same-sized flour tortillas if you prefer their chewier bite, but always warm tortillas briefly before rolling—whether corn or flour—to prevent cracking as you work.
3.My corn tortillas always crack when I roll enchiladas—how do I fix that?
▾
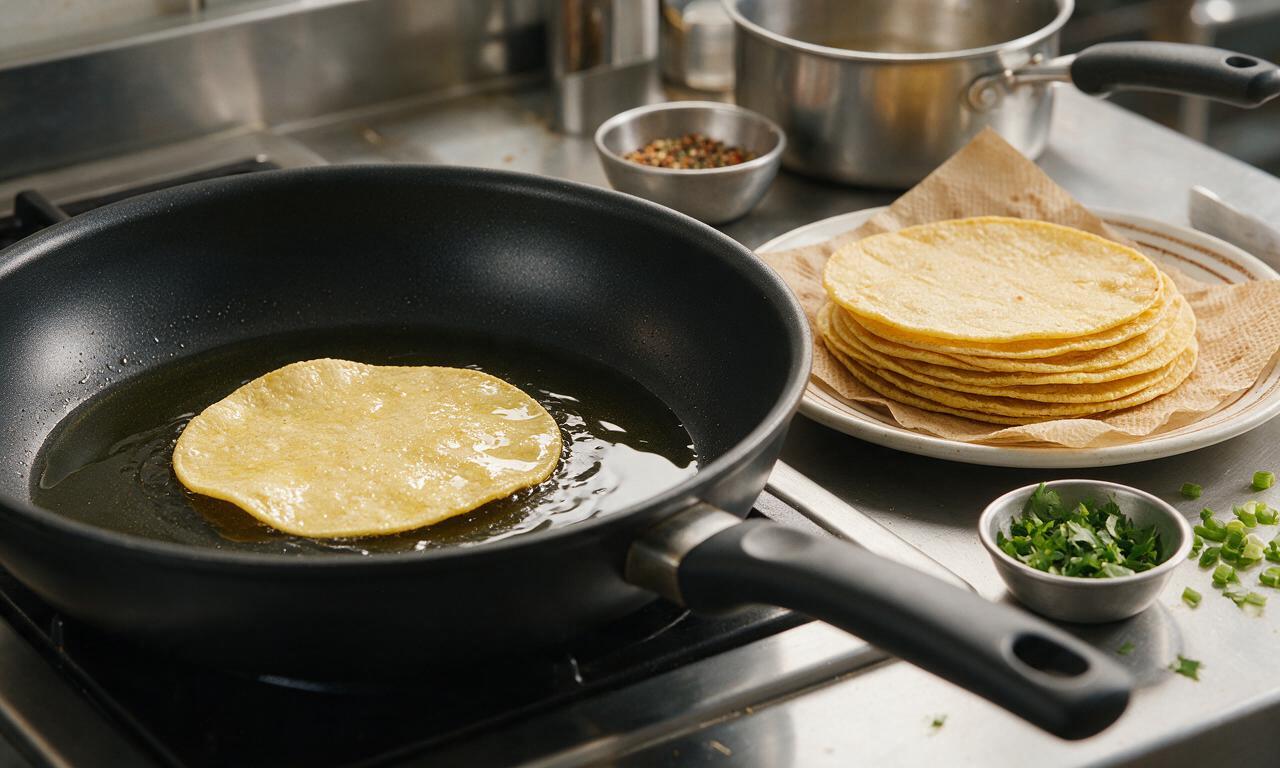
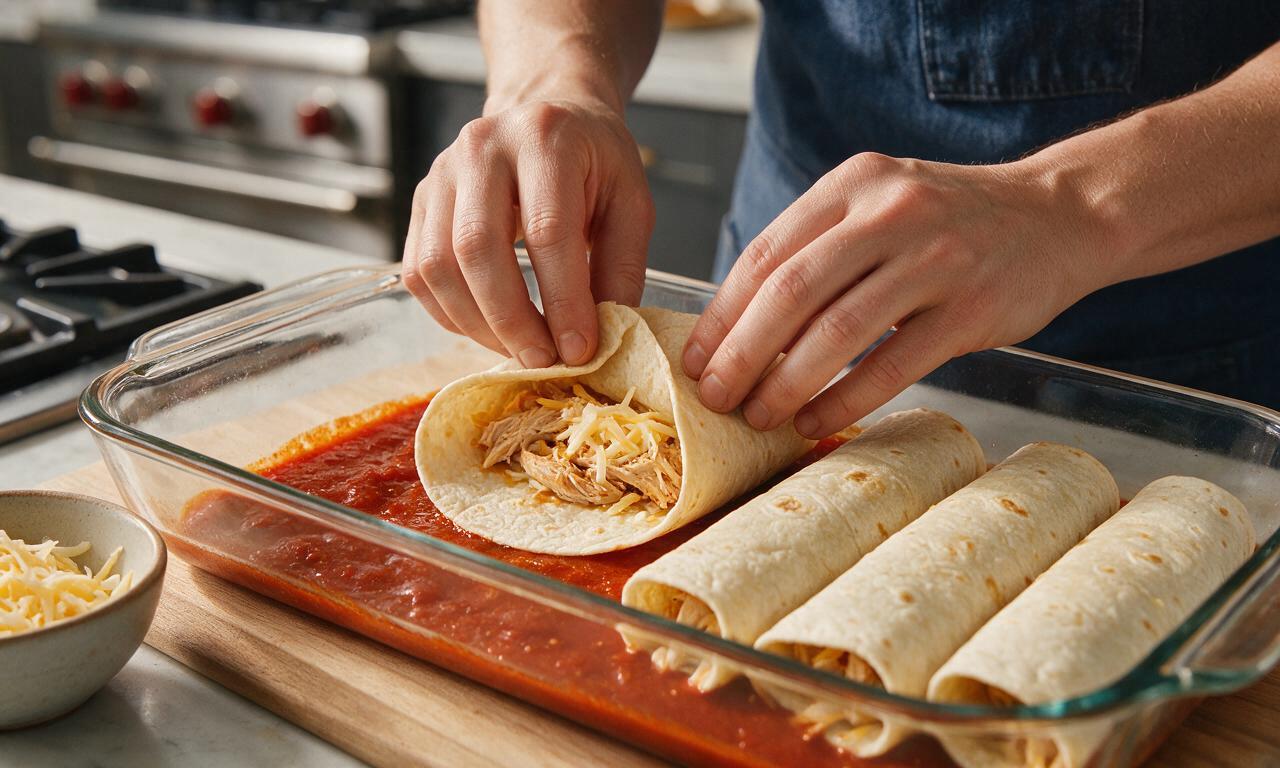
Cracking happens when cold, dry corn tortillas are bent without softening first. Wrap stacks of 5 tortillas in a damp paper towel and microwave for 30 seconds, or fry each for 10 seconds per side in a thin layer of hot oil before filling. Keep unrolled tortillas covered as you work so they stay pliable.
4.Do I need to make red enchilada sauce from scratch, or is store-bought okay?
▾
Store-bought red enchilada sauce works perfectly for this recipe, and I recommend a mild or medium heat version to let the chicken and cheese shine. To elevate jarred sauce, sauté a little diced yellow onion and pinch of cumin in a pan, stir in the sauce, and simmer 5 minutes to deepen flavor on busy weeknights.
5.Why is Monterey Jack the recommended cheese for these enchiladas?
▾
Monterey Jack melts into that perfect stretchy, creamy, mild cheesy layer that doesn’t overpower the chicken or red sauce, with just enough subtle tang to cut through rich flavors. If you want extra depth, swap ⅓ of the Jack for shredded sharp cheddar, but skip crumbly cheeses that won’t get that gooey, bubbly bake.
6.How should I prep the yellow onion so it’s not too sharp or crunchy in the filling?
▾
For the best texture and balanced flavor, dice your yellow onion finely, then sauté over medium-low heat for 5-7 minutes until soft and translucent with no raw crunch left before mixing it into your shredded chicken. If you love bright onion bite, reserve 2 tablespoons of raw finely diced onion to sprinkle on top right after baking.
7.How much filling goes in each enchilada to keep them from bursting while baking?
▾
Stick to about 2 tablespoons of shredded chicken and 1 tablespoon of shredded cheese per 6-inch tortilla—any more, and filling will squish out the ends when you roll and leak all over your pan during baking. Spread filling in a thin line down the tortilla center, roll tight, and place seam-side down to hold closed as it cooks.
8.Do I need to grease my baking dish before adding the enchiladas?
▾
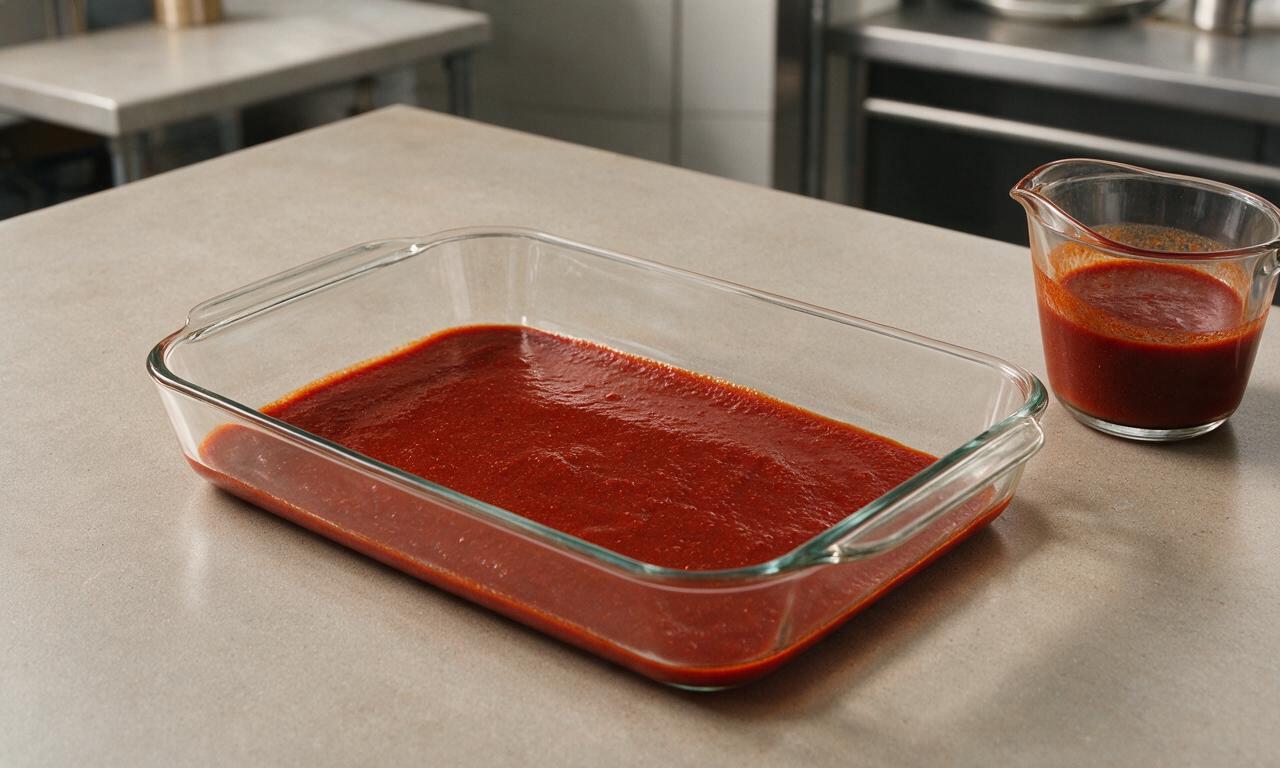
Yes, a light coating prevents corn tortillas and melted cheese from sticking as it bakes. You can spray the dish with nonstick cooking spray, rub with a thin layer of neutral oil, or spread ¼ cup of enchilada sauce across the bottom first—that last trick adds extra flavor and keeps tortilla bottoms from getting unpleasantly crispy.
9.How much red enchilada sauce should I use to cover the enchiladas?
▾
Aim for 2 ½ to 3 cups of sauce total for a 9x13 inch pan of enchiladas. Spread ¼ cup on the pan bottom first, then pour the rest evenly over rolled enchiladas, making sure every tortilla is lightly coated so it doesn’t dry out in the oven. Leave ends peeking out for slightly crispy edges, or cover fully for soft, sauce-soaked bites.
10.What bake time and temperature gives that perfect bubbly finish without dry filling?
▾
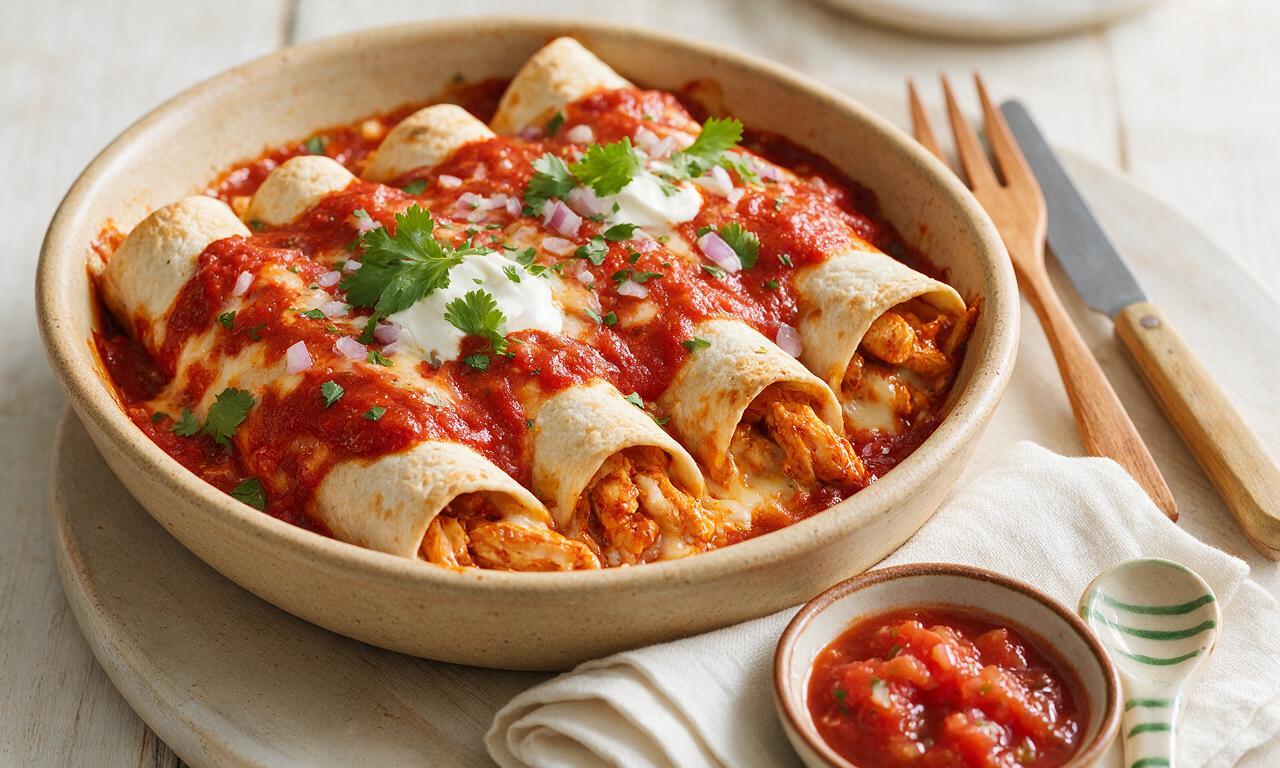
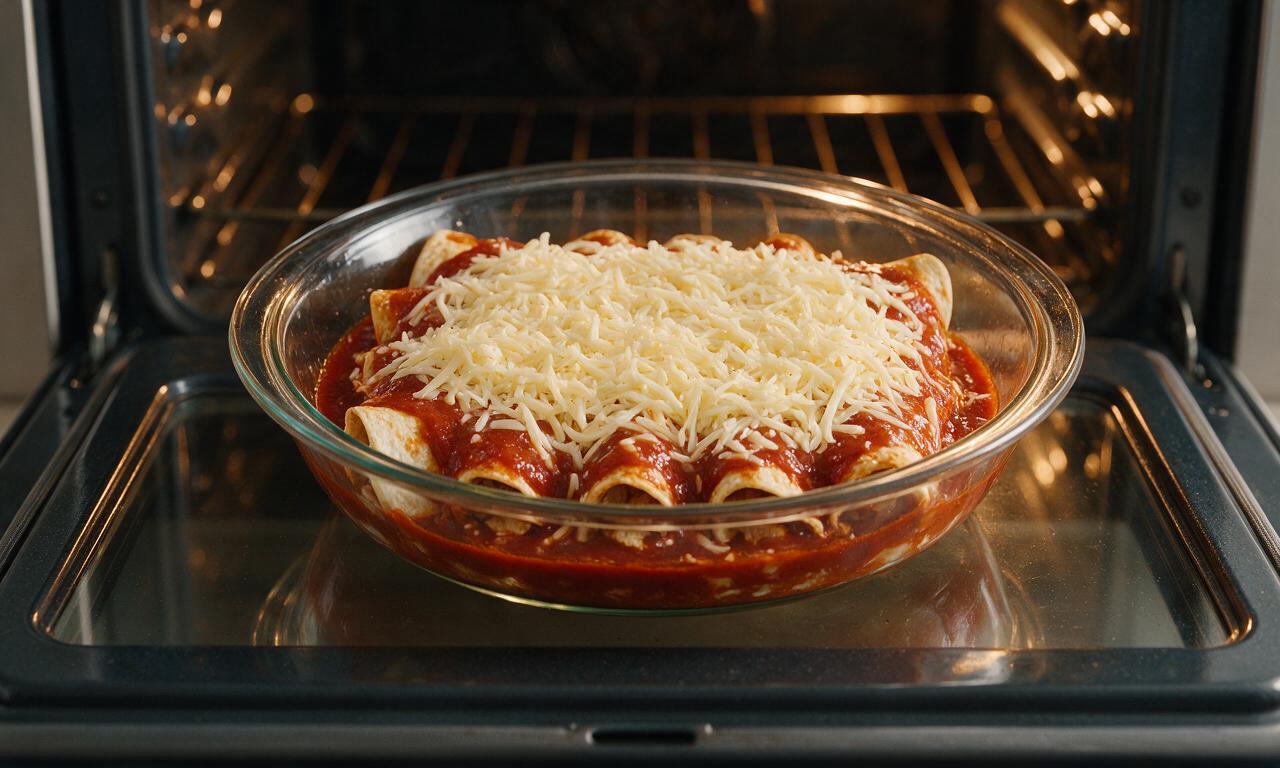
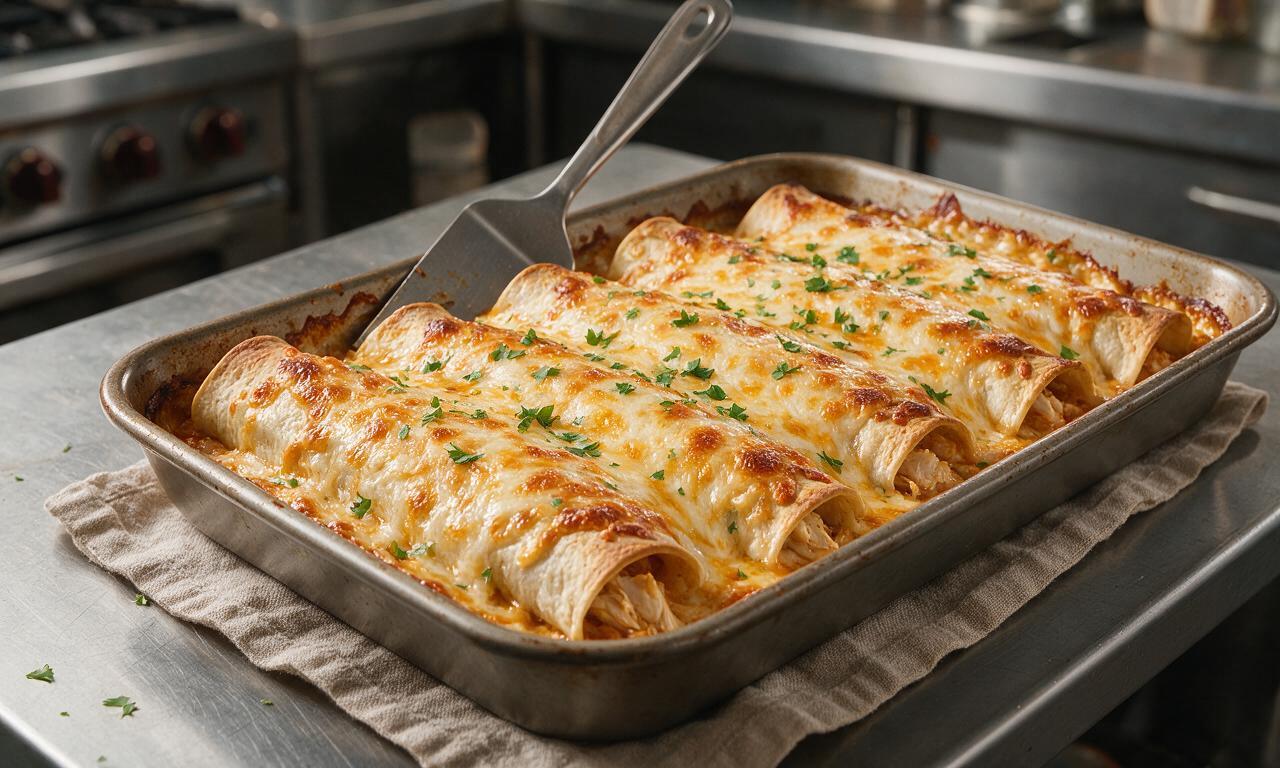
Bake covered with aluminum foil at 375°F for 20 minutes, then remove the foil, top with your remaining shredded cheese, and bake uncovered for another 10 minutes. The covered bake heats filling through without drying tortillas, and the final uncovered bake melts top cheese to golden, bubbly perfection without overcooking the chicken.
11.Can I assemble these enchiladas ahead of time for meal prep?
▾
Absolutely! Assemble rolled enchiladas in your baking dish, cover tightly with plastic wrap and foil, and store in the fridge for up to 2 days before baking. Wait to add the top layer of cheese and extra sauce until right before you bake, and add 5 minutes to the covered bake time to account for the cold dish going into the oven.
12.My enchiladas always turn out soggy—what mistakes should I avoid?
▾
Soggy enchiladas usually come from two common missteps: using too much sauce, or not prepping tortillas properly before rolling. Don’t douse tortillas so heavily they fall apart, and skip soaking them in sauce for long periods—just a light dip or brush is enough. Also, don’t overfill rolls, as leaking chicken juice makes the bottom layer soggy.
13.What toppings pair best with classic chicken and cheese enchiladas?
▾
Stick to fresh, bright toppings to cut through the rich, cheesy, saucy flavor: a dollop of sour cream, chopped fresh cilantro, diced ripe tomato, sliced pickled jalapeños, a squeeze of fresh lime, or a small scoop of guacamole all work perfectly. Skip adding heavy, creamy toppings before baking—save those for serving right at the table.
14.Can I add extra veggies to the filling without ruining the classic flavor?
▾
You can absolutely mix in finely diced, fully sautéed veggies to the chicken filling for extra nutrition and flavor—try roasted corn, diced bell pepper, or chopped spinach squeezed completely dry to avoid excess moisture. Keep added veggies to 1 cup total for the whole pan so you don’t throw off the classic chicken, cheese, and sauce balance.
15.Is it better to shred chicken by hand or use an electric mixer?
▾
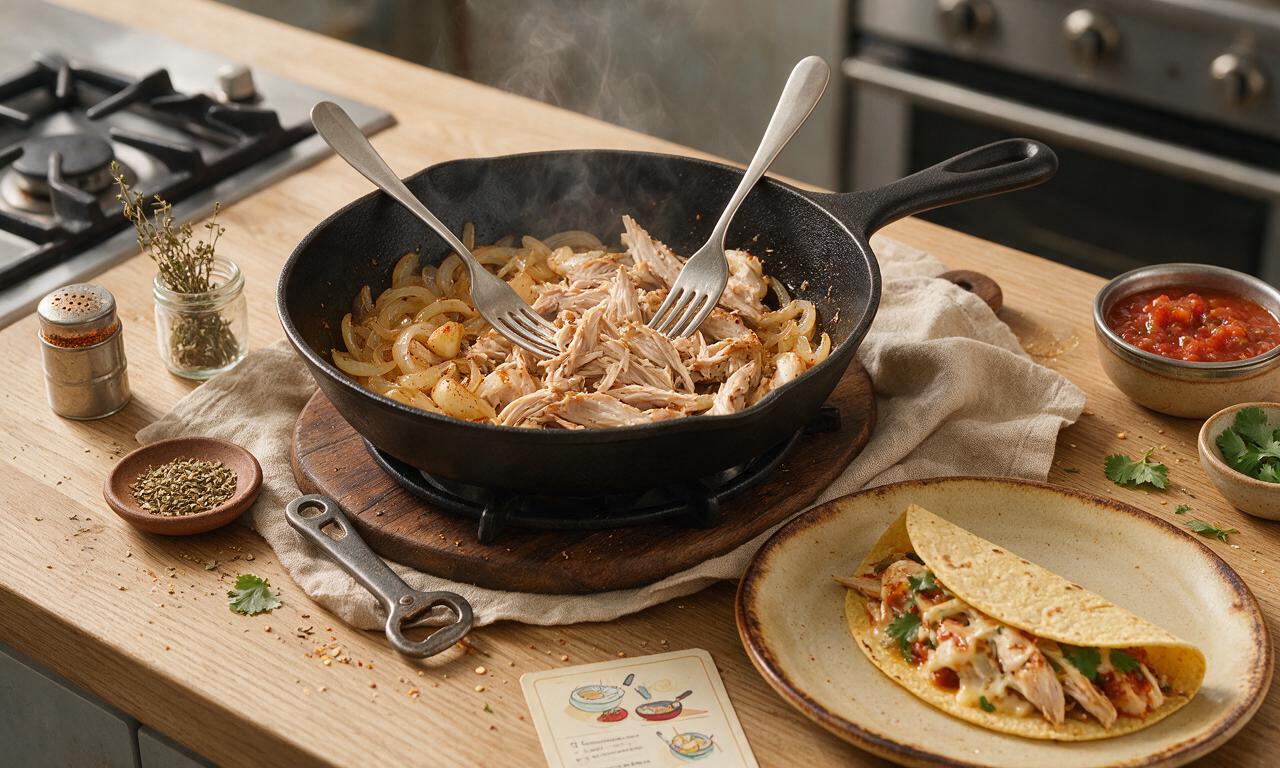
Both methods work, but hand-shredding with two forks gives you perfect, uneven, tender shreds that hold onto sauce and cheese really well. If you’re short on time, toss cooled cooked chicken thighs in a stand mixer with the paddle attachment on low for 30 seconds—just don’t overmix, or you’ll get mushy, over-processed chicken.
16.How do I cook the chicken thighs so the filling is extra flavorful?
▾
The easiest, most flavorful method is to season thighs with salt, pepper, and a pinch of garlic powder, sear in a hot pan for 3 minutes per side, then pour in ½ cup of enchilada sauce, lower heat, cover, and simmer 12 minutes until tender. Shred chicken right in the pan, mixing with leftover cooking sauce so every bite is fully seasoned.
17.Can I adjust this recipe to make it vegetarian?
▾
You can easily make a vegetarian version that still hits that cozy classic note by swapping chicken thighs for 3 cups of sautéed seasoned black beans or roasted cubed butternut squash. Double-check that your red enchilada sauce is vegetarian (most store-bought versions are), and keep the Monterey Jack, onion, and corn tortillas the same for familiar flavor.
18.What’s the best way to reheat leftover enchiladas so they don’t get rubbery?
▾
For the best leftover texture, reheat individual portions in a 350°F oven, covered with a small piece of foil, for 10-12 minutes until heated all the way through. The microwave works in a pinch (heat on 50% power for 2 minutes), but it can make corn tortillas rubbery and cause cheese to separate. Leftovers keep for 4 days in the fridge.







OMG these enchiladas were such a hit at taco night last night! My picky middle kid asked for seconds before anyone else even finished their first plate. SO cheesy, exactly the classic comfort food I was craving, and it was so easy to throw together after work. 10/10 will be adding this to our weekly rotation!
Brought this to our neighborhood block party potluck this weekend and the pan was empty in 15 minutes flat! Multiple people asked for the recipe, I told them it was so straightforward even my teen could help me assemble it. Perfect amount of cheese pull, no weird fancy ingredients, total crowd pleaser.
Just popped these in the oven! The filling tasted so good when I was mixing it, I snuck a bite already. The whole apartment smells incredible, can’t wait to dig in!
Wait, total newbie here — can I use pre-cooked shredded chicken from the grocery store for this? I’m terrible at cooking chicken evenly and don’t want to mess this up for my girlfriend’s birthday dinner, it looks so good!
Game changer! I’ve been making enchiladas wrong my whole life, I never heated the tortillas first before rolling and they always cracked. Followed the tip in the recipe to warm them in the microwave for 30 seconds first and they rolled perfectly, zero cracks. So much better than my old method.
Quick question — do these work with corn tortillas instead of flour? I have a gluten sensitivity and can’t do regular flour tortillas, but I’ve been dying for good enchiladas!
Made this last night for the family and wow, 45 minutes start to finish is no joke! I was worried I wouldn’t have time to cook between soccer practice and homework help, but this came together so fast. My wife said it’s better than the enchiladas we get at our local Mexican spot.
This recipe is so solid! I added a can of diced jalapeños and a sprinkle of cayenne to the chicken filling to give it a little heat, and it was *chef’s kiss*. My only tiny note is that I wish the recipe called for a little more enchilada sauce to pour over the top, I ended up adding an extra 1/4 cup because I love my enchiladas extra saucy.
Made this in my tiny dorm kitchen with just a microwave and a toaster oven and it still turned out insane! I used canned chicken, pre-shredded cheese, and those little street taco flour tortillas, layered it all in a small baking dish, and my roommates lost their minds. Total game changer for dorm cooking, no fancy equipment needed.
Made a double batch on Sunday for meal prep and it held up perfectly all week for lunches! I added a little extra diced green chile for a tiny kick, but the base recipe is chef’s kiss. Way better than the takeout enchiladas I used to grab on my lunch break, saved me so much money too.
Made this for my parents’ anniversary dinner last Sunday and my dad, who swears he ‘doesn’t like Mexican food’, went back for thirds. He even asked me to make it for his retirement party next month! I can’t believe how easy this was, I was stressed about making something fancy but this was the perfect cozy, crowd-pleasing pick.