
beef burrito casserole
intro
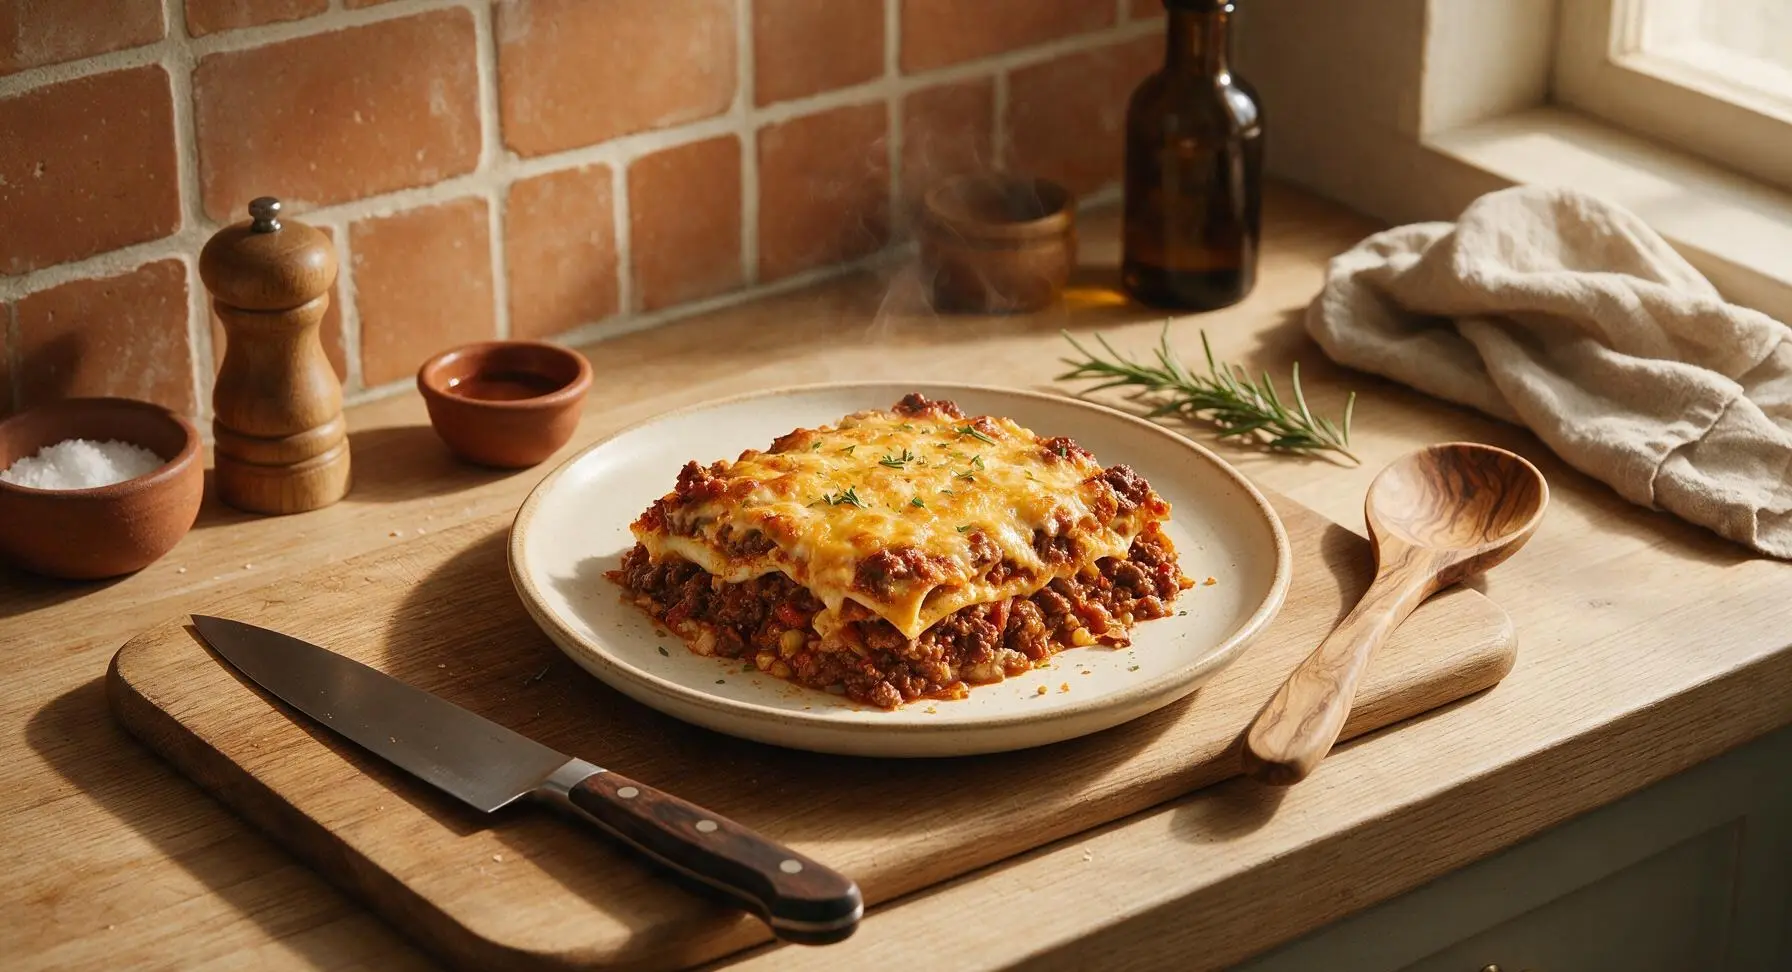
All the bold, savory flavor of a loaded beef burrito, baked into a cheesy, no-fuss layered casserole. No rolling required—just hearty, comforting layers perfect for gathering around the table.
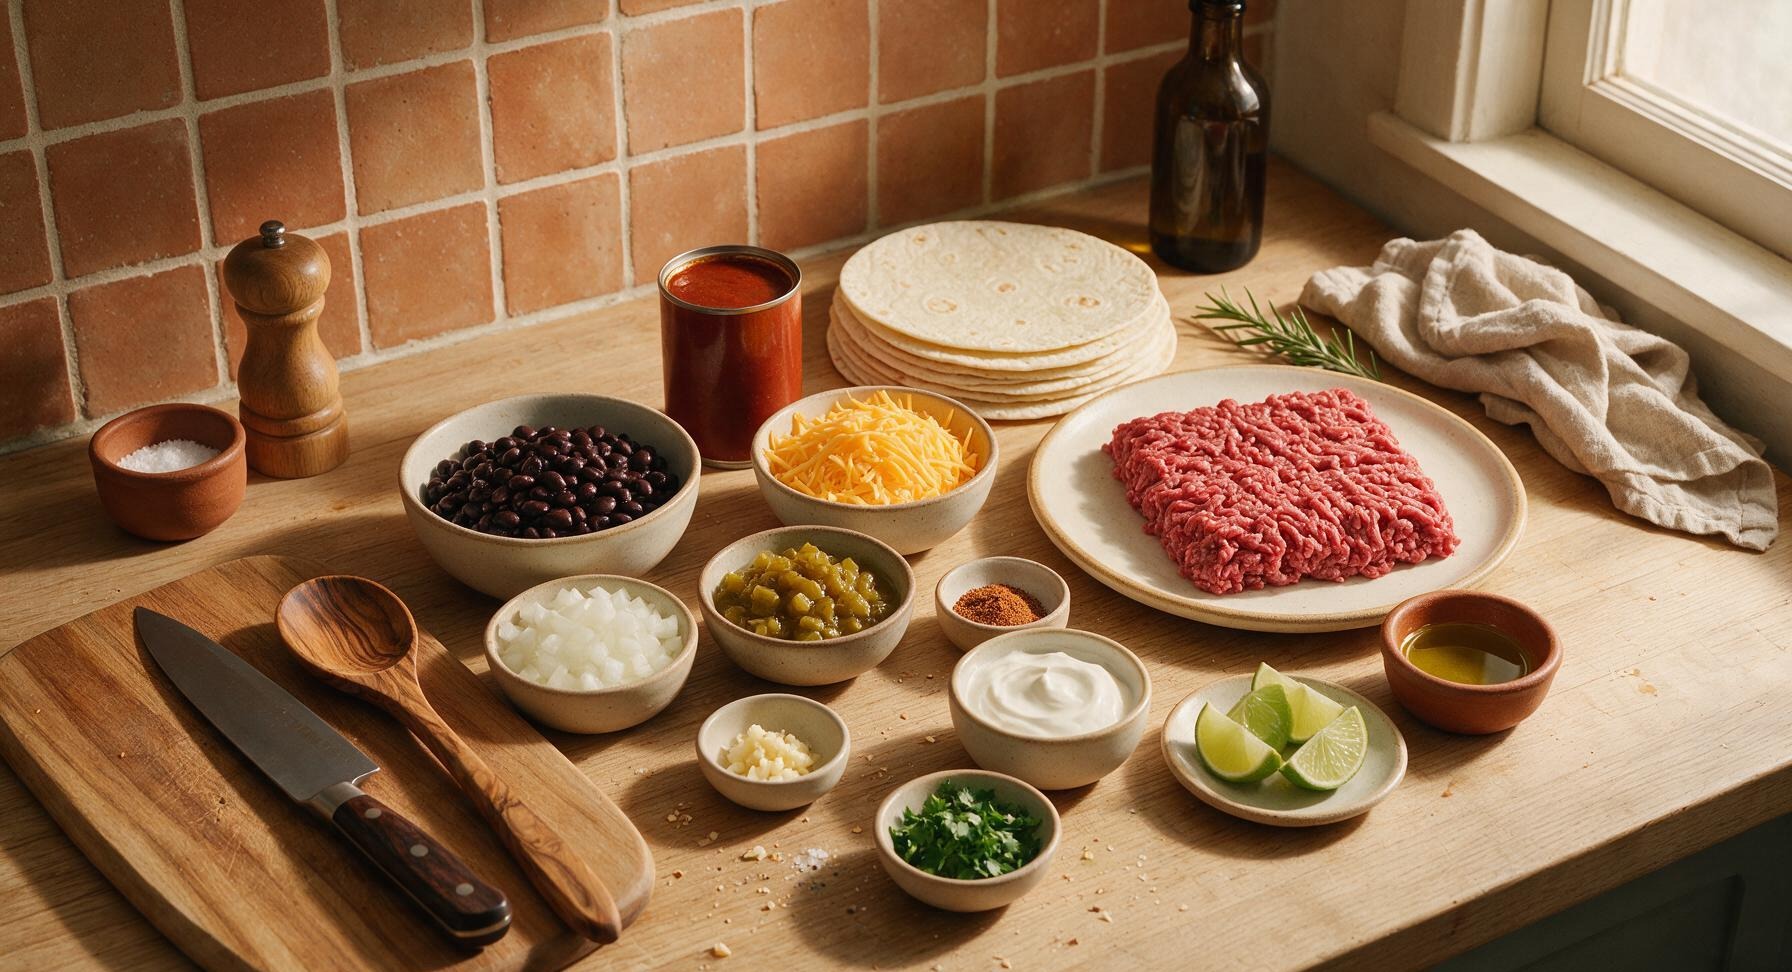
Ingredients
Steps
Preheat Oven and Prep Veg
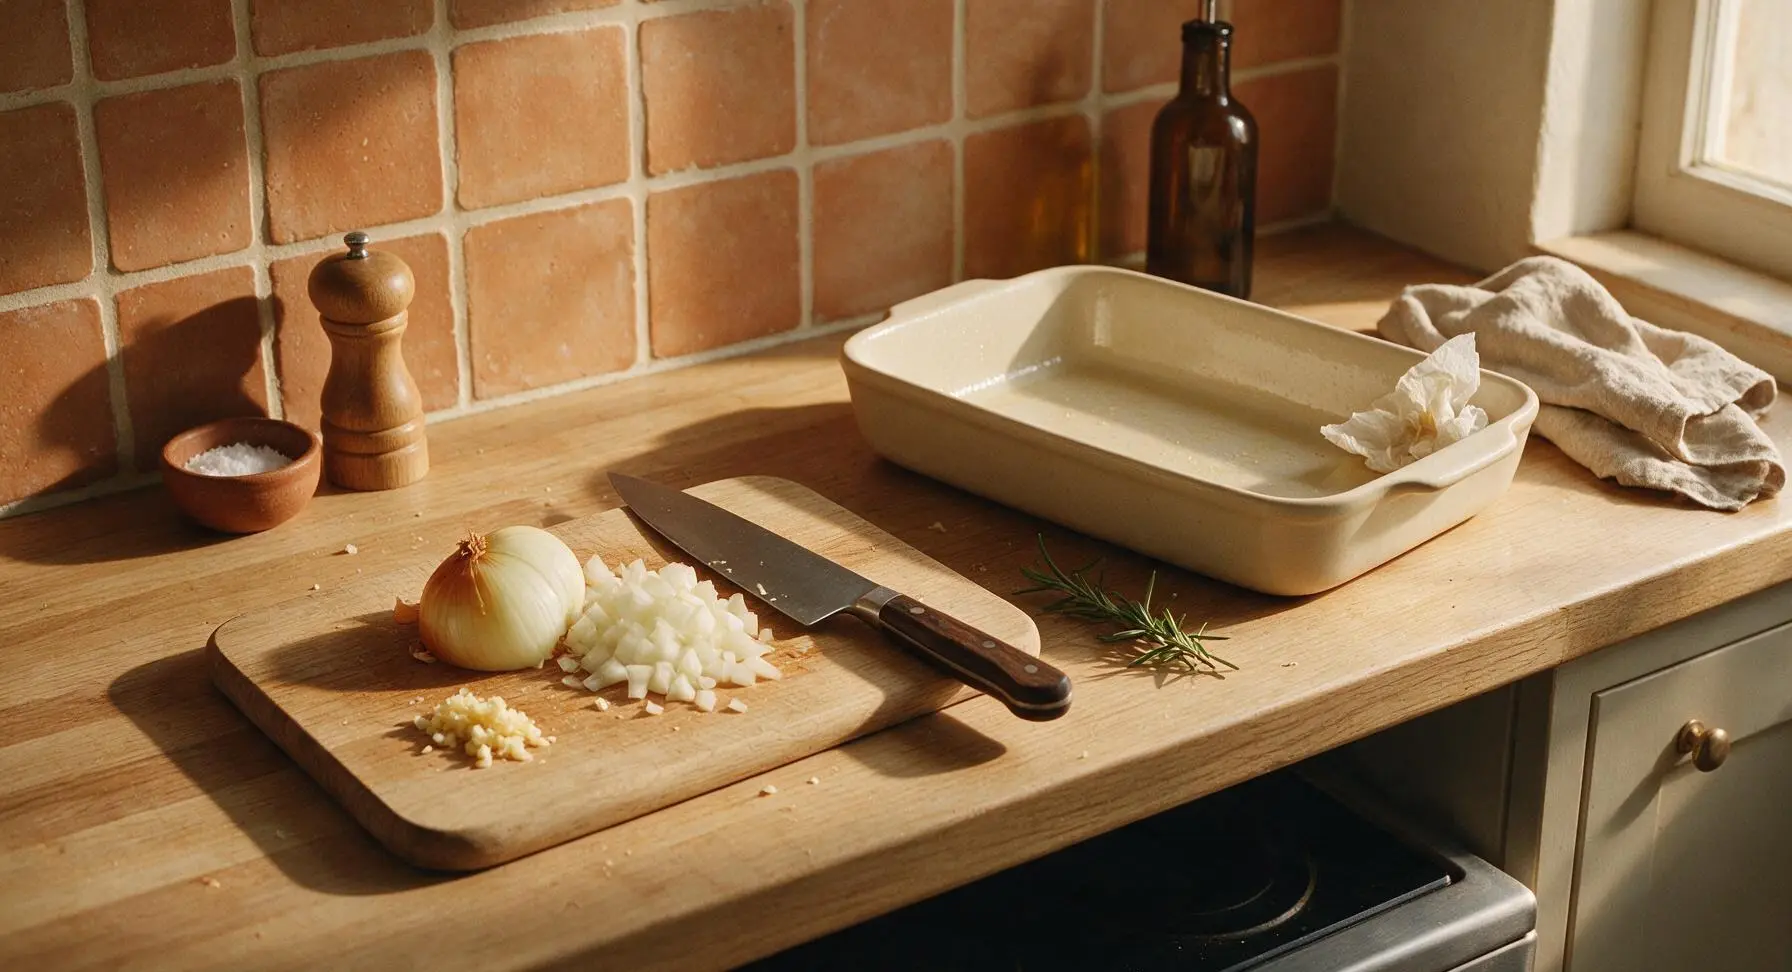
Adjust your oven rack to the middle position and preheat to 180°C (350°F). Pull the light oak cutting board from storage and place it in its fixed center-left counter position. Use the 7-inch stainless steel chef knife to dice the medium yellow onion into 1cm pieces and mince the 3 garlic cloves, setting prepped veggies in a small pile on the board. Pull the 9x13 inch matte cream ceramic baking dish from storage, place it in its fixed center-right position, and lightly grease the interior with a thin coat of olive oil.
Brown the Ground Beef
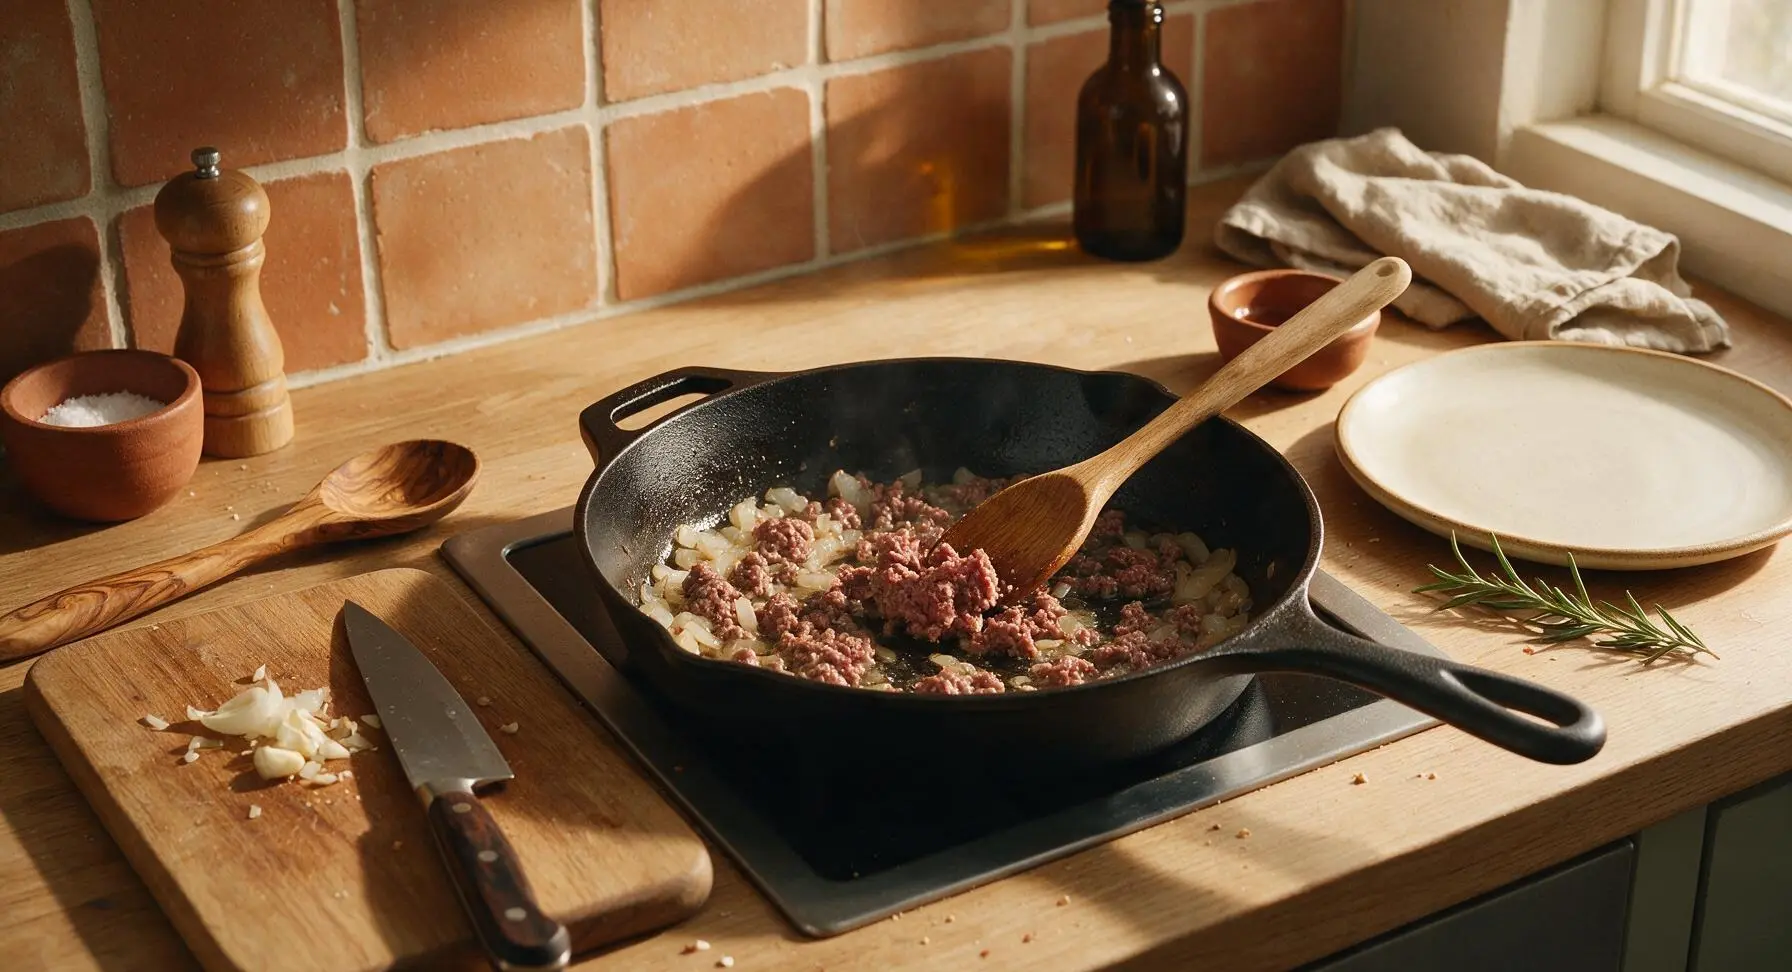
Pull the 12-inch matte black enameled cast iron skillet from storage and place it on the recessed stovetop over medium heat. Add 1 tablespoon olive oil, and once the oil shimmers (about 1 minute), add the diced onion and cook for 3 minutes until soft and translucent. Add minced garlic and cook for 30 seconds until fragrant, then add the 500g ground beef. Use the honey oak wooden spoon to break beef into small crumbles as it cooks, for 5-6 minutes, until no pink remains. Drain excess grease from the skillet, then stir in taco seasoning, kosher salt, black pepper, and drained diced green chiles. Cook for 1 additional minute until spices are fragrant.
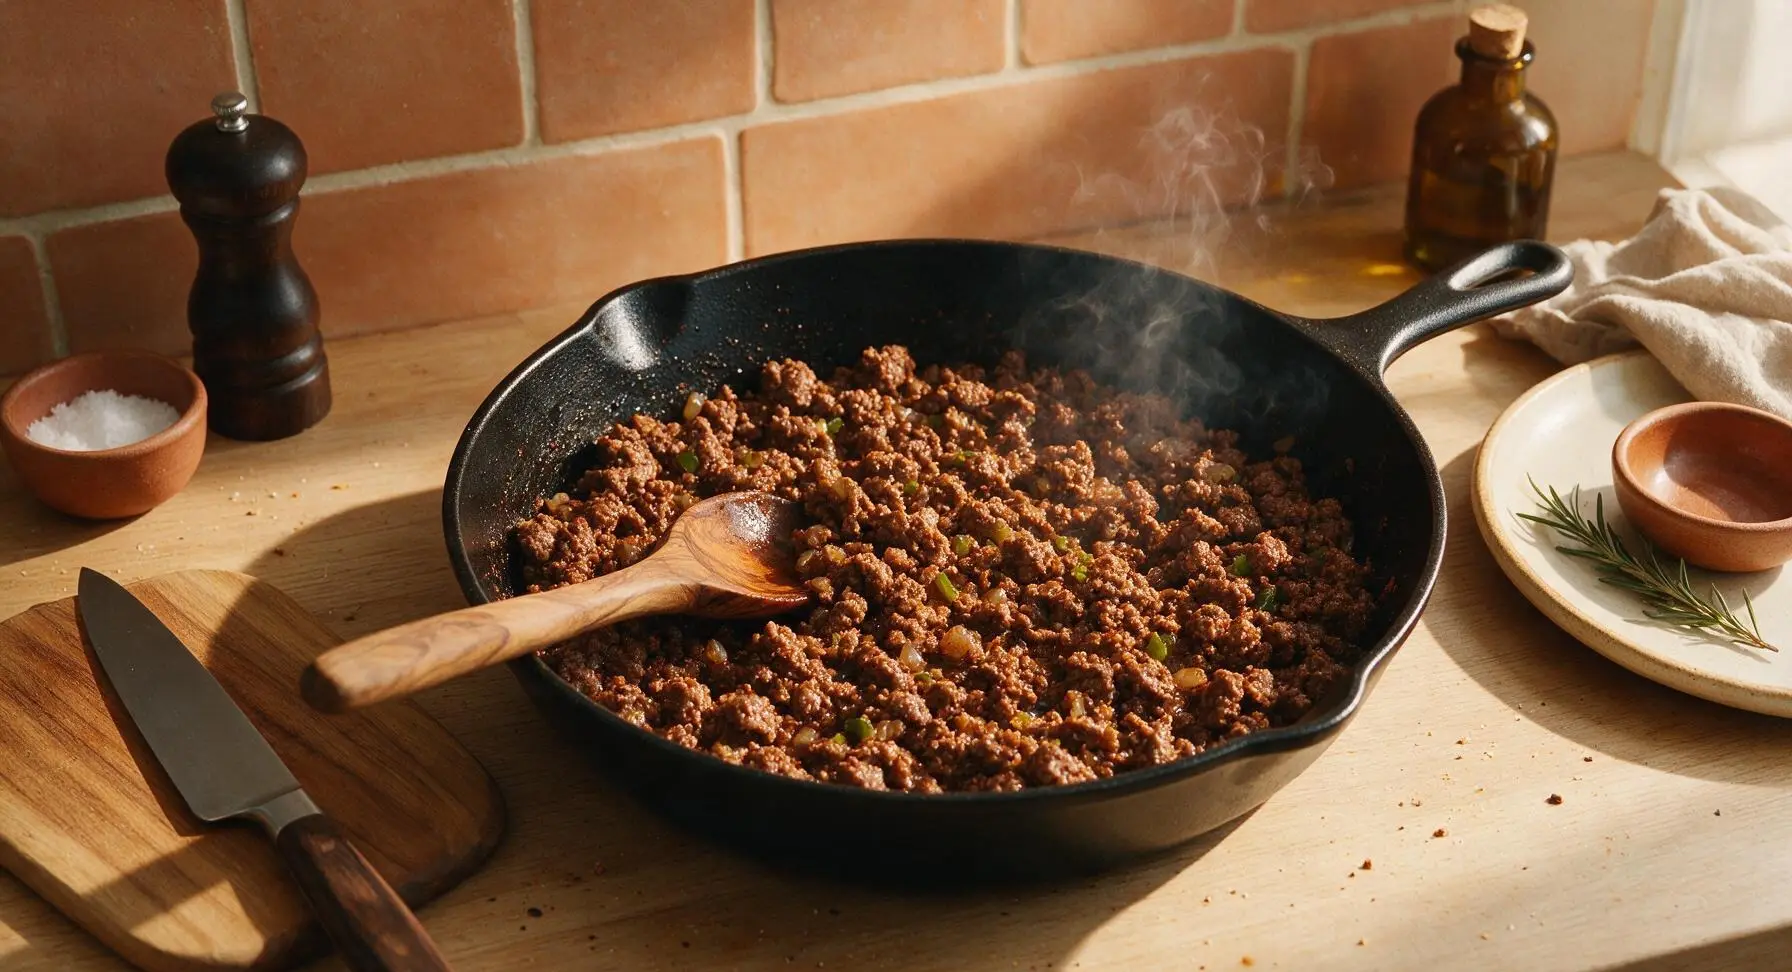
Mix Sauce and Beans
Pour 3/4 of the red enchilada sauce into the skillet with the seasoned beef, along with the rinsed, drained black beans. Stir with the honey oak wooden spoon until fully combined, then reduce heat to low and simmer for 2 minutes to let flavors meld. The finished filling will be thick, with beans evenly distributed throughout the sauced beef, not watery or runny.
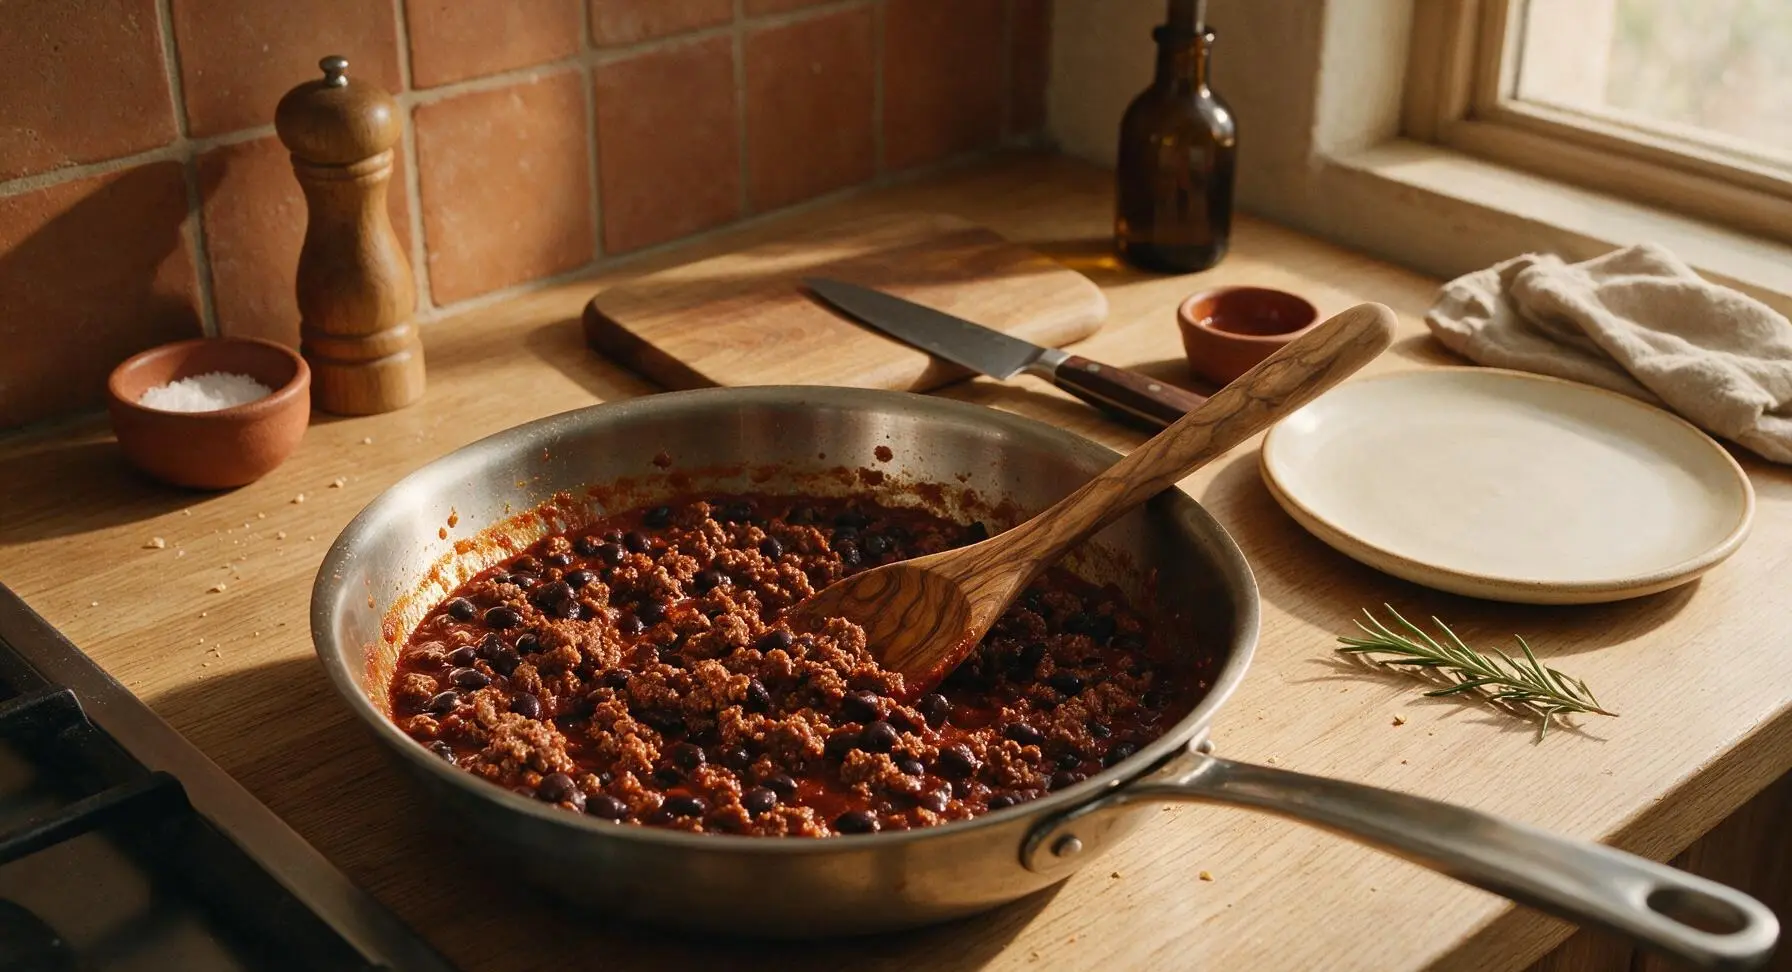
Layer Casserole Components
Assemble layers in the prepared baking dish: First, spread 1/4 cup of the reserved enchilada sauce across the dish bottom to prevent sticking. Tear 2 flour tortillas into rough strips to cover the sauce in an even, slightly overlapping layer. Top tortillas with 1/3 of the beef and bean filling, spread smooth, then sprinkle with 1/3 of the shredded cheddar. Repeat this layering sequence (tortillas, filling, cheese) two more times for 3 total layers, using 2 tortillas per layer. Top the final tortilla layer with the remaining enchilada sauce, spread evenly, then sprinkle with the last of the shredded cheddar.
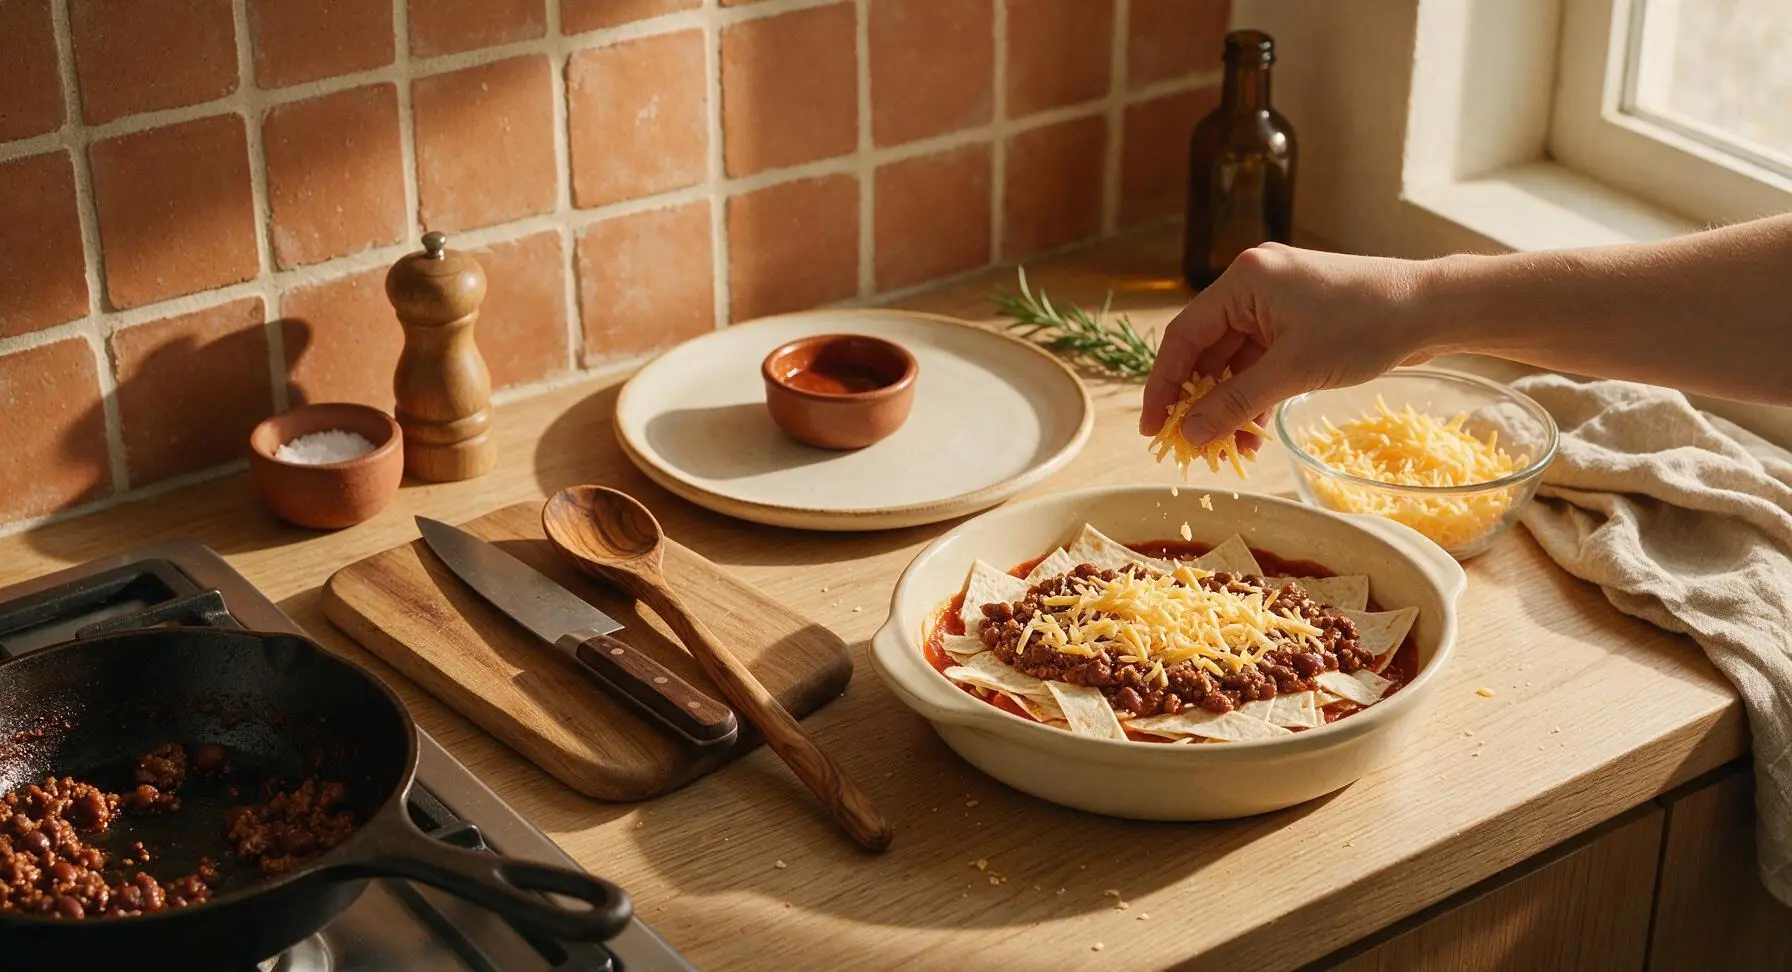
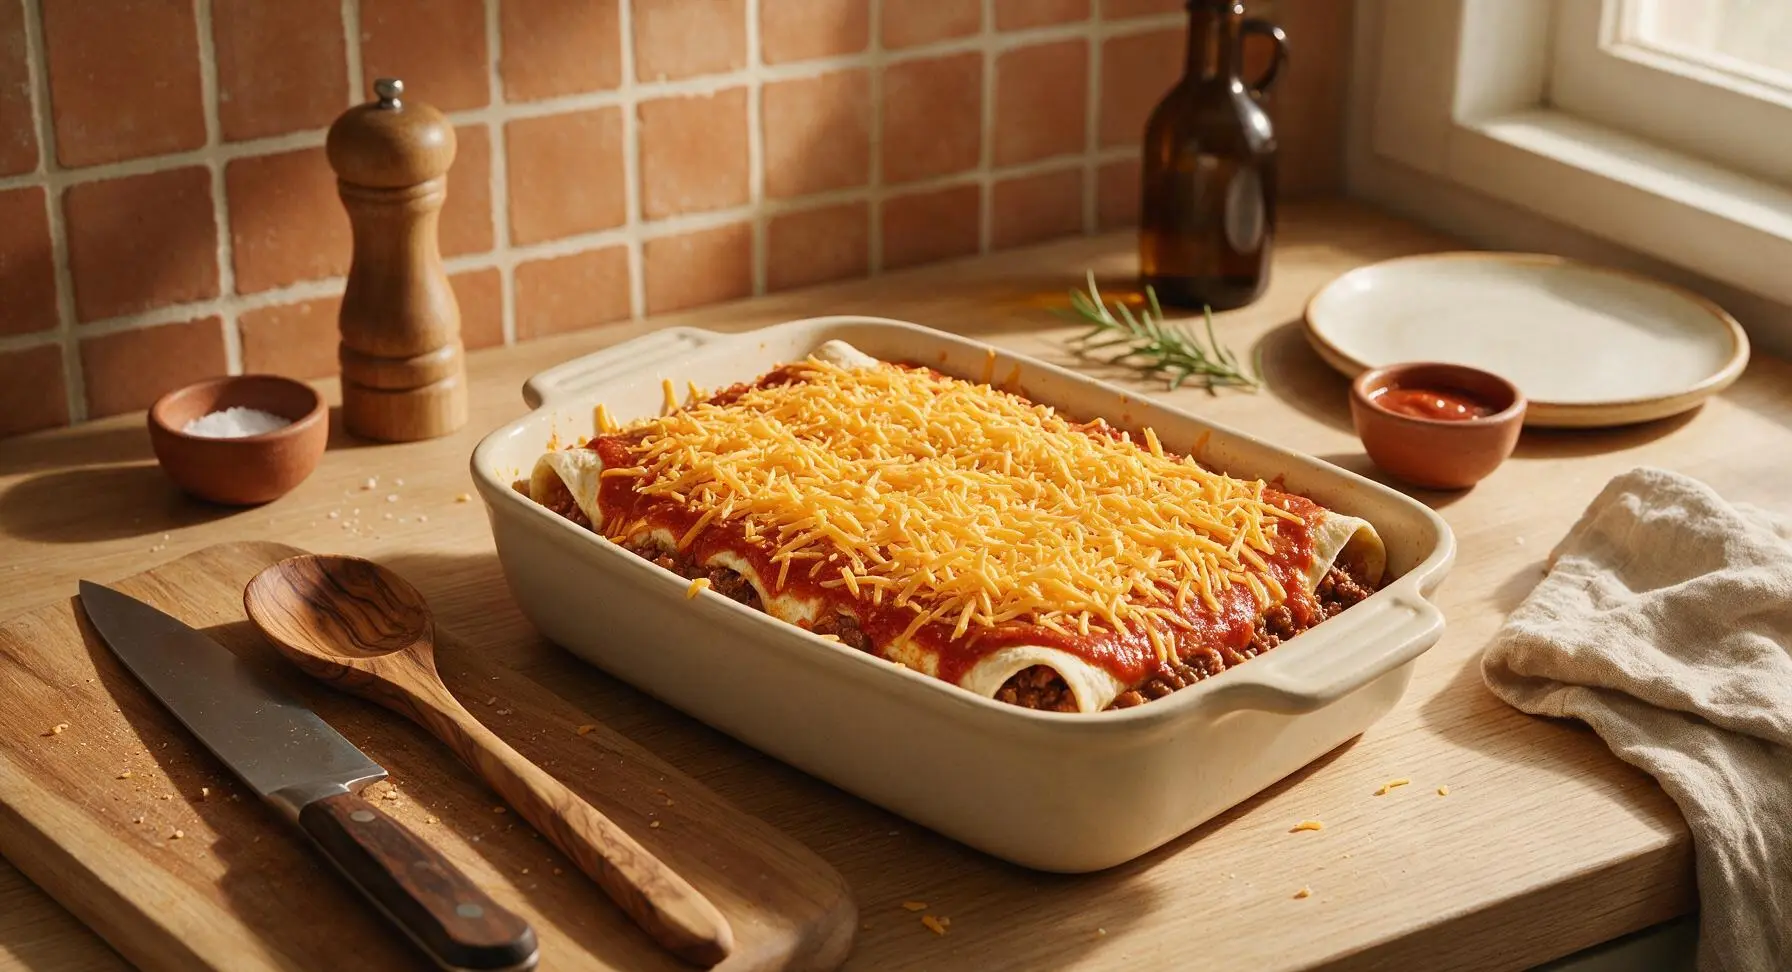
Bake Until Bubbly
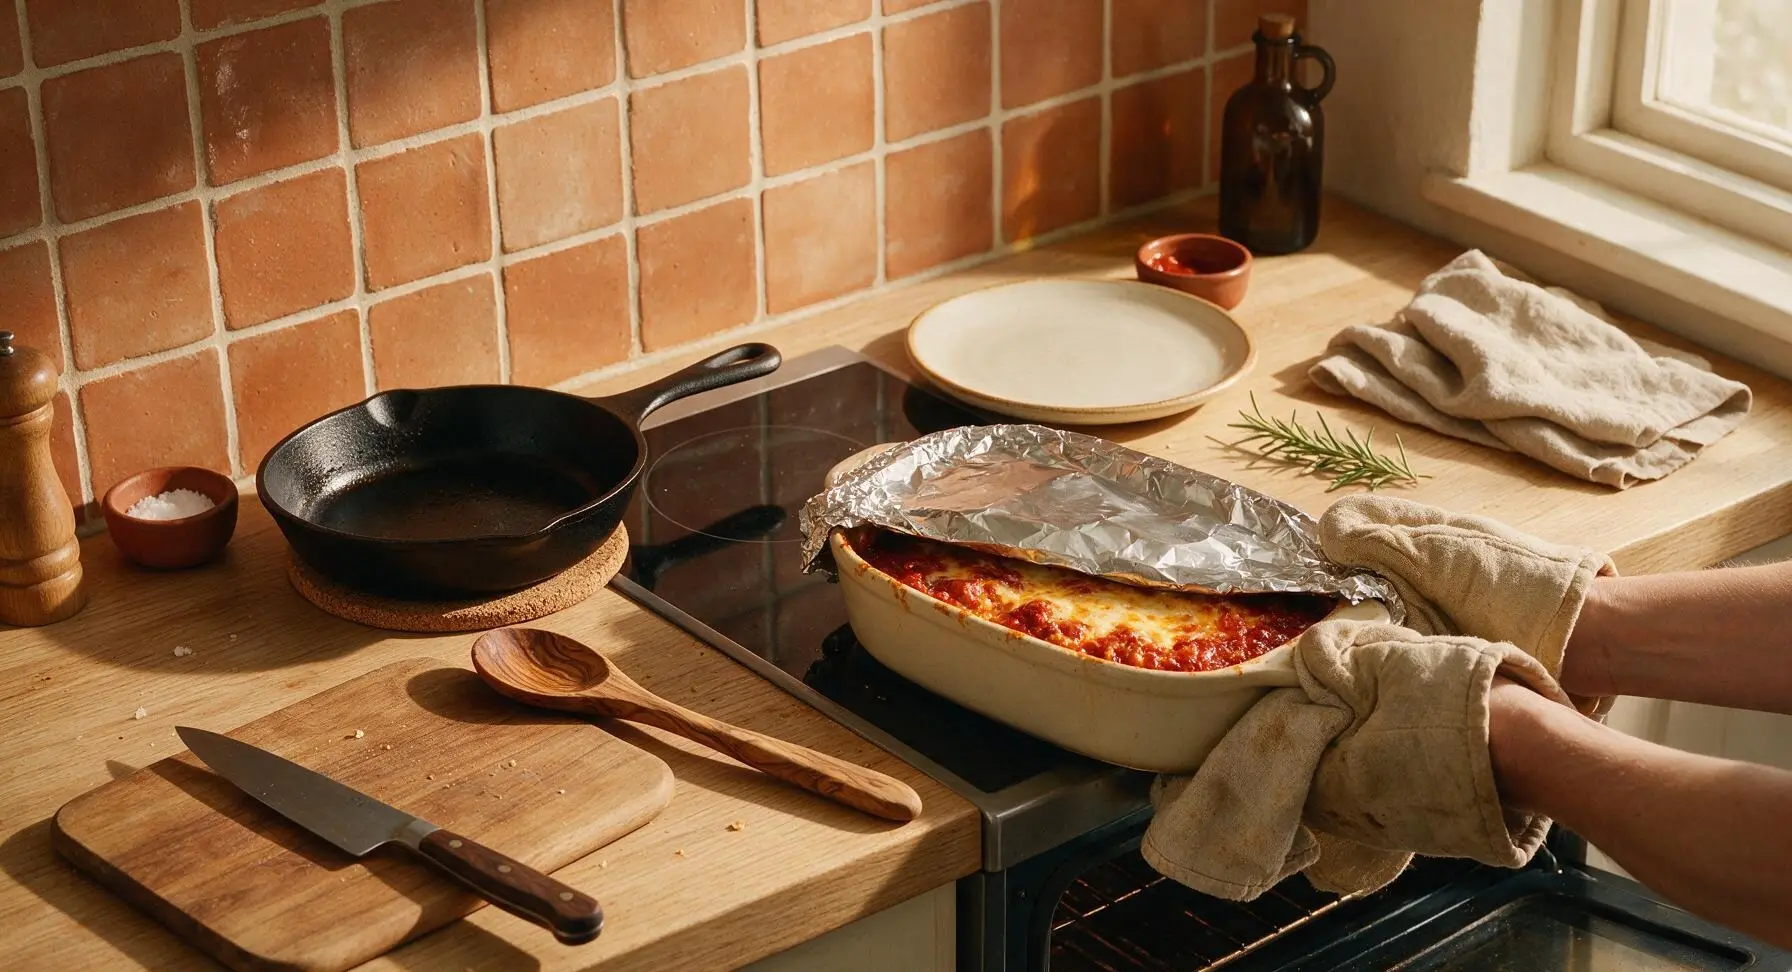
Cover the baking dish tightly with aluminum foil, place on the middle oven rack, and bake for 20 minutes at 180°C (350°F). Remove the foil, then bake for an additional 10-12 minutes, until the top cheese is fully melted, bubbling around the edges, and dotted with light golden brown spots. Pull the dish from the oven, place it on the cork heat pad on the counter, and let rest for 10 minutes to allow layers to set.
Garnish and Plate
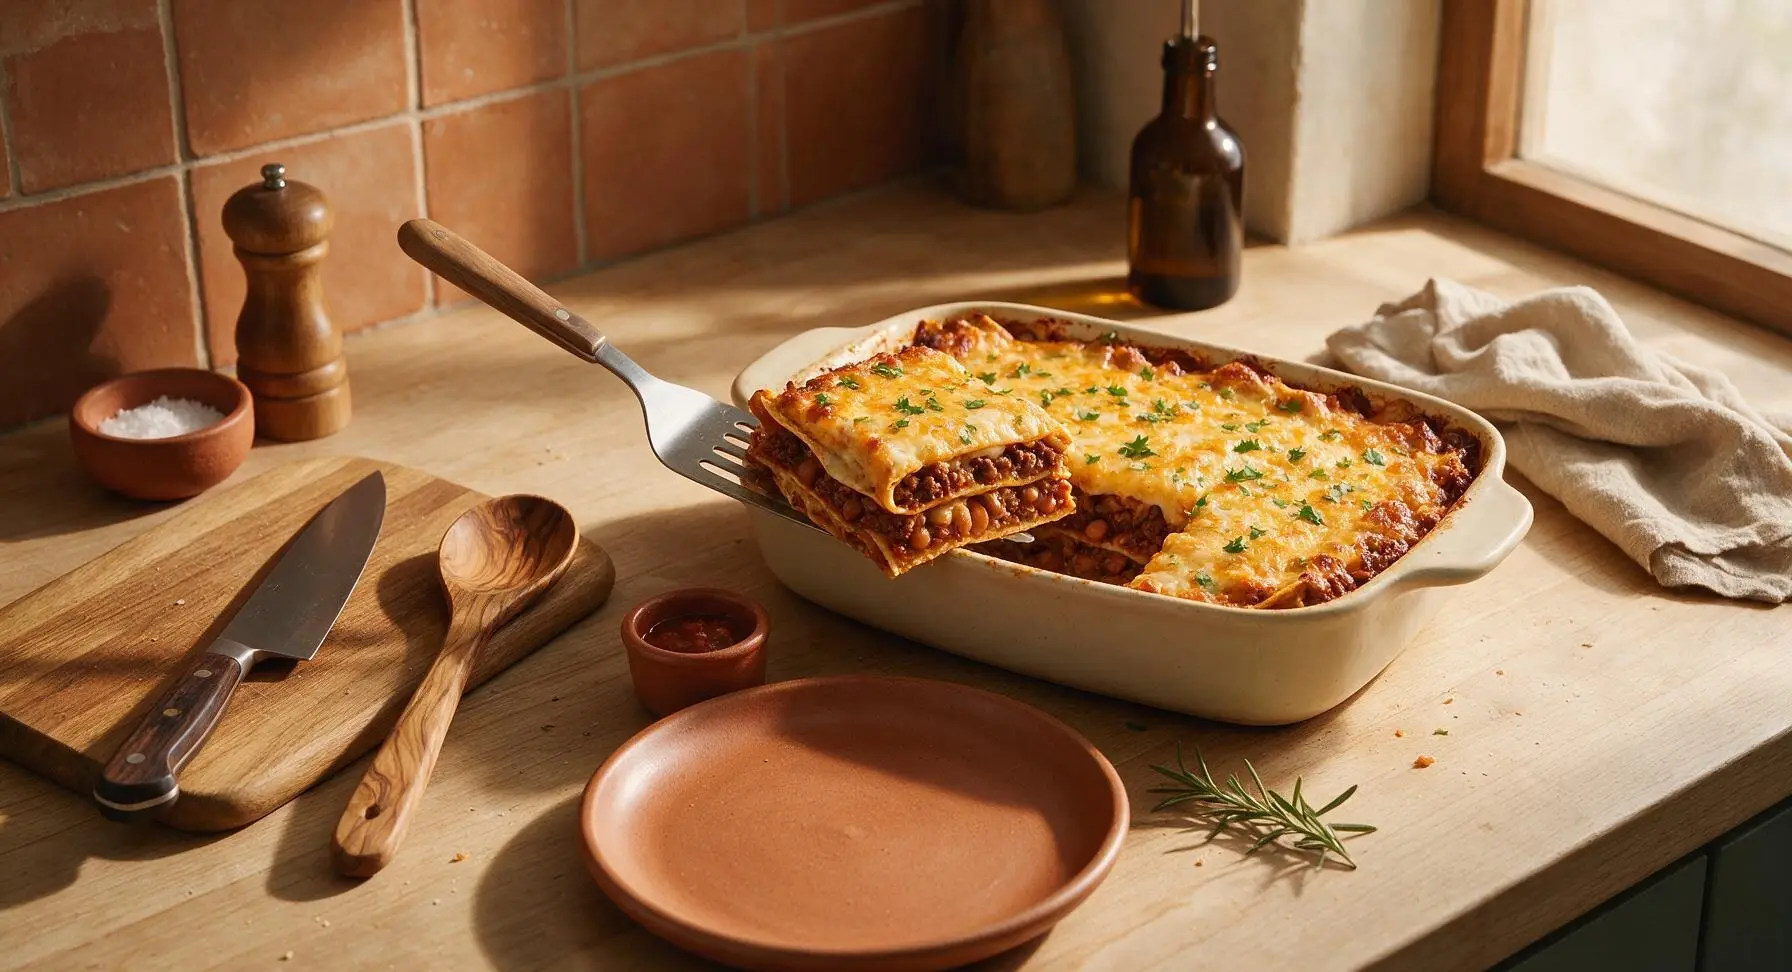
After the 10-minute rest, sprinkle the top of the baked casserole with 2 tablespoons of chopped fresh cilantro. Cut into 6 equal square slices, then use the stainless steel slotted spatula to lift one clean slice, revealing the distinct layers of tortilla, beef, beans, and melted cheese. Place the slice centered on a matte terracotta dinner plate, top with a 2-tablespoon dollop of sour cream, an extra sprinkle of cilantro, and serve with a lime wedge and side of salsa in the matching terracotta cup.
Tips
2.Stick with 80/20 ground beef and drain excess grease after browning: the small amount of retained fat adds rich, beefy flavor and keeps the filling moist, while draining prevents the casserole from turning greasy during baking.
3.Tear tortillas into rough, uneven strips instead of cutting them to perfect sizes: ragged edges create small gaps that trap sauce and melted cheese, leading to more cohesive, flavorful layers with no dry tortilla spots.






OMG this beef burrito casserole was a total game changer for our weekly taco Tuesday! I was so tired of the same old hard shells and ground beef spread, and this came together in literally 40 minutes like the recipe said. My kids devoured two servings each and asked for leftovers in their lunchboxes tomorrow. 10/10 will be making this for our next neighborhood potluck too!
Pretty solid weeknight meal! I swapped the regular refried beans for black beans because that’s what I had in the pantry, and it still turned out great. Only reason it’s not 5 stars is I wish there was a little more cheese, but that’s a me problem tbh. Next time I’ll dump an extra handful of shredded cheddar on top no question.
This is PERFECT for Sunday meal prep! I divided the whole pan into 6 individual containers, added a dollop of sour cream and a side of tortilla chips, and I’ve got grab-and-go lunches for almost the whole work week. It reheats so well in the microwave, no soggy mess at all. So glad I found this easy recipe!
Made this for my husband’s fantasy football watch party this past weekend and every single person asked for the recipe! I added a layer of crushed tortilla chips on the bottom for a little crunch, and it was chef’s kiss. SO good, even the guys who claim they “don’t do casseroles” went back for seconds.
Just pulled this out of the oven and the whole house smells incredible. I used a blend of Monterey jack and cheddar because that’s what I had shredded, and I can already tell this is gonna be a regular rotation meal. Super easy to follow directions, no fancy ingredients required. Perfect for a lazy Wednesday night.
Really tasty base recipe! I added a can of diced green chiles and a teaspoon of cayenne to the beef mix to give it a little more heat, and it hit exactly the spot I was craving. My only note is that my oven runs hot, so it was done in about 32 minutes instead of 40, so definitely keep an eye on it the first time you make it.
As someone who barely knows how to boil water, this recipe was so approachable! I was intimidated to make a casserole for my first time hosting my roommates for dinner, but the steps were so simple and it turned out perfectly. We ate the whole pan between the three of us while we watched our favorite show. No leftovers, oops.
I’ve made this three times in the last month, no joke. It’s just that good! I love that I can customize it based on what I have in the fridge—last week I added corn, the week before that I tossed in some leftover rice, and every single version has been a hit with my picky 7 year old. Worth every single minute of prep (which is barely any, thank goodness).
Great recipe! I made this with plant-based ground beef for my vegetarian sister when she came to visit, and even my meat-obsessed brother said he couldn’t tell the difference. I did add a little extra taco seasoning to the plant-based crumbles to give it more depth, but otherwise followed the directions exactly.
Brought this to my office potluck yesterday and it was the first dish gone! People were scraping the edges of the pan to get the crispy cheese bits, which is always the sign of a winning recipe. I printed out copies of the recipe to hand out to my coworkers because so many people asked for it.
Made this in my tiny dorm oven! I had to cut the recipe in half because my baking dish is so small, but it still turned out so good. Way cheaper than ordering burritos from the place down the street, and it makes enough for me to eat for two days. 10/10 for broke college students.
I topped mine with a big dollop of guac, a scoop of salsa, and a drizzle of sour cream after baking and it tasted exactly like the giant burritos I get from my favorite local taqueria, but way less messy to eat. No more burritos exploding all over my plate when I pick them up, this casserole version is elite.
This is such an easy gluten free swap! I used corn tortillas instead of flour ones, and made sure my taco seasoning didn’t have any hidden wheat, and it turned out absolutely perfect. My whole family ate it without even noticing it was gluten free, which is a huge win because they usually turn their noses up at GF swaps.
Added this to our regular Sunday family dinner rotation! My mother-in-law is the pickiest eater I know, and she even went back for a second helping and asked me to send her the recipe. It’s so nice to have a meal that literally everyone at the table enjoys, no complaints whatsoever.
Made two pans of this last weekend to stash in the deep freeze for busy soccer nights with the kids. I pulled one out last night, baked it straight from frozen (added 15 minutes to the cook time, covered with foil) and it tasted just as fresh as the day I made it. Total lifesaver for weeknights when we don’t get home until 6:30.
Made this at 10pm last night when I got home from a late shift and I’m currently eating the leftovers for breakfast. It’s just as good cold as it is hot, who knew? Don’t judge me, but I ate a huge bowl of it standing over the kitchen sink right when it came out of the oven because it smelled so good. No regrets.
Really tasty casserole! I did find it a little too salty for my taste when I used the pre-made taco seasoning packet, so next time I’ll make my own taco seasoning with less salt to control the sodium. Otherwise, the texture and flavor were spot on, and my whole family enjoyed it.