
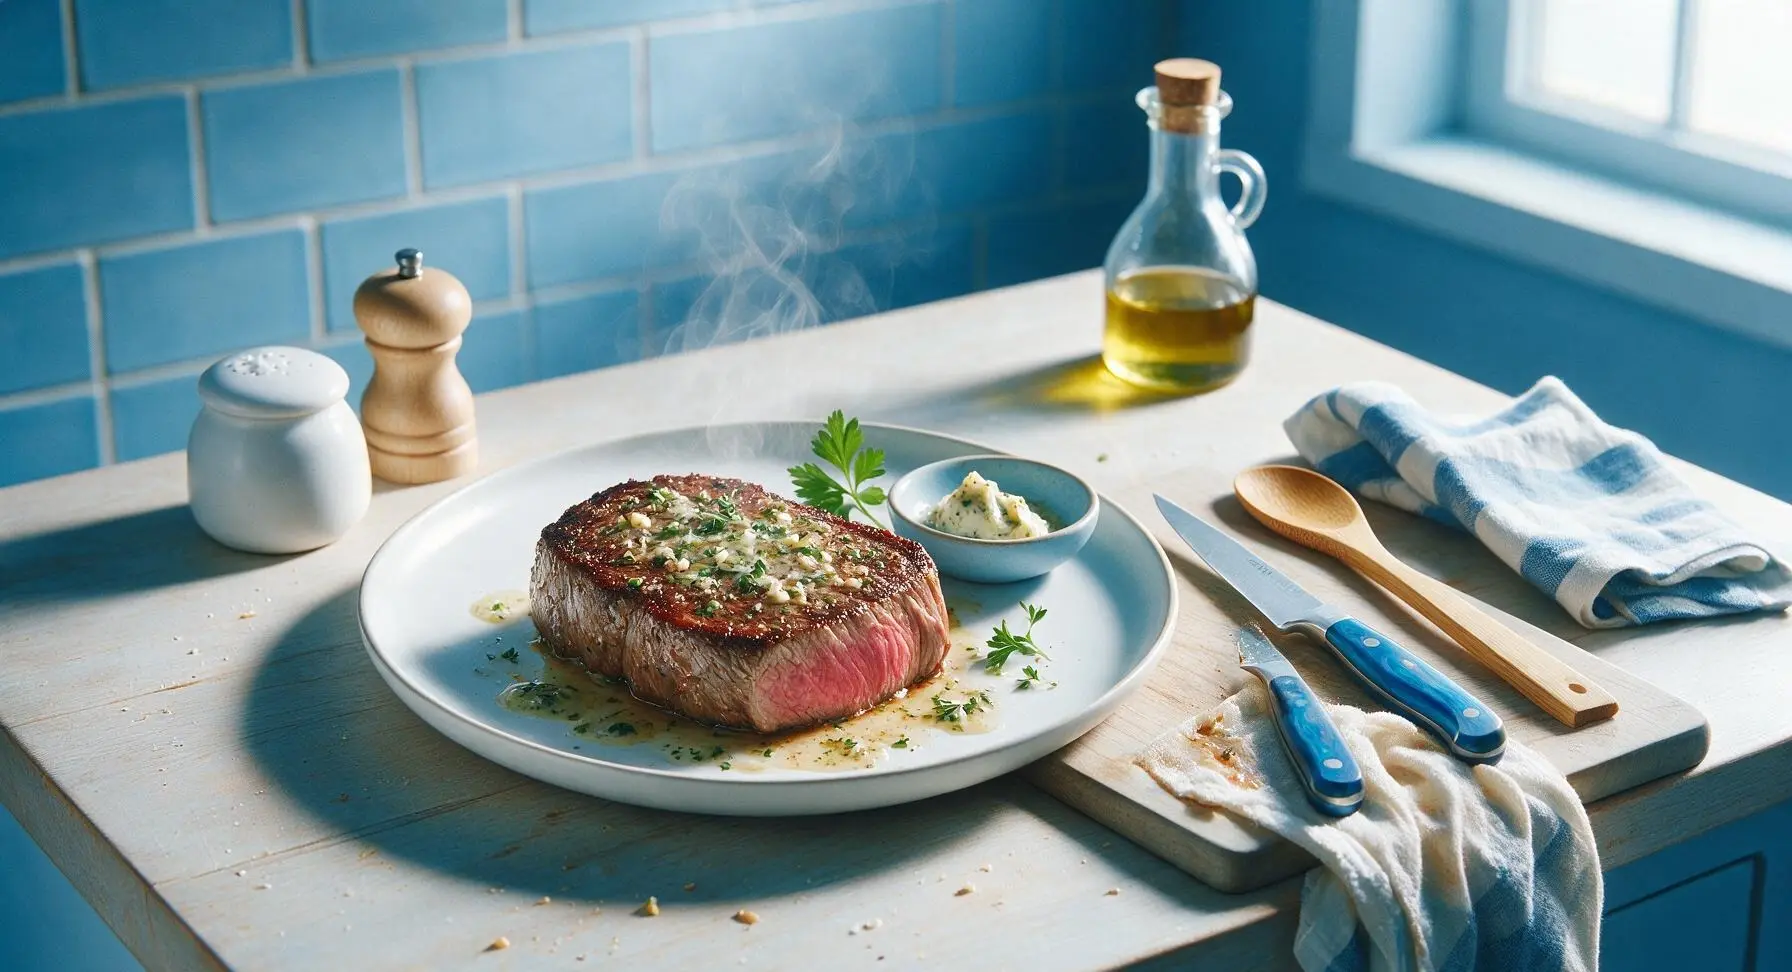
beef tender

title 1
beef tender
⏱️ cook time 20 minutes
🍽️ servings 4
⚡ Difficulty medium

intro

Melt-in-your-mouth seared beef tender with a crisp golden crust, juicy rosy center, and fragrant garlic-thyme butter, perfect for cozy winter gatherings.

Ingredients
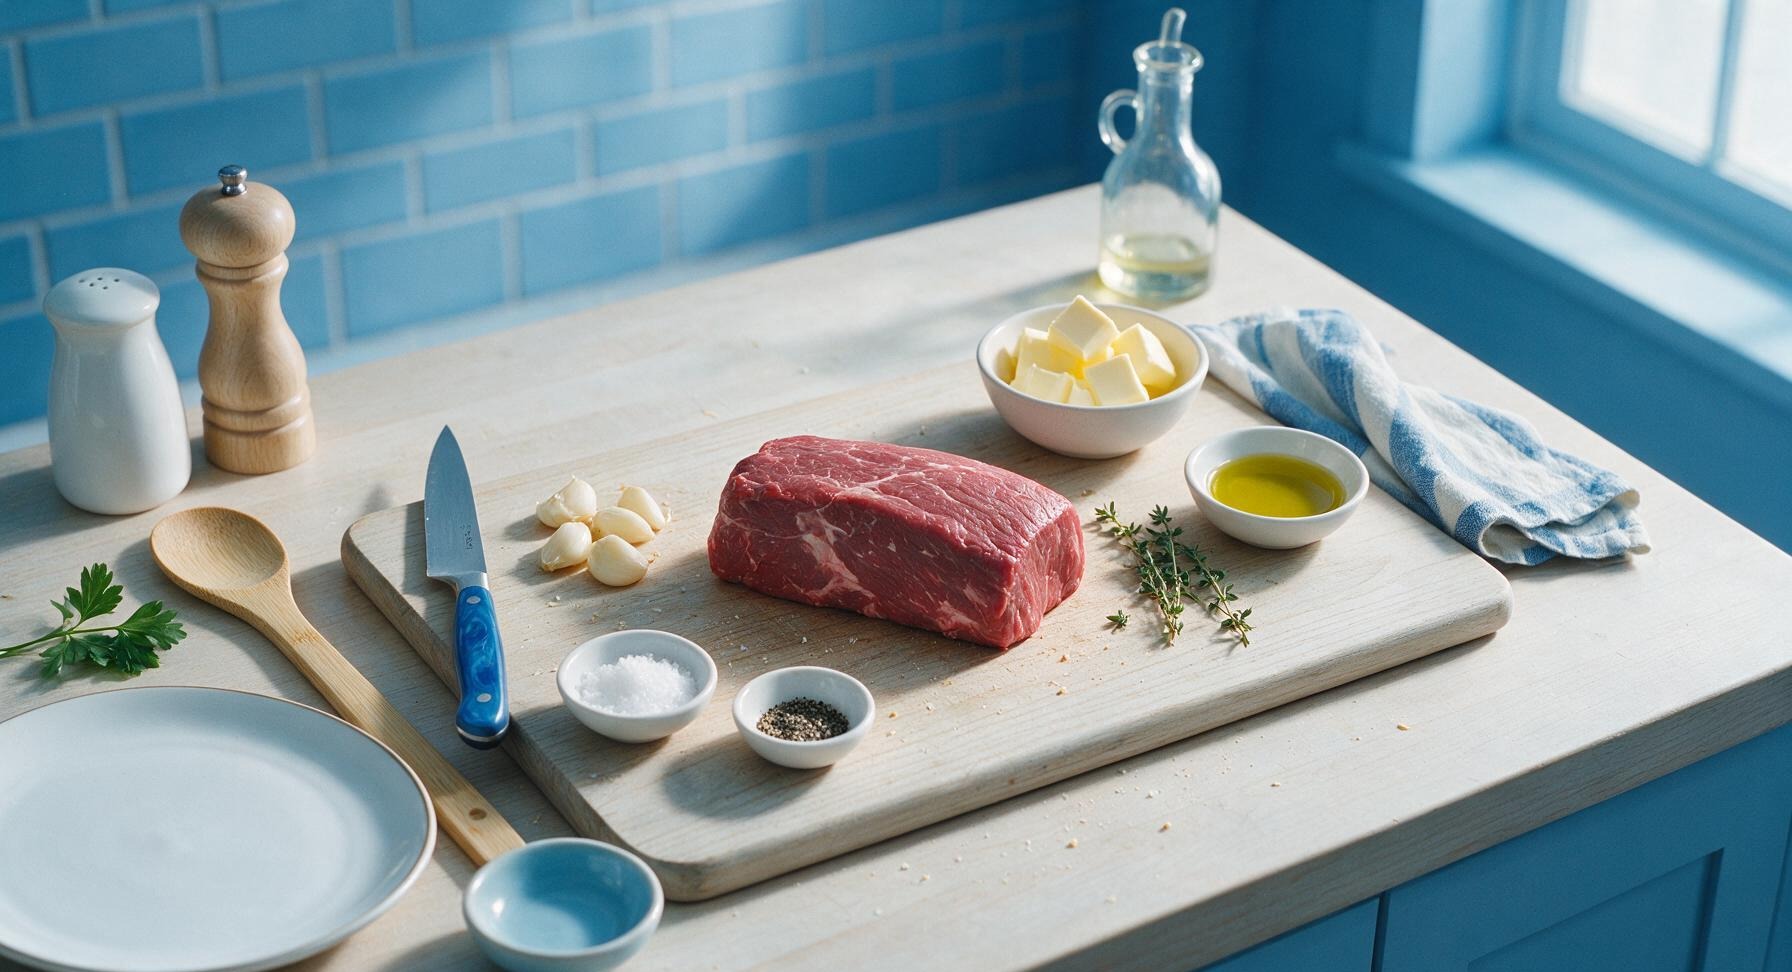
Center-cut beef tenderloin (trimmed) 600g
Unsalted butter 4 tbsp (57g)
Extra-virgin olive oil 2 tbsp
Garlic cloves (peeled, slightly crushed) 4 cloves
Fresh thyme sprigs 3 sprigs
Coarse kosher salt 1 tbsp
Freshly cracked black pepper 1 tsp

Steps

1

Season the Beef Tender

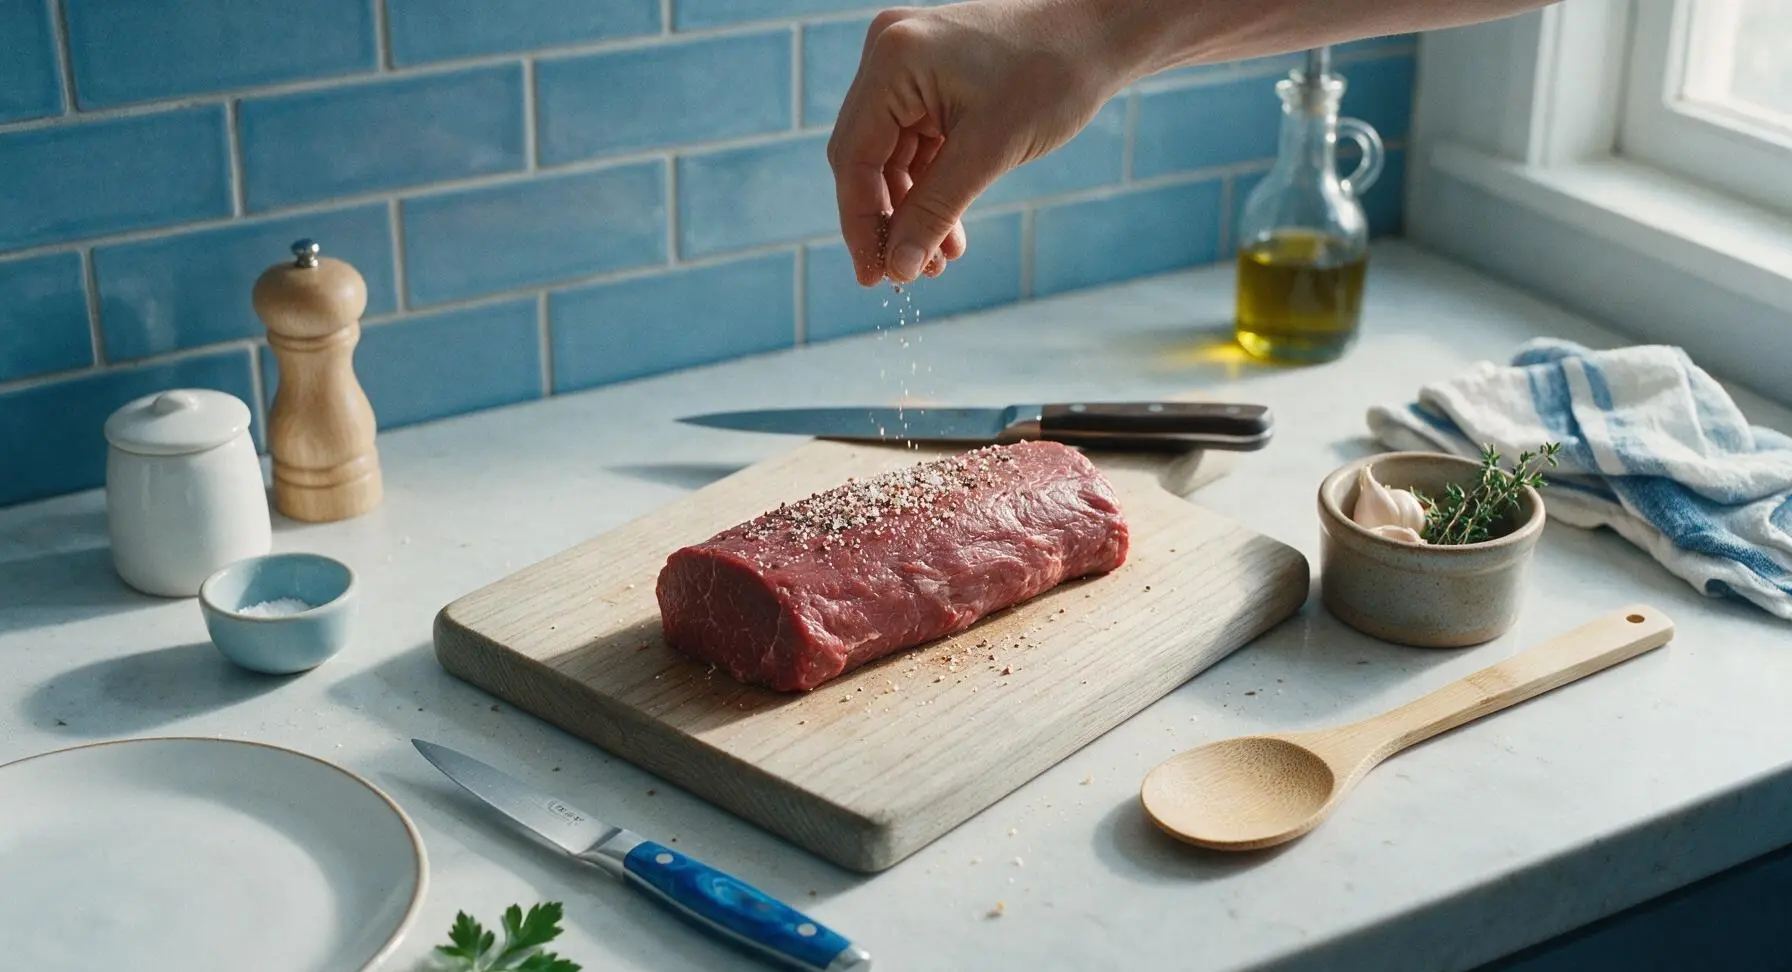
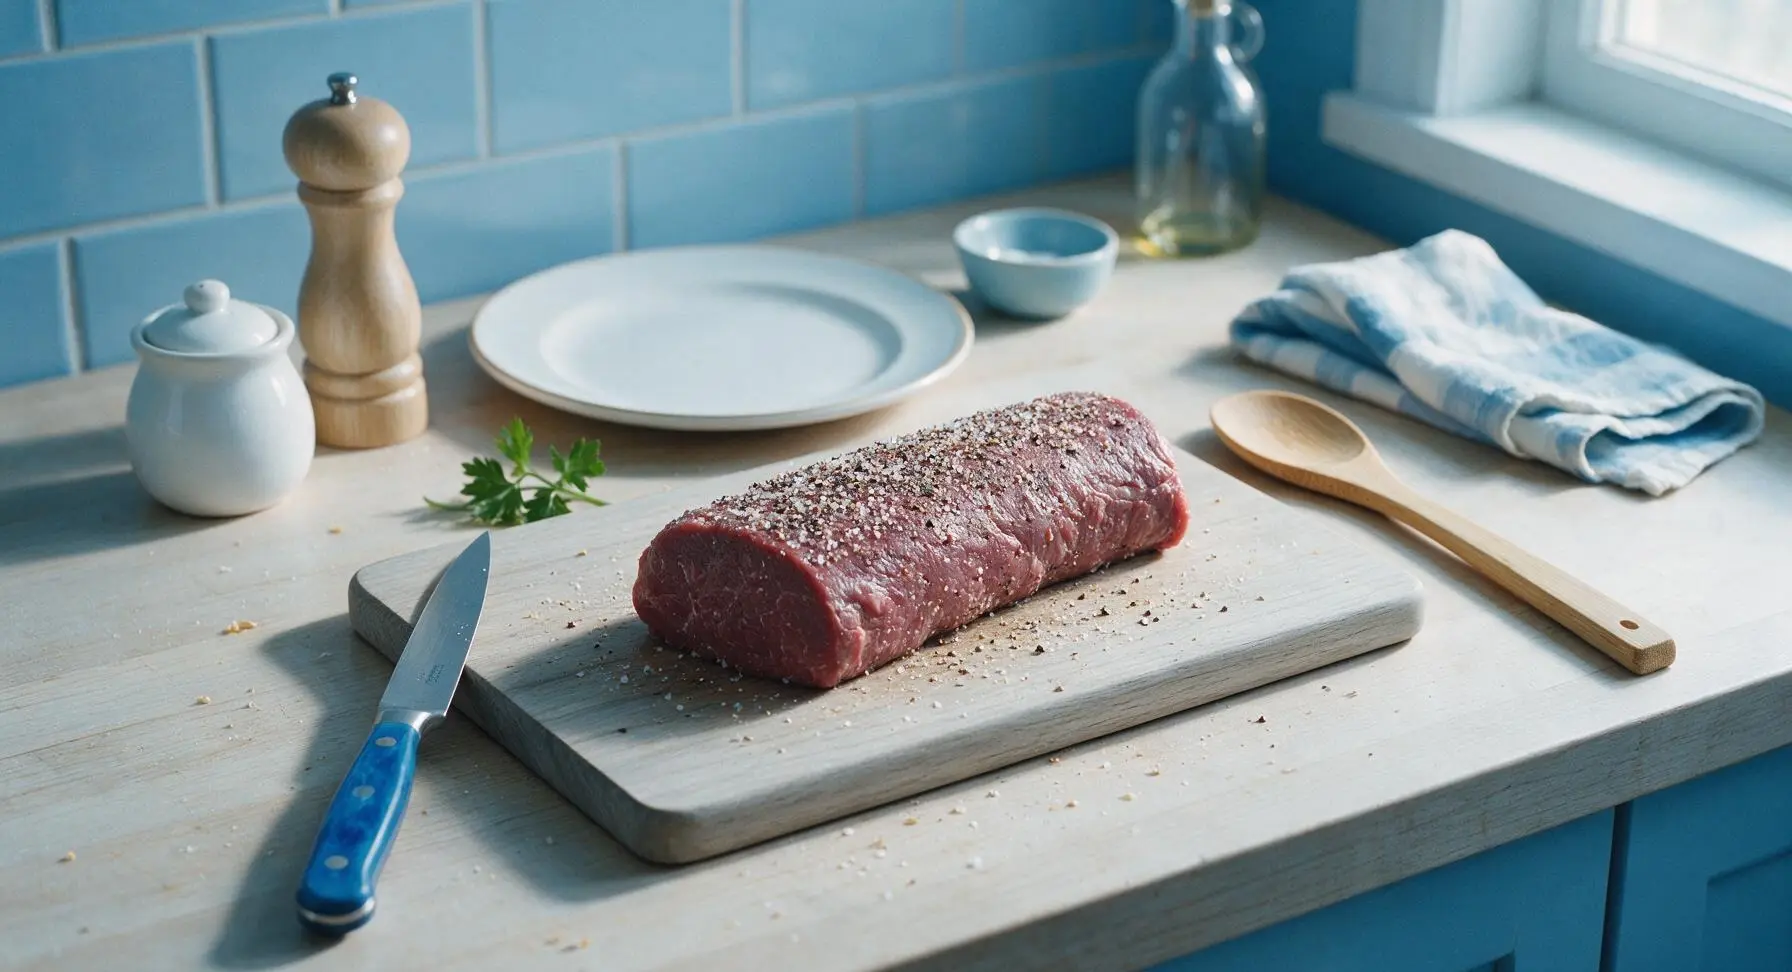
Place the trimmed 600g center-cut beef tenderloin on the light ash wood cutting board. Pat every surface completely dry with clean paper towels to remove all surface moisture (critical for a crisp, deep sear). Rub all sides evenly with 1 tablespoon coarse kosher salt and 1 teaspoon freshly cracked black pepper, pressing the seasoning gently to adhere. Let the seasoned beef rest at room temperature for 15 minutes to allow salt to penetrate and the meat to reach an even starting temperature for uniform cooking.
Step 1
step1:Season the Beef Tender
Step 1
step1:Season the Beef Tender
2

Heat the Skillet

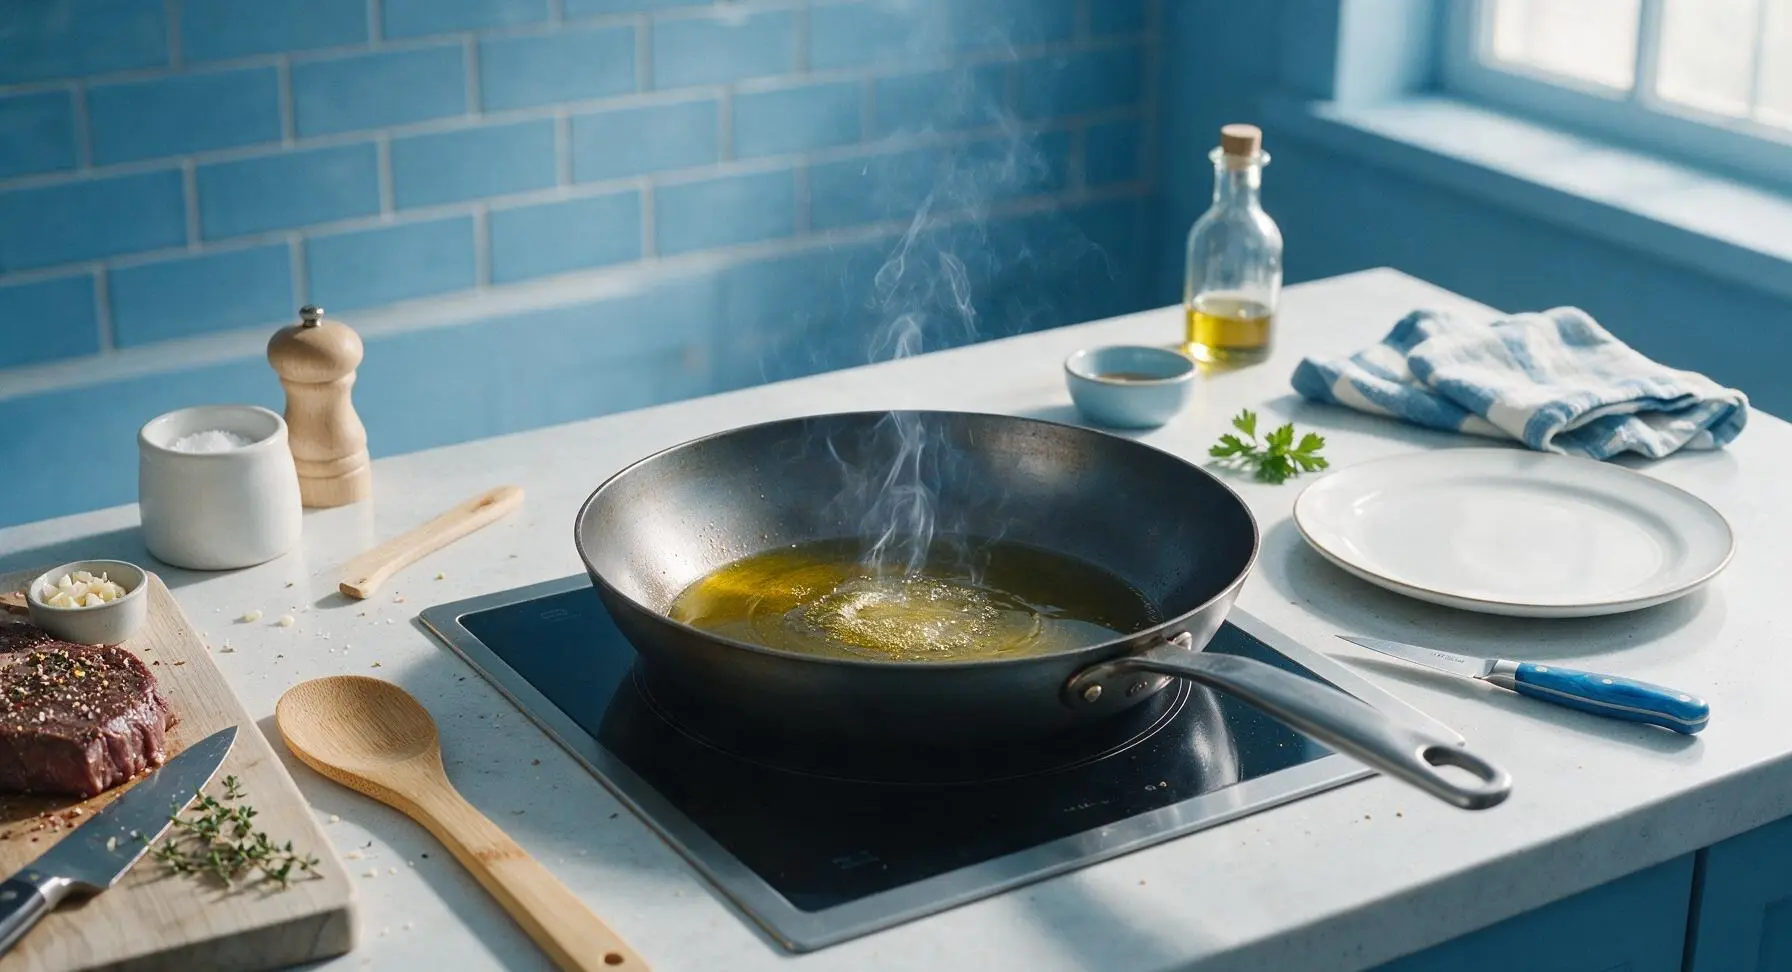
Place the 28cm carbon steel skillet on the center induction cook zone, add 2 tablespoons extra-virgin olive oil, and heat over medium-high heat for 3-4 minutes until the oil shimmers and sends up thin, wispy trails of smoke. Test heat by dropping a single bead of water: it should sizzle and evaporate instantly when the pan is ready; do not let the oil turn dark or burn.
Step 2
step2:Heat the Skillet
3

Sear All Beef Surfaces

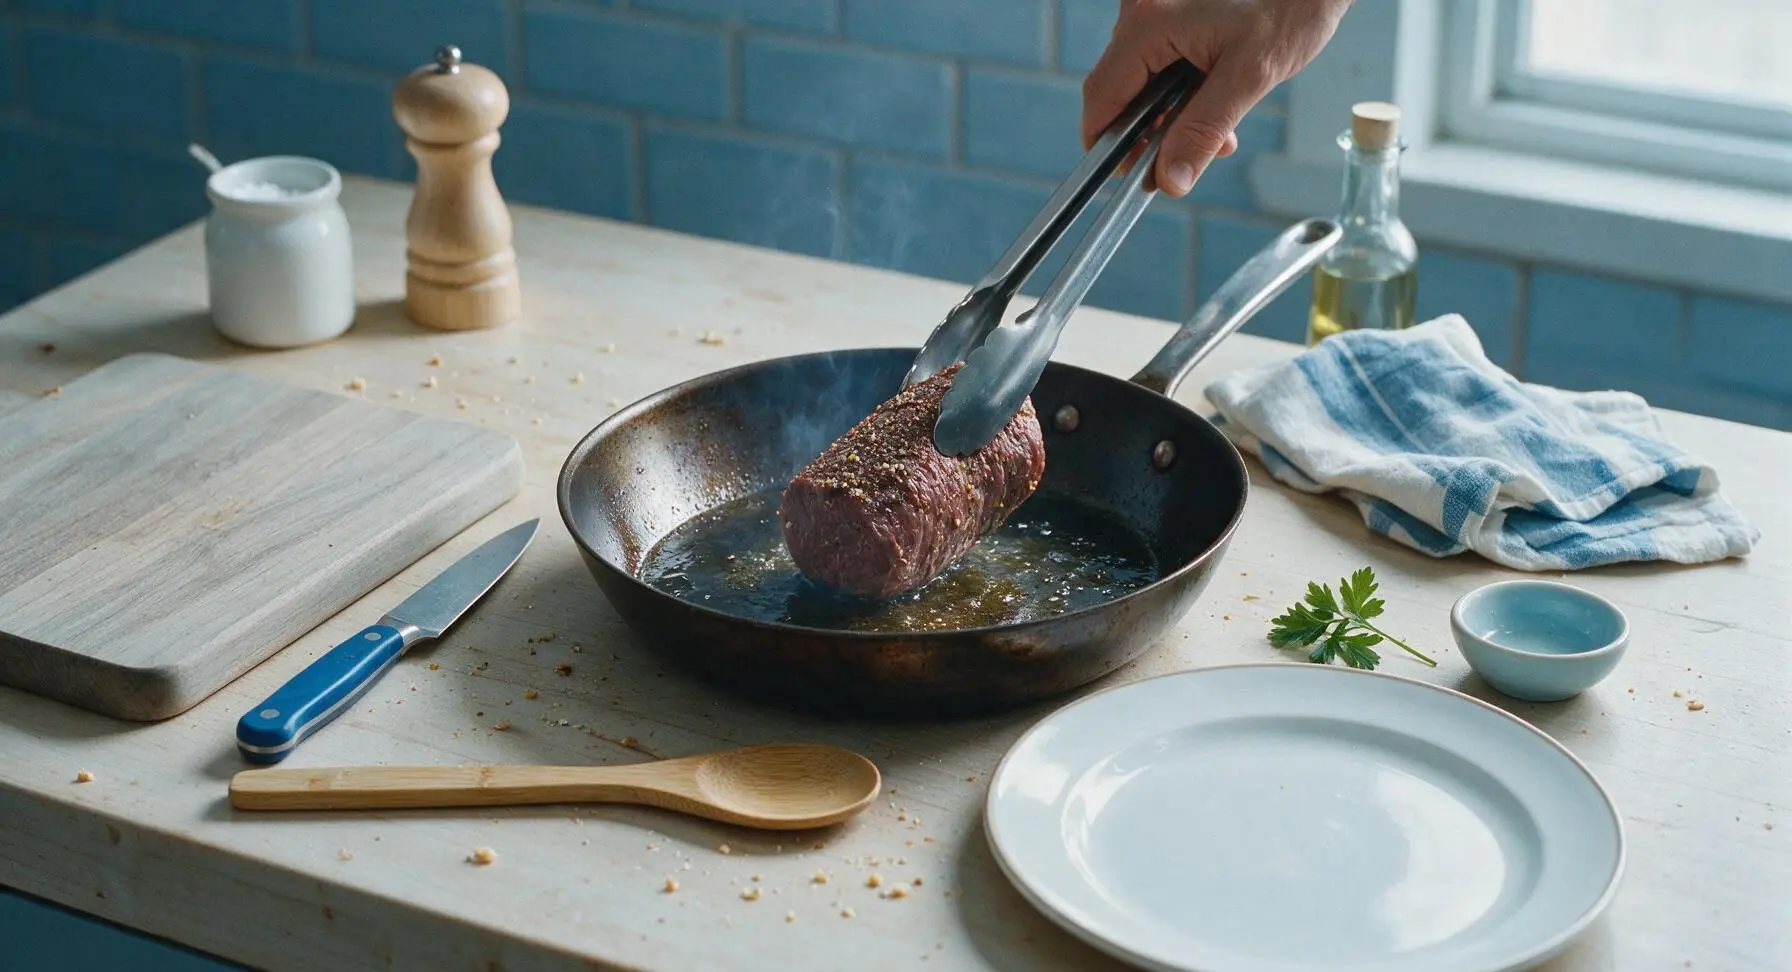
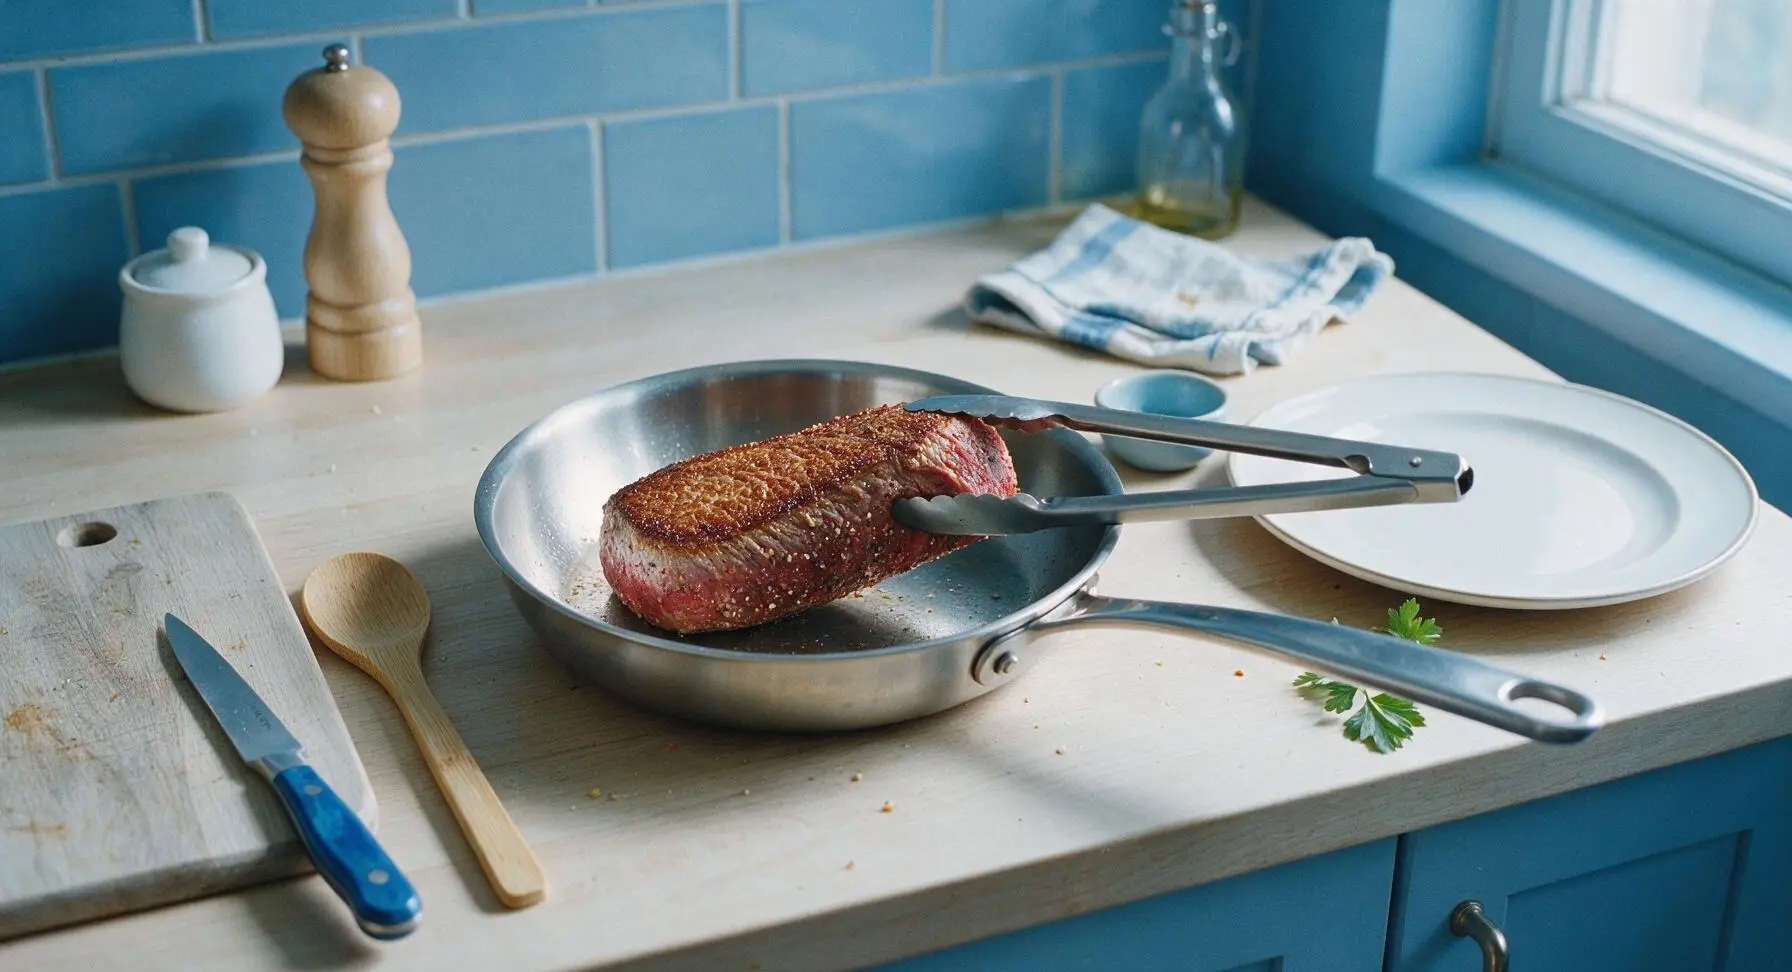
Using the stainless steel tongs, carefully place the seasoned beef tenderloin in the hot skillet. Sear for exactly 2 minutes per side (top, bottom, and all four long edges) without moving the meat, until a deep, even golden-brown crust forms on every surface, about 12 minutes total searing time. Resist the urge to nudge or shift the beef during each 2-minute window, as this breaks contact with the pan and prevents crust formation.
Step 3
step3:Sear All Beef Surfaces
Step 3
step3:Sear All Beef Surfaces
4

Add Butter and Aromatics

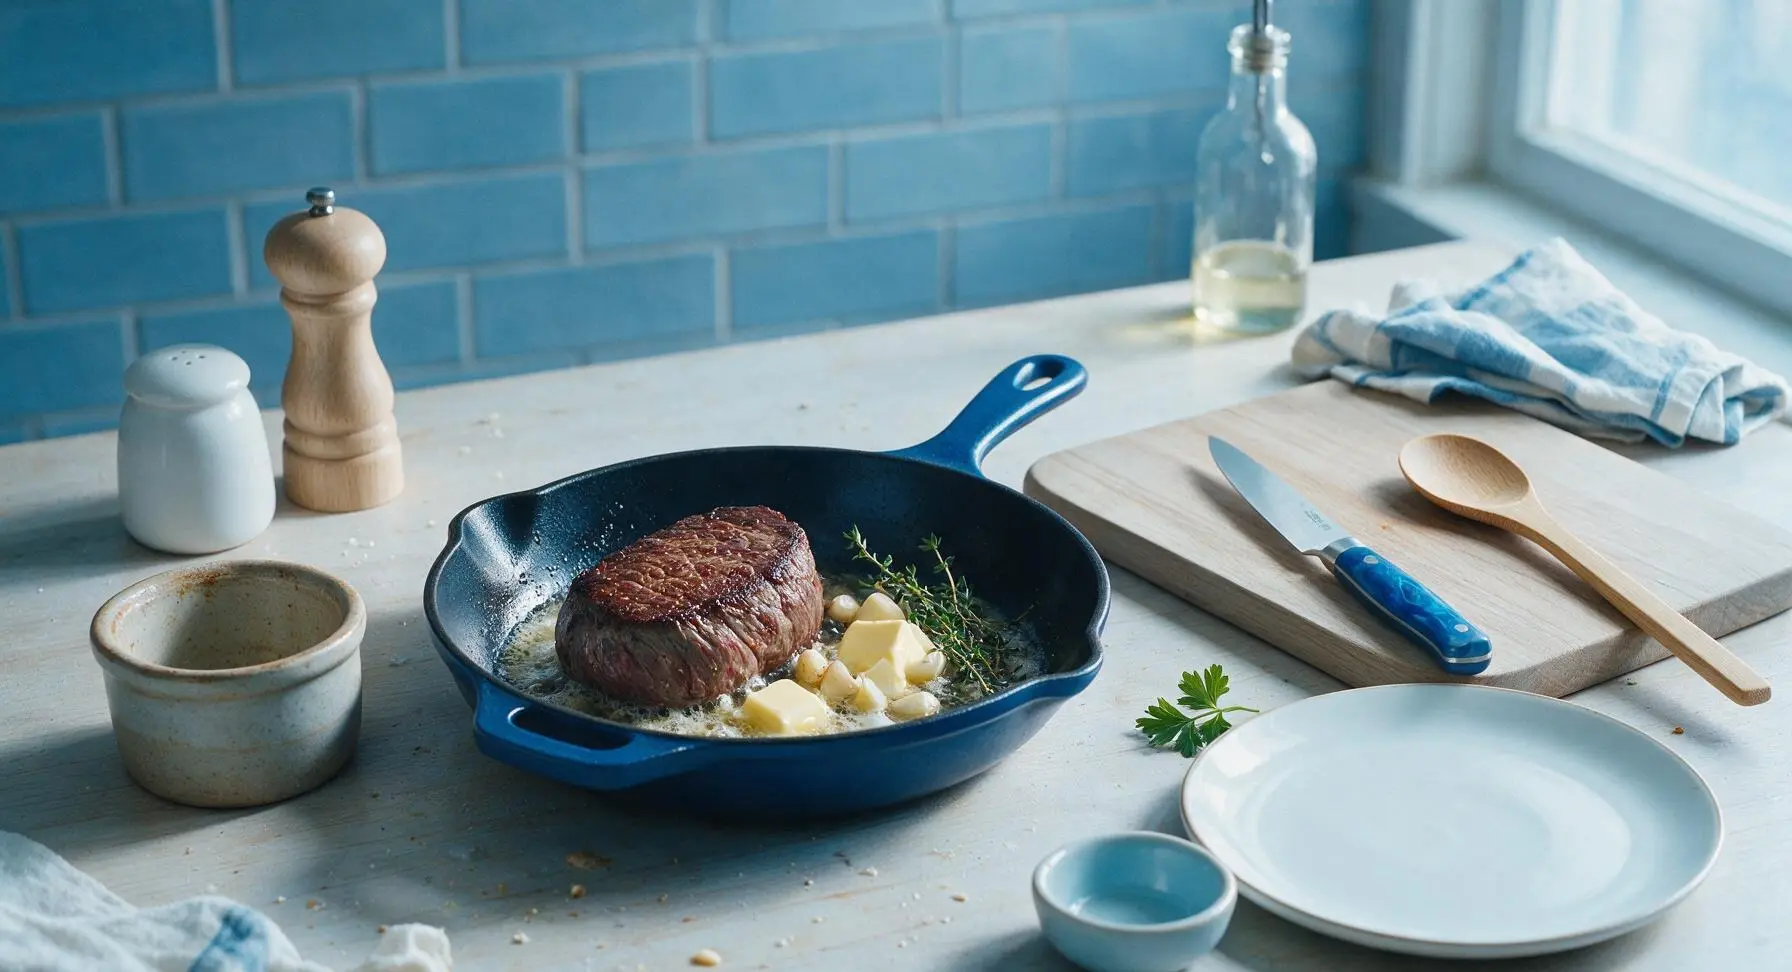
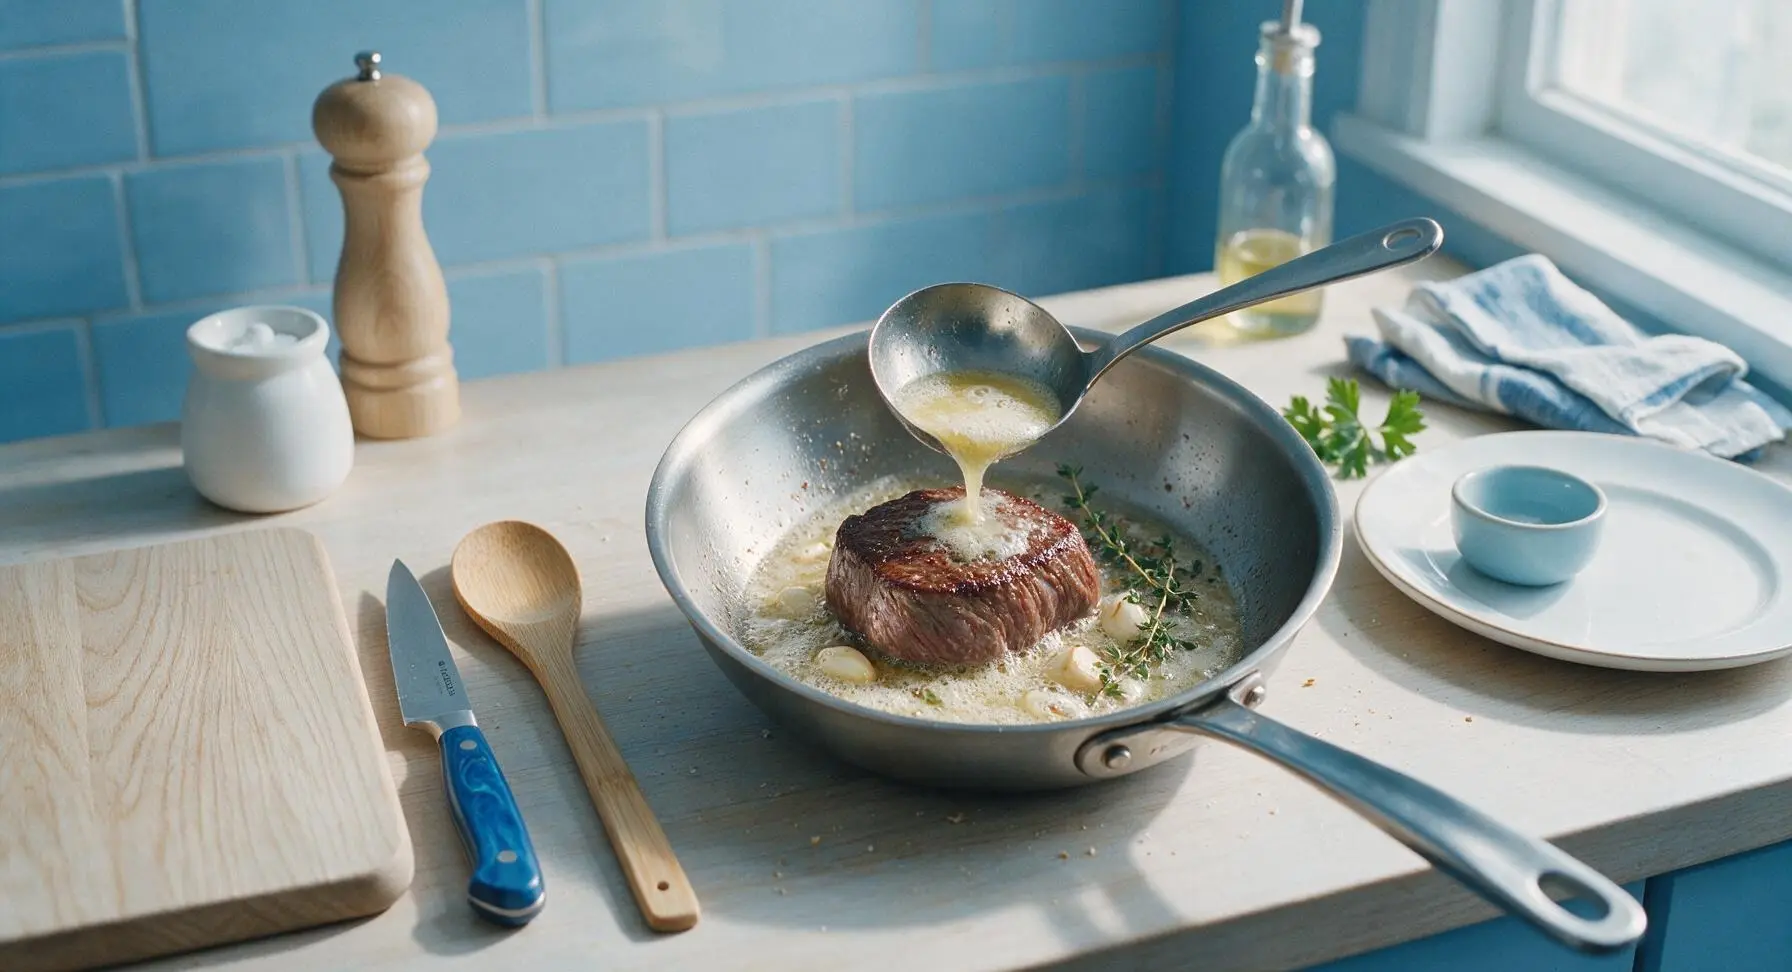
Reduce heat to medium to prevent burning. Add the 4 tablespoons of unsalted butter, 4 crushed garlic cloves, and 3 fresh thyme sprigs (taken from the stoneware ramekin) to the skillet next to the beef. As the butter melts and turns foamy, tilt the skillet slightly to pool the fragrant butter at one edge of the pan, ready for basting.
Step 4
step4:Add Butter and Aromatics
5

Baste for Even Cooking

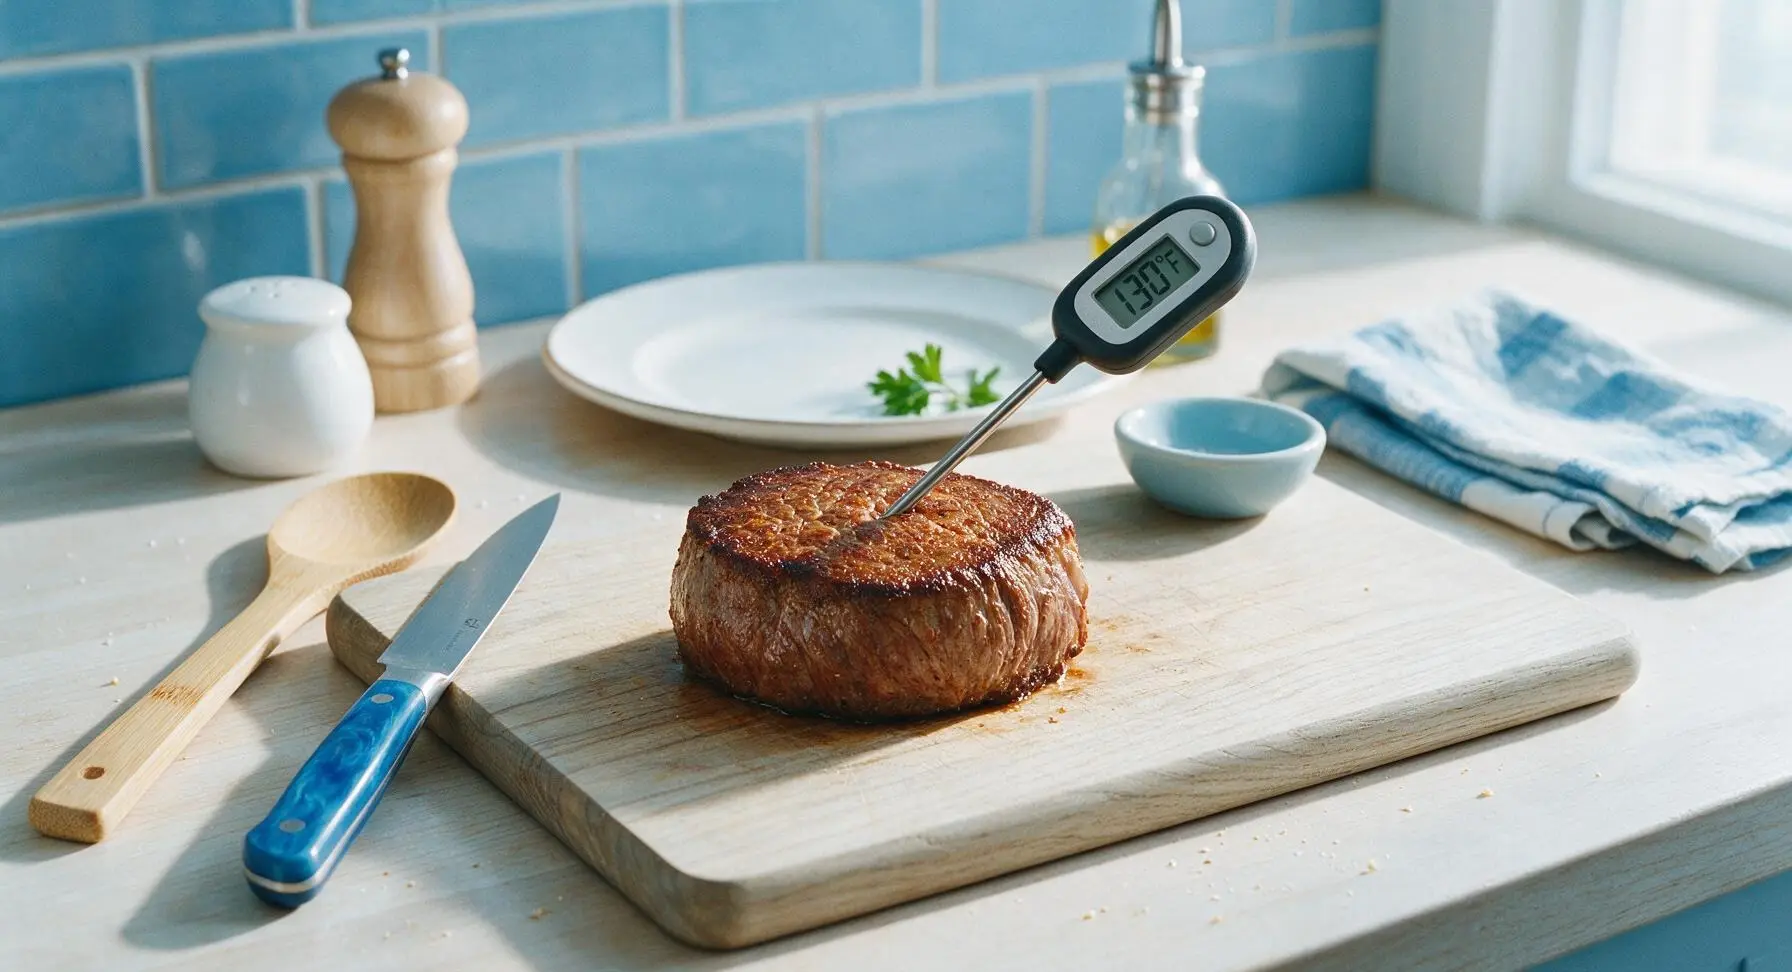
Use the small stainless steel basting spoon to continuously scoop the foaming, garlic- and thyme-infused butter over the top of the beef for 4-5 minutes, basting constantly to infuse flavor and cook the top evenly. Check internal temperature with the instant-read meat thermometer inserted into the thickest part of the tenderloin: immediately remove from heat when the temperature reads 130°F (54°C) for perfect medium-rare doneness.
Step 5
step5:Baste for Even Cooking
Step 5
step5:Baste for Even Cooking
6

Rest the Tenderloin

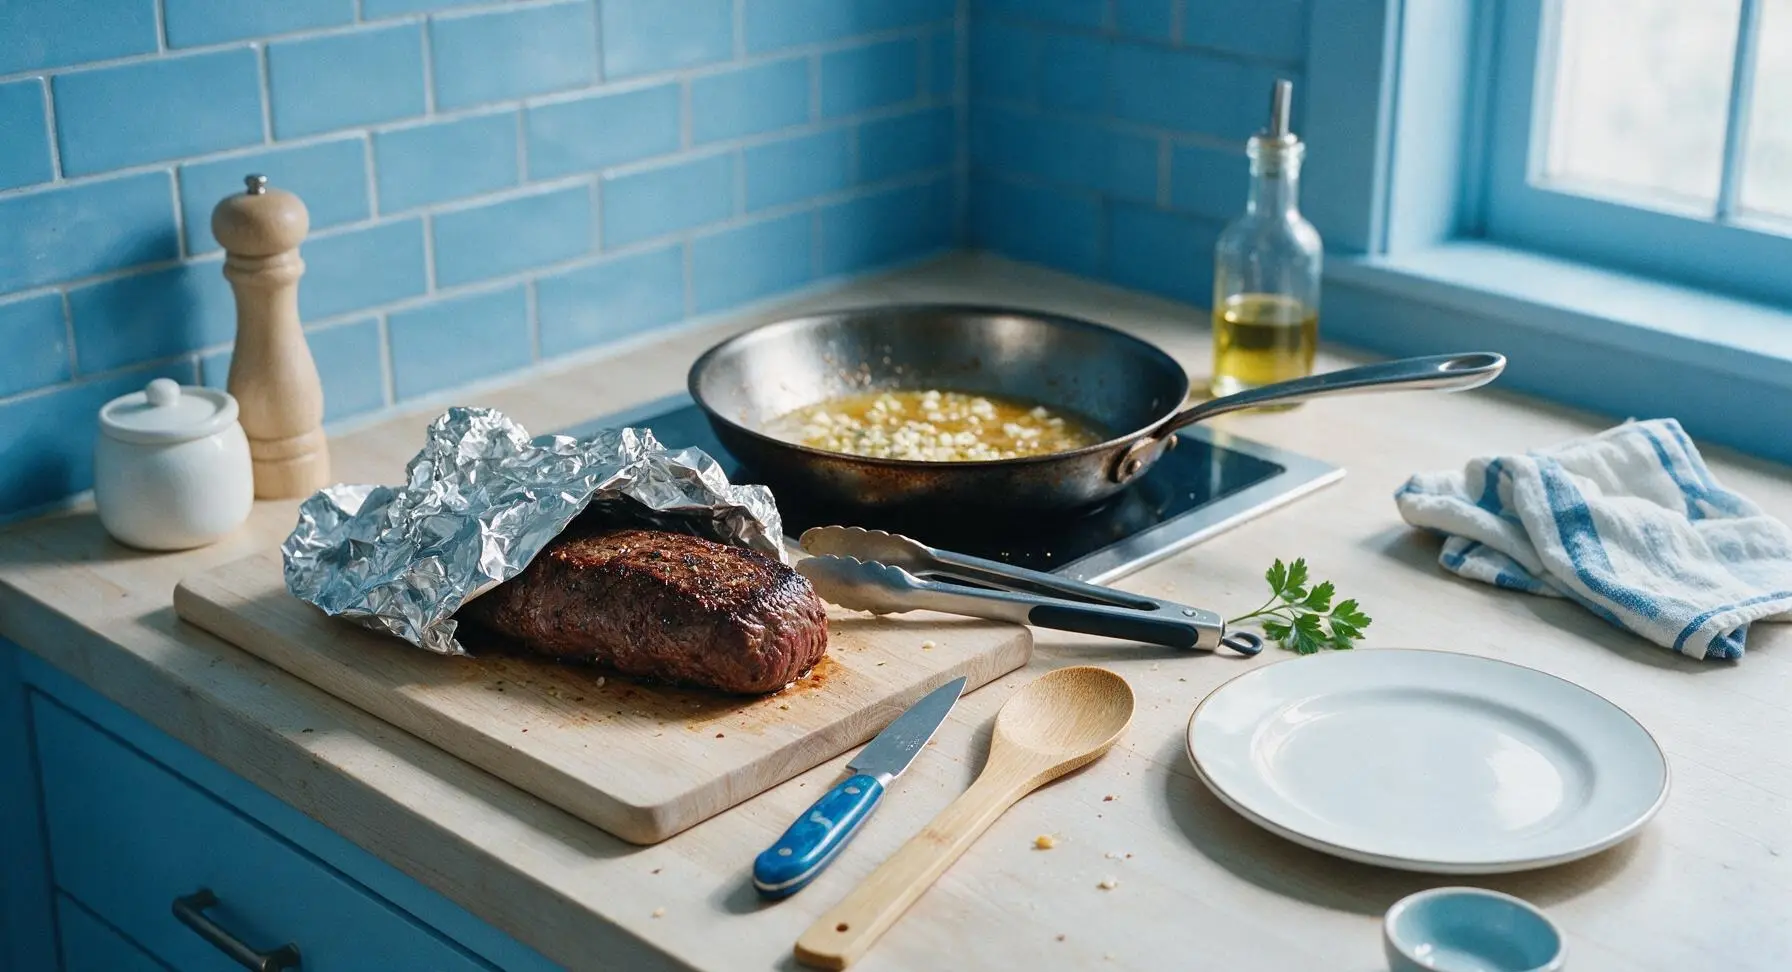
Use the tongs to transfer the seared beef from the skillet to the light ash wood cutting board (returned to center-left position). Loosely tent the beef with a small sheet of aluminum foil, and let it rest for 8 full minutes to allow muscle fibers to relax and juices to redistribute, which prevents juice runoff when slicing. Reserve the garlic-thyme butter pan sauce in the skillet for serving.
Step 6
step6:Rest the Tenderloin
7

Slice Against the Grain

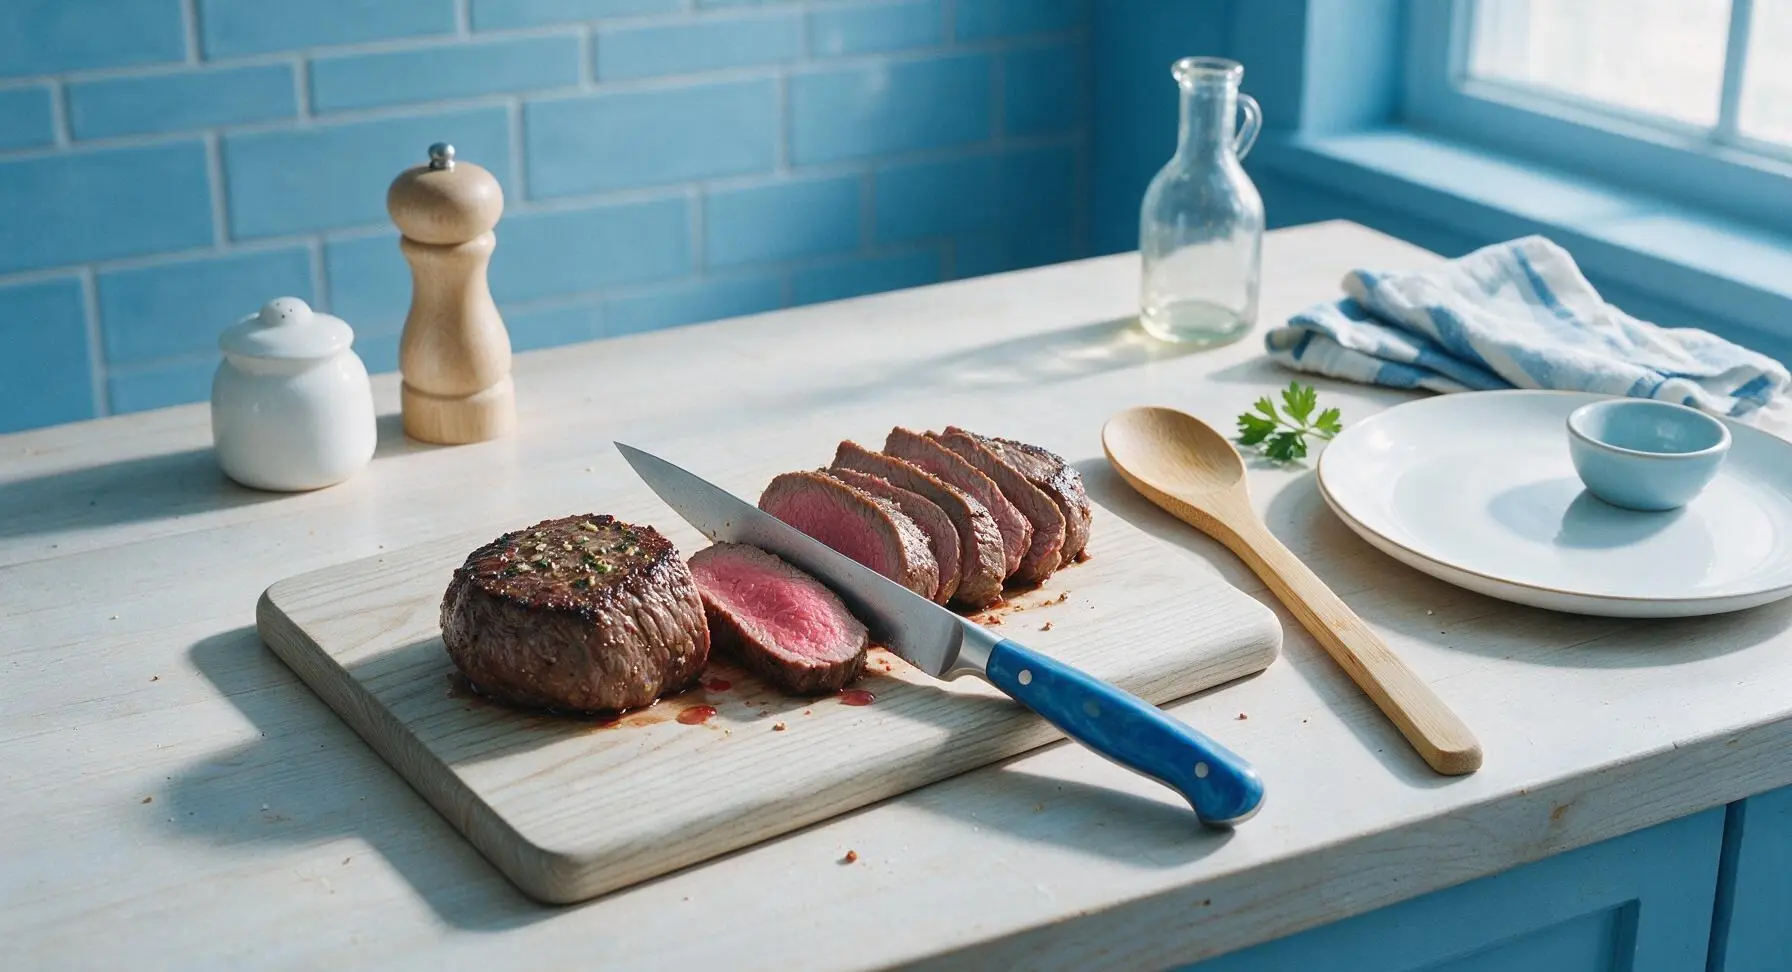
After the 8-minute rest, remove the foil tent. Use the chef’s knife to slice the beef tenderloin into 1.5cm (1/2 inch) thick slices, cutting cleanly against the direction of the muscle grain to ensure maximum tenderness. The center of each slice should be a soft, juicy rosy pink, surrounded by the dark, crisp seared crust.
Step 7
step7:Slice Against the Grain
8

Plate and Drizzle Sauce

Fan the sliced beef tender across the center of the matte off-white stoneware dinner plate. Spoon 2-3 tablespoons of the reserved warm garlic-thyme butter pan sauce over the slices, top with a few crispy garlic pieces from the pan and a small fresh thyme sprig for garnish. Serve immediately while the meat is warm.
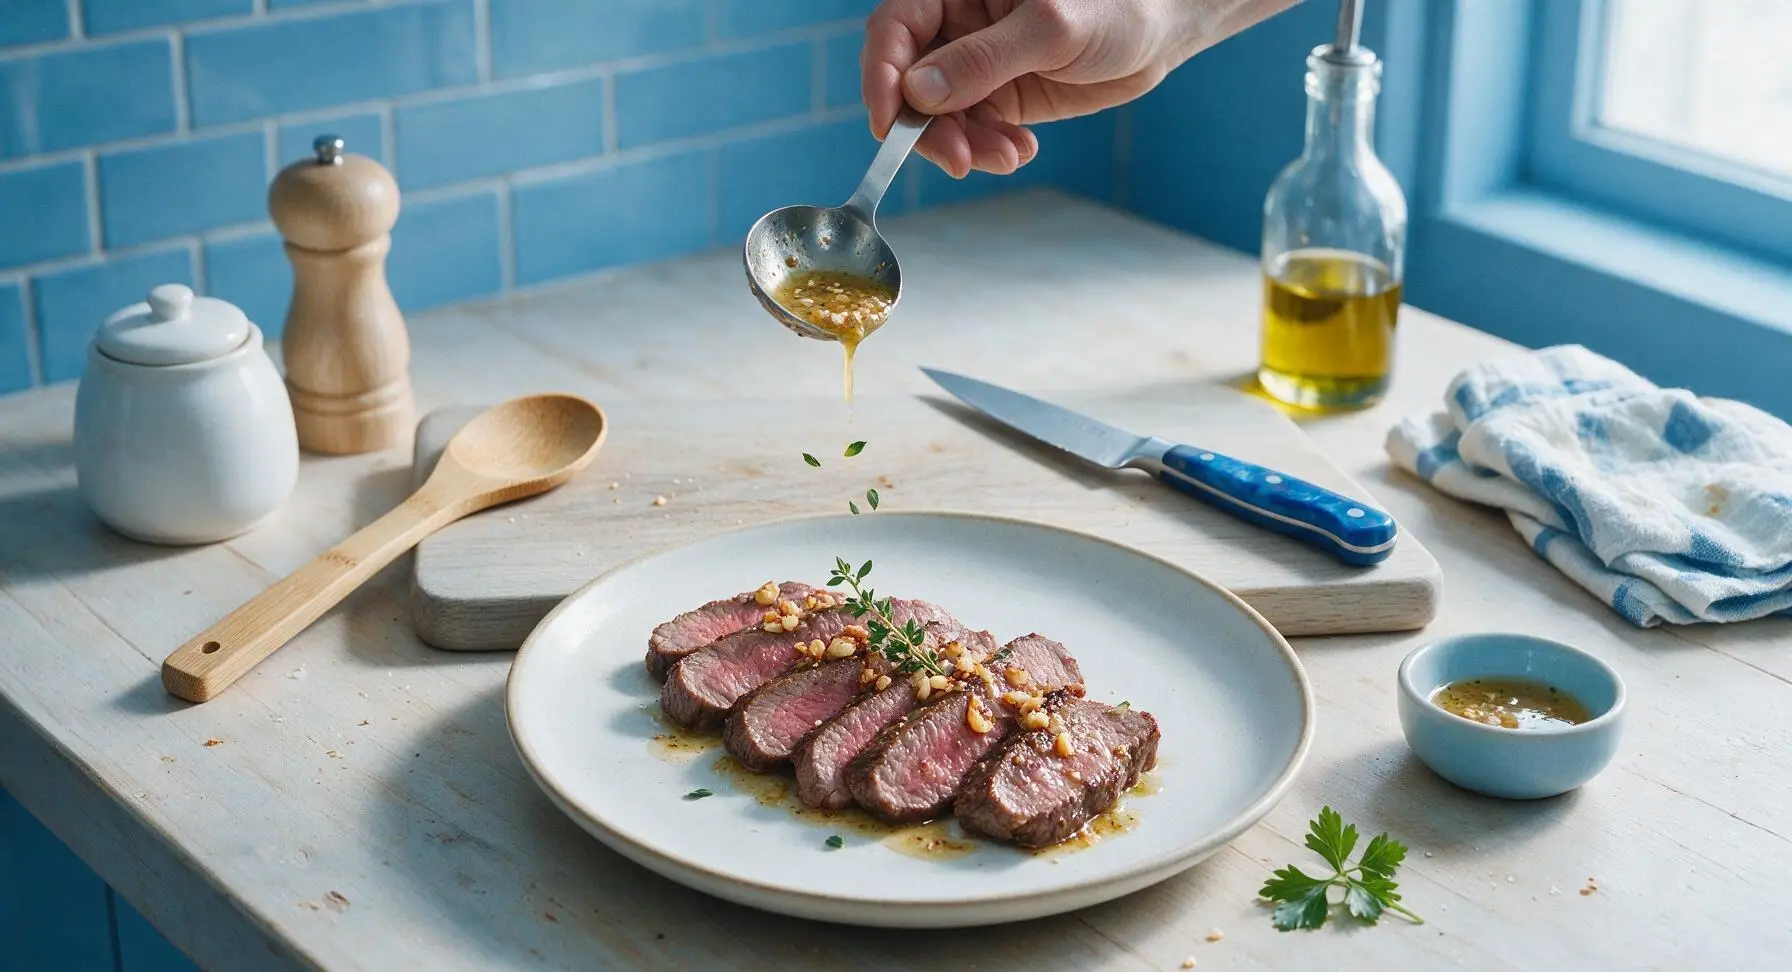
Step 8
step8:Plate and Drizzle Sauce

Tips

1.Always pat beef completely dry with paper towels before searing: residual surface moisture creates steam instead of the high-heat Maillard reaction, which prevents a crisp, deeply flavored golden crust from forming.
2.Never skip the post-cook rest: cutting into beef immediately after cooking causes hot, trapped juices to run out onto the plate instead of staying in the meat, leading to dry, less tender slices.
3.Pull the beef at 130°F for medium-rare: carryover cooking will raise the internal temperature by 5-10°F as the meat rests, so removing it early prevents overcooking to a tough, gray well-done center.


✨ You May Also Like

Main Course
🍜 United Kingdom

A showstopping classic of tender seared beef, savory mushroom duxelles, and crisp prosciutto wrapped in flaky golden puff pastry, baked to juicy perfection.

⏱️ 2 hours 1Main Course ★ 4.7
Main Course
🍜 India

Tender charred marinated chicken simmered in a rich, spiced creamy tomato sauce, this iconic Anglo-Indian curry pairs perfectly with basmati rice or warm naan.

⏱️ 50 minuteMain Course ★ 4.6
Main Course
🍜 Thailand

Classic tangy, sweet, and savory Thai stir-fried rice noodles with shrimp, tofu, and crunchy garnishes, balancing all five core Thai flavor profiles.

⏱️ 30 minuteMain Course ★ 4.5
Main Course
🍜 United Kingdom

Crispy golden beer-battered cod and fluffy double-fried chips, served with tangy tartar sauce and malt vinegar: the timeless, beloved British pub comfort classic.

⏱️ 45 minuteMain Course ★ 4.7
Main Course
🍜 Mexico

Smoky, chile-marinated pork tacos with caramelized pineapple, fresh cilantro, and lime: a beloved classic Mexican street food perfect for casual summer gatherings.

⏱️ 1 hour 45Main Course ★ 4.8
Main Course
🍜 United States

Crunchy Fritos corn chips layered with savory beef chili and melted cheddar, topped with cool, zesty fixings for a beloved, cozy Tex-Mex comfort food.

⏱️ 35 minuteMain Course ★ 4.8

beef tender:Frequently Asked Questions

1.How thick should I cut my beef tenderloin pieces for perfect pan-seared results? ▾
Cut your trimmed center-cut tenderloin into 1.5 to 2-inch thick medallions for the best balance of crust and juicy center. This thickness lets you build a crisp, deep golden sear on the outside without overcooking the rosy interior. Thinner cuts will overcook too fast, while cuts thicker than 2.5 inches will need a quick oven finish to cook evenly.
2.Do I need to bring my beef to room temperature before searing? ▾
Absolutely—let your tenderloin medallions sit on the counter for 30 to 45 minutes before cooking to take the chill off. Cold beef drops pan temperature fast, leading to a weak, pale crust and uneven cooking where the outside overcooks before the center warms through. Always pat beef completely dry with paper towels first, too.
3.Can I use salted butter instead of unsalted butter for the garlic butter baste? ▾
You can, but adjust your seasoning accordingly to avoid overly salty beef. Unsalted butter lets you control exact salt levels when seasoning the meat, since salted butter varies widely in sodium across brands. If you only have salted butter, cut the added kosher salt on your beef by about half, and taste the basting butter as you go.
4.How do I get that perfect crispy golden crust without burning the garlic? ▾
Sear the beef over medium-high heat in olive oil first to build the crust, then turn heat down to medium when you add butter, garlic, and thyme for basting. Keep garlic slightly crushed, not finely minced, so it toasts slowly instead of burning, and tilt the pan to continuously spoon fragrant butter over the beef as it cooks.
5.What internal temperature should I aim for a perfect medium-rare center? ▾
For that ideal melt-in-your-mouth medium-rare, pull the beef from the pan when it hits 125°F on an instant-read thermometer inserted into the thickest part. Remember the temperature will rise 5 to 10°F as it rests, landing you at a perfect 130 to 135°F rosy, juicy center without any gray, overcooked edges.
6.Why do I need to rest the beef after searing, and how long should I rest it? ▾
Rest seared tenderloin medallions on a cutting board tented loosely with foil for 5 to 7 minutes before slicing or serving. Resting lets muscle fibers relax and reabsorb all the juicy, flavorful juices, so they don’t run all over your plate the second you cut into the beef, leaving you with dry, bland bites.
7.Can I use dried thyme instead of fresh thyme sprigs? ▾
You can swap in dried thyme if you don’t have fresh, but use a third of the amount—about 1 teaspoon of dried thyme for every 3 fresh sprigs the recipe calls for. Dried thyme has a much more concentrated, earthy flavor, so too much will overpower the delicate beef and garlic butter. Add dried thyme right when you add the butter so it has time to bloom.
8.My beef always sticks to the pan when I sear it—what am I doing wrong? ▾
Sticking usually stems from three easy fixes: make sure your pan is fully preheated over medium-high heat before adding oil, pat every surface of the beef completely dry with paper towels, and don’t nudge or flip medallions for the first 3 to 4 minutes of searing. Beef releases naturally once its crust is fully formed.
9.Can I make this recipe for a large winter holiday gathering? ▾
Absolutely! This recipe scales beautifully for groups—just work in batches to sear medallions so you don’t overcrowd the pan, which causes steaming instead of searing. You can hold seared, rested beef in a 200°F oven for up to 20 minutes while you finish batches, then toss all medallions back in garlic butter to coat right before serving.
10.What’s the best pan to use for searing this beef tender? ▾
A heavy-bottomed stainless steel or cast iron skillet is your best bet, since they hold high, even heat perfectly to build that crisp crust without hot spots that burn butter or garlic. Avoid non-stick pans for this recipe—they can’t reach the high, steady heat you need for a deep sear, and most aren’t rated for searing temperatures.
11.Do I need to finish this beef in the oven, or is it all cooked on the stovetop? ▾
For 1.5 to 2-inch thick medallions, you can cook the whole recipe entirely on the stovetop if you baste consistently. If you cut medallions thicker than 2.5 inches, or you prefer a more done center, pop the whole skillet in a 400°F oven for 3 to 5 minutes after searing both sides to finish without burning the butter.
12.Can I use garlic powder instead of fresh garlic cloves? ▾
Fresh garlic is strongly recommended for that soft, mellow, fragrant basting butter, but if you only have garlic powder, add ¼ teaspoon per medallion right when you add butter to the pan. Don’t add garlic powder earlier, since it burns almost instantly on high-heat searing surfaces and leaves a bitter, unpleasant taste on your crust.
13.How should I season the beef for the best, most even flavor? ▾
Season all sides of the beef generously with kosher salt and freshly cracked black pepper 40 minutes before cooking, if you have time, or right before searing if you’re short on time. Early salting draws out moisture that reabsorbs to season meat all the way through, instead of just sitting on the surface, for deeper flavor in every bite.
14.What sides pair best with this garlic butter beef tender? ▾
This rich, savory beef pairs perfectly with lighter, starchy or veggie-forward sides that cut through the butter. Think creamy mashed potatoes, roasted root vegetables, crisp sautéed green beans, buttery egg noodles, or a simple arugula salad with bright lemon vinaigrette to balance the rich, savory notes of garlic and thyme butter.
15.Can I prep components of this recipe ahead for a quick weeknight meal? ▾
You can prep components up to 24 hours ahead! Trim and cut your tenderloin medallions, pat them dry, and store them covered on a wire rack in the fridge, and peel your garlic and prep your thyme ahead of time. Don’t season the beef until right before you cook, and make the garlic butter fresh for the best flavor.
16.Why do you add olive oil first instead of melting butter right away? ▾
Butter has a much lower smoke point than extra-virgin olive oil, so adding olive oil first lets you get the pan hot enough for a proper sear without burning the milk solids in butter right off the bat. Adding butter later, when you’re ready to baste, delivers that rich, nutty butter flavor without bitter, burnt off-notes.
17.What do I do with the leftover garlic butter in the pan after cooking? ▾
Don’t pour that liquid gold out! Spoon the leftover fragrant garlic-thyme butter over the rested beef right before serving, or toss it with your side dishes—drizzle it over mashed potatoes, toss it with roasted veggies, or stir it into cooked grains for an extra punch of rich, savory, beefy flavor that ties the whole meal together.

Comments (3)

3 days ago

OMG, this pan-seared garlic butter beef tender was a total game changer for our Sunday family dinner! I was worried I’d overcook it since I usually mess up steak, but the 20 minute cook time was totally doable even with my two toddlers running around causing chaos. My kids literally cleaned their plates and asked for seconds, and my husband said it’s better than the filet we got at our favorite fancy downtown spot last month. SO good, I’m already planning to make this for our next neighborhood potluck next weekend!

2 days ago

Wait, quick question – did you use regular salted butter or unsalted for this? I’m making it for my date night tomorrow and don’t wanna mess it up! I’ve been hunting for an easy tender beef recipe that doesn’t require firing up the whole grill, since it’s been pouring rain all week here.

yesterday

So glad your family loved the recipe, that makes our day! To answer Jake’s question too – I recommend unsalted butter so you can control the sodium level better, but if you only have salted on hand just cut back a little on the added kosher salt at the end. Quick pro tip: let the beef rest 5 full minutes after searing for maximum juiciness, it’ll make your date night feel extra fancy without all the work!

1 week ago

This recipe is an absolute staple for my weekly meal prep! I was shocked how tender the beef came out even after I stored sliced portions in the fridge for a few days to toss over salads and rice bowls for work lunches. Only small tweak I made: I added a tiny pinch of red pepper flakes for a subtle little kick, and it was chef’s kiss. The medium difficulty rating felt totally fair, no fancy equipment needed just a decent cast iron pan and a spatula. 10/10.

5 days ago

Love the red pepper flakes addition! That’s such a fun, easy way to customize the flavor to match your taste preferences. So happy this works for your meal prep rotation – sliced leftover beef tender is so versatile for quick, satisfying weeknight meals when you don’t have time to cook from scratch.

2 hours ago

Tried this last night for my roommate’s birthday dinner and it turned out so much better than I expected! I did accidentally add a little extra garlic (whoops, I’m a total garlic fiend so no regrets there) but it was still incredible. The crispy golden crust from the pan sear was perfect, and the garlic butter basting step made the whole apartment smell amazing for hours after we finished eating. Will 100% be making this again, might even splurge on a nicer cut of beef next time to treat myself after payday.



