
beef tenderloin roast
intro
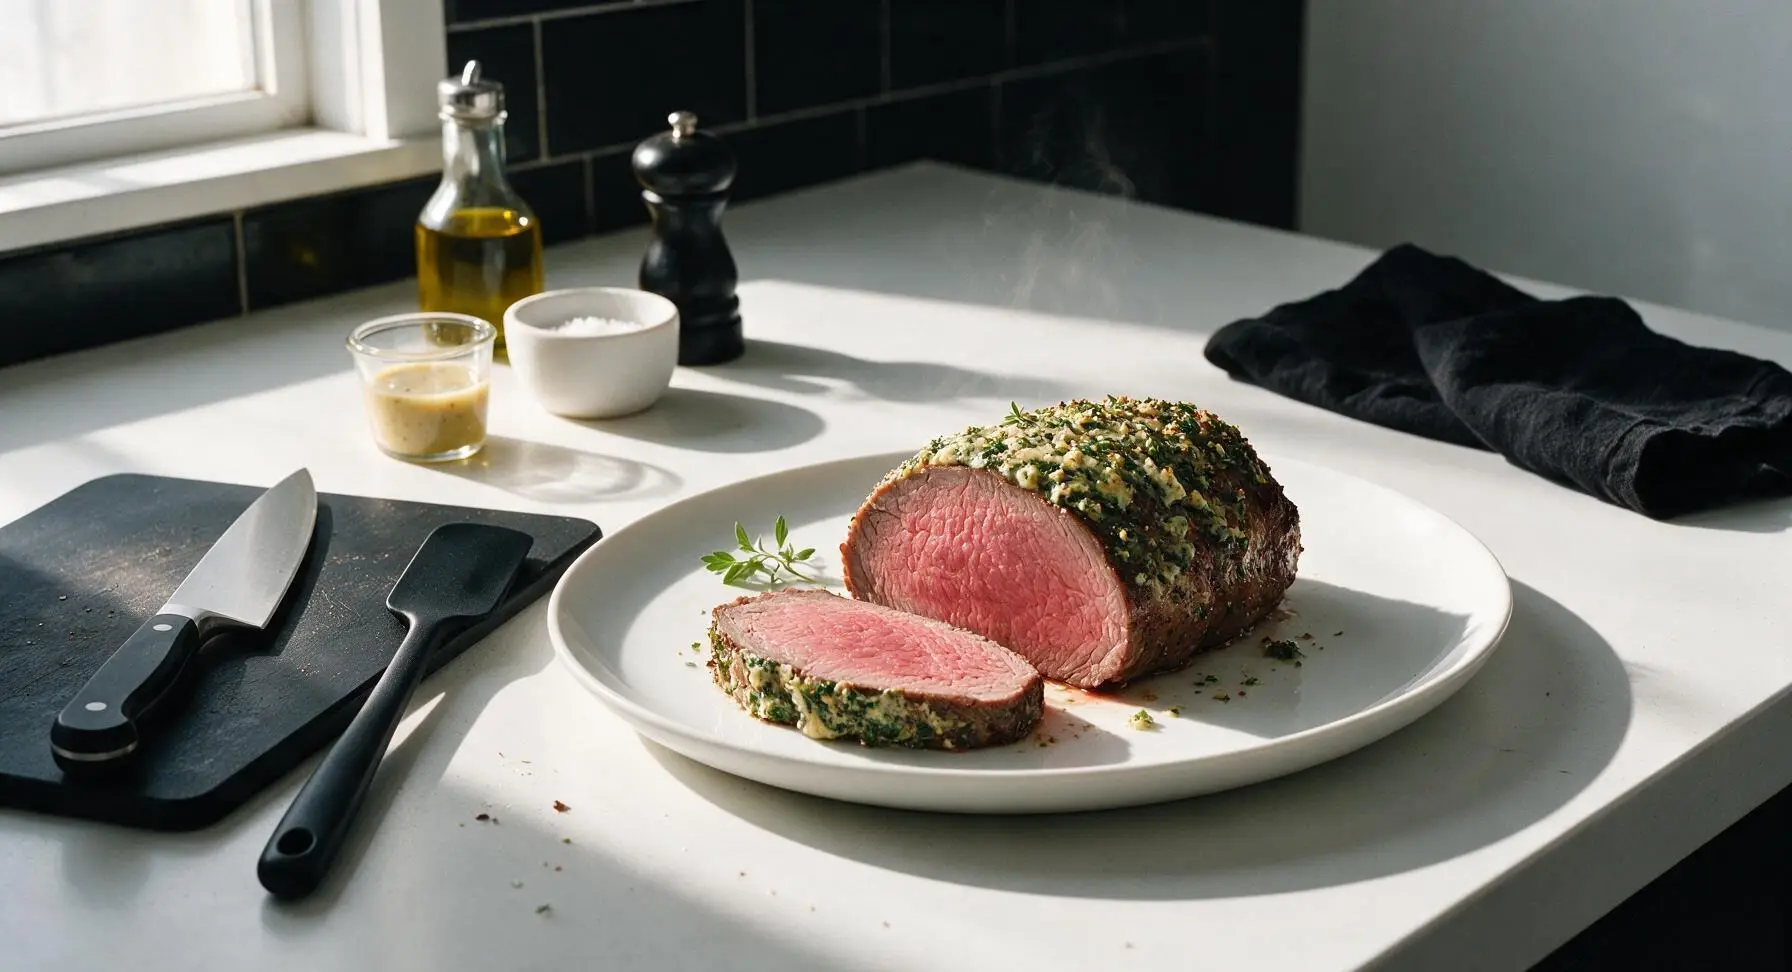
Buttery, herb-crusted beef tenderloin roast, perfectly pink and melt-in-your-mouth tender, is the ultimate showstopping centerpiece for festive winter holiday meals.
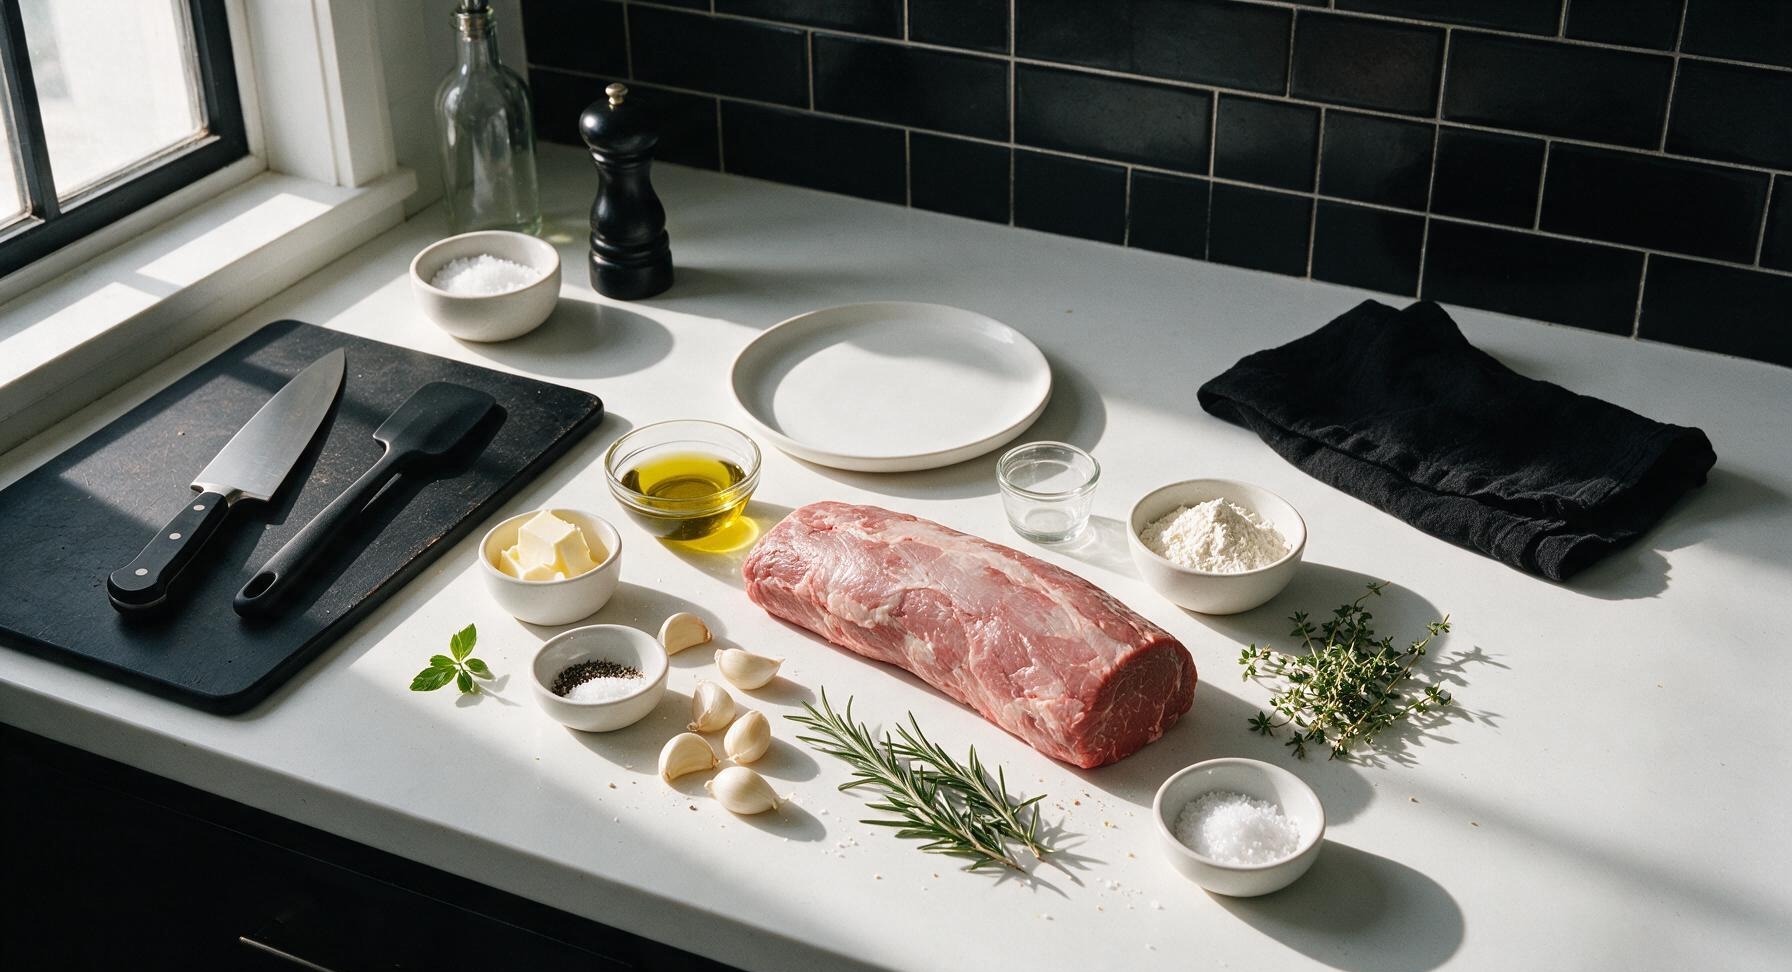
Ingredients
Steps
Trim and Tie Roast
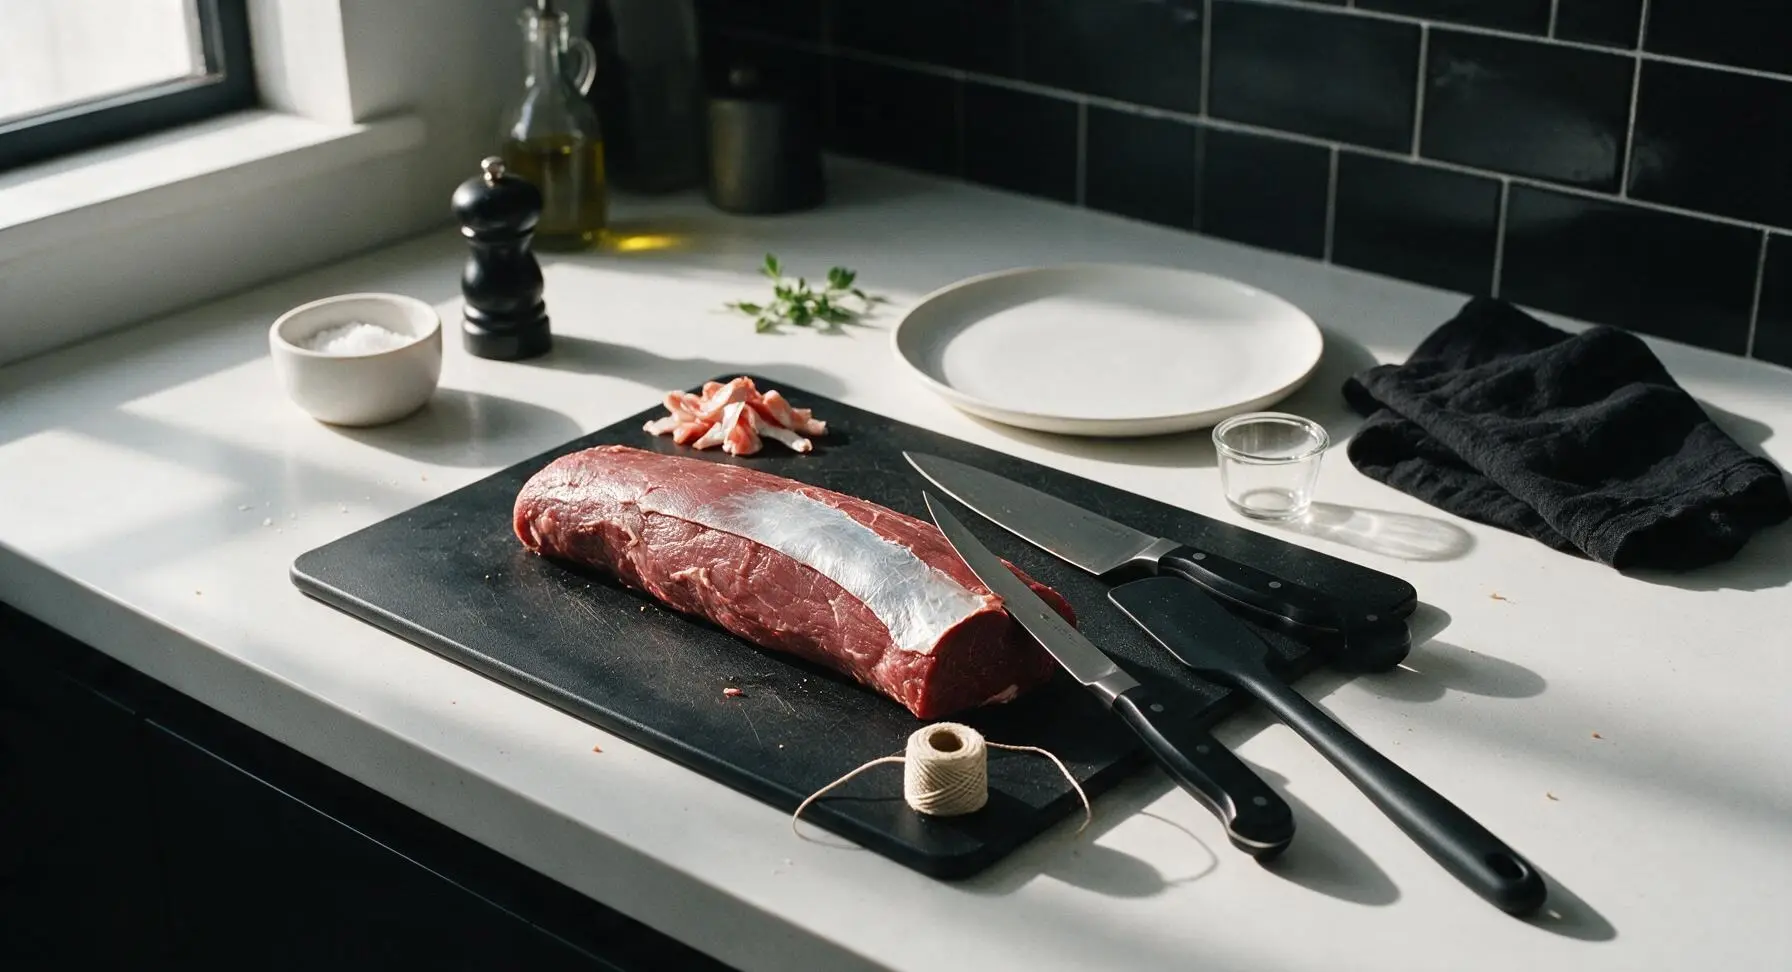
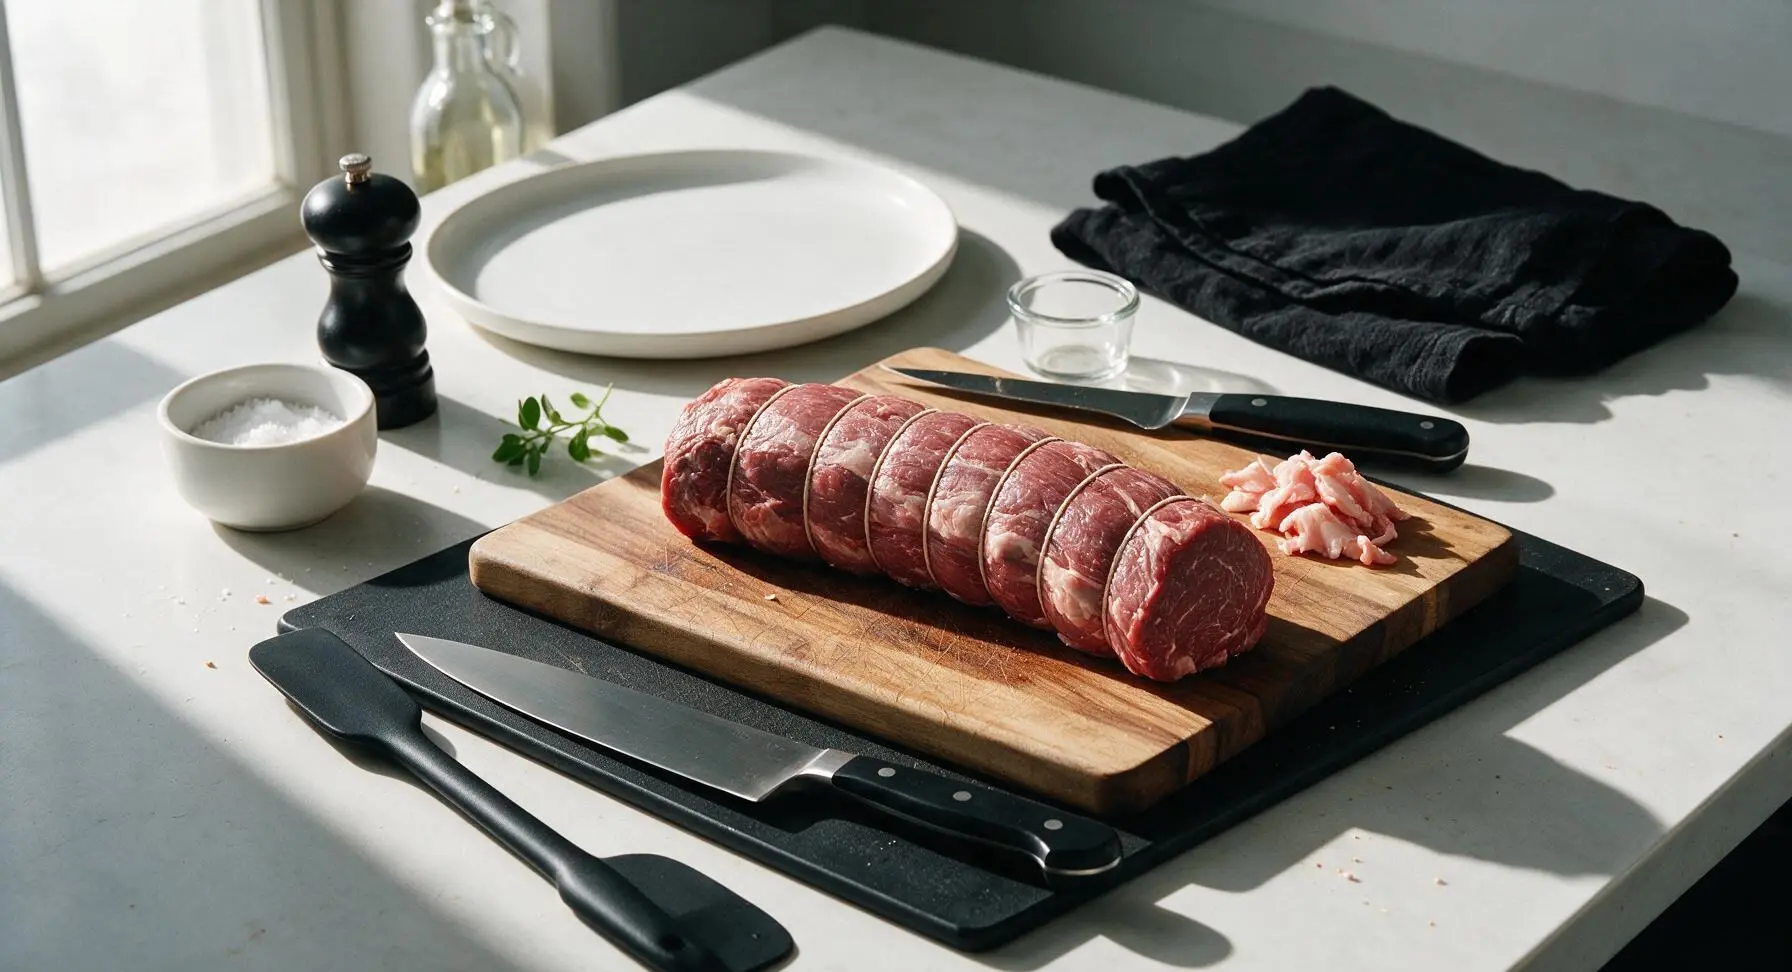
Place the whole 1.5kg beef tenderloin on the maple cutting board. Use the boning knife to trim away all remaining silver skin and any thick patches of hard external fat, pulling the skin taut as you slice to avoid wasting meat. Tuck the thin tapered tail end under the roast to create an even, uniform thickness along the entire length, then cut 6 20cm lengths of butcher’s twine and tie the roast at 5cm intervals, pulling tight enough to hold the shape but not so tight it cuts into the meat. The tied roast should be a consistent cylinder shape to ensure even cooking.
Season and Rest Meat
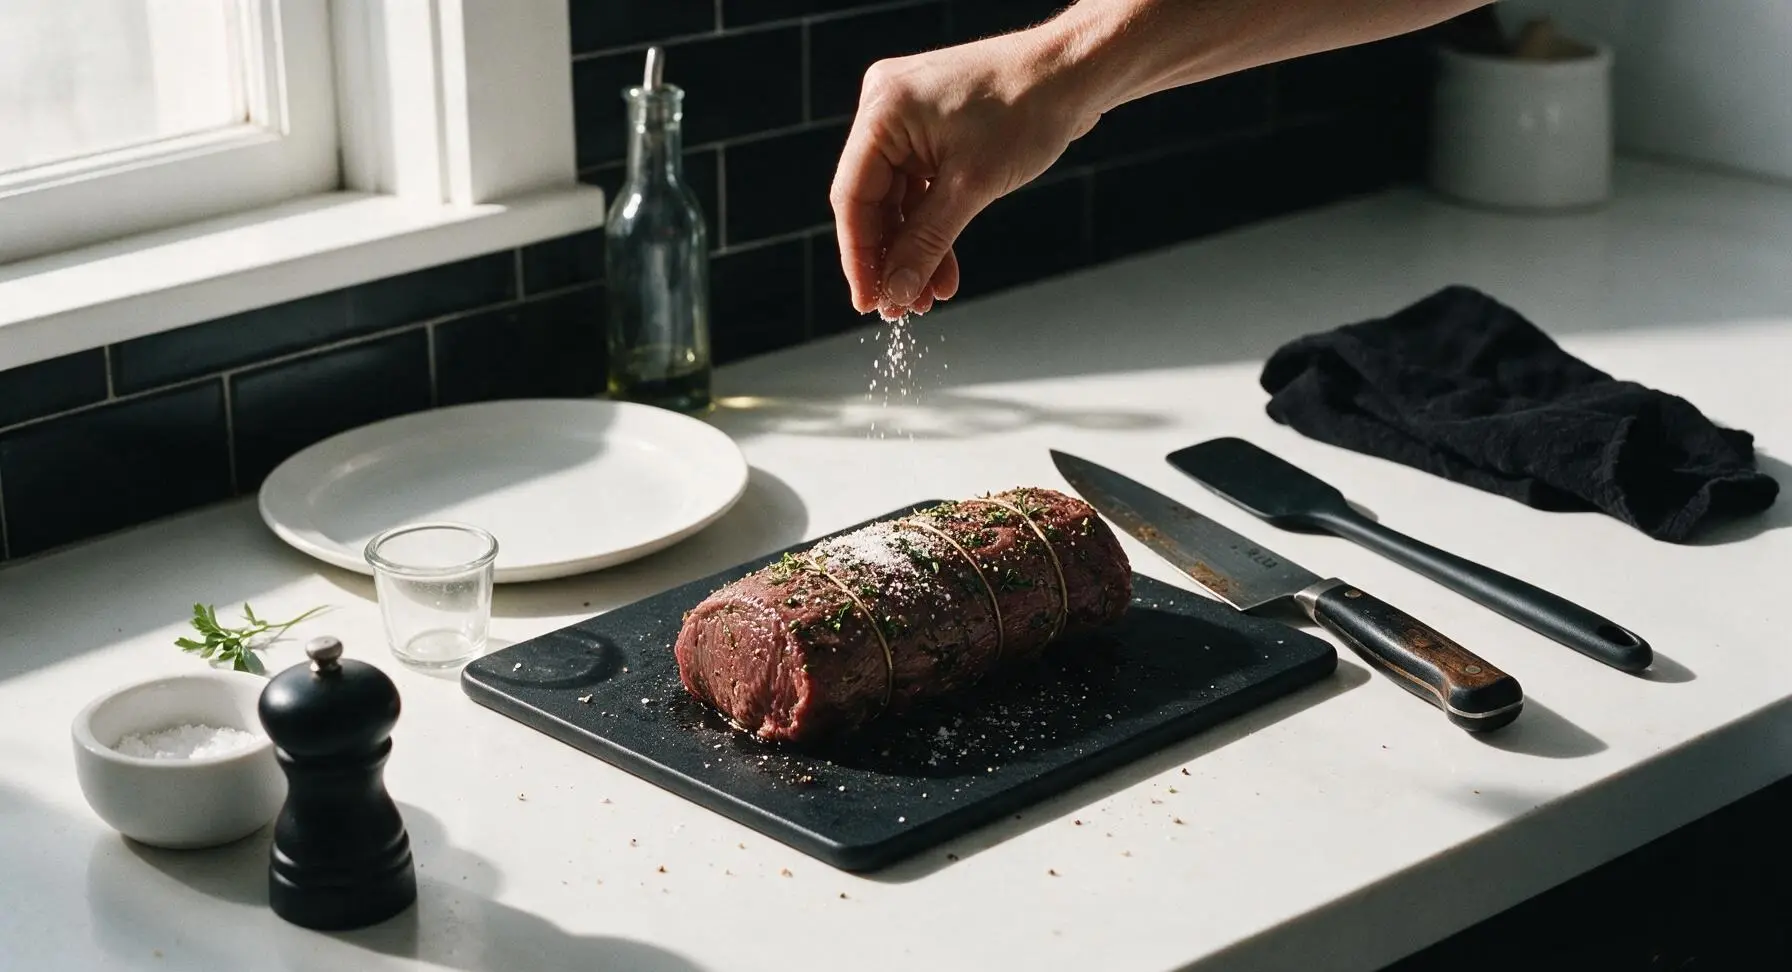
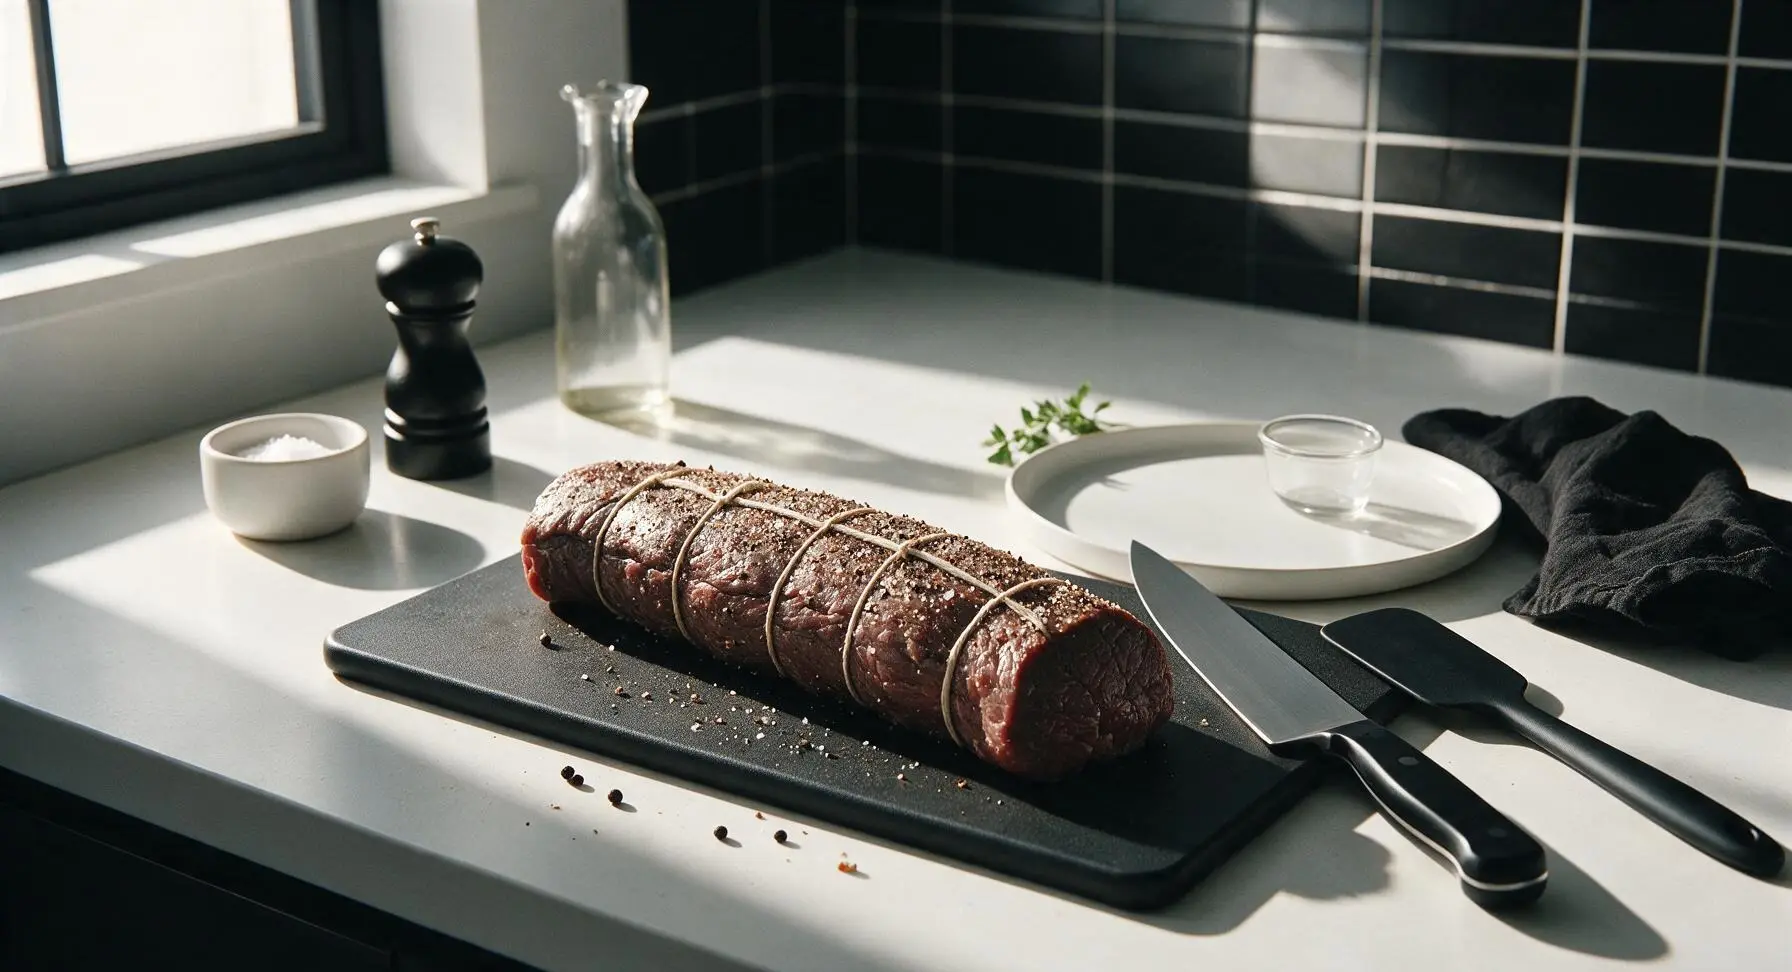
Pat the entire surface of the tied tenderloin completely dry with the linen towel. Rub 1 tablespoon of kosher salt and 2 teaspoons of cracked black pepper evenly over all sides of the roast, pressing gently to help the seasoning adhere. Let the seasoned roast rest uncovered on the cutting board at room temperature for 45 minutes to take the chill off, which ensures even cooking throughout; the meat surface will look slightly darkened and damp as the salt draws out and reabsorbs moisture.
Sear All Roast Sides
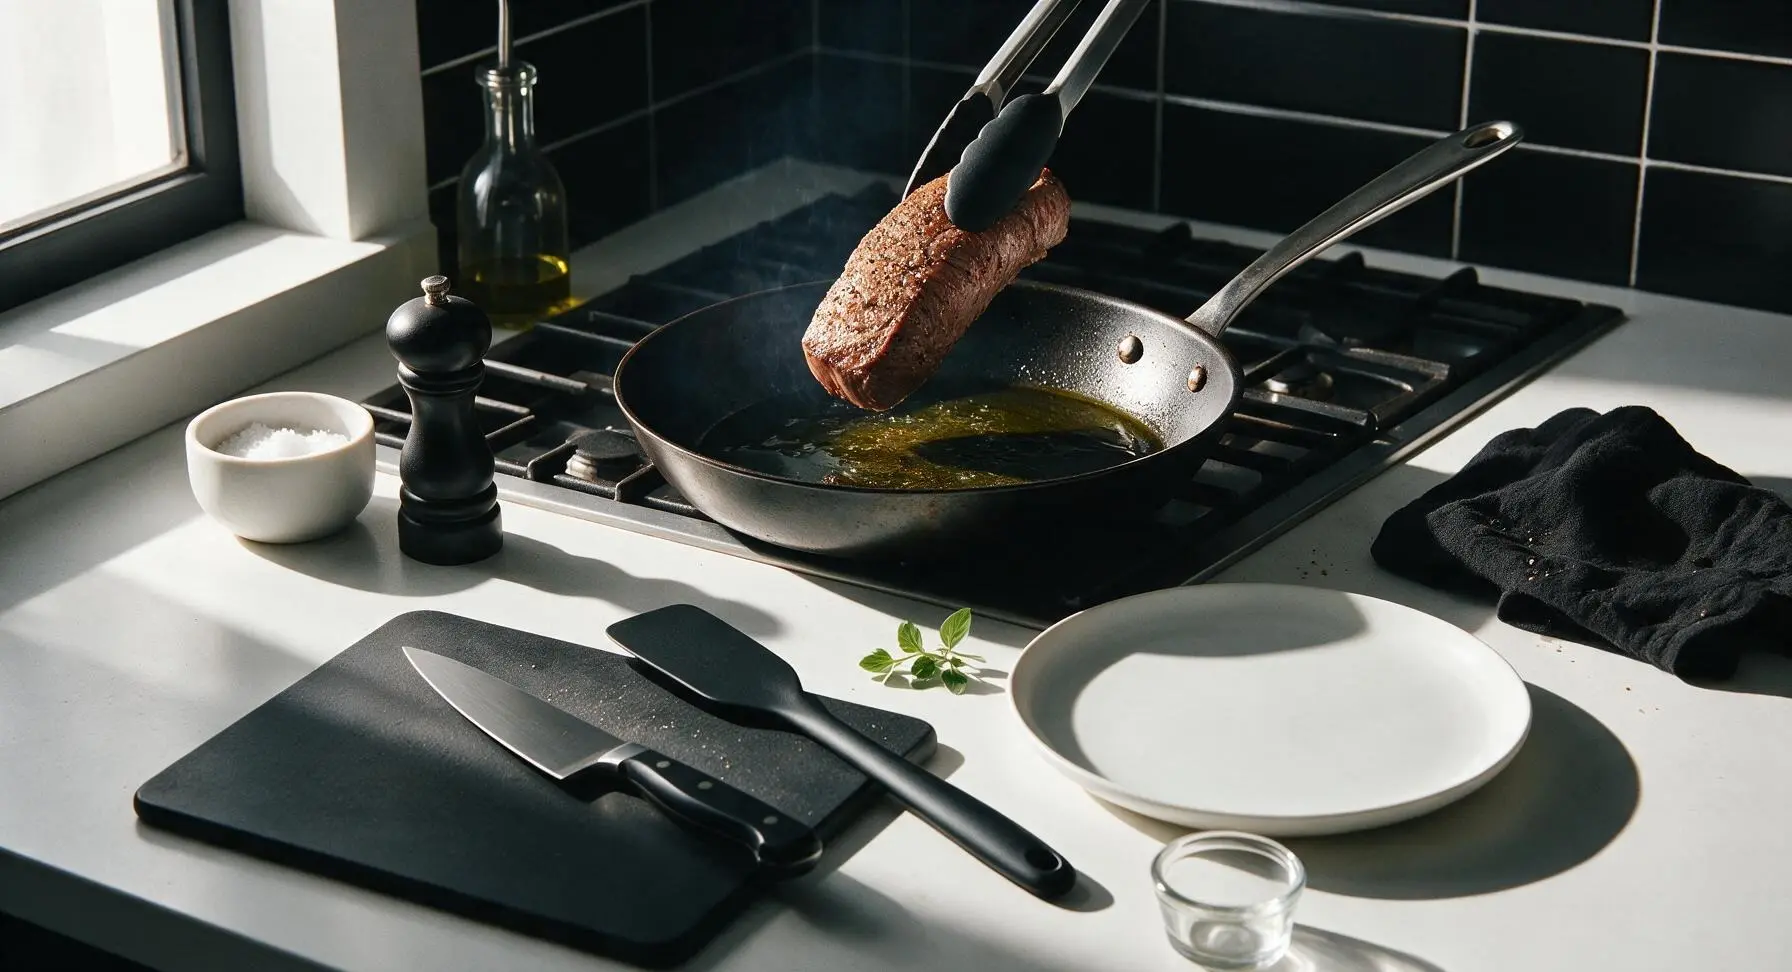
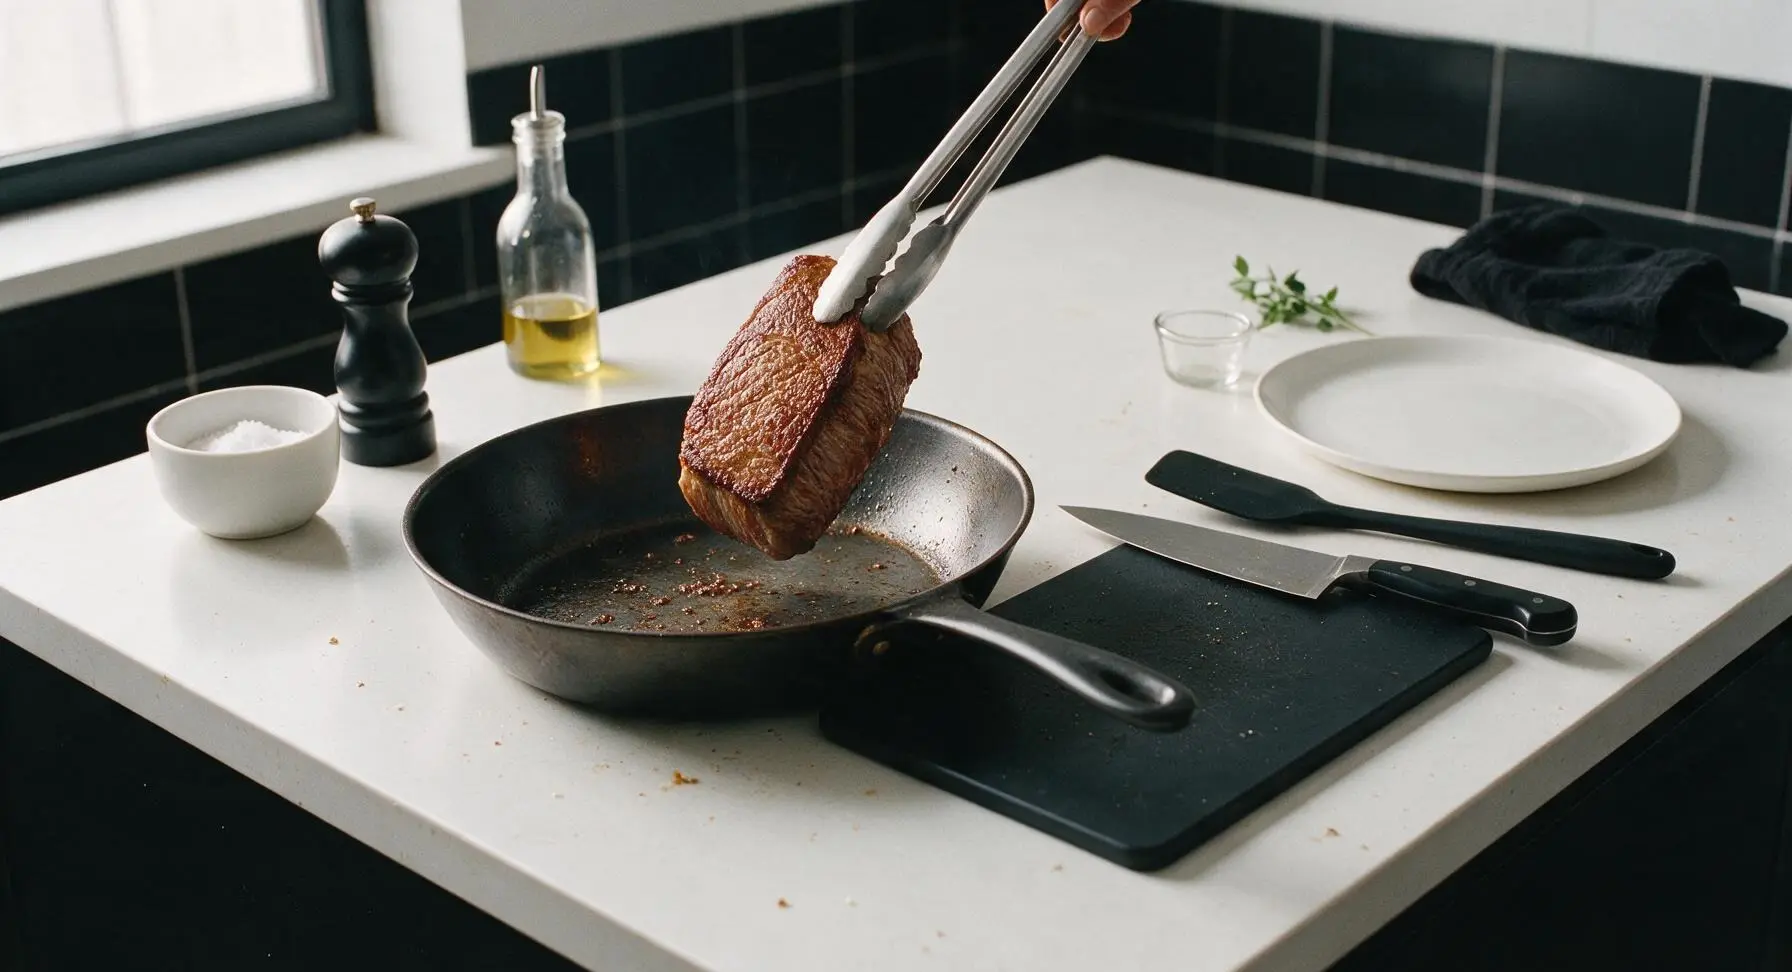
Place the 12-inch carbon steel skillet on the stovetop over medium-high heat, add 2 tablespoons of olive oil, and heat until the oil shimmers but does not smoke. Use the silicone-tipped tongs to carefully place the tenderloin in the hot pan, searing each side for 2 minutes until a deep golden-brown crust forms on every surface, including the ends. Total searing time will be 8-10 minutes; the crust should be crisp and evenly browned, with no pale grey steamed patches.
Baste with Herb Butter
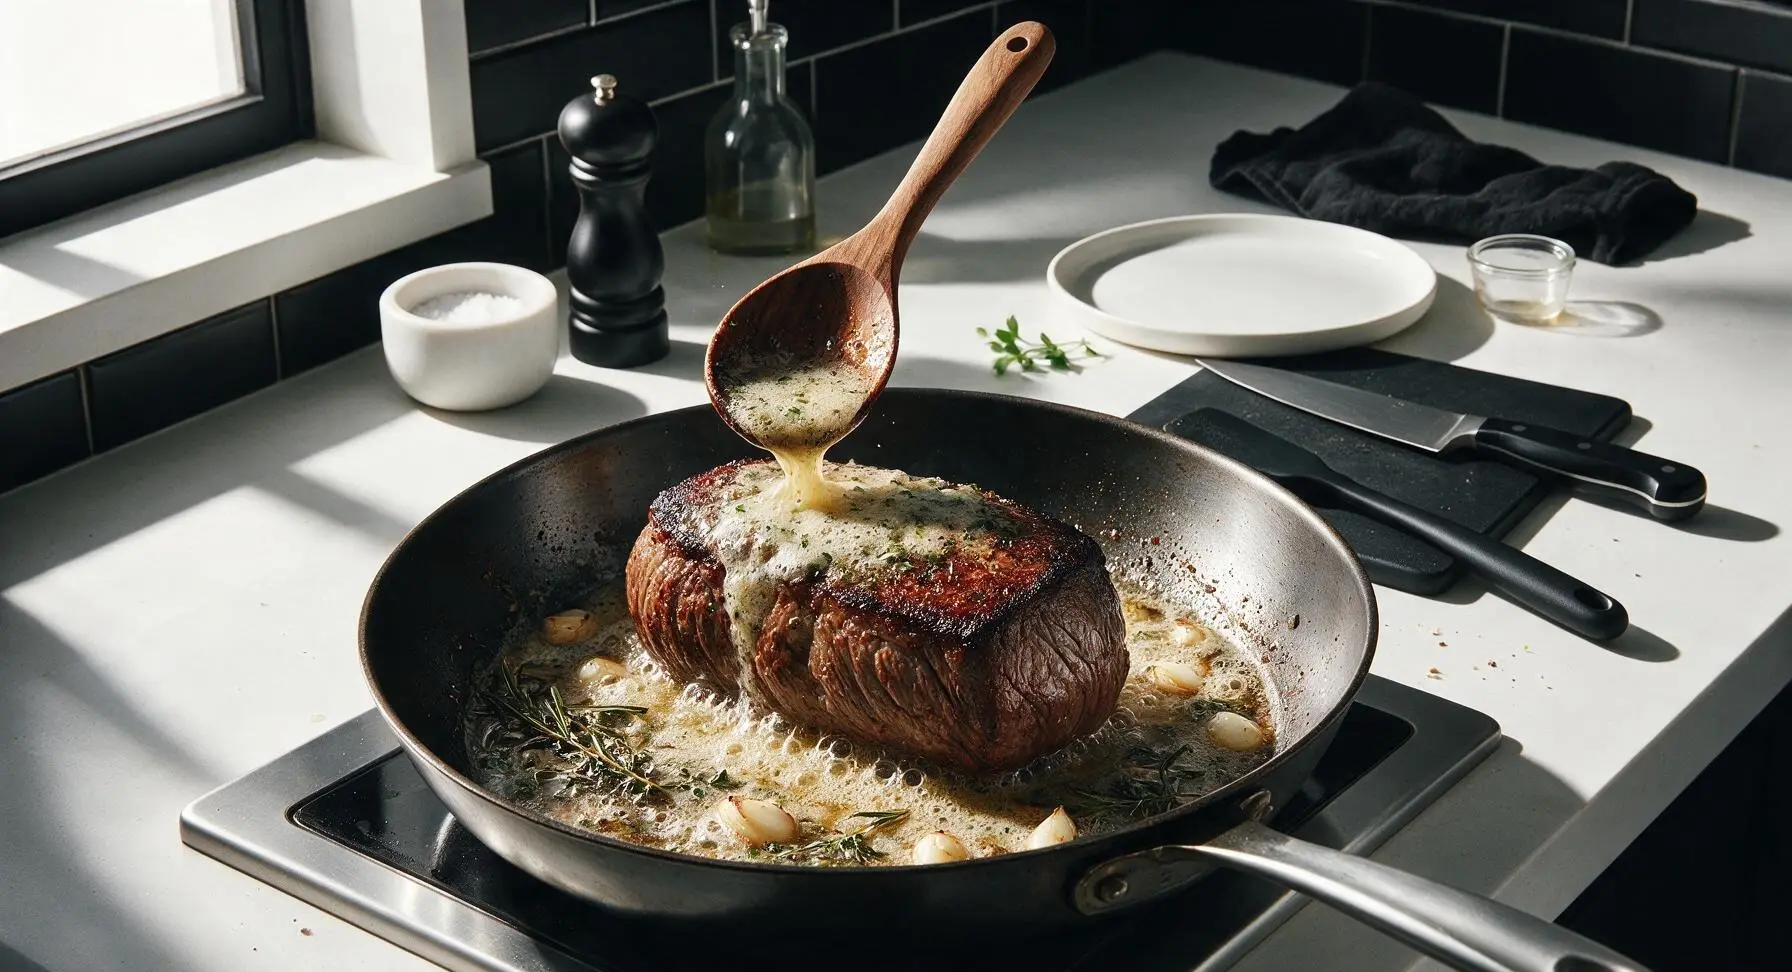
Reduce the stovetop heat to medium, add 4 tablespoons of unsalted butter, 6 crushed garlic cloves, 3 rosemary sprigs, and 4 thyme sprigs to the skillet with the seared tenderloin. Once the butter melts and foams, tilt the pan slightly and use the walnut basting spoon to continuously spoon the frothy herb butter over the roast for 3 minutes, basting every surface. The butter will turn a light nutty golden color, and the garlic and herbs will become bright green and fragrant as they infuse the fat.
Roast to Target Temp
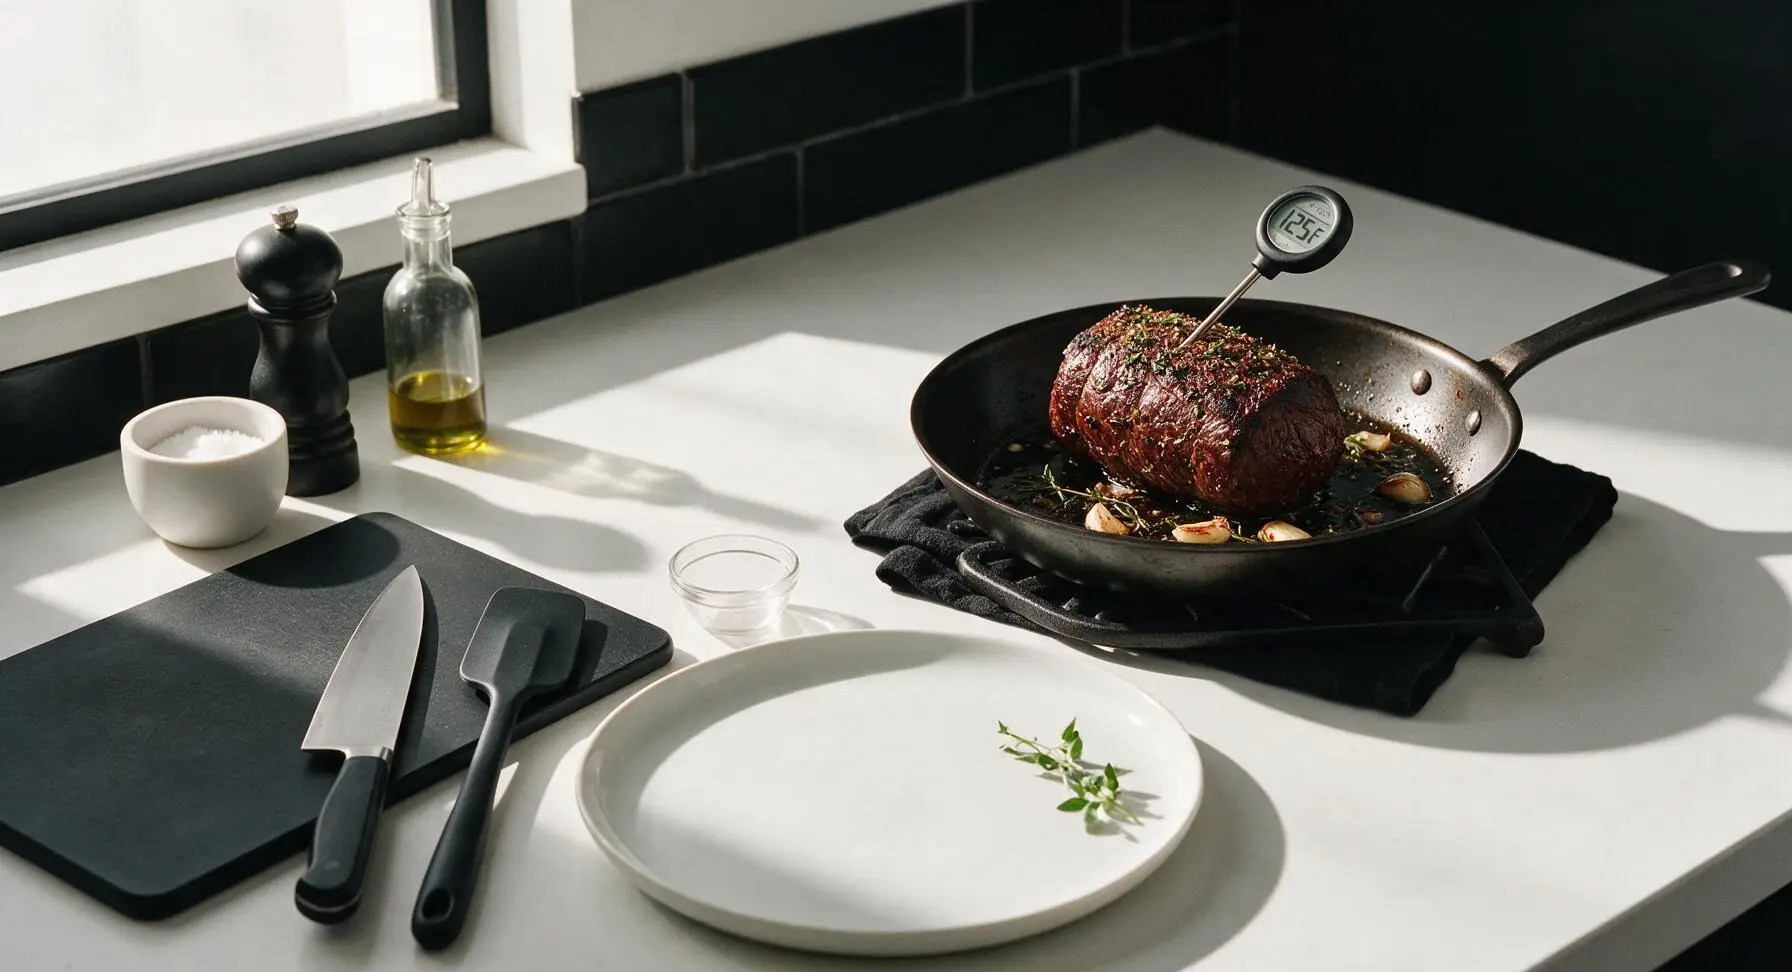
Transfer the entire skillet with the basted tenderloin, garlic, and herbs to a preheated 220C (425F) oven. Roast for 20-25 minutes, inserting the instant-read thermometer into the thickest part of the roast after 20 minutes to check temperature. Remove the roast from the oven when the internal temperature reaches 52C (125F) for medium-rare; the temperature will rise 5-7C during resting to reach a perfect 57-60C (135F). The outer crust will be deep mahogany brown, and the butter in the pan will be fragrant with slightly crisped garlic and herbs.
Rest Before Slicing
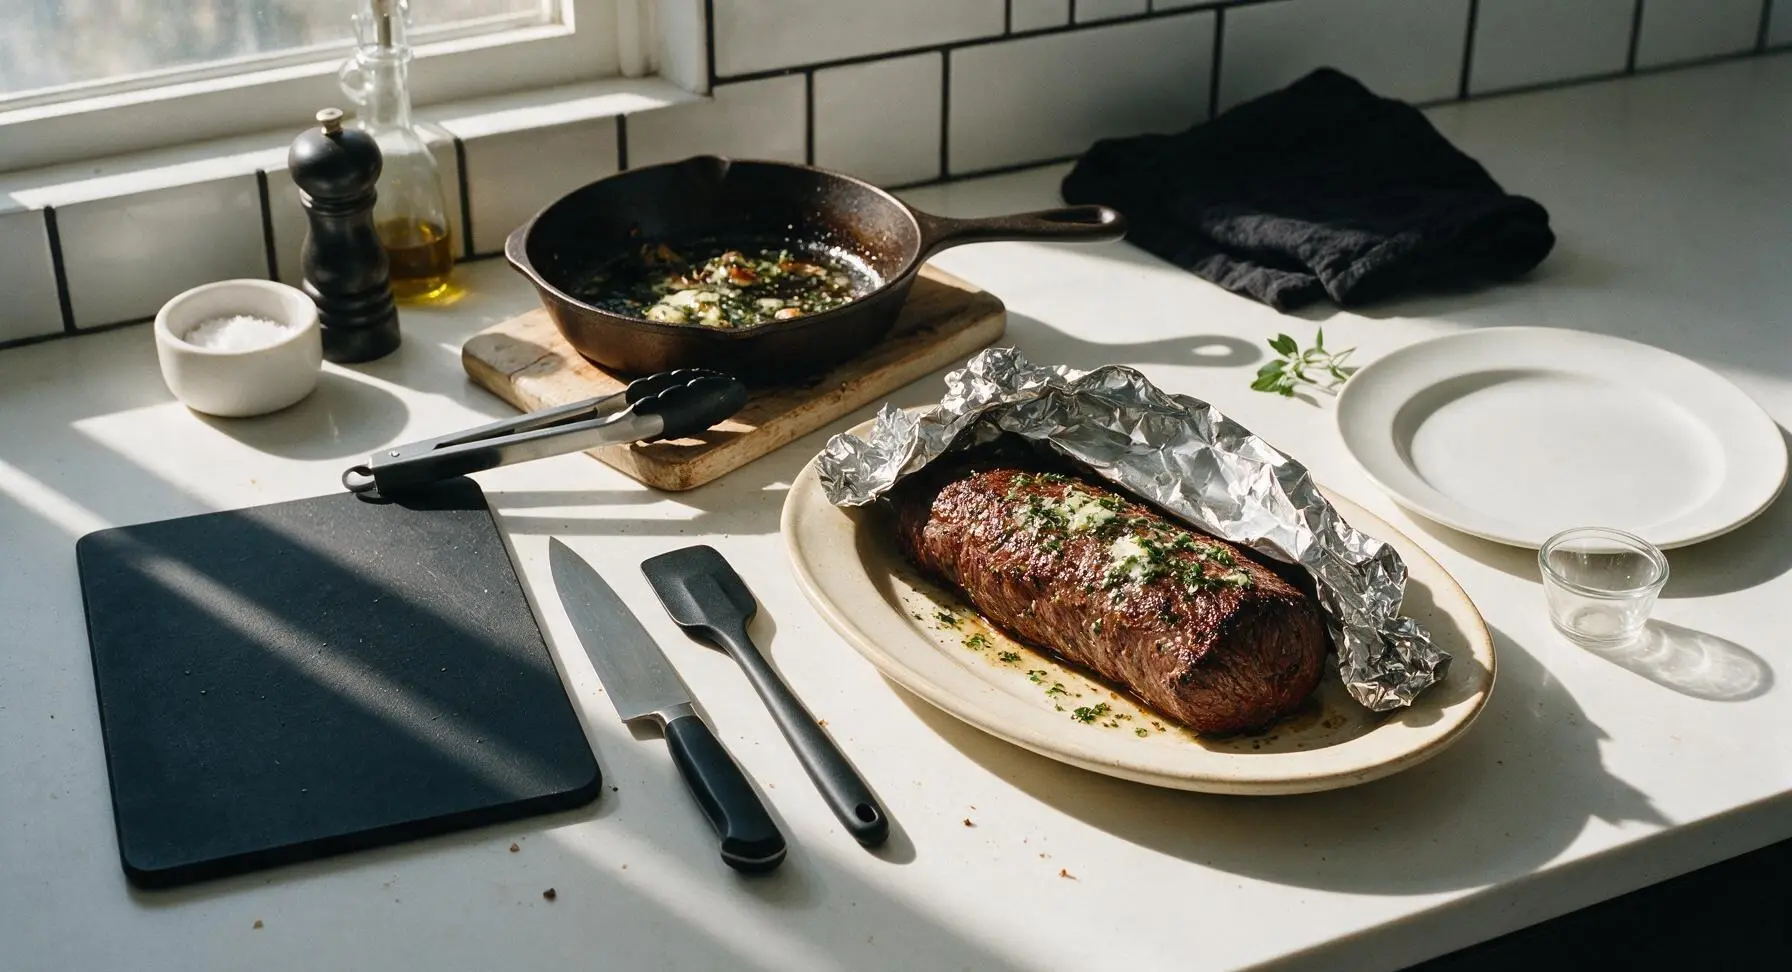
Use the tongs to carefully lift the tenderloin from the skillet, transferring it to the oval cream stoneware platter. Spoon 2 tablespoons of the herb butter from the skillet over the top of the roast, then tent it loosely with a small piece of aluminum foil. Let the roast rest for 15 minutes before slicing; this allows the muscle fibers to relax and reabsorb juices, so no pink juice runs out when you cut into the meat.
Slice and Garnish Roast
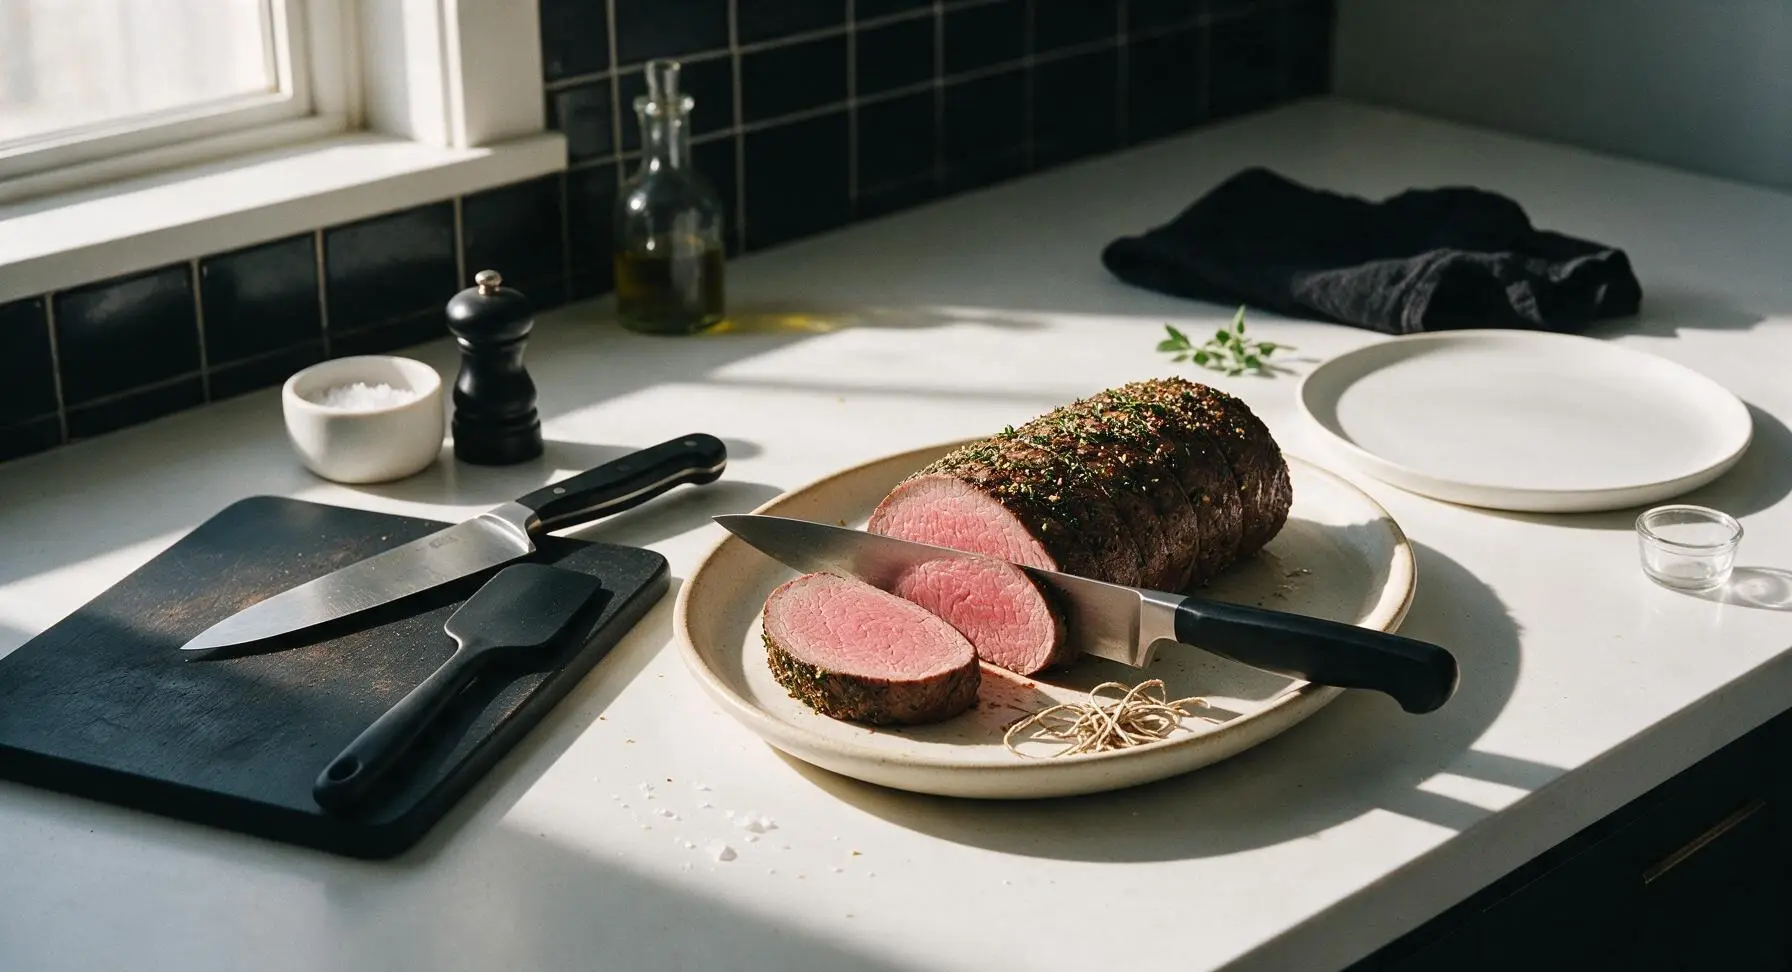
After resting, remove the twine from the tenderloin using the chef’s knife. Slice the roast into 2cm (3/4 inch) thick medallions, arranging them slightly fanned on the same stoneware platter. Spoon a small amount of the remaining warm herb butter over the slices, tuck a few fresh thyme sprigs and the soft roasted garlic cloves between the slices, and sprinkle lightly with 1 teaspoon of flaky sea salt to finish.
Tips
2.Rely on an instant-read thermometer instead of fixed cook times: oven temperatures vary widely, and the difference between perfect medium-rare and overcooked grey beef is only 10 degrees of internal temperature, so guessing will often lead to disappointment.
3.Resist the urge to slice the roast immediately after removing it from the oven: the 15-minute rest period allows tightened muscle fibers to relax and reabsorb juices, ensuring every bite is juicy instead of having all the flavorful juice run out onto the platter when sliced.






OMG I made this for my husband’s birthday dinner last night and it was a total showstopper! The herb crust was so fragrant and crispy, and the beef came out perfectly medium-rare just like the recipe said. Even my picky 7 year old asked for seconds! 10/10 will be making this for every holiday from now on.
Game changer! I was so intimidated to make beef tenderloin because it’s such a pricey cut, but this recipe was so straightforward even for a medium-difficulty dish. Cook time was exactly 35 minutes for my 3lb roast, and the crust had the perfect mix of rosemary, thyme, and garlic. Meal prepped slices for salads and wraps all week, no regrets!
Brought this to our neighborhood potluck last weekend and people were swarming the platter before I even set it down! I served it with a little horseradish cream on the side and it was chef’s kiss. Only thing I’ll note is my oven runs a little hot so I checked the temp 5 minutes early, which was a good call because it was already at 135F. SO good.
Wait, help! I followed the recipe exactly but my crust fell right off when I pulled the roast out to rest? What did I do wrong? The beef itself tasted great but I was sad the herby part didn’t stick. Flavor was still 10/10 but I want it to look pretty for my Christmas dinner next month!
Made this for date night last night and my girlfriend thought I ordered catering from a fancy steakhouse. The cook time was spot on, no guesswork needed with the temp guide. Used fresh herbs from my windowsill garden and that made it taste even better, highly recommend using fresh over dried if you can.
So happy this recipe is naturally gluten free! No weird breadcrumb filler in the crust, just herbs, garlic, a little mustard, and seasoning. Made it for my sister’s graduation party and all the gluten free folks at the party were so excited they could have the fancy main dish without stress.
This was solid! My only tiny tweak was adding a little smoked paprika to the herb rub for a tiny bit of warmth, and it went so well with the roasted garlic mashed potatoes I made on the side. Kids cleaned their plates, husband asked when we’re having it again, so that’s a win in my book.
Quick question — I made this last weekend to medium and it was amazing, but I prefer my beef more on the rare side (125F internal) for next time. How much should I shave off the cook time? I don’t want to overcook it, tenderloin is too expensive to mess up!
First time ever making a roast of any kind, ngl I was super nervous because medium difficulty felt out of my skill level, but this was so easy to follow! The instructions were clear, no weird fancy ingredients I had to run to three stores for, and my roommates lost their minds when they tried it. Will be making this for our Friendsgiving for sure.
Pro tip: the leftover cold slices make the absolute best roast beef sandwiches. Piled high on a crusty roll with a little arugula, horseradish mayo, and pickled red onions? Better than any deli sandwich I’ve ever bought. Already bought a second tenderloin to make this again next weekend just for sandwich leftovers.
Flavor was really good, but I wish the recipe noted that you need a meat thermometer to get this right! I didn’t have one and guessed on time, ended up with a medium-well roast instead of medium-rare. My family still ate it but I was disappointed it wasn’t as tender as I hoped.
I swapped the thyme for a little fresh sage from my garden since that’s what I had on hand, and it was divine! Served it with roasted Brussels sprouts and cheesy grits for our Sunday family dinner, and even my 82 year old grandpa said it was some of the best beef he’s ever had. Will be in our regular rotation for sure!