
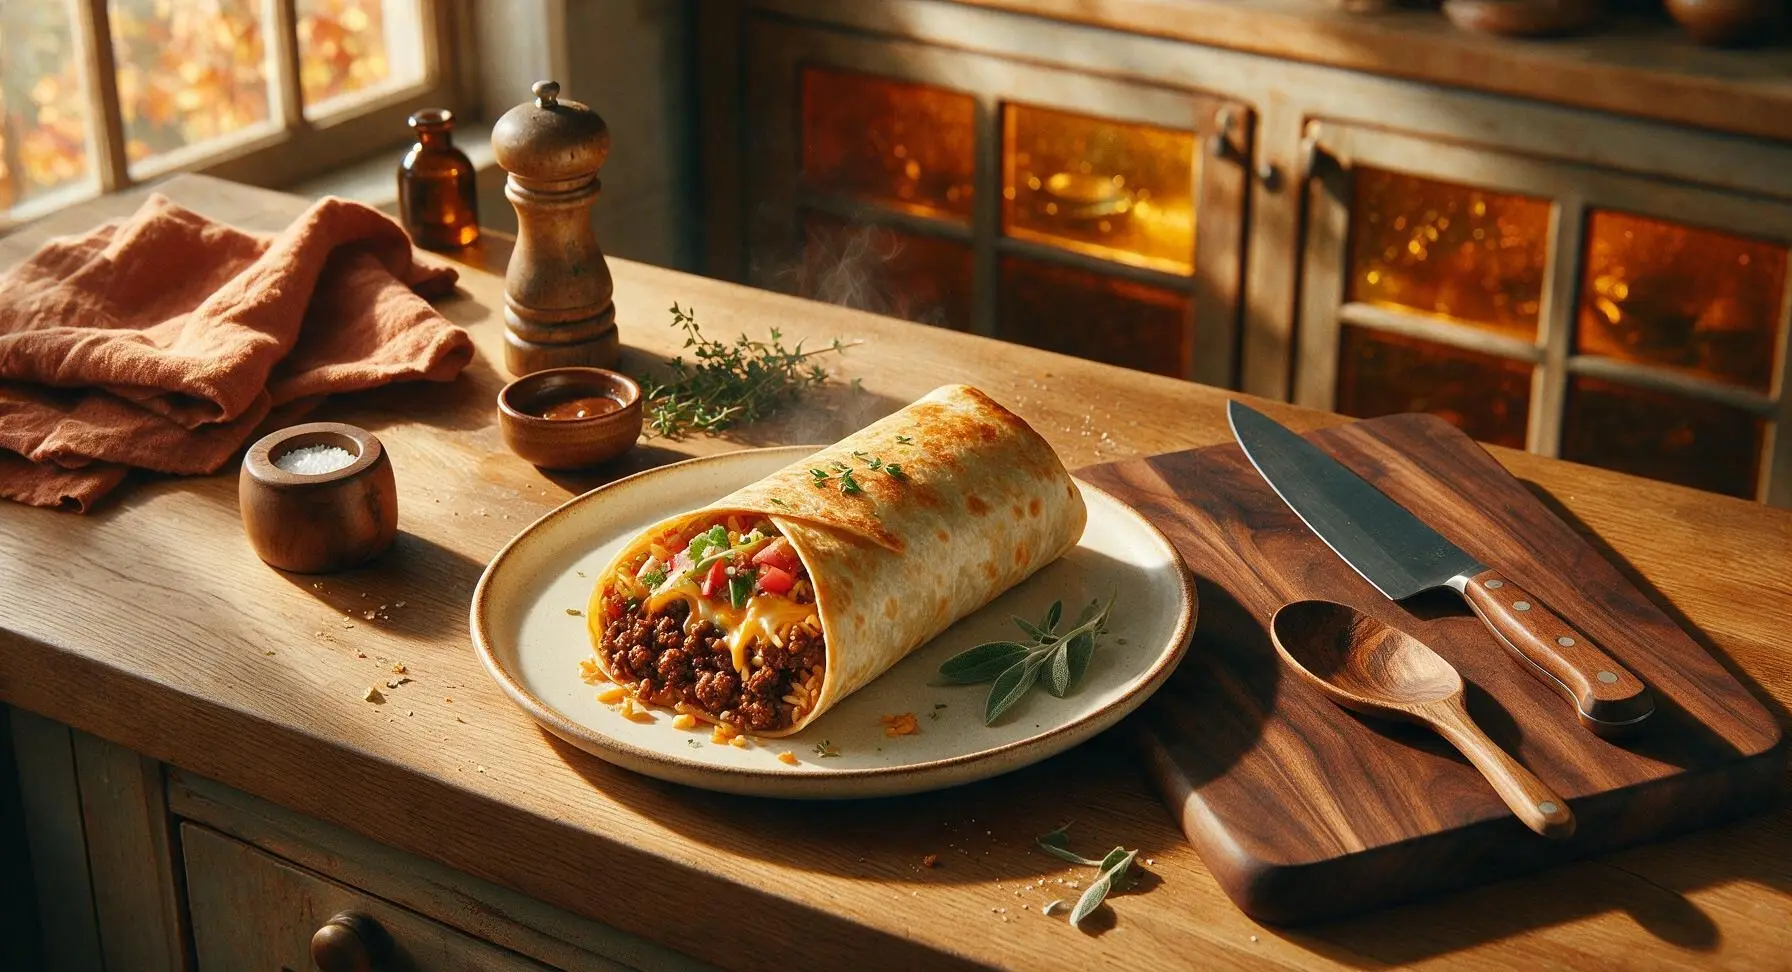
beefy burrito

title 1
beefy burrito
⏱️ cook time 20 minutes
🍽️ servings 4
⚡ Difficulty easy

intro

Hearty, seasoned ground beef wrapped in a warm, crisp flour tortilla with melted cheese, rice, and zesty fresh toppings—satisfying, customizable, and ready in 30 minutes.

Ingredients
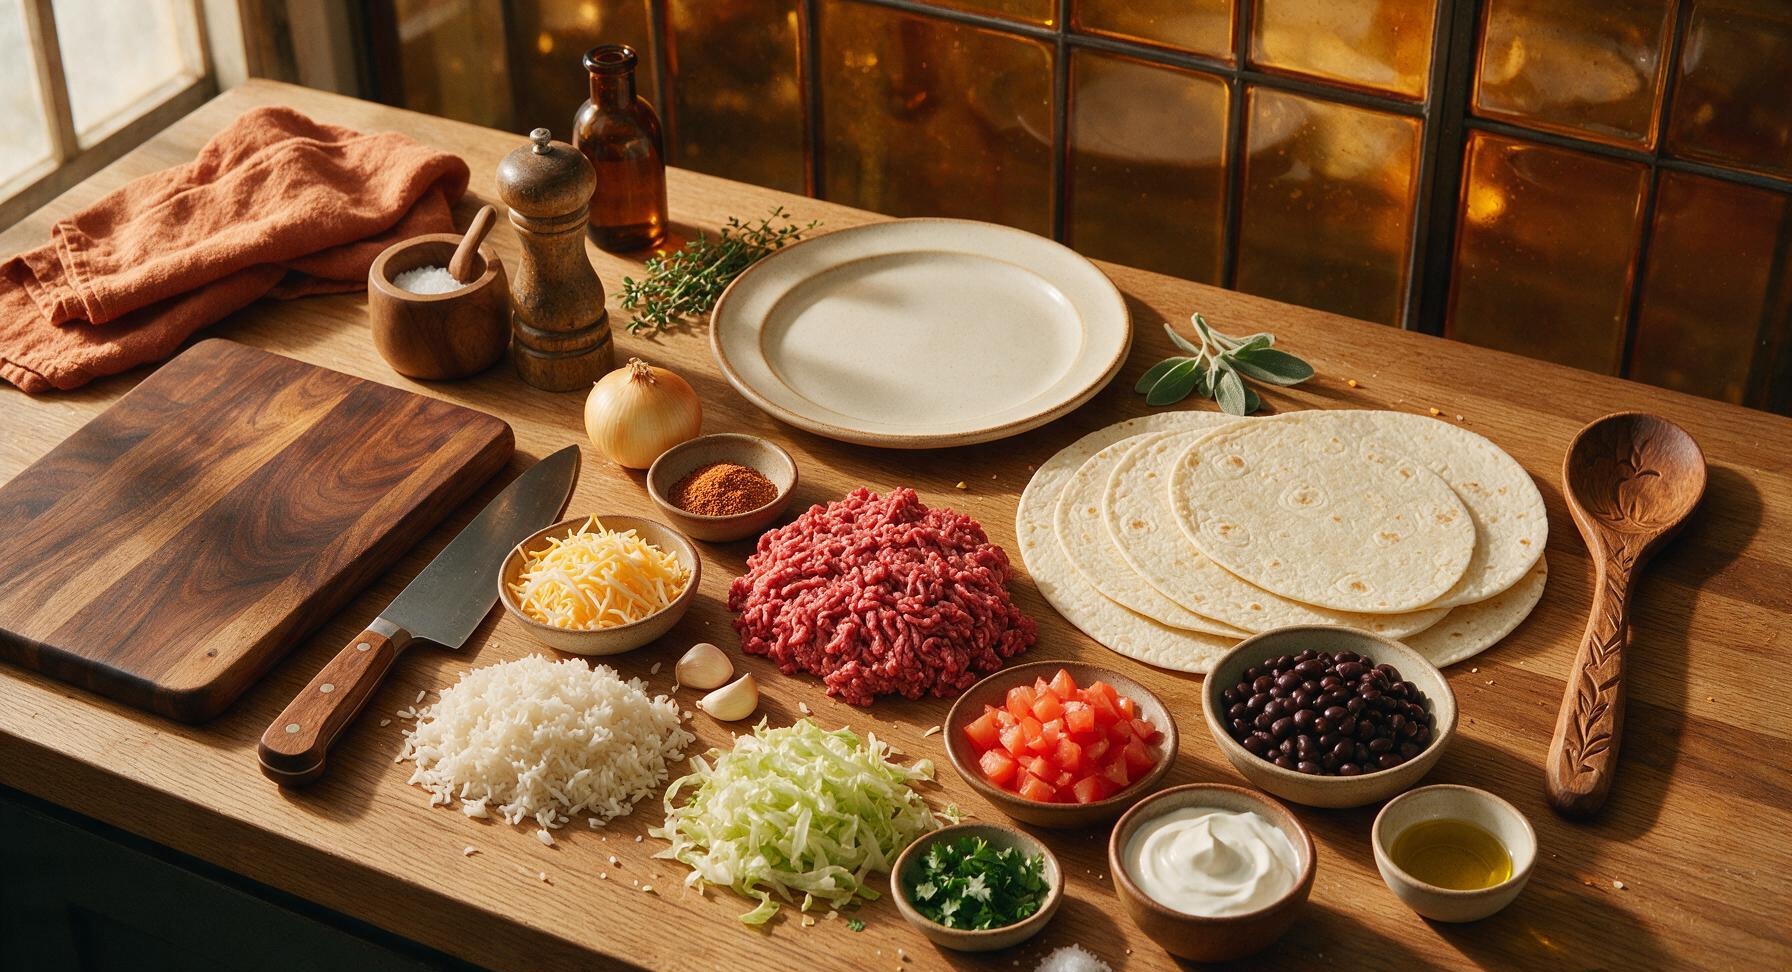
Lean ground beef (90/10) 450g
10-inch flour tortillas 4 each
Cooked long-grain white rice 1.5 cups
Canned black beans, rinsed and drained 1 cup (150g drained)
Shredded cheddar-jack cheese 1 cup (113g)
Low-sodium taco seasoning 2 tbsp
Yellow onion 1 small (75g)
Garlic cloves 2 each
Roma tomato 1 medium (75g)
Shredded iceberg lettuce 1 cup (70g)
Fresh cilantro (optional garnish) 2 tbsp chopped
Sour cream 1/2 cup (113g)
Kosher salt 1 tsp
Neutral canola oil 1 tbsp

Steps

1

Prep Fresh Ingredients

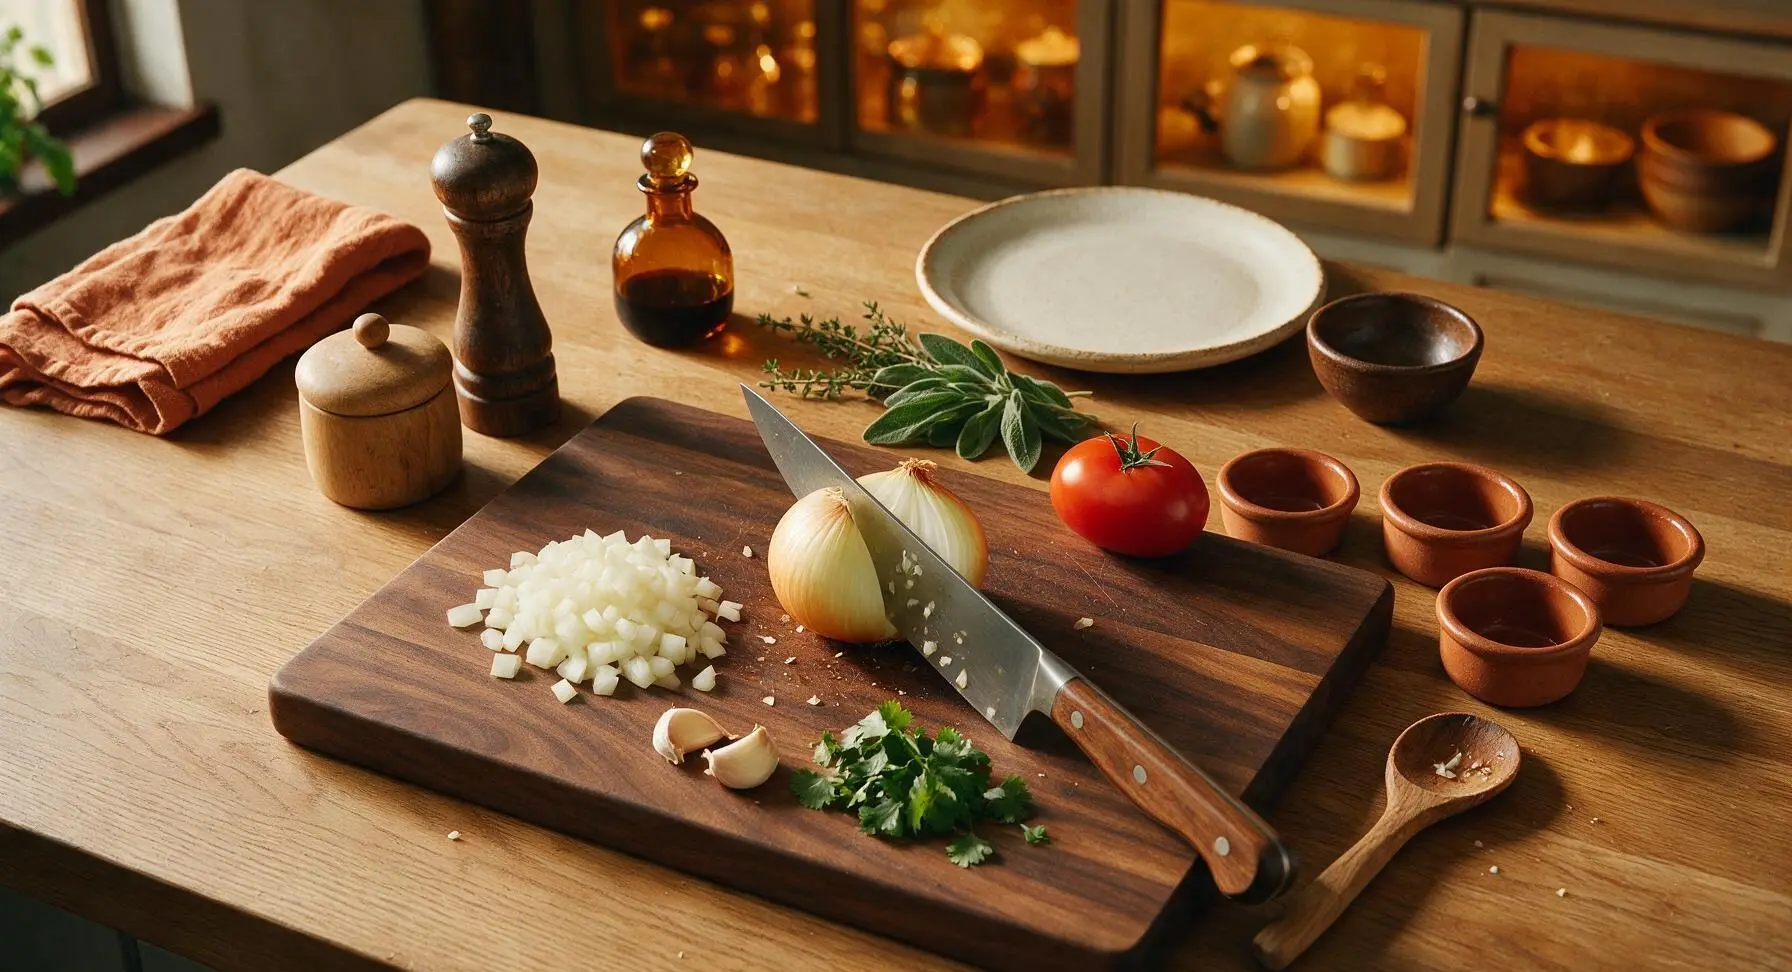
Place the acacia wood cutting board in the center of the work area. Use the 8-inch chef knife to dice the small yellow onion into uniform 1/4-inch pieces, mince the 2 garlic cloves finely, dice the Roma tomato into 1/4-inch chunks, and chop the cilantro if using. Transfer the diced tomato, shredded iceberg lettuce, and chopped cilantro to separate terracotta ramekins, set to the right of the cutting board. This step takes approximately 7 minutes; evenly sized onion pieces will cook uniformly without burning.
Step 1
step1:Prep Fresh Ingredients
2

Brown Seasoned Ground Beef

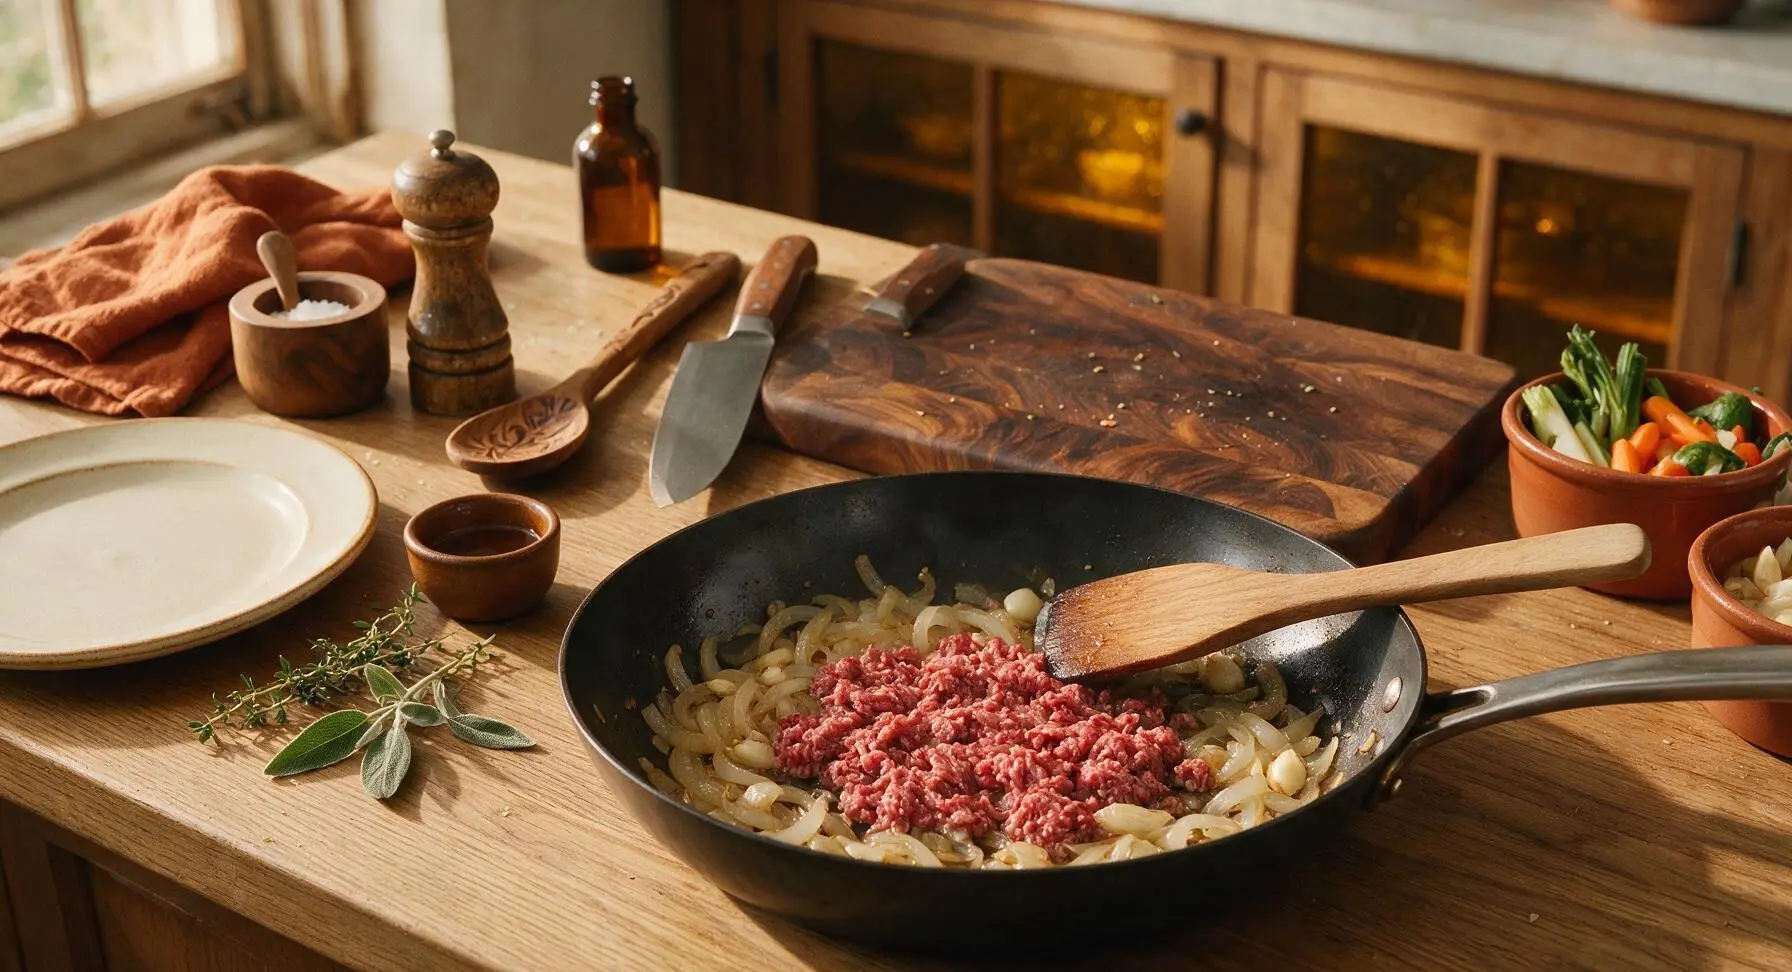
Bring the 26cm carbon steel non-stick skillet to the stovetop over medium heat (350°F/175°C). Add 1 tablespoon canola oil, then toss in the diced onion and sauté for 3 minutes until soft and translucent. Add the minced garlic and cook for 30 seconds until fragrant, then add the 450g ground beef to the skillet. Use the beech wood spatula to break the beef into small, pea-sized crumbles as it cooks, about 5 minutes, until no pink remains. Carefully tilt the skillet to drain excess rendered fat into a heatproof container, then stir in 2 tablespoons taco seasoning and 1 teaspoon kosher salt, mixing to coat all beef crumbles evenly.
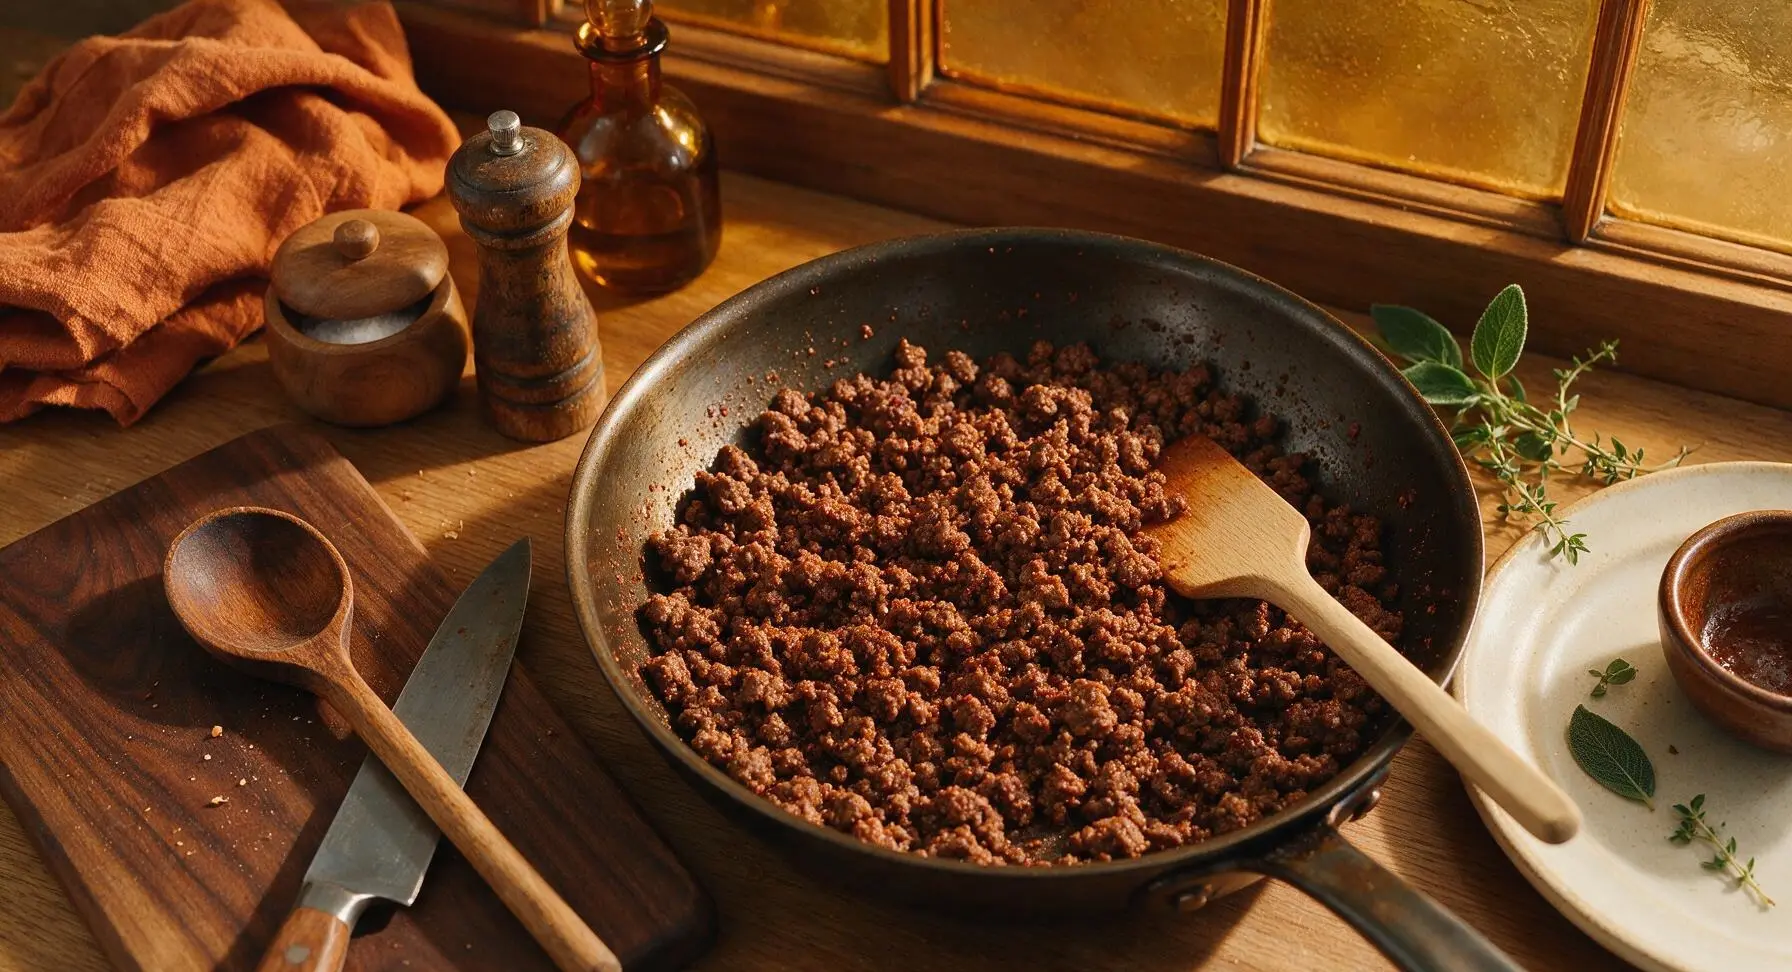
Step 2
step2:Brown Seasoned Ground Beef
Step 2
step2:Brown Seasoned Ground Beef
3

Warm Tortillas and Fillings

Reduce stovetop heat to low. Add the rinsed, drained black beans and 1.5 cups cooked white rice to the skillet with the seasoned beef, stirring gently with the beech wood spatula to combine, warming through for 2 minutes. While the filling warms, stack the 4 10-inch flour tortillas on a small plate and microwave for 30 seconds until soft and pliable, so they do not crack when rolled. For extra flavor, warm tortillas directly over a low gas flame for 10 seconds per side to add subtle char marks.
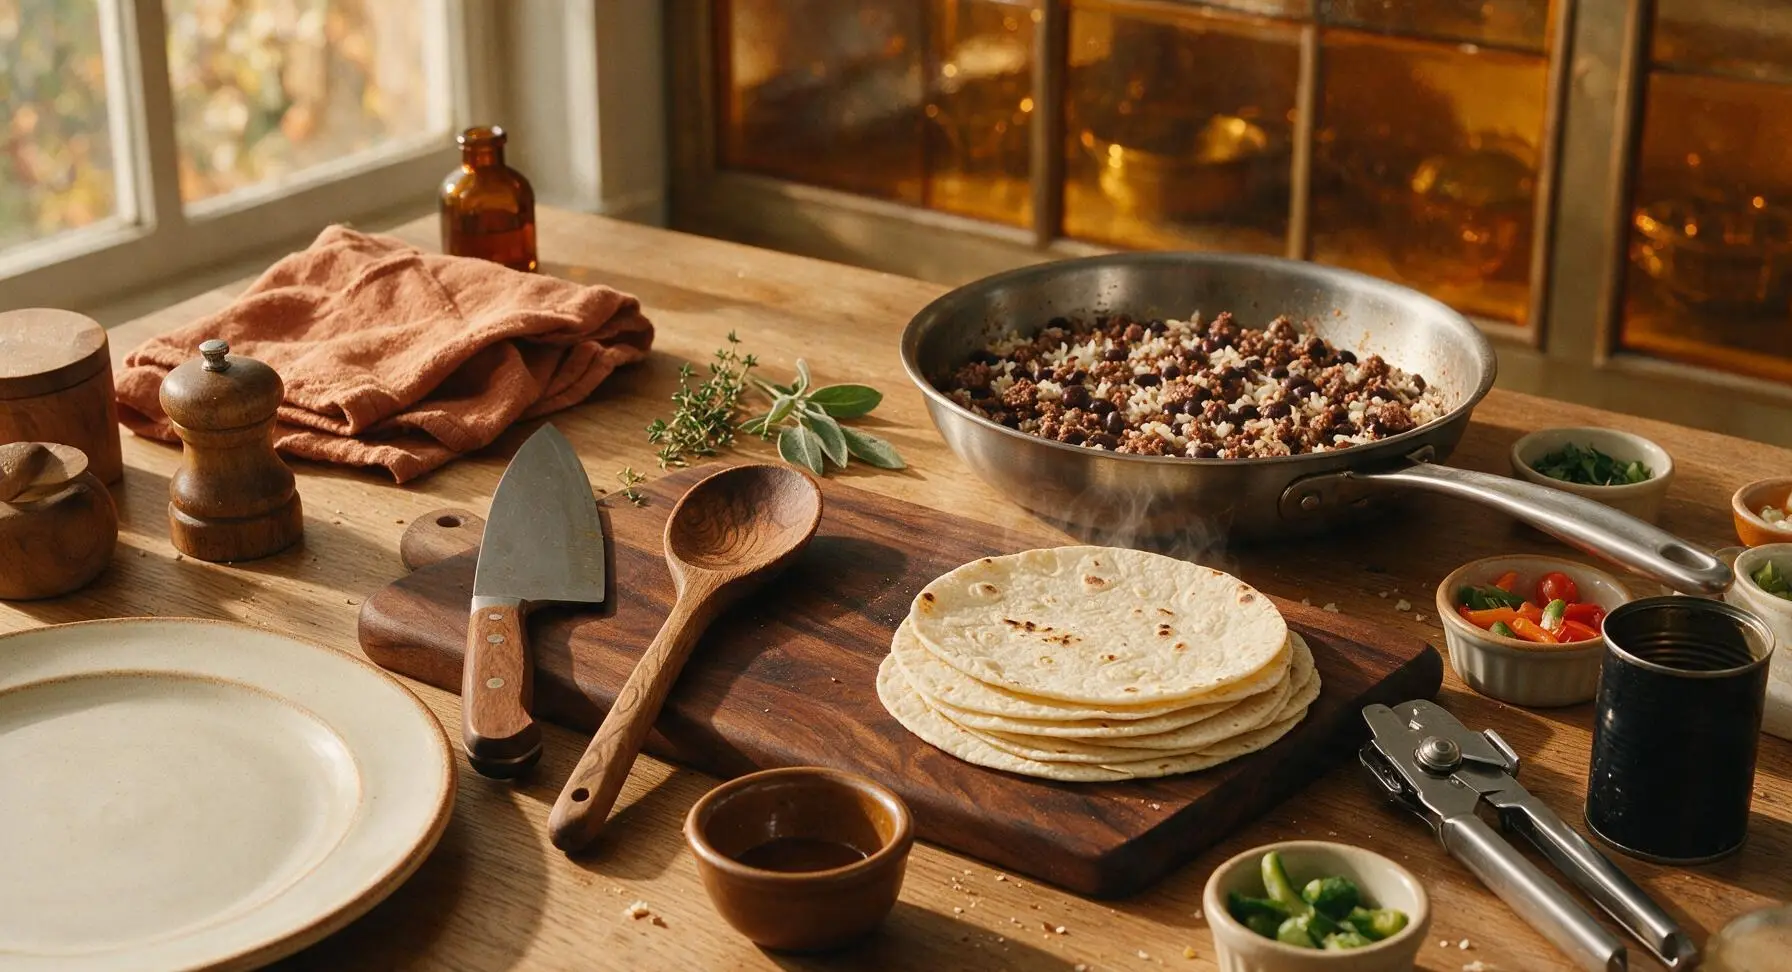
Step 3
step3:Warm Tortillas and Fillings
4

Layer Fillings on Tortillas

Lay one warm tortilla flat on the acacia wood cutting board. Spoon 1/4 of the beef, rice, and bean mixture in a straight horizontal line across the center of the tortilla, leaving a 2-inch border at the top and bottom to allow for clean folding. Top the filling line with 1/4 cup shredded cheddar-jack cheese, so the residual heat from the filling melts the cheese evenly. Avoid overstuffing the tortilla, as this will cause tearing during rolling.
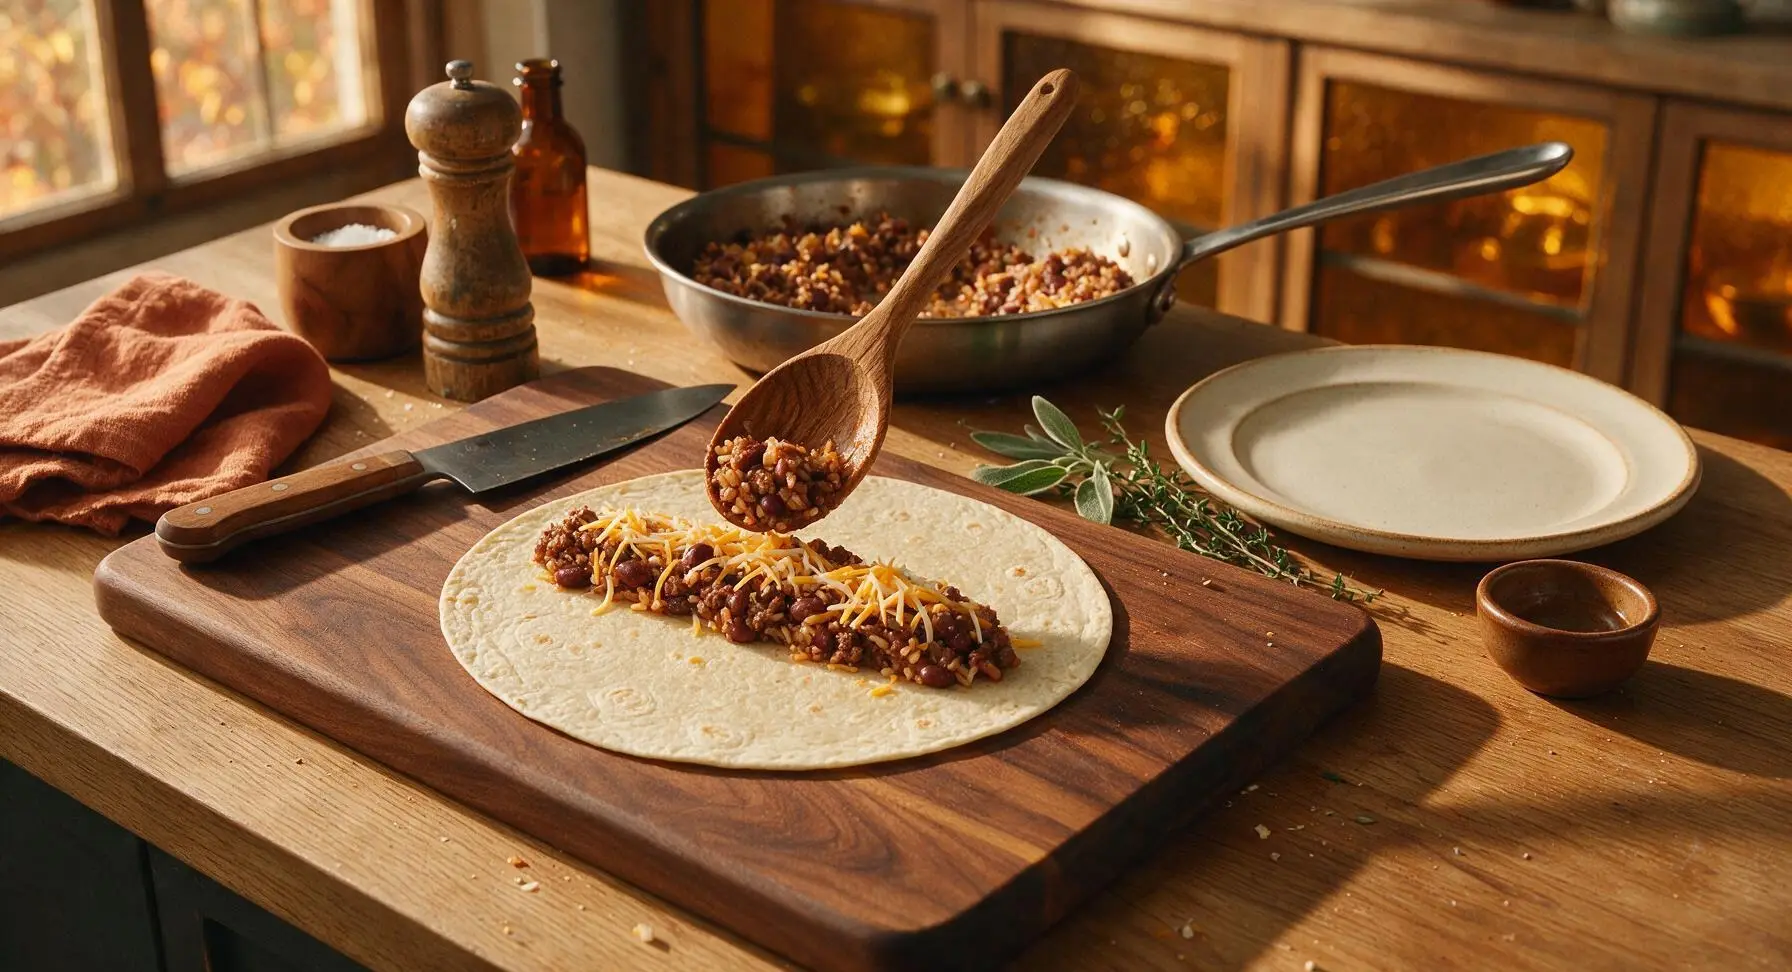
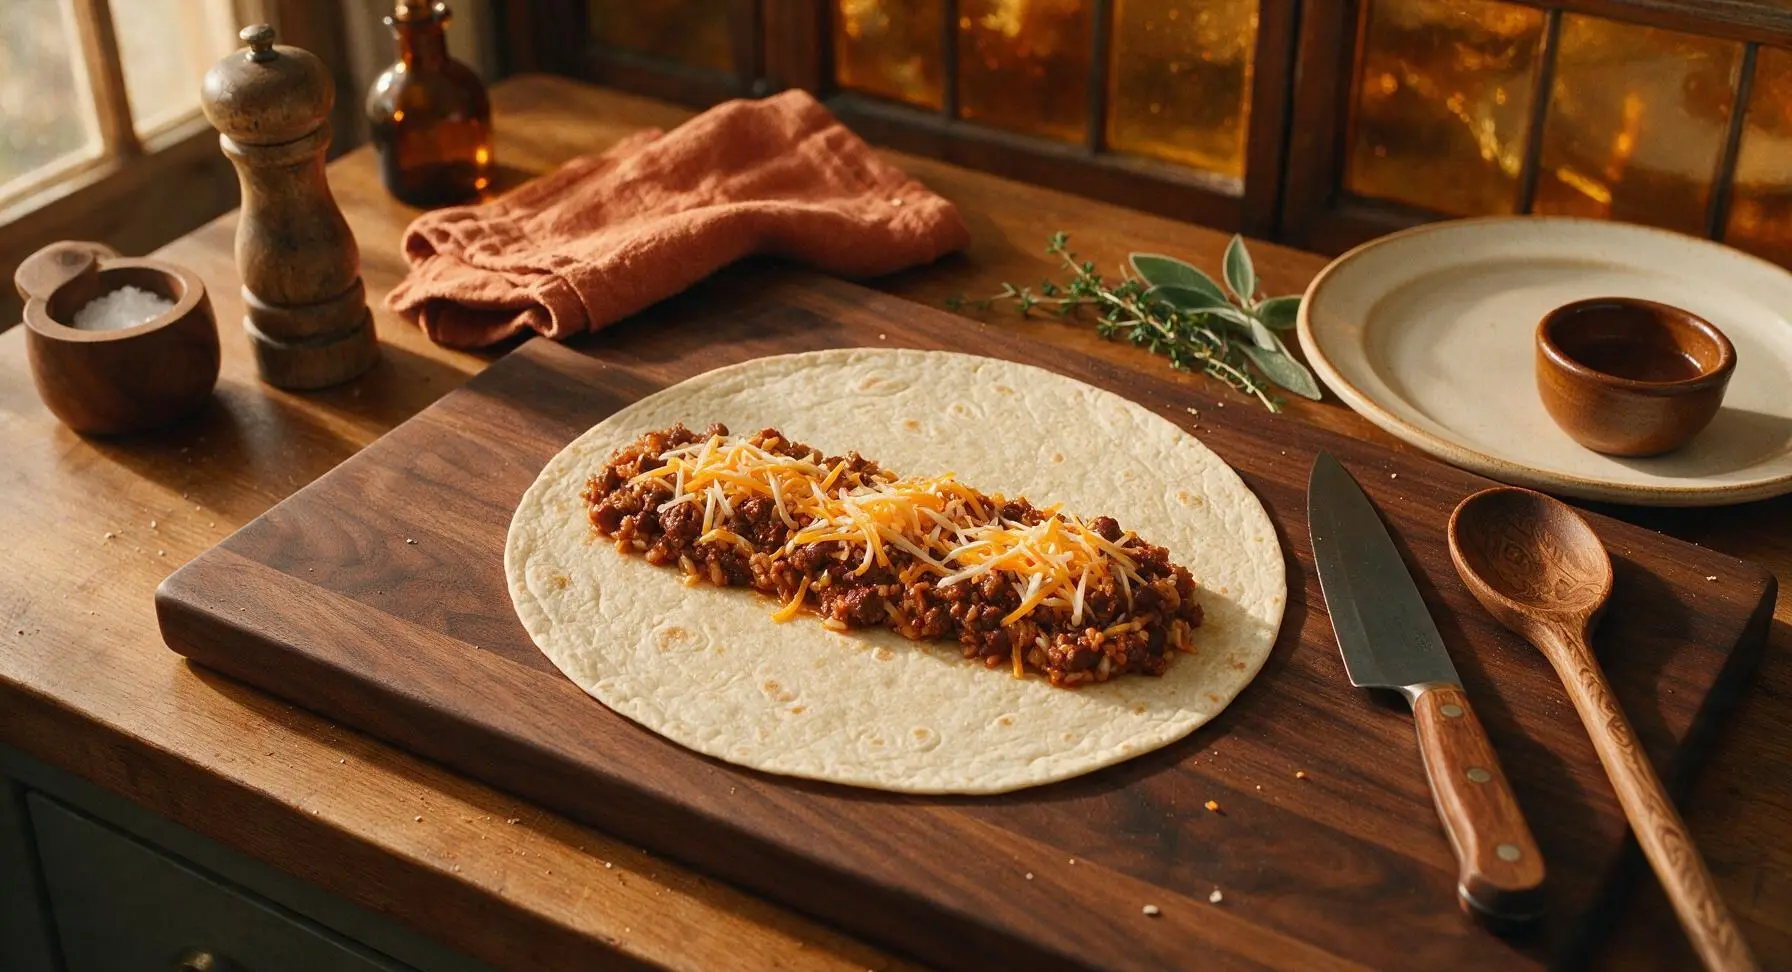
Step 4
step4:Layer Fillings on Tortillas
Step 4
step4:Layer Fillings on Tortillas
5

Roll Tight Sealed Burritos

Fold the 2-inch top and bottom borders of the tortilla in over the ends of the filling line. Then, fold the left side of the tortilla tightly over the filling, tucking it snugly under the filling to eliminate air gaps, and roll the burrito firmly away from you to create a tight, sealed cylinder. Place the rolled burrito seam-side down on the edge of the cutting board to hold its shape, and repeat with the remaining 3 tortillas and filling.
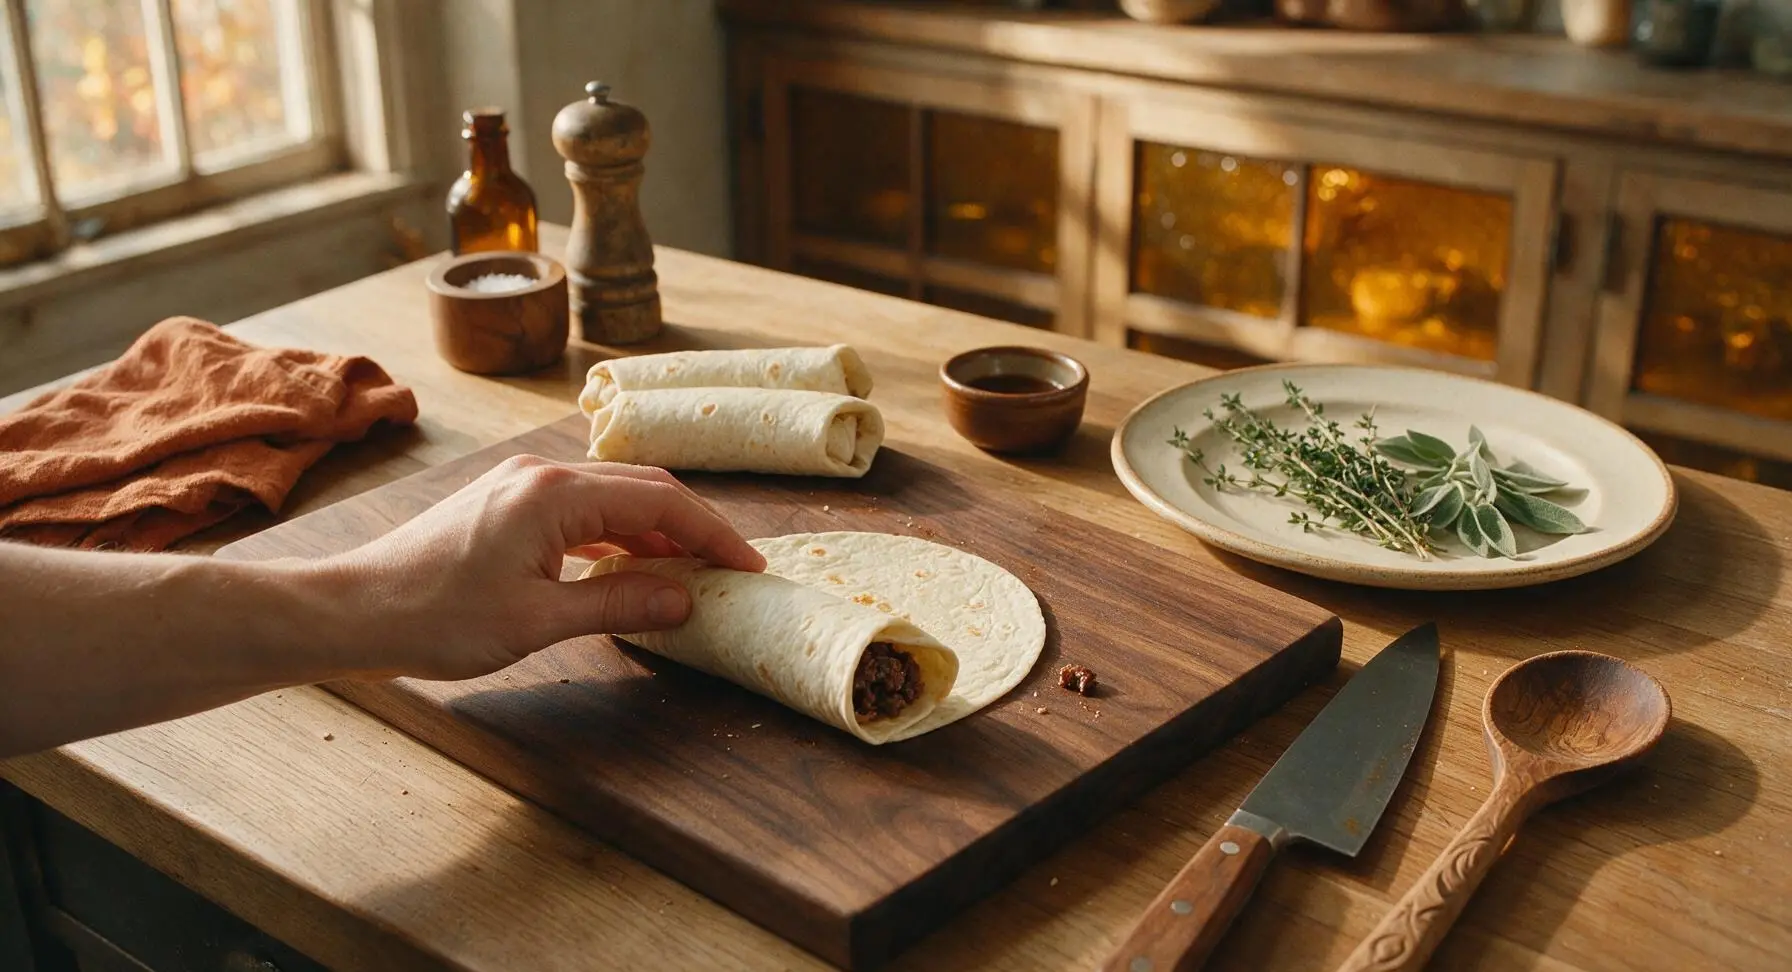
Step 5
step5:Roll Tight Sealed Burritos
6

Toast Burritos to Crisp

Wipe the skillet clean with a paper towel, then return to medium-low heat (325°F/160°C). Place the rolled burritos seam-side down in the skillet, cooking for 1-2 minutes per side, until the tortilla is golden brown and slightly crisp, and the seam is sealed shut. Turn carefully with the beech wood spatula to toast all sides evenly, pressing gently to encourage the cheese inside to fully melt.
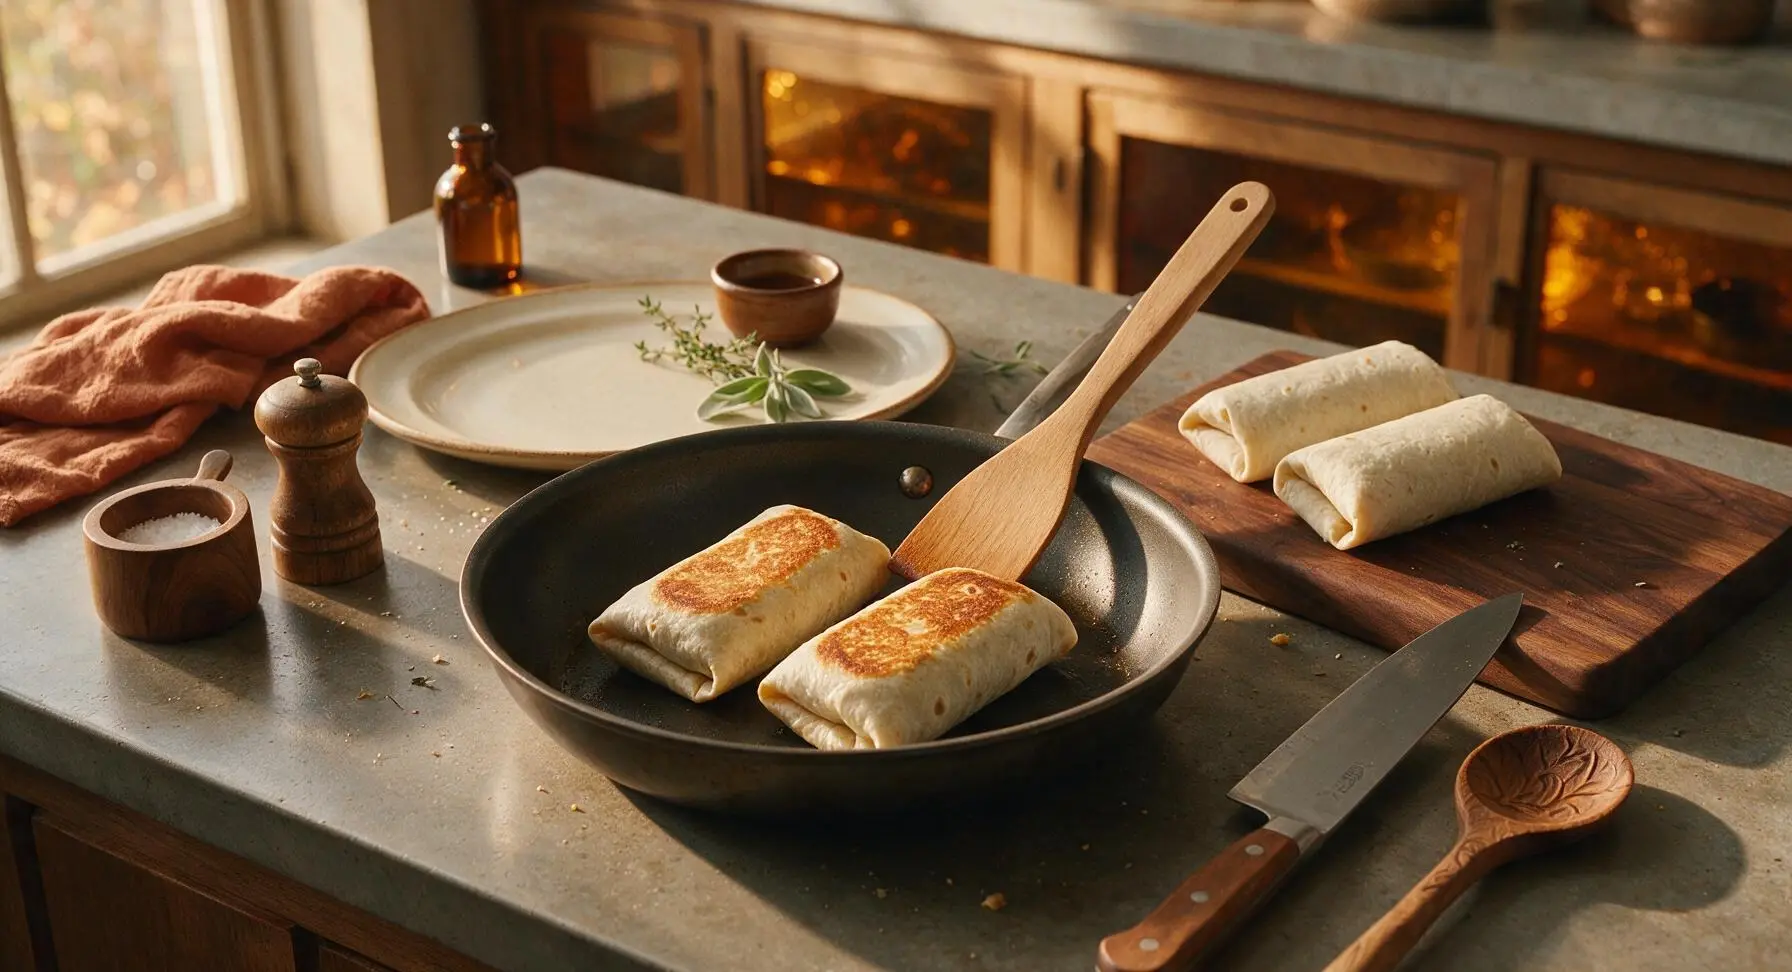
Step 6
step6:Toast Burritos to Crisp
7

Plate and Serve Burritos

Transfer the toasted burritos to the matte warm white ceramic dinner plate. Add a small dollop of sour cream to the plate for serving, and garnish with a pinch of chopped cilantro if desired. Serve alongside the reserved shredded lettuce and diced tomato for custom topping, and allow burritos to rest for 2 minutes before eating, so the hot filling does not run out when bitten into.
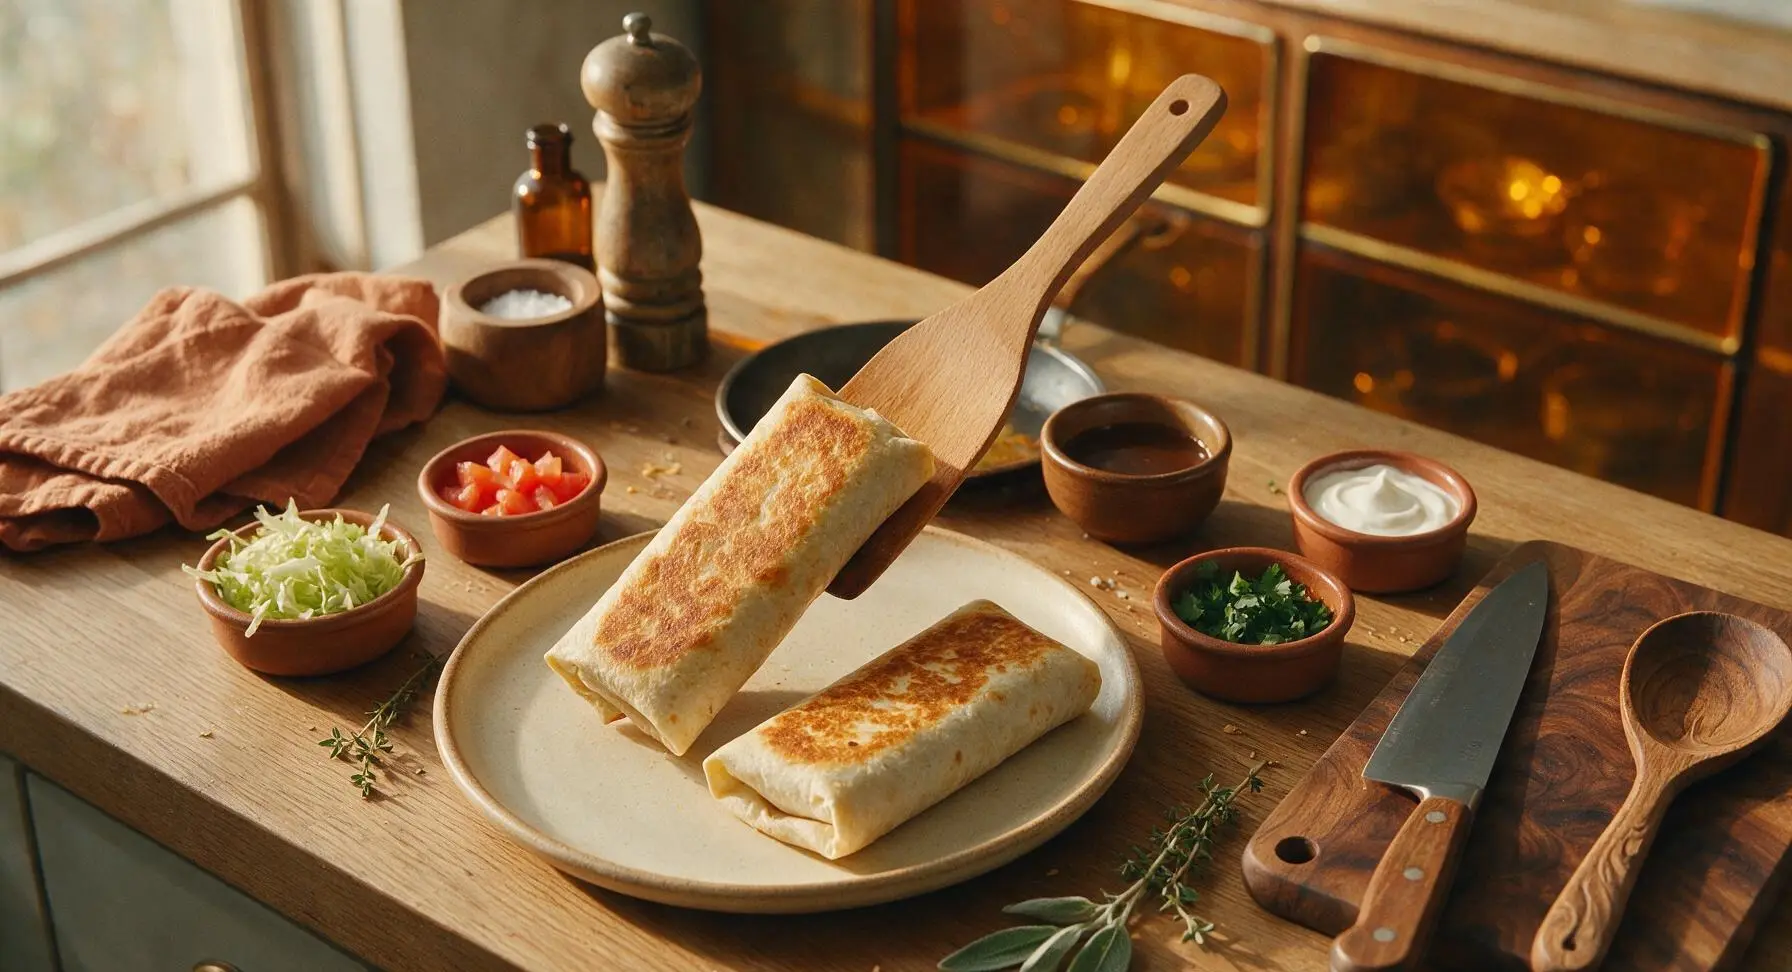
Step 7
step7:Plate and Serve Burritos

Tips

1.Warm tortillas before rolling: Cold tortillas are stiff and crack easily when folded, so 30 seconds in the microwave or a quick 10-second pass over a gas flame makes them pliable enough to roll tightly without tearing, even when generously filled.
2.Drain excess beef fat after browning: Leaving more than 1 teaspoon of rendered fat in the pan leads to greasy, soggy burritos that leak through the tortilla; the small amount of remaining fat helps taco seasoning stick evenly to the beef crumbles.
3.Avoid overstuffing tortillas: Stick to 1/4 of the total filling per tortilla—overfilling makes tight rolling impossible and causes burritos to split open while toasting, leading to lost filling and a messy eating experience.


✨ You May Also Like

Main Course
🍜 United Kingdom

A showstopping classic of tender seared beef, savory mushroom duxelles, and crisp prosciutto wrapped in flaky golden puff pastry, baked to juicy perfection.

⏱️ 2 hours 1Main Course ★ 4.7
Main Course
🍜 India

Tender charred marinated chicken simmered in a rich, spiced creamy tomato sauce, this iconic Anglo-Indian curry pairs perfectly with basmati rice or warm naan.

⏱️ 50 minuteMain Course ★ 4.6
Main Course
🍜 Thailand

Classic tangy, sweet, and savory Thai stir-fried rice noodles with shrimp, tofu, and crunchy garnishes, balancing all five core Thai flavor profiles.

⏱️ 30 minuteMain Course ★ 4.5
Main Course
🍜 United Kingdom

Crispy golden beer-battered cod and fluffy double-fried chips, served with tangy tartar sauce and malt vinegar: the timeless, beloved British pub comfort classic.

⏱️ 45 minuteMain Course ★ 4.7
Main Course
🍜 Mexico

Smoky, chile-marinated pork tacos with caramelized pineapple, fresh cilantro, and lime: a beloved classic Mexican street food perfect for casual summer gatherings.

⏱️ 1 hour 45Main Course ★ 4.8
Main Course
🍜 United States

Crunchy Fritos corn chips layered with savory beef chili and melted cheddar, topped with cool, zesty fixings for a beloved, cozy Tex-Mex comfort food.

⏱️ 35 minuteMain Course ★ 4.8

beefy burrito:Frequently Asked Questions

1.Can I use a different fat ratio of ground beef if I don’t have 90/10 lean? ▾
Absolutely! 80/20 ground beef works perfectly, just drain off all excess rendered fat after browning to avoid soggy tortillas. If you use extra-lean 93/7, add a teaspoon of olive oil while browning to keep the meat from drying out, since lower fat content can make filling taste bland or crumbly.
2.Do I have to use long-grain white rice, or can I swap in another rice variety? ▾
Long-grain white is ideal because it stays fluffy and separate without getting mushy, but you can swap in cooked brown rice, cilantro-lime rice, or even cauliflower rice for a lower-carb option. Just make sure any rice you use cools slightly before adding, so it doesn’t make your tortilla soggy as you assemble.
3.How do I get that perfectly crisp, warm tortilla like the ones from my local burrito shop? ▾
Heat your 10-inch flour tortilla for 10-15 seconds per side in a dry cast-iron skillet over medium heat, or wrap a stack in damp paper towels and microwave for 30 seconds before assembling. For extra crisp, lightly toast the outside of the fully wrapped burrito in the skillet for 30 seconds per side after filling.
4.Can I make these burritos ahead of time for meal prep? ▾
Definitely! Assemble fully cooked, cooled burritos, wrap each tightly in plastic wrap or aluminum foil, and store in the fridge for up to 4 days, or in the freezer for up to 3 months. Skip fresh toppings like lettuce or pico de gallo if prepping ahead, as those will get soggy during storage; add those right after reheating.
5.What’s the best way to reheat a frozen or refrigerated burrito? ▾
For refrigerated burritos, unwrap and microwave for 60-90 seconds, then crisp in a skillet for 1 minute per side to bring back tortilla texture. For frozen burritos, bake at 375°F for 25-30 minutes wrapped in foil, then unwrap and bake 5 more minutes to crisp the outside—no thawing needed.
6.I don’t have black beans on hand—what’s a good substitute? ▾
Rinsed, drained pinto beans are the closest swap, with a similarly creamy, mild flavor that pairs perfectly with seasoned beef. You can also use refried beans (spread a thin layer on the tortilla first to avoid sogginess), or skip beans entirely and add extra rice or roasted corn if you prefer a bean-free burrito.
7.How much filling should I add to each burrito to avoid it bursting while I wrap it? ▾
Stick to roughly ⅓ cup seasoned beef, ¼ cup rice, 2 tablespoons beans, and 2 tablespoons shredded cheese per 10-inch tortilla, plus a small handful of toppings. Overstuffing is the #1 cause of split burritos—leave a 1.5-inch border around the edges so you have enough room to tuck and roll tightly without filling squeezing out.
8.What seasoning do you recommend for the ground beef if I don’t have a pre-made taco packet? ▾
Mix 1 teaspoon chili powder, ½ teaspoon ground cumin, ½ teaspoon garlic powder, ½ teaspoon onion powder, ¼ teaspoon smoked paprika, a pinch of oregano, and salt and pepper to taste per pound of beef. Add 2 tablespoons of water as the beef finishes browning to help the seasoning coat every crumble evenly.
9.Can I make this recipe gluten-free? ▾
Yes, easily! Swap the regular 10-inch flour tortillas for certified gluten-free flour tortillas (look for ones made with rice or almond flour for the best flexibility), and double-check that your beef seasoning and canned black beans don’t have hidden gluten additives. All other core ingredients are naturally gluten-free, so no other swaps are needed.
10.Is there a way to make this recipe lower in dairy or dairy-free? ▾
Absolutely. Swap the shredded cheddar-jack for your favorite plant-based shredded cheese blend (look for one that melts well, usually formulated with coconut oil) or skip the cheese entirely and add a scoop of dairy-free sour cream or guacamole for creaminess. You won’t lose that rich, satisfying texture with these swaps.
11.What fresh zesty toppings pair best with these burritos? ▾
My go-to toppings are diced fresh tomato, shredded iceberg lettuce, a squeeze of lime, a dollop of sour cream, a spoonful of mild salsa, and a sprinkle of chopped cilantro. If you like a little heat, pickled jalapeños or a drizzle of hot sauce work beautifully, and sliced avocado adds a nice creamy contrast to the savory beef.
12.Why do my burritos always get soggy by the time I’m ready to eat them? ▾
Sogginess usually comes from three common mistakes: adding hot filling directly to cold tortillas, not draining excess fat from beef or excess liquid from beans, or adding watery fresh toppings too early. Let hot filling cool for 2-3 minutes before assembling, drain all wet ingredients well, and add fresh toppings right before serving.
13.Can I cook the ground beef filling in a slow cooker instead of on the stovetop? ▾
You can! Add raw ground beef, your seasoning blend, and ¼ cup of water to the slow cooker, break up the beef with a spoon, then cook on low for 3-4 hours. Drain any excess liquid before assembling burritos. This is a great hack if you want filling ready when you get home from work, just prep rice and beans ahead.
14.Do I need to toast the tortilla before adding filling? ▾
You don’t have to, but I strongly recommend it. Warming tortillas makes them much more flexible, so they won’t crack or split when you fold and roll them, and the light toasting brings out a nutty, warm wheat flavor that makes the burrito taste so much better. It only adds 30 seconds of total time per tortilla, so it’s well worth the step.
15.Can I add extra vegetables to the filling to make these more nutrient-dense? ▾
100%! Diced bell peppers, sautéed onion, roasted corn, diced zucchini, or even finely chopped spinach mix seamlessly into the ground beef filling as it browns. Just make sure to cook softer veggies first and drain off any excess moisture they release so they don’t make your burrito soggy, and cut veggies into small, bite-sized pieces.
16.What’s the proper way to fold a burrito so filling doesn’t fall out when I eat it? ▾
First, fold the left and right edges of the tortilla in toward the center, over the filling. Then, fold the bottom edge of the tortilla (the side closest to you) up tightly over the filling, tucking it under the ingredients to hold them in place. Keep firm, even pressure as you roll the burrito away from you until it’s sealed seam-side down.
17.Can I use corn tortillas instead of flour tortillas for this recipe? ▾
10-inch flour tortillas are ideal because they’re large, flexible, and sturdy enough to hold all the hearty filling, but you can use corn tortillas if you prefer. Note that standard corn tortillas are smaller, so you’ll make mini burritos, and double-warm them to prevent cracking—they won’t hold as much filling, so scale back portions per tortilla.
18.How do I get the cheese perfectly melted inside the burrito? ▾
Add your shredded cheese directly on top of the warm, hot beef filling right as you take the beef off the stovetop, before assembling. The residual heat from the beef will melt the cheese evenly into gooey, stringy layers as you build the burrito. If you toast the finished burrito in the skillet, that extra heat will also help melt cheese all the way through.
19.Can I scale this recipe up to feed a crowd for a game day or casual party? ▾
Absolutely! This recipe scales seamlessly—just multiply ingredients based on how many guests you’re serving, planning for 1-2 burritos per person. Set up a build-your-own burrito bar with warm fillings, cheese, and all the topping options, so guests can customize their burritos exactly how they like them, which cuts down on your prep work too.

Comments (12)

yesterday

Made these for our family taco night last night and OMG, total hit! I was worried the 20 minute cook time was too good to be true, but nope—had everything on the table before my oldest finished his math homework. My picky 7 year old ate two whole burritos! I added a little extra cheese and a dollop of sour cream on top, chef’s kiss.

2 hours ago

Wait I have a picky 7 year old too! Did you use any specific seasoning blend or just the regular taco seasoning from the grocery store?

30 minutes ago

So glad your crew loved them! Store-bought taco seasoning works perfectly here, no fancy blends required. If your kid likes extra cheese, feel free to stuff a little more inside before rolling too!

3 days ago

Game changer for my Sunday meal prep! I made a double batch on Sunday, wrapped them individually in foil, and grabbed one for lunch every day this week. They reheat so well in the microwave—no soggy tortillas, the beef stays juicy. Way better than the sad frozen burritos I used to buy.

2 days ago

Love that these work for meal prep! Pro tip: if you want to avoid even the slightest sogginess when reheating, wrap them in a damp paper towel for 30 seconds before flipping and heating for another minute.

2 days ago

As someone who can barely make toast without setting off the smoke alarm, this recipe was perfect! Super easy, cheap ingredients, done in 20 minutes. I added a handful of crushed tortilla chips inside for extra crunch and it slapped. 10/10 would make again for my dorm floor potluck next week.

5 days ago

I was skeptical a burrito this quick could actually be hearty, but wow—this stuffed me so much I didn’t even need a side. I swapped the white rice for cilantro lime rice I had leftover in the fridge and it worked perfectly. My partner said it’s better than the burritos from our local Mexican takeout spot!

3 days ago

Ooh the cilantro lime rice swap is genius! I have leftover rice from takeout tonight, I’m definitely stealing that idea for when I make these tomorrow.

2 days ago

The cilantro lime rice swap sounds incredible! So glad you both enjoyed it—leftover rice works amazing here and cuts down on cook time even more.

1 week ago

Made these for my son’s post-football practice dinner and he inhaled it! Said it was way better than the fast food burritos he begs for after games. Only note: I added a little diced jalapeño to the beef for a kick, which was great for the adults but I left a couple plain for the kids. Will absolutely be making these again.

5 days ago

The jalapeño add sounds chef’s kiss! I’m gonna throw in some pickled jalapeños next time I make these for extra tang.

1 week ago

Brought a batch of these cut in half to my office potluck last week and they were gone in 10 minutes flat! Multiple people asked me for the recipe, I just sent them the link. So easy to scale up for a crowd, and you can set out toppings so people can customize their own. Total crowd pleaser!

2 weeks ago

So happy this works with gluten free tortillas! I used the large gluten free flour tortillas from my grocery store, heated them up a little first so they didn’t crack when rolling, and they held together perfectly. The beef filling is so flavorful I didn’t even miss the regular tortillas at all. SO good!

1 week ago

Great tip about warming the gluten free tortillas first to prevent cracking! So many folks ask about gluten free swaps, I’m thrilled this worked out so well for you.

30 minutes ago

First time making burritos ever and they didn’t fall apart! Win in my book. I think I overstuffed the first one a little so filling oozed out the end, but that just made for a good snack while I finished rolling the rest. Cook time was spot on 20 minutes, no fancy skills needed.

5 minutes ago

Haha I always overstuff my burritos too! Pro tip: tuck the ends in first before rolling tight, it helps hold everything in even if you load it up.

just now

Love that you gave these a shot as a new cook! Overstuffing is a right of passage with burritos, that oozed out filling is always the best part anyway.

5 minutes ago

This is now in our permanent weeknight dinner rotation! Between work, school drop offs, and soccer practice, I don’t have time for meals that take an hour to make. 20 minutes, minimal cleanup, everyone in the house eats it without complaining? That’s a unicorn recipe as far as I’m concerned.

just now

So happy this made it into your rotation! Quick, low-fuss meals that the whole family loves are exactly what we aim for here—no fancy hoops to jump through, just good food.

2 hours ago

Used leftover pot roast I had in the fridge instead of ground beef and it was insane! Shredded it up, mixed it with the seasonings and beans, and it tasted just like the smothered burritos my abuela used to make. Will definitely be repurposing leftover roast for these from now on.

2 weeks ago

This recipe is so cheap to make! I already had most of the ingredients in my pantry, only had to grab ground beef and tortillas from the store. Fed me and my two roommates for under $10 total, which is way cheaper than ordering takeout. Tastes way better too, honestly.

1 week ago

Right?! I’m so tired of spending $15 on a single burrito from the shop down the street. I’m making these this weekend to save some cash this month.

just now

Wait I made these for breakfast this morning! Scrambled a couple eggs into the beef filling, added some crispy hash brown bits inside, and it was the best breakfast burrito I’ve ever had. Who says burritos are only for lunch and dinner?



