
best enchilada sauce

title 1
best enchilada sauce
⏱️ cook time 20 minutes
🍽️ servings 6
⚡ Difficulty easy

intro

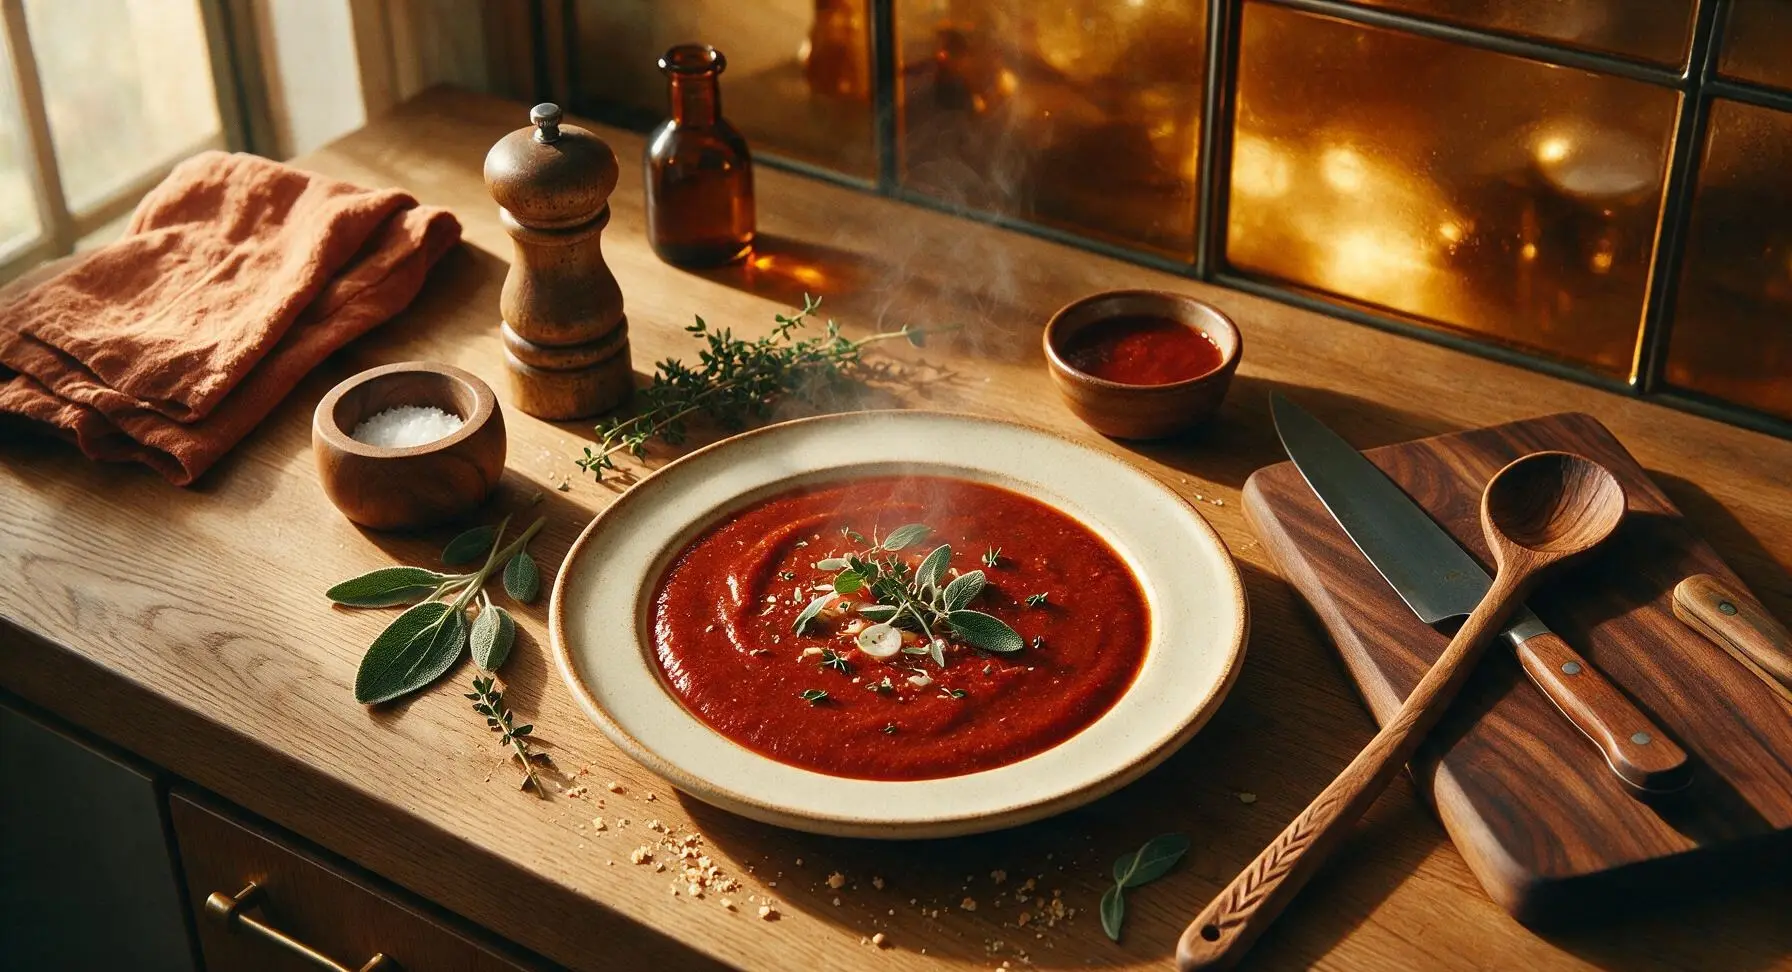
Deep, rich, perfectly balanced red enchilada sauce with no canned aftertaste—smooth, tangy, and boldly spiced to elevate enchiladas, casseroles, and chilaquiles for cozy family meals.

Ingredients
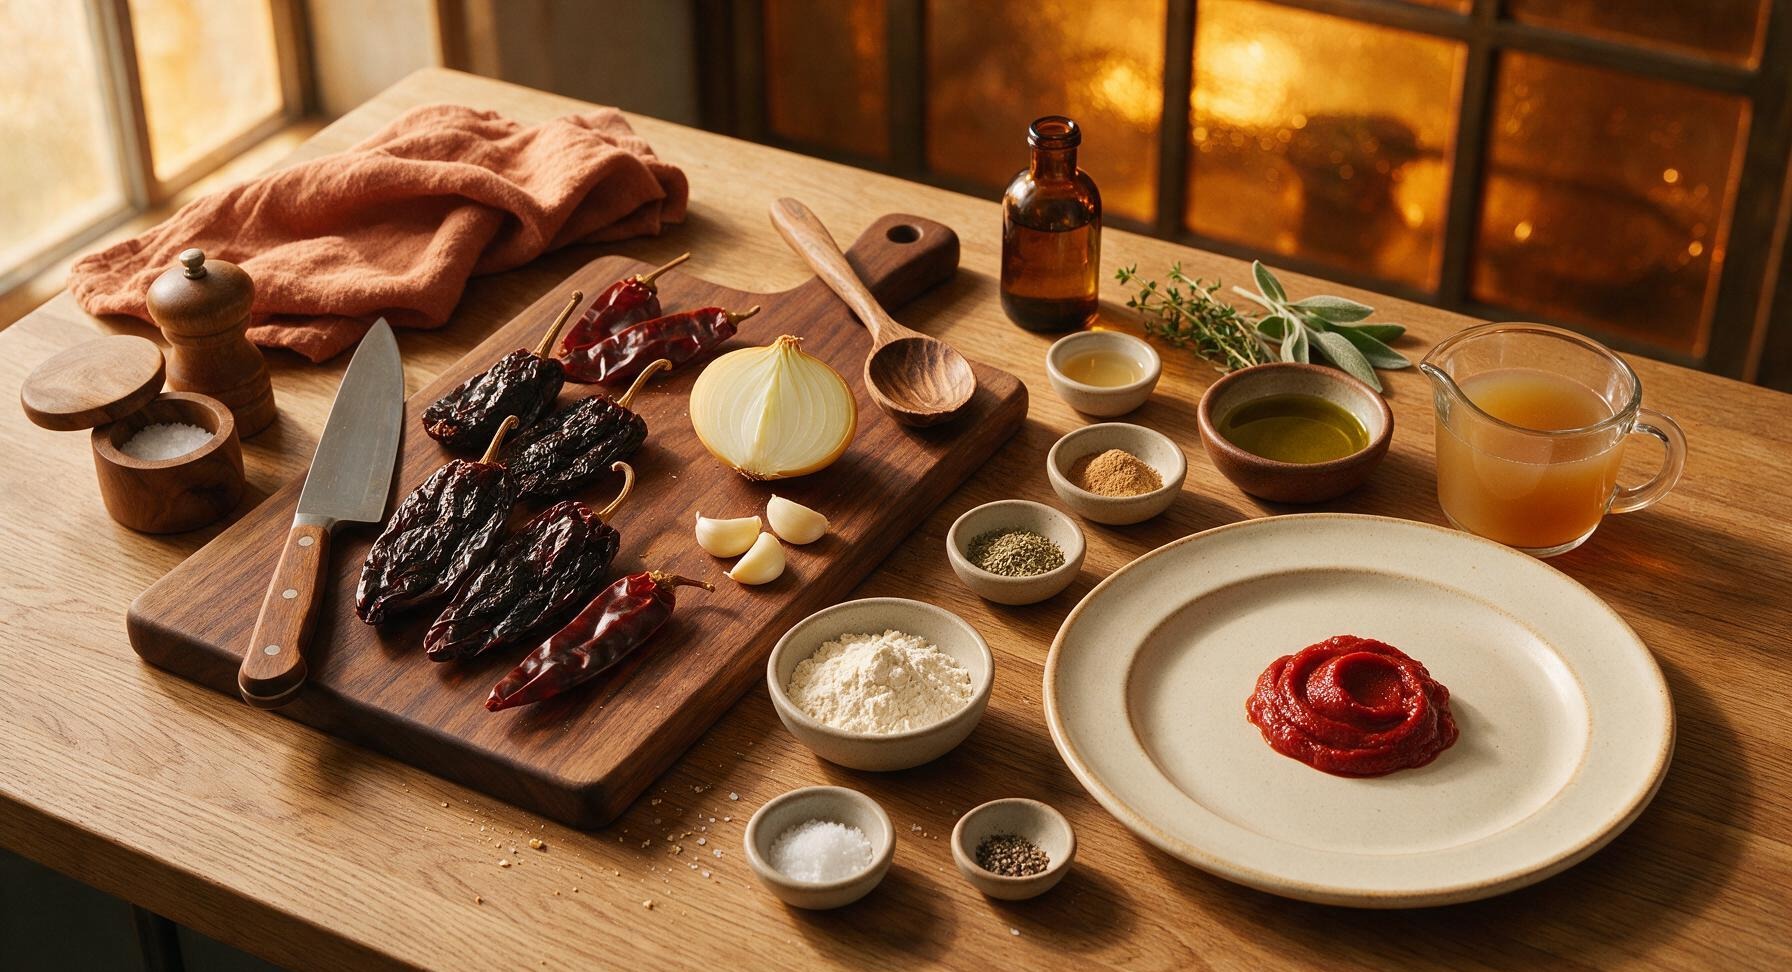
Dried ancho chiles 4 (50g, stemmed, seeded)
Dried guajillo chiles 2 (20g, stemmed, seeded)
Extra-virgin olive oil 2 tbsp
Yellow onion 1 small (100g, quartered)
Garlic cloves 3 (15g, peeled)
Tomato paste 2 tbsp (30g)
All-purpose flour 2 tbsp (18g)
Low-sodium chicken broth 3 cups (720ml)
Ground cumin 1 tsp
Garlic powder 1 tsp
Dried Mexican oregano 1/2 tsp
Unsweetened cocoa powder 1/4 tsp
Apple cider vinegar 1 tsp
Kosher salt 1 tsp
Freshly ground black pepper 1/4 tsp

Steps

1

Toast Dried Chiles

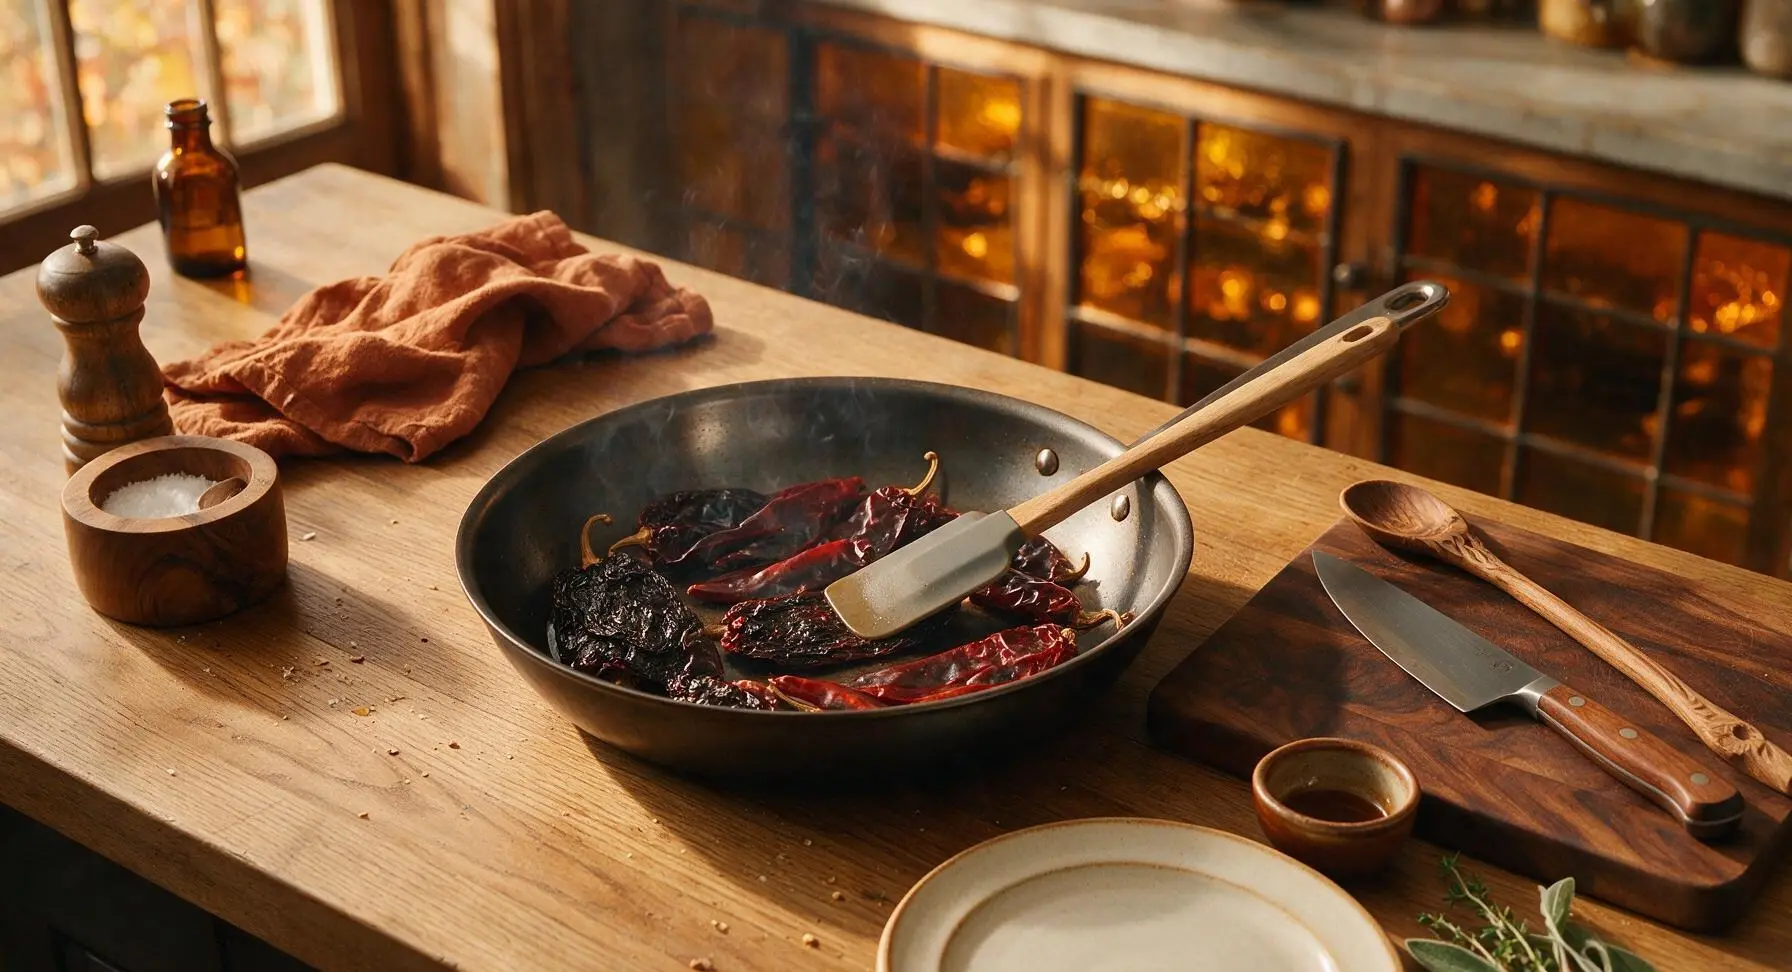
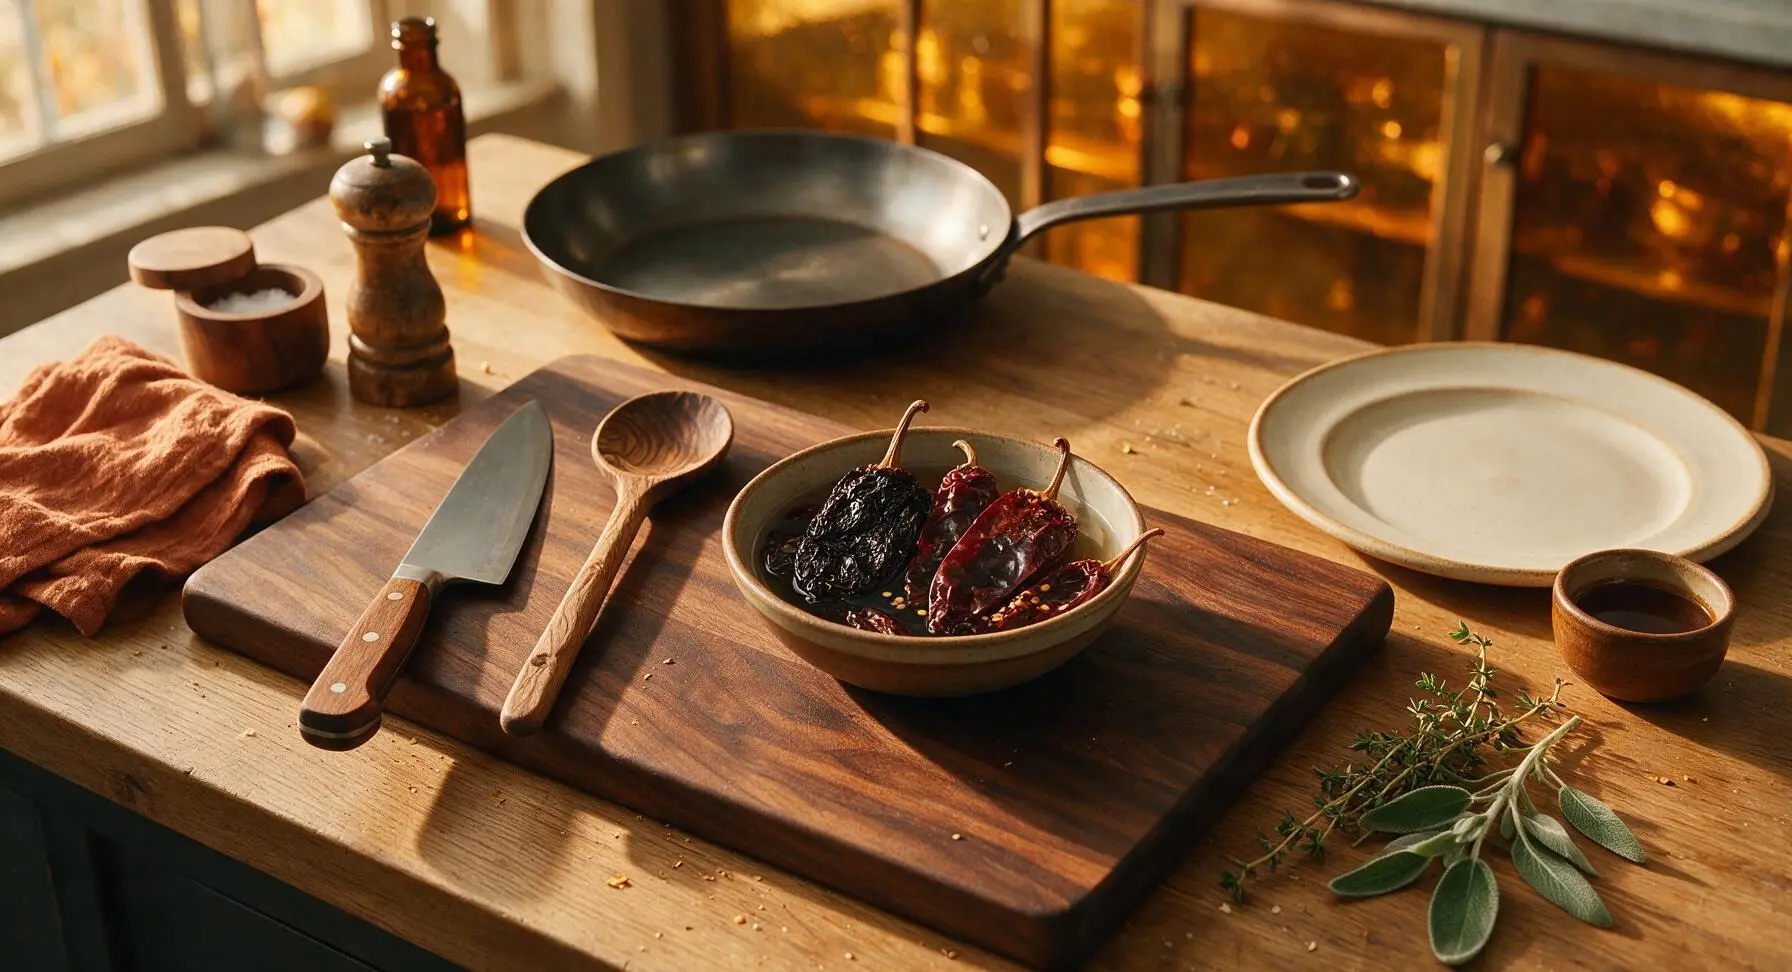
Heat the dry 20cm carbon steel skillet over medium heat for 2 minutes. Add the stemmed, seeded ancho and guajillo chiles in a single layer, toast for 30-45 seconds per side, pressing flat with the silicone spatula, until they release a warm, fruity aroma and develop slight dark blisters. Do not burn the chiles, as this will create a bitter, unpleasant sauce. Transfer toasted chiles to a small heatproof bowl, cover with 1 cup hot tap water, and set aside to rehydrate for 10 minutes.
Step 1
step1:Toast Dried Chiles
Step 1
step1:Toast Dried Chiles
2

Sauté Aromatics

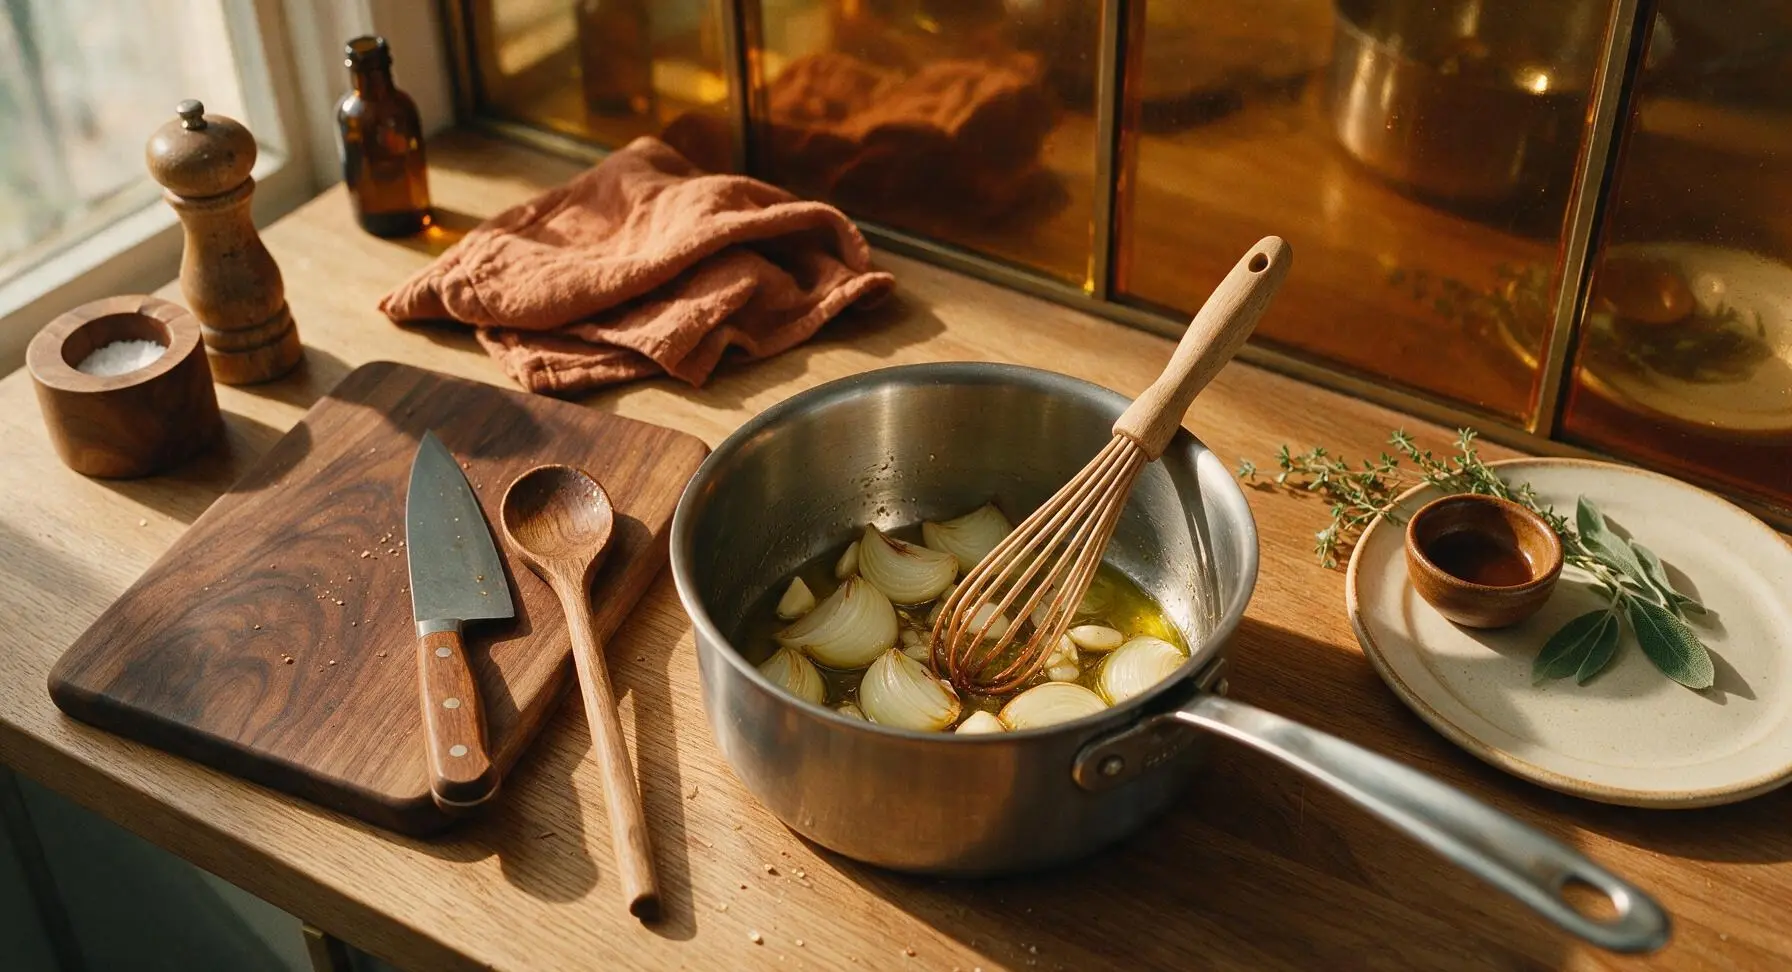
Heat 2 tablespoons of olive oil in the 3-quart stainless steel saucepan over medium heat. Add the quartered small yellow onion, cook for 4 minutes, stirring occasionally with the beechwood whisk, until soft and translucent at the edges. Add the peeled garlic cloves and cook for 1 minute more, until fragrant, taking care not to brown the garlic which will turn bitter.
Step 2
step2:Sauté Aromatics
3

Cook Tomato Paste

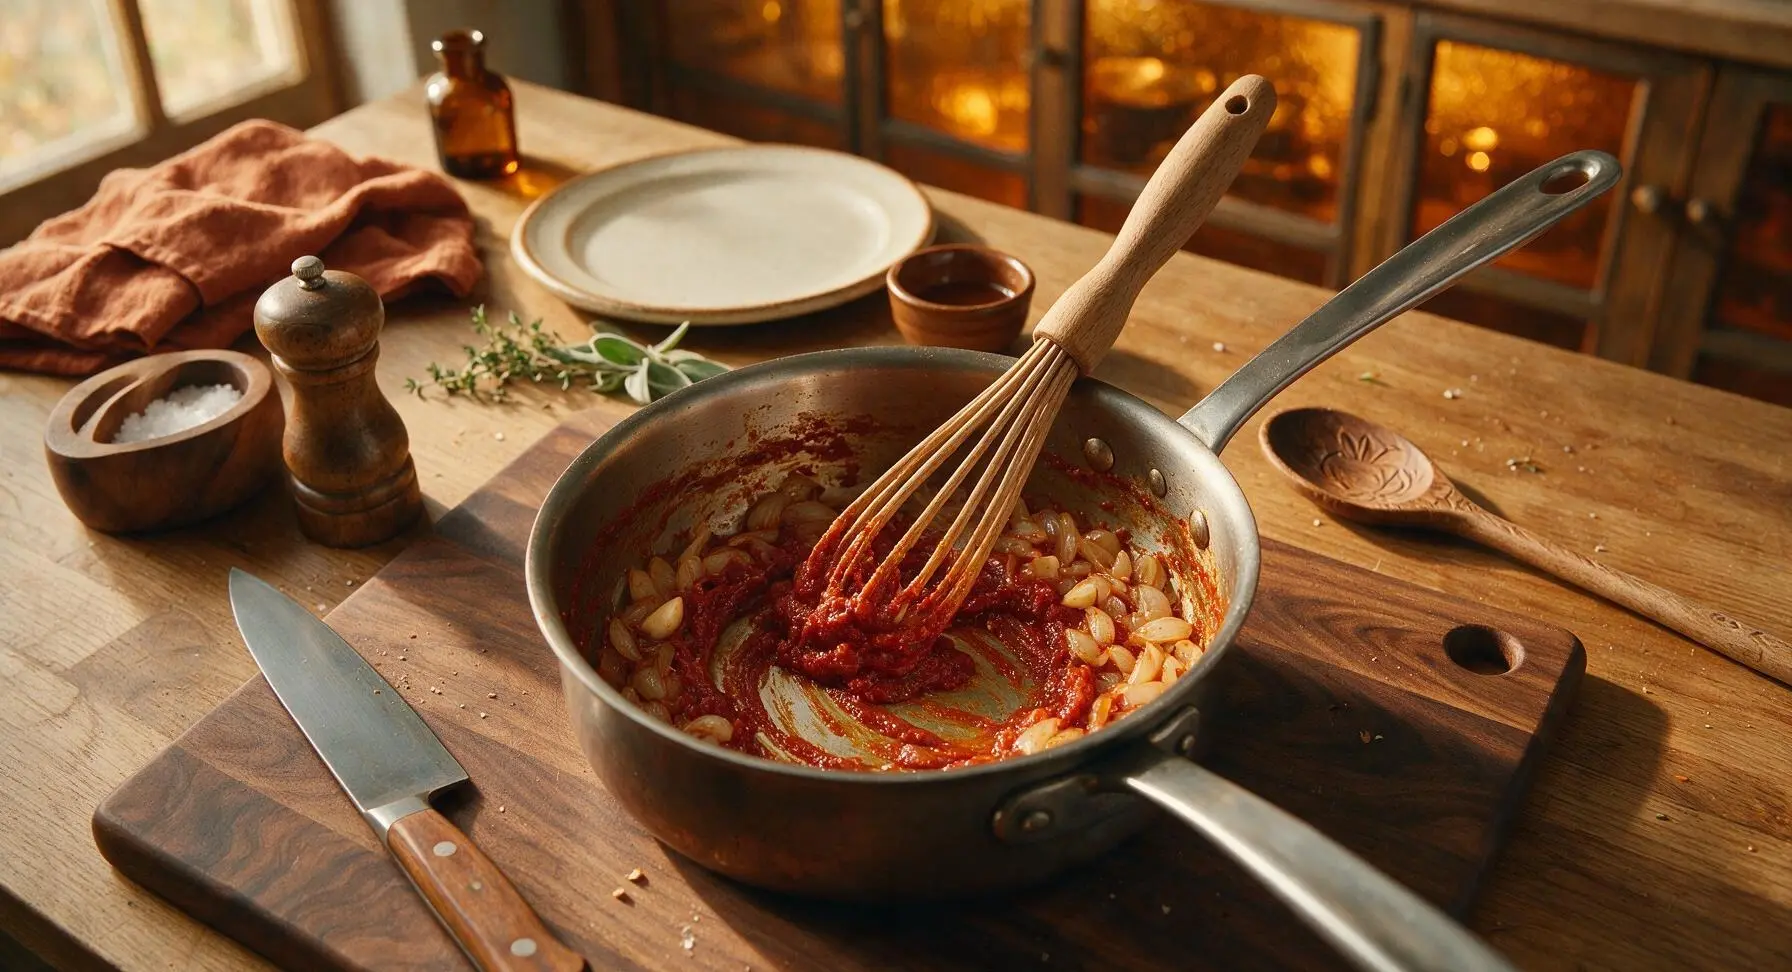
Add 2 tablespoons of tomato paste to the saucepan with the onion and garlic. Stir constantly with the beechwood whisk for 1-2 minutes, until the paste deepens from bright red to a dark, rich rust color and releases a sweet, concentrated, cooked tomato aroma. This step eliminates the raw, metallic taste common in uncooked canned tomato paste.
Step 3
step3:Cook Tomato Paste
4

Whisk Flour and Spices

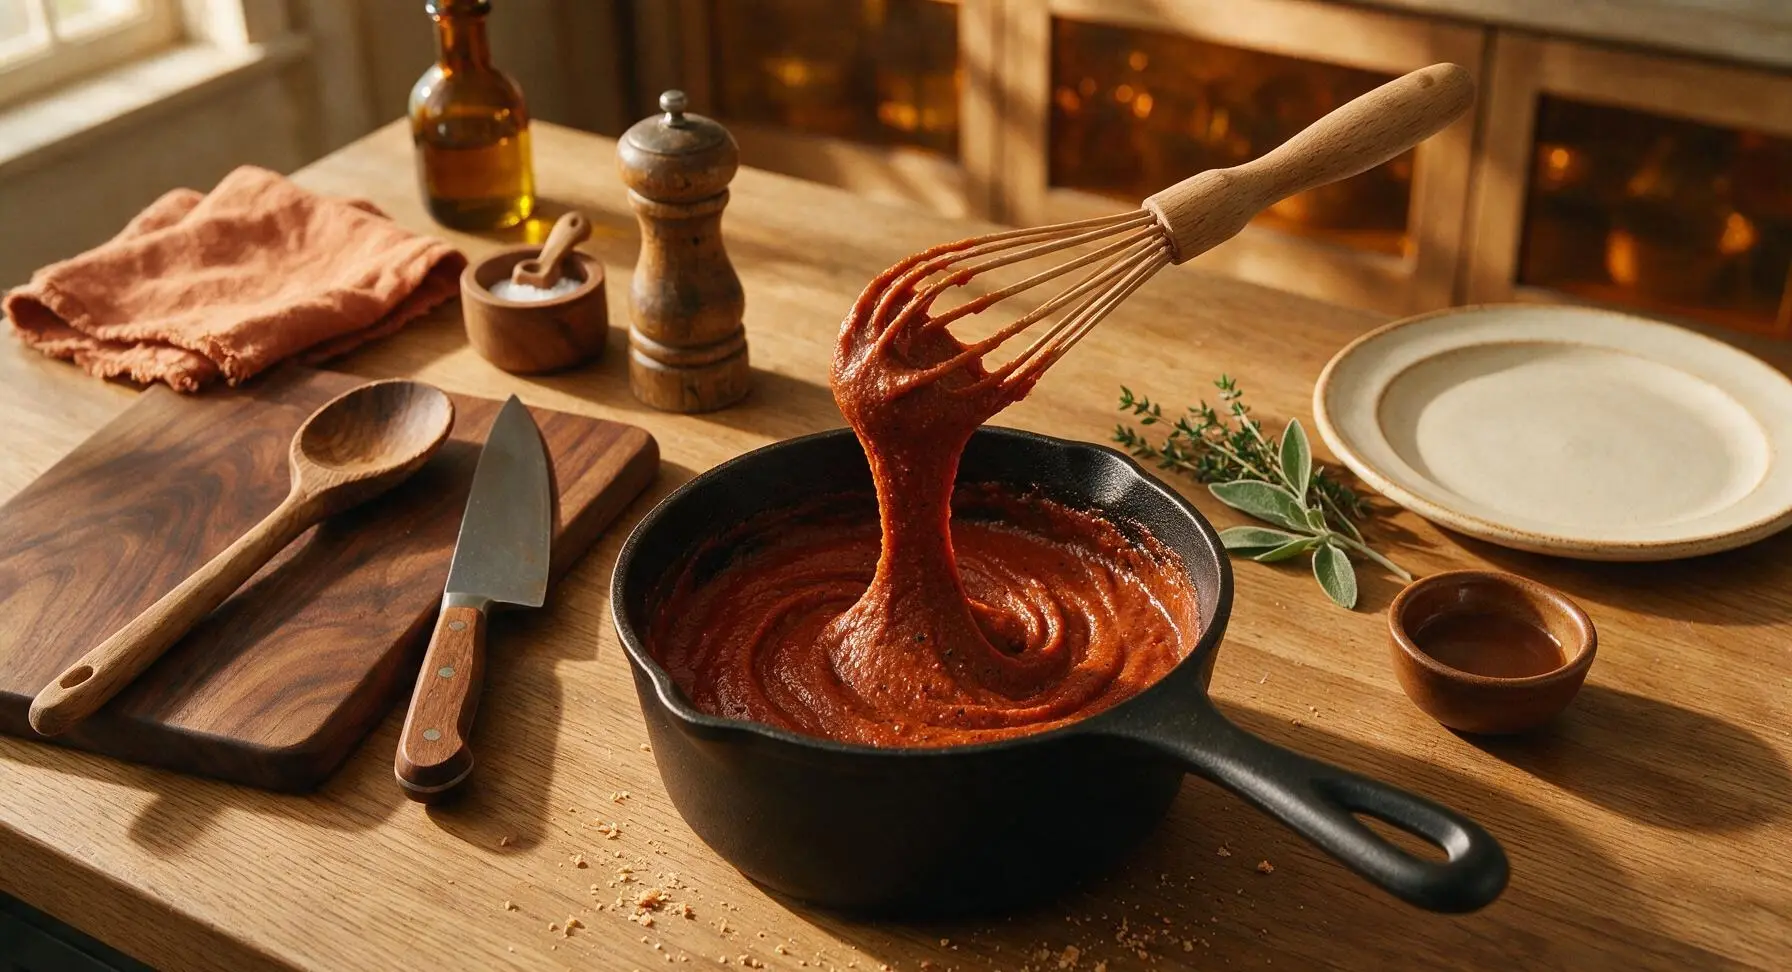
Sprinkle 2 tablespoons all-purpose flour, 1 teaspoon ground cumin, 1 teaspoon garlic powder, 1/2 teaspoon dried Mexican oregano, 1/4 teaspoon unsweetened cocoa powder, 1 teaspoon kosher salt, and 1/4 teaspoon black pepper over the tomato paste mixture. Whisk constantly for 1 full minute to form a thick, smooth roux, cooking out the raw flour taste. The mixture will be thick, paste-like, and free of dry flour lumps.
Step 4
step4:Whisk Flour and Spices
5

Simmer Sauce Base

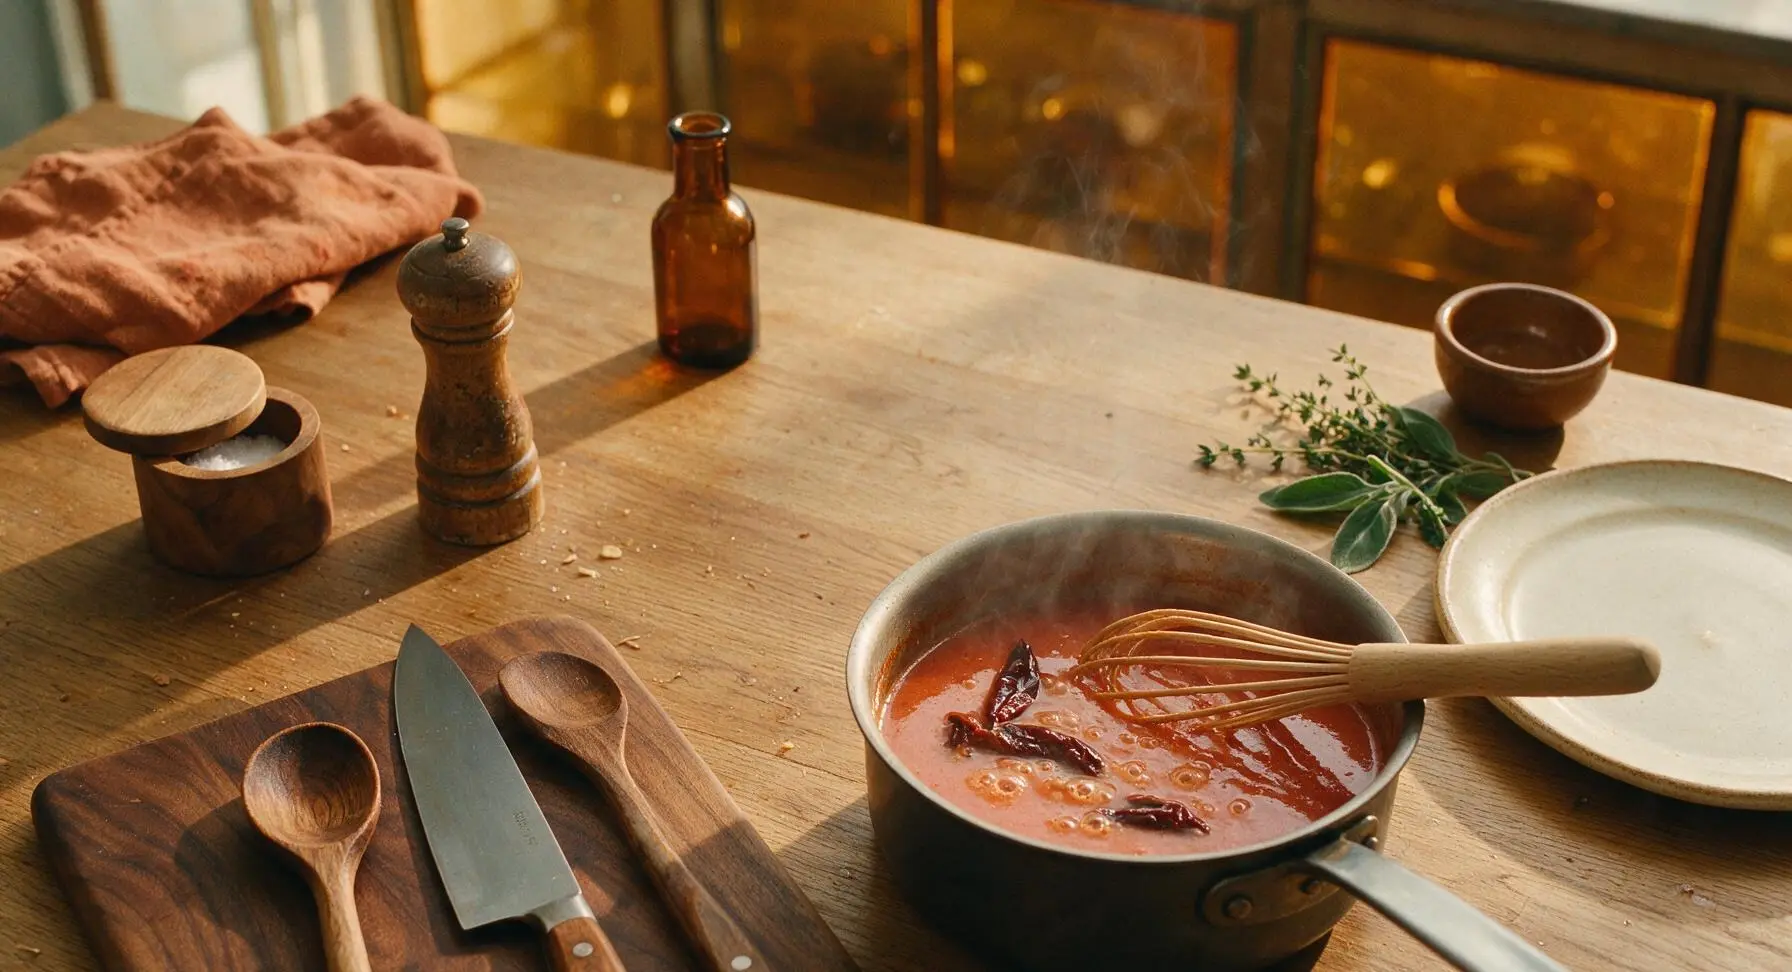
Slowly pour 3 cups of low-sodium chicken broth into the roux, whisking constantly to prevent lumps, until the mixture is completely smooth. Drain the rehydrated chiles, reserving 1/4 cup of the soaking liquid to thin the sauce if needed, and add the softened chiles to the saucepan. Bring the mixture to a gentle, low simmer, reduce heat to low, and cook for 10 minutes, stirring occasionally, until slightly thickened and the chiles are completely tender.
Step 5
step5:Simmer Sauce Base
6

Blend Until Silky

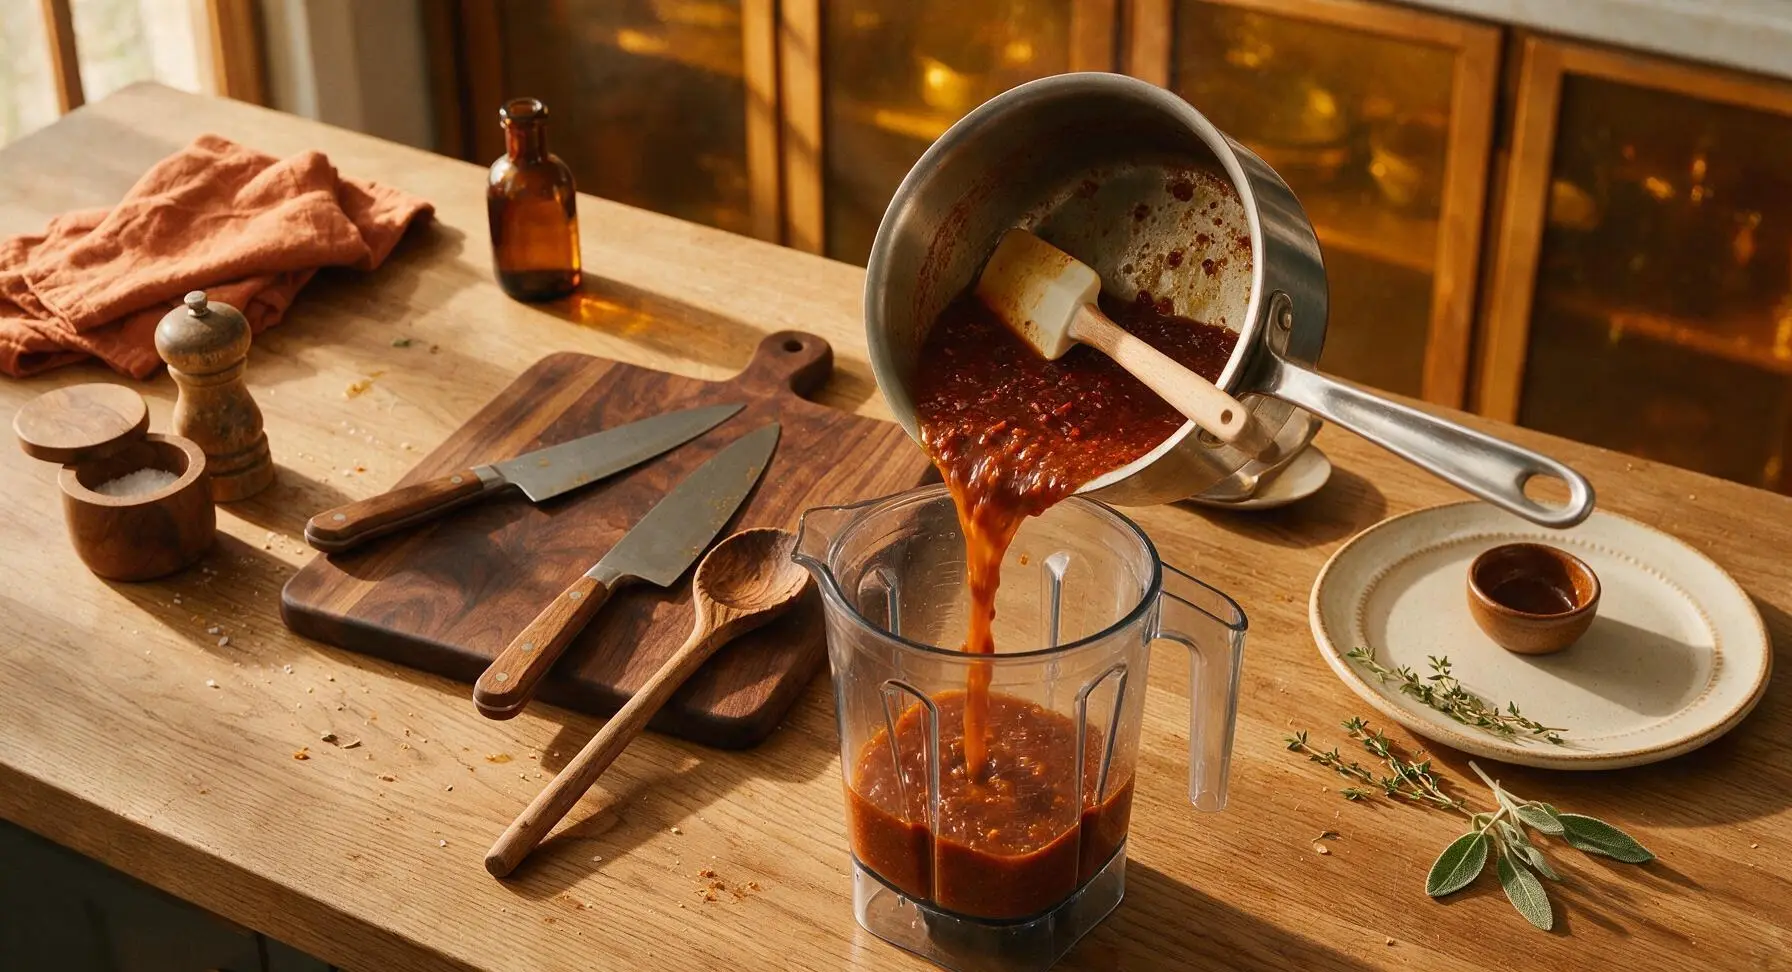
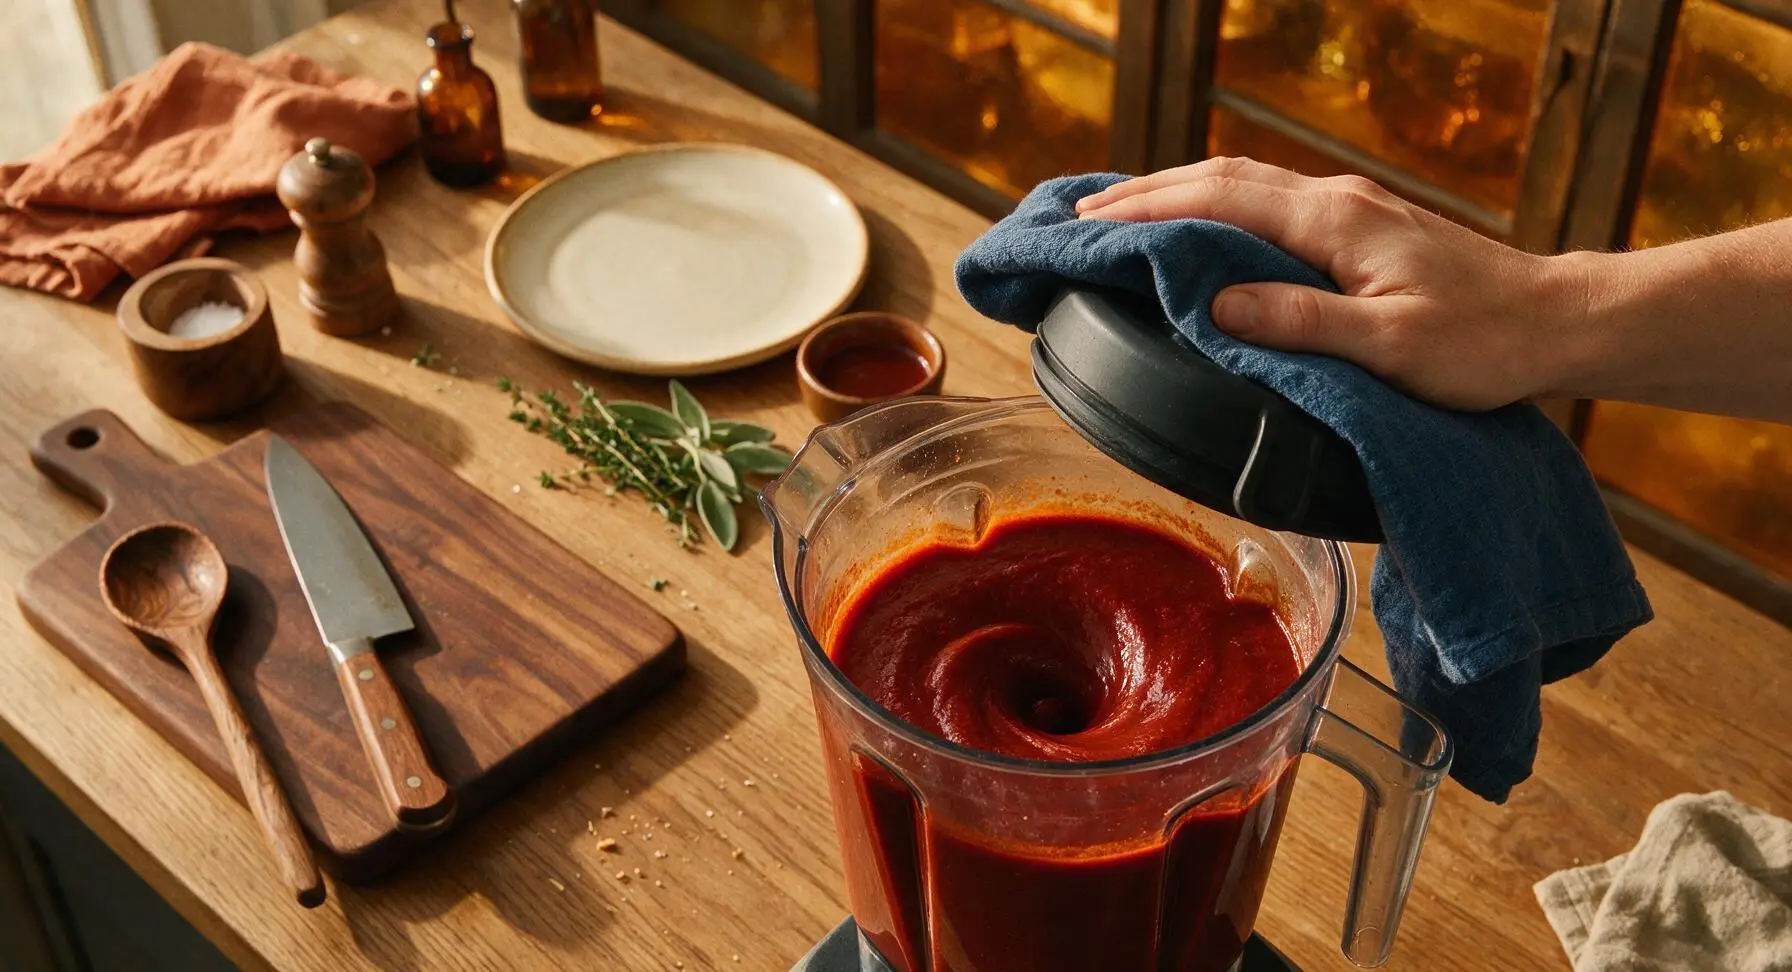
Carefully transfer the hot sauce mixture to the blender pitcher in 2 small batches. Remove the small center cap from the blender lid to allow steam to escape, cover the lid with the folded indigo linen towel to prevent hot splatters, and blend on high for 1-2 minutes per batch until completely smooth and no chile bits remain. Stir in 1 teaspoon apple cider vinegar, blending for 10 seconds to combine. Thin the sauce with reserved chile soaking liquid if it is thicker than heavy cream.
Step 6
step6:Blend Until Silky
Step 6
step6:Blend Until Silky
7

Strain and Finish

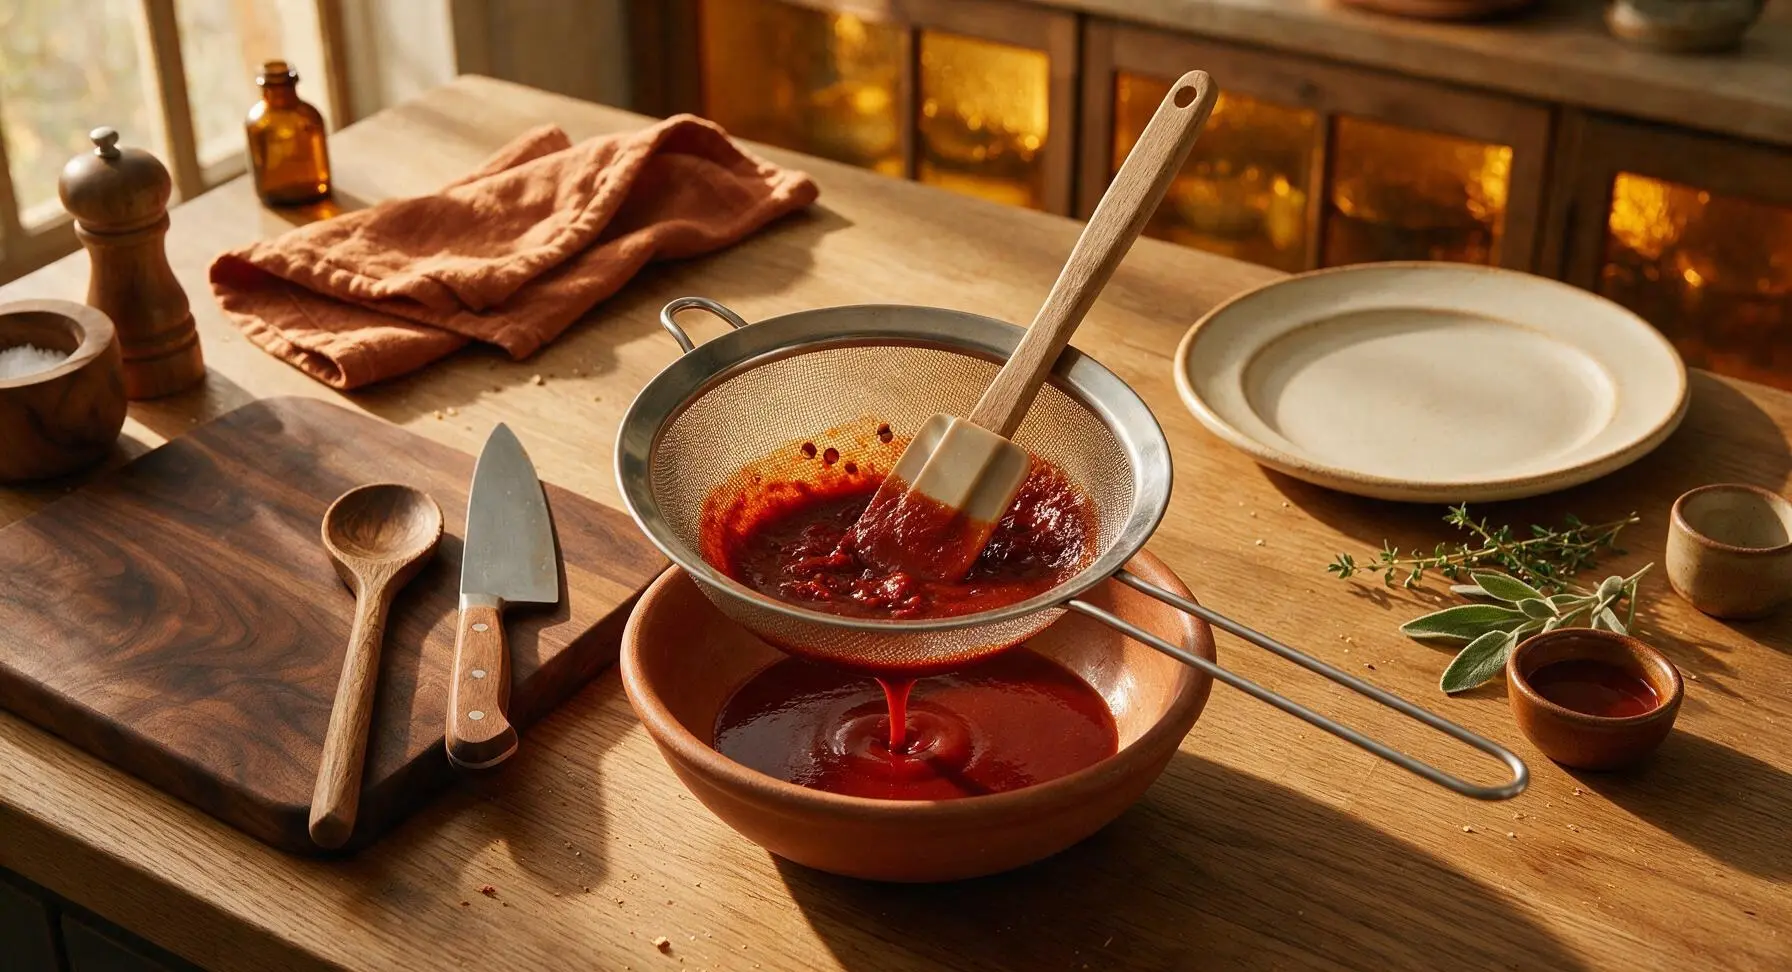
Place the fine-mesh stainless steel strainer over the clean terracotta serving bowl. Pour the blended sauce through the strainer, pressing gently with the silicone spatula to push all smooth liquid through, leaving behind any tough chile skins or tiny seed fragments. Discard the leftover solids, taste the sauce, and adjust salt if needed before using.
Step 7
step7:Strain and Finish

Tips

1.Never walk away while toasting dried chiles: they can burn in as little as 10 seconds once overheated, imparting a harsh, bitter flavor to the entire sauce that cannot be corrected. Stop toasting as soon as you smell a warm, fruity chile aroma and see faint, light brown blisters on the skins.
2.Always vent the blender when processing hot liquids: trapped steam builds pressure quickly and can blow the lid off, causing dangerous splatters and burns. Remove the small center cap from the blender lid and hold a folded kitchen towel over the opening while blending.
3.This sauce freezes perfectly for up to 3 months with no texture loss: portion it into 1-cup airtight containers or ice cube trays to have ready for quick weeknight enchiladas, chilaquiles, or taco bakes, no canning required.


✨ You May Also Like

Main Course
🍜 United Kingdom

A showstopping classic of tender seared beef, savory mushroom duxelles, and crisp prosciutto wrapped in flaky golden puff pastry, baked to juicy perfection.

⏱️ 2 hours 1Main Course ★ 4.7
Main Course
🍜 India

Tender charred marinated chicken simmered in a rich, spiced creamy tomato sauce, this iconic Anglo-Indian curry pairs perfectly with basmati rice or warm naan.

⏱️ 50 minuteMain Course ★ 4.6
Main Course
🍜 Thailand

Classic tangy, sweet, and savory Thai stir-fried rice noodles with shrimp, tofu, and crunchy garnishes, balancing all five core Thai flavor profiles.

⏱️ 30 minuteMain Course ★ 4.5
Main Course
🍜 United Kingdom

Crispy golden beer-battered cod and fluffy double-fried chips, served with tangy tartar sauce and malt vinegar: the timeless, beloved British pub comfort classic.

⏱️ 45 minuteMain Course ★ 4.7
Main Course
🍜 Mexico

Smoky, chile-marinated pork tacos with caramelized pineapple, fresh cilantro, and lime: a beloved classic Mexican street food perfect for casual summer gatherings.

⏱️ 1 hour 45Main Course ★ 4.8
Main Course
🍜 United States

Crunchy Fritos corn chips layered with savory beef chili and melted cheddar, topped with cool, zesty fixings for a beloved, cozy Tex-Mex comfort food.

⏱️ 35 minuteMain Course ★ 4.8

best enchilada sauce:Frequently Asked Questions

1.Why use whole dried ancho and guajillo chiles instead of pre-made chili powder or canned sauce? ▾
Whole dried chiles deliver that deep, fruity, smoky depth with zero stale, metallic canned aftertaste. Anchos add mild, raisiny sweetness, while guajillos bring bright, tangy warmth; toasting them fresh unlocks aromatic oils that pre-ground chili powder (which loses flavor fast on shelves) simply can’t match.
2.Do I need to remove all the seeds and ribs from the dried chiles before using them? ▾
For the smoothest, least harsh sauce, snip off stem ends, shake out most loose seeds, and pull out thick inner ribs before toasting. Leaving a tiny pinch of seeds is totally fine if you want subtle extra heat, but too many seeds and ribs will make the sauce bitter and gritty even after blending.
3.My sauce turned out gritty after blending—how do I fix that for next time? ▾
Gritty texture almost always comes from skipping the straining step, or not rehydrating chiles long enough. After blending on high for 60 seconds until completely smooth, pour the sauce through a fine-mesh sieve, pressing with a spatula to extract all flavorful pulp and leaving tough, fibrous chile skins behind for a restaurant-smooth finish.
4.How long does this sauce keep in the fridge, and can I make it ahead? ▾
This sauce actually tastes better the day after you make it, as the spices and chile flavors meld together beautifully. Let it cool completely, store in an airtight glass jar, and it will stay fresh in the fridge for up to 1 week. Give it a quick stir before using, as it will thicken slightly as it chills.
5.Is this sauce very spicy? I’m serving it to kids who don’t like strong heat. ▾
This base recipe is very mild, roughly on par with a mild jarred restaurant salsa, since ancho and guajillo chiles are both low on the Scoville heat scale. For extra kid-friendliness, remove every last seed and rib from the chiles; add a pinch of cayenne or dried arbol chile if you want to kick up heat for adult servings.
6.Why does the recipe call for extra-virgin olive oil instead of neutral canola or vegetable oil? ▾
Extra-virgin olive oil adds a subtle, fruity, peppery base that complements earthy chiles far better than flavorless neutral oils. You only need a small amount to sauté the onion and garlic, and it helps carry the fat-soluble chile flavors so the sauce tastes rich and rounded instead of flat or watery.
7.Can I freeze this sauce for quick weeknight meals down the line? ▾
Absolutely—this sauce freezes beautifully for up to 3 months with no major texture or flavor loss. Portion it into 1 or 2-cup freezer-safe containers or heavy-duty zip-top bags, squeeze out excess air, and label clearly. Thaw it in the fridge overnight, then give it a quick whisk to restore its smooth consistency before using.
8.Is toasting the dried chiles before rehydrating really a necessary step? ▾
That quick 30 to 60 second toast in a dry skillet over medium heat is non-negotiable for deep, well-rounded flavor. It wakes up the dormant aromatic oils in the chiles, adding a subtle toasty, smoky note you can’t get from soaking alone. Just watch them closely—if they burn, they’ll turn unpleasantly bitter and ruin the sauce.
9.I don’t have yellow onion on hand—what’s a good substitute? ▾
Yellow onion is ideal here because it has a balanced, sweet-savory flavor that softens beautifully when sautéed without harsh sharpness. In a pinch, white onion works as a 1:1 substitute, though it has a brighter, sharper bite. Skip red onion for this recipe, as it adds an odd purple tint and overly bold, sweet flavor that clashes with the chiles.
10.My sauce tastes overly bitter or tangy—how do I balance the flavors? ▾
A subtle bright tang is part of classic red enchilada sauce’s signature profile, but if it tastes overly sharp or bitter, stir in 1/4 teaspoon of brown sugar at a time to round out flavors, plus a tiny extra pinch of kosher salt. A splash of low-sodium chicken or vegetable broth also mellows harsh notes if the sauce is over-concentrated.
11.Can I use jarred pre-minced garlic instead of fresh garlic cloves for this sauce? ▾
Fresh garlic cloves are always best for this sauce, as pre-minced jarred garlic has a flat, sour, preserved flavor that can throw off the sauce’s carefully balanced profile. If you’re in a total pinch, use 1/2 teaspoon of jarred minced garlic per fresh clove, but fresh will always give you a brighter, cleaner, more aromatic end result.

Comments (9)

2 days ago

OMG this red enchilada sauce is a total game changer! I’ve been buying the canned stuff for years because I thought homemade would be too much work, but 20 minutes?? Whipped it up last night for taco night with the kids, they ate every last bite of their cheese enchiladas and asked for seconds. No weird preservatives, way brighter flavor than store bought, 10/10 will make every week for meal prep!

yesterday

Wait did you freeze any of it? I’m wondering if it holds up for batch cooking!

2 hours ago

So glad your family loved it! This sauce freezes beautifully for up to 3 months—just let it cool completely, pour into freezer-safe bags or jars, and thaw in the fridge when you’re ready to use it. Perfect for meal prep!

5 days ago

Super easy recipe, came together way faster than I expected! The only thing is I wished it had a little more heat—next time I’m gonna add an extra dried arbol chile to kick it up a notch. Used it for chicken enchiladas for our neighborhood potluck last weekend and got so many compliments, people were asking for the recipe left and right!

3 days ago

I did the extra arbol chile trick when I made a batch last weekend! Game on, the heat level was perfect for my household, I also tossed in a pinch of smoked paprika for extra depth.

2 days ago

Love that customization! Adding extra arbol chiles or a pinch of cayenne is such a great way to adjust the heat to your taste—so glad it was a hit at your potluck!

1 week ago

SO good. I’m a total beginner in the kitchen and I didn’t mess this up at all! My wife was shocked I made enchilada sauce from scratch instead of grabbing a can from the grocery store. We used it for smothered burritos last night and it tasted exactly like the sauce from our favorite local Mexican spot. No notes.

5 days ago

That’s what we love to hear! This recipe is designed to be totally approachable for new cooks, so it makes me so happy it turned out restaurant-worthy for you. Great job!

3 days ago

Finally, an enchilada sauce recipe that doesn’t use wheat flour as a thickener! I swapped the regular all purpose for a gluten free 1:1 flour and it worked perfectly, no weird gritty texture or off flavor. Made a big pan of veggie enchiladas for my book club and everyone went back for seconds, even the people who don’t eat GF!

2 days ago

Thanks for the GF tip! I’ve been looking for a swap that doesn’t ruin the texture, I’m making this for my celiac sister this weekend and this is such a relief to know it works!

30 minutes ago

Wait why did I ever pay for jarred sauce?? I had all the spices in my dorm pantry already, didn’t even need to run to the store. Cooked it up in my little electric hot pot in like 18 minutes flat, tossed it with some frozen tortilla strips and cheese for a quick lazy enchilada bowl and it’s chef’s kiss. So cheap to make too!

5 minutes ago

Love that dorm-friendly hack! It’s wild how much money you can save making staples like this from scratch, especially when you already have the spices on hand. That enchilada bowl sounds delicious!

2 weeks ago

I’ve been making enchilada sauce the old school way for 40 years, soaking dried chiles for hours and all that, and I have to say this quick 20-minute version is just as tasty! Made it for our big Sunday family dinner last week, served over cheese and onion enchiladas with rice and beans, and even my picky grandson cleaned his plate. I’ll be keeping this recipe in my rotation for busy weeknights for sure.

1 week ago

That’s such a ringing endorsement coming from someone who’s made the traditional version for decades! I’ve been intimidated to try any quick version but I’m definitely giving this a go now.

yesterday

Made a double batch of this on Sunday to use throughout the week! Did enchilada-stuffed bell peppers on Monday, huevos rancheros with the sauce on Tuesday, and tonight I’m mixing a little into sour cream for a taco dip. It’s so versatile, way better than the canned stuff I used to stock in my pantry. 10/10, zero complaints.

2 hours ago

Really solid recipe! I added a tablespoon of cocoa powder like I do with my old mole recipe and it gave it such a nice deep, rich flavor that people went crazy for at my office potluck today. Only reason it’s not 5 stars is I had to add a little extra salt to taste, but that’s just personal preference. Will definitely make again.

just now

I was so nervous to make this because I’ve never made any kind of sauce from scratch before, but the instructions were so easy to follow! It came out smooth, no lumps, tasted exactly like the sauce I get at my go-to taco shop. I’m so proud of myself, I already texted the recipe to my mom and my best friend. Can’t wait to make actual enchiladas with it this weekend!



