
best way to grill fish

title 1
best way to grill fish
⏱️ cook time 10 minutes
🍽️ servings 4
⚡ Difficulty medium

intro

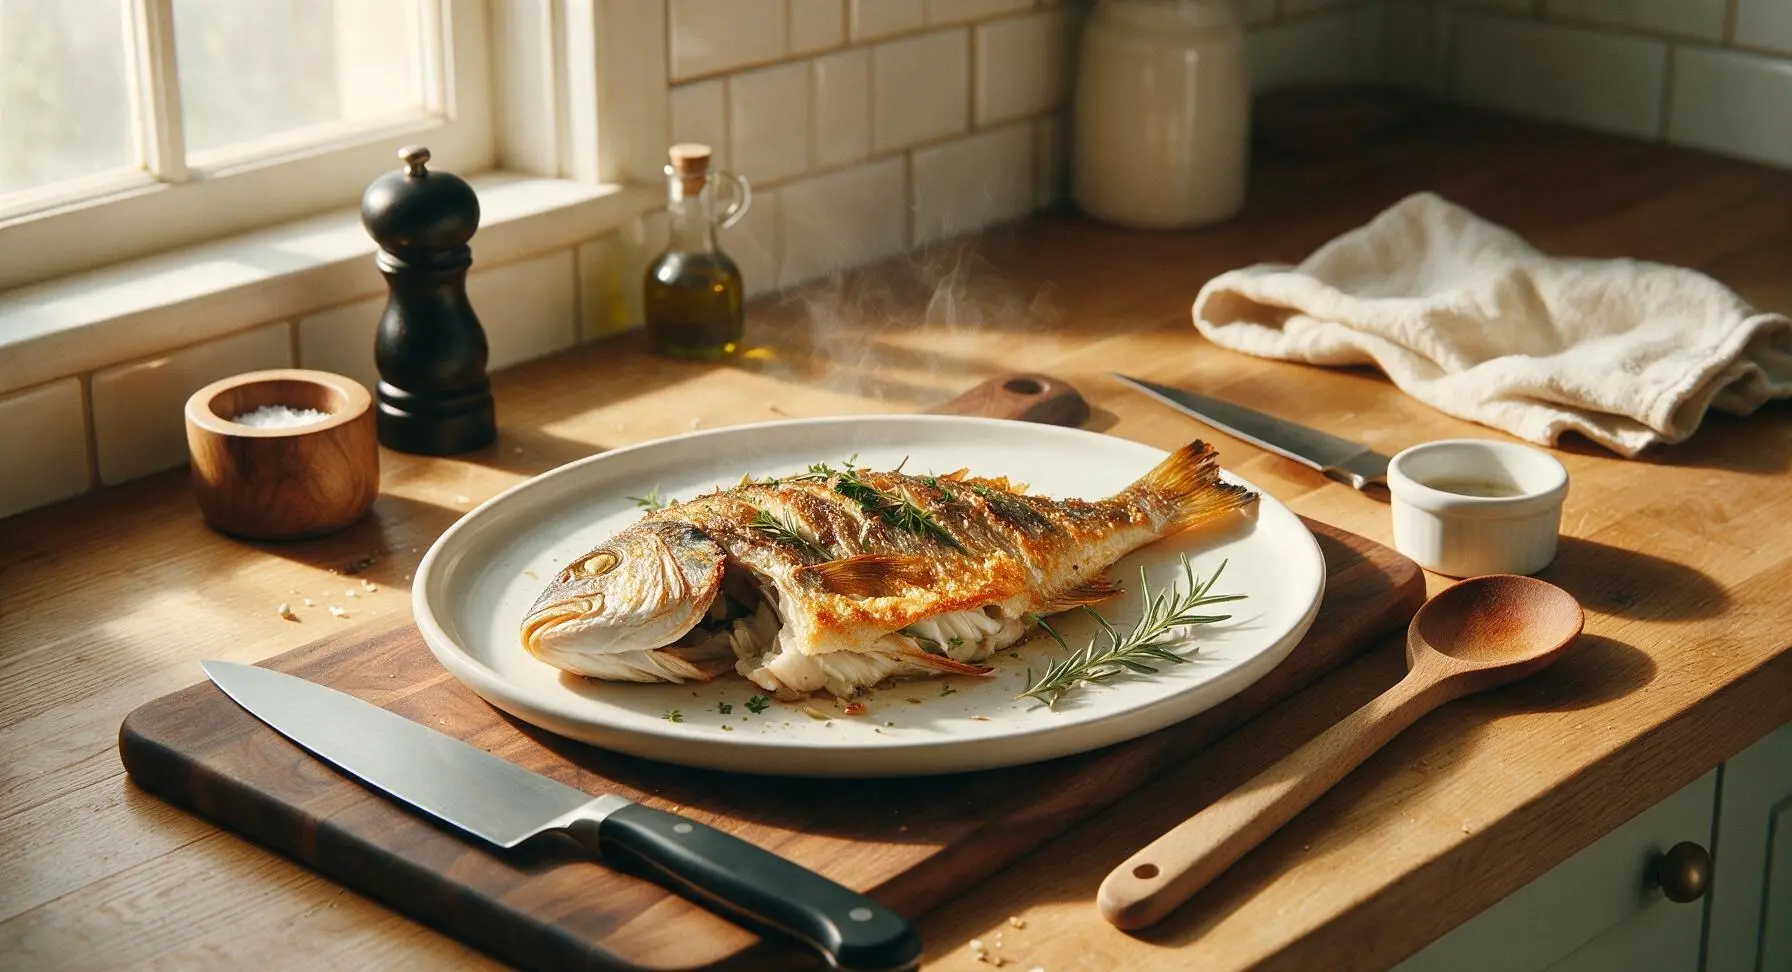
Shatteringly crisp-skinned, flaky moist grilled fish with bright lemon and herb notes, cooked without sticking over hot coals—the perfect light, showstopping centerpiece for summer outdoor meals.

Ingredients
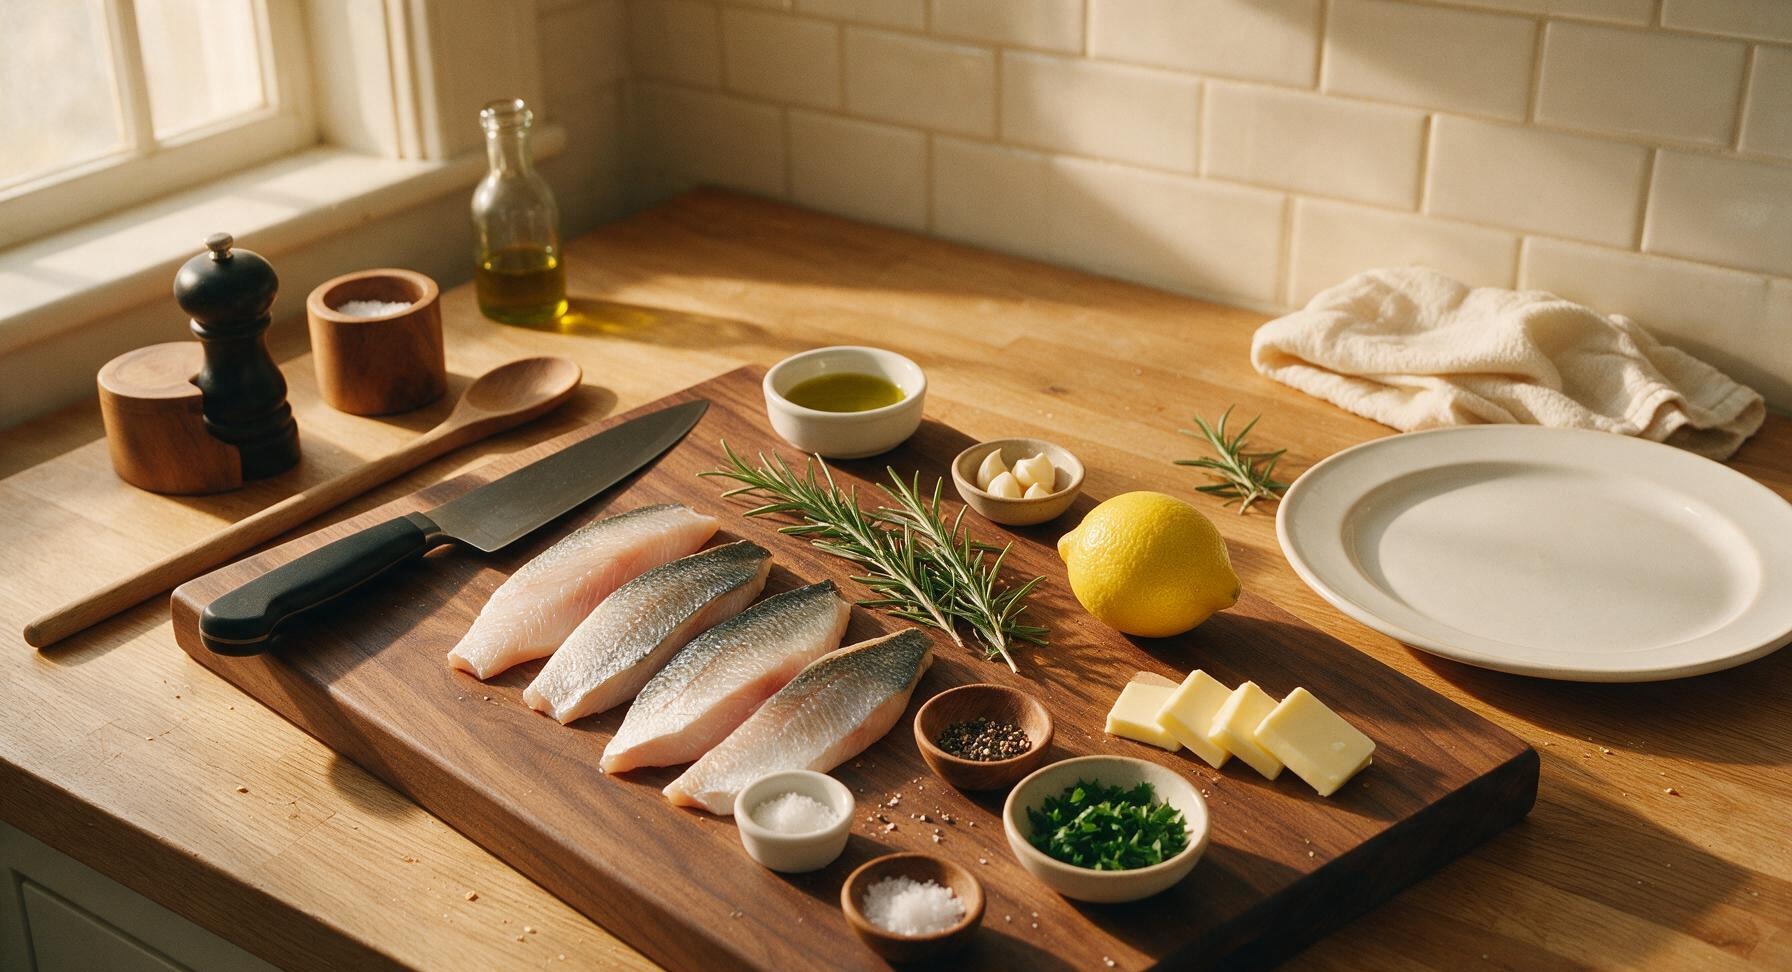
Skin-on sea bass fillets (6oz each, pin bones removed) 4 fillets (24oz total)
Extra-virgin olive oil 1/4 cup
Kosher salt 1.5 tsp
Freshly cracked black pepper 1/2 tsp
Garlic cloves, crushed 3 cloves
Fresh rosemary sprigs 3 sprigs
Fresh flat-leaf parsley, chopped 2 tbsp
Large lemon 1 whole
Unsalted butter, cut into 4 small pats 2 tbsp
Flaky sea salt, for finishing 1/4 tsp

Steps

1

Pat Fish Completely Dry

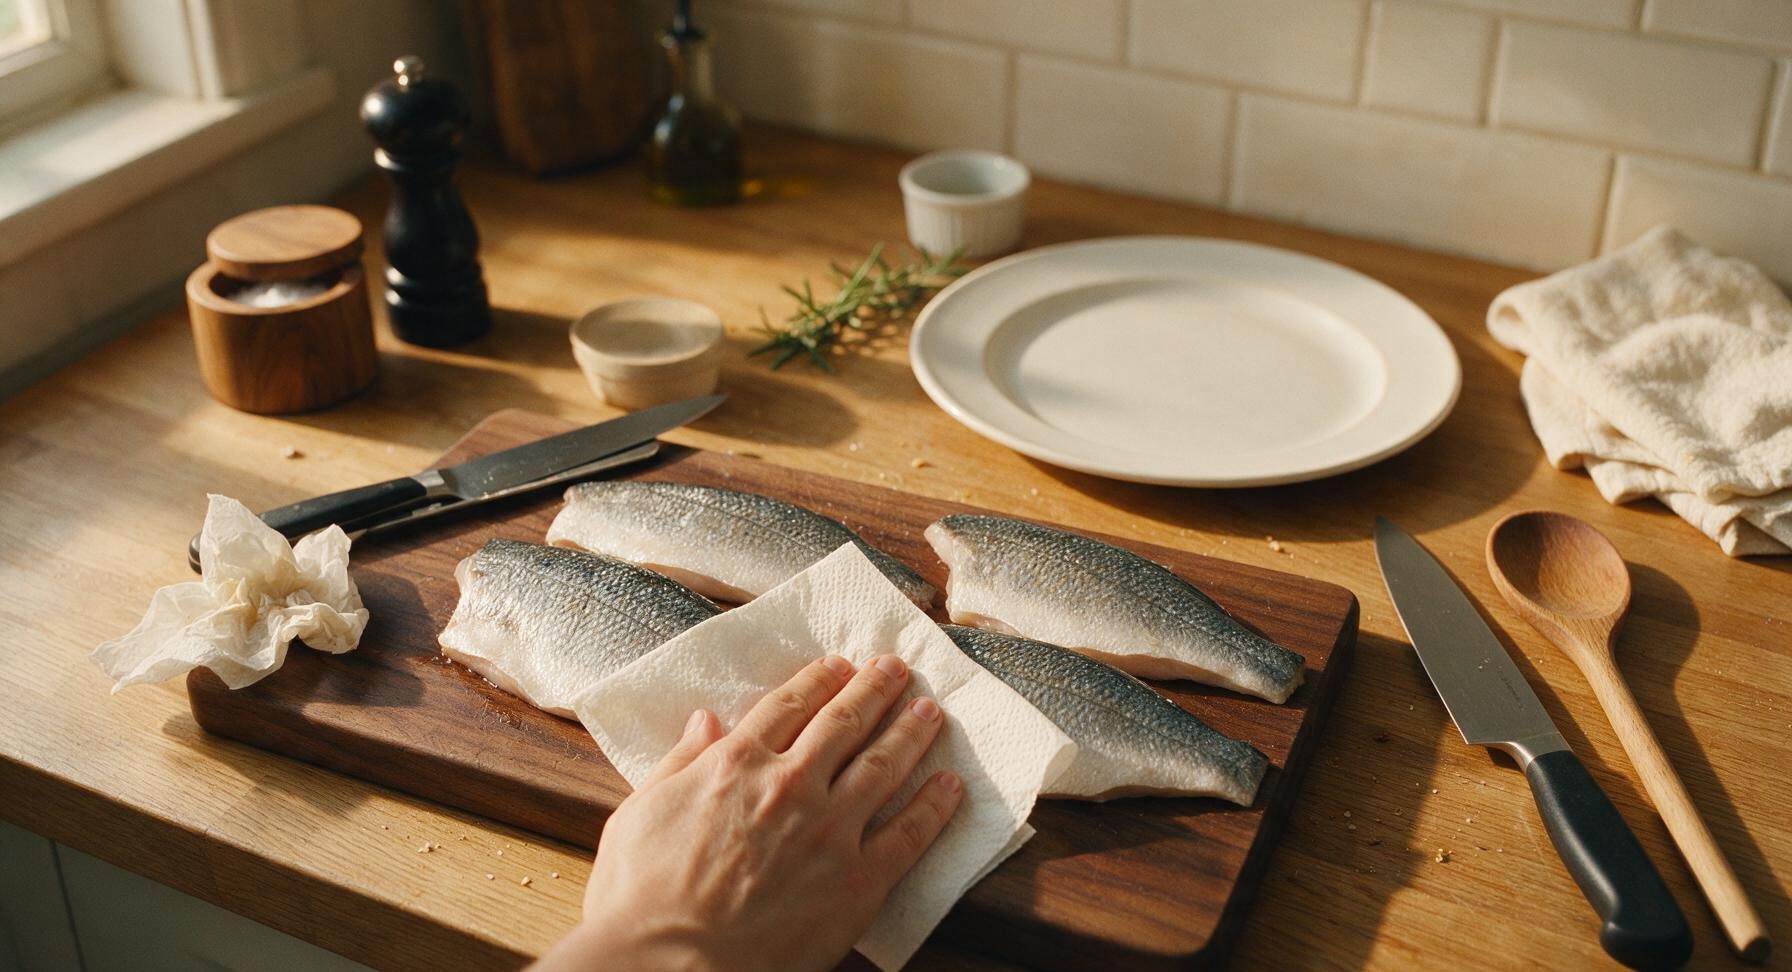
Place the 4 skin-on sea bass fillets on the honey-toned teak cutting board, skin side up. Use a half-sheet of unbleached paper towel to firmly pat every inch of the skin and flesh dry, pressing gently to absorb all surface moisture. For extra crispness, leave the fillets uncovered on the board for 10 minutes at room temperature to air-dry further; the skin will feel matte and slightly tacky to the touch, not damp or slimy, and will reach approximately 60°F for even cooking.
Step 1
step1:Pat Fish Completely Dry
2

Season Fillets Evenly

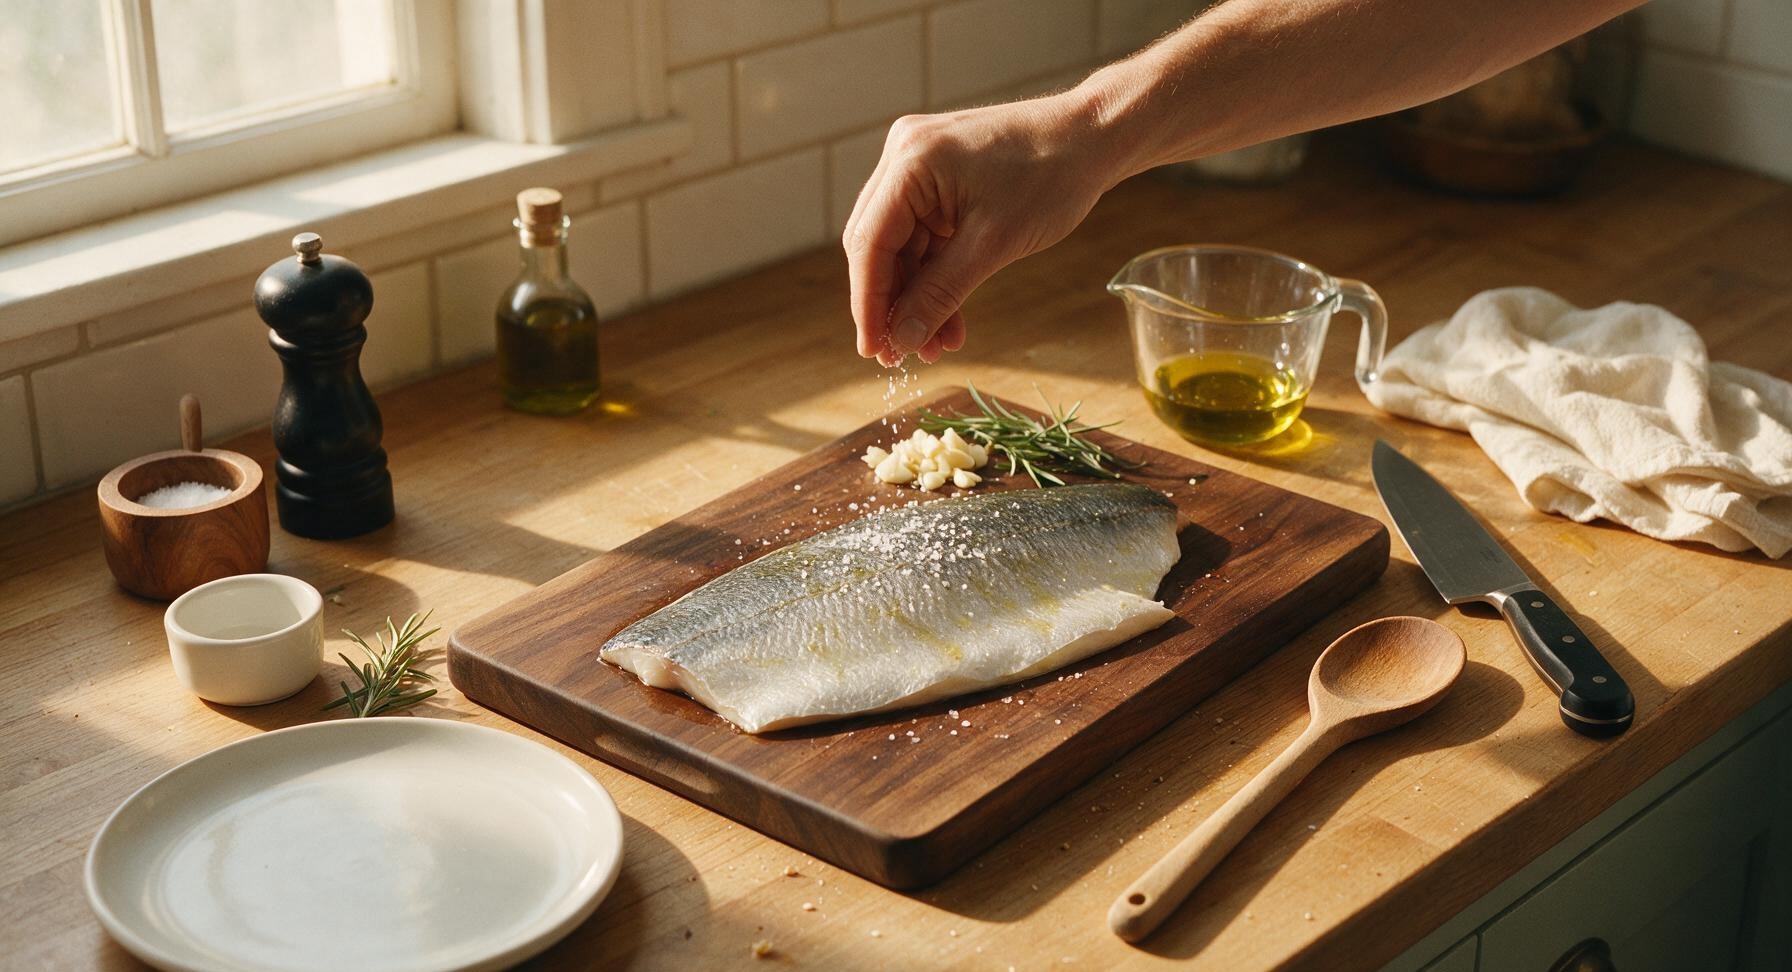
Drizzle 2 tablespoons of extra-virgin olive oil over both sides of the dried fillets, rubbing gently to coat evenly. Sprinkle 1.5 teaspoons kosher salt and ½ teaspoon freshly cracked black pepper over all surfaces, pressing the seasoning lightly into the skin and flesh. Tuck 1 crushed garlic clove and 1 rosemary sprig against the flesh side of each fillet, then let rest 5 minutes to allow seasoning to penetrate. The oiled skin will have a subtle sheen, with no pools of excess oil on the cutting board.
Step 2
step2:Season Fillets Evenly
3

Preheat Grill for Searing

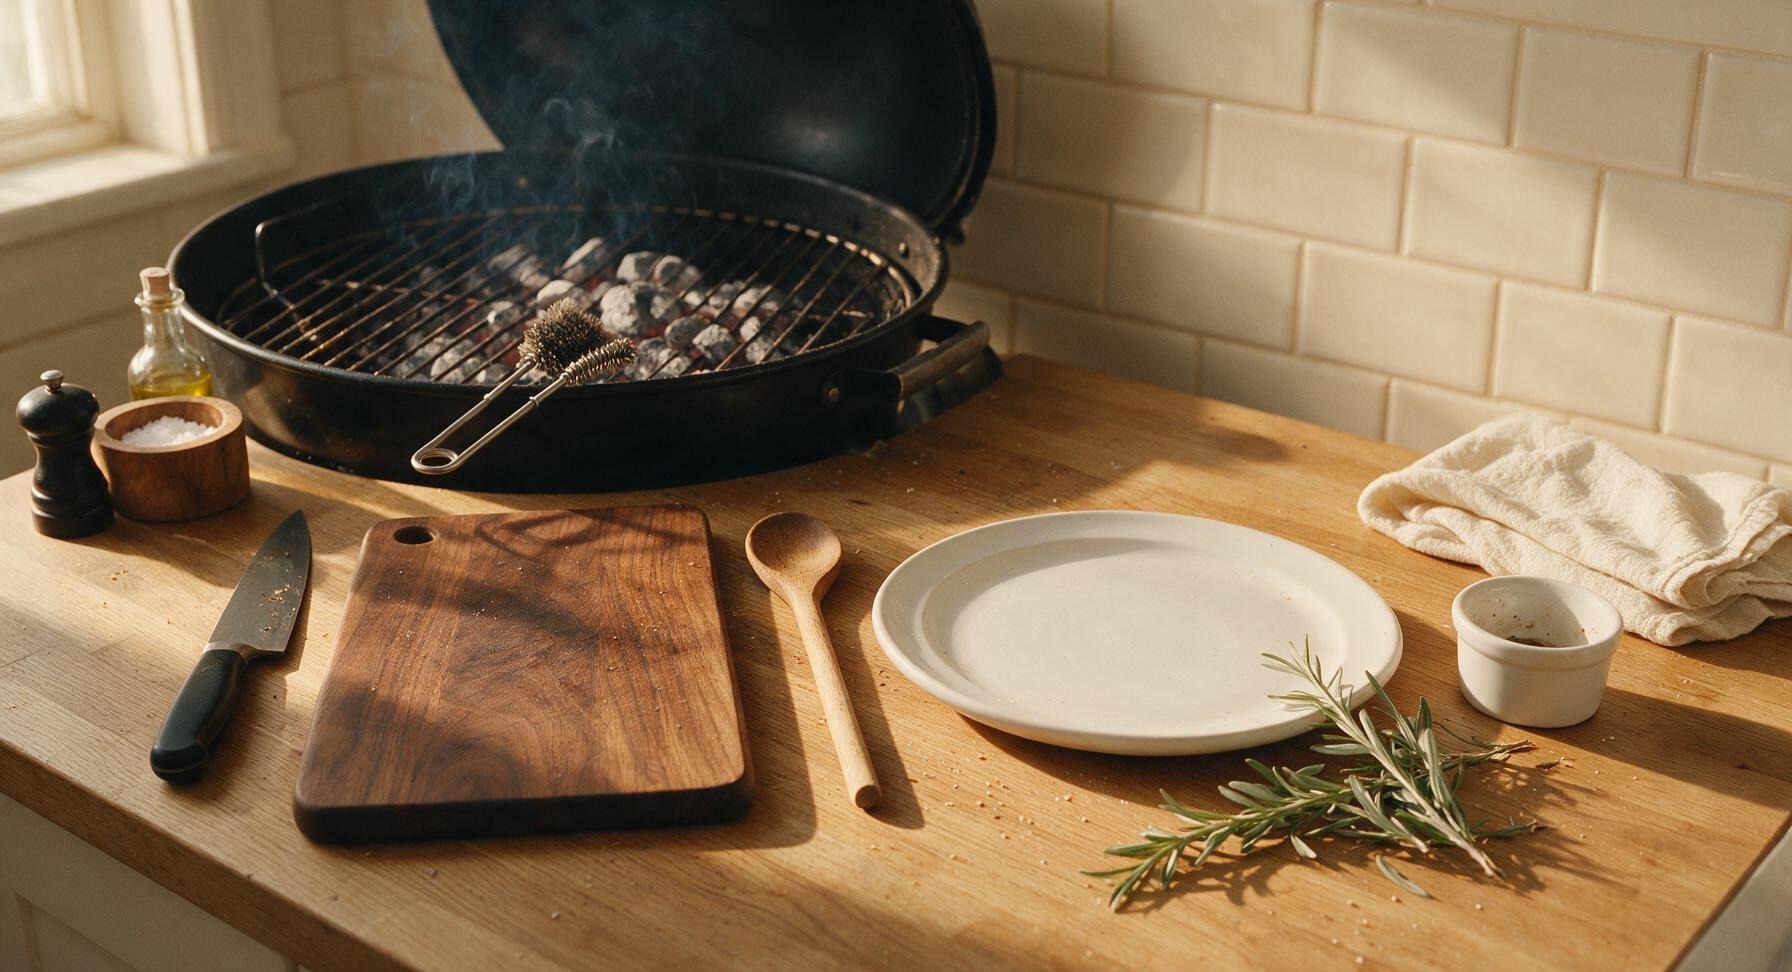
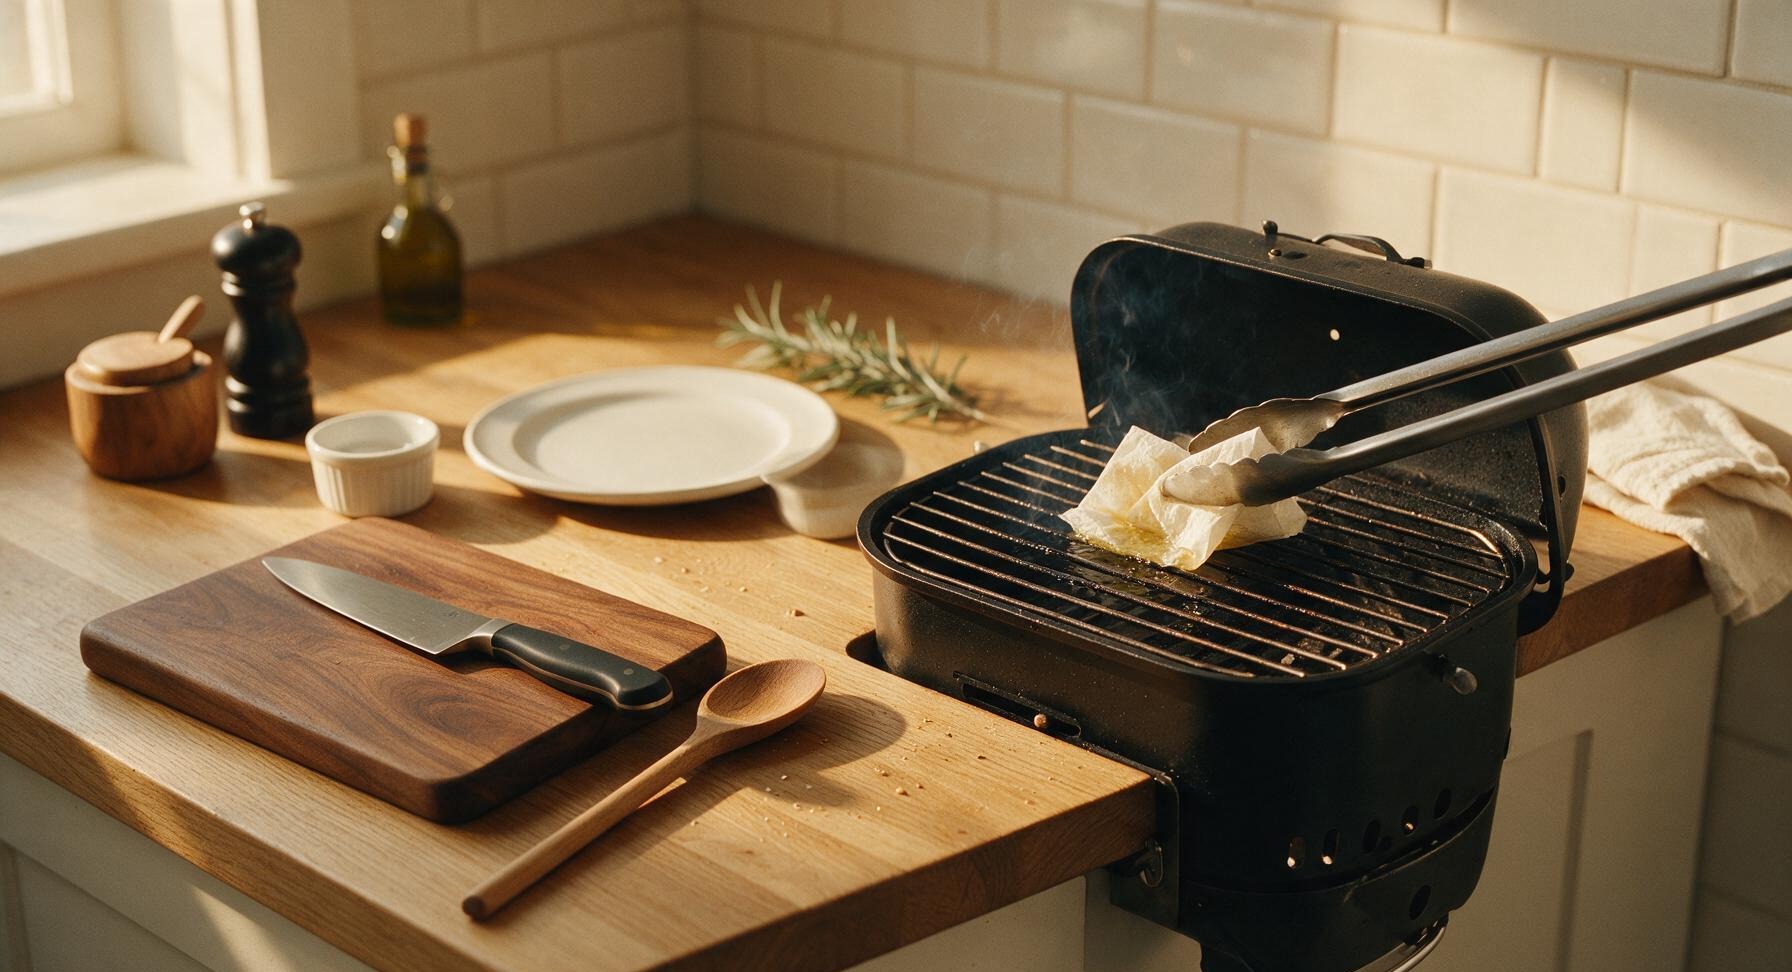
Open the bottom and top vents of the matte black kettle charcoal grill halfway. Light a chimney starter full of lump charcoal, and wait until coals are covered in a thin layer of pale gray ash (approximately 15 minutes), spreading them evenly across one half of the grill to create a two-zone fire: high direct heat (450-500°F) over the coals, and cooler indirect heat on the empty side. Scrub the hot grill grates thoroughly with the wire grill brush to remove all leftover cooking residue, then wipe the grates lightly with a folded paper towel dipped in 1 tablespoon olive oil, held securely with the long grill tongs, to create a seasoned non-stick surface. The grates will be visibly clean and glistening lightly, with no food bits or excess oil dripping onto the coals.
Step 3
step3:Preheat Grill for Searing
Step 3
step3:Preheat Grill for Searing
4

Sear Skin Side First

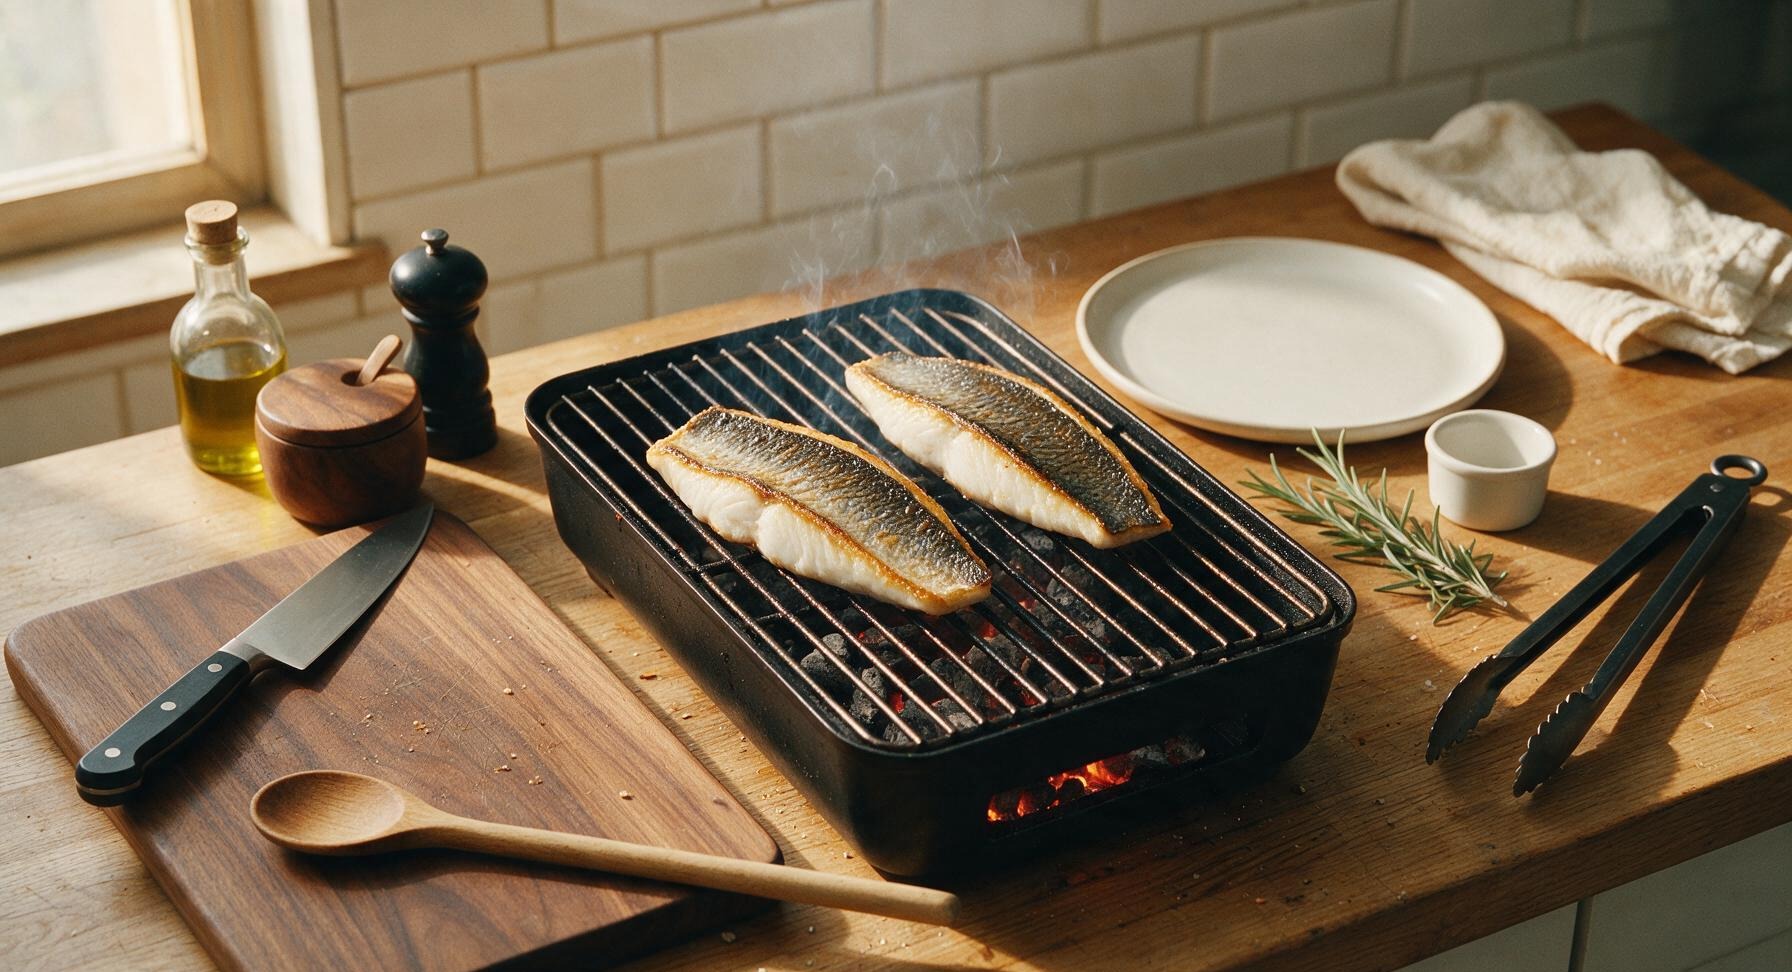
Using the long grill tongs, place each fillet skin-side DOWN directly on the oiled hot grates over the direct high-heat zone, positioned diagonally across the grates to create crosshatch marks later. Do NOT move, press, or prod the fillets for 4 full minutes. If you try to lift the fillet too early, the skin will stick and tear; when ready, the skin will release easily from the grate without resistance. The edges of the skin will turn deep golden and crisp as fat renders out onto the coals.
Step 4
step4:Sear Skin Side First
5

Flip and Cook Through

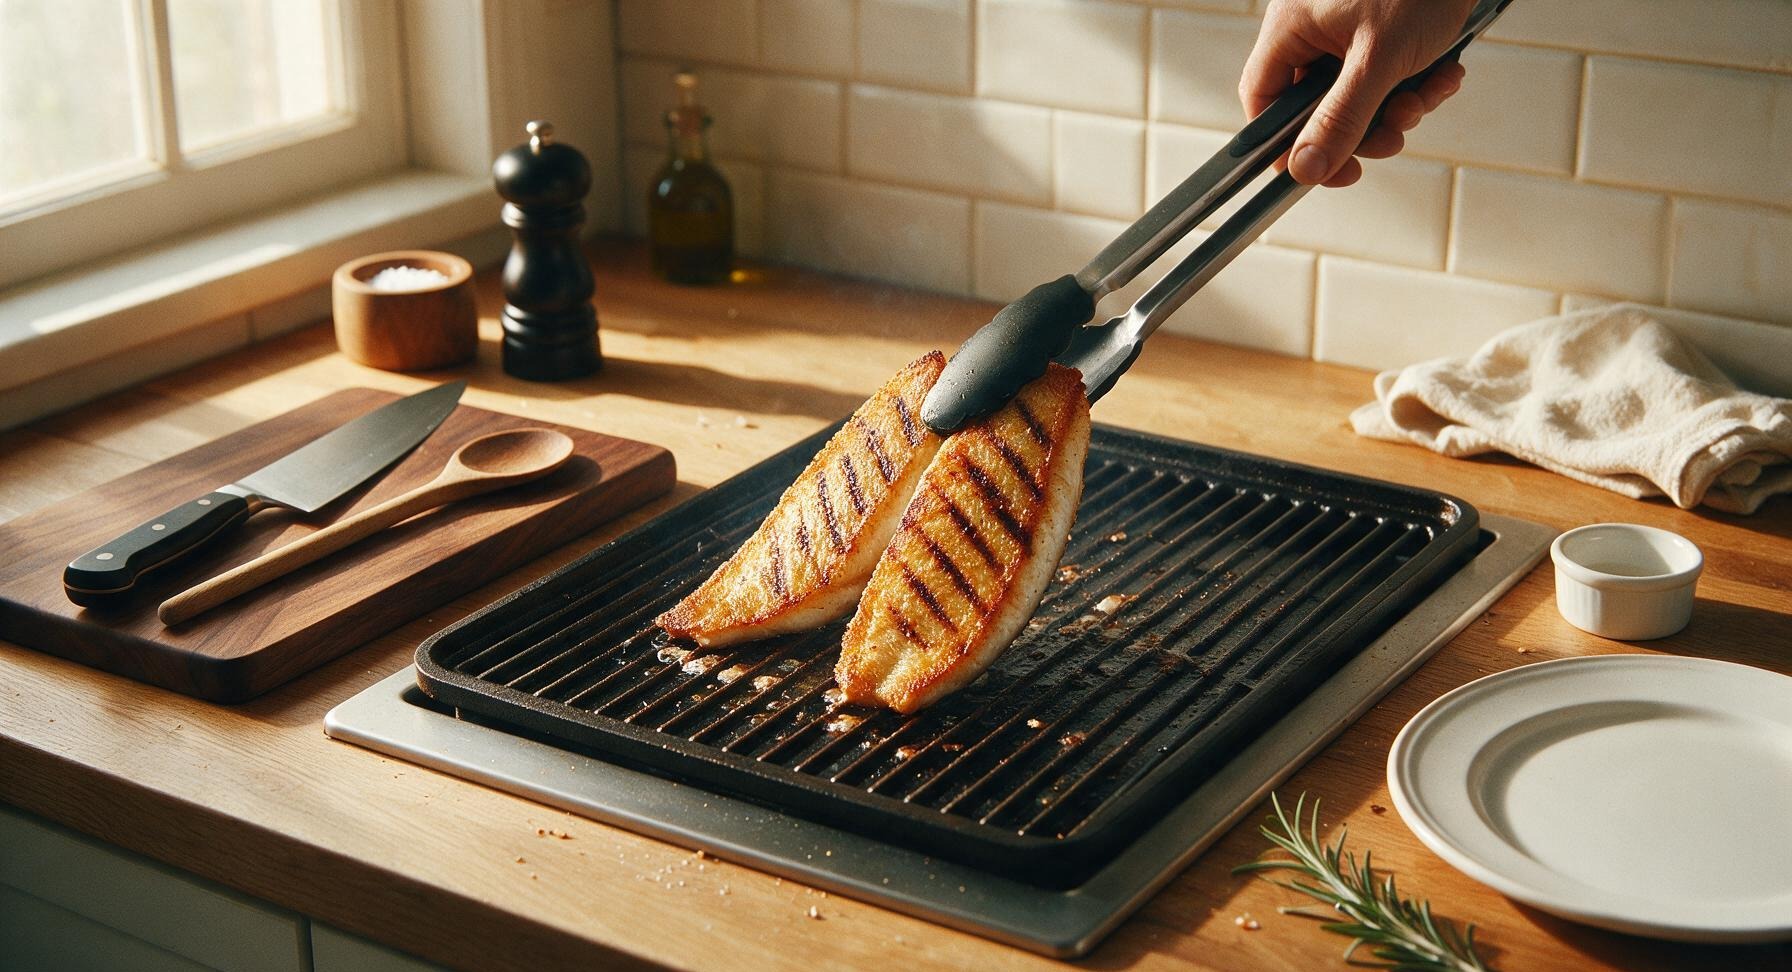
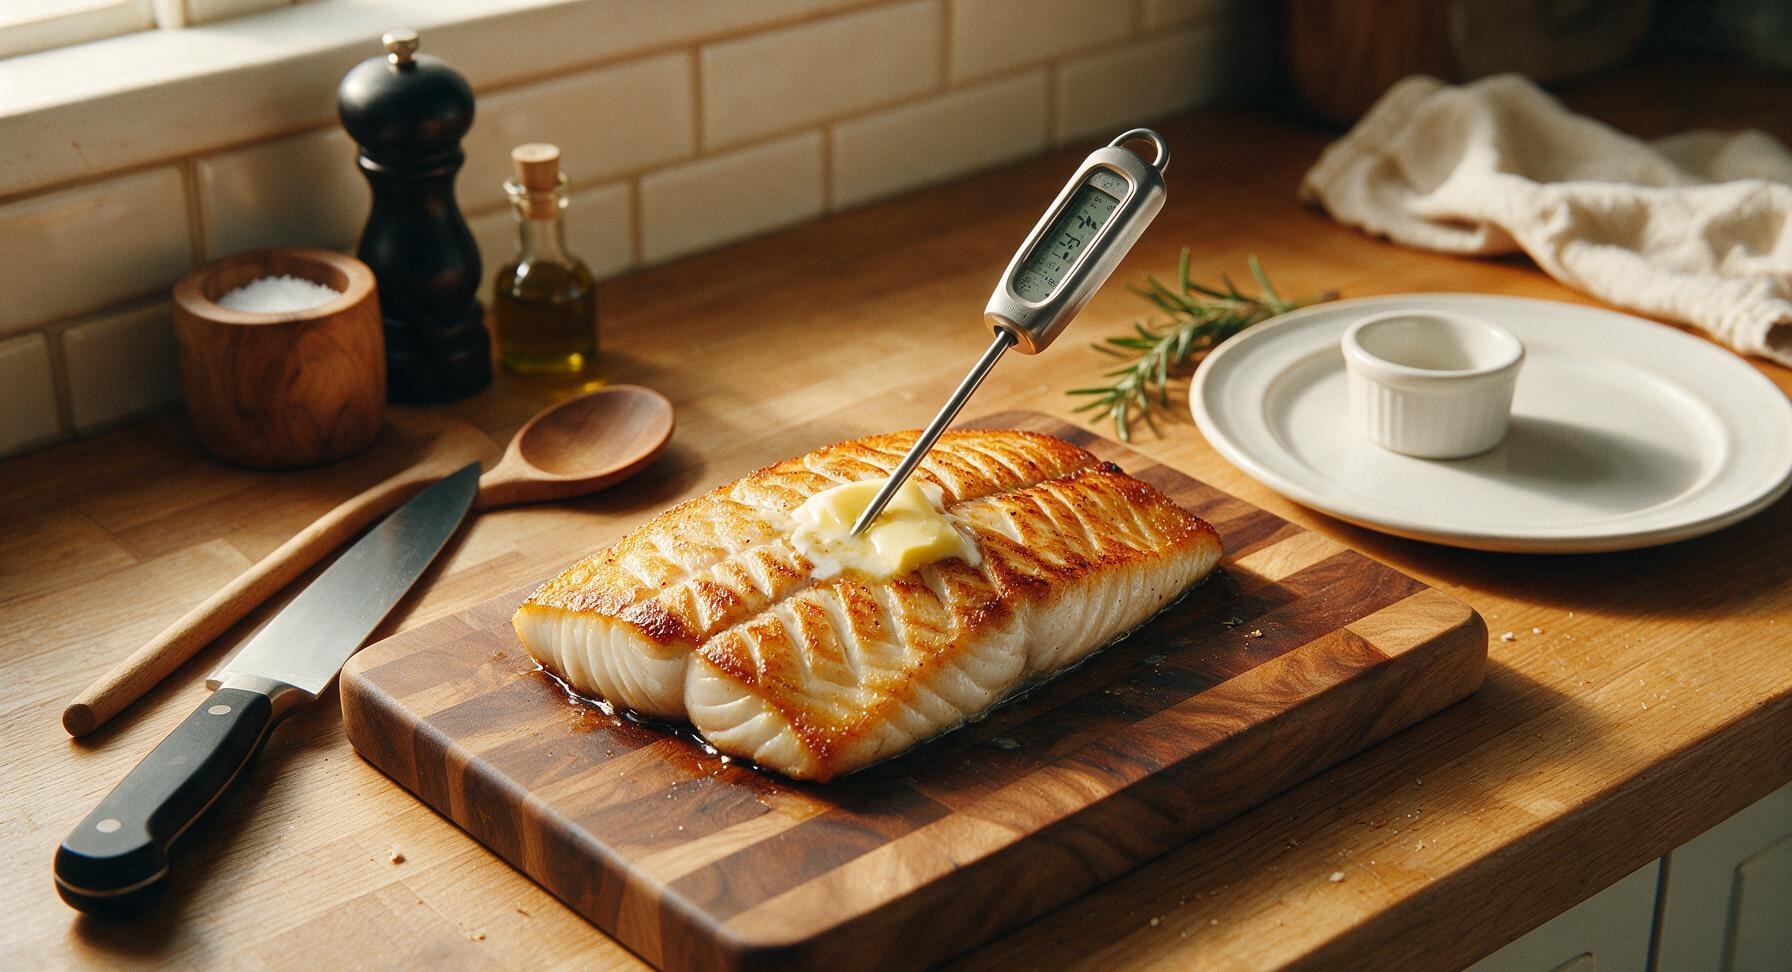
After 4 minutes of searing, use the tongs to gently lift the edge of each fillet; if the skin releases easily, flip it carefully to the flesh side, rotating it 45 degrees to create defined crosshatch marks on the crisp skin. Slide fillets to the cooler indirect zone if any grease flare-ups occur to avoid burning. Cook for an additional 3-4 minutes on the flesh side, until the instant-read thermometer inserted into the thickest part of the fillet reads 145°F, and the flesh flakes easily with a fork but remains moist, not chalky or dry. During the last minute of cooking, place 1 small pat of unsalted butter on top of each fillet to melt and baste the surface.
Step 5
step5:Flip and Cook Through
Step 5
step5:Flip and Cook Through
6

Rest Fish Before Plating

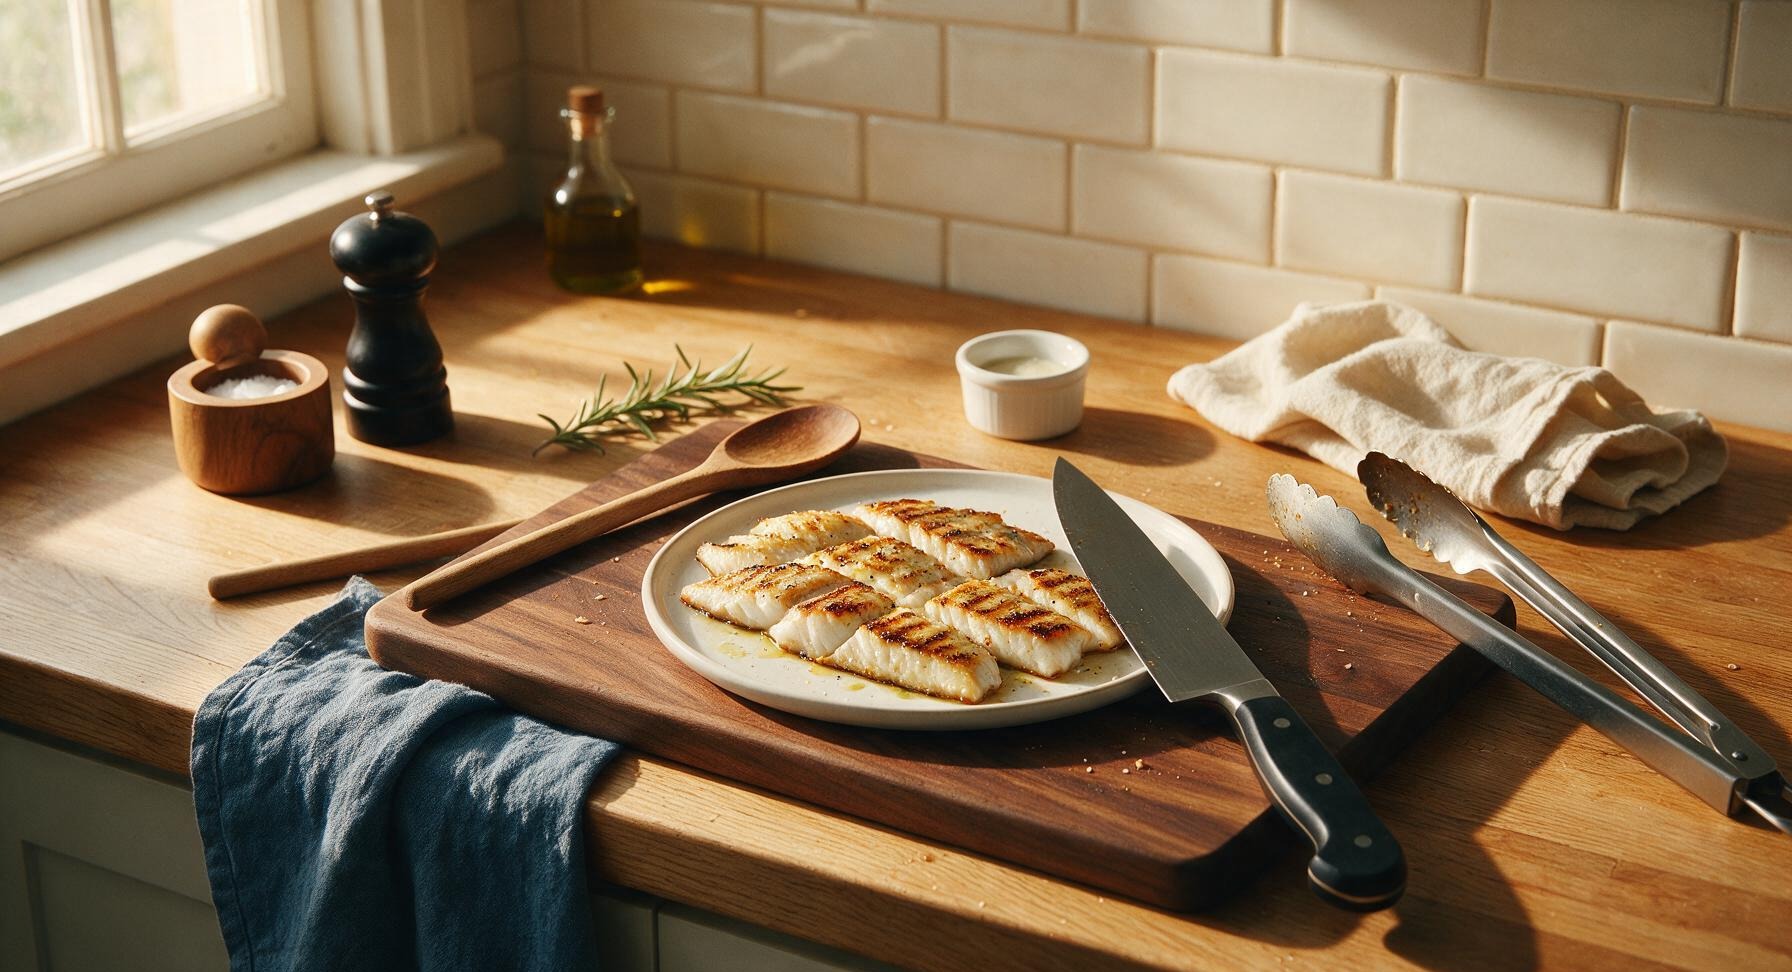
Use the tongs to carefully transfer the cooked fillets off the grill directly to the 10-inch matte off-white ceramic plate with terracotta rim. Keep fillets in a single layer, skin-side up, to prevent sogginess, and let rest for 3 full minutes to allow muscle fibers to relax and juices to redistribute. Do not tightly cover the fillets, as trapped steam will soften the crisp skin.
Step 6
step6:Rest Fish Before Plating
7

Garnish and Serve

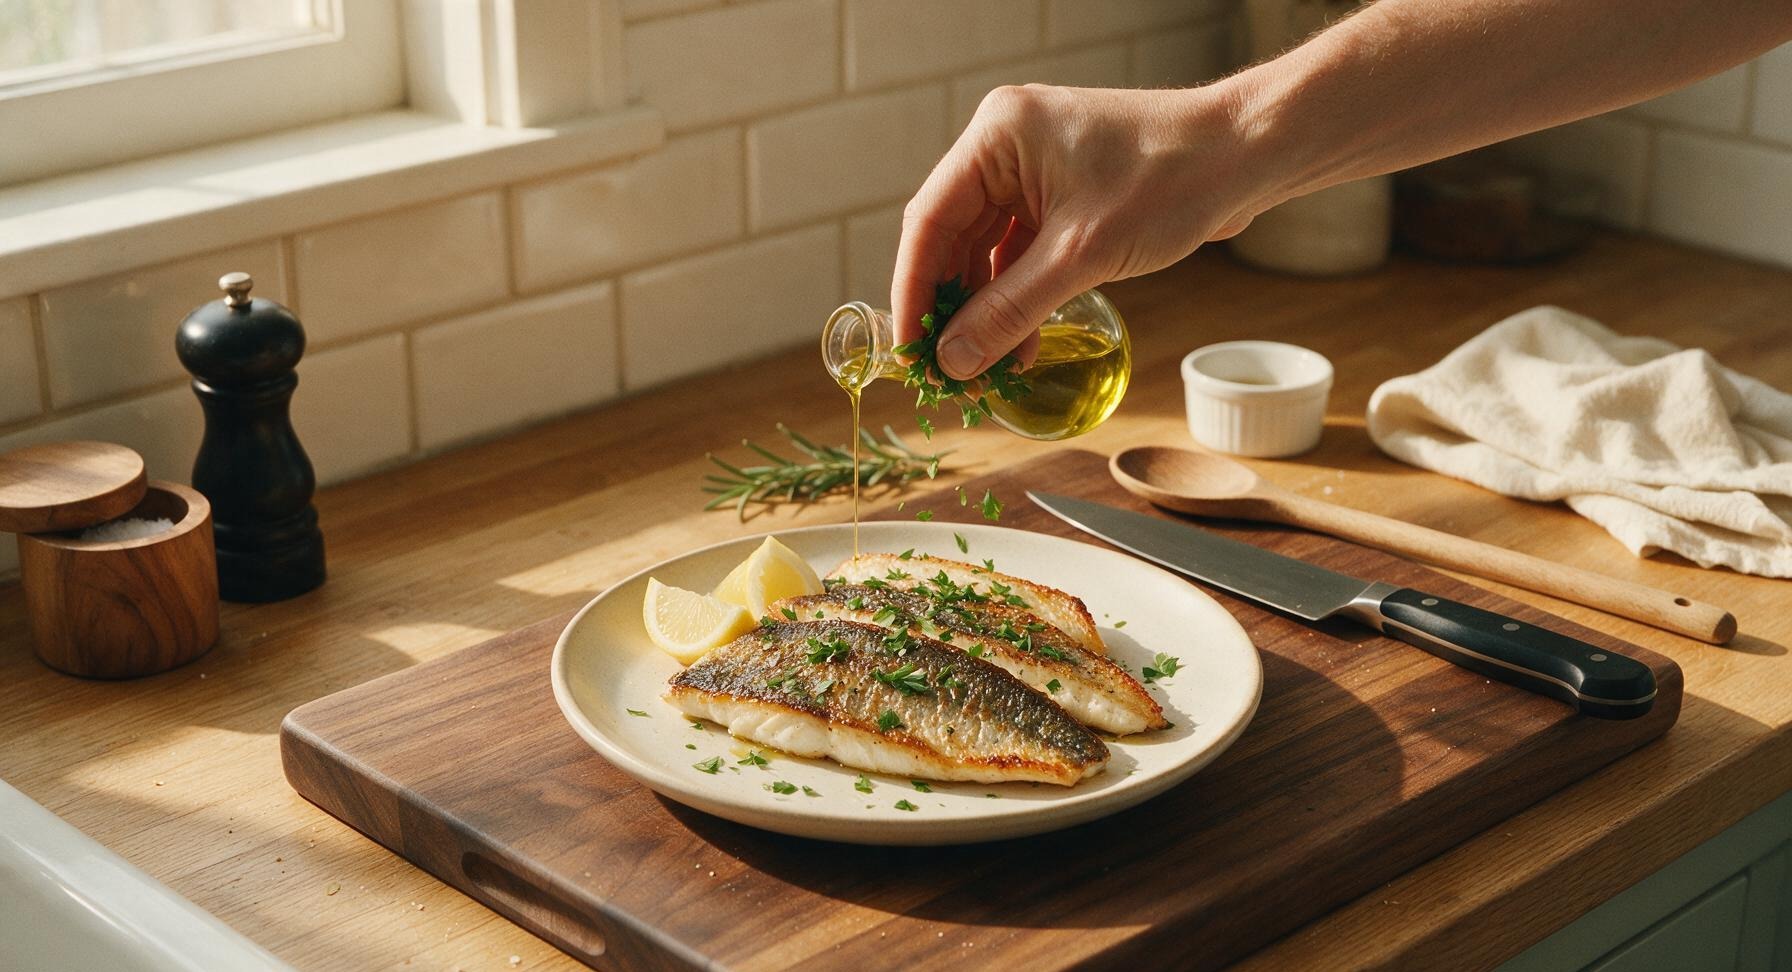
After resting, squeeze 1 teaspoon of fresh lemon juice lightly over each fillet, sprinkle with chopped flat-leaf parsley and a pinch of flaky sea salt. Tuck 2 fresh lemon wedges alongside the fillets, and drizzle with the remaining 1 tablespoon of fresh extra-virgin olive oil for a bright, peppery finish. Serve immediately while the skin is still shatteringly crisp and the fish is hot.
Step 7
step7:Garnish and Serve

Tips

1.Never skip thoroughly drying the fish skin: any residual surface moisture will steam instead of sear, leading to soft, rubbery skin and guaranteed sticking to the grill grates. The 10-minute air-dry step creates the matte, tacky skin surface needed for a shatteringly crisp crust that releases cleanly from hot grates.
2.Resist the urge to move, press, or prod the fish for the first 4 minutes of searing: fish skin needs uninterrupted contact with hot grates to render fat, form a strong crust, and release naturally. Lifting the fillet early will tear the skin and leave half the fish stuck to the grill.
3.Always set up a two-zone fire when grilling fish: rendered fish fat often causes sudden flare-ups that can char skin and leave bitter, burnt flavors. Having a cooler, coal-free side of the grill lets you quickly slide fillets away from flames without removing them entirely, ensuring even cooking without burning.


✨ You May Also Like

BBQ & Grilling
🍜 United States

Tender, melt-in-your-mouth beef brisket with a crisp, spiced bark, slow-smoked to deep smoky perfection, the iconic centerpiece of Texas backyard barbecue.

⏱️ 12 hours BBQ & Grilling ★ 4.4
BBQ & Grilling
🍜 Korea

Tender, sweet-savory marinated beef short ribs, a beloved Korean BBQ staple with caramelized, slightly charred edges and deep umami flavor, perfect for outdoor summer gatherings.

⏱️ 4 hours 2BBQ & Grilling ★ 4.8
BBQ & Grilling
🍜 United States

Juicy grilled beef patties topped with smoky homemade chili, melted cheddar, and tangy pickles on toasted brioche buns for a hearty, flavor-packed handheld meal.

⏱️ 40 minuteBBQ & Grilling ★ 4.7
BBQ & Grilling
🍜 United States

A sweet, smoky, tangy BBQ sauce brightened with peak-season dark cherries, ideal for glazing grilled ribs, chicken, pork, or summer roasted veggies.

⏱️ 35 minuteBBQ & Grilling ★ 4.7
BBQ & Grilling
🍜 United States

Rich, smoky, slightly sweet homemade bourbon BBQ sauce with deep caramel notes, ideal for glazing grilled ribs, chicken, and burgers at cookouts.

⏱️ 25 minuteBBQ & Grilling ★ 4.7
BBQ & Grilling
🍜 United States

Iconic Alabama-style BBQ featuring tender hickory-smoked chicken slathered in tangy creamy white sauce, a beloved regional Southern cookout staple.

⏱️ 3 hoursBBQ & Grilling ★ 5

best way to grill fish:Frequently Asked Questions

1.Why does my fish skin always stick to the grill grates when I try to make crispy grilled fish? ▾
Two of the biggest culprits are damp fish skin and insufficiently hot grates! First, pat skin completely dry with paper towels until no surface moisture remains, then lightly oil the fish instead of dousing cool grates. Preheat grates 10+ minutes on high, and don’t move the fish for the first 4-5 minutes so skin sears and releases naturally.
2.Do I have to use skin-on sea bass for this recipe, or can I swap in other types of fish? ▾
Sea bass is ideal because it has thick, sturdy skin that crisps beautifully without tearing, and rich, moist flesh that holds up to direct grill heat. You can swap for similarly thick, skin-on fillets like red snapper, striped bass, or mahi-mahi—just skip thin, delicate options like sole or tilapia that fall apart easily on hot grates.
3.How do I make sure there are no leftover pin bones in my fish fillets? ▾
Run your fingertips slowly along the flesh side of each fillet to feel for tiny, hard pin bones poking up through the flesh. If you spot any, grip them with clean kitchen tweezers or needle-nose pliers and pull straight out in the direction they angle to avoid tearing the flesh. Double-check the whole fillet before seasoning to avoid surprise bones at the table.
4.How long do I need to preheat my grill before cooking the fish? ▾
For no-stick, crispy results, preheat your charcoal or gas grill on high for 10 to 15 minutes, until grates reach 500 to 550°F. You’ll know it’s hot enough when you can only hold your hand 1 inch above the grates for 1 to 2 seconds before pulling away. Hot grates instantly sear skin to create a natural non-stick barrier.
5.Should I oil the grill grates or the fish itself to prevent sticking? ▾
Always oil the fish, not cold grates! If you oil cool grates, the oil will burn off and turn gummy before you even lay food down. Instead, pat fillets dry, then brush both skin and flesh lightly with extra-virgin olive oil right before seasoning. This creates a sealed surface on the fish that sears cleanly on hot grates without tearing.
6.How early should I salt the fish before grilling for the crispiest skin? ▾
Salt the skin side of fillets 15 to 20 minutes before you plan to grill for the best texture. The salt will draw out excess surface moisture that would otherwise steam skin instead of crisping it; just pat that drawn-out moisture off with a paper towel right before oiling and adding the rest of your seasonings. Avoid salting hours ahead, which can make flesh overly firm.
7.How do I flip the fish without tearing the crispy skin or making it stick? ▾
Wait 4 to 5 minutes after laying fish skin-side down before you even attempt to flip. Gently slide a thin, flexible metal spatula under the center of the fillet—if it lifts easily without resistance, it’s ready. Flip in one smooth motion, then cook the flesh side for 2 to 3 more minutes. Don’t pry at stuck fish; it will release on its own when fully seared.
8.Can I make this recipe on a gas grill if I don’t have a charcoal setup? ▾
Absolutely! You’ll get that same no-stick crispy skin on a gas grill as long as you preheat it properly to 500–550°F with the lid closed. For a subtle smoky note that mimics charcoal, toss a small pierced foil pouch of soaked wood chips on the burner bars right before adding fish. You won’t sacrifice any crispness or flavor going gas-only.
9.Why is my fish skin chewy instead of shatteringly crisp? ▾
Chewy skin almost always comes from excess surface moisture on the skin, grill temperatures that are too low, or moving the fish too early. Make sure you pat skin completely dry (even after salting to draw out moisture), use a screaming hot grill, and leave the fish undisturbed skin-side down for the full first searing window. Never press fillets down with a spatula, which squeezes out moisture.
10.How do I keep the fish flesh moist while getting the skin extra crispy? ▾
The key is high, direct heat for the initial skin sear, then a shorter cook on the flesh side so you don’t overcook the interior. Remember that 6oz fillets only need 6 to 8 minutes total cook time to reach a perfect 140°F internal temp, where flesh is opaque and flaky but still juicy. Fish continues to cook for a minute or two after you pull it off the grill.
11.Do I need a special grill basket or grill mat to keep fish from sticking? ▾
You don’t need any special gadgets for this recipe! In fact, grill mats can prevent skin from getting ultra-crispy because they block direct radiant heat from the grates, and baskets often stick just as badly if not preheated and oiled. The hot grate + dry, oiled fish method gives you better crispness and zero sticking without extra gear cluttering your space.
12.When do I add the crushed garlic so it doesn’t burn on the hot grill? ▾
Burnt garlic tastes harsh and bitter, so don’t rub crushed garlic directly on the skin side that sits against hot grates. Instead, rub a light coating of crushed garlic on the flesh side of the fillets after oiling, along with black pepper, right before grilling. You can also grill garlic in a small oiled foil packet to make a warm, garlicky drizzle for finished fish.
13.How do I know when the grilled fish is done without overcooking it? ▾
The most reliable method is to check internal temp with an instant-read thermometer inserted into the thickest part of the fillet: it should read 140°F when you pull it off the grill. If you don’t have a thermometer, nudge the center with a fork—if flesh flakes gently and is mostly opaque with a faint hint of translucency in the center, it’s ready.
14.Should I let the fish rest after grilling, like I do with steak? ▾
A short 2-minute rest is perfect for grilled fish! Unlike thick steaks that need longer rests to redistribute juices, thin fish fillets just need a minute to let the skin set and juices settle so they don’t run all over your plate when you take the first bite. Top with a squeeze of fresh lemon and herbs right after resting for bright, fresh flavor.
15.What are the best sides to serve with this crispy grilled fish? ▾
This light, bright fish pairs perfectly with simple summer sides that don’t overpower its delicate flavor. Opt for grilled asparagus, a chilled cucumber and tomato salad, buttery boiled new potatoes, or light herbed couscous. Skip heavy, creamy sauces or sides that will weigh down the dish and take focus away from that shatteringly crisp, seasoned skin.

Comments (0)



