
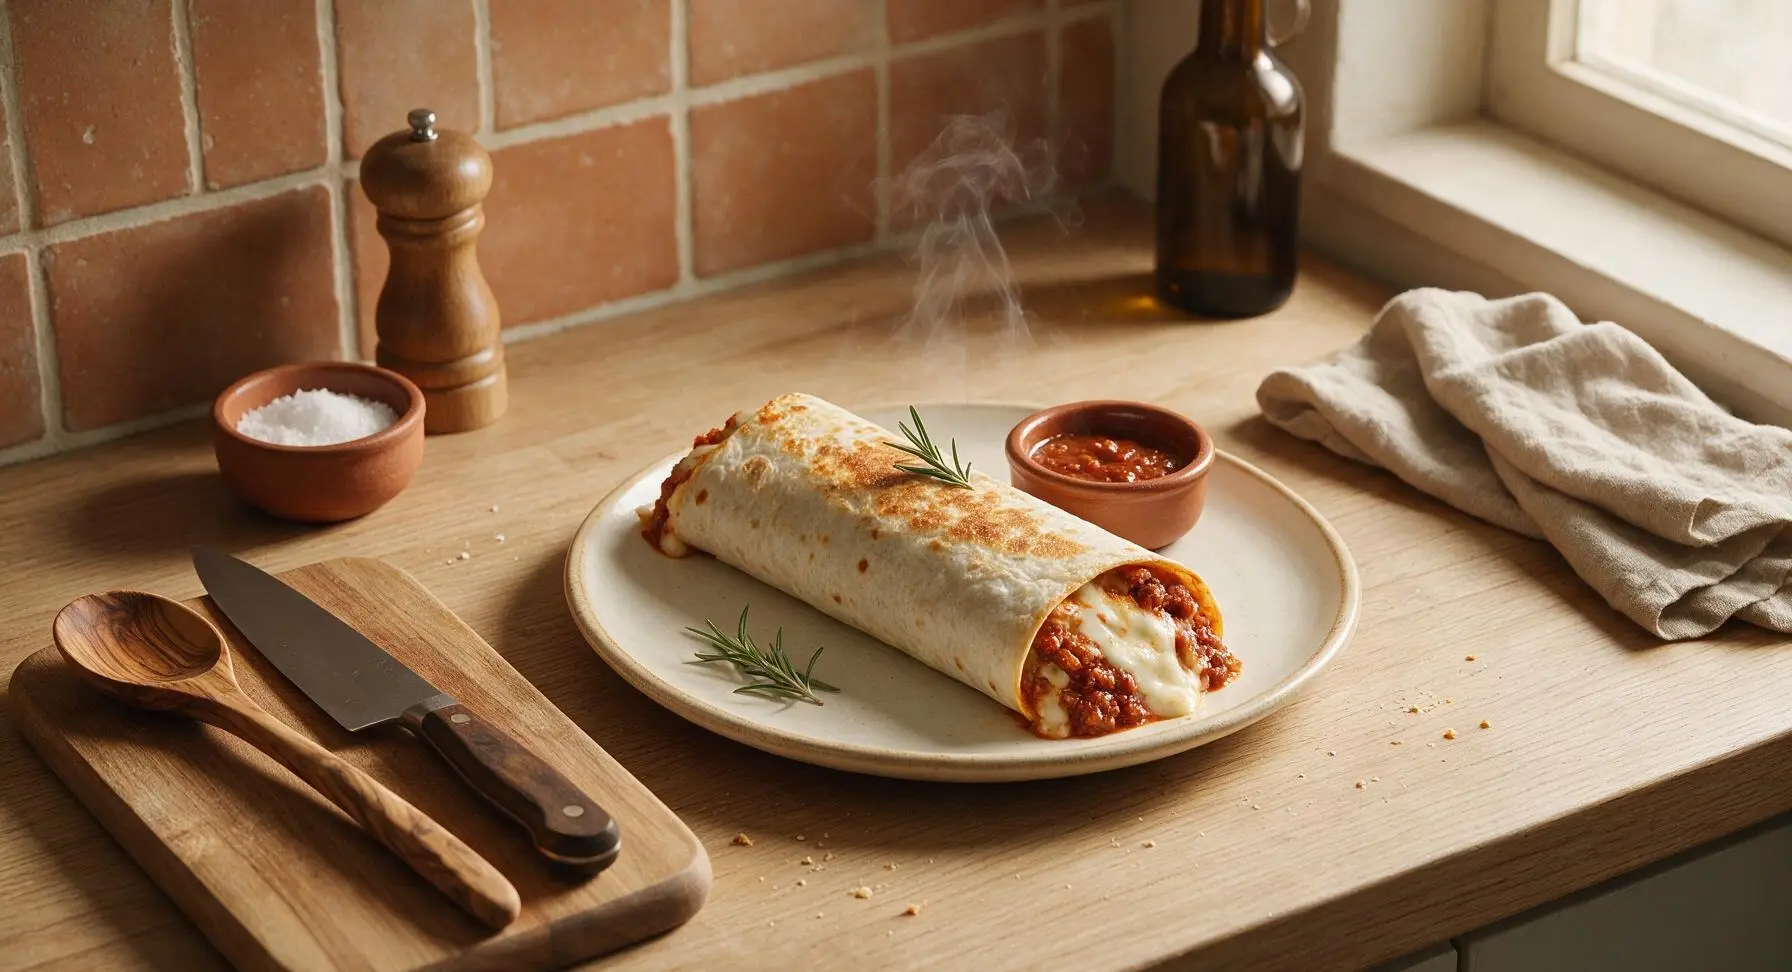
bolognese burrito

title 1
bolognese burrito
⏱️ cook time 25 minutes
🍽️ servings 4
⚡ Difficulty easy

intro

Rich, savory Bolognese, melted mozzarella, and creamy béchamel wrapped in a crisp-seared flour tortilla: a cozy fusion of Italian comfort and Mexican handheld convenience.

Ingredients
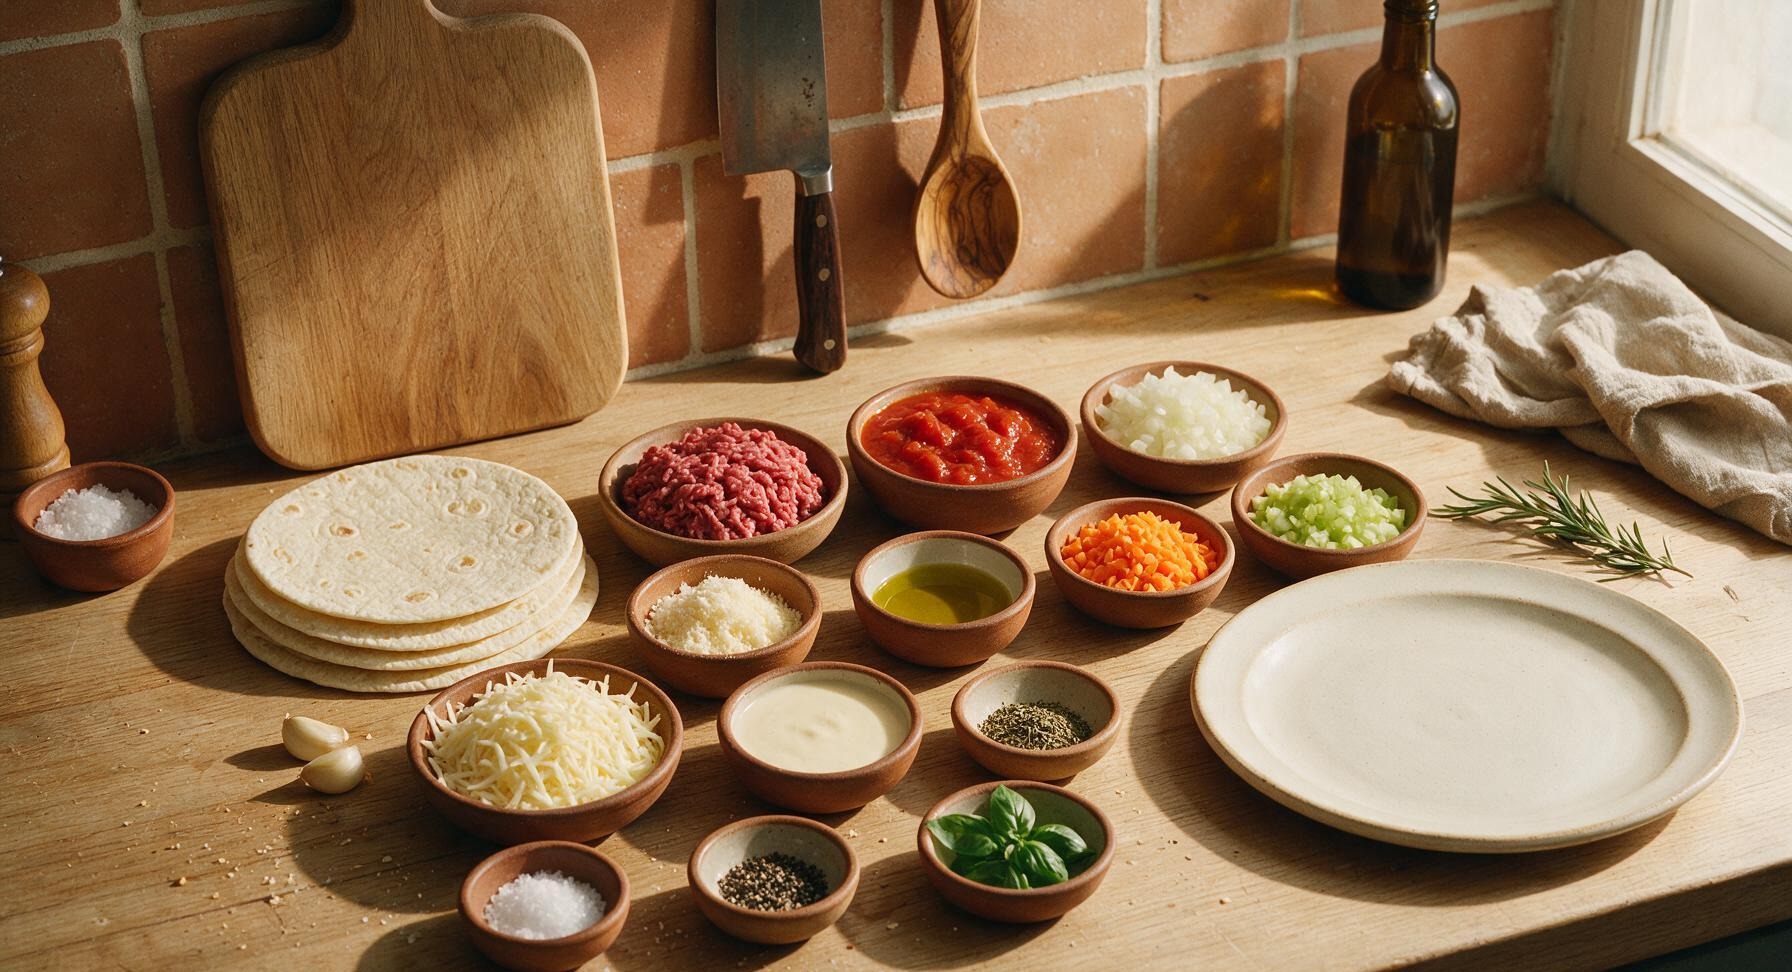
10-inch flour tortillas 4 each
80/20 lean ground beef 500g
Crushed San Marzano tomatoes 400g (1 can)
Small yellow onion, finely diced 100g
Small carrot, finely diced 70g
Celery stalk, finely diced 50g
Garlic cloves, minced 2 each
Low-moisture mozzarella, shredded 150g
Grated parmesan cheese 30g
Creamy béchamel sauce 120ml
Extra virgin olive oil 2 tbsp
Dried oregano 1 tsp
Kosher salt 1 tsp
Freshly ground black pepper 1/2 tsp
Fresh basil leaves 10g

Steps

1

Sauté Aromatic Mirepoix

Heat 2 tablespoons olive oil in the 10-inch carbon steel skillet over medium heat (175C/350F). Add the finely diced onion, carrot, and celery to the pan, stirring with the beech wood spoon. Cook for 5 minutes, stirring occasionally, until vegetables are soft and translucent, with no raw crunch remaining. Add minced garlic and dried oregano, cook for 30 seconds until fragrant, taking care not to burn the garlic.
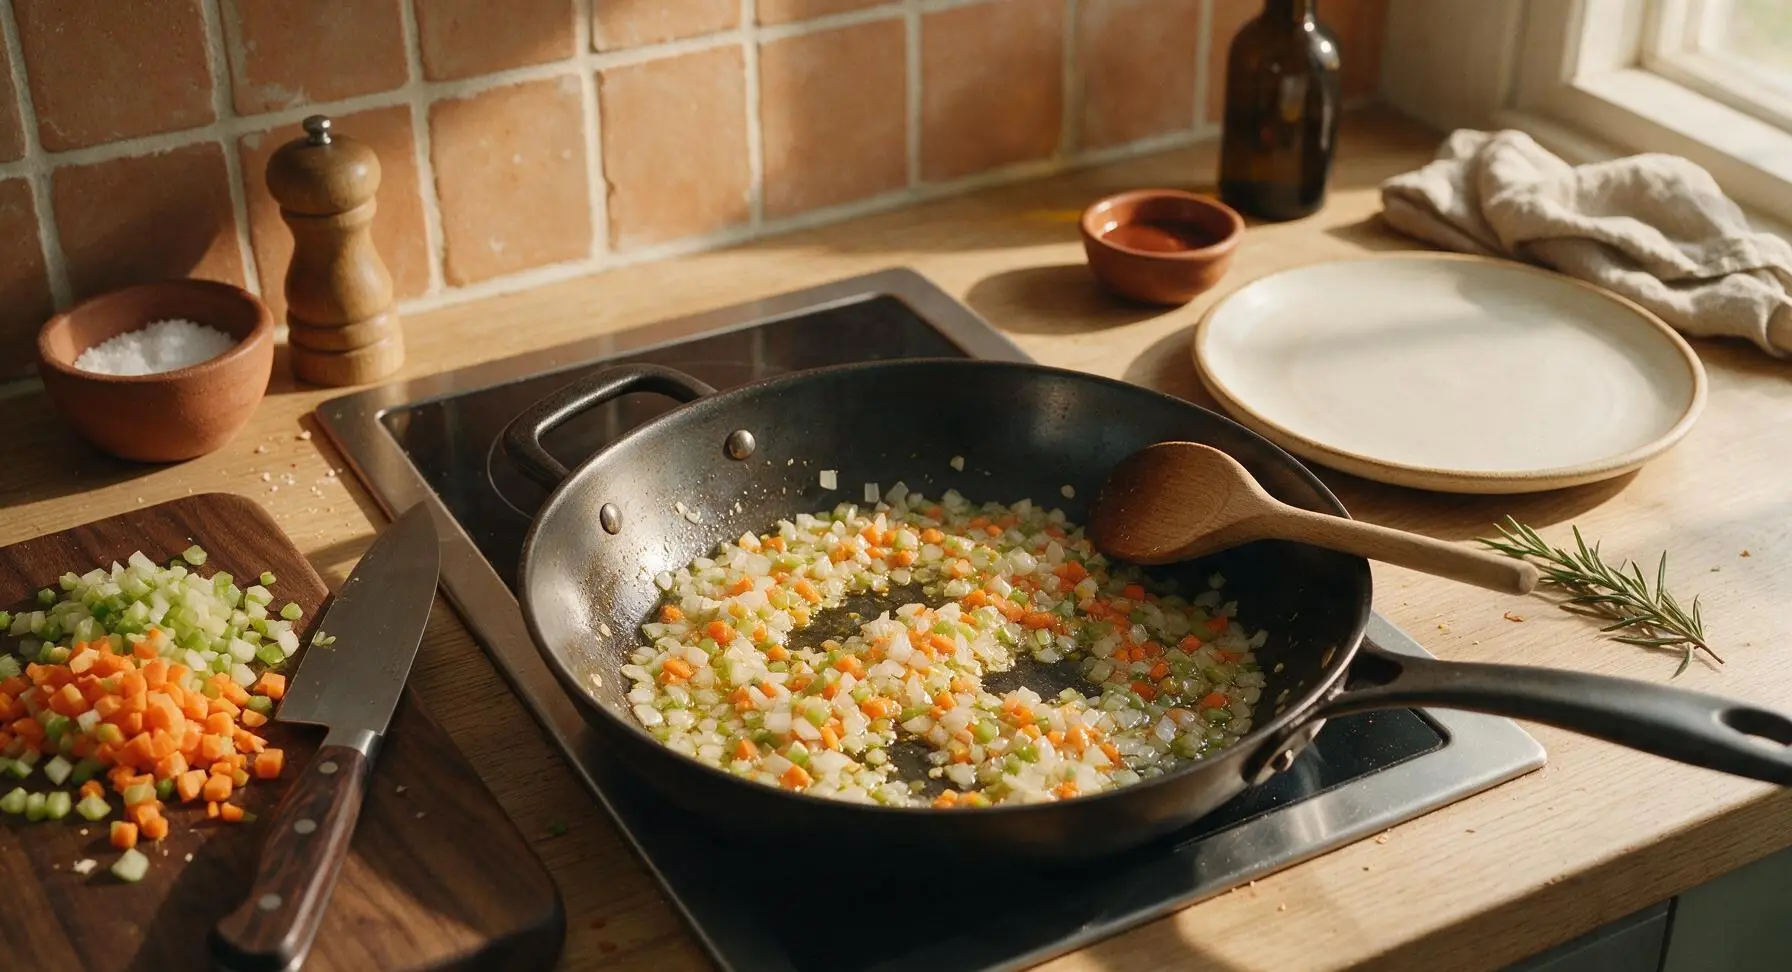
Step 1
step1:Sauté Aromatic Mirepoix
2

Brown Ground Beef

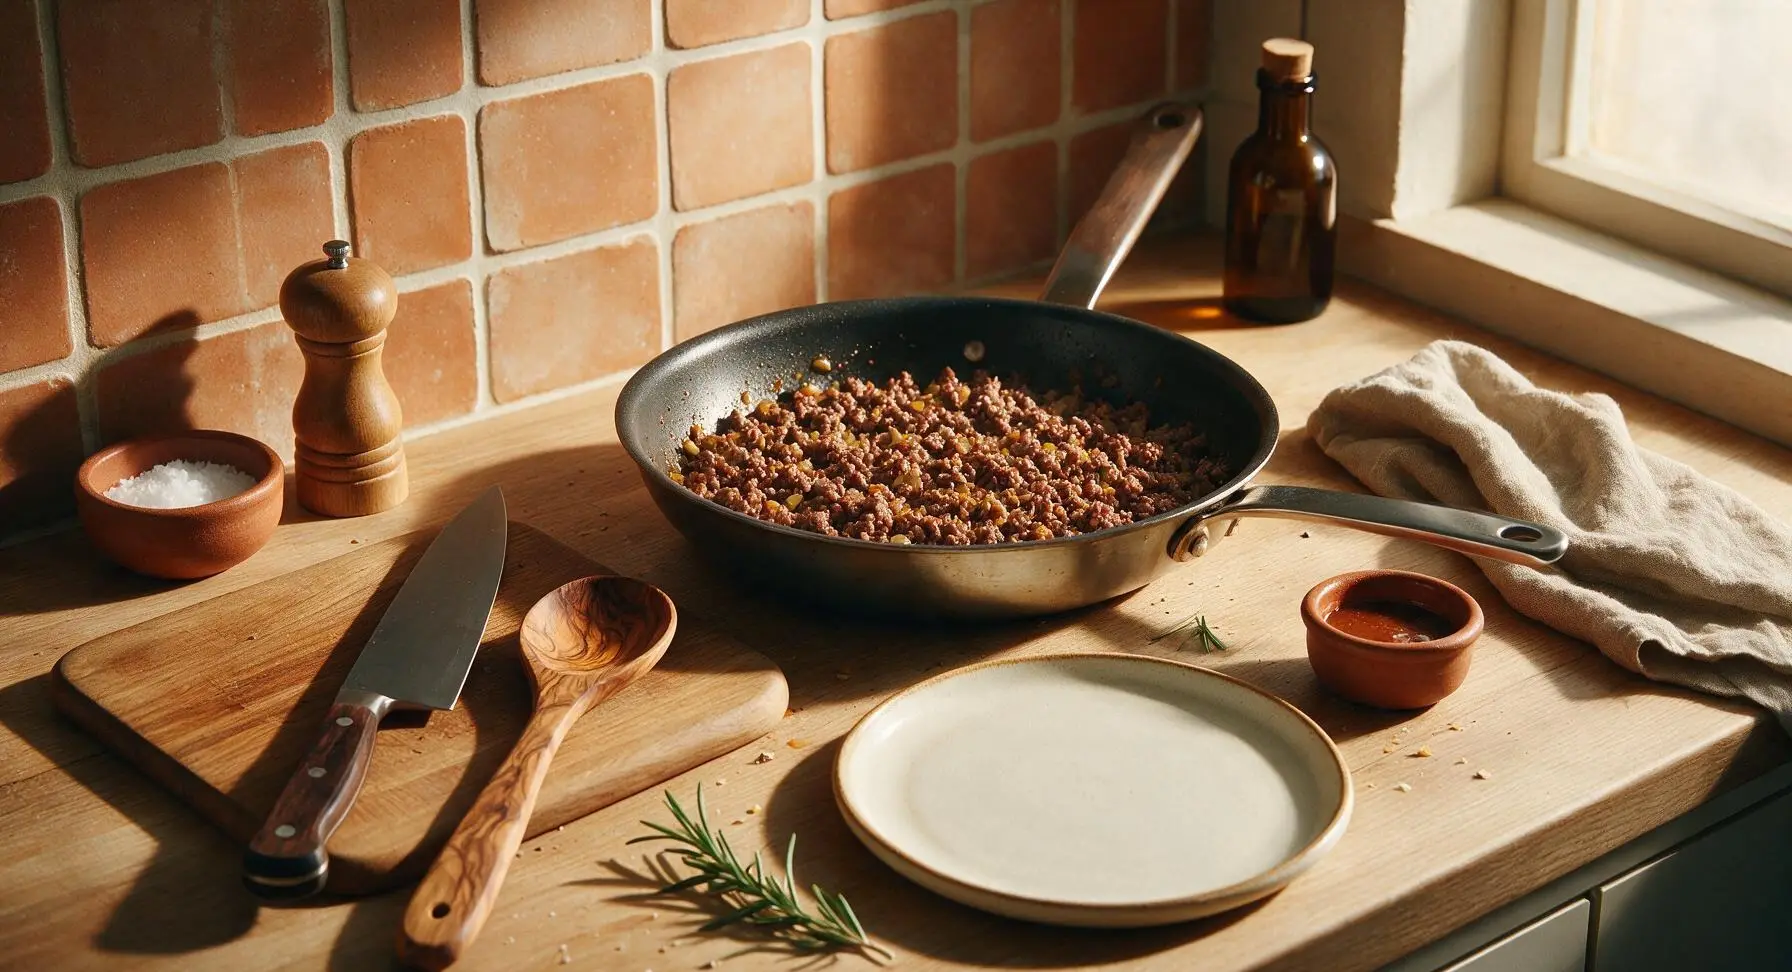
Add the 500g ground beef to the skillet with the sautéed mirepoix. Use the beech wood spoon to break the beef into small, crumbly pieces as it cooks. Cook for 6-7 minutes over medium heat, until the beef is fully browned with no pink remaining, and any released liquid has evaporated. Drain off any excess rendered fat if more than 1 tablespoon remains in the pan, then season with 1/2 teaspoon kosher salt and 1/4 teaspoon black pepper, stirring to combine.
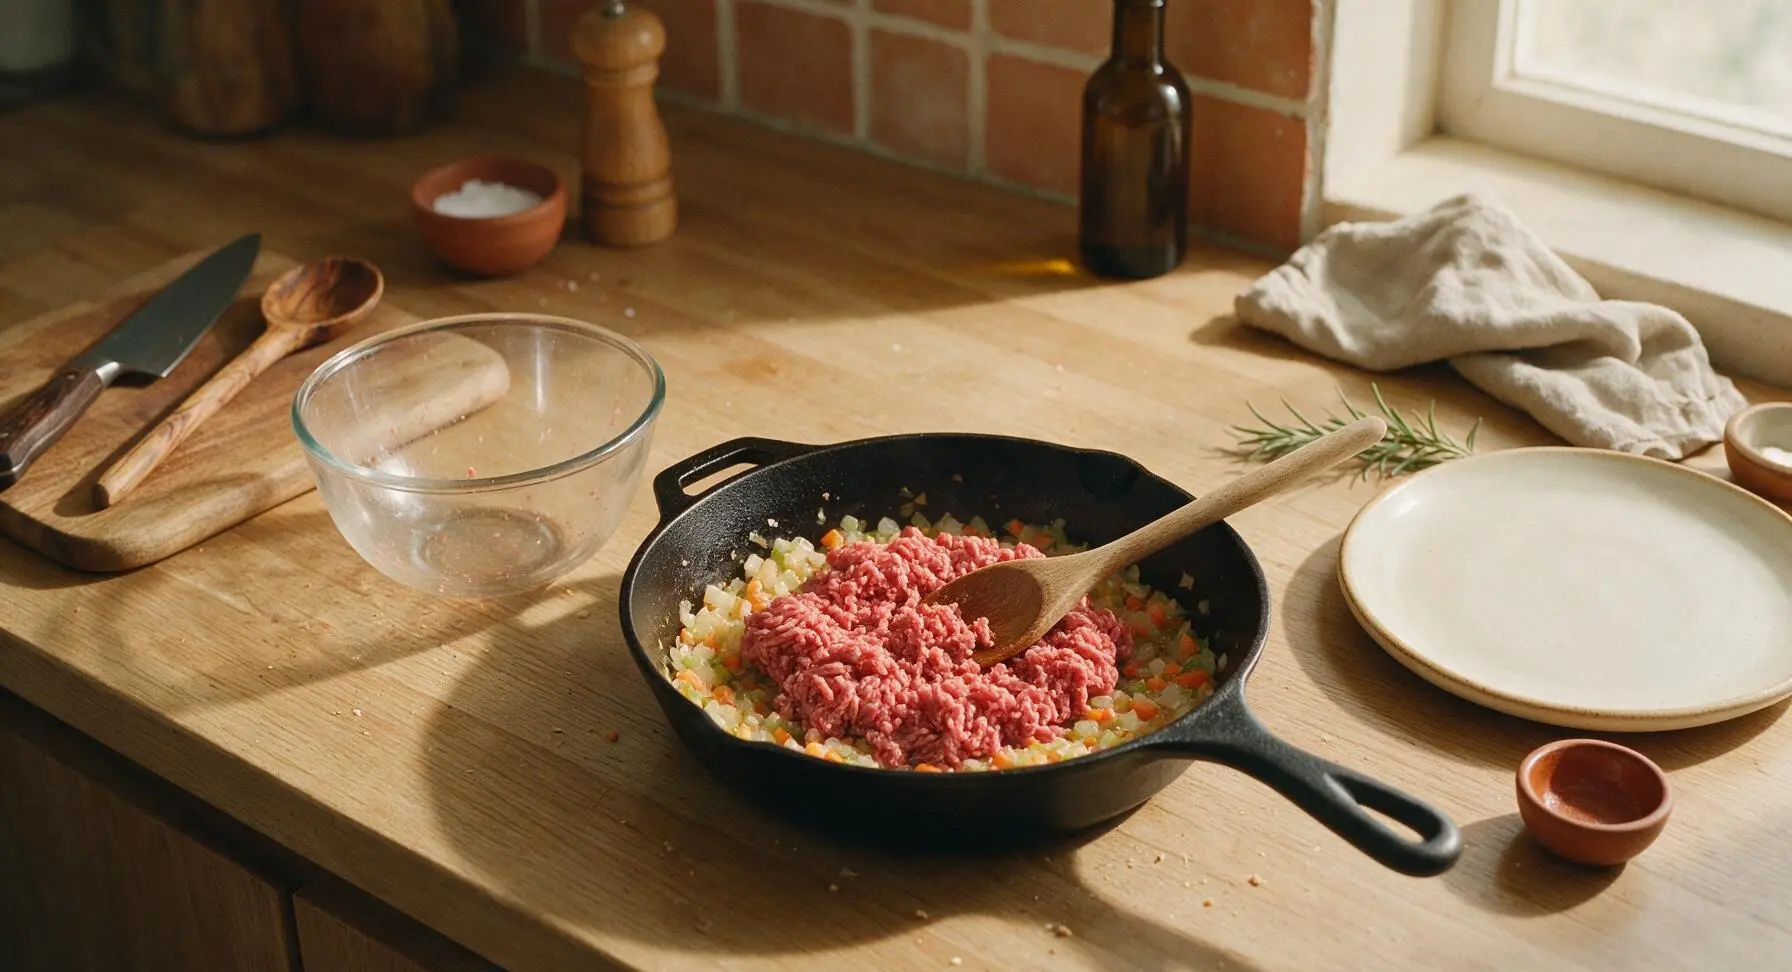
Step 2
step2:Brown Ground Beef
Step 2
step2:Brown Ground Beef
3

Simmer Bolognese Sauce

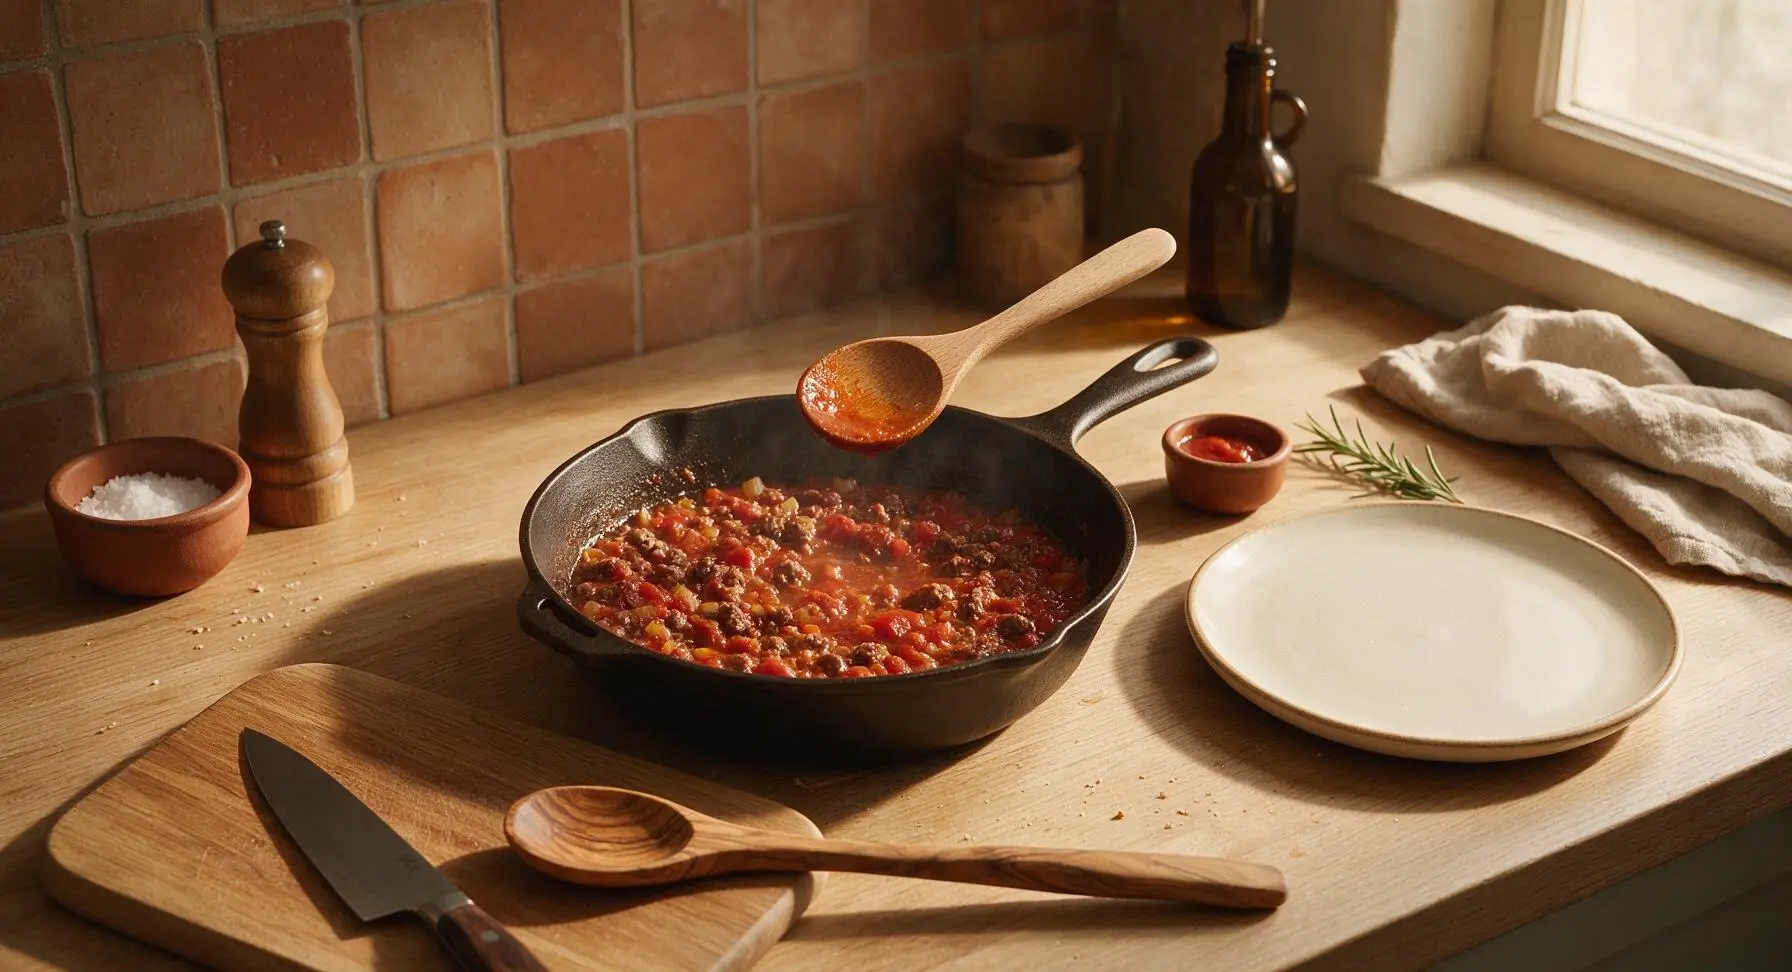
Pour the 400g crushed San Marzano tomatoes into the skillet with the browned beef and mirepoix, stirring to fully combine and scraping up any browned fond bits from the bottom of the pan. Bring the sauce to a gentle simmer, then reduce heat to medium-low (130C/265F). Let cook for 10 minutes, stirring occasionally with the wood spoon, until the sauce thickens to a rich, ragù consistency that coats the spoon, with no excess watery liquid left. Taste and adjust seasoning with remaining salt and pepper if needed.
Step 3
step3:Simmer Bolognese Sauce
4

Prep Tortilla Fillings

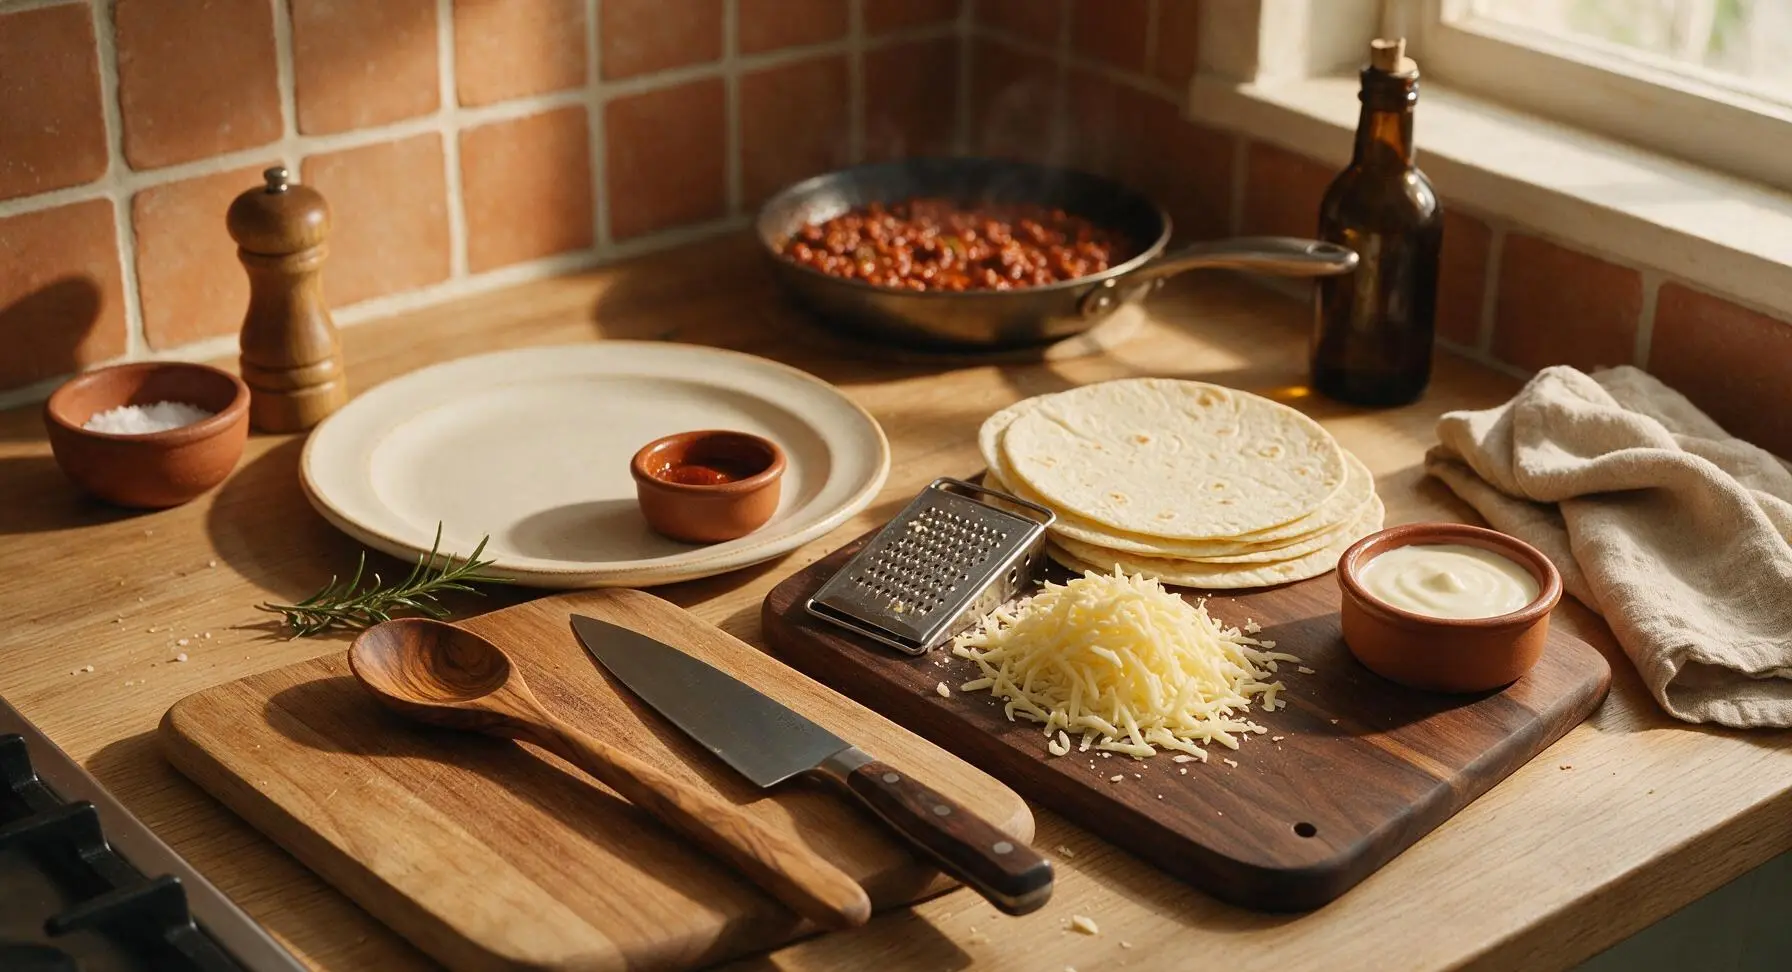
While the Bolognese simmers, use the stainless steel box grater to shred the low-moisture mozzarella into a small pile on the dark maple cutting board. Warm the 4 large flour tortillas for 10 seconds each in the microwave until soft and pliable, so they do not crack when folded. Measure 120ml béchamel sauce into the small terracotta ramekin for easy assembly.
Step 4
step4:Prep Tortilla Fillings
5

Assemble the Burritos

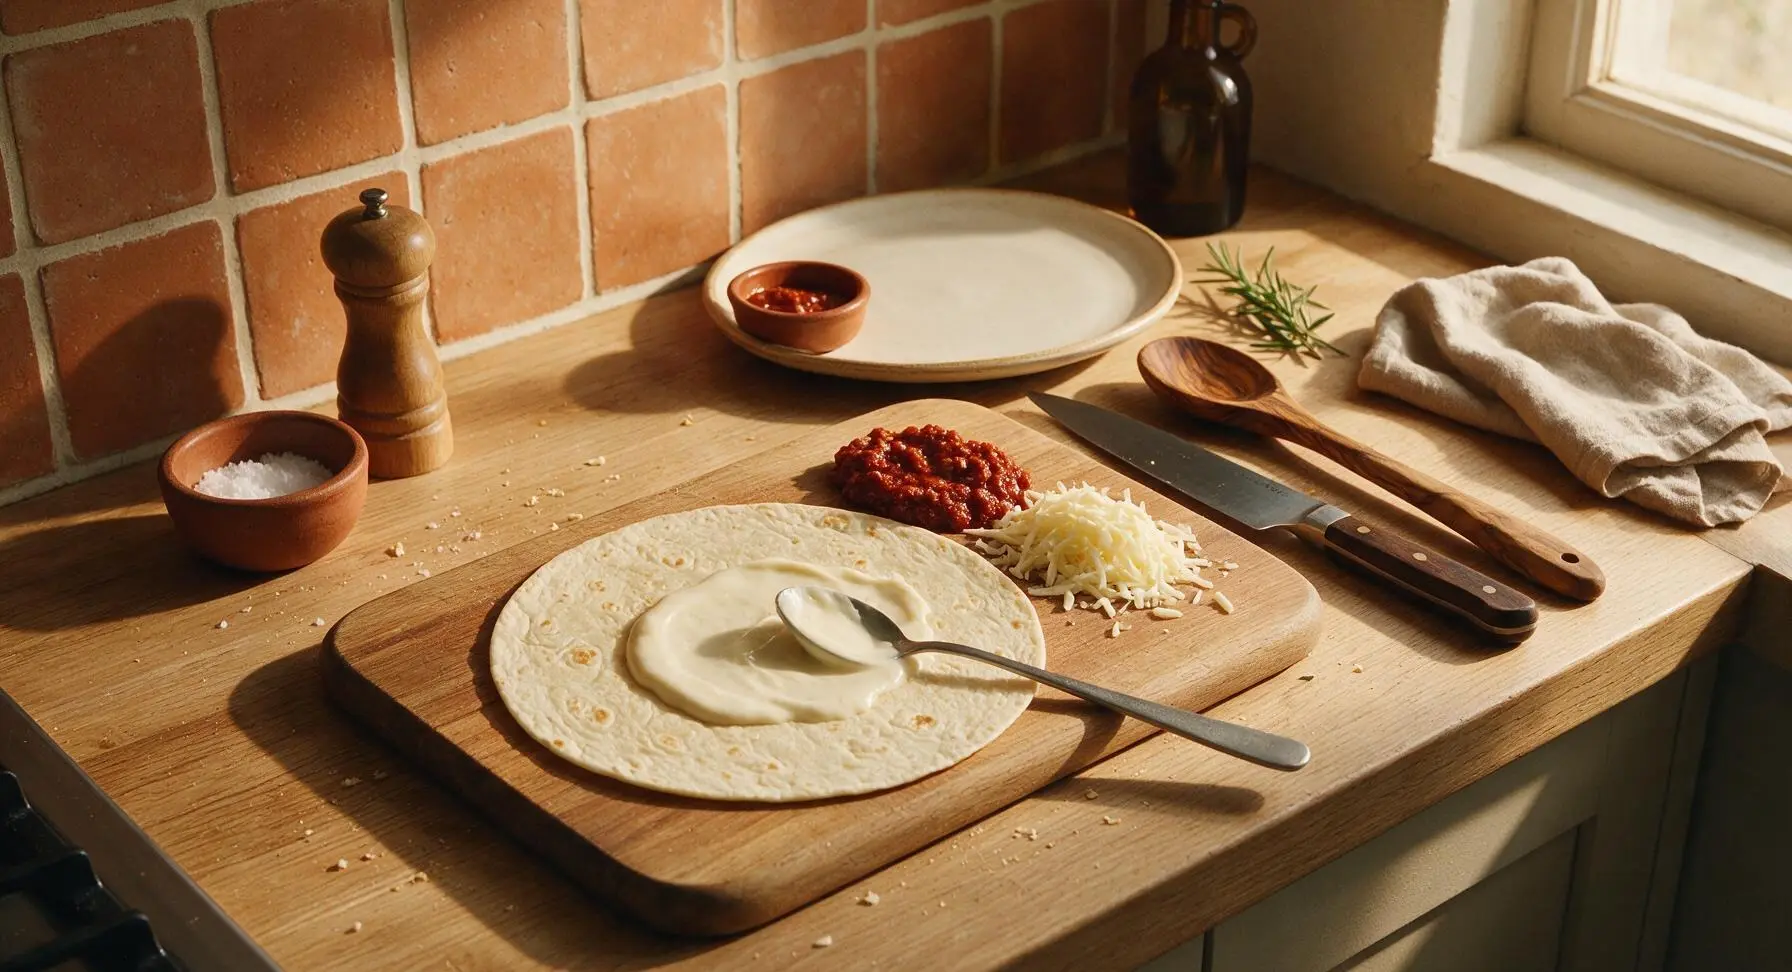
Lay one warm tortilla flat on the dark maple cutting board. Spread 1 tablespoon of béchamel across the center of the tortilla, leaving a 2-inch border around the edges. Add 1/4 of the thick Bolognese sauce down the center of the tortilla, top with 1/4 of the shredded mozzarella, a sprinkle of grated parmesan, and 2-3 fresh basil leaves. Fold the short sides of the tortilla in over the filling, then roll tightly from the long edge to form a sealed, compact burrito. Repeat with remaining tortillas and fillings.
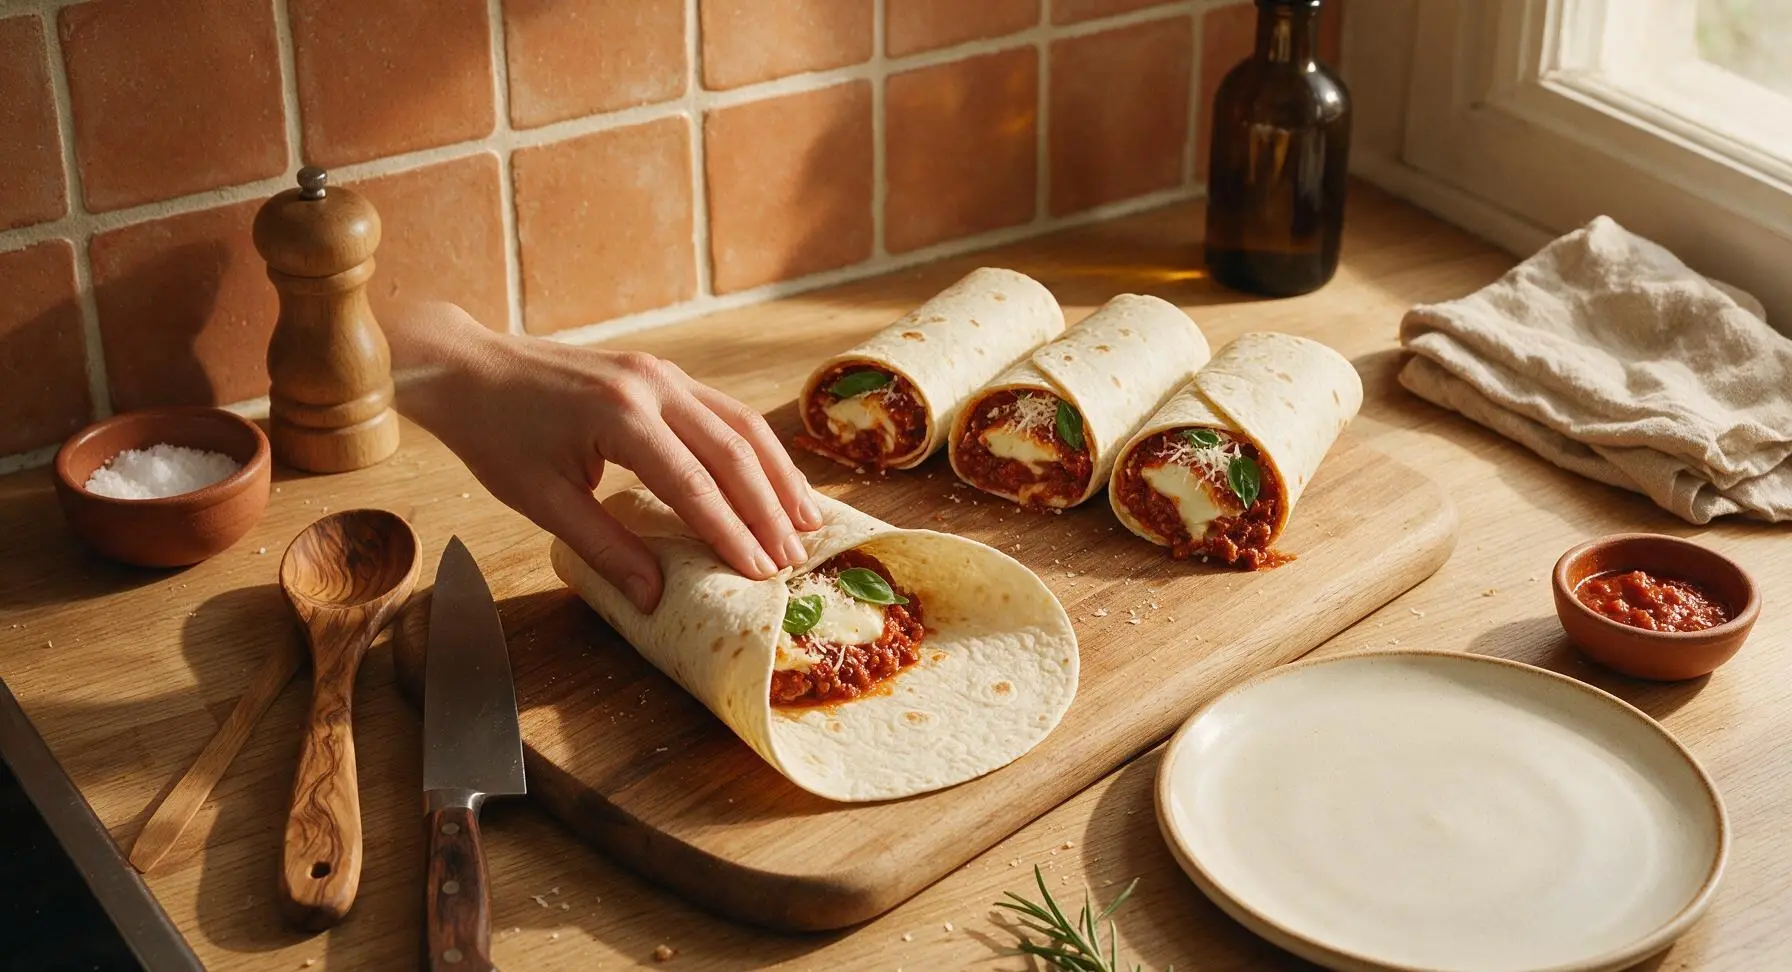
Step 5
step5:Assemble the Burritos
Step 5
step5:Assemble the Burritos
6

Sear Stuffed Burritos

Wipe the 10-inch carbon steel skillet clean with a paper towel, then heat over medium heat. Place the assembled burritos seam-side down in the dry skillet, working in batches if needed to avoid crowding. Cook for 1-2 minutes per side, until the tortilla is golden brown and slightly crisp in spots, and the cheese inside is fully melted. Press gently with the silicone spatula while searing to ensure even browning and a tight seal.
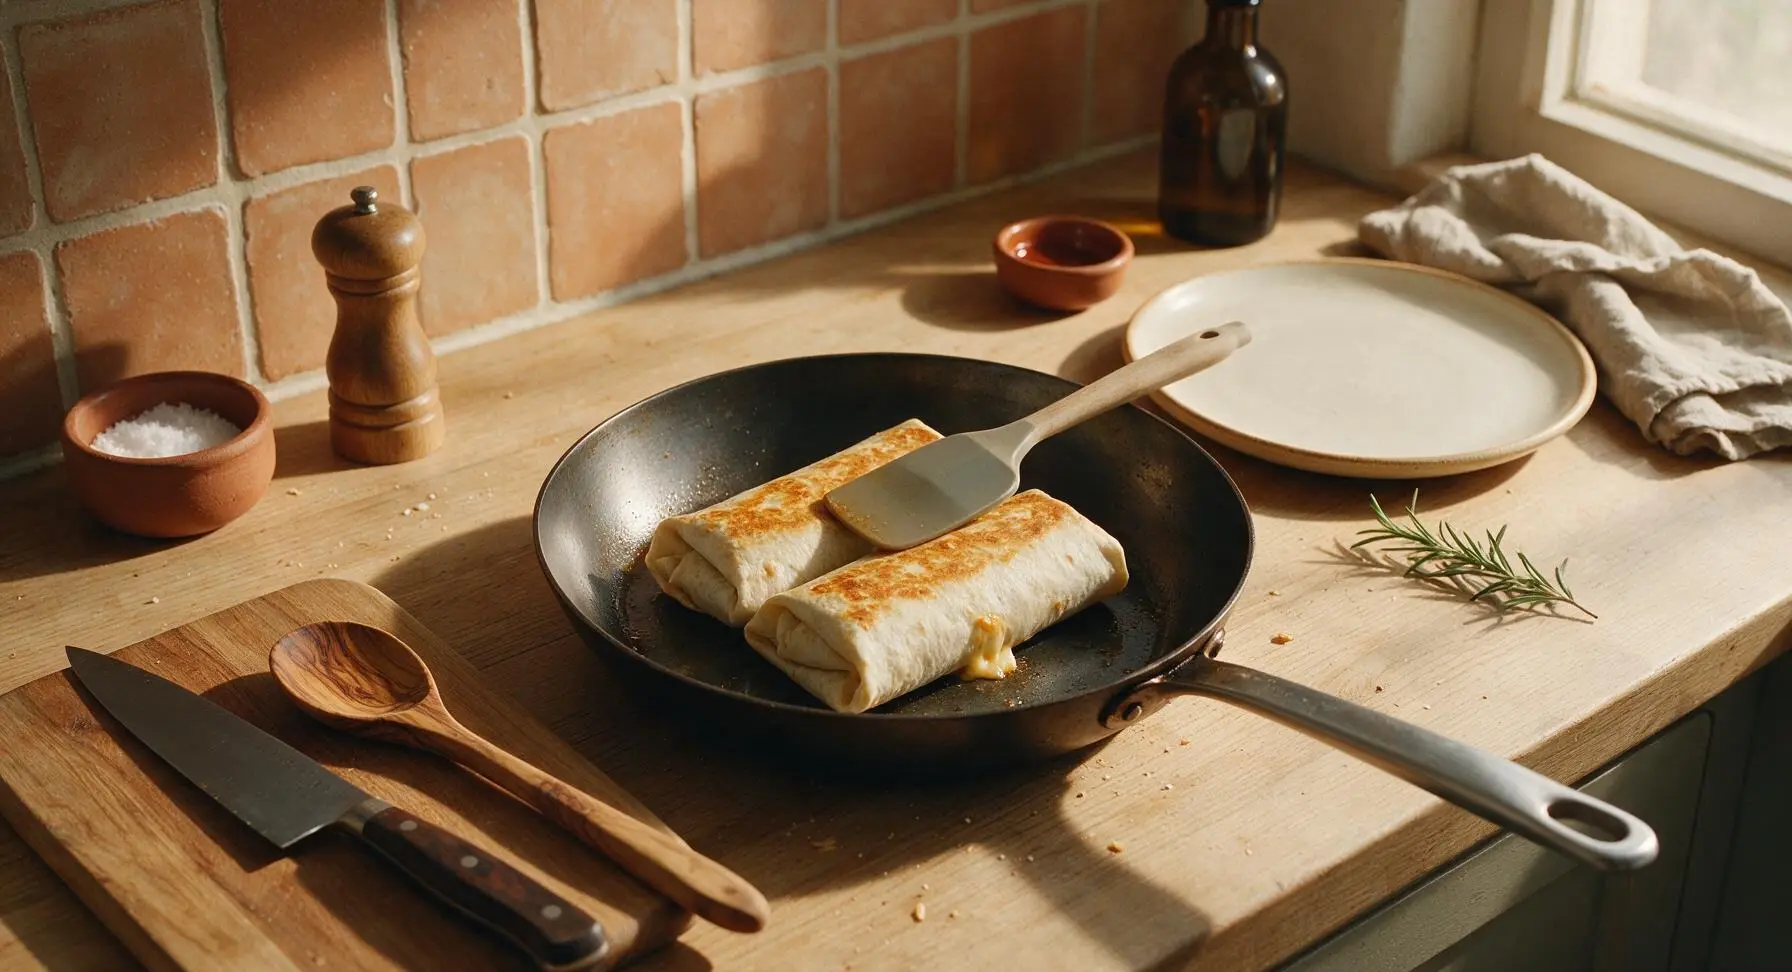
Step 6
step6:Sear Stuffed Burritos
7

Plate and Serve

Transfer the seared burritos to the cutting board, let rest for 2 minutes to allow the filling to set, then slice each in half diagonally with the chef knife. Arrange the halved burritos on the matte cream ceramic dinner plate, garnish with a fresh basil leaf, and serve with extra grated parmesan on the side.
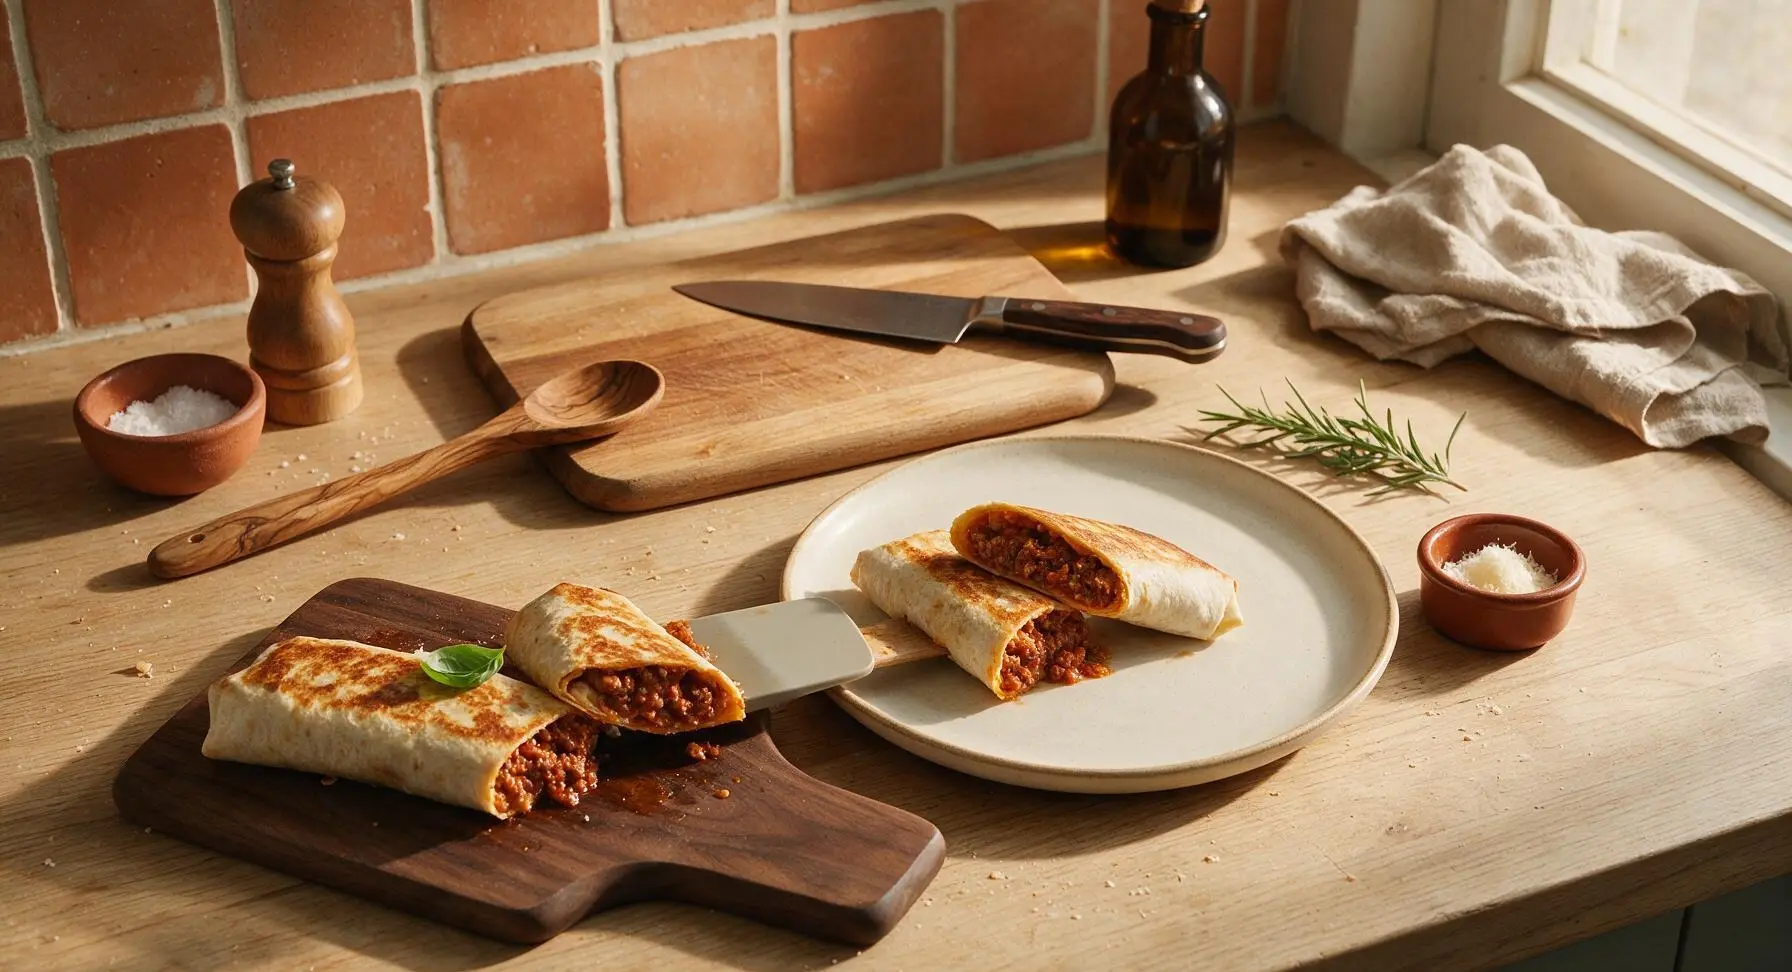
Step 7
step7:Plate and Serve

Tips

1.Use low-moisture mozzarella instead of fresh mozzarella for the filling: fresh mozzarella has a high water content that releases when melted, leading to soggy tortillas and filling that leaks out as you eat.
2.Warm tortillas for 10 seconds in the microwave before assembling: cold tortillas are stiff and prone to cracking or splitting when rolled, which causes filling to leak out during searing. Warming makes them soft and pliable for tight, neat rolls.
3.Always place burritos seam-side down in the hot skillet first: the heat melts the overlapping tortilla edges together to create a tight, sealed seam, preventing Bolognese and melted cheese from oozing out as you sear the remaining sides.


✨ You May Also Like

Main Course
🍜 United Kingdom

A showstopping classic of tender seared beef, savory mushroom duxelles, and crisp prosciutto wrapped in flaky golden puff pastry, baked to juicy perfection.

⏱️ 2 hours 1Main Course ★ 4.7
Main Course
🍜 India

Tender charred marinated chicken simmered in a rich, spiced creamy tomato sauce, this iconic Anglo-Indian curry pairs perfectly with basmati rice or warm naan.

⏱️ 50 minuteMain Course ★ 4.6
Main Course
🍜 Thailand

Classic tangy, sweet, and savory Thai stir-fried rice noodles with shrimp, tofu, and crunchy garnishes, balancing all five core Thai flavor profiles.

⏱️ 30 minuteMain Course ★ 4.5
Main Course
🍜 United Kingdom

Crispy golden beer-battered cod and fluffy double-fried chips, served with tangy tartar sauce and malt vinegar: the timeless, beloved British pub comfort classic.

⏱️ 45 minuteMain Course ★ 4.7
Main Course
🍜 Mexico

Smoky, chile-marinated pork tacos with caramelized pineapple, fresh cilantro, and lime: a beloved classic Mexican street food perfect for casual summer gatherings.

⏱️ 1 hour 45Main Course ★ 4.8
Main Course
🍜 United States

Crunchy Fritos corn chips layered with savory beef chili and melted cheddar, topped with cool, zesty fixings for a beloved, cozy Tex-Mex comfort food.

⏱️ 35 minuteMain Course ★ 4.8

bolognese burrito:Frequently Asked Questions

1.Can I use leaner ground beef instead of the recommended 80/20 blend for this recipe? ▾
You can, but 80/20 ground beef is ideal here because its fat content builds rich, classic Bolognese depth without extra added oil, and keeps the filling moist enough not to crumble out of the tortilla. If you opt for 90/10 or leaner, stir in 1 tablespoon of olive oil while cooking the veg to replace lost richness, and avoid over-browning the meat to prevent dryness.
2.Why do you specify San Marzano crushed tomatoes? Can I use regular canned crushed tomatoes instead? ▾
San Marzano tomatoes have a naturally sweeter, less acidic, bright flavor that cuts through rich beef and cheese without tasting tinny, making for a more balanced Bolognese. You can absolutely use regular canned crushed tomatoes in a pinch—just stir in 1/4 teaspoon of sugar while simmering to mellow out any harsh, bitter acidic notes before filling your burritos.
3.How do I get a crisp-seared tortilla without it cracking or splitting when I wrap? ▾
First, bring tortillas to room temperature or warm them for 10 seconds in the microwave before filling—cold tortillas crack almost every time. Don’t overstuff (stick to ~3/4 cup of total filling per 10-inch tortilla), fold ends in tight first, then sear seam-side down in a medium-hot dry skillet for 1 minute per side to set the seal and get that golden crisp.
4.Do I really need to add béchamel, or can I skip it entirely? ▾
The creamy béchamel is what ties this Italian-Mexican fusion together, cutting bright tomato acidity and pairing with melted mozzarella for that luxe, lasagna-like vibe inside the tortilla. If you’re short on time, swap it for 2 tablespoons of full-fat sour cream per burrito, but don’t skip a creamy element entirely—your filling will feel dry and less cohesive without it.
5.How finely do I need to dice the onion and carrot for the Bolognese filling? ▾
Dice both into roughly 1/4-inch pieces, no bigger. Large, chunky veg pieces make the burrito much harder to wrap neatly, and you’ll get random oversized bites of plain carrot or onion that throw off the balanced Bolognese flavor. If you lack knife skills, pulse them a few times in a food processor—just don’t turn them to mush, which makes filling watery.
6.Can I make the Bolognese filling ahead of time for quick weeknight meals? ▾
Absolutely! In fact, Bolognese tastes even better after resting 1 to 3 days in the fridge, as the flavors meld together as it chills. Just let the filling cool completely before storing in an airtight container, and drain off any excess pooled liquid before wrapping burritos to avoid soggy tortillas when you sear them.
7.How do I get the mozzarella to melt evenly inside the burrito instead of clumping? ▾
Shred mozzarella fresh from a block instead of using pre-shredded cheese, which is coated in anti-caking agents that prevent smooth melting. Layer a thin handful of cheese directly against the warm tortilla before adding Bolognese and béchamel, then top with another thin cheese layer to create a melty glue that holds filling together as you sear.
8.My Bolognese turned out really watery—how do I fix that to avoid soggy burritos? ▾
If your simmered Bolognese is too loose, let it simmer uncovered over medium-low heat for 5 to 7 extra minutes, stirring occasionally, to cook off excess liquid. You can also stir in 1 tablespoon of tomato paste to thicken it quickly if you’re short on time. Never add watery filling to a burrito—it will seep through the tortilla and make a floppy, messy final dish.
9.Can I freeze these assembled Bolognese burritos for quick grab-and-go meals? ▾
Yes, these freeze beautifully! Let seared burritos cool completely, then wrap each tightly in plastic wrap followed by a layer of aluminum foil, and store in the freezer for up to 3 months. To reheat, unwrap completely, wrap in a damp paper towel, microwave for 2 to 3 minutes, then crisp in a skillet for 1 minute per side to bring back the crunchy tortilla texture.
10.What are the best sides to serve with these hearty Bolognese burritos? ▾
Since these are pretty rich on their own, pair them with bright, light sides to cut the heaviness: a simple arugula salad tossed with lemon vinaigrette, crispy garlic tater tots, or a small dish of marinated olives and pickled pepperoncini. Skip heavy sides like loaded nachos or extra pasta—these burritos are already packed enough to be a full, satisfying meal.

Comments (17)

2 days ago

OMG this was such a game changer for taco night! I swapped half the ground beef for ground turkey to lighten it a little and it still tasted so rich and hearty. My husband went back for a third burrito no lie. Perfect easy weeknight win!

1 week ago

Cook time says 25 minutes but I stretched it to 30 because I let the bolognese simmer a touch longer, totally worth it. These wrap up perfect for work lunches all week, no soggy tortillas if you let the filling cool first! Only note is I added a handful of shredded cheddar inside before rolling.

5 days ago

Great tip about letting the filling cool to avoid soggy tortillas, Mitch! Simmering a few extra minutes lets those bolognese flavors meld even more, love that you added cheddar too.

3 days ago

I was so nervous my kids would turn their noses up because bolognese is usually a spaghetti thing, but NOPE. My youngest even asked if we could have these for his birthday dinner next month. SO good, I didn’t change a single thing except add a dollop of sour cream on top for serving.

2 days ago

Wait I did the sour cream thing too! Also a little sprinkle of taco seasoning in the bolognese hits different, trust me.

2 days ago

So happy the kids loved it! Adding sour cream is such a classic, tasty call, and that taco seasoning tip from BurritoLover99 is chef’s kiss for anyone who wants a little extra kick.

1 week ago

Made these for our post-hike potluck with the trail group last weekend and they were gone in 10 minutes flat! Super filling, easy to make in a big batch, and everyone was asking for the recipe. Will be making these for every group camping trip from now on.

5 minutes ago

Super easy recipe, perfect for when I get home late from the office and don’t want to order takeout. Only issue I had was my large burrito tortillas tore a little when I rolled them, any tips?

just now

If your tortillas are tearing, try warming them for 10-15 seconds in the microwave before rolling! It makes them way more flexible so they don’t split when you add the filling. Hope that helps for next time!

2 hours ago

Wait, has anyone tried this with gluten free tortillas? I have a wheat sensitivity but this recipe looks too good to pass up, I don’t want the GF tortillas to fall apart on me.

30 minutes ago

I used the cassava flour GF tortillas from Trader Joe’s last week! Warmed them up just like regular tortillas and they rolled perfectly, no tears at all. Tasted amazing, you couldn’t even tell they were GF.

5 minutes ago

Great question! As GFfoodie42 mentioned, warming your GF tortillas first makes a huge difference in how well they hold up. Cassava or whole-grain GF tortillas work great with this filling, no sogginess if you don’t overstuff them!

2 weeks ago

Bro this recipe saved my dorm meal plan. I don’t even have a fancy skillet, just a cheap frying pan and a microwave, and it still turned out fire. Added a little hot sauce on top and ate it while cramming for my midterm, 10/10.

2 weeks ago

Love that you made this work with basic dorm cooking gear! Hot sauce is the perfect add-on for a little extra zing, good luck with those midterms!

5 days ago

I make traditional bolognese every Sunday for family dinner, so I was skeptical about putting it in a burrito. Let me tell you, I’m a convert. The contrast of the savory meat sauce with the soft tortilla and a little melted mozzarella? Unreal. My nonna even asked for the recipe, which is the highest possible compliment.

yesterday

I swapped the ground beef for lentils to make this vegetarian, and it was still so hearty and flavorful! I was worried it would be bland but the bolognese seasoning is so good, I didn’t even miss the meat.

yesterday

Oh I did the lentil swap too! Added a little nutritional yeast for a cheesy flavor and my meat-eating roommate said he liked it better than the beef version, lol.

30 minutes ago

Wait a second, this is the perfect use for leftover bolognese from spaghetti night! I had a whole container of leftover sauce in the fridge, tossed it in the tortilla with a little rice and cheese, and it took literally 10 minutes to throw together. Why didn’t I think of this sooner?

5 minutes ago

OH that’s such a smart hack! I always have leftover bolognese that I get tired of eating with pasta, this is gonna be my new go-to leftover makeover.

just now

Leftover bolognese works perfectly here! Adding a scoop of rice is a great call to bulk it up too, we love a quick leftover meal that tastes intentional.

2 days ago

Tested these out for our football tailgate last weekend and they were a massive hit. I made them ahead, wrapped them in foil, and kept them warm in the cooler with heated packs, and they stayed perfect the whole game. Way easier than making burgers for 20 people.

yesterday

What a perfect tailgate food idea! Wrapping them in foil to keep warm is such a smart move, we might have to steal that tip for our next game day gathering.

just now

I added a whole diced jalapeño to the bolognese while it cooked and a drizzle of chipotle crema on top, and it had the perfect little kick. Not too hot for people who don’t like spice, but enough zing to keep it interesting. Will absolutely be adding this to my regular dinner rotation.

1 week ago

I’m literally just learning how to cook and this was the first recipe I didn’t mess up! The steps are so straightforward, no fancy ingredients, and it tasted like something I’d order at a restaurant. I felt so proud serving it to my roommate.

1 week ago

This makes us so happy to hear, Nora! This recipe is perfect for new cooks because it’s forgiving and hard to mess up. Can’t wait to hear what you cook next!

30 minutes ago

Wait, what kind of cheese works best in these? I have pepper jack, mozzarella, and cheddar in my fridge right now and can’t decide which to use.

5 minutes ago

Pepper jack all the way! It melts so smooth and adds a tiny little peppery kick that pairs perfectly with the rich bolognese. I’ve used all three though, you really can’t go wrong.

just now

Great question! All three cheeses work deliciously, but pepper jack is our favorite for that little extra flavor punch. If you want extra cheesy, mix a little mozzarella and cheddar together for the perfect melt!

3 days ago

I used a low-carb whole wheat tortilla for this and loaded it up with extra veggies (diced bell peppers, onions, a little spinach) and it was so satisfying, no post-dinner carb crash at all. Still felt like a total comfort food meal.

2 days ago

That’s such a good call! I’ve been tracking my macros and this recipe is so easy to tweak to hit your protein goals without feeling like diet food. I added extra lean beef and a little Greek yogurt instead of sour cream to bump up the protein.

yesterday

Brought these to my office potluck yesterday and I swear every single person asked me for the recipe. Even the guy who only ever eats fast food said it was one of the best things he’d ever had at a work event. So easy to make in bulk, 10/10 for group events.

2 weeks ago

Has anyone tried freezing these? I do a big Sunday meal prep and love having meals I can pull out and reheat on busy nights, but I’m worried the tortillas will get mushy when I thaw them.

1 week ago

I froze four of these last month! I wrapped them individually in plastic wrap then foil, and when I reheated them in the oven at 350 for 20 minutes they were perfect, no sogginess at all. Just don’t microwave them straight from frozen, that makes the tortilla weird.

1 week ago

Great question! Freezing works perfectly if you wrap them tightly individually, just like MealPrepMamaMia said. Reheating in the oven (or even an air fryer!) keeps the tortilla crisp on the outside and the filling hot all the way through. Perfect for quick meal prep!



