
Pistachio Ice Cream
intro
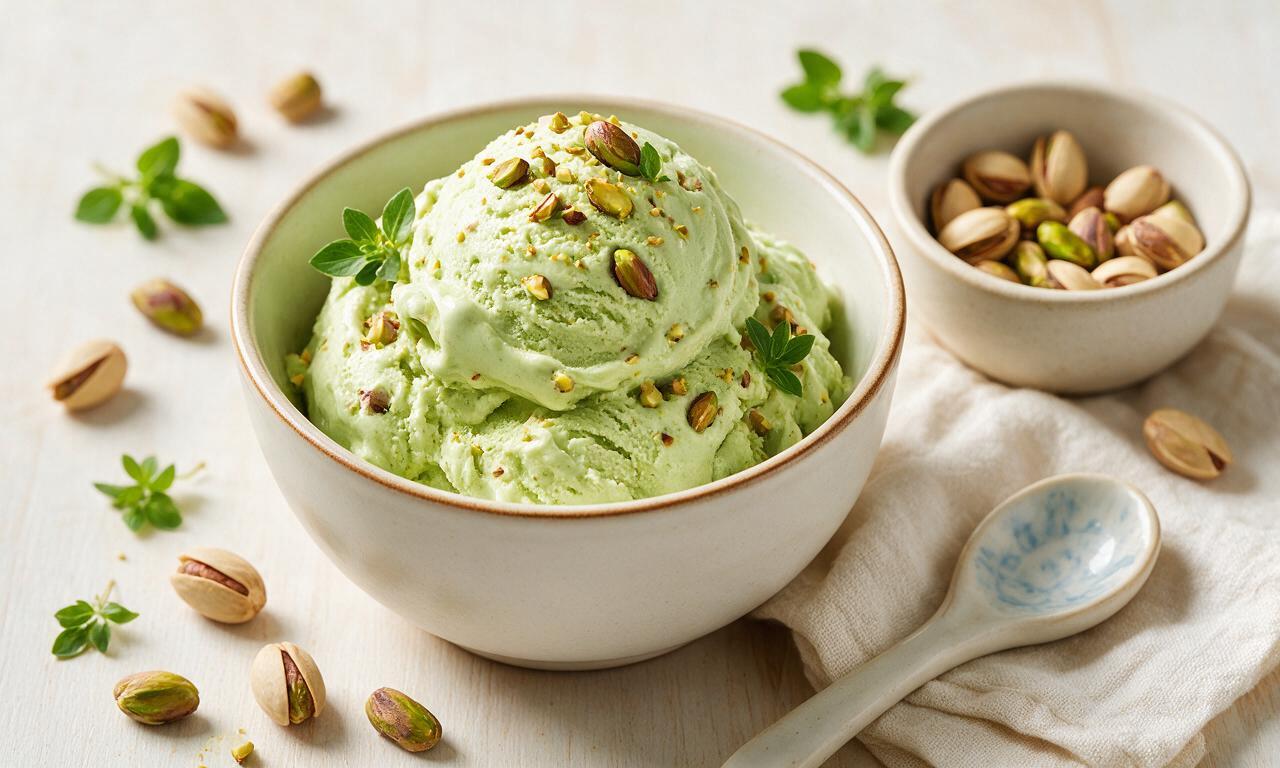
Velvety, nutty homemade pistachio ice cream made with real roasted nuts, no artificial coloring, for a rich, refreshing cold summer treat.
Ingredients
Steps
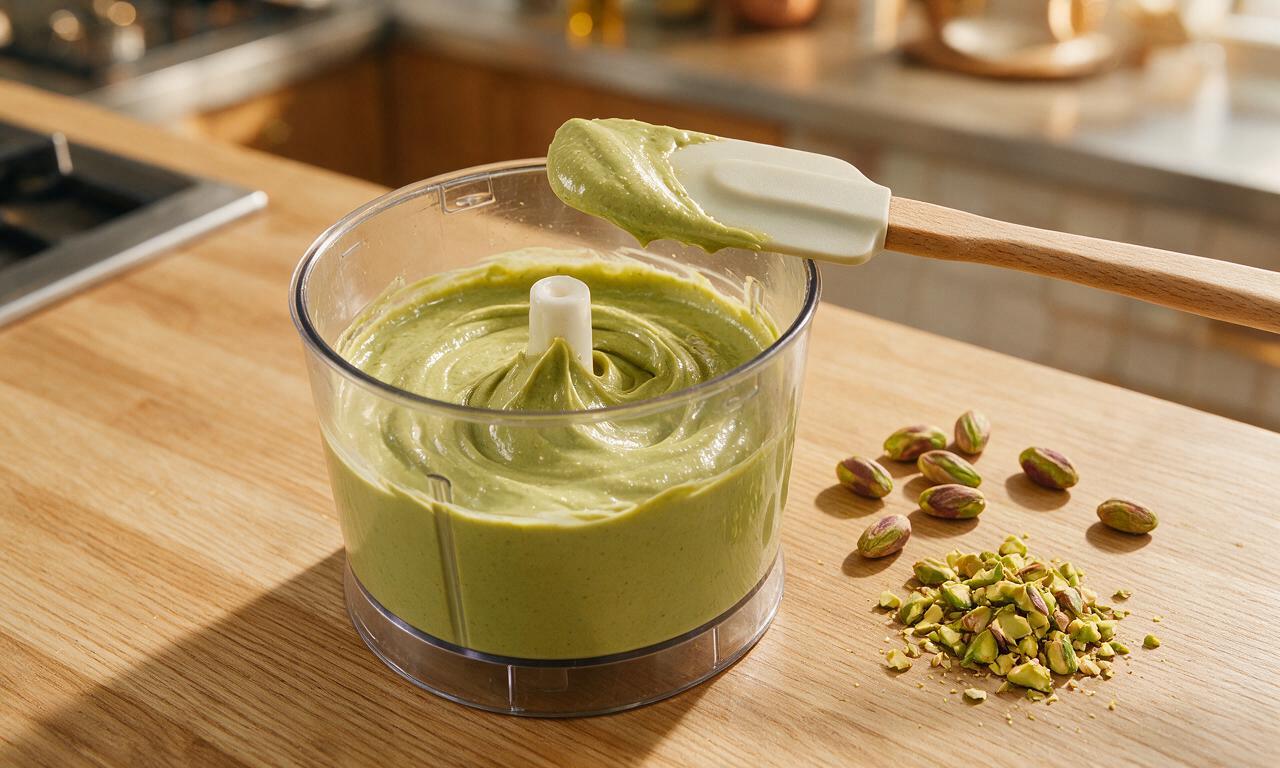
Prepare the pistachio base: Measure out 120g (3/4 cup) of the shelled unsalted roasted pistachios, add them to a high-speed blender or food processor. Blend on high speed for 2-3 minutes, stopping to scrape down the sides of the blender jar with a rubber spatula every 45 seconds, until the nuts break down completely into a smooth, drizzly, pale green pistachio butter with no gritty bits remaining. Set the pistachio butter aside, and roughly chop the remaining 30g (1/4 cup) pistachios to use as a mix-in and topping.
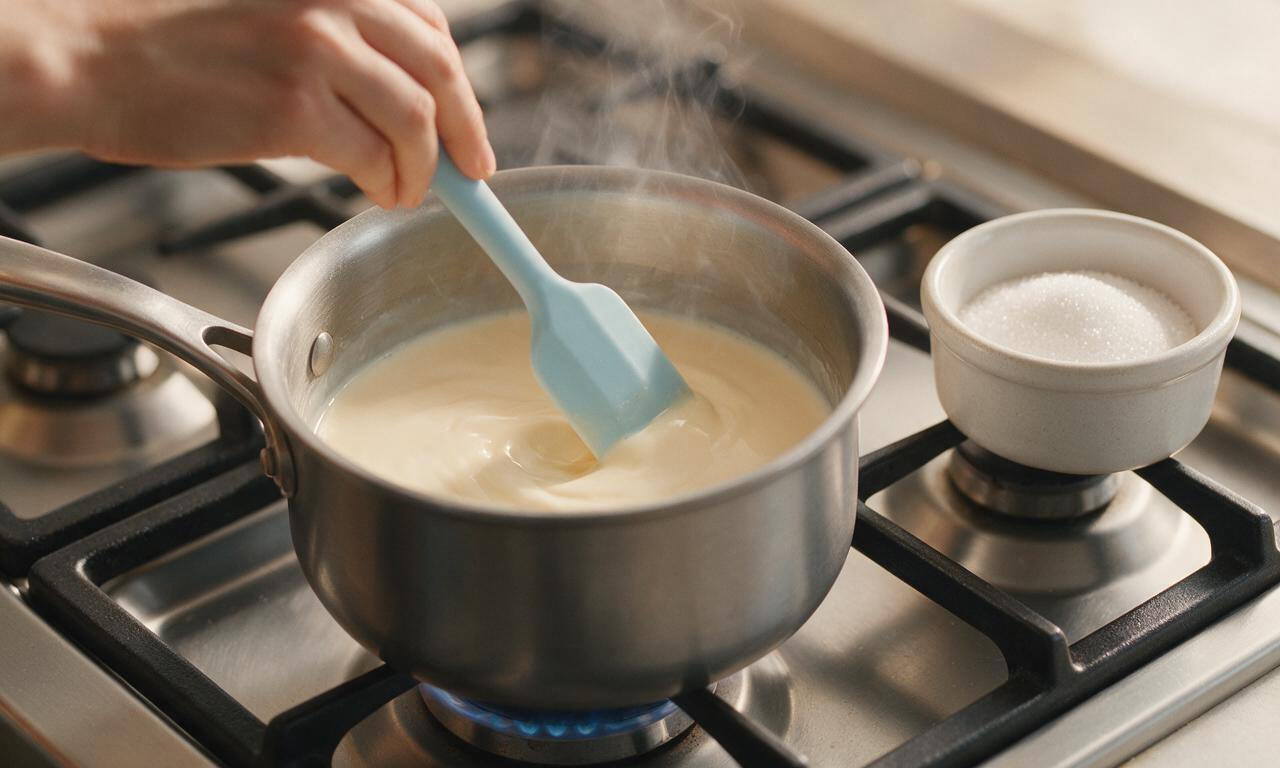
Warm the dairy base: Pour 240ml (1 cup) whole milk, 240ml (1 cup) heavy whipping cream, 50g (1/4 cup) of the granulated sugar, and 1g (1/4 tsp) fine sea salt into a small heavy-bottomed saucepan. Heat over medium-low, stirring occasionally with a silicone spatula, until the mixture reaches 70°C (160°F) and small, fine bubbles form around the edges of the pan, about 5-6 minutes. Do not bring the mixture to a rolling boil, as this can scald the dairy.
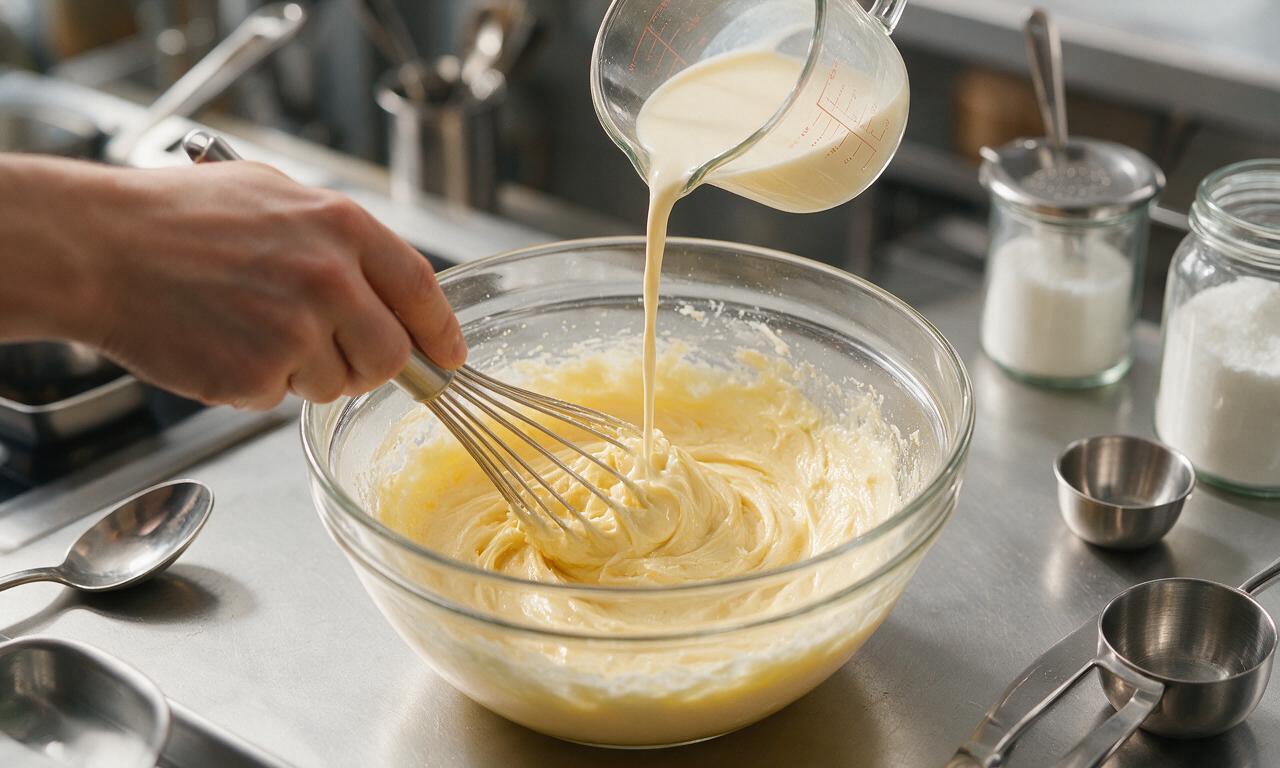
Temper the egg yolks: While the dairy mixture warms, add 4 large egg yolks and the remaining 50g (1/4 cup) granulated sugar to a medium heatproof glass bowl. Whisk continuously by hand for 2 minutes until the mixture turns pale lemon yellow, thickens slightly, and leaves a slow, thick ribbon when the whisk is lifted 5cm above the bowl. Slowly pour 120ml (1/2 cup) of the warm dairy mixture into the egg yolk bowl, whisking constantly at a fast pace to prevent the eggs from curdling from the heat. Once fully combined, pour the tempered egg mixture back into the saucepan with the remaining warm dairy.
Cook the custard: Return the saucepan to medium-low heat, stirring the combined custard base constantly with the silicone spatula (making sure to scrape the bottom and corners of the pan to prevent burning) for 3-4 minutes. The custard is done when it reaches 77°C (170°F), thickens enough to evenly coat the back of the spatula, and holds a clean, clear line when you run your finger across the coated spatula surface. Immediately remove the pan from heat, then stir in the prepared smooth pistachio butter and 5ml (1 tsp) pure vanilla extract, mixing until fully incorporated into a uniform pale green custard.
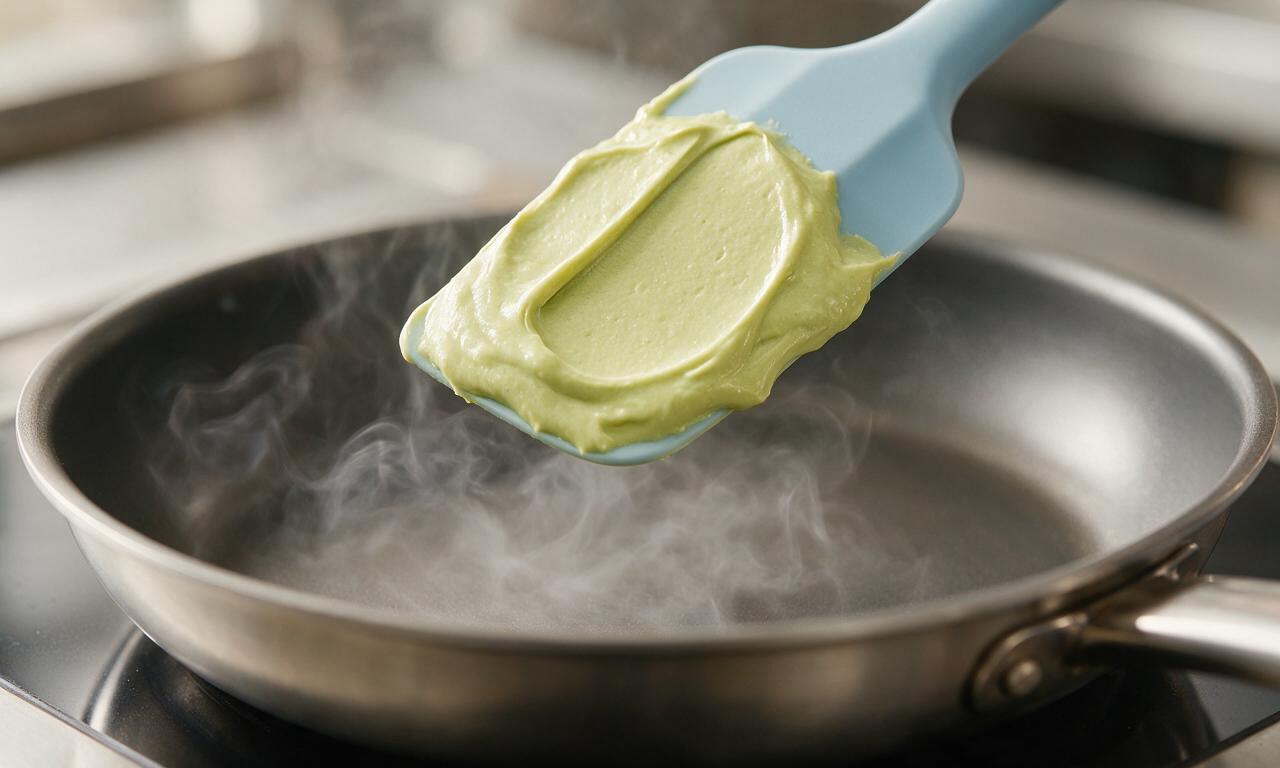
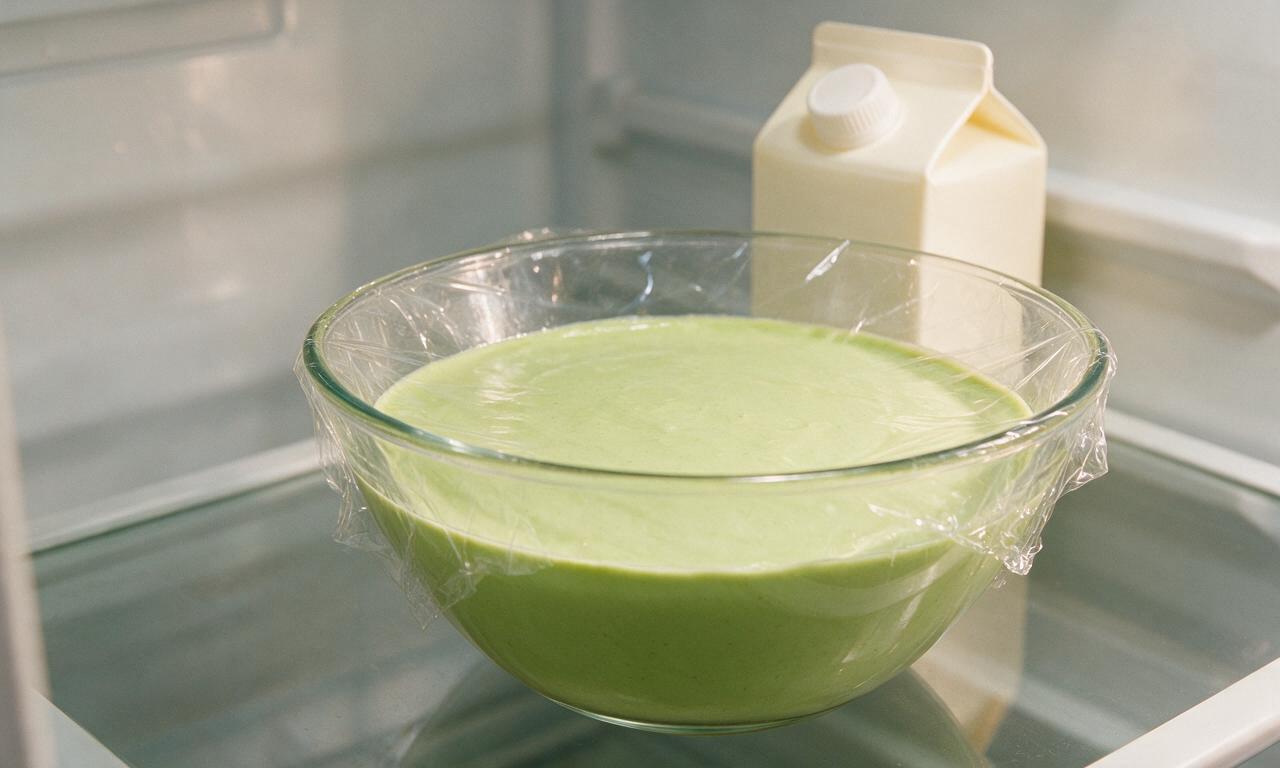
Chill the custard base: Place a fine-mesh sieve over a clean medium glass bowl, pour the warm pistachio custard through the sieve to catch any small lumps of curdled egg or remaining gritty pistachio bits for an ultra-smooth final texture. Press a piece of plastic wrap directly onto the exposed surface of the custard (this prevents a thick skin from forming as it cools), then refrigerate the bowl for 4 hours, or until the custard is completely chilled to 4°C (40°F) or colder.
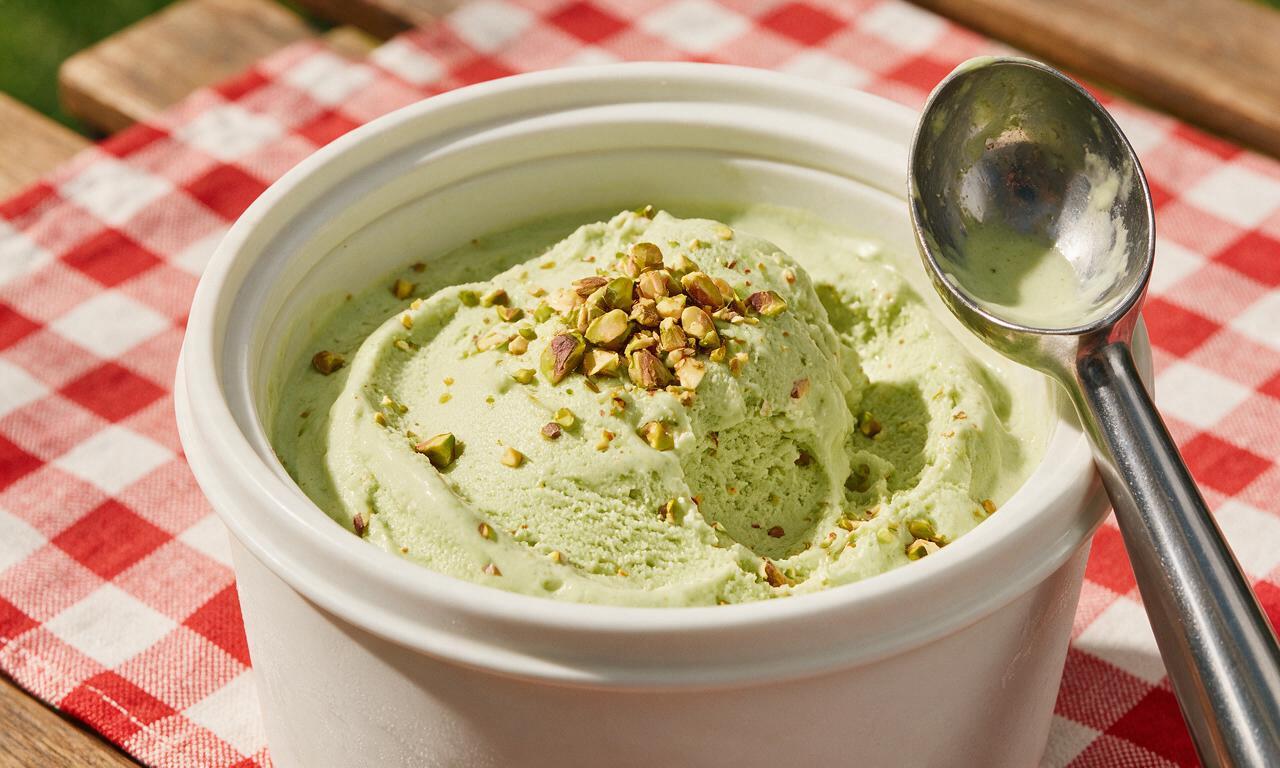
Churn and finish the ice cream: Remove the fully chilled custard from the refrigerator, peel off the plastic wrap, and pour the custard into the pre-frozen bowl of an ice cream maker. Churn according to the manufacturer’s standard setting for 20-25 minutes, until the ice cream thickens to a soft-serve consistency that holds its shape when stirred. During the final 2 minutes of churning, add 20g (2 tbsp) of the chopped reserved pistachios to mix evenly through the ice cream. Once churning is complete, transfer the soft ice cream to a lidded 1L (4 cup) freezer-safe container, sprinkle the remaining 10g (1 tbsp) chopped pistachios across the top as a garnish, seal the lid tightly, and freeze for 30 minutes to firm up to a smooth, scoopable consistency before serving.
Tips
2.Do not heat the custard above 79°C (175°F) during cooking, as higher temperatures will cause the egg yolks to curdle, creating a lumpy, grainy ice cream that cannot be fully smoothed even after sieving.
3.For the brightest natural pistachio flavor and pale green color without artificial dyes, use high-quality Sicilian roasted pistachios; standard grocery store pistachios often have a duller, more brown color and milder nut flavor.






OMG this pistachio ice cream is a GAME CHANGER. I brought it to our neighborhood potluck last weekend and every single person asked for the recipe! The texture is so perfectly creamy, no icy grainy bits at all, even after storing it in the freezer for 3 days. I used roasted salted pistachios like the note said and that little salty kick cuts the sweetness so well. 10/10 will be making this all summer long!
Took me a minute to get the custard base right on my first try (I almost curdled the eggs oops) but man was it worth it. Tastes way better than the fancy $12 pint from the artisanal ice cream shop by my apartment. My roommate ate half the batch in one sitting no joke.
My kids went crazy for this! I let them help sprinkle the extra chopped pistachios on top before freezing and they thought they were master chefs. It’s so rich and creamy, we served it with brownies for our Sunday family dinner and everyone cleaned their bowls.
SO good, but I had to swap the heavy cream for coconut cream to make it dairy free for my sister who’s lactose intolerant. It still turned out really tasty, just had a faint coconut undertone that paired surprisingly well with the pistachio! Only knocked a star because I wish the recipe had a dairy free variation note built in.
I’ve made so many homemade ice cream recipes that turn rock hard in the freezer, but this one stays scoopable straight out of the freezer? Witchcraft. The pistachio flavor is so fresh and nutty, not that weird artificial pistachio taste you get from the store bought stuff. Obsessed.
Tasted great, but wow this took way longer than I expected? I know the total time says 5+ hours but I didn’t account for how long my ice cream maker takes to churn, plus waiting for the custard to cool completely. Ended up having to finish it the next day for our dinner party. Flavor was on point though, just plan ahead y’all!
Made this for my husband’s birthday since pistachio is his all time favorite flavor. He said it’s better than the ice cream we had on our honeymoon in Italy! I added a little swirl of white chocolate ganache on top and it was chef’s kiss. Definitely a new family staple.
First time ever making homemade ice cream and it didn’t turn out half bad! I messed up and used shelled pistachios that still had the little purple skin on them so the color was a little dull, but the flavor was still amazing. Next time I’ll blanch them first like the recipe says to get that pretty pale green color.
Brought this to our office potluck yesterday and it was the first dessert gone! People were coming back for seconds before everyone even got through the lunch line. I topped mine with crushed pistachio brittle for a little extra crunch and it was *chef’s kiss*. 10/10 will be making this for every summer gathering from now on.
I work at a specialty coffee shop and I made this to pair with our espresso shots for an affogato special last weekend. Customers went wild for it! The nuttiness of the pistachio pairs so perfectly with dark, rich espresso. We sold out in 2 hours flat.
I prepped a batch of this on Sunday to have for treats all week and it’s held up perfectly! I portioned it into little single-serve cups so I can just grab one out of the freezer after dinner. Curbs my sweet tooth so much better than the processed ice cream bars I used to buy. So creamy and flavorful!
I added a tiny drop of green food coloring because my niece thinks pistachio ice cream has to be bright green (thanks to the store bought stuff she grew up on) and she thought it was the best thing ever. Even without the dye though, the natural pale green color from the pistachios is so pretty. This recipe is a keeper!
I’ve been searching for a pistachio ice cream recipe that doesn’t use that weird artificial pistachio syrup for YEARS. This is it! The flavor is pure, nutty, not too sweet, and the texture is restaurant quality. I cannot recommend this enough, especially if you’re a pistachio purist like me.
Tried a test bite of my friend’s batch this weekend and it was so good! Quick question though: I don’t have an ice cream maker, will this recipe turn out okay if I use the no-churn method of folding in whipped sweetened condensed milk? Really want to make this this weekend but don’t have the equipment.
Made this over the weekend for our beach trip and it was the perfect cool down treat after sitting in the sun. I stored it in a well-insulated cooler and it stayed perfectly scoopable for hours. We ate it with waffle cones and fresh strawberries, it was the ideal summer dessert. 10/10!