
British Jam Roly-Poly
intro
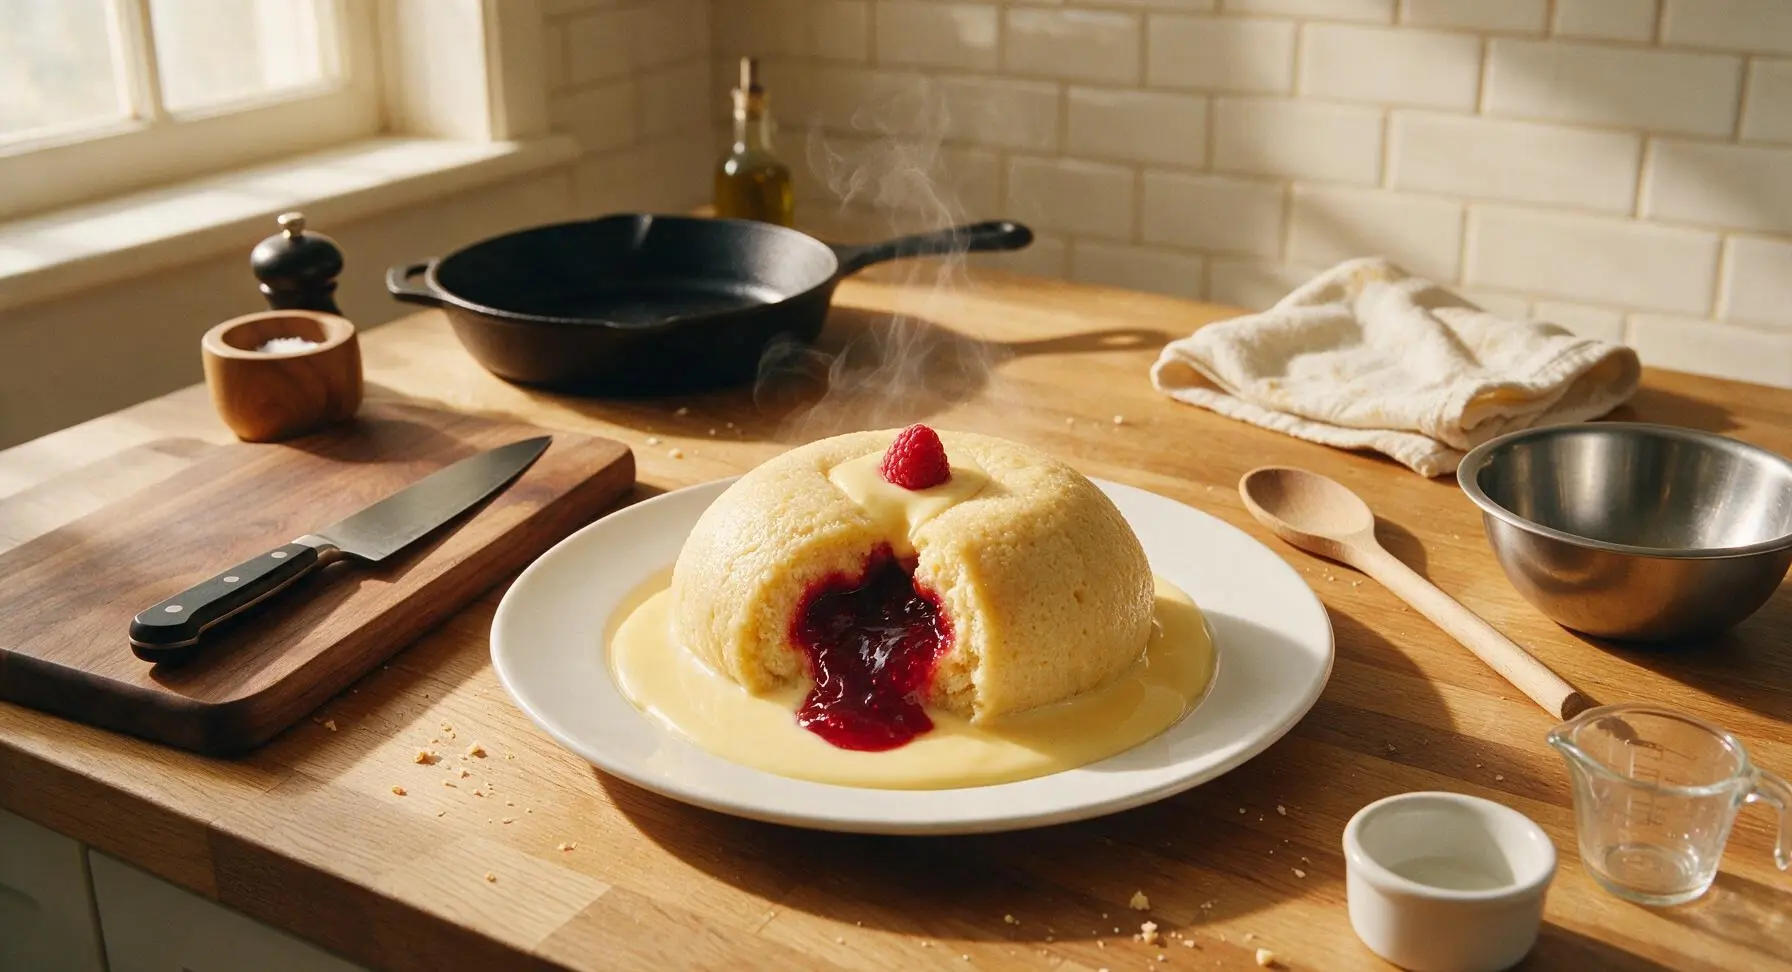
A nostalgic, pillowy steamed suet pudding rolled with tangy raspberry jam, a beloved British school dinner and Sunday roast staple, best served hot with lashings of creamy vanilla custard.
Ingredients
Steps
Mix Pastry Base
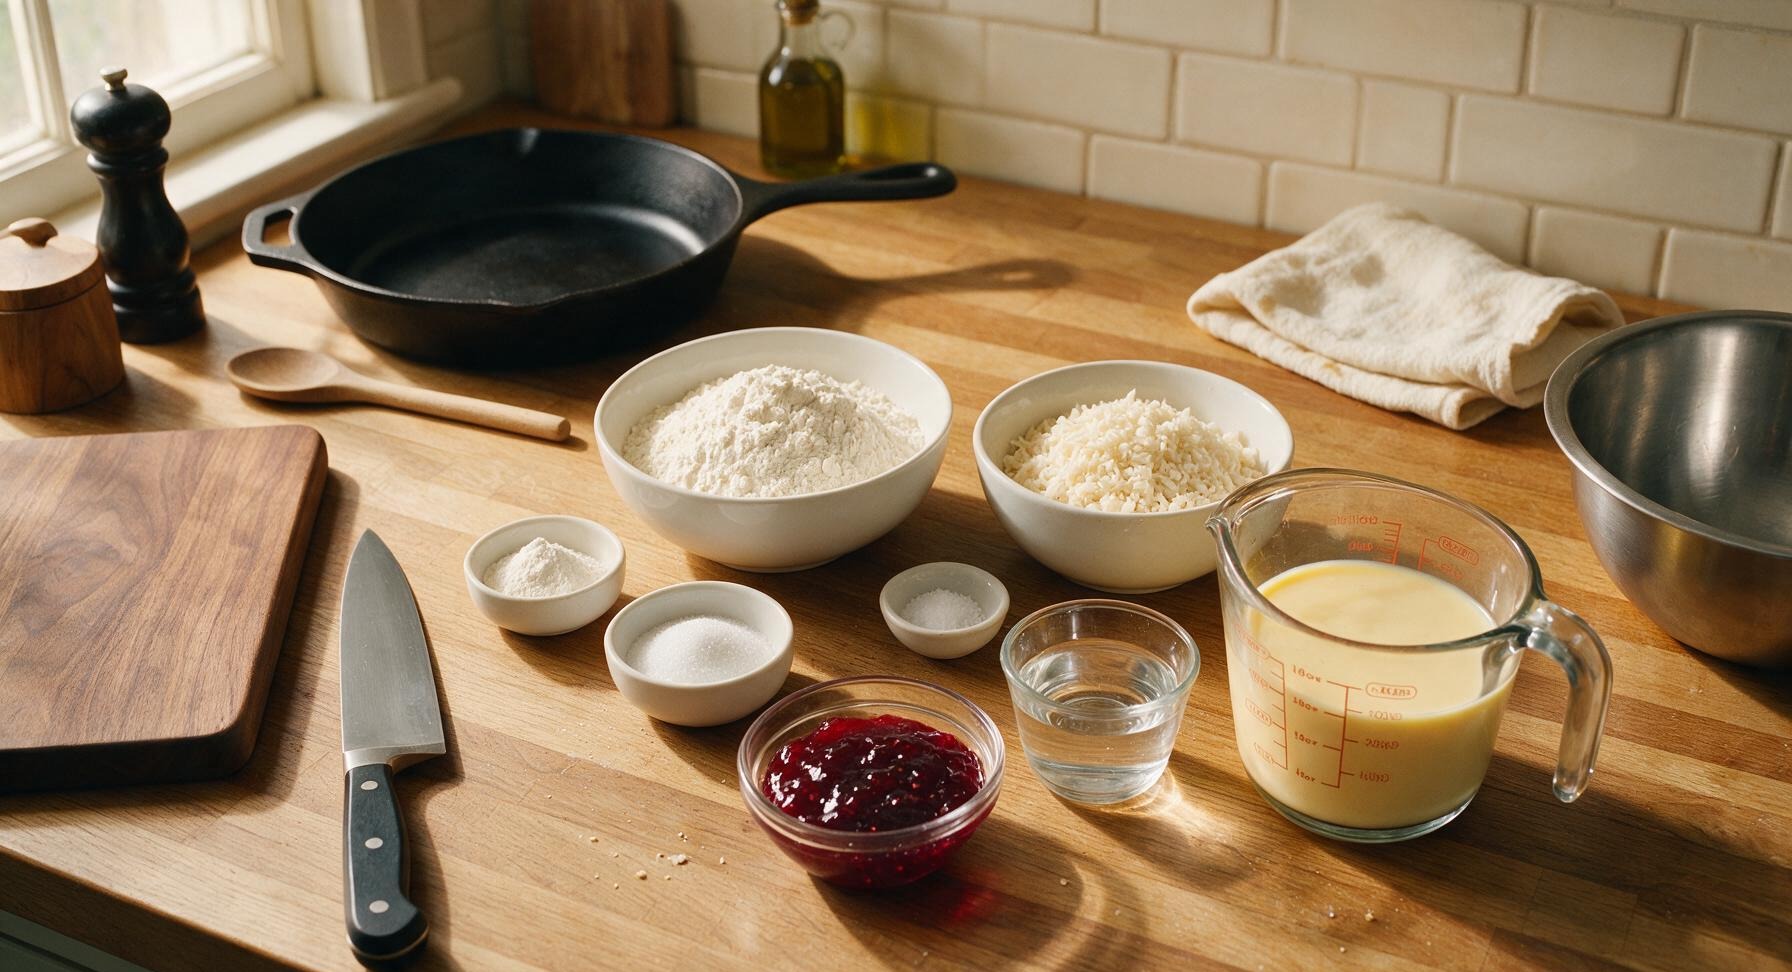
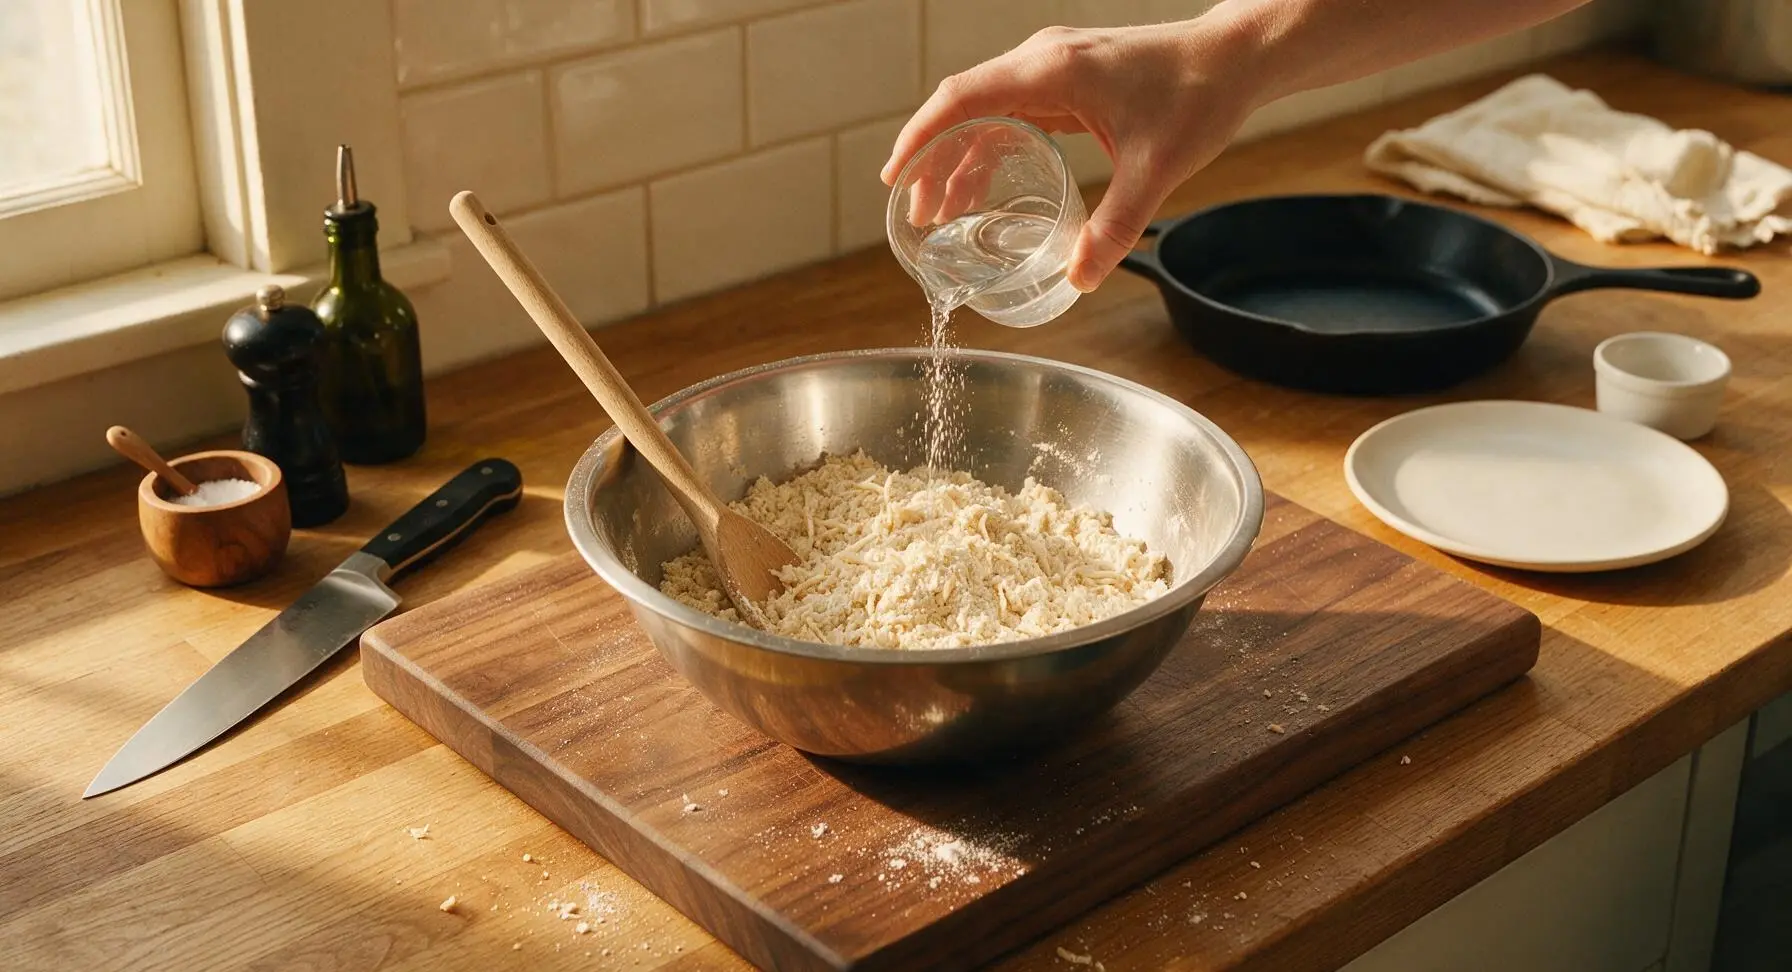
Place 200g plain flour, 1 tsp baking powder, 2 tbsp caster sugar, and 1 pinch of fine sea salt into the stainless steel mixing bowl. Add 100g shredded suet, then use your fingertips to rub the suet into the flour until the mixture resembles coarse, even breadcrumbs with no large suet lumps remaining. Pour in 80ml cold water a little at a time, stirring with the beech wood mixing spoon, until the mixture comes together into a soft, non-sticky dough that leaves the sides of the bowl clean. Add 1 tsp extra water if the dough feels dry and crumbly, or a pinch more flour if it feels sticky.
Roll Pastry Rectangle
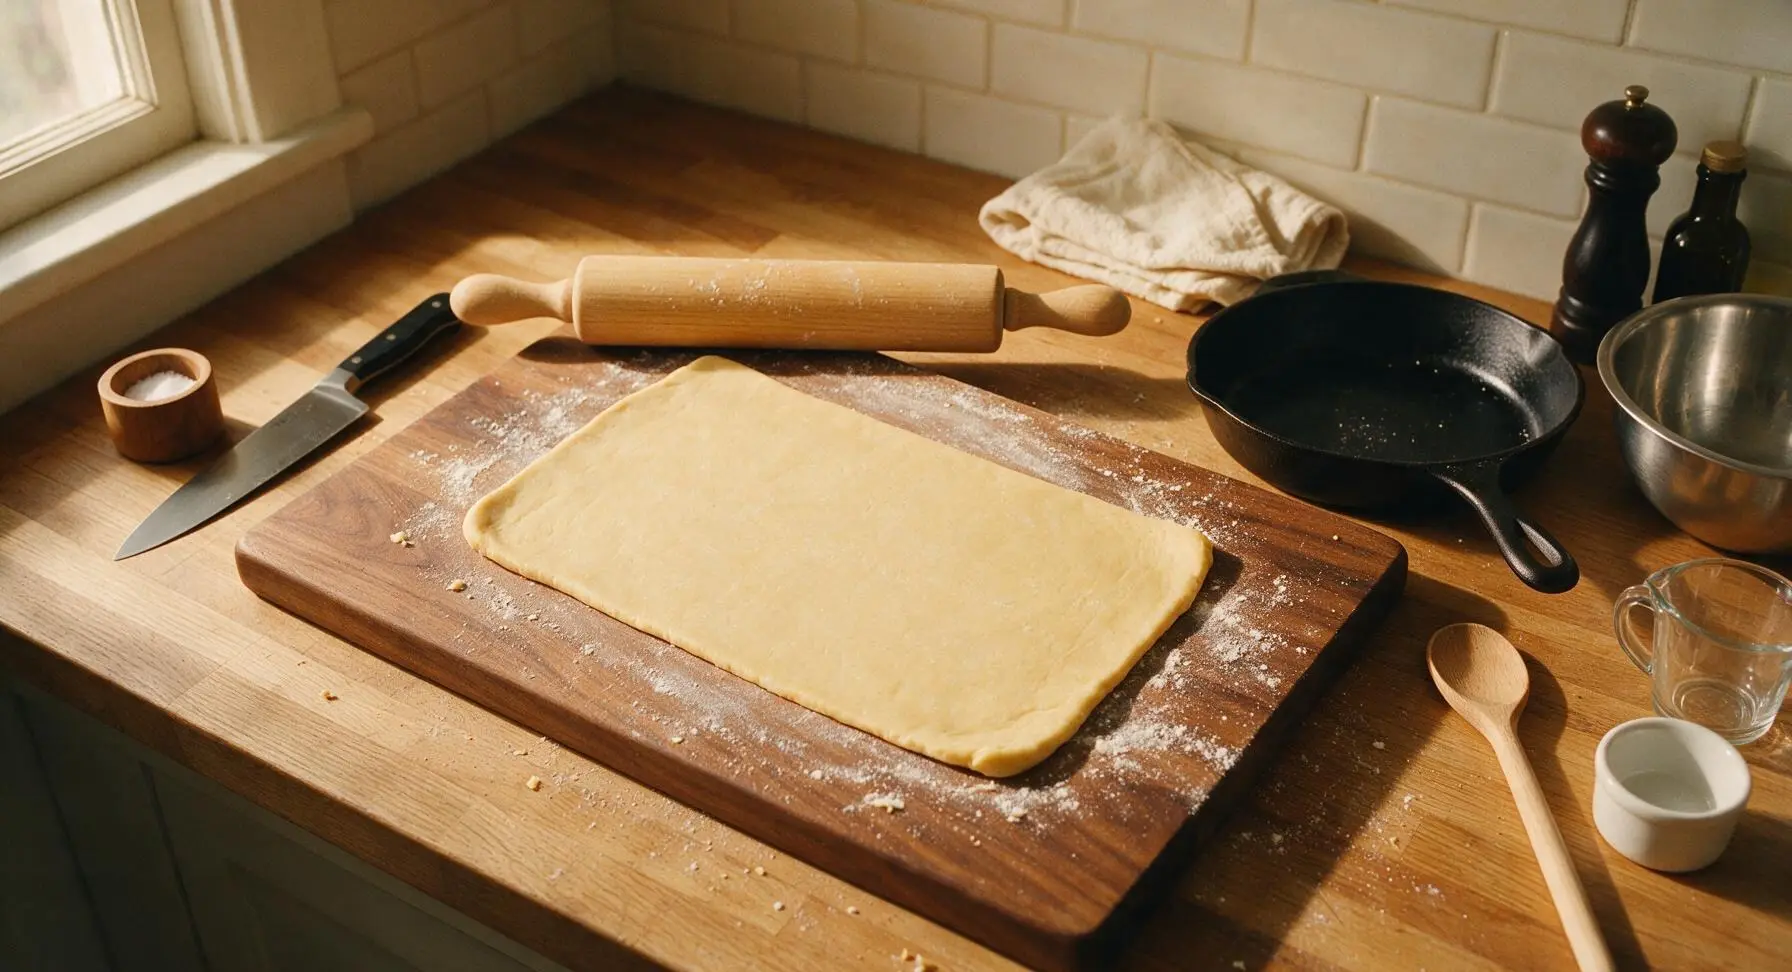
Lightly dust the beech cutting board with a pinch of flour, then turn the dough out onto the surface. Use the beech wood rolling pin to roll the dough into an even 20cm x 30cm rectangle, approximately 5mm thick. Keep edges as straight as possible, lifting the dough occasionally to ensure it does not stick to the board; add a tiny extra dusting of flour underneath if needed. Do not over-roll or press too hard, as this will make the pastry tough.
Spread Raspberry Jam
Use the small offset metal spatula to spread 120g seedless raspberry jam evenly across the surface of the pastry rectangle, leaving a 2cm clear border along the top long edge to seal the roll once rolled. Do not spread jam too thickly, as this will leak out during steaming. Warm the jam for 10 seconds in the microwave if it is too stiff to spread smoothly.
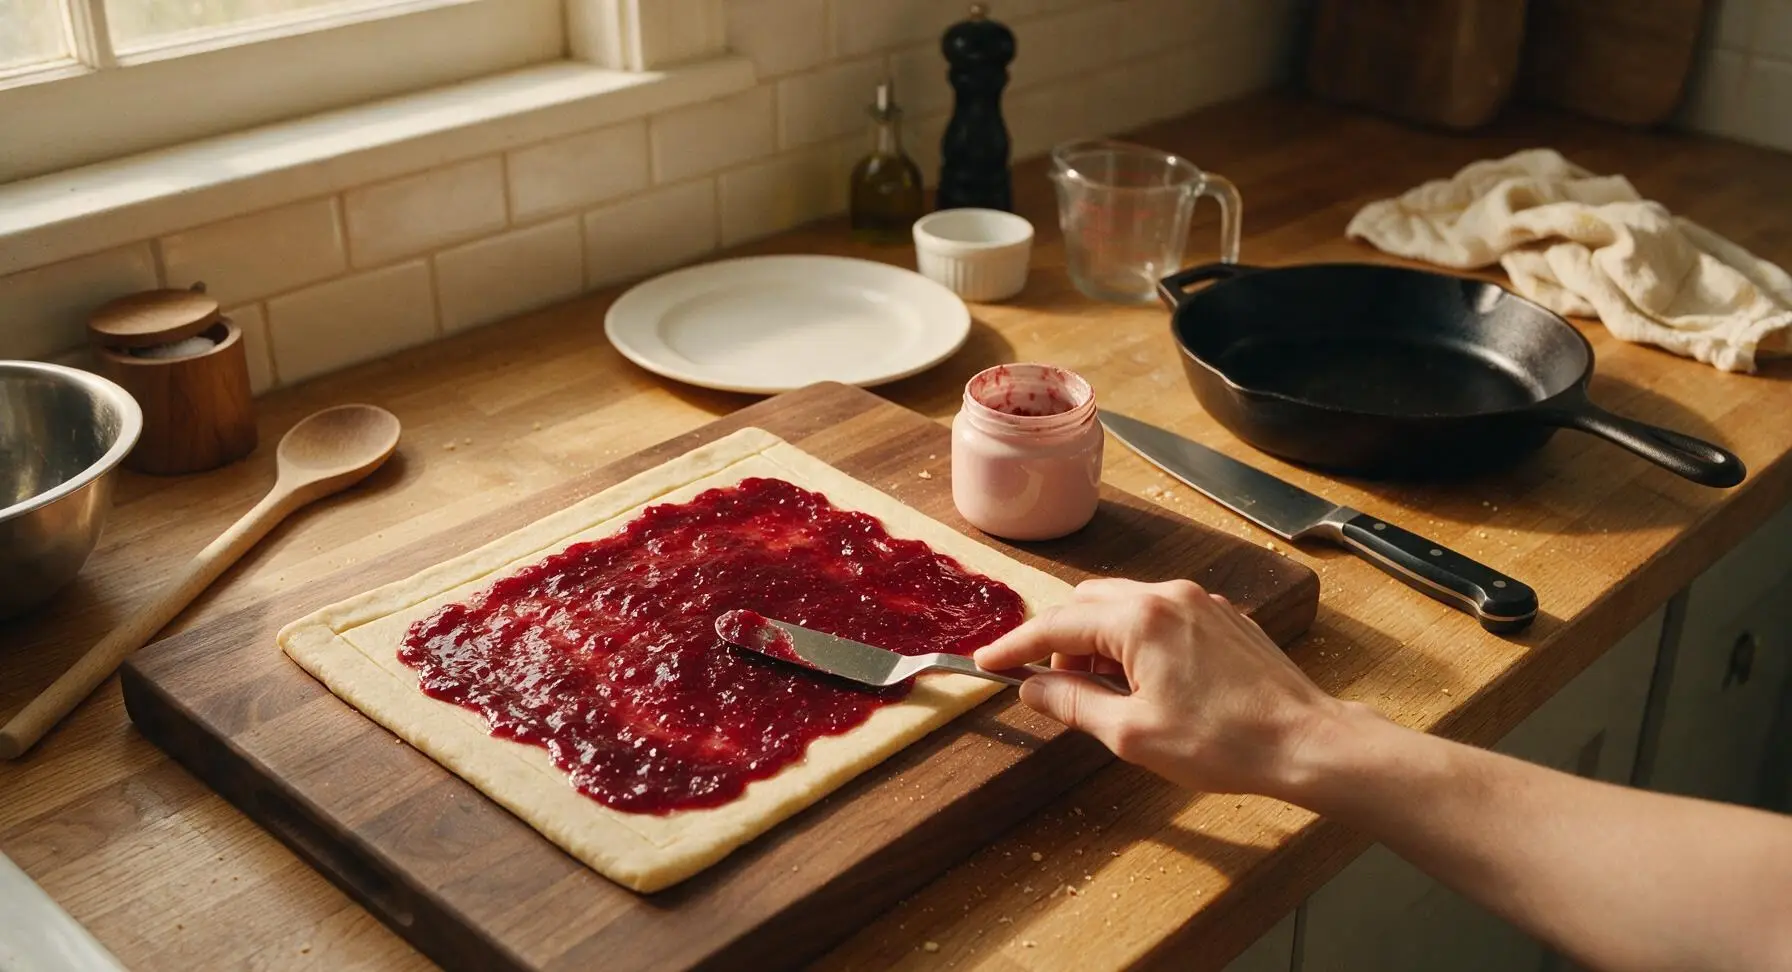
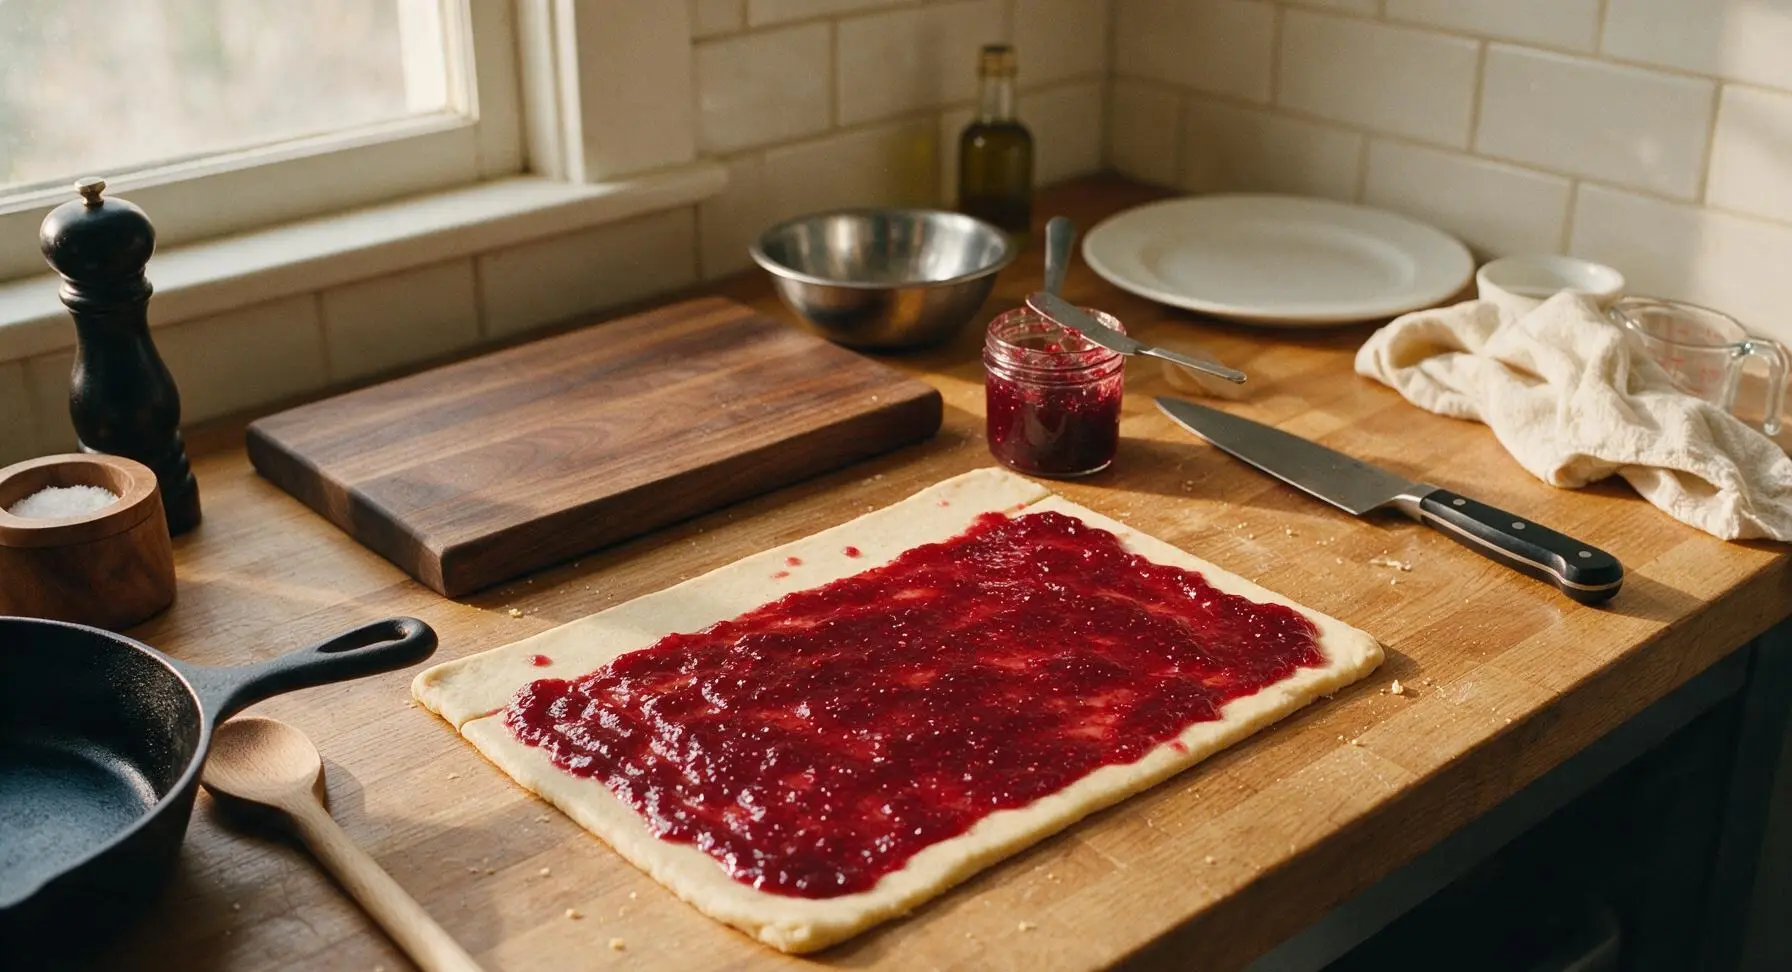
Roll Tight Roly-Poly
Starting from the long edge opposite the clear jam-free border, tightly roll the pastry into a thick log shape, similar to a Swiss roll. When you reach the jam-free border, lightly dab the edge with a tiny amount of cold water, then press firmly to seal the log closed. Pinch the two open ends of the log tightly to seal, tucking the pastry under slightly to prevent jam from leaking out during steaming.
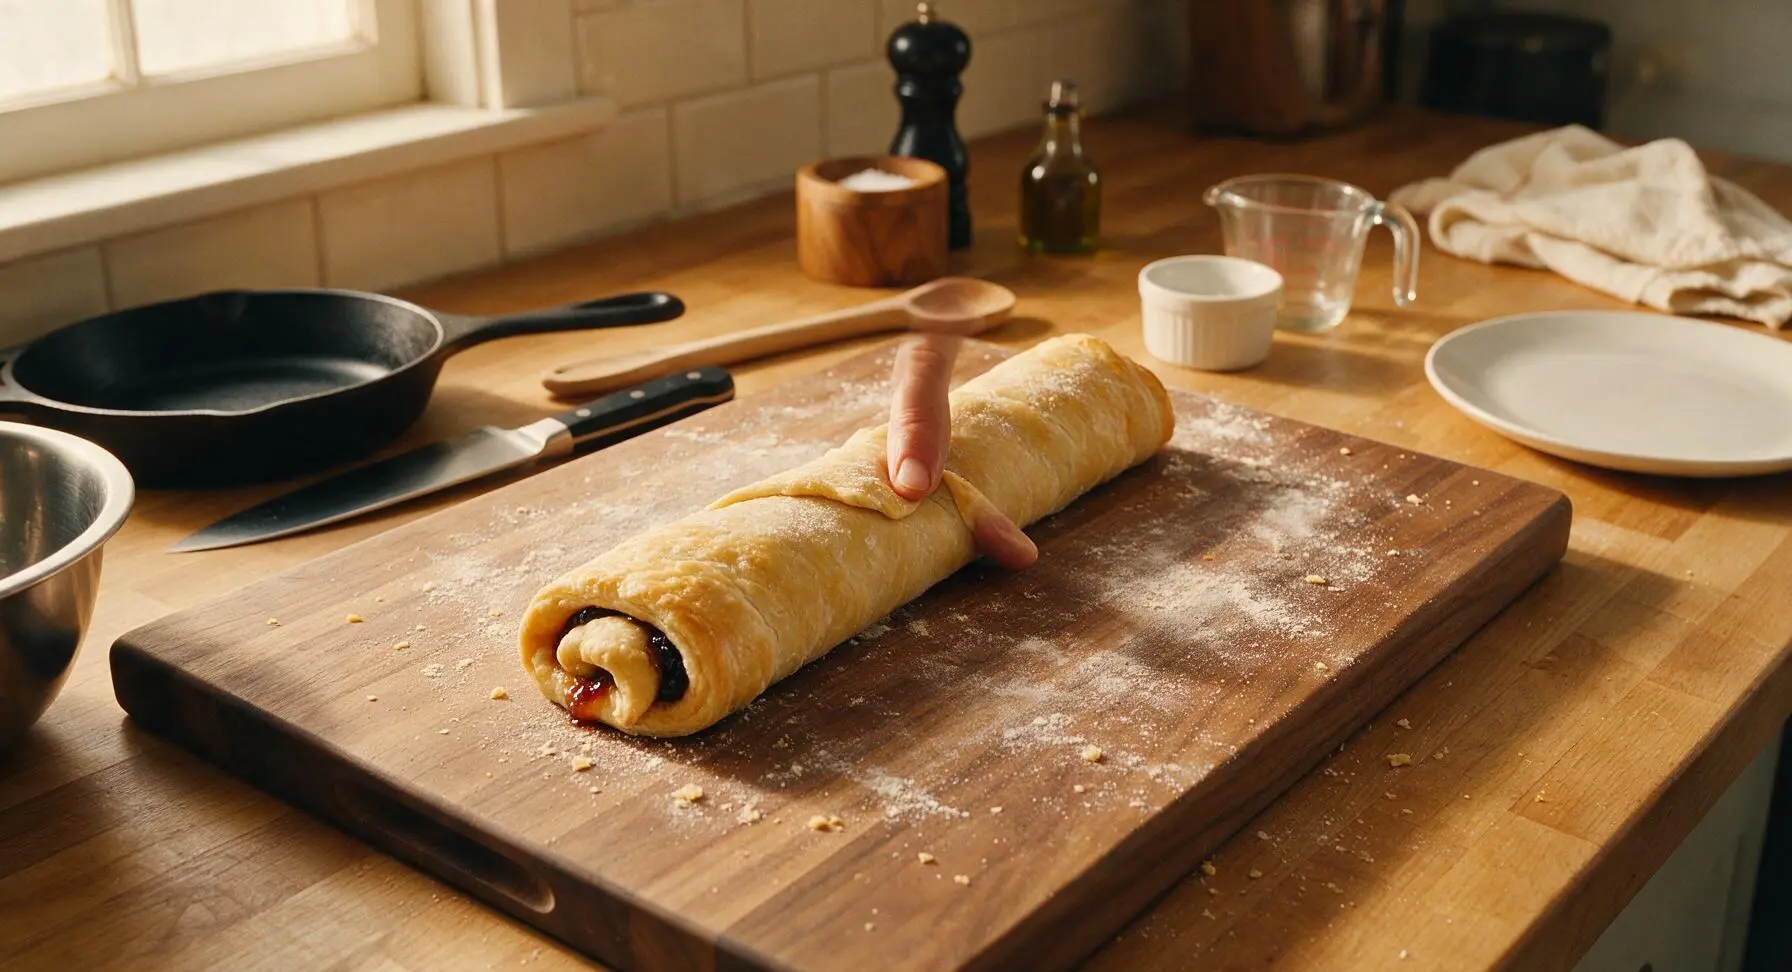
Wrap in Parchment
Cut a 40cm length of unbleached parchment paper from the roll. Lay the pudding log diagonally across the center of the paper, then fold the paper over the log, twisting the open ends tightly like a candy wrapper to leave a 2cm gap of space around the pudding to allow for pastry expansion as it steams. Tie the twisted ends tightly with pieces of natural cotton kitchen twine, and tie one extra piece of twine around the middle of the parcel for security.
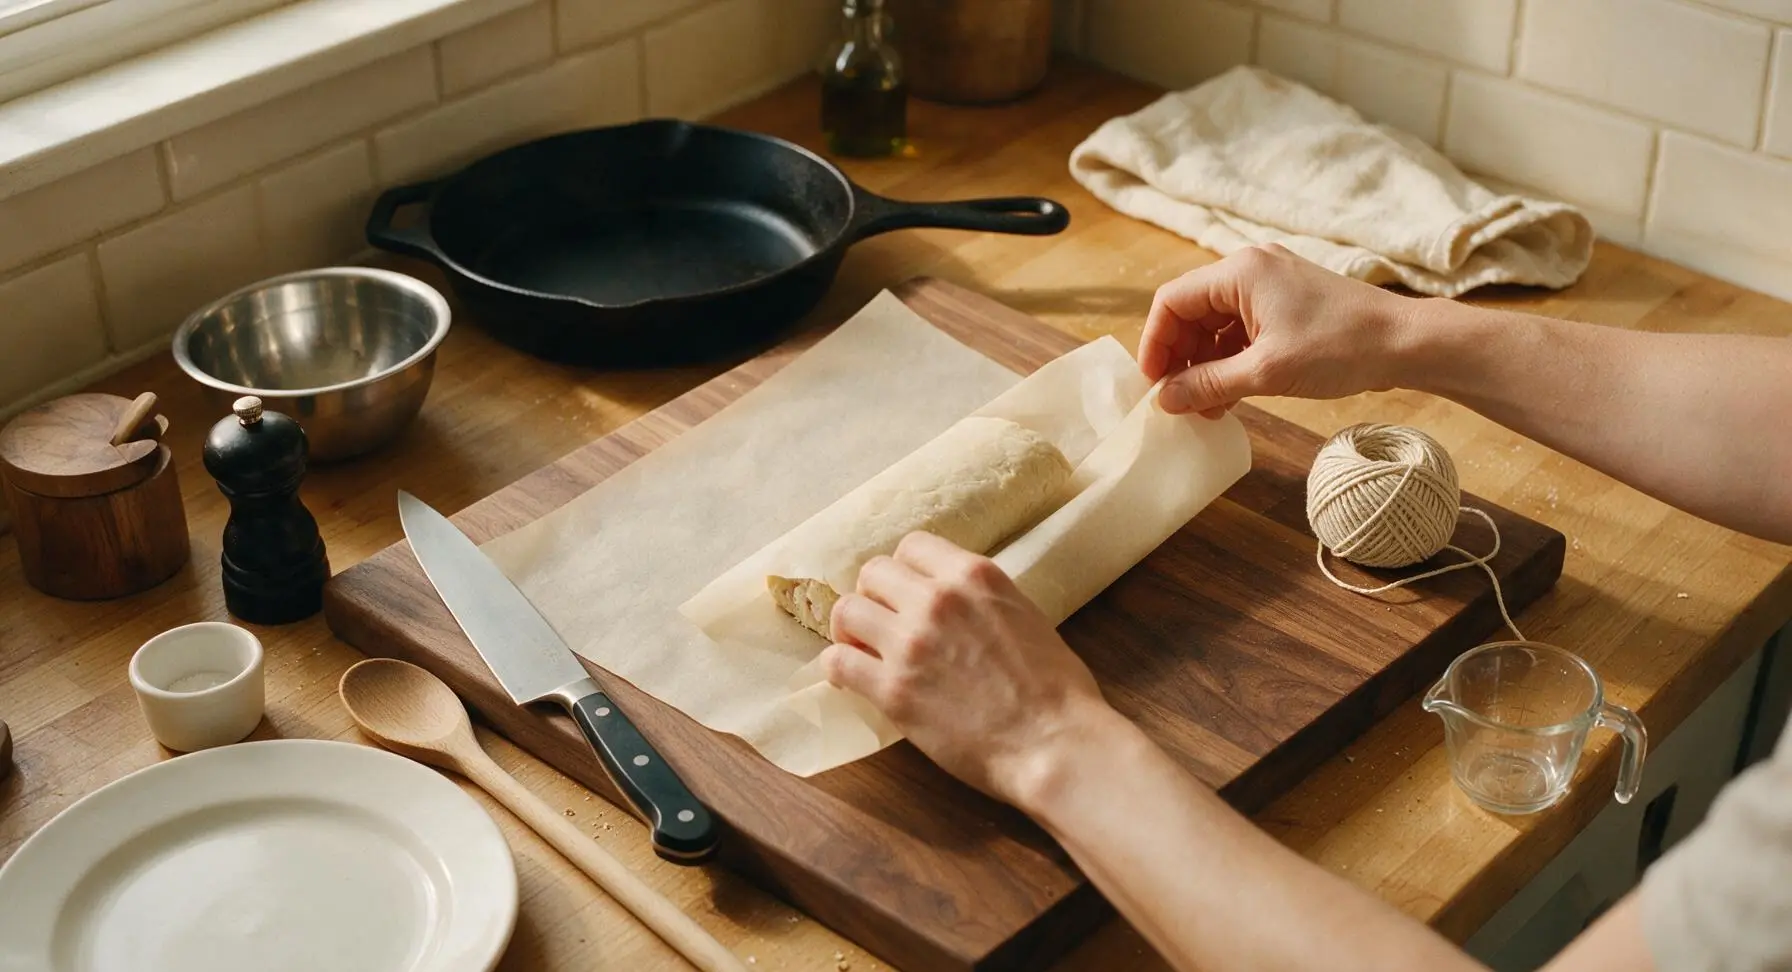
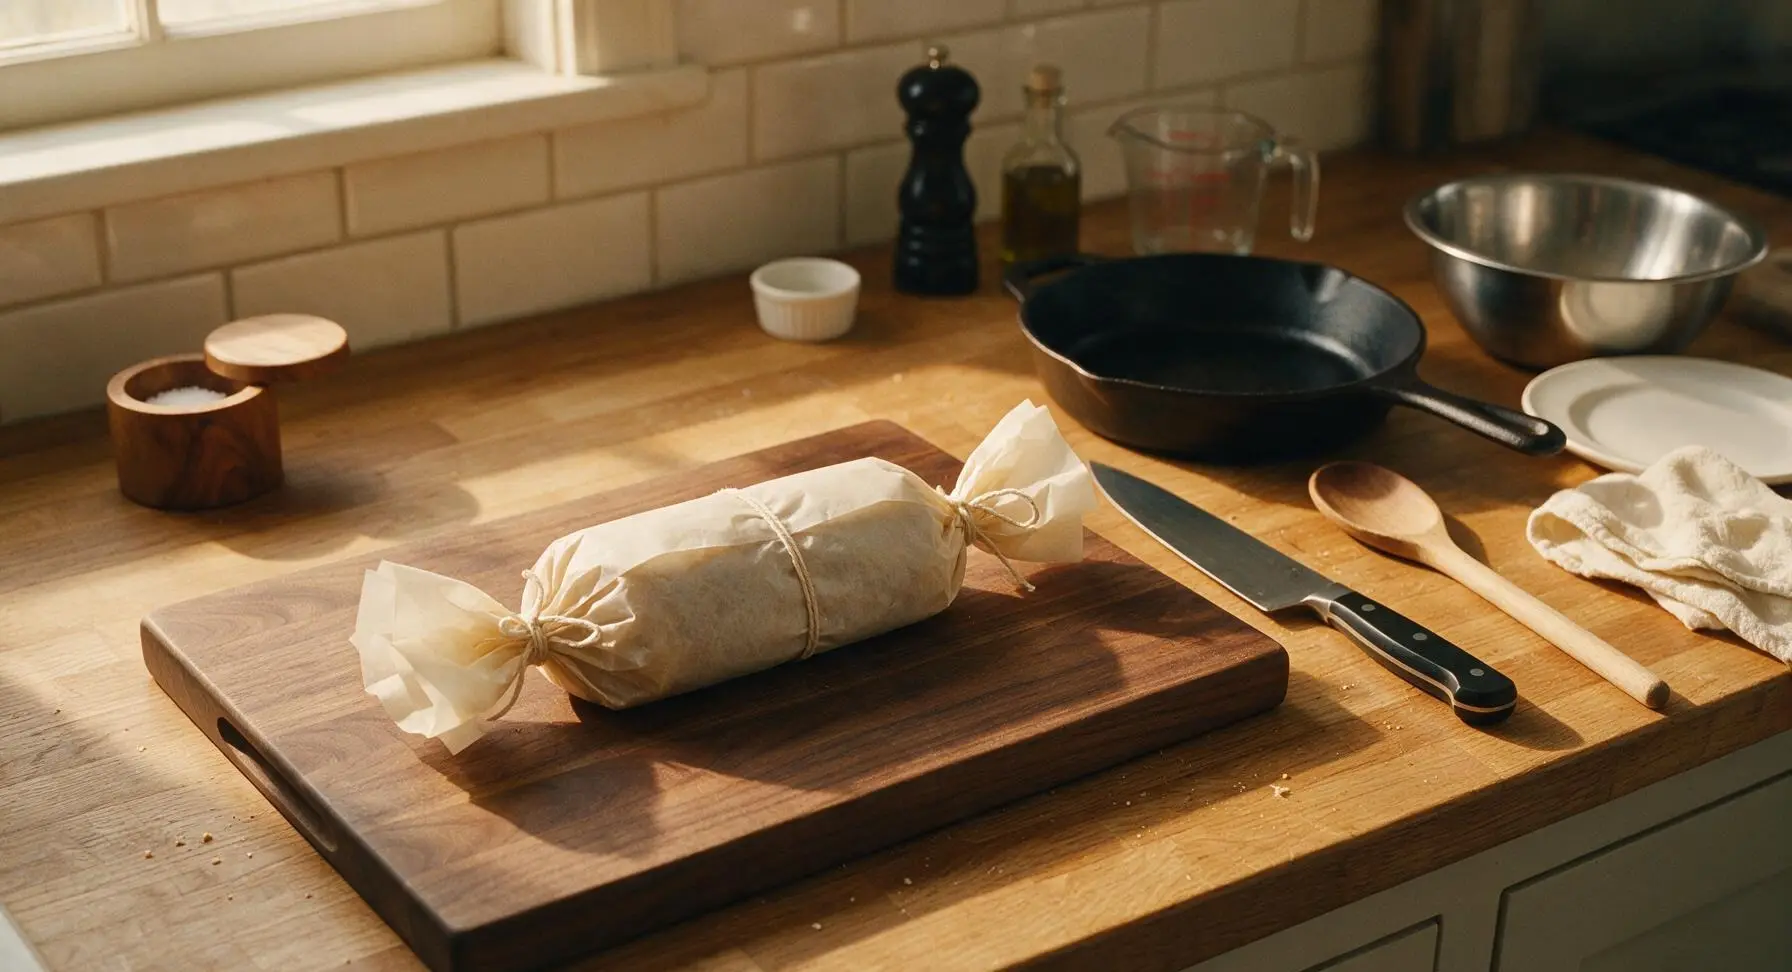
Set Up Steamer
Fill the large stainless steel stock pot with 5cm of water, then place the fitted steamer insert rack inside the pot. Bring the water to a gentle rolling boil over medium heat, then lower the heat to maintain a steady simmer. Ensure the water level does not touch the base of the steamer insert, as the pudding must cook via steam only, not boiling water.
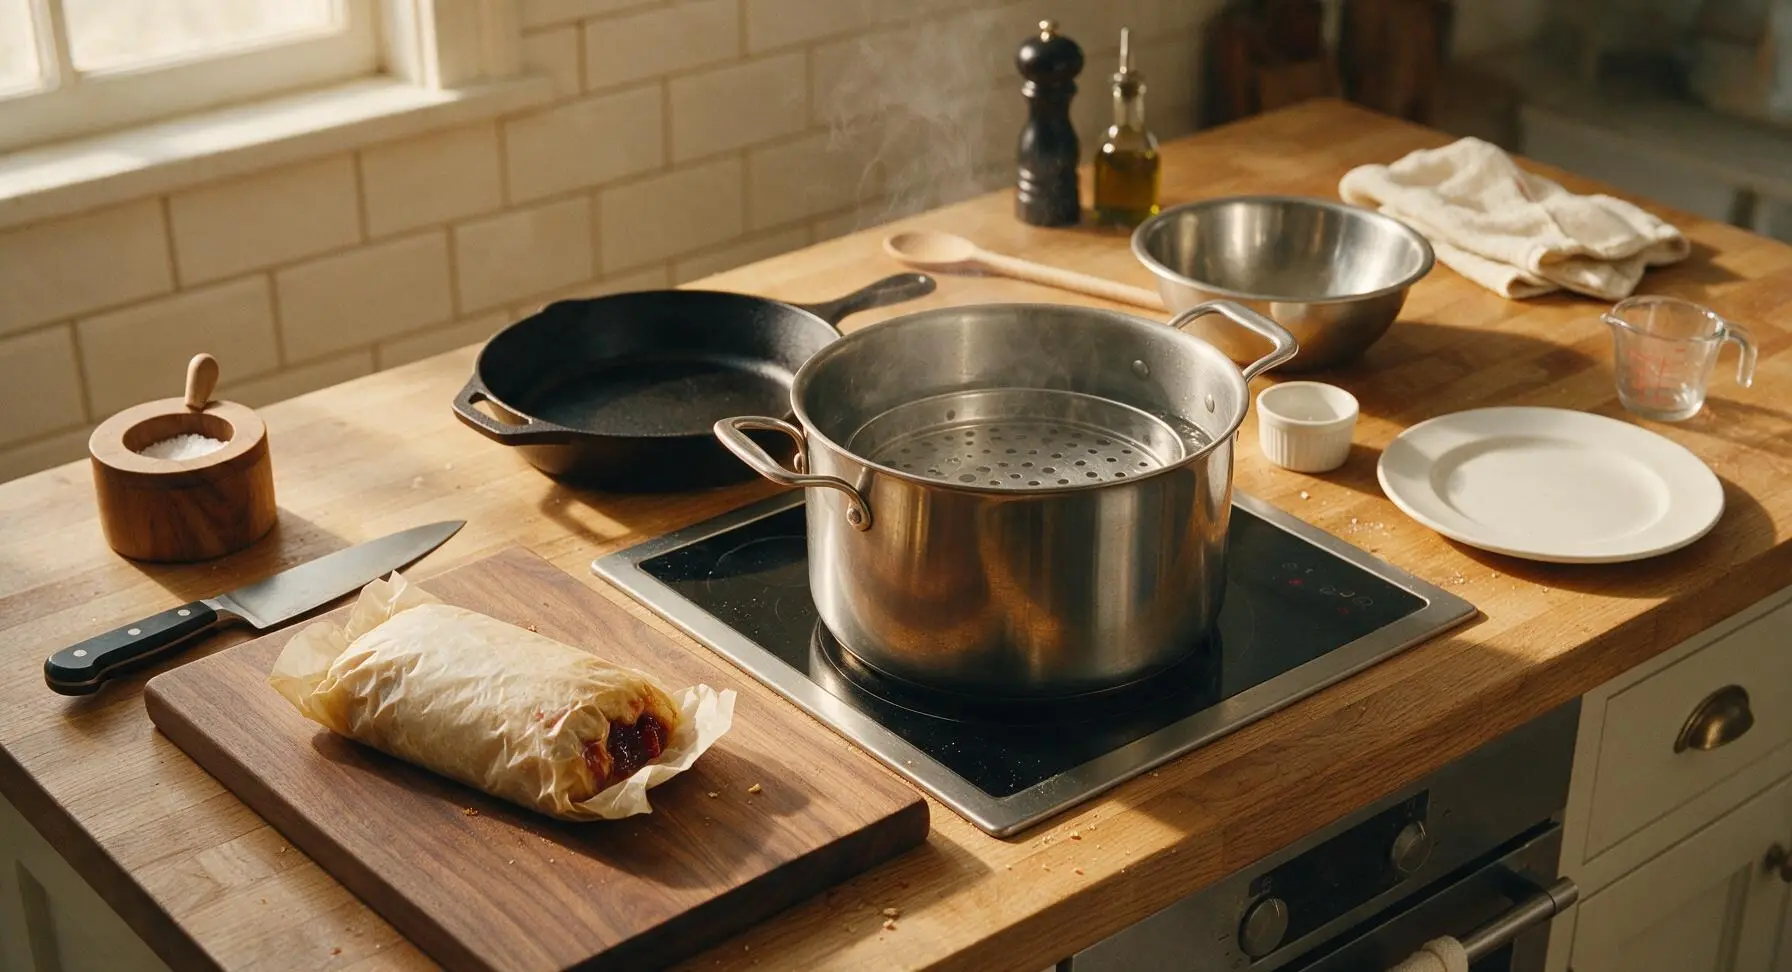
Steam Until Cooked
Use the silicone-tipped metal tongs to carefully lower the parchment-wrapped pudding onto the steamer insert. Place the lid tightly on the stock pot, then leave the pudding to steam for 1 hour 20 minutes. Check the water level every 20 minutes, topping up with boiling water from the electric kettle if the level runs low to prevent the pot from boiling dry. The pudding will feel firm and spring back slightly when gently pressed through the parchment once fully cooked.

Slice and Serve
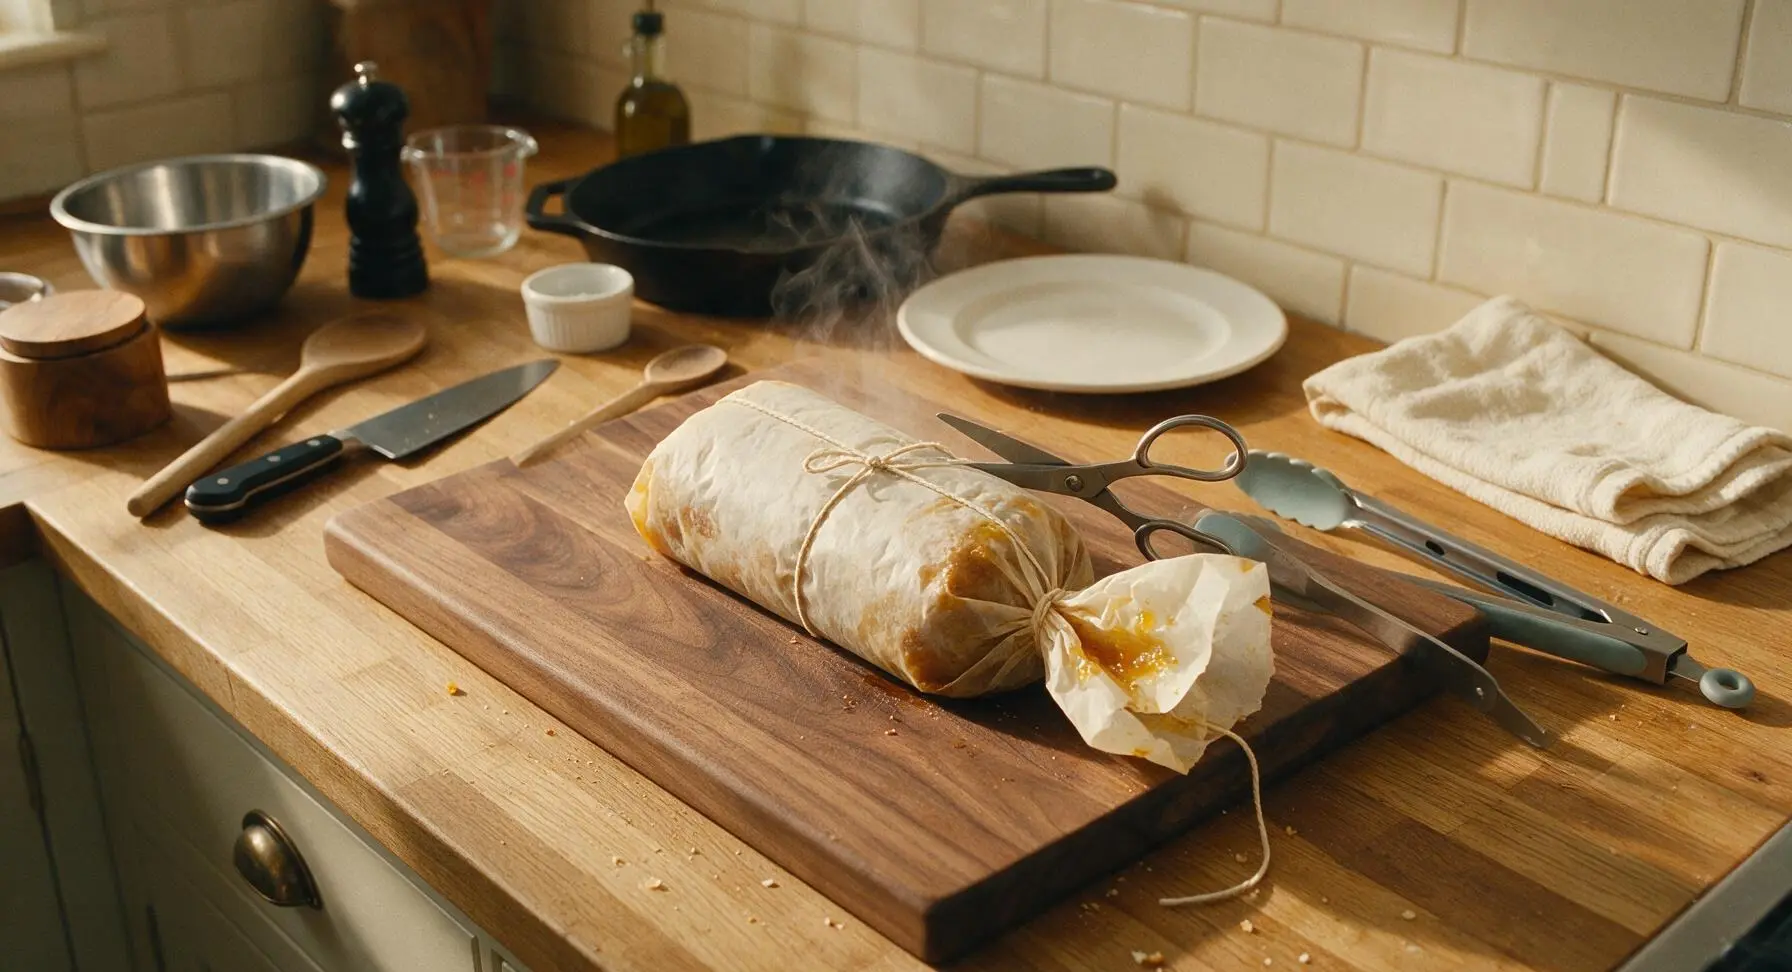
Once cooked, use the silicone-tipped tongs to carefully lift the hot pudding parcel out of the steamer and set it on the beech cutting board to rest for 5 minutes. Snip the kitchen twine with the stainless steel scissors, then gently unwrap the parchment paper (the pastry will be soft and pillowy, with golden jam stains on the parchment). Transfer the whole roly-poly log to the oval off-white ceramic serving platter, slice into 4 thick 3cm pieces, and drizzle with warm vanilla custard from the glass custard jug before serving.

Tips
2.Leave 2cm of empty space inside the parchment wrap when sealing the parcel: suet pastry rises significantly as it steams, and tight wrapping will constrict expansion, leading to a dense, heavy texture instead of the signature light, pillowy crumb.
3.Check the steamer water level every 20 minutes and only top up with boiling water: adding cold water will drop the internal steamer temperature rapidly, leading to soggy pastry and uneven cooking.






OMG I made this for my Sunday family dinner last week and every single person went back for seconds! I used strawberry jam because that’s what we had in the pantry, and the suet crust came out so perfectly soft and fluffy, not dense at all like some other roly-poly recipes I’ve tried before. 10/10 will be adding this to our regular rotation!
Meal prepped a batch of these on Sunday to slice up for quick work week desserts, and it held up perfectly in the fridge for 4 days! I warmed individual slices up for 20 seconds in the microwave and it tasted just as fresh as the day I made it. Game changer for when I’m craving something sweet after dinner without all the fuss.
I was so excited to try this, but I swapped regular flour for my go-to gluten free all purpose blend and the crust came out super crumbly? Did I do something wrong? The flavor was still amazing, I just couldn’t get it to hold together when I rolled it up.
Brought this to our neighborhood block party last weekend and people were begging me for the recipe! I did a mix of raspberry and apricot jam swirled together for the filling, and it was chef’s kiss. Who knew such a simple old-school dessert could be such a hit?
Made this in my tiny dorm oven last night and it actually turned out? I was convinced I’d mess it up since I’m a total beginner, but the steps were super straightforward even for me. Used cheap grape jam from the campus convenience store and it was still SO good. 10/10 would make again when I’m sick of dining hall cookies.
My kids loved it! I was worried they’d turn their noses up at a dessert without chocolate, but they devoured half the pan in one sitting. The only issue I had was the jam oozing out the ends when I baked it, so I lost a good amount of filling to the bottom of the pan.
Wait, is there a substitute for suet? My grocery store doesn’t carry it and I don’t feel like driving 40 minutes to the specialty market to get some. Would cold butter work instead?
Ugh, I followed the recipe exactly but my crust came out really tough? I’m so sad, I was looking forward to this all week. Did I knead the dough too much? I probably mixed it for like 10 minutes because I wanted it to be totally smooth.
Made this for our post-hike snack last weekend and it was perfect! It’s sturdy enough to wrap up in foil and toss in a backpack, not too messy, and the sweet jam gives the perfect little energy boost after a few miles on the trail. Will absolutely be making this for all our upcoming fall hikes.
Served this with warm vanilla custard just like my nan used to make, and it transported me straight back to her kitchen when I was little. This recipe is so spot on to the traditional version I grew up eating when we visited family in the UK, I can’t believe how easy it was to make at home!
Is there any way to cut down the cook time on this? I’d love to make it for a weeknight dessert but 1 hour 20 minutes feels a little long when we get home from work and school at 6. Can I roll it thinner to make it cook faster?
Tried making this in my air fryer on 350F for 40 minutes, wrapped in foil, and it came out insane! The crust got a little crispy on the outside but stayed soft in the middle, and the jam got all gooey and caramelized. 10/10 air fryer hack if you don’t want to heat up your whole oven in the summer.
This is such an affordable dessert to make! I already had all the ingredients except jam, which I picked up for $2 at the dollar store, so the whole thing cost me under $5 to make and it fed 6 people. Way cheaper than buying a fancy cake or cookies for my friend’s birthday get-together.
I’ve never made any kind of British dessert before, and I was so nervous this would be too hard for a medium difficulty recipe, but it was totally doable! My roly-poly looked a little lumpy and lopsided when it came out of the oven, but it tasted so good no one even cared what it looked like. I even made a quick little powdered sugar glaze to drizzle on top because I’m extra like that.