
Needham (Maine)

intro
A beloved no-bake regional Maine candy with a chewy coconut-potato center coated in rich dark chocolate, a New England holiday staple since the 1870s.
Ingredients
Steps
Boil and Drain Potato
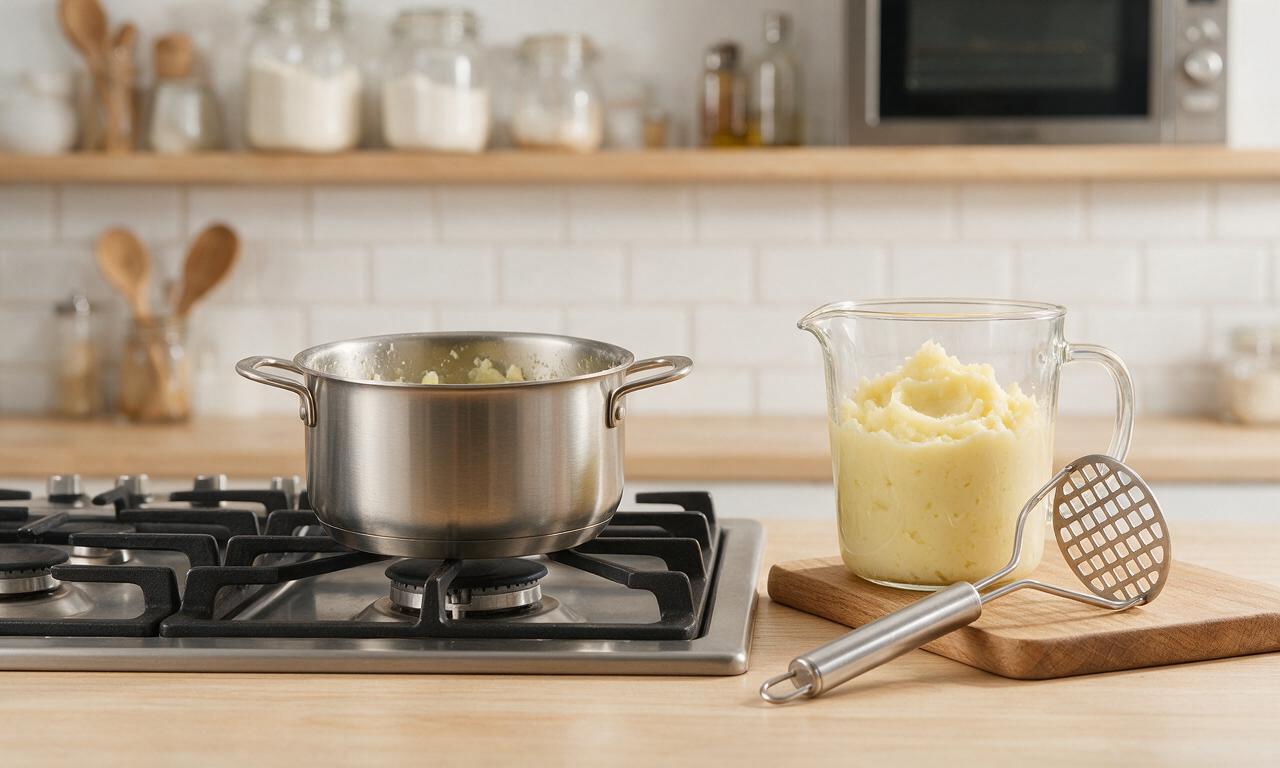
Place 150g peeled, cubed russet potato in a small saucepan, cover with 500ml cold water, bring to a rolling boil over medium-high heat, then simmer for 12-15 minutes until fork-tender. Drain completely, mash until completely smooth with no lumps, measure out exactly 113g (1/2 cup) of mash, and allow to cool to room temperature (21°C/70°F) for 10 minutes. Do not add butter, salt, or milk to the potato.
Combine Filling Ingredients
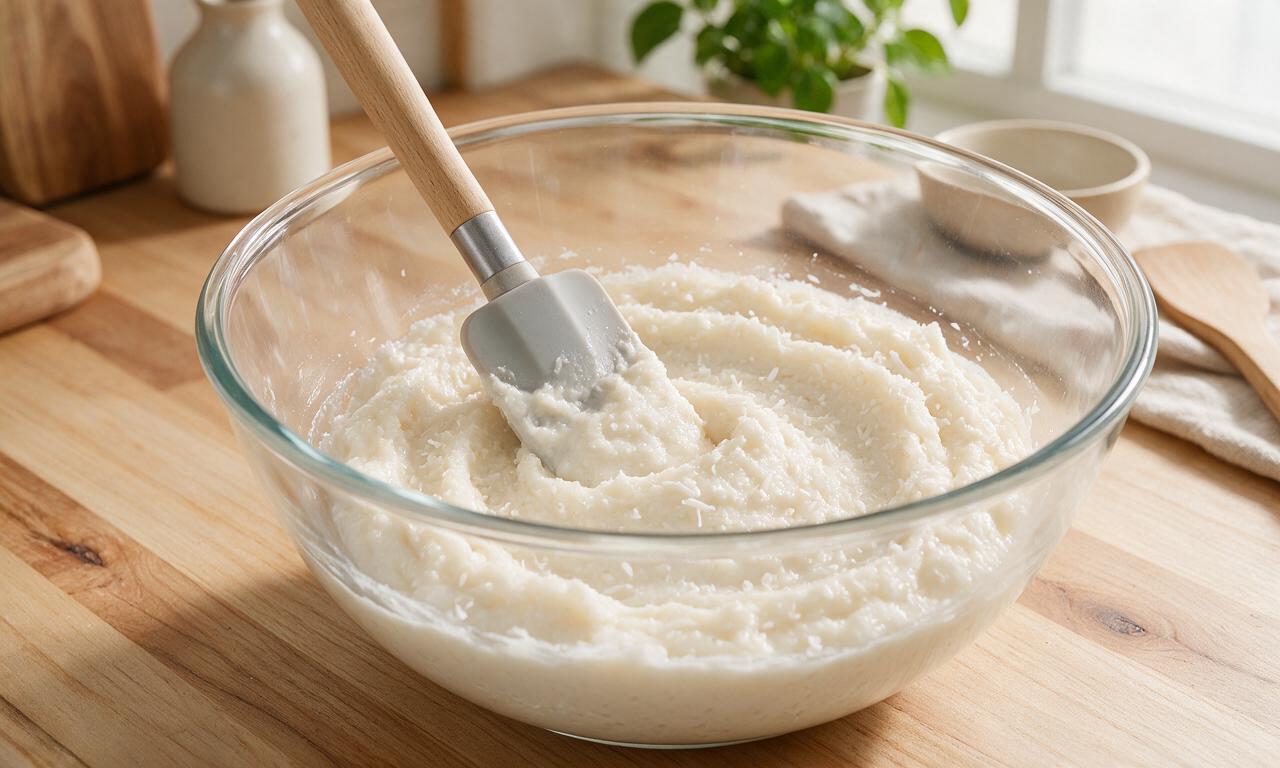
In a large mixing bowl, combine the cooled mashed potato, slightly cooled melted butter (57g/4 tbsp), vanilla extract (5ml/1 tsp), and fine salt (1.5g/1/4 tsp). Stir with a silicone spatula until fully combined, then gradually fold in the powdered sugar (454g/4 cups) in 3 equal additions, mixing until no dry sugar remains, before folding in the packed sweetened shredded coconut (340g/4 cups) to form a thick, uniform, sticky dough.
Line Pan and Press Filling
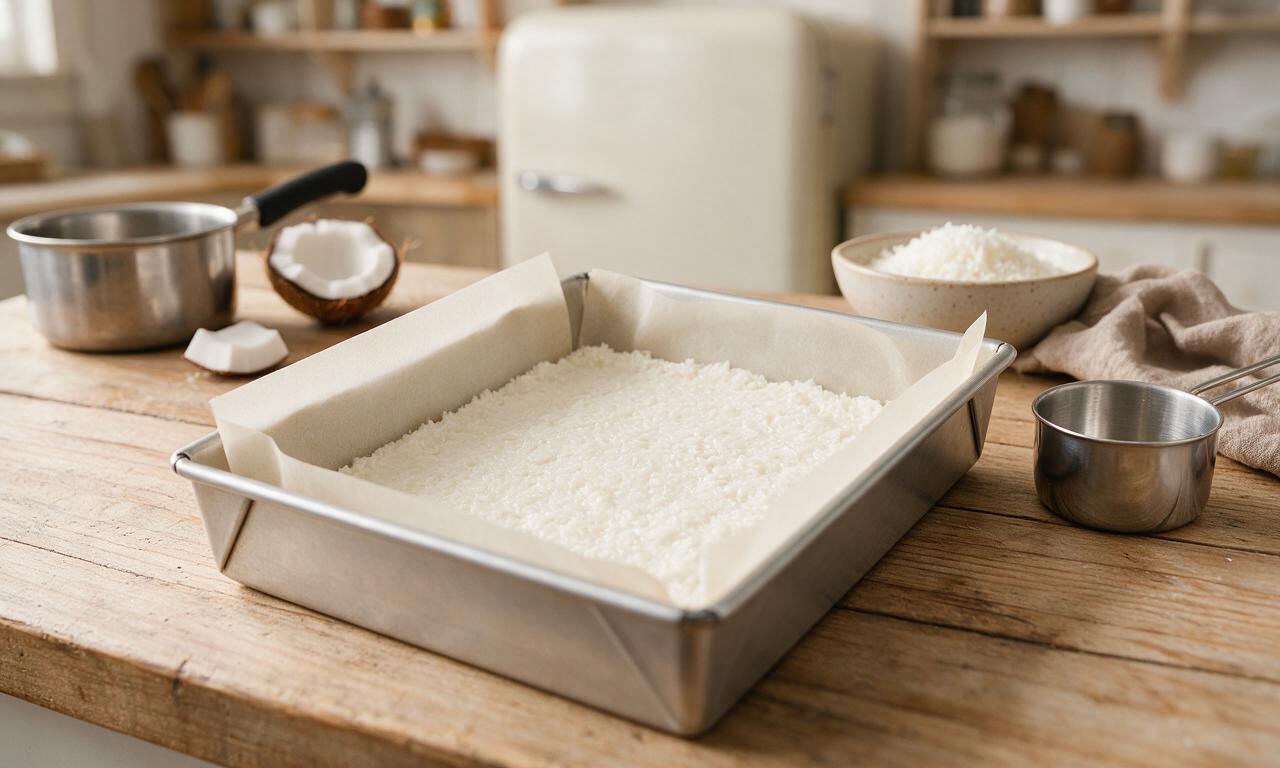
Line a 20cm x 20cm (8x8 inch) square baking pan with parchment paper, leaving 5cm (2 inch) overhang on two opposite sides for easy removal. Transfer the coconut filling to the pan, pressing firmly and evenly with the flat bottom of a dry measuring cup to create a smooth, level 1.5cm (0.6 inch) thick layer. Place the pan in the refrigerator to chill for 1 full hour, until the filling is firm to the touch and holds its shape when pressed lightly.
Prepare Double Boiler
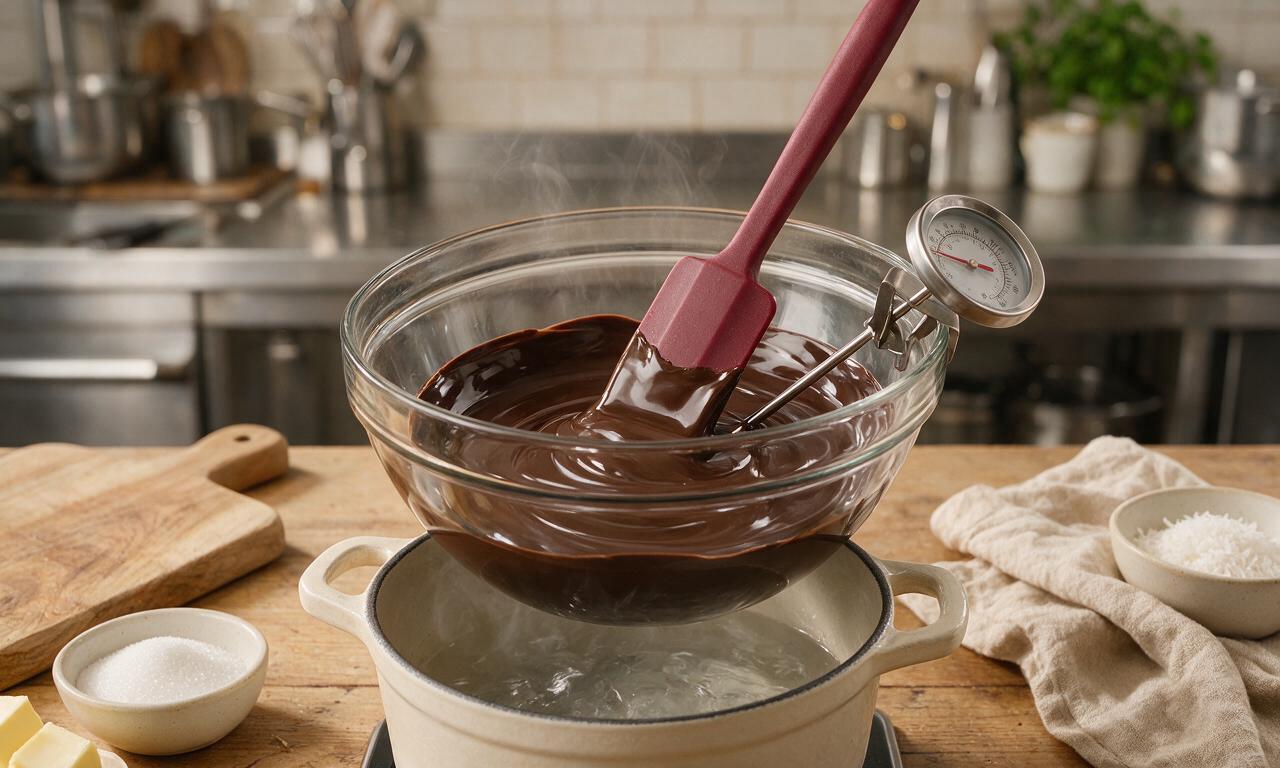
When the filling has 10 minutes left to chill, set up a double boiler: fill a small saucepan with 5cm (2 inches) of water, bring to a gentle simmer over low heat (ensure water does not touch the bottom of the upper bowl). Place chopped dark chocolate (340g/12oz) and optional food-grade paraffin wax (14g/0.5oz) in a dry heatproof glass bowl set over the pan, stirring constantly with a dry spatula for 3-4 minutes until the chocolate is fully melted, smooth, and reaches 32°C/90°F on a candy thermometer. Remove from heat immediately to avoid seizing.
Remove and Cut Chilled Filling
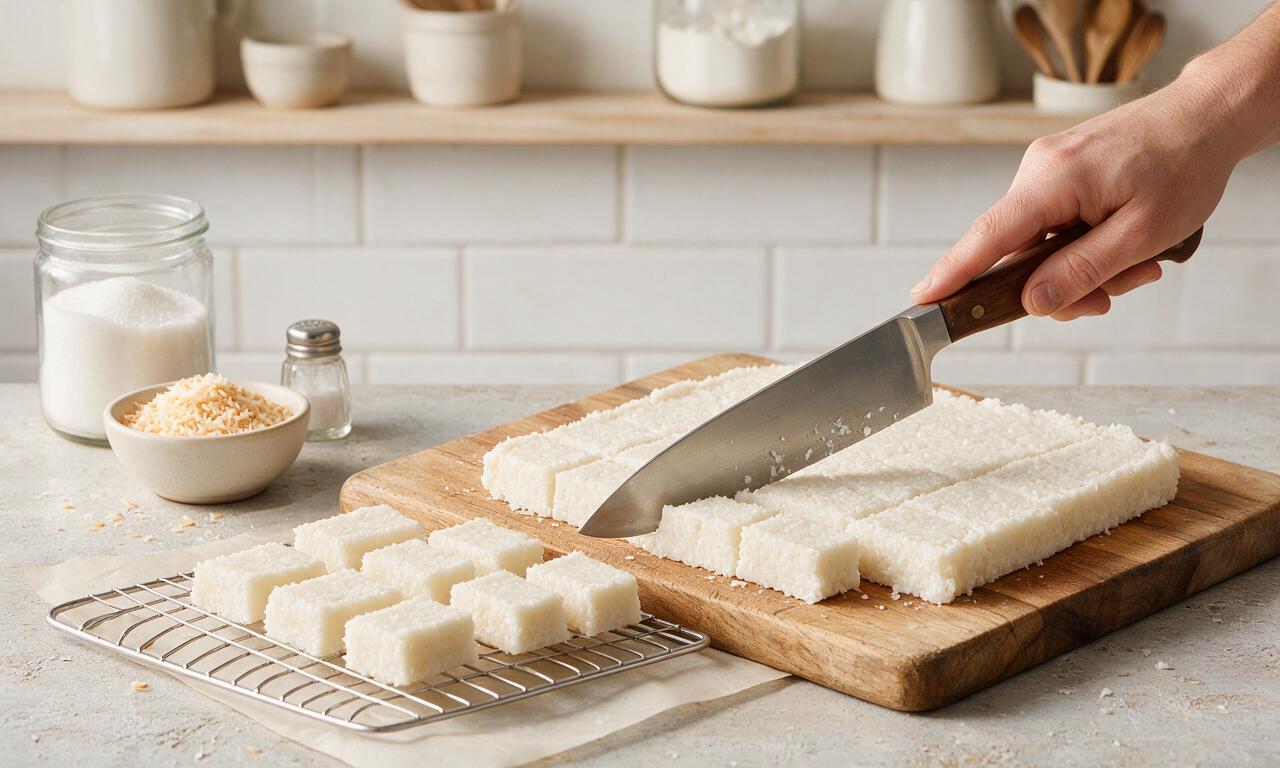
Remove the fully chilled filling from the refrigerator, lift it out of the pan using the parchment overhang, and set it on a wooden cutting board. Using a sharp knife warmed under hot running water and dried completely, cut the solid filling slab into 24 equal 2.5cm x 5cm (1x2 inch) rectangular pieces. Arrange the cut pieces on a wire rack set over a parchment-lined baking sheet, leaving 2cm (1 inch) of space between each piece.
Coat Filling in Chocolate
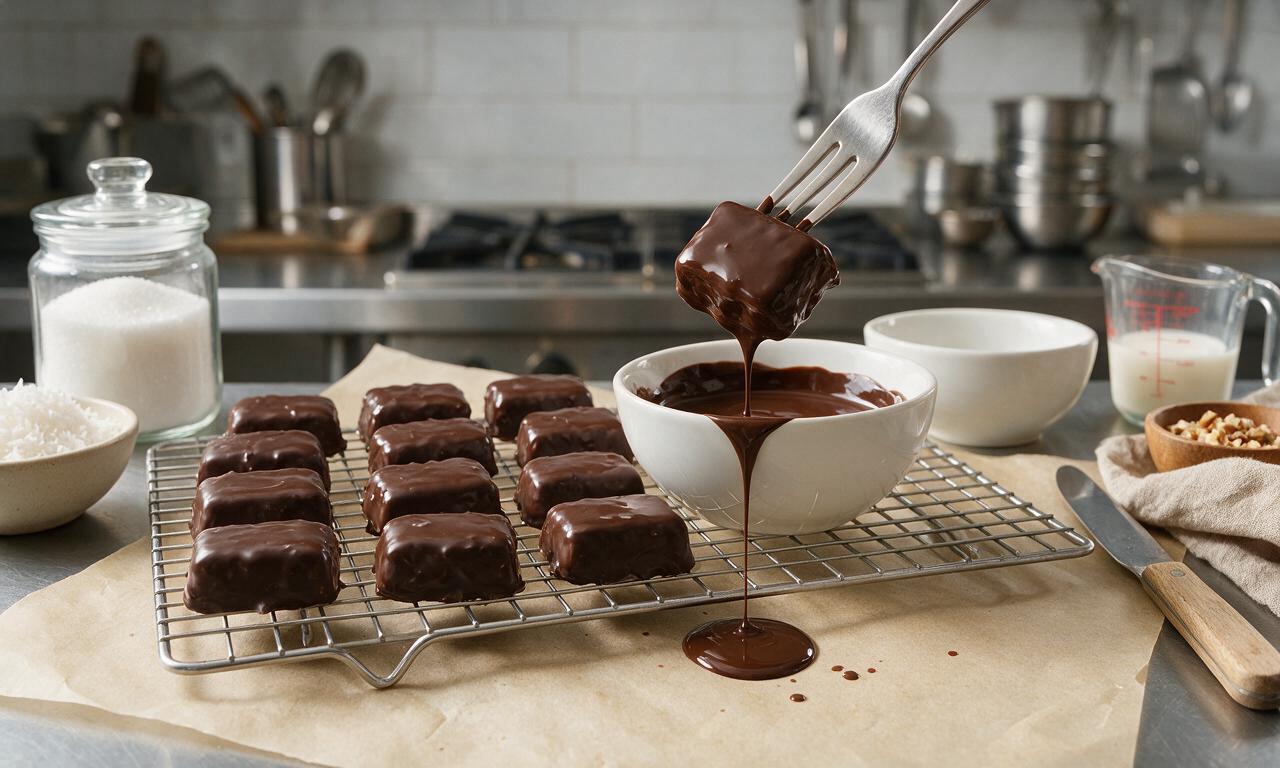
Working one piece at a time, drop a cut filling rectangle into the melted chocolate, use two forks to flip it and fully coat all sides, then lift it out, tapping the fork gently on the bowl edge 3-4 times to drip off excess chocolate. Return the coated candy to the wire rack, and repeat until all pieces are coated. Place the rack of candies in the refrigerator for 1 hour to fully set the chocolate, until the coating is firm and does not smudge when touched lightly.
Tips
2.Ensure all bowls, spatulas, and utensils used to melt chocolate are completely dry; even a single drop of water will cause the chocolate to seize into a grainy, unusable clump.
3.Use sweetened shredded coconut (not unsweetened desiccated coconut) for the filling to get the signature chewy, sweet texture of traditional Maine Needhams.





OMG I’ve been looking for a proper needham recipe forever! My grandma used to make these every Christmas when I was growing up, and I could never get the coconut and potato ratio right when I tried to recreate them as an adult. These turned out exactly how I remembered—so chewy, perfectly sweet, that rich chocolate coating? *Chef’s kiss* I brought a batch to my office potluck and people were begging me for the recipe by lunch. SO easy too, I was shocked the active prep was only 30 minutes! 10/10 will make every holiday from now on.
Super easy treat to whip up for my kid’s soccer team snack last weekend! I cut them into tiny bite-sized squares so they were easy for the kids to grab between games, and every single one was gone in 10 minutes. My 8 year old even helped stir the coconut filling, which made it such a fun after school activity leading up to the game. Only swap I made was using dark chocolate instead of milk chocolate for the coating because that’s what we had in the pantry, and it cut the sweetness perfectly. Will absolutely add these to our regular treat rotation!
I was so nervous to make candy because I always mess up tempering chocolate, but this was so forgiving! The chill time in the fridge did all the work for me, no fancy candy thermometer needed at all. My only mishap was I forgot to salt the potato when I boiled it, so the filling was a tiny bit bland, but a pinch of flaky sea salt on top of the chocolate fixed it right up. Total game changer for a beginner like me!
I brought these to our neighborhood block party last week and everyone thought I bought them from a fancy local candy shop! I had never even heard of needhams before seeing this recipe, but the combination of coconut, chocolate, and that subtle soft potato texture is so unique and addictive. I will say, if you’re a total coconut hater these probably aren’t for you, but every coconut fan at the party was going back for seconds.
Made these for my dorm floor movie night and they were a total hit! Super cheap to make too, since most of the ingredients are pantry staples I already had — who knew a leftover baked potato could turn into candy??? I let them chill in our tiny dorm fridge for a little over 2 hours and they set perfectly, no issues even with our janky fridge that runs way too warm. 10/10 would make again for finals week study sessions.
I’ve been collecting old New England candy recipes for years and this is hands down the most accurate needham recipe I’ve tried online! So many modern versions add weird extra ingredients like marshmallow fluff or almond extract, but this sticks to the classic simple combo and it’s perfect. I made a double batch for my local historical society’s tea event and got so many compliments. Thank you for keeping this traditional recipe alive!
These are SO good, I’ve already made them twice in two weeks! The first time I cut corners and only chilled them for an hour, and they were way too soft to cut into clean squares. The second go-round I left them in the fridge for the full 2 hours like the recipe says, and they sliced perfectly into neat little candy bites. I rolled half the batch in crushed toasted pecans right after dipping in chocolate for a little extra crunch, and that tiny nutty addition was a total game changer. Such a perfect little sweet treat to keep stashed in the fridge for when a random sugar craving hits!