
browning sauce
intro
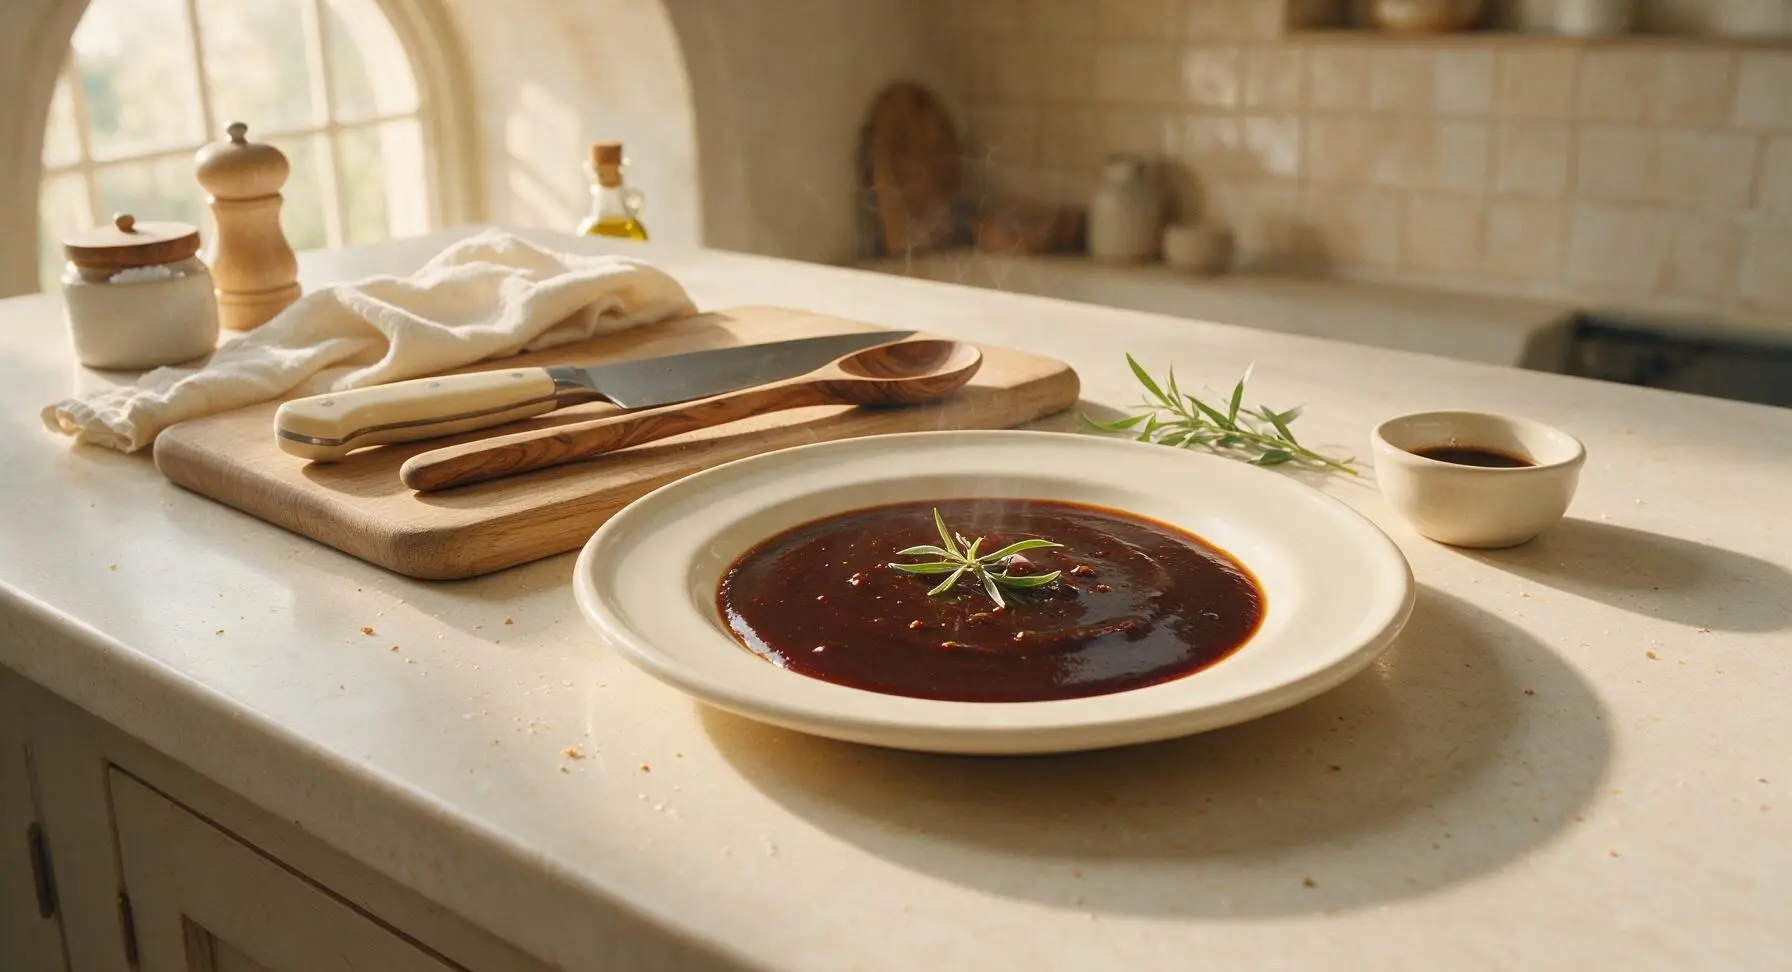
Deeply caramelized homemade browning sauce adds glossy mahogany color and warm, toasty umami depth to gravies, stews, roasts, and braises with just a teaspoon.
Ingredients
Steps
Add sugar to dry pan
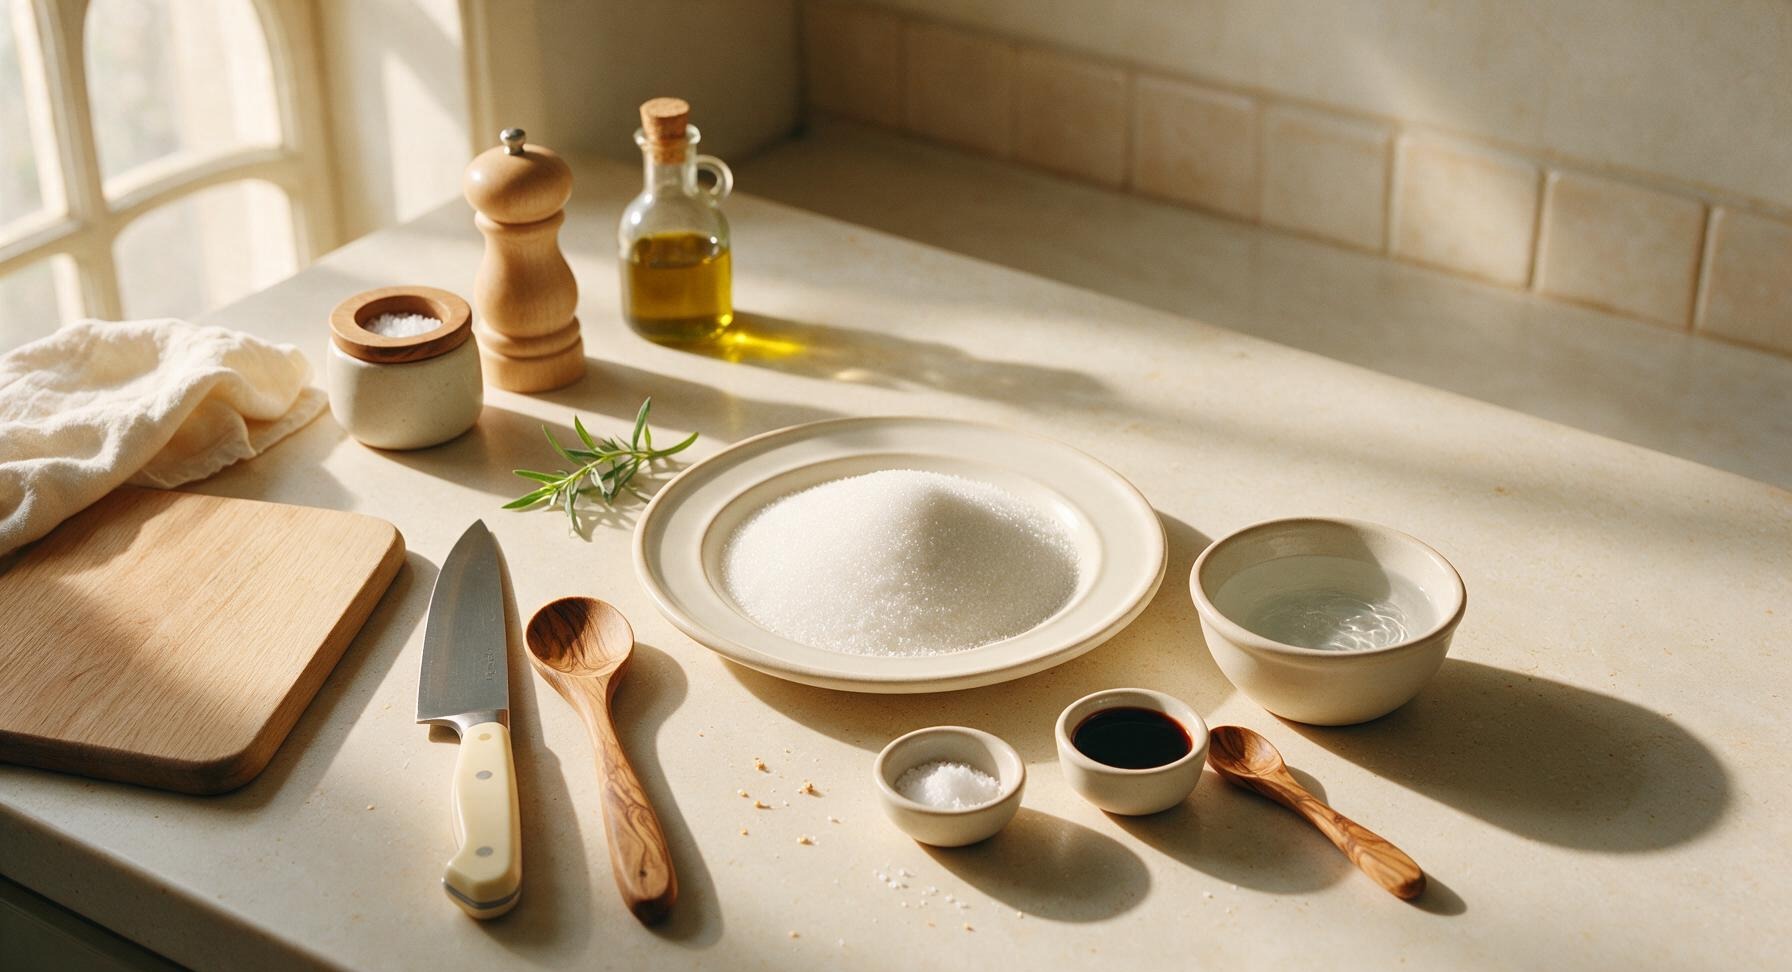
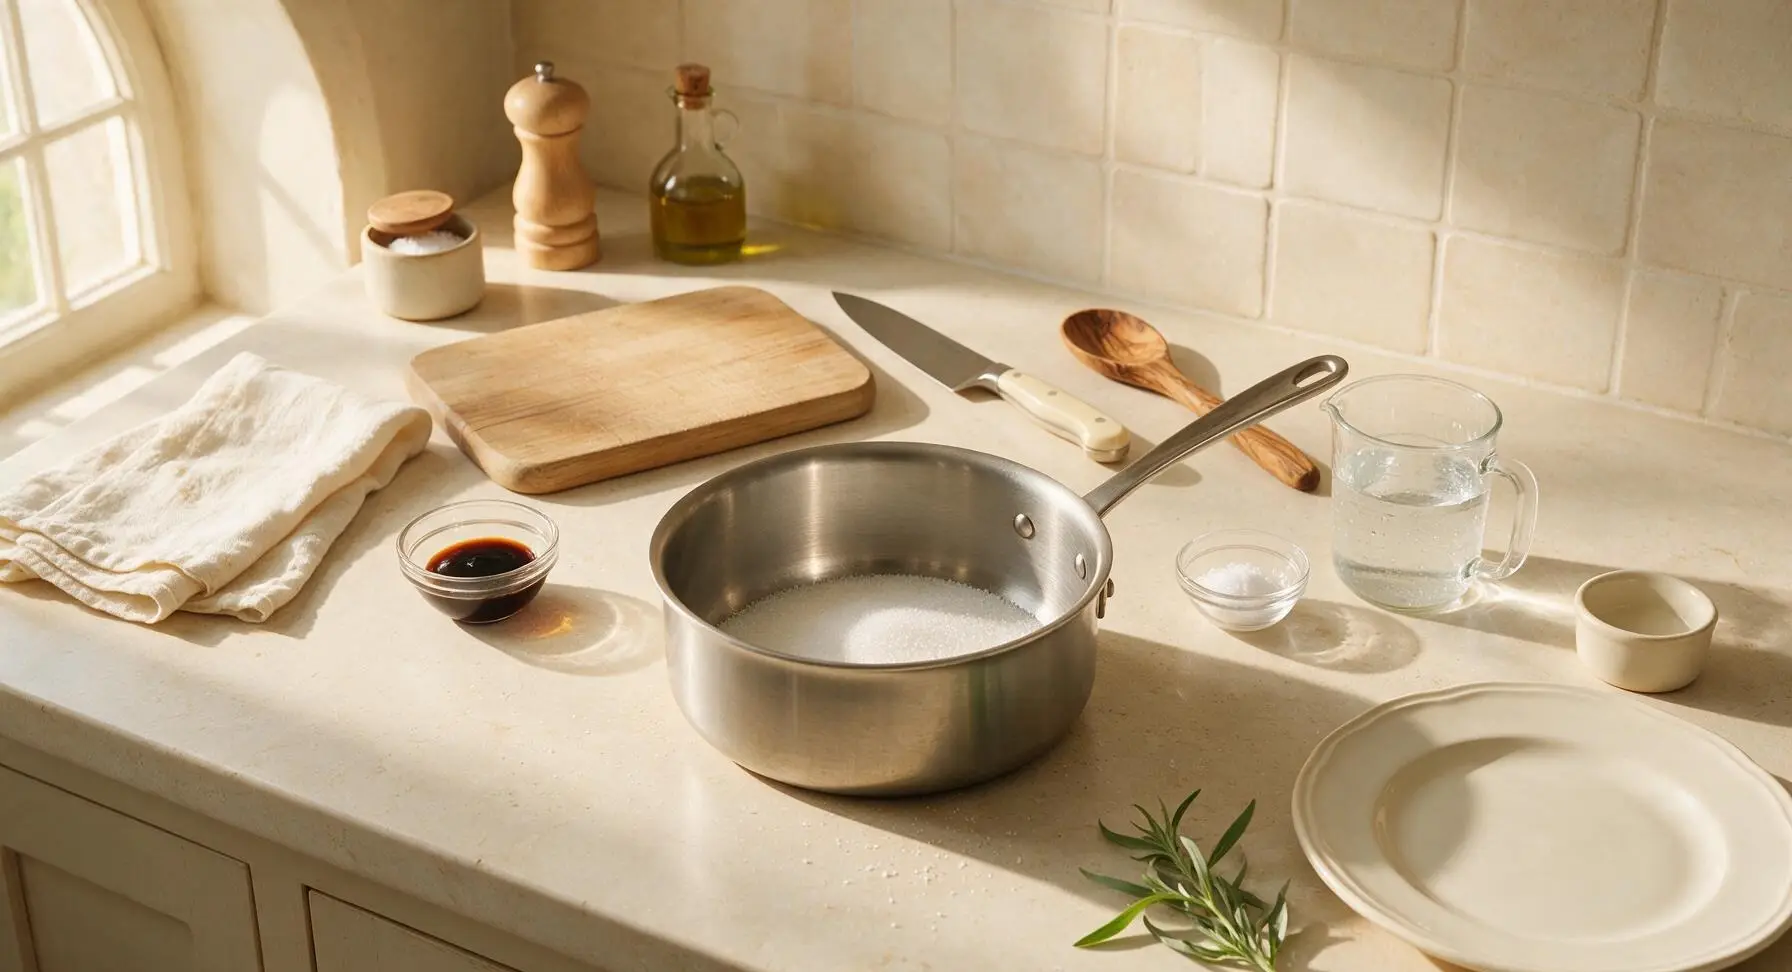
Place the 1.5L heavy-bottomed stainless steel saucepan on the stovetop in the center of the work zone over medium-low heat. Pour the full 1 cup of granulated sugar from its pinch bowl into the center of the completely dry pan, spreading it in an even thin layer across the pan bottom. Do not stir yet; allow the sugar closest to the pan surface to begin melting. Maintain medium-low heat to avoid burning the outer sugar edges before the center melts. Even a single drop of water in the pan will cause hot sugar to splatter, so confirm the pan is fully dry before adding sugar.
Melt sugar to caramel
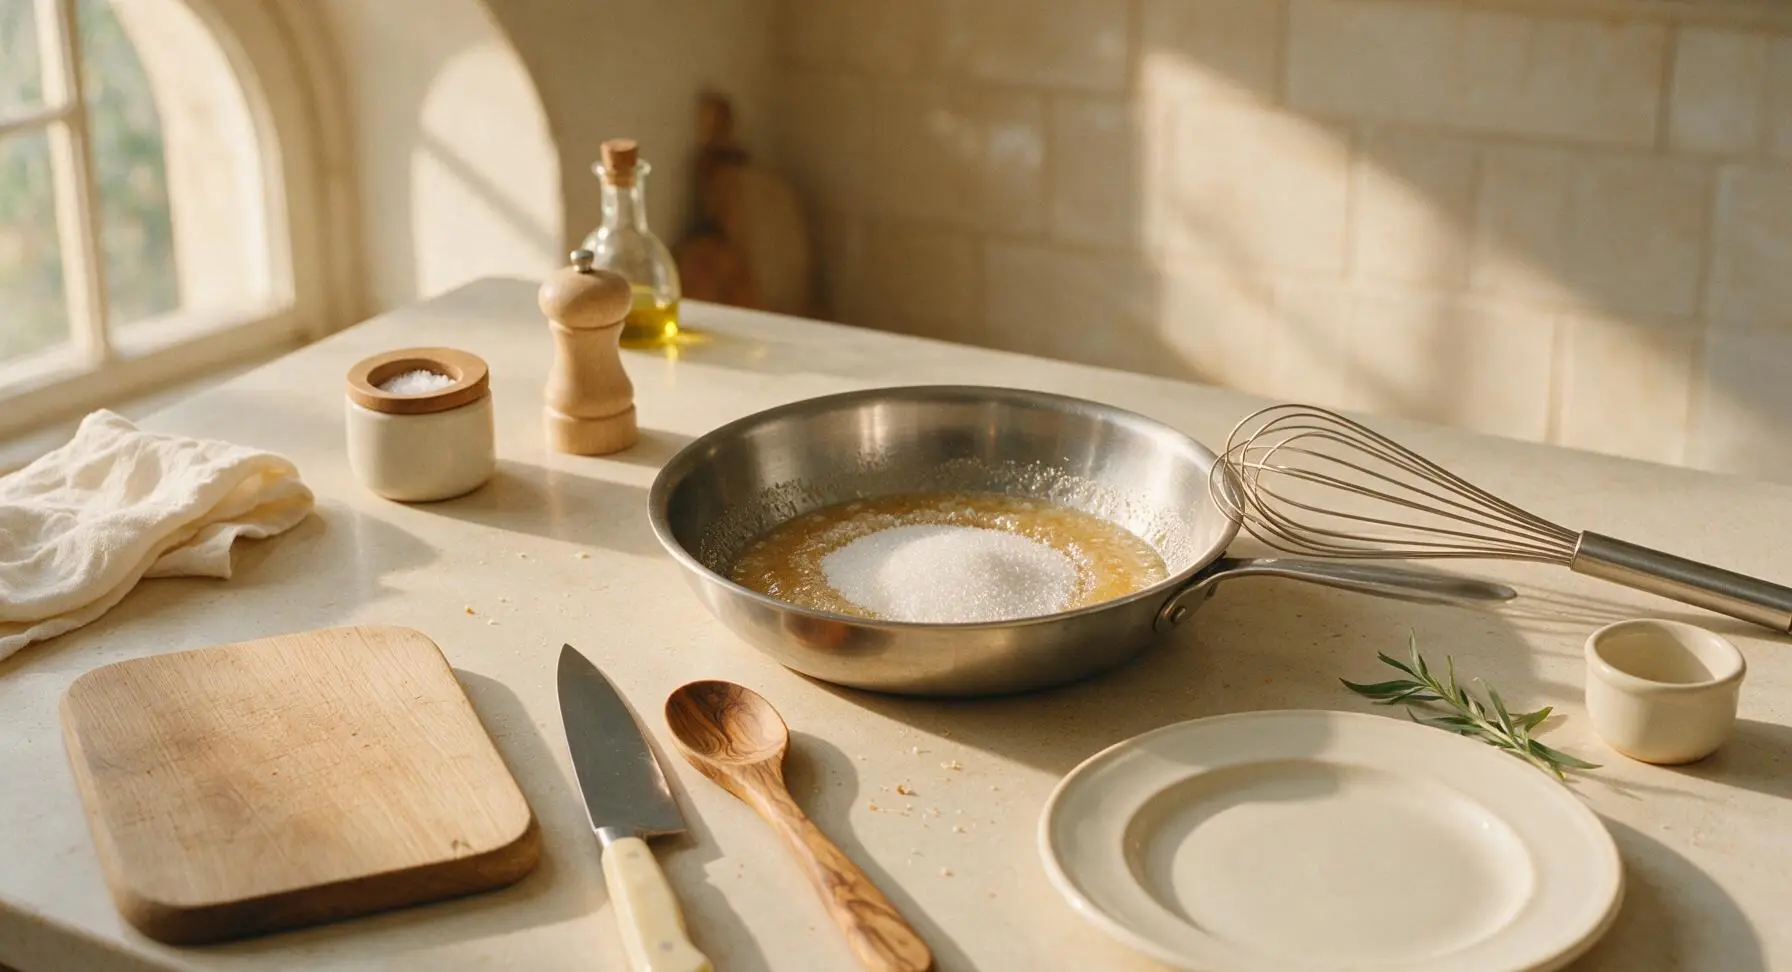
After 3-4 minutes, when melted amber sugar forms a thin ring around the edges of the pan, use the long stainless steel whisk to gently pull melting sugar from the edges toward the pan center, mixing dry unmelted sugar into the hot liquid caramel. Continue stirring slowly and consistently for 5-7 minutes, until all sugar is fully melted into a smooth, light amber liquid with no visible grainy white crystals. Do not leave the pan unattended at any point during this process.
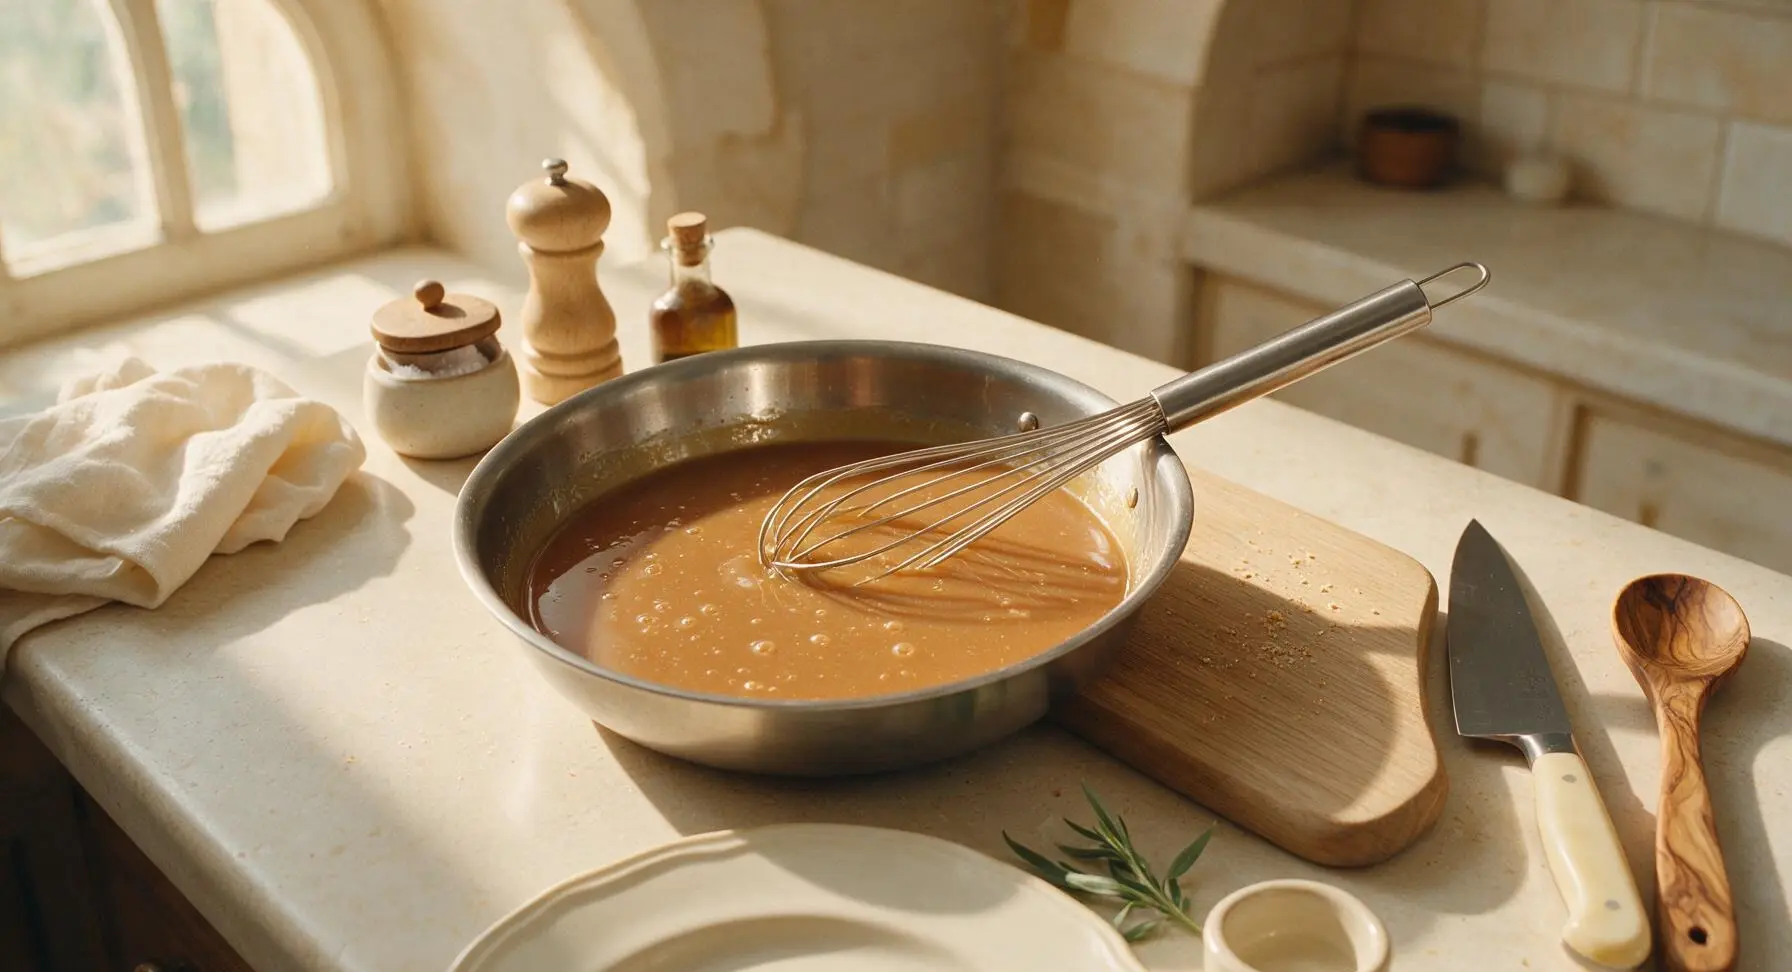
Deepen caramel to dark brown
Continue cooking the melted sugar, stirring constantly with the whisk, for 2-3 additional minutes. Watch closely as the caramel darkens from light amber to a deep, rich mahogany brown, and the first thin wisp of pale smoke rises from the pan surface. The caramel will smell deeply toasty and nutty, with no sharp bitter scent—this is the exact moment to stop cooking, as waiting 10 extra seconds will turn the caramel bitter and unusable. Immediately turn the stovetop heat to the lowest setting.
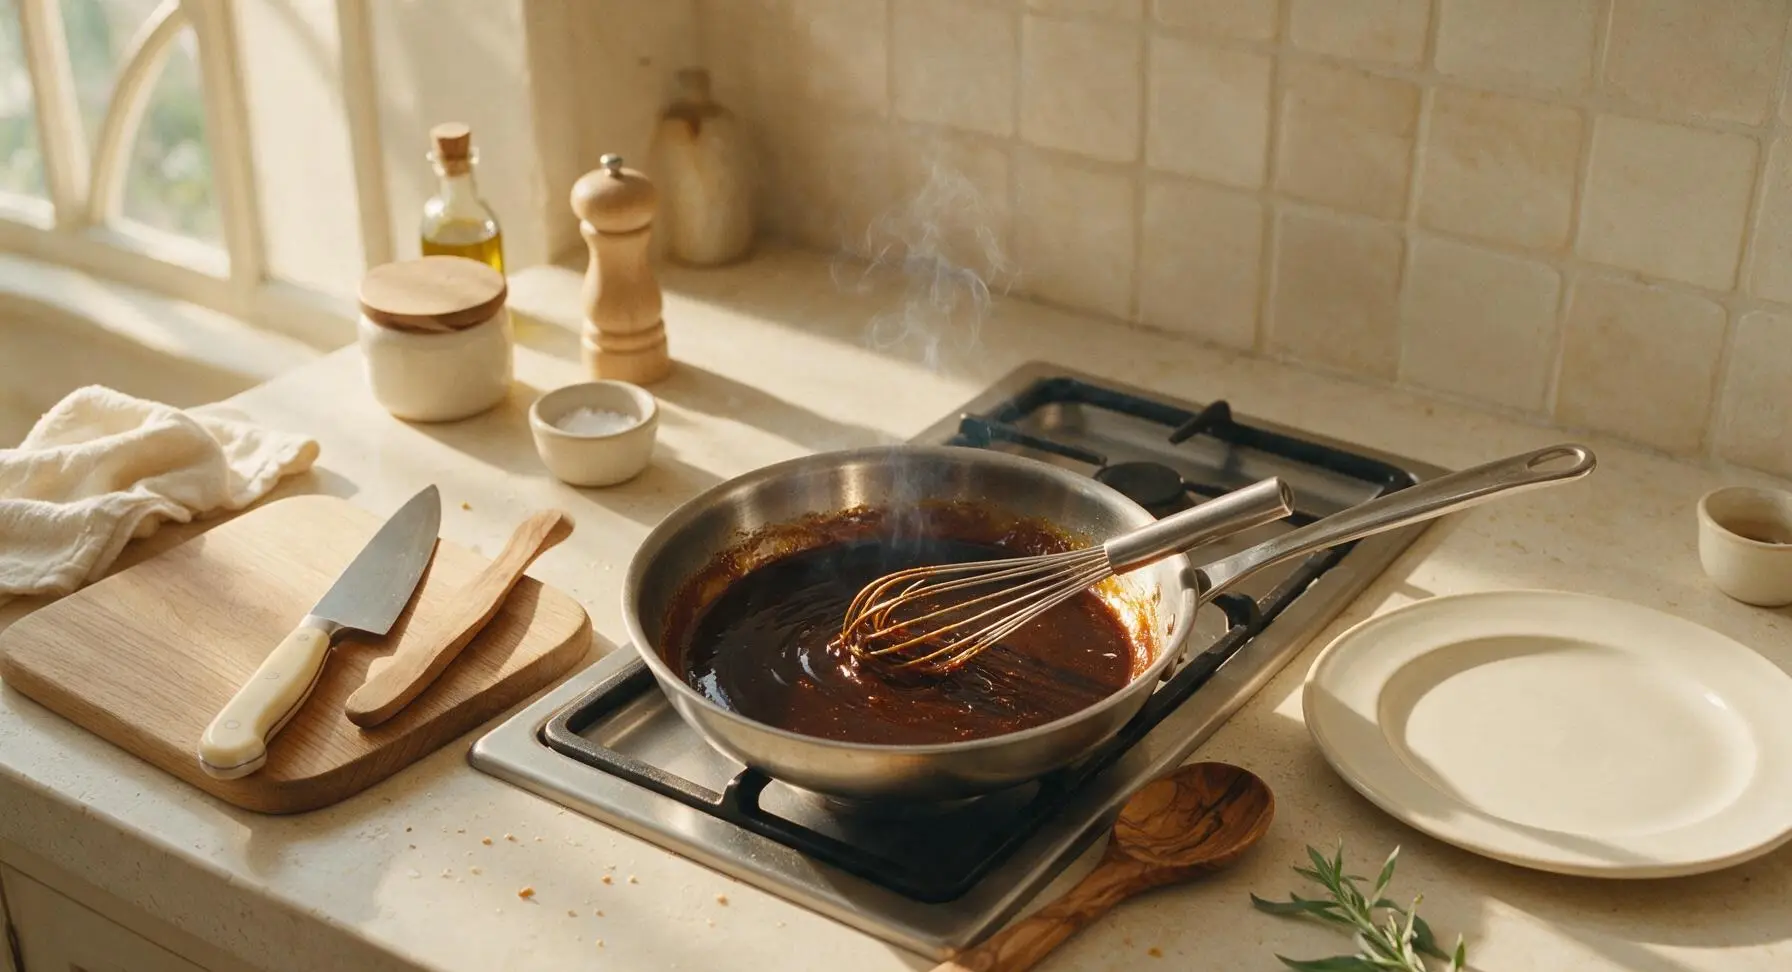
Add boiling water slowly
Very carefully, pour 2 tablespoons of boiling water at a time into the dark caramel, stirring constantly with the whisk as you pour. Stand back slightly as you add water, as the hot caramel will bubble vigorously and release bursts of hot steam that can cause burns. Continue adding water in small increments until all 1/2 cup of boiling water is fully incorporated, stirring until the mixture is completely smooth with no lumps of hardened caramel. This process takes 2-3 minutes total.
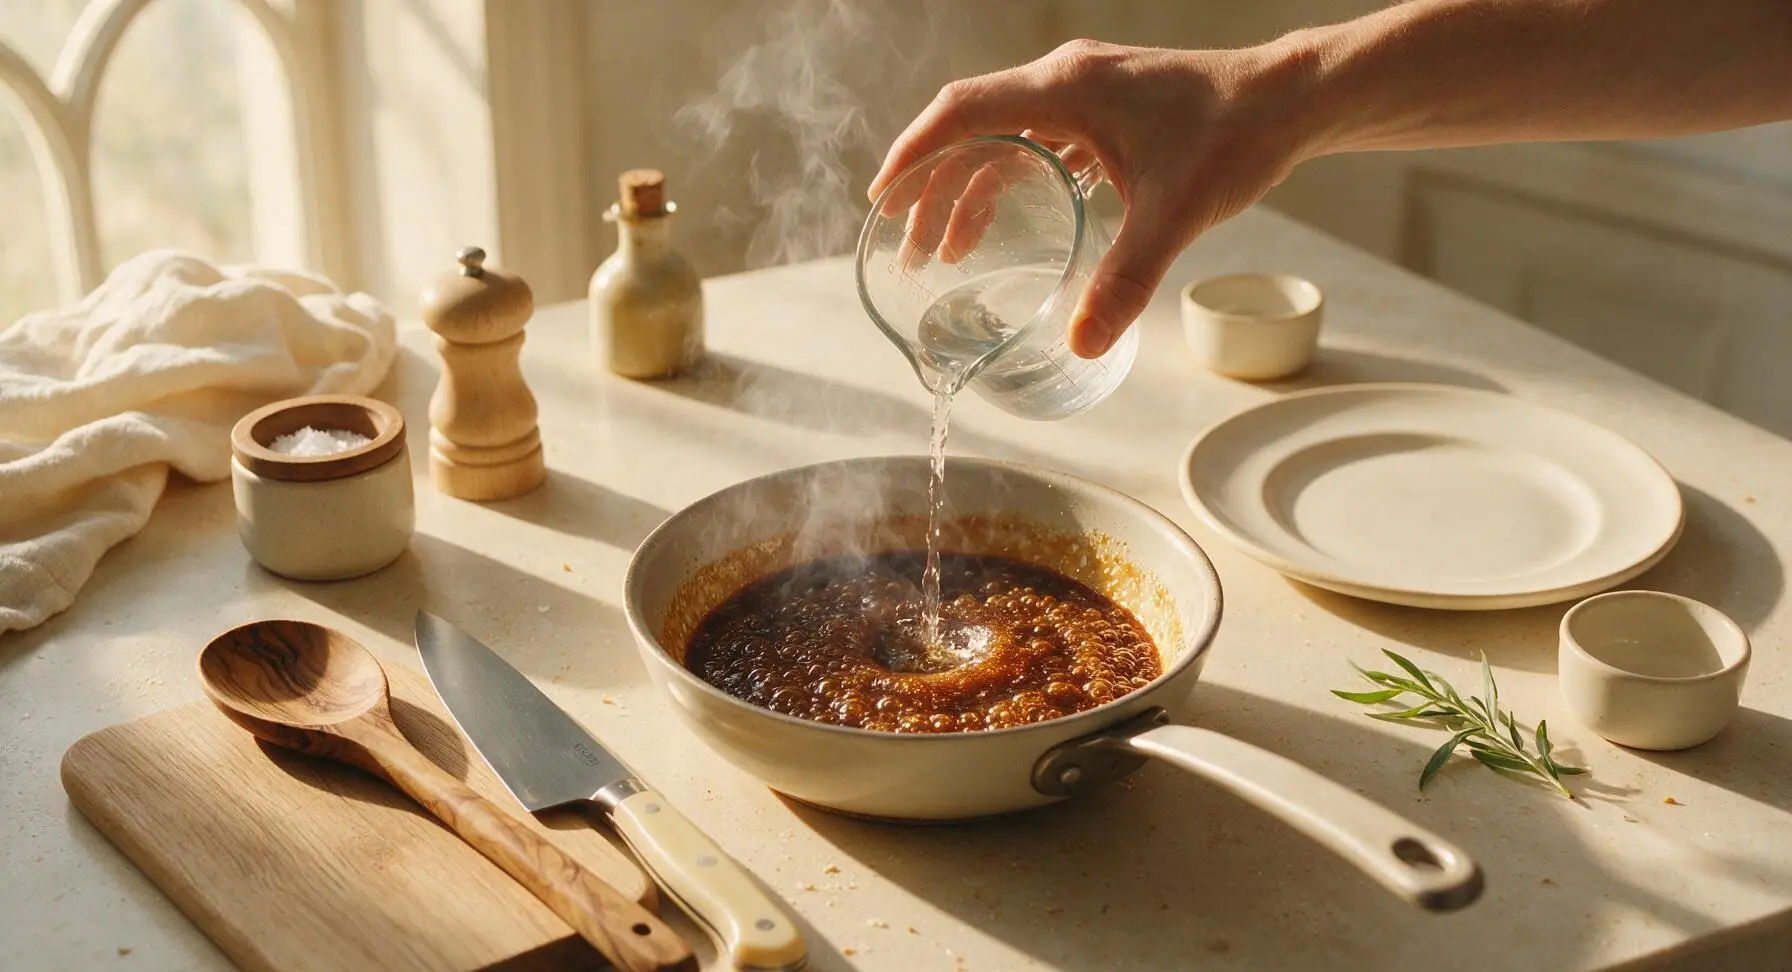
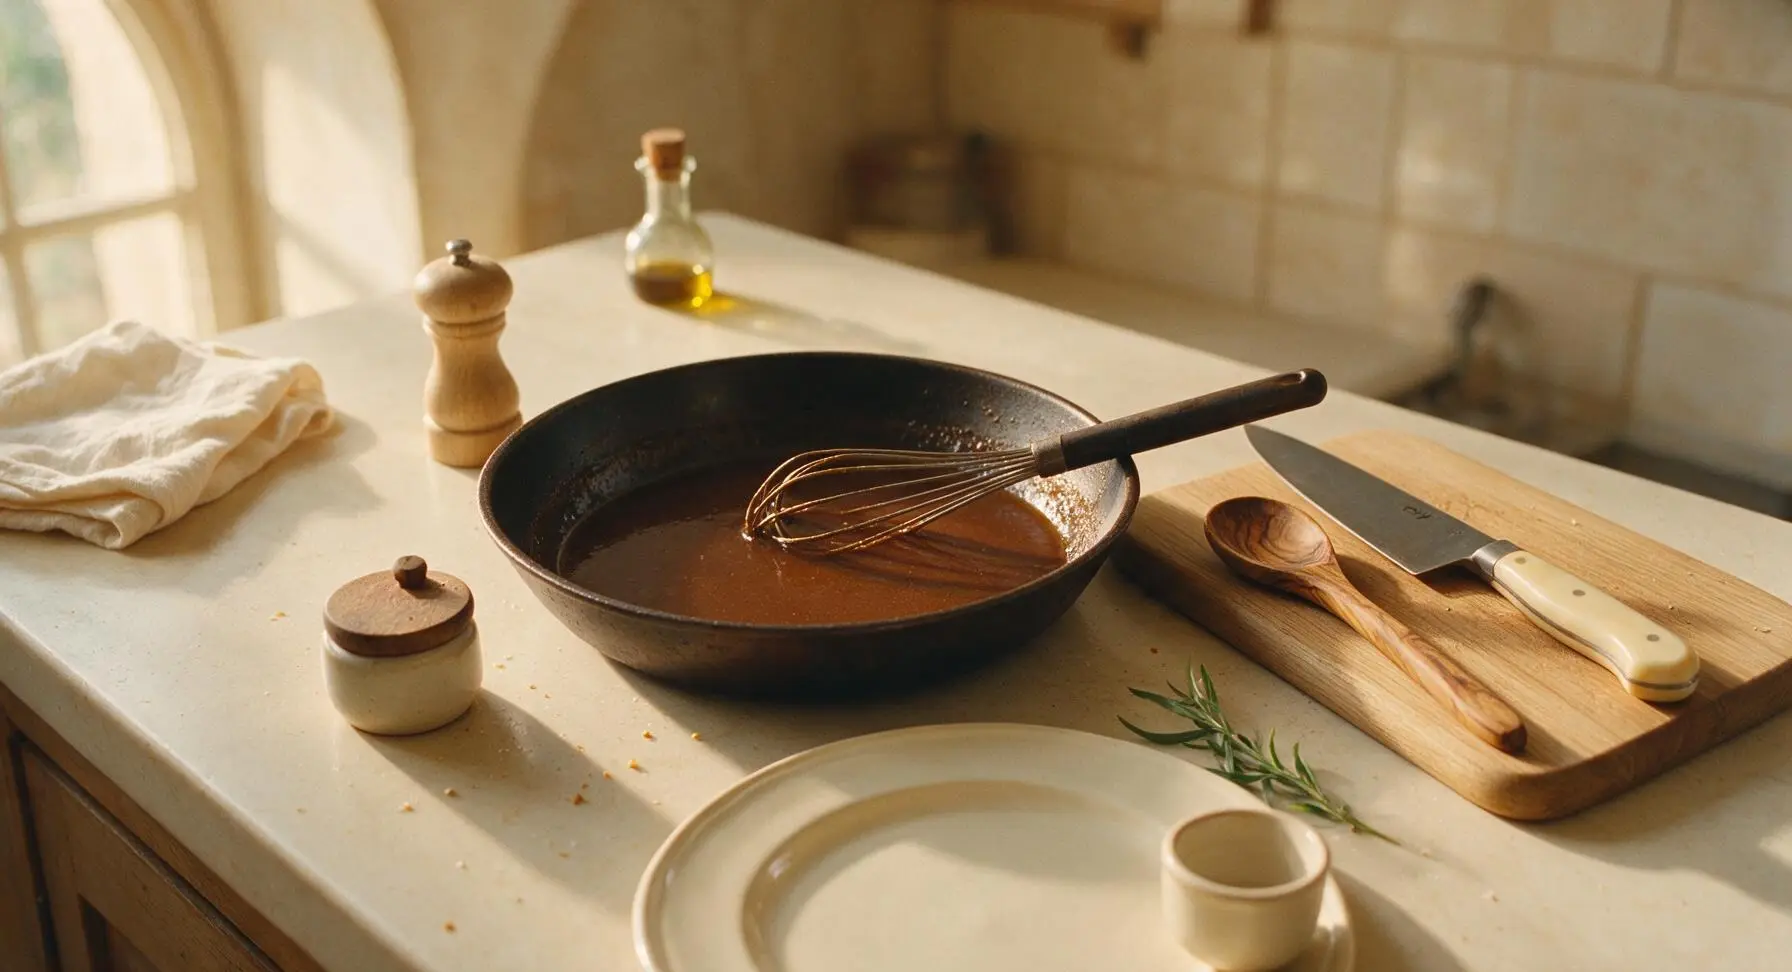
Season and simmer sauce
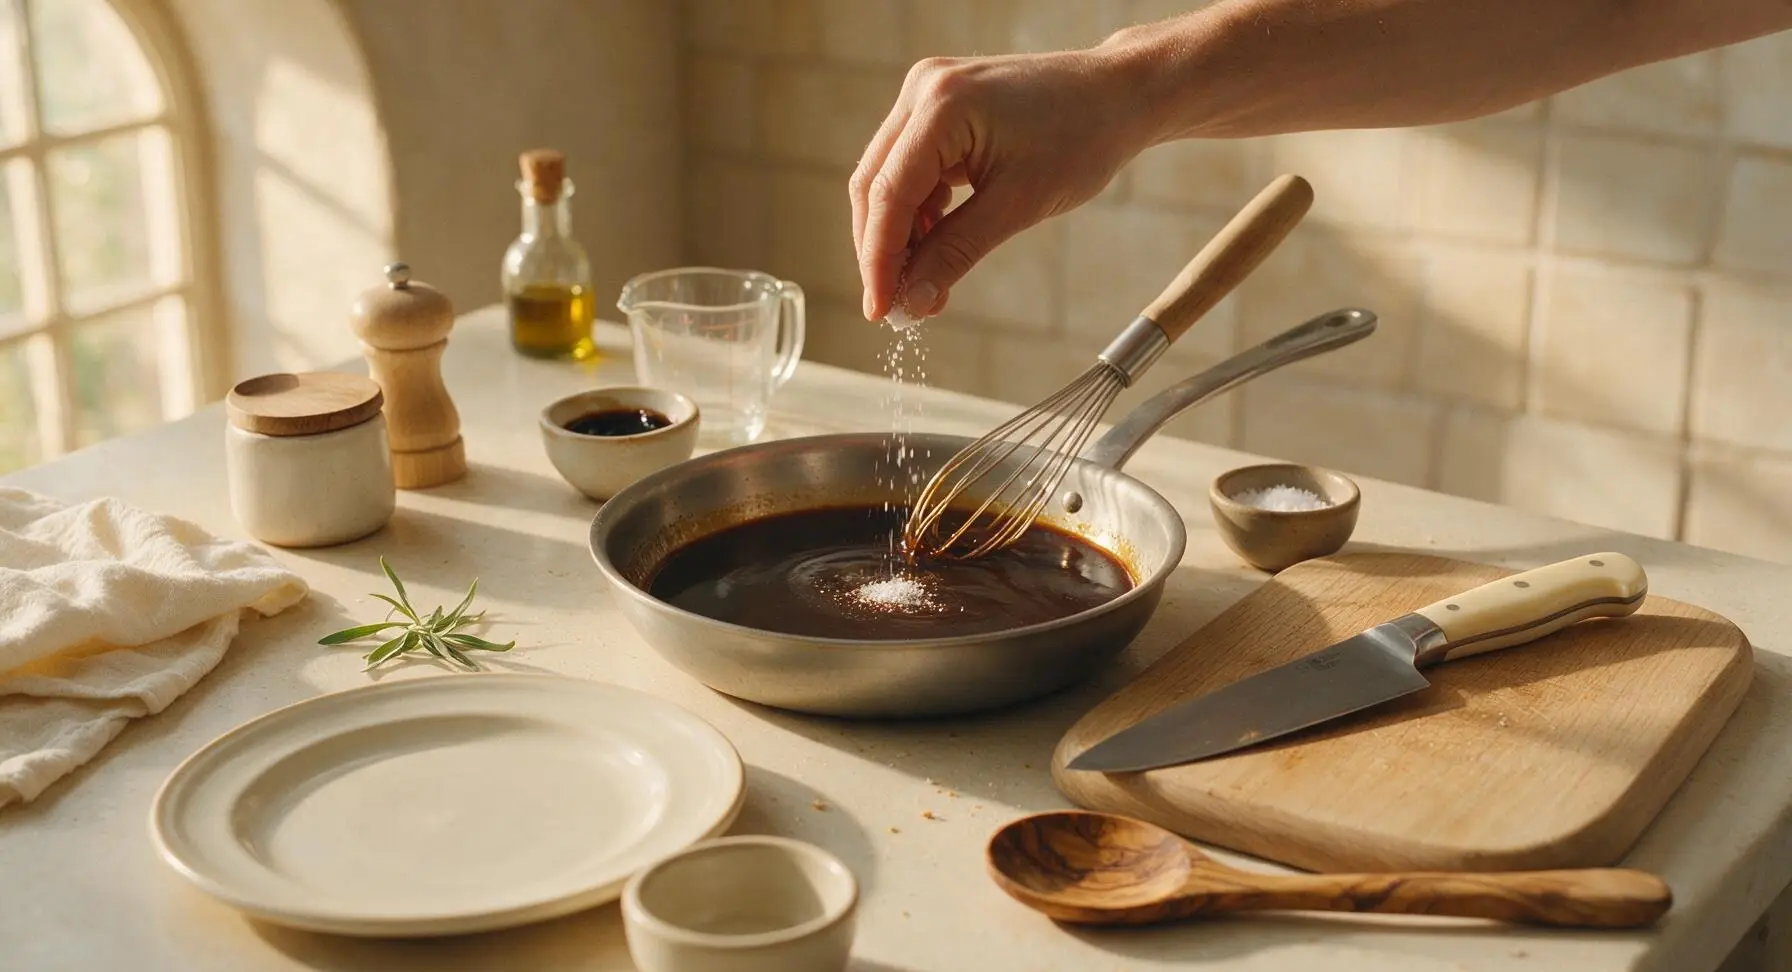
Stir the 1/4 teaspoon of fine sea salt into the hot sauce until fully dissolved. If using, add the 1 teaspoon of light molasses and stir to combine, which will deepen the sauce’s mahogany color and add a subtle rounded depth without making the sauce taste sweet. Let the sauce simmer gently on the lowest heat for 2 minutes, stirring occasionally, until it reaches the consistency of thin maple syrup. It will thicken slightly more as it cools, so do not over-reduce it.
Let sauce cool fully
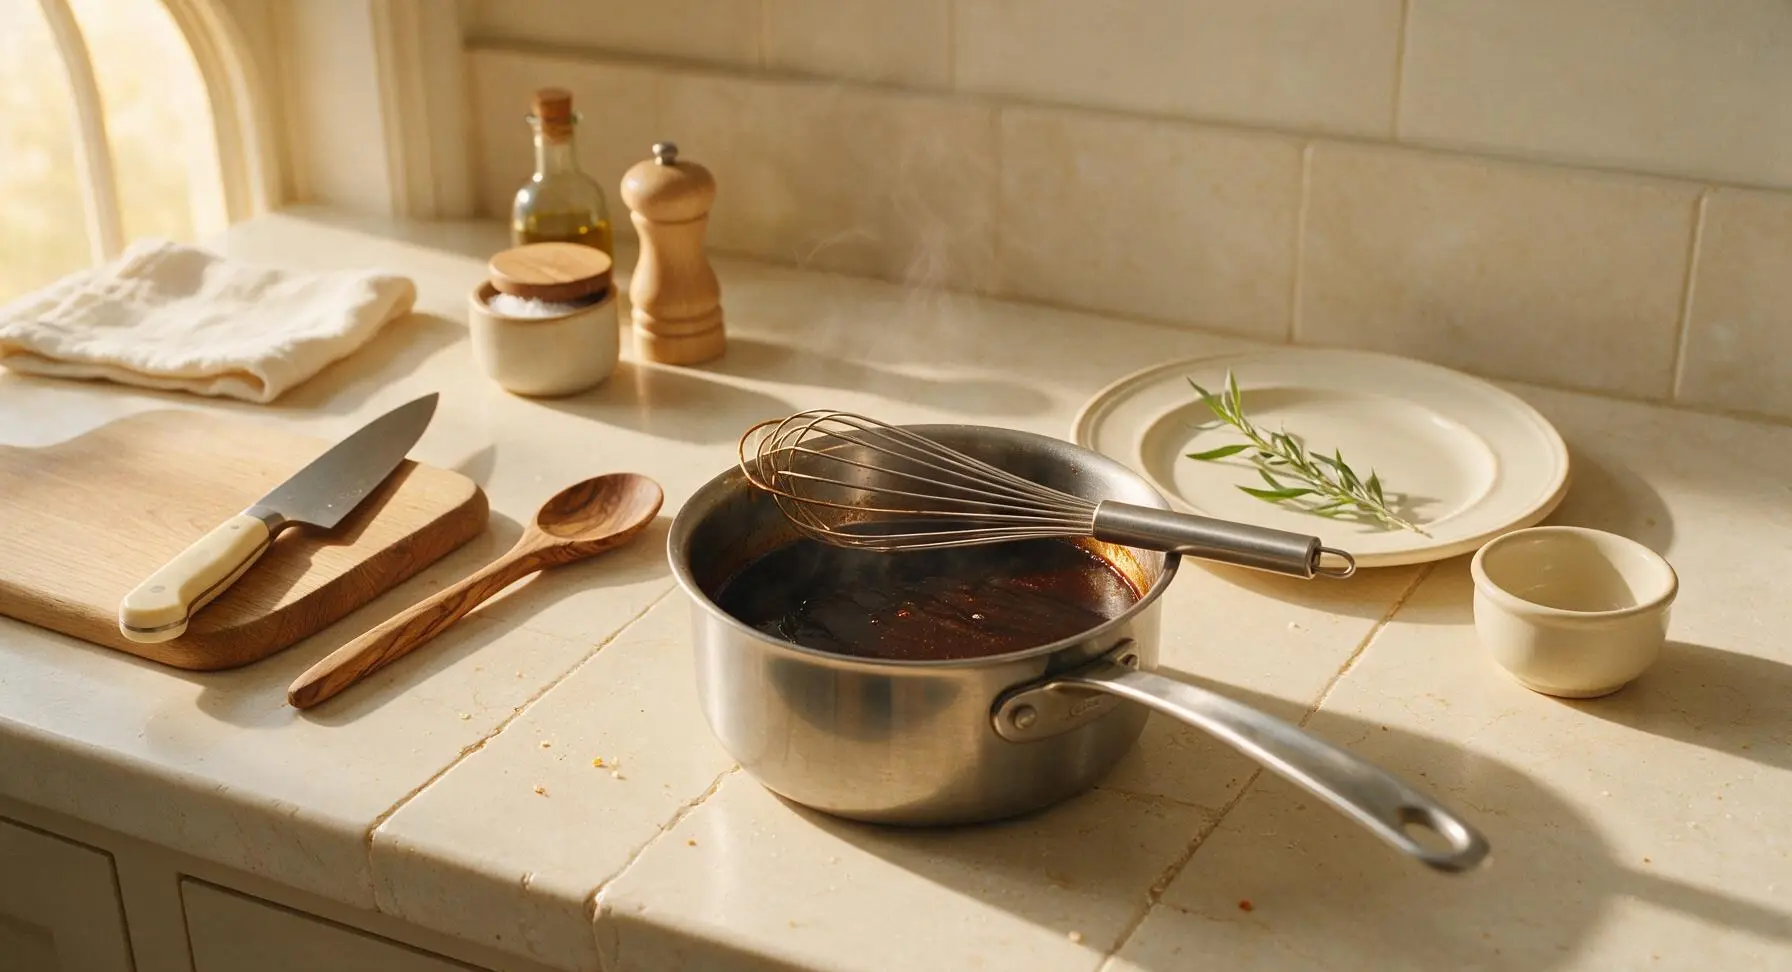
Turn off the stovetop heat, and carefully move the saucepan to a cool, unheated section of the counter work zone. Let the browning sauce cool completely to room temperature, approximately 30 minutes, stirring occasionally with the whisk to prevent a thick skin from forming on the surface. Do not pour hot sauce into the glass storage jar, as sudden temperature change can cause the glass to crack.
Strain and store sauce
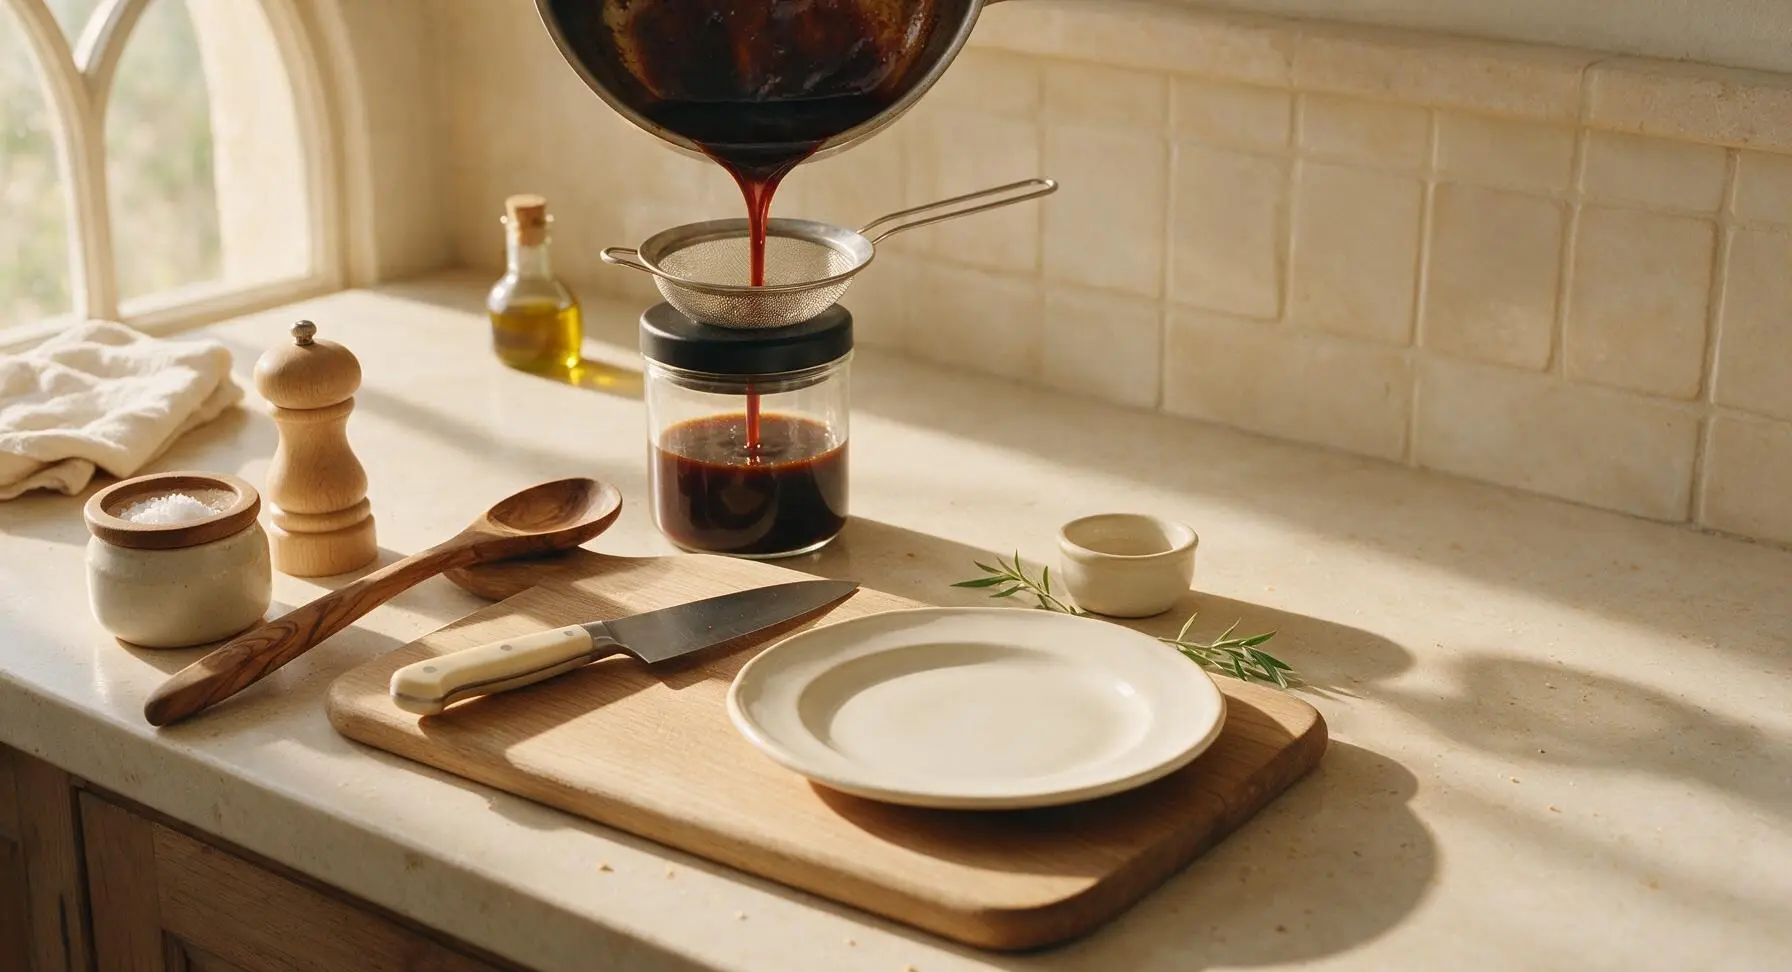
Once fully cooled, place the small fine-mesh stainless steel sieve over the opening of the 200ml clear glass storage jar. Pour the cooled browning sauce through the sieve to catch any tiny hardened caramel bits, ensuring a perfectly smooth final sauce. Seal the jar tightly with its matte black lid. The sauce is now ready to use.
Tips
2.Always use boiling water to dilute caramel: cold or room-temperature water will shock the 350°F hot caramel, causing it to harden into sharp, glassy lumps that are difficult to re-dissolve, resulting in a grainy, uneven sauce. Add water in small, slow increments to avoid violent hot splatters that can cause burns.
3.Store finished cooled sauce in a sealed glass jar in the refrigerator for up to 6 months: use 1-2 teaspoons at a time to add deep color and subtle toasty flavor to gravies, beef stews, pot roasts, baked beans, or even dark fruit cakes, without thinning or altering the texture of your finished dish.
OMG this homemade browning sauce is a total game changer for my weekend brisket rubs and gravy! I used to grab the cheap store-bought bottle that had all kinds of weird additives, and this 15 minute version tastes so much richer. My whole family asked why my pot roast tasted extra good last Sunday, no cap. 10/10 will make every meal prep batch from now on.
Wait, I tried this last night and I think I burned the sugar when I was letting it caramelize? It turned super bitter and I had to toss the whole batch. Did I have the heat too high? I was really looking forward to using this for my Jamaican oxtail stew for our potluck next weekend.
SO good! I made a half batch yesterday to test it out for my Thanksgiving gravy, and it added that perfect deep, rich color and nutty depth I’ve been missing. Who knew browning sauce was this easy to make at home? Saved me a trip to the specialty Caribbean market all the way across town.
Took me a couple tries to get the caramel color just right (first batch was too light, didn’t have that deep flavor) but once I nailed it? *Chef’s kiss.* Used it in my venison stew last weekend on our camping trip prep, and even my buddy who swears by only store-bought sauces asked for the recipe.
I’ve been making browning sauce the old fashioned way for 50 years, and this recipe is spot on. No weird shortcuts, perfect ratio of sugar to water, no extra junk. I taught my teen granddaughter to make it last night for her 4H cooking project, and she did a great job with the 15 minute cook time. Can’t beat a classic.
Brought a batch of this to my neighborhood potluck last week, mixed it into my baked beans and slow cooked pulled pork, and people were RAVING. Three people asked me for the recipe before I even finished my first plate. Way better than the grocery store version that tastes like artificial color.
Help! I added cold water to the melted sugar and it seized up into hard candy clumps! Did I do something wrong? I thought I followed the steps exactly, I’m so frustrated I wasted a cup of brown sugar.
This is perfect for my weekly Sunday meal prep! I portioned a big batch into ice cube trays, froze them, and pop one out whenever I’m making gravy, stew, or even stir fry sauce. Adds such a deep umami kick without any extra weird preservatives. 15 minutes of work for months of flavor, total win.
Y’all, this is the exact browning sauce my grandma used to make for her Sunday smothered chicken and gravy. I’ve been buying the bottled stuff for years because I thought it was too hard to make, but 15 minutes? Are you kidding? My kids loved the gravy so much they sopped up every last drop with biscuits. No notes.
I was worried this wouldn’t work for vegan recipes since a lot of browning sauces have fish or meat derivatives, but this is just sugar and water! I used it in my vegan lentil stew and vegan pot pie filling last week, and it added that perfect rich depth I’ve been missing. So happy I found this.
Made this for the station dinner last shift, used it in the beef stew for the crew, and everyone went back for seconds. Even the captain who is super picky about his stew said it was the best I’d ever made. Super quick to whip up even when we get a call mid-cook (ask me how I know, oops). Will keep a jar at the station from now on.
Medium difficulty is no joke! I thought this would be super easy since it’s just two ingredients, but timing the caramel is trickier than I expected. That said, the end result was so worth it, way better than any store bought I’ve tried. Just wish I’d watched the sugar closer the first go around.
I tested this recipe for my tiny diner’s weekend special pot roast, and regulars have been asking what I changed to make the gravy taste so rich. I’m gonna keep a permanent squeeze bottle of this by the line now, it’s way cheaper than buying bulk commercial browning and tastes 10x better. 15 minute cook time means I can whip up a batch between rushes no problem.
So cheap to make! I’m on a super tight college budget, and a bottle of name brand browning sauce is like $6 at the grocery store, but this cost me literally 50 cents worth of sugar and water to make a whole jar. Used it to make my boxed mac and cheese taste fancy (don’t judge, add a tiny drop, it’s insane) and my roommate thought I ordered takeout.
I made a double batch ahead of Christmas dinner to use in the prime rib au jus and the Yorkshire pudding batter, and it was perfect. Gave the au jus that gorgeous deep color without making it bitter, and even my mother in law (who criticizes every single thing I cook) said it was the best prime rib I’d ever made. Win!
Tried adding a splash of this to my barbecue mop sauce for my last brisket smoke, and the bark came out perfect—deep, dark, shiny, no weird bitter aftertaste. I used to rely on soy sauce for color but this is next level. Cook time is so fast I can make it while the smoker is coming up to temp.
So happy this recipe doesn’t have any weird additives or soy! My son has soy and wheat allergies, and every bottled browning sauce I’ve found has soy in it, which means we haven’t been able to have proper brown gravy at family dinners in forever. I tested this last night for meatloaf and he ate two whole servings. Thank you!
Used this in my goat curry last night instead of the store bought browning I usually grab, and it gave the curry that perfect deep brown color without throwing off the spice balance at all. My partner said it tasted just like the curry his mom makes when we go to Trinidad for family visits. Total home run, will never go back to bottled.
Wait, can I use white sugar instead of brown sugar for this? I have a giant bag of white granulated sugar in the pantry but no brown sugar right now, and I don’t feel like running to the store just for one ingredient. Wanna make this for my pot roast dinner tonight!
I remember my mom making this when I was a kid in the 70s, and I forgot how simple it was! I’ve been overcomplicating my gravy for years with fancy ingredients when all I needed was this 15 minute browning sauce to get that classic old-fashioned flavor. Tasted just like my childhood Sunday dinners.