
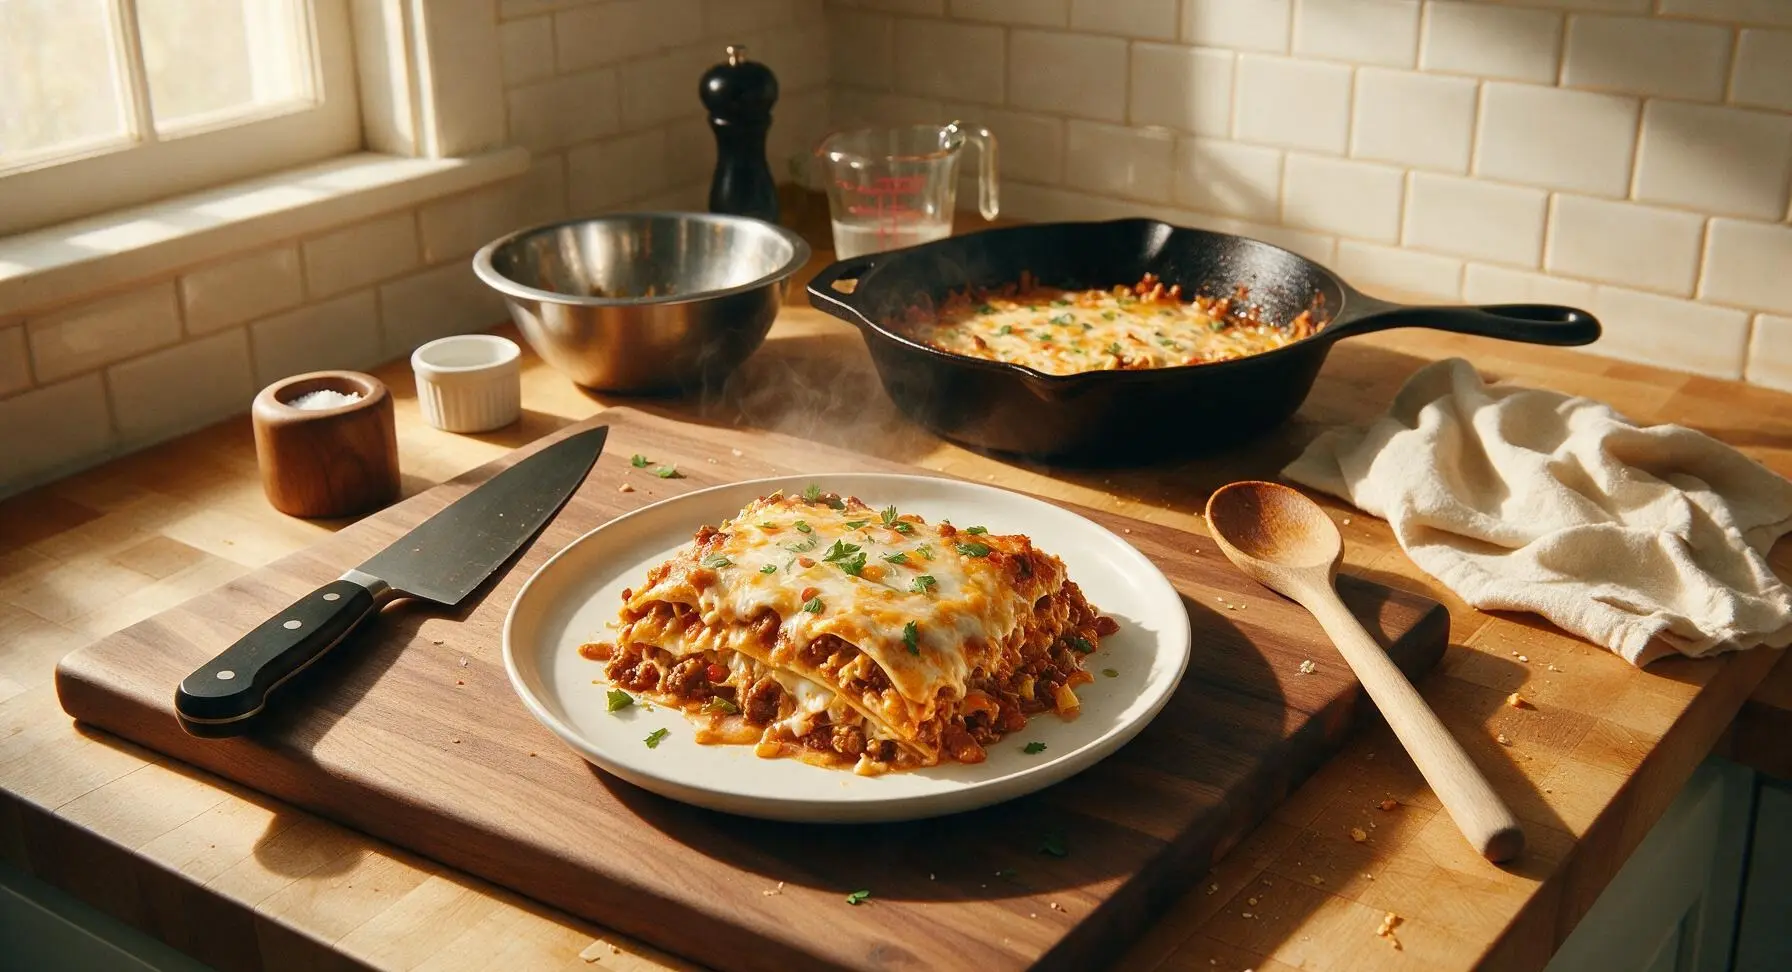
Burrito Casserole

title 1
Burrito Casserole
⏱️ cook time 30 minutes
🍽️ servings 6
⚡ Difficulty easy

intro

Layered, gooey, and packed with bold Tex-Mex flavor, this easy burrito casserole swaps fussy rolled burritos for a stackable, bakeable meal perfect for busy weeknights.

Ingredients
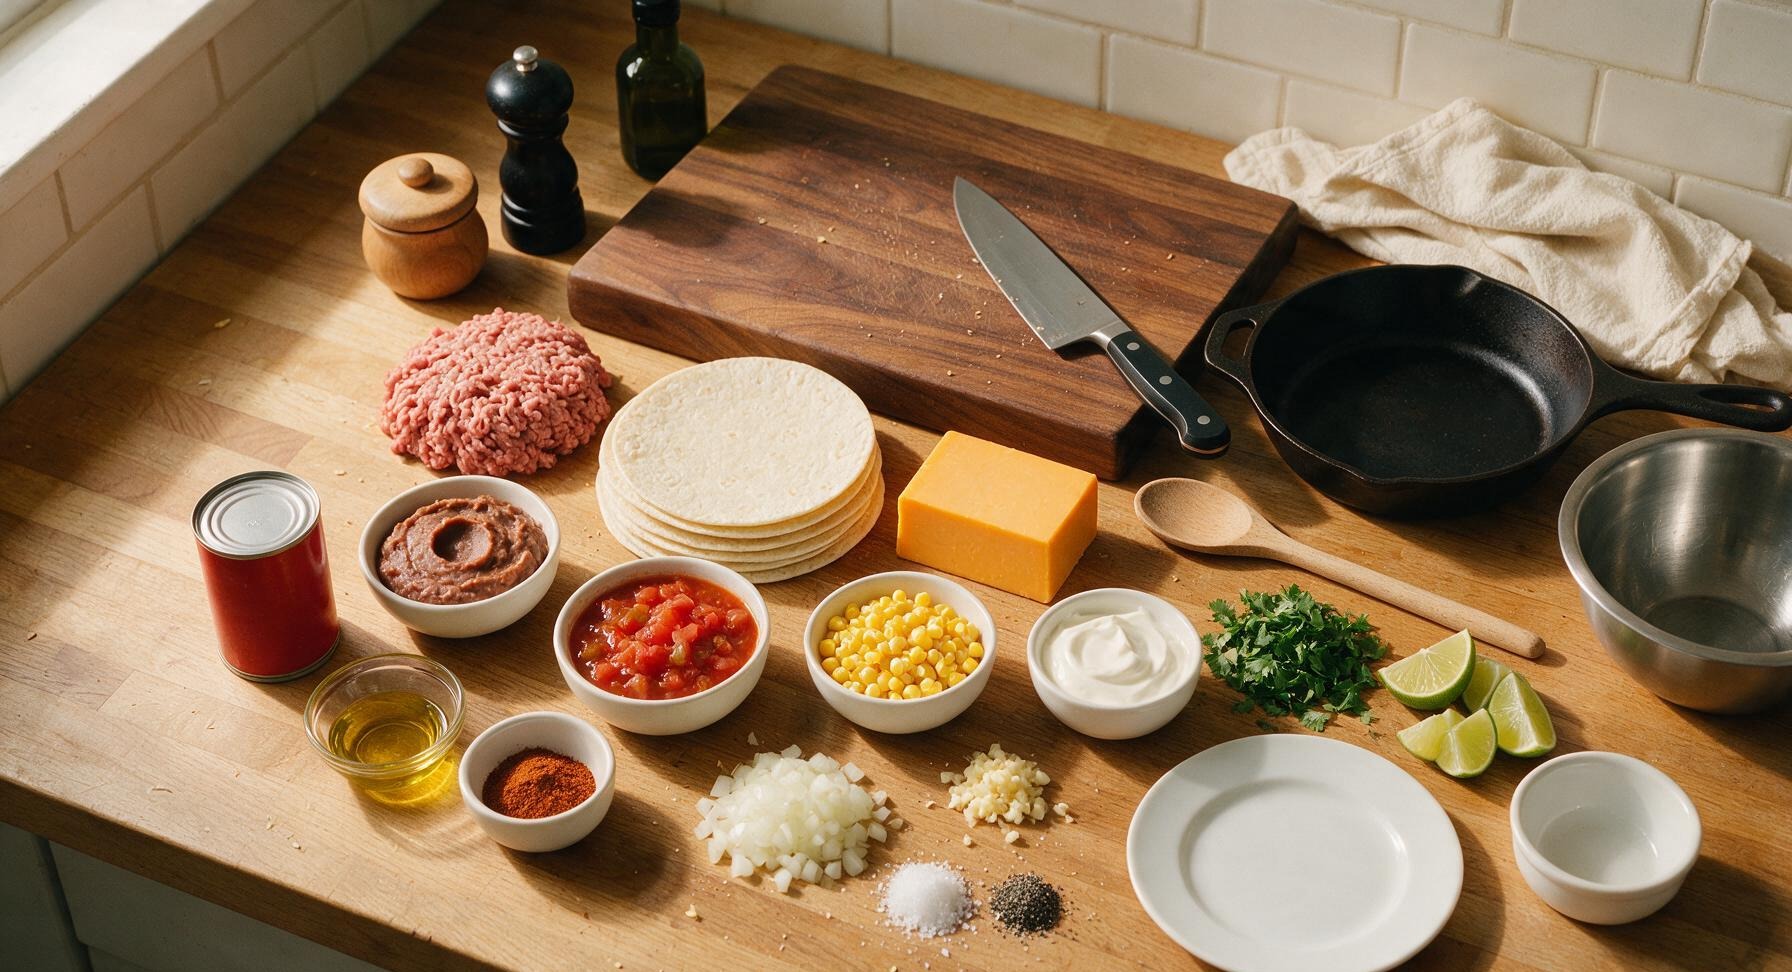
Lean ground beef 450g (1lb)
Large flour tortillas 6 pieces
Sharp cheddar cheese 225g (8oz, block)
Refried beans 1 can (425g)
Diced tomatoes with green chiles 1 can (410g, undrained)
Frozen sweet corn 150g
Yellow onion 1 small (100g, diced)
Garlic 3 cloves, minced
Taco seasoning 2 tbsp
Mild red enchilada sauce 1 can (280g)
Olive oil 1 tbsp
Kosher salt 1 tsp
Black pepper 1/2 tsp
Sour cream 120g (1/2 cup, for serving)
Fresh cilantro 15g (1/4 cup chopped, for garnish)
Limes 2, cut into wedges

Steps

1

Preheat and Prep Bakeware

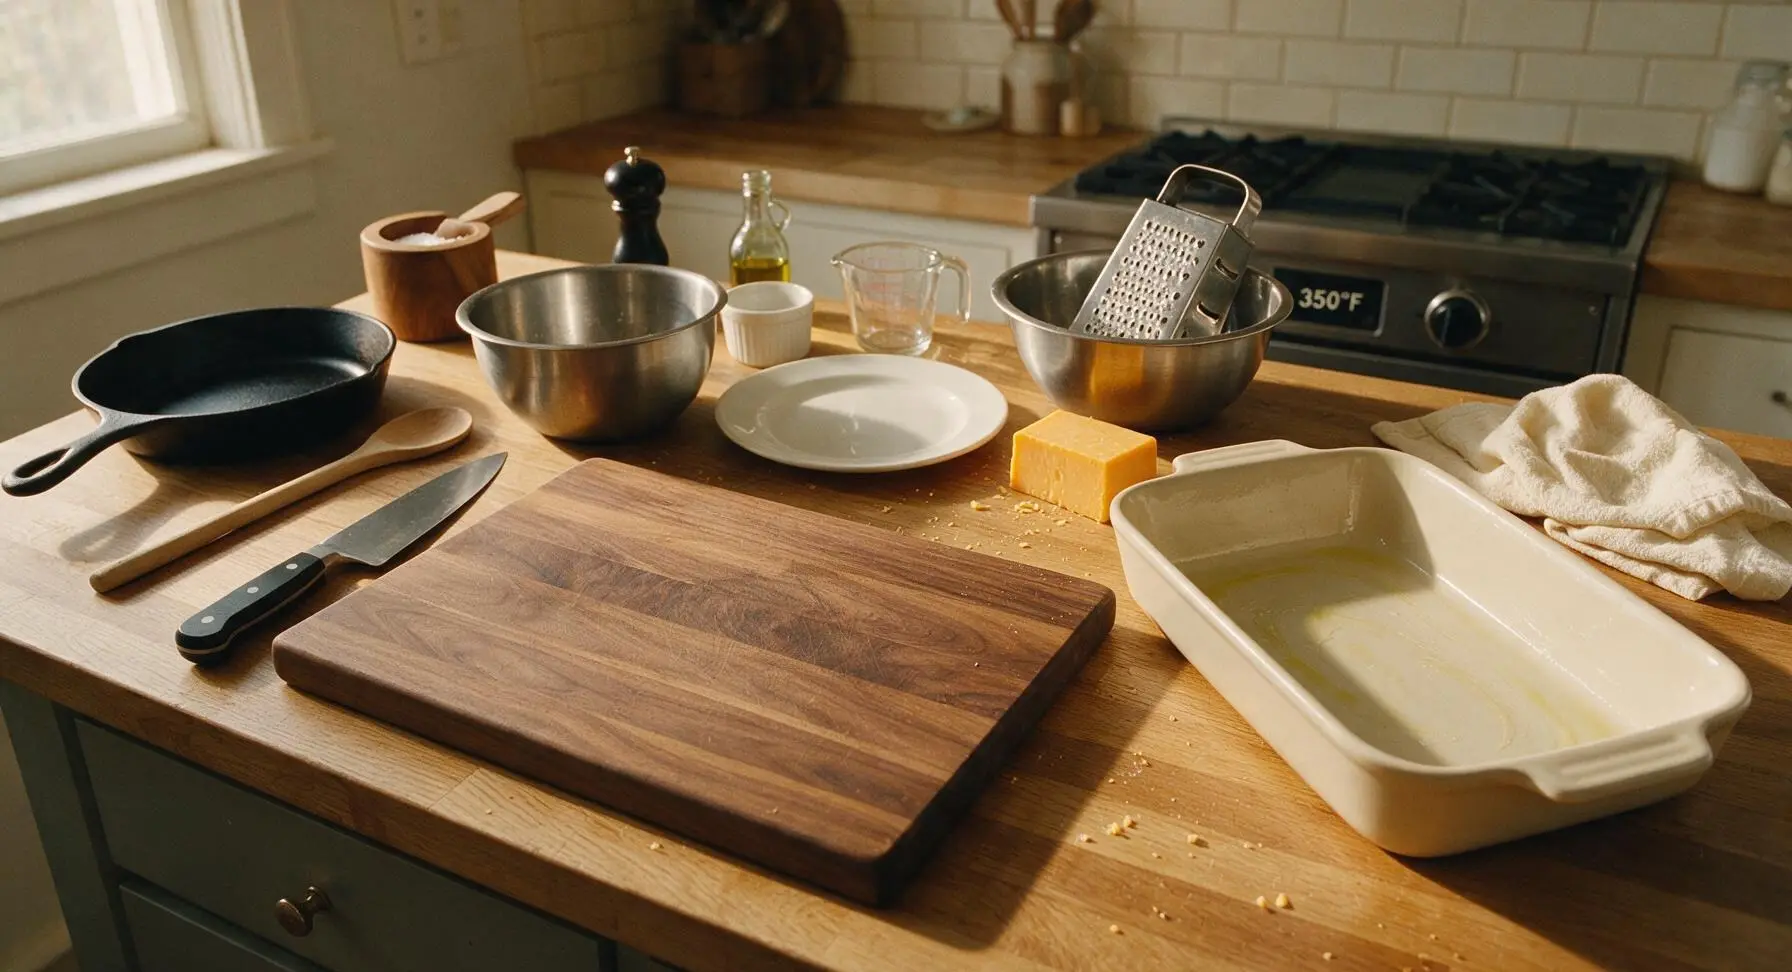
Adjust your oven rack to the middle position and preheat to 180°C (350°F). Use a small piece of paper towel to spread 1 teaspoon of olive oil across the entire interior surface of the 9x13 inch matte cream ceramic baking dish to prevent sticking, then set the dish on the right side of your work surface. Place the stainless steel box grater inside the medium brushed stainless steel mixing bowl, and grate all 225g of sharp cheddar cheese into the bowl; set the bowl of grated cheese next to the baking dish.
Step 1
step1:Preheat and Prep Bakeware
2

Cook Beef Filling Base

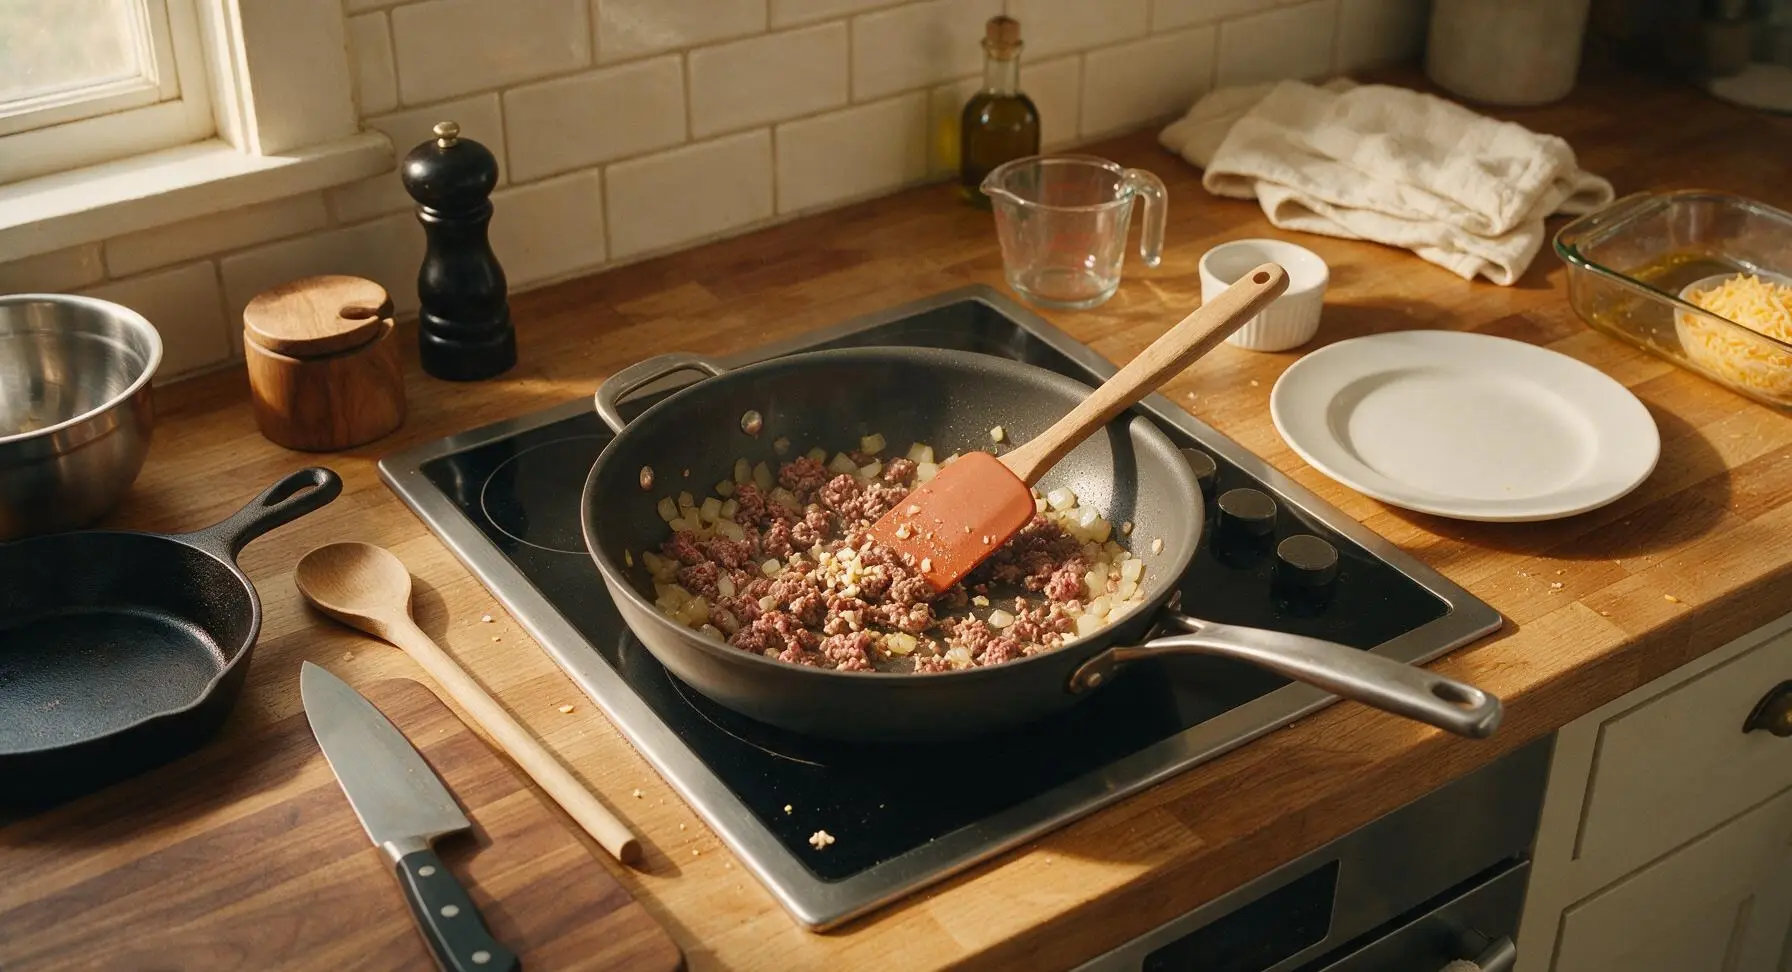
Heat the remaining 2 teaspoons of olive oil in the 10-inch matte charcoal non-stick skillet set on the center induction burner over medium heat. Add the diced small yellow onion, sauté for 3 minutes until soft and translucent, then add the 3 minced garlic cloves and cook for 30 seconds until fragrant. Add the 450g lean ground beef to the skillet, breaking it apart into small crumbles with the terracotta silicone spatula as it cooks. Cook for 5-7 minutes until the beef is fully browned with no pink remaining, then carefully tilt the skillet to drain off any excess rendered grease.
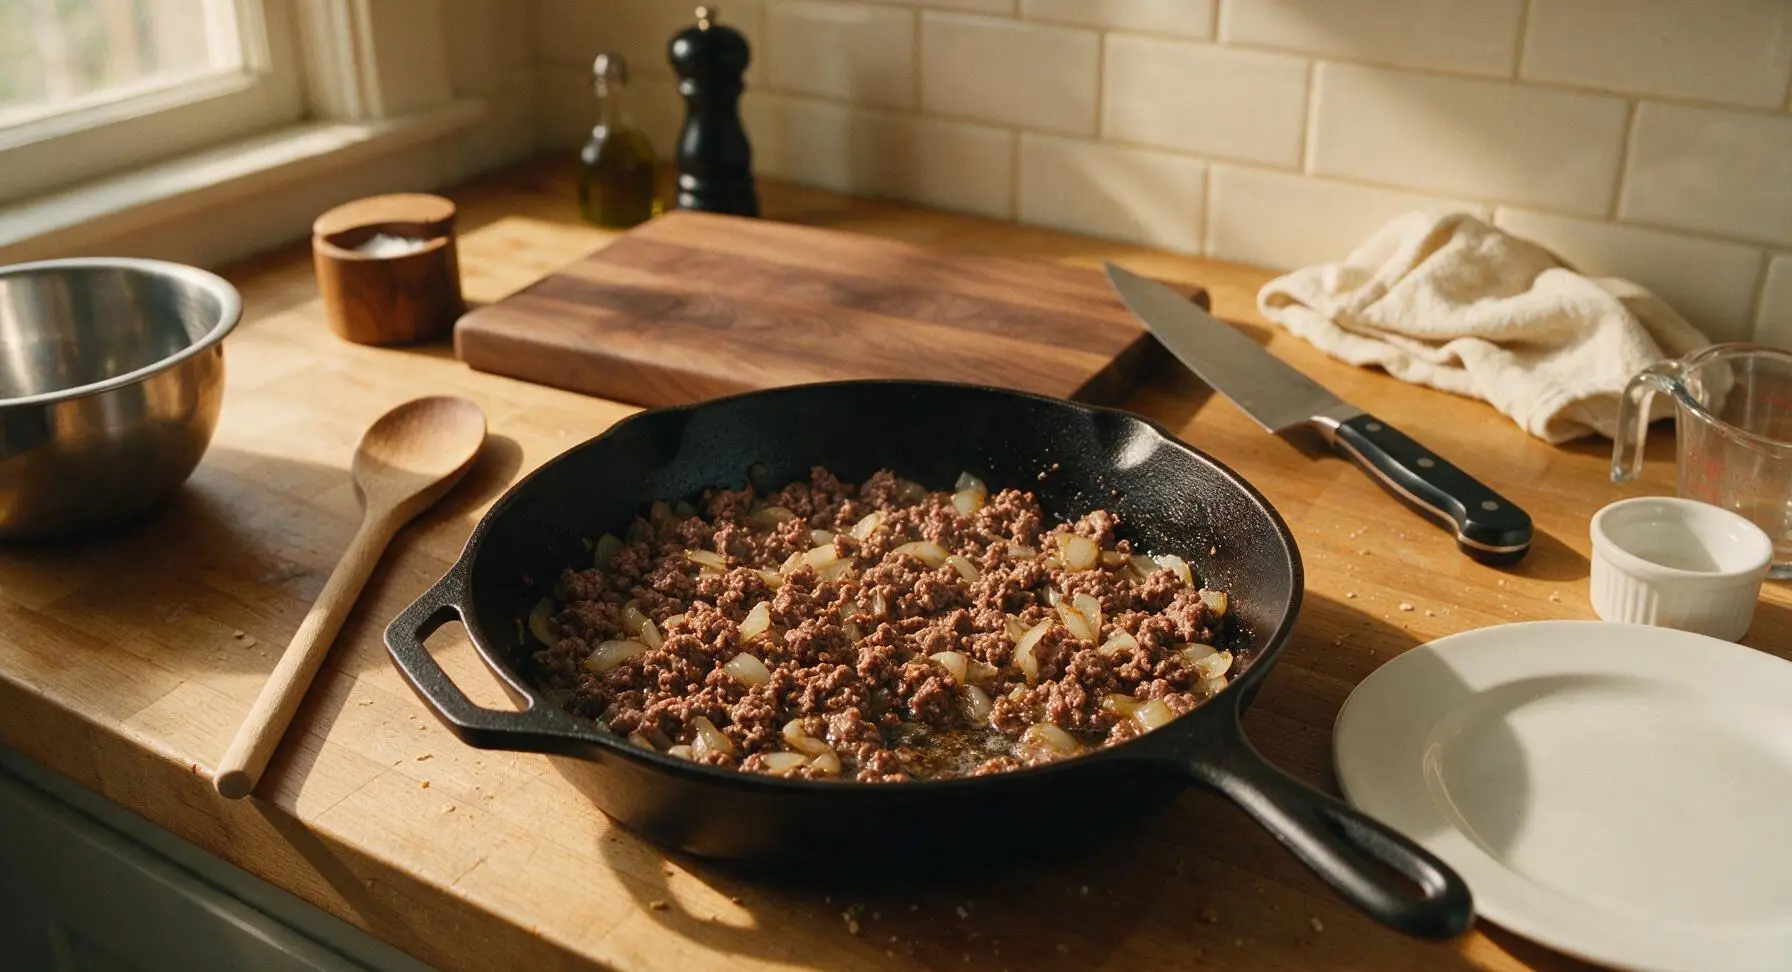
Step 2
step2:Cook Beef Filling Base
Step 2
step2:Cook Beef Filling Base
3

Season and Simmer Filling

Stir the 2 tablespoons taco seasoning, 1 teaspoon kosher salt, and 1/2 teaspoon black pepper into the browned beef in the skillet. Add the undrained can of diced tomatoes with green chiles, 150g frozen sweet corn, and 70g (1/4 of the can) of red enchilada sauce to the pan. Stir to fully combine, then bring to a gentle simmer, cooking for 3 minutes until the corn is heated through and the sauce thickens slightly. Remove the skillet from the heat.
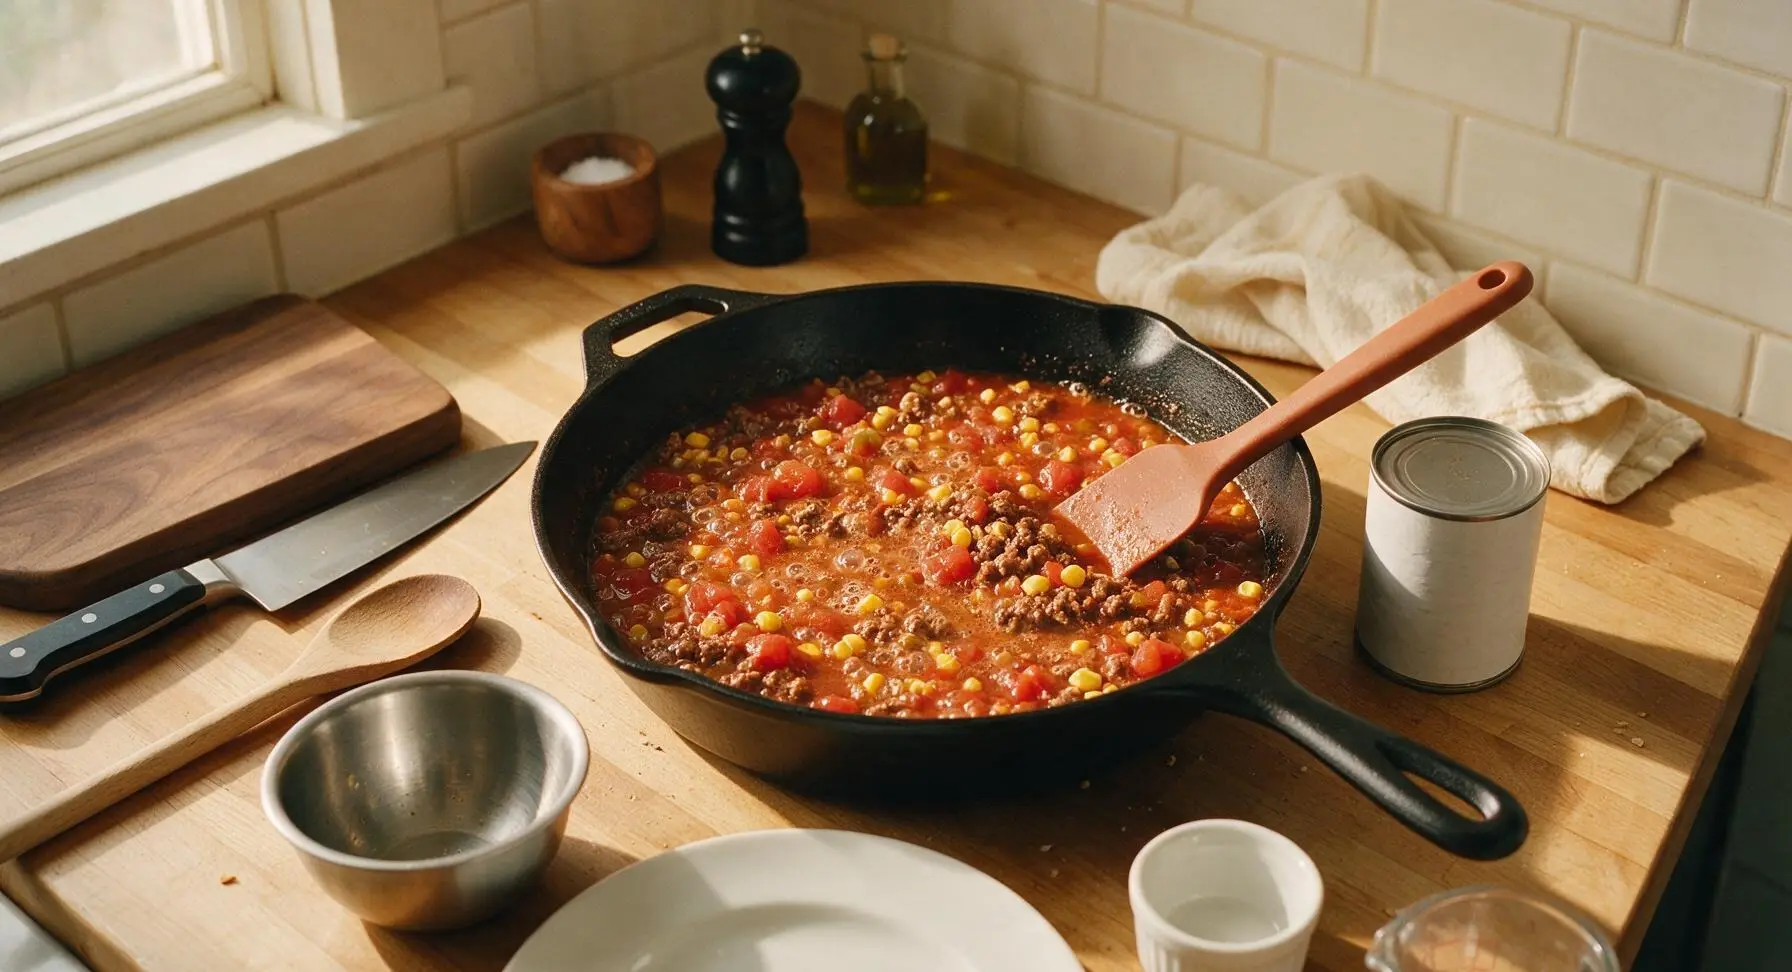
Step 3
step3:Season and Simmer Filling
4

Build First Casserole Layers

Open the can of refried beans using the matte black manual can opener. Pour 70g (1/4 of the total can) of red enchilada sauce across the bottom of the prepared baking dish, spreading evenly with the silicone spatula. Tear 2 large flour tortillas into rough pieces to cover the sauce in a tight, single overlapping layer (perfect cuts are not required). Spread half of the refried beans (212g) evenly over the tortillas, followed by half of the warm beef filling, and 75g (1/3) of the grated cheddar cheese.
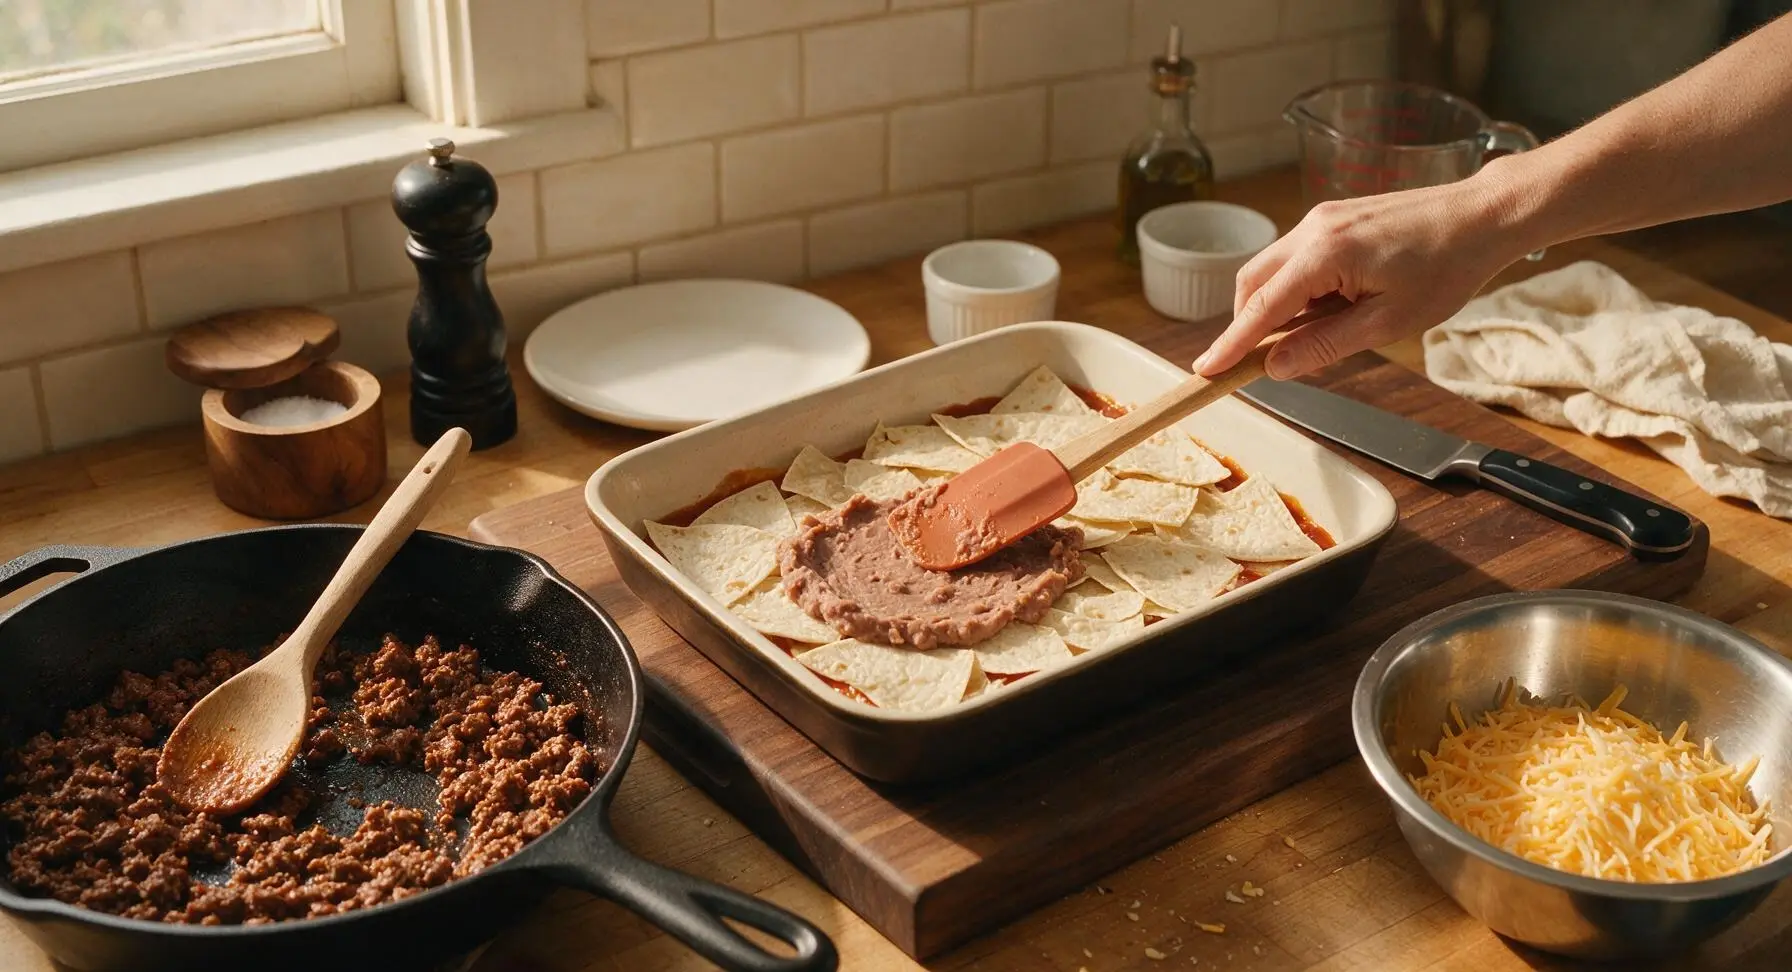
Step 4
step4:Build First Casserole Layers
5

Repeat Casserole Layers

Repeat the layering pattern over the first cheese layer: add another 70g (1/4 of the can) of enchilada sauce, 2 more torn flour tortillas, the remaining 212g of refried beans, the remaining half of the beef filling, and another 75g (1/3) of the grated cheddar cheese. Top the second stack of fillings with the last 2 torn flour tortillas, pressing down gently with the back of the spatula to compact the layers slightly.
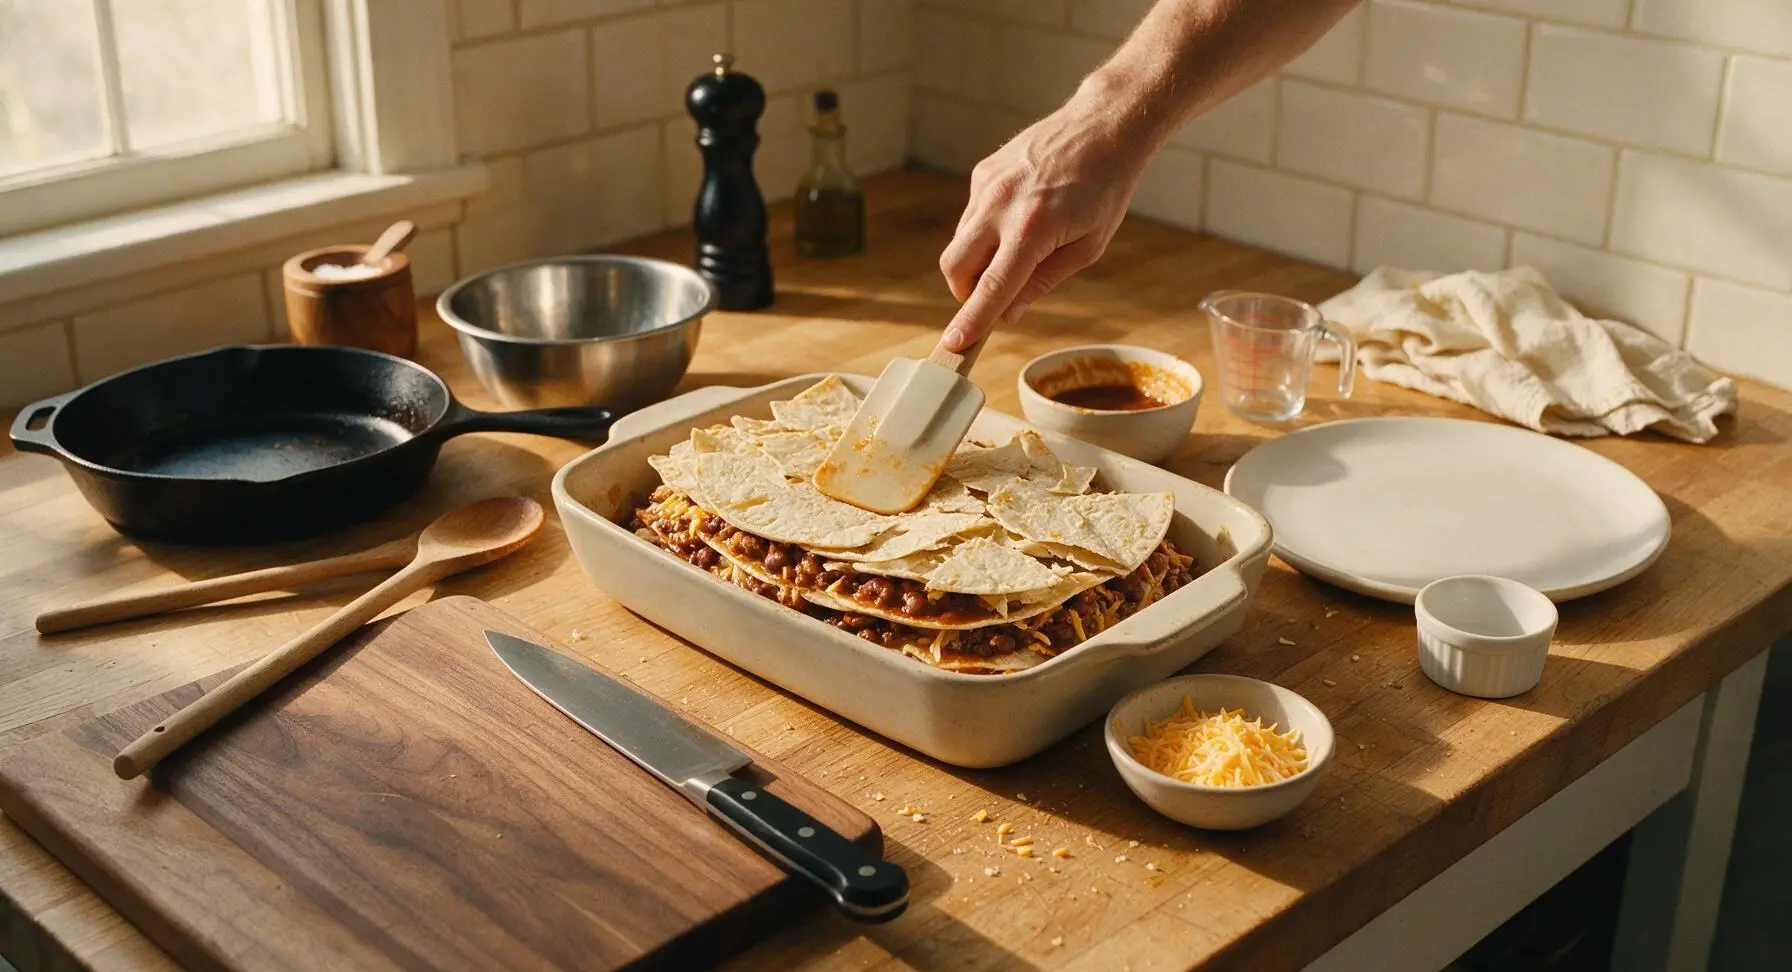
Step 5
step5:Repeat Casserole Layers
6

Top with Sauce and Cheese

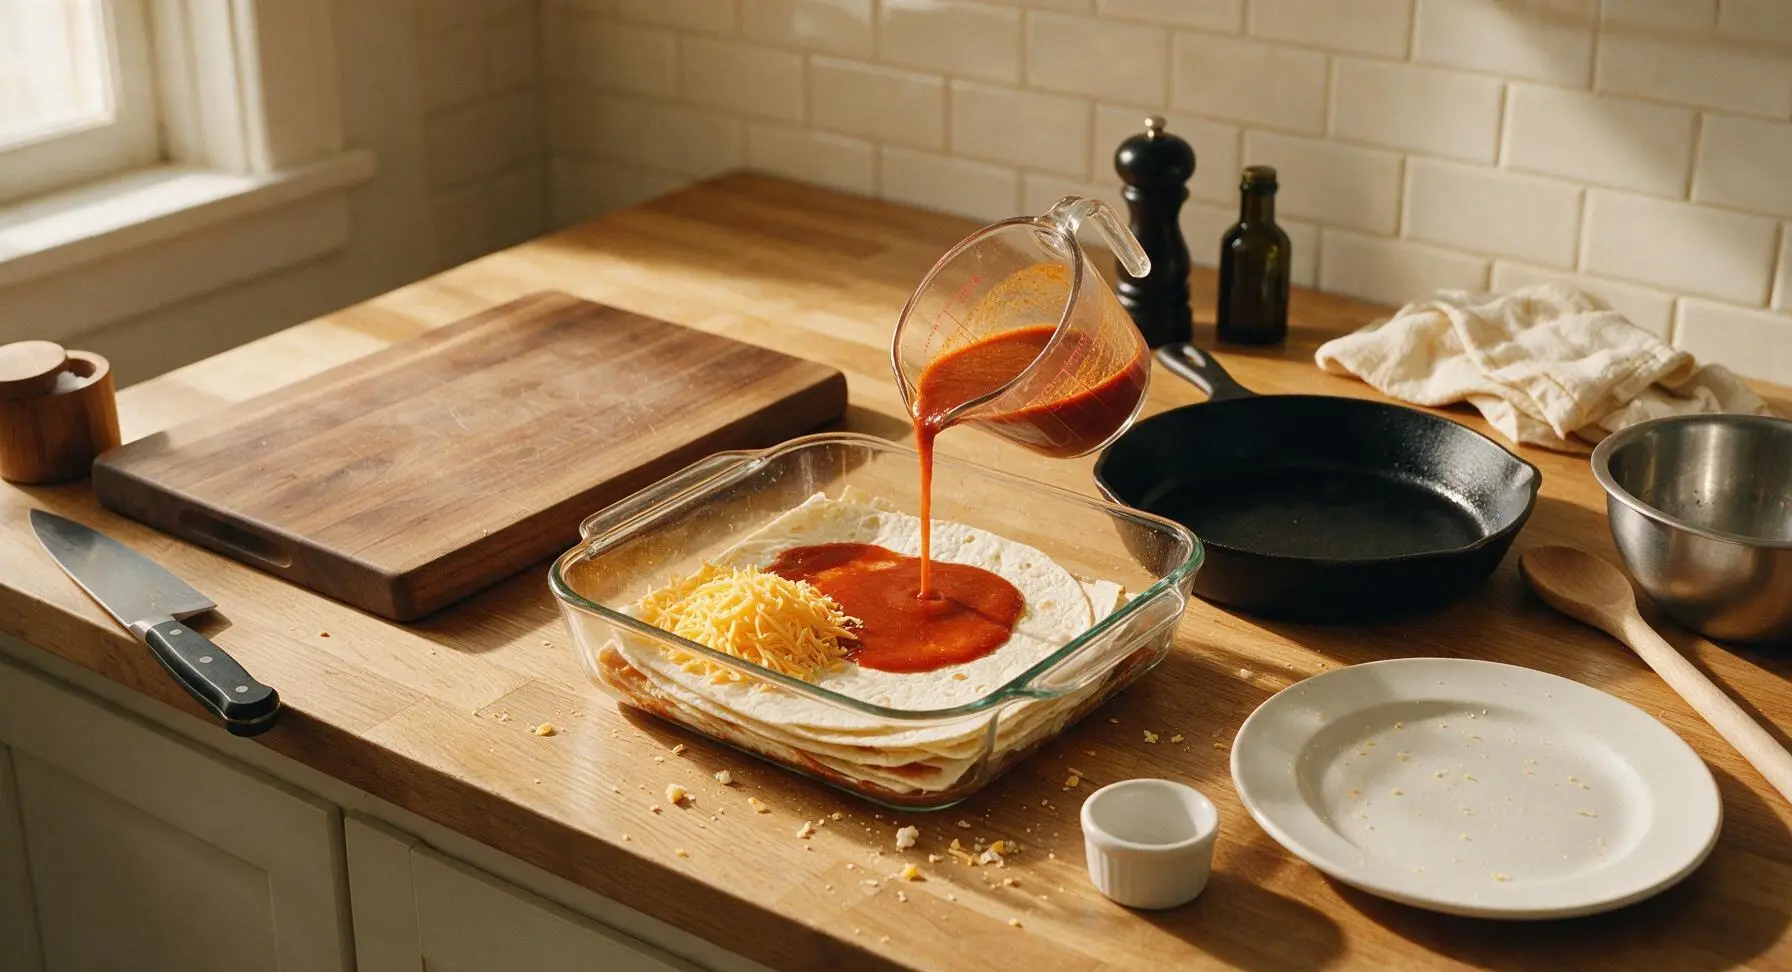
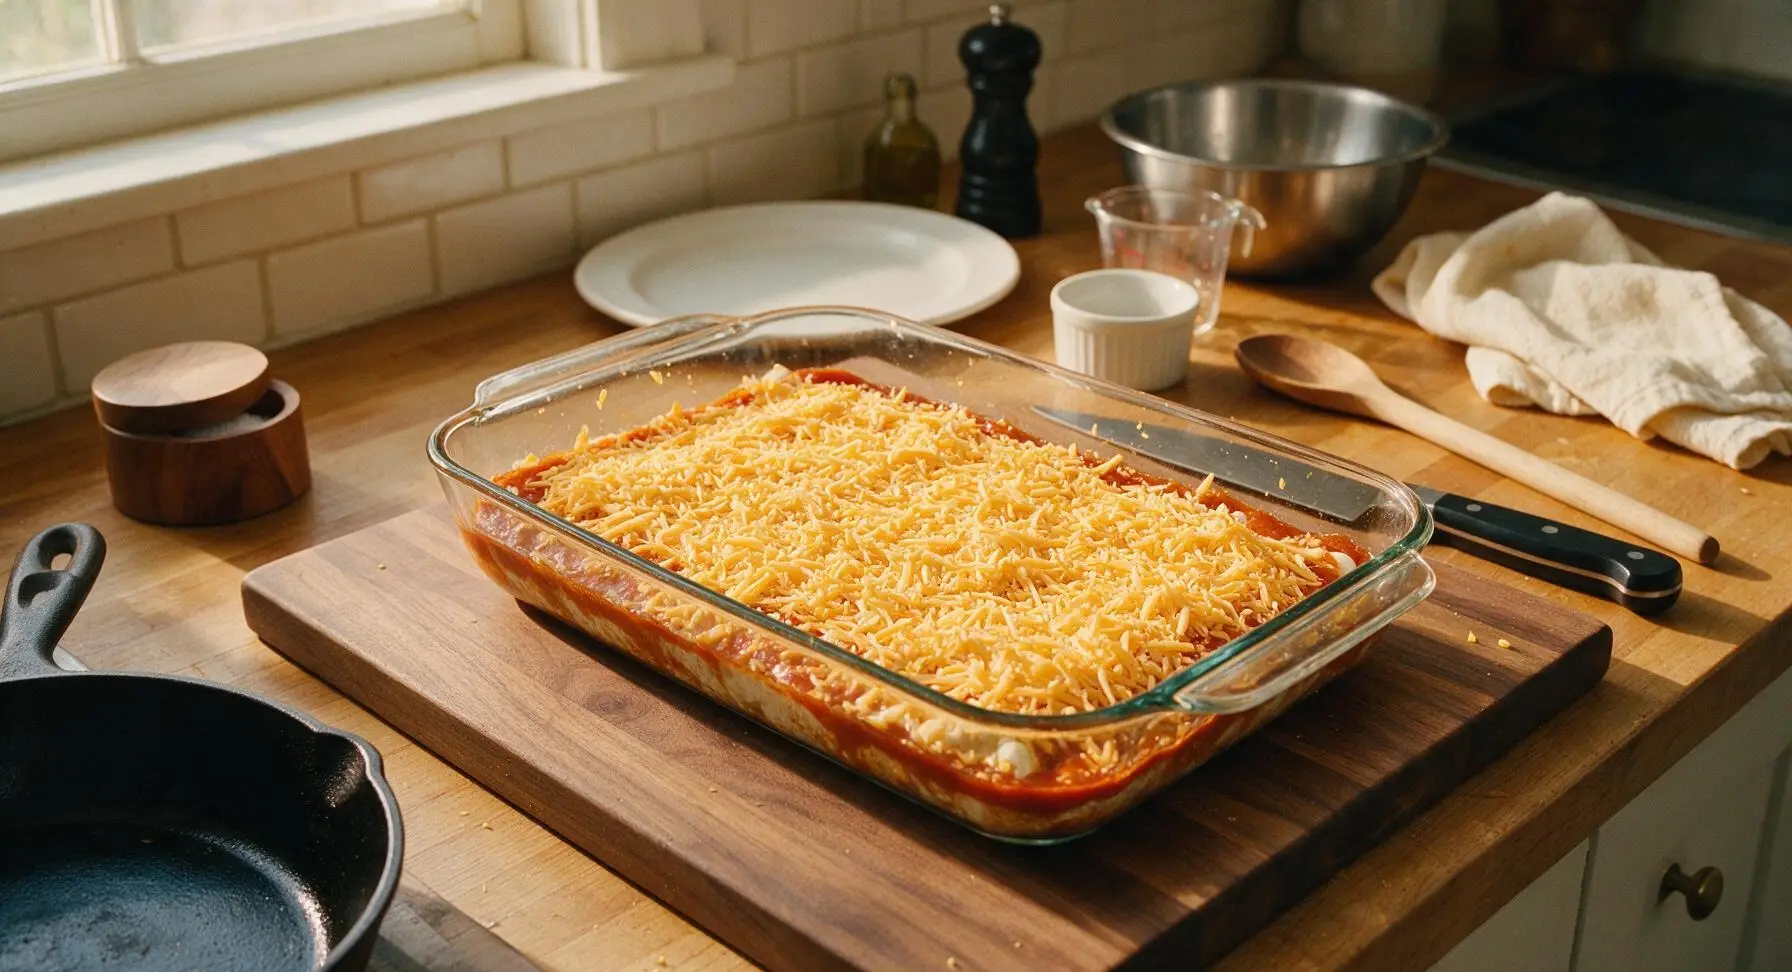
Pour the remaining 70g of enchilada sauce over the top tortilla layer, spreading it evenly to coat every exposed tortilla edge to prevent burning. Sprinkle the last 75g of grated cheddar cheese evenly over the sauce, covering the entire surface right up to the edges of the baking dish.
Step 6
step6:Top with Sauce and Cheese
Step 6
step6:Top with Sauce and Cheese
7

Bake Casserole Until Golden

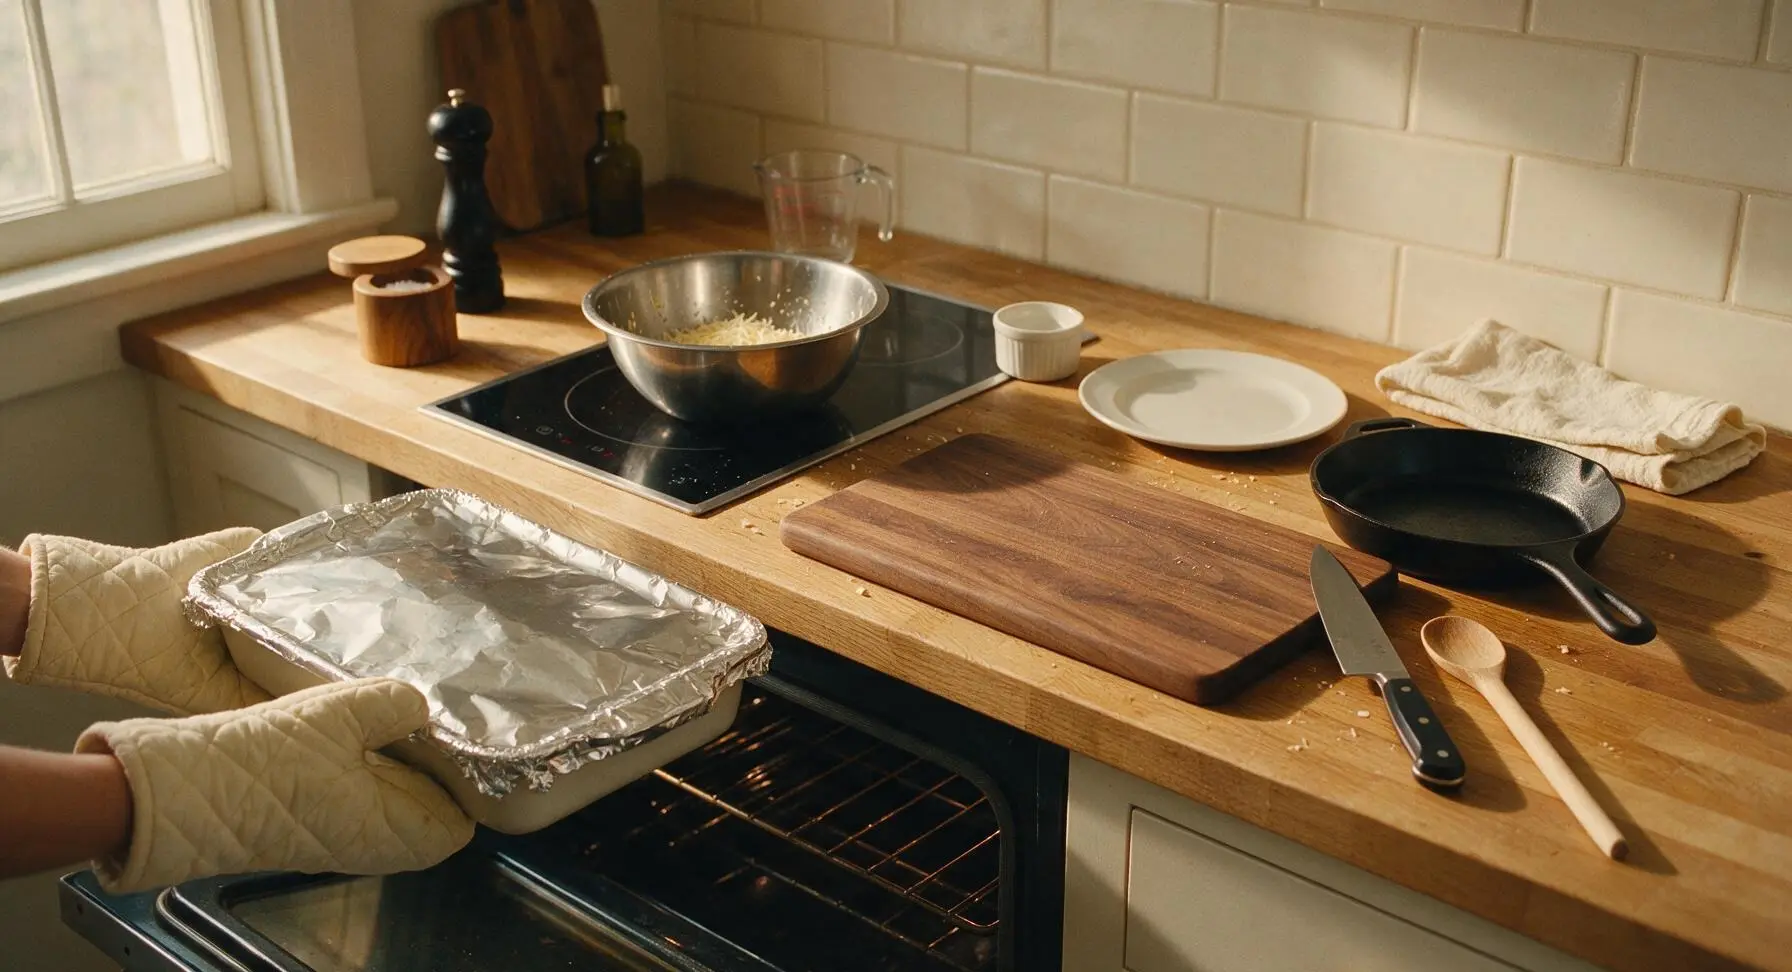
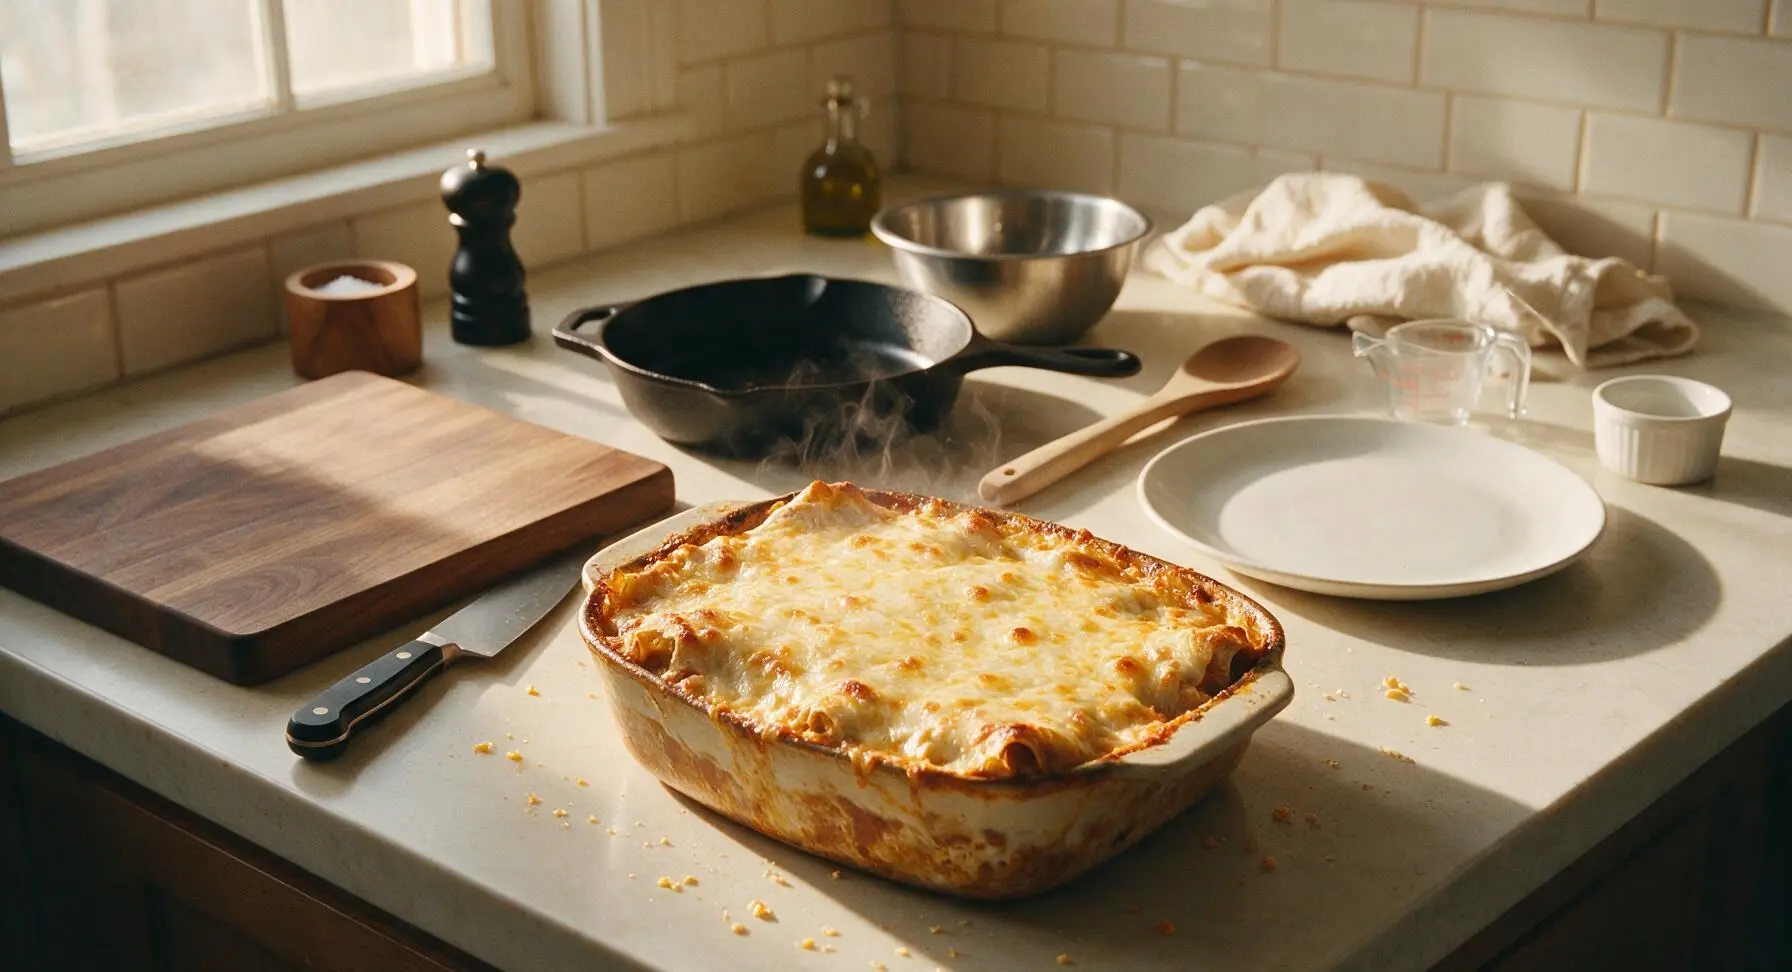
Cover the baking dish tightly with a sheet of aluminum foil, crimping the edges to seal in steam. Place on the middle oven rack and bake for 20 minutes at 180°C (350°F). Carefully remove the foil (watch for hot escaping steam), then bake uncovered for 10 more minutes, until the cheese is fully melted, bubbling around the dish edges, and dotted with light golden brown spots. Remove from the oven using the quilted oven mitts, and let rest for 5 minutes before slicing and serving.
Step 7
step7:Bake Casserole Until Golden
Step 7
step7:Bake Casserole Until Golden

Tips

1.Grate your own cheddar from a block instead of using pre-shredded cheese: pre-shredded cheese is coated in potato starch anti-caking agent that prevents it from melting into the smooth, gooey, pullable cheese texture that makes this casserole feel indulgent.
2.Coat every exposed tortilla edge with enchilada sauce before adding the final cheese layer: uncovered tortilla edges will dry out into hard, cracker-like bits instead of staying soft and chewy during baking.
3.Let the baked casserole rest for a full 5 minutes after pulling it from the oven: this short rest allows the hot filling and melted cheese to set, so slices lift out cleanly with distinct layers instead of sliding apart when served.


✨ You May Also Like

Main Course
🍜 United Kingdom

A showstopping classic of tender seared beef, savory mushroom duxelles, and crisp prosciutto wrapped in flaky golden puff pastry, baked to juicy perfection.

⏱️ 2 hours 1Main Course ★ 4.7
Main Course
🍜 India

Tender charred marinated chicken simmered in a rich, spiced creamy tomato sauce, this iconic Anglo-Indian curry pairs perfectly with basmati rice or warm naan.

⏱️ 50 minuteMain Course ★ 4.6
Main Course
🍜 Thailand

Classic tangy, sweet, and savory Thai stir-fried rice noodles with shrimp, tofu, and crunchy garnishes, balancing all five core Thai flavor profiles.

⏱️ 30 minuteMain Course ★ 4.5
Main Course
🍜 United Kingdom

Crispy golden beer-battered cod and fluffy double-fried chips, served with tangy tartar sauce and malt vinegar: the timeless, beloved British pub comfort classic.

⏱️ 45 minuteMain Course ★ 4.7
Main Course
🍜 Mexico

Smoky, chile-marinated pork tacos with caramelized pineapple, fresh cilantro, and lime: a beloved classic Mexican street food perfect for casual summer gatherings.

⏱️ 1 hour 45Main Course ★ 4.8
Main Course
🍜 United States

Crunchy Fritos corn chips layered with savory beef chili and melted cheddar, topped with cool, zesty fixings for a beloved, cozy Tex-Mex comfort food.

⏱️ 35 minuteMain Course ★ 4.8

Burrito Casserole:Frequently Asked Questions

1.Can I prep this Easy Burrito Casserole ahead of time for busy weeknights? ▾
Absolutely! You can fully assemble the casserole (hold off on sprinkling the final top layer of sharp cheddar) up to 24 hours in advance, cover it tightly, and store it in the fridge. When ready to bake, remove the cover, add the reserved cheese, and tack 5 to 10 minutes onto the bake time to account for the chilled ingredients.
2.What can I substitute for lean ground beef if I don’t eat red meat? ▾
You have tons of flexible, 1:1 swap options! Ground turkey or ground chicken work seamlessly, just season them exactly as you would the beef. For a vegetarian version, swap in extra refried beans, seasoned crumbled tofu, or plant-based ground crumbles to keep that hearty, savory Tex-Mex flavor.
3.My layered tortilla casseroles always turn out soggy—how do I prevent that? ▾
Sogginess is such a common, easy-to-fix pitfall! First, lightly pat your diced tomatoes with green chiles with a paper towel to drain excess juice before layering. You can also toast flour tortillas for 30 seconds per side in a dry skillet first to create a thin moisture barrier that keeps them tender, not mushy.
4.What temperature and bake time works best for this casserole? ▾
Bake the uncovered casserole at 375°F for 25 to 30 minutes, until the cheddar on top is fully melted, bubbly around the edges, and the center is hot all the way through. If you love a crispy golden cheese top, broil on low for the last 1 to 2 minutes—just watch closely so the cheese doesn’t burn.
5.Can I freeze leftover burrito casserole for quick future meals? ▾
Definitely! Let the fully baked casserole cool completely, then cut it into individual portions, wrap each tightly in plastic wrap and a layer of aluminum foil, and freeze for up to 3 months. Reheat portions in a 350°F oven for 20 to 25 minutes from frozen, or microwave for 2 to 3 minutes for a faster fix.
6.Do I need to pre-cook any ingredients before assembling the casserole? ▾
Yes, always cook your lean ground beef fully first, draining off any excess grease, before layering. You don’t need to cook refried beans separately, but give them a quick stir to loosen them up so they spread easily—cold, stiff refried beans will tear tortillas and create uneven, lumpy layers.
7.What simple toppings pair best with this burrito casserole? ▾
Stick to bright, fresh, no-fuss toppings to cut through the rich, gooey layers! A dollop of sour cream, sprinkle of chopped cilantro, scoop of guacamole, handful of sliced pickled jalapeños, or quick squeeze of fresh lime all work perfectly, and take almost no extra prep on busy nights.
8.Can I use corn tortillas instead of large flour tortillas for this recipe? ▾
You absolutely can! Corn tortillas add a slightly heartier, earthier flavor and firmer texture to the dish. Just note you’ll need a few more corn tortillas than flour ones to cover each layer fully, since they’re smaller, and warm them for 10 seconds on a skillet first so they don’t crack as you build the stack.
9.How do I get perfectly gooey melted cheese instead of rubbery, separated cheese? ▾
Skip pre-shredded bagged cheddar if possible—it’s coated in anti-caking agents that prevent smooth melting. Grate your sharp cheddar fresh off the block right before layering, and don’t bake the casserole above 375°F; overly high heat is the number one cause of rubbery cheese in baked Tex-Mex dishes.

Comments (10)

2 days ago

OMG this easy burrito casserole was a total game changer for our weeknight family dinner! I threw it together in 10 minutes, popped it in the oven, and all three of my picky kids went back for seconds. SO good, I already added the ingredients to my regular grocery list.

yesterday

Right?! I made this for my guy’s game night last weekend and the whole pan was gone in 15 minutes. No leftovers at all!

20 hours ago

That makes us so happy to hear! So glad it worked for your picky eaters—pro tip: add a dollop of sour cream and a sprinkle of cilantro on top for extra freshness if you have it!

1 week ago

Perfect for meal prep! I made a big pan on Sunday, cut it into individual portions, and grabbed one for lunch every day this week. It reheats like a dream, no soggy tortillas at all. Will 100% be making this again.

6 days ago

Love that you used it for meal prep! For anyone prepping ahead, we recommend letting it cool completely before portioning to keep the texture perfect.

3 days ago

Super easy to make in my tiny dorm oven! I used ground turkey instead of beef because that’s what I had on hand, and it still slapped. Way cheaper and tastier than getting takeout burritos every night.

5 days ago

I brought this to our neighborhood potluck last Saturday and I can’t tell you how many people asked for the recipe! It’s so hearty, feeds a crowd, and you can customize the toppings to fit everyone’s taste. Total win.

4 days ago

I did the same for our team potluck a couple weeks ago! I set out little bowls of guac, salsa, and jalapeños on the side and people went wild for it.

3 days ago

Potlucks are exactly what this recipe was made for! So glad it was a hit with your neighbors.

yesterday

Solid weeknight recipe, 30 minute cook time is no joke! I will say I added a can of black beans and a handful of corn to the mix to bulk it up a little, and it turned out amazing. Great base recipe to tweak to your taste.

12 hours ago

Oh the black bean and corn addition sounds chef’s kiss! I’m definitely adding those when I make this tomorrow night, thanks for the idea!

2 weeks ago

My granddaughter has been begging for “Mexican pizza” for weeks, so I tried this casserole and she said it’s even better than the fast food version! It’s simple enough for this old lady to follow, no fancy ingredients required.

13 days ago

That is the sweetest review! There’s nothing better than a recipe that makes the grandkids happy, we’re so glad you both enjoyed it.

30 minutes ago

Okay I’m terrible at cooking, like burn toast level bad, and even I pulled this off! The instructions are super straightforward, no weird steps, and it came out perfectly first try. 10/10 for people who hate cooking but want a good meal.

2 hours ago

This is so good but I wish I’d added extra jalapeños! I used mild salsa because my roommate can’t handle spice, but next time I’m making a half spicy half mild pan so I get that kick I love. Even the mild version was chef’s kiss though.

1 hour ago

Pro tip: mix a can of diced green chiles into the spicy half! It adds such a good depth of heat without being overwhelming.

45 minutes ago

Great call from Jake! The recipe is super flexible for heat levels, so you can easily split the pan to suit different preferences.

5 minutes ago

Made this last night for the family after practice, and we had barely any cleanup! One pan meals are my absolute favorite during busy sports seasons, and this one tastes way better than the other casseroles I’ve tried. My son even asked for it for his birthday dinner!

just now

Birthday dinner request? That’s the highest compliment we could get! Hope the birthday celebration is delicious.

just now

I swapped the regular flour tortillas for gluten free corn tortillas and it turned out absolutely perfect! I’ve been missing easy, comforting casseroles since going gluten free, and this hits every single craving. No weird texture, no weird aftertaste, just pure cozy burrito flavor. Already sent the recipe to all my gluten free friends!



