
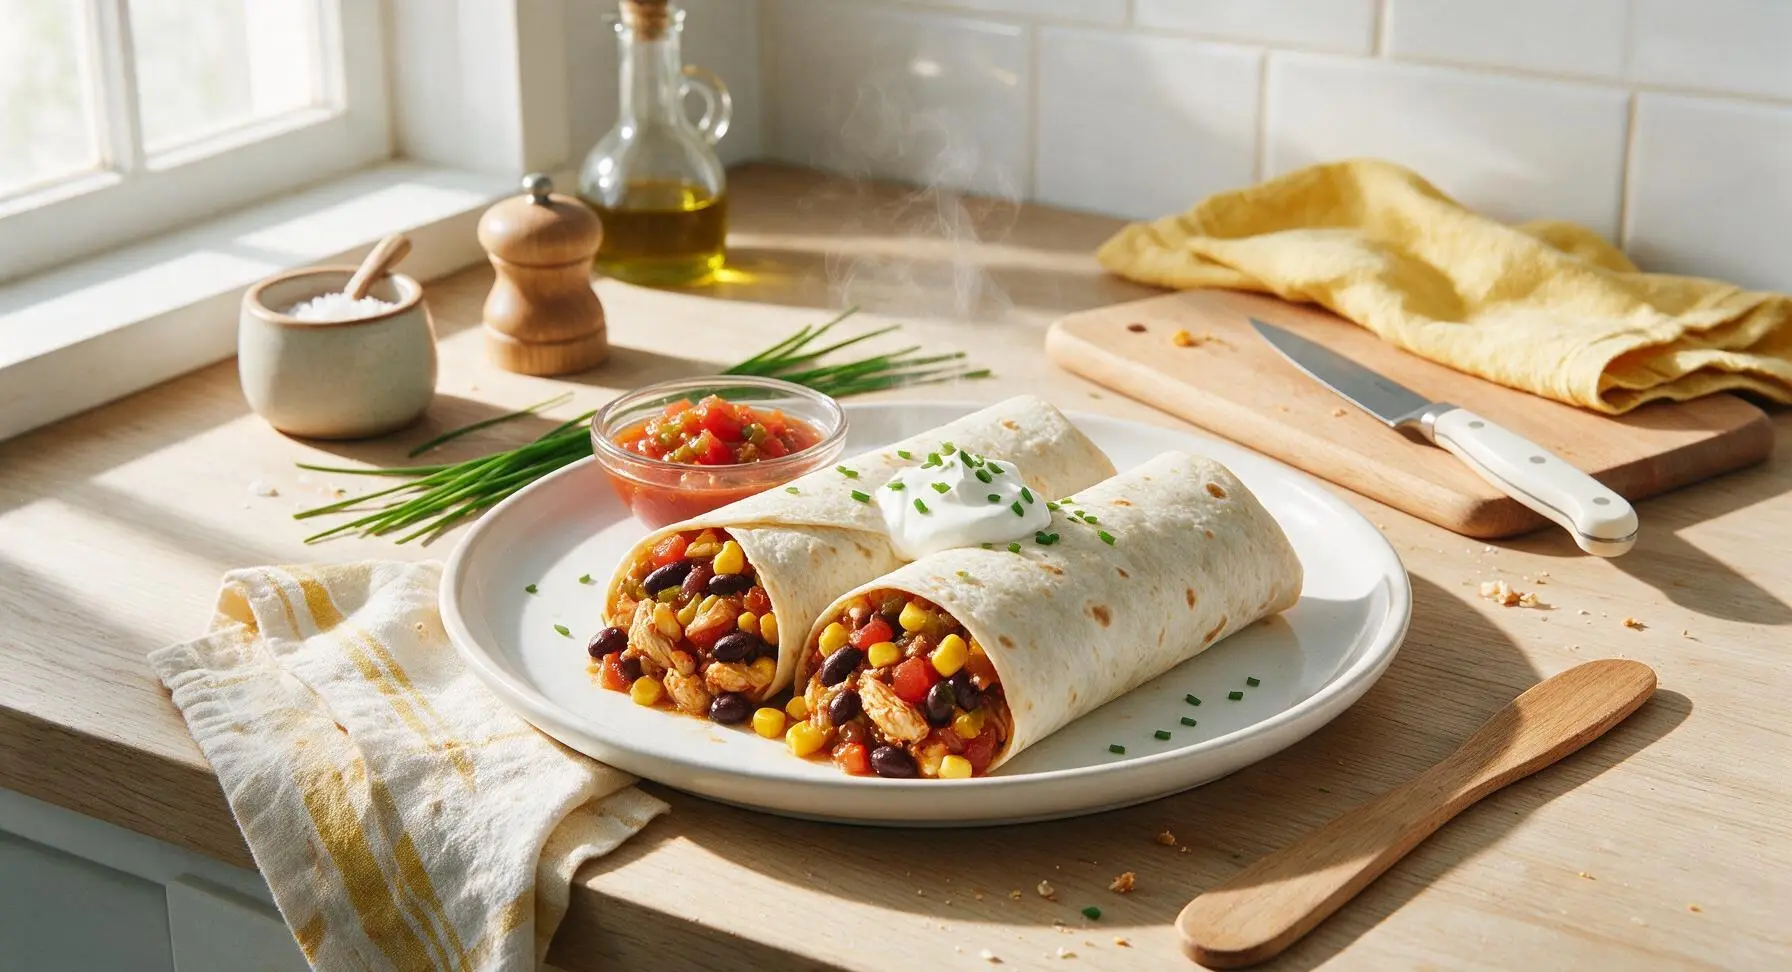
canned burrito

title 1
canned burrito
⏱️ cook time 15 minutes
🍽️ servings 4
⚡ Difficulty easy

intro

Hearty, flavor-packed burritos made almost entirely with shelf-stable canned ingredients, ready in 25 minutes for a no-fuss, satisfying cold-weather weeknight dinner.

Ingredients
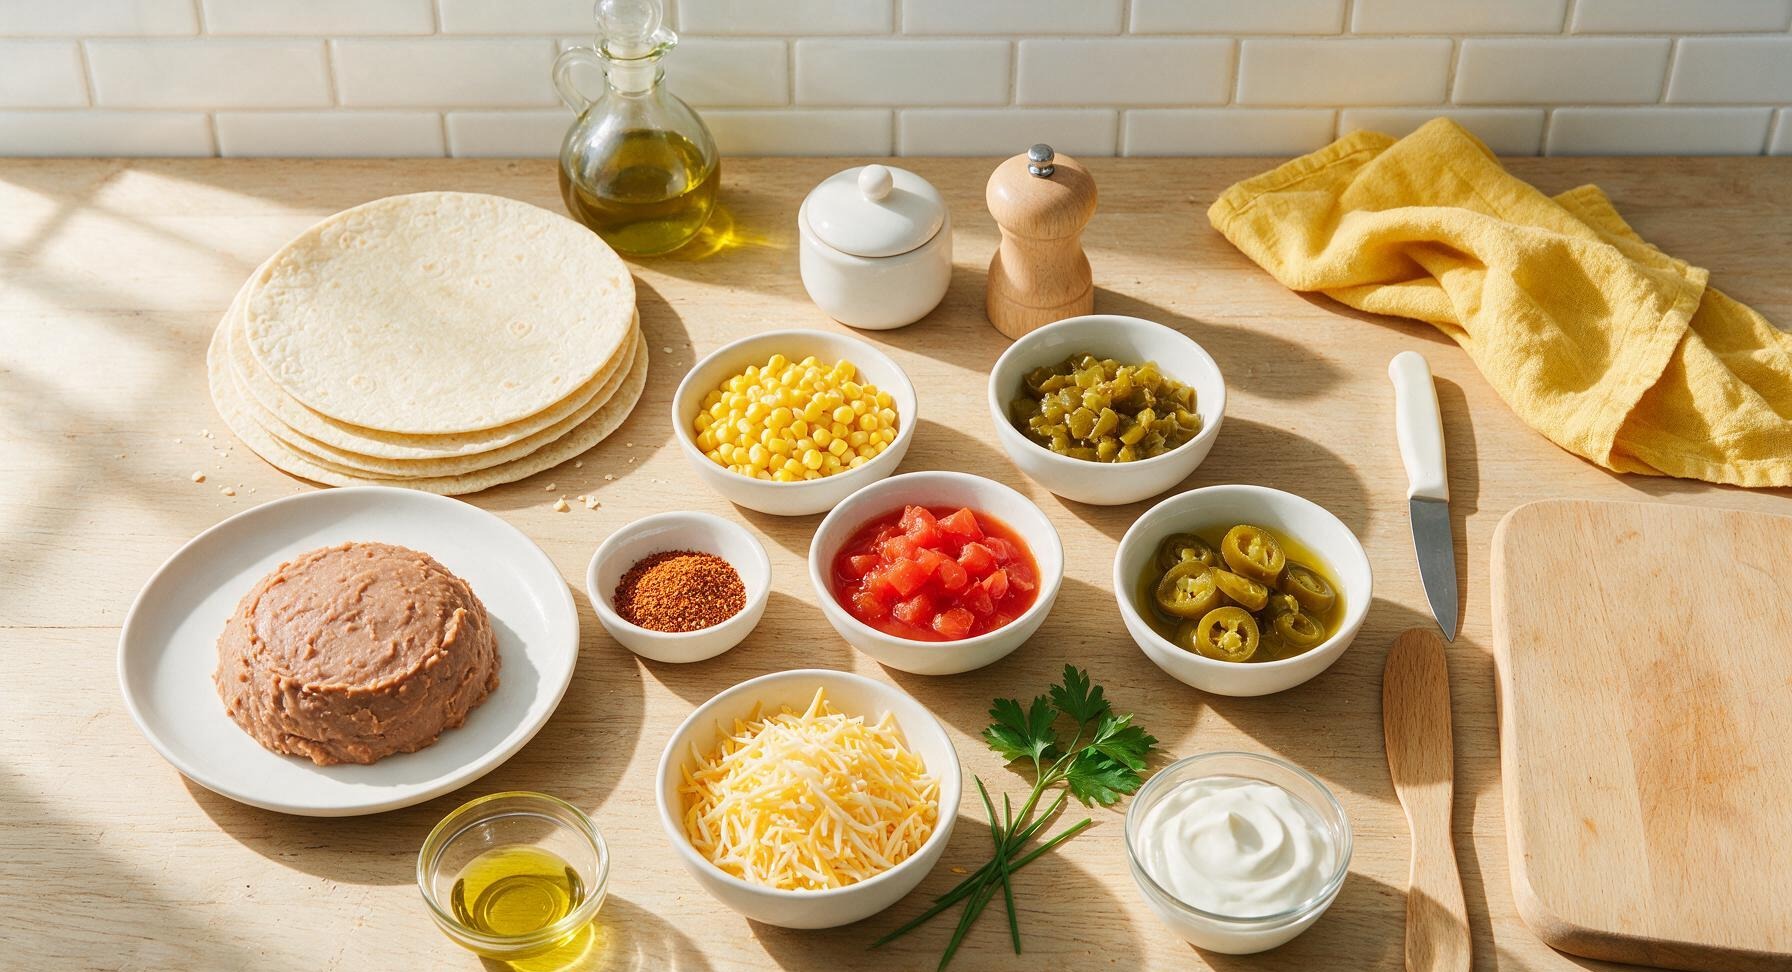
10-inch flour tortillas 4 each
Canned refried beans 450g (1 standard can)
Shredded cheddar cheese 150g
Canned sweet corn (drained) 150g (1 small can, drained)
Canned mild diced green chiles (drained) 120g (1 small can, drained)
Canned diced tomatoes (drained) 150g (1 small can, drained)
Taco seasoning blend 1 tablespoon
Olive oil 1 teaspoon
Sour cream (for serving) 60g
Pickled jalapeño slices (for serving) 30g

Steps

1

Prep Canned Ingredients

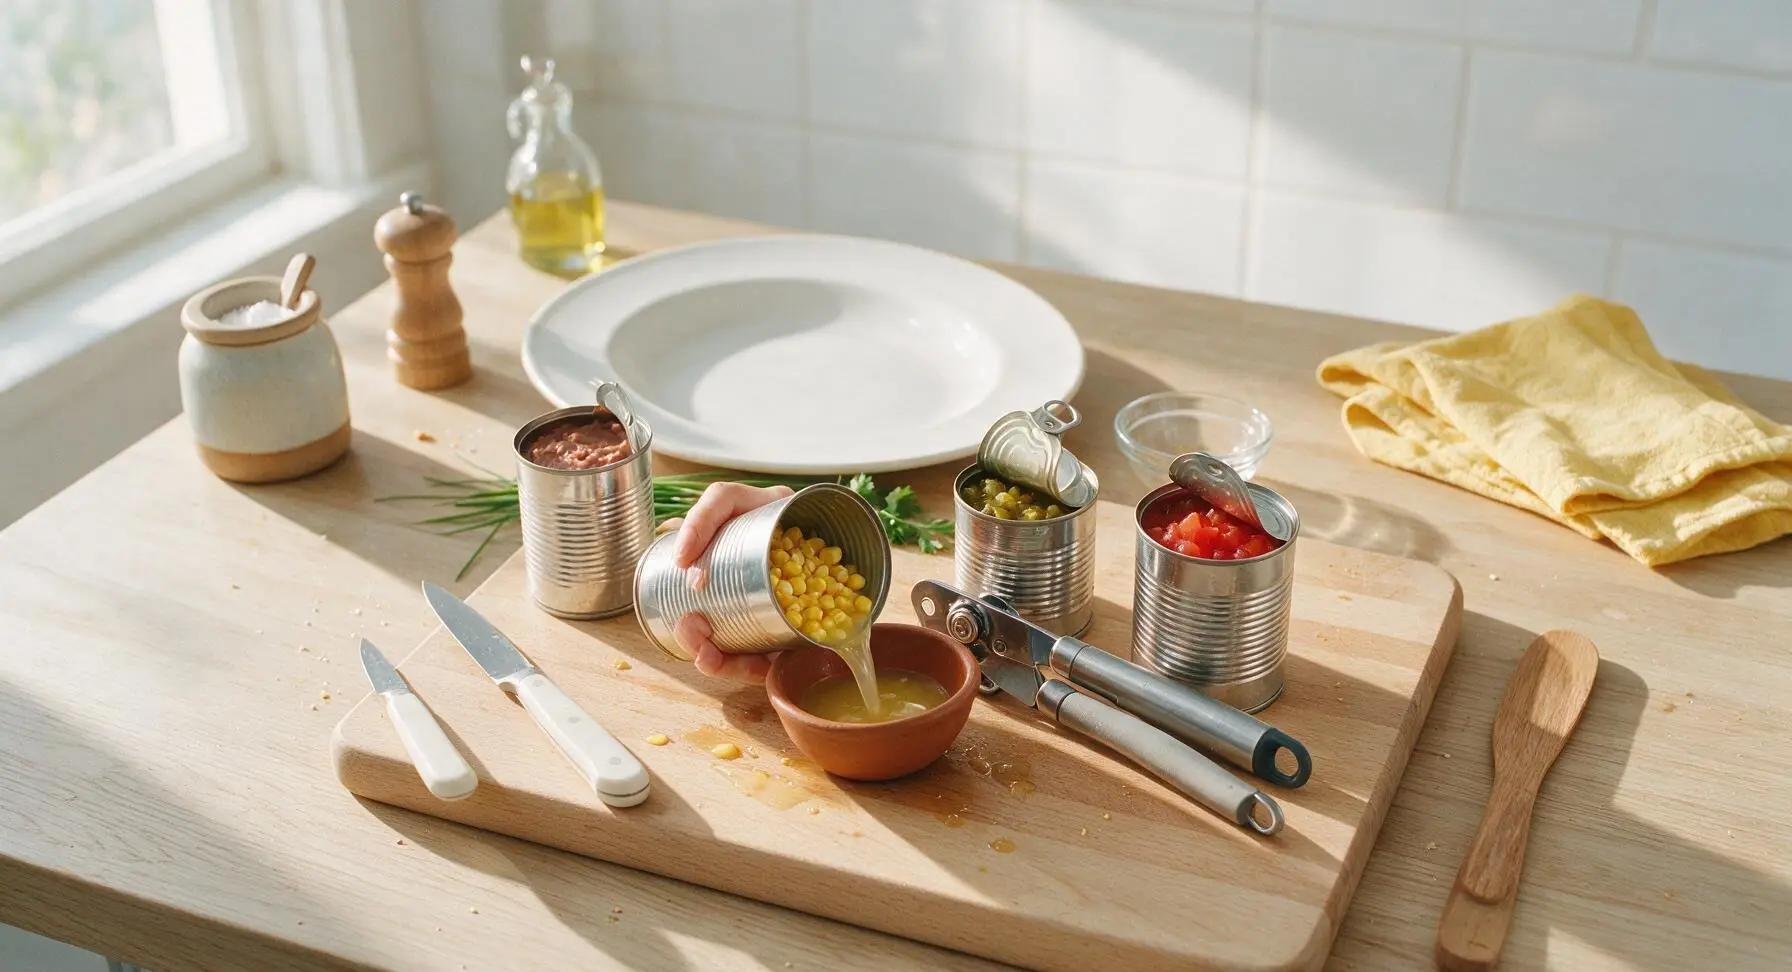
Use the stainless steel rubber-grip can opener to open all four cans (refried beans, sweet corn, diced green chiles, diced tomatoes). Tilt each opened can of corn, green chiles, and diced tomatoes at a 45-degree angle over the empty spare terracotta pinch bowl, holding the can lid loosely in place to drain off all excess starchy can liquid over 2 minutes total; watery filling will lead to soggy tortillas. Leave the thick refried beans in their can, no draining required.
Step 1
step1:Prep Canned Ingredients
2

Cook Spiced Bean Filling

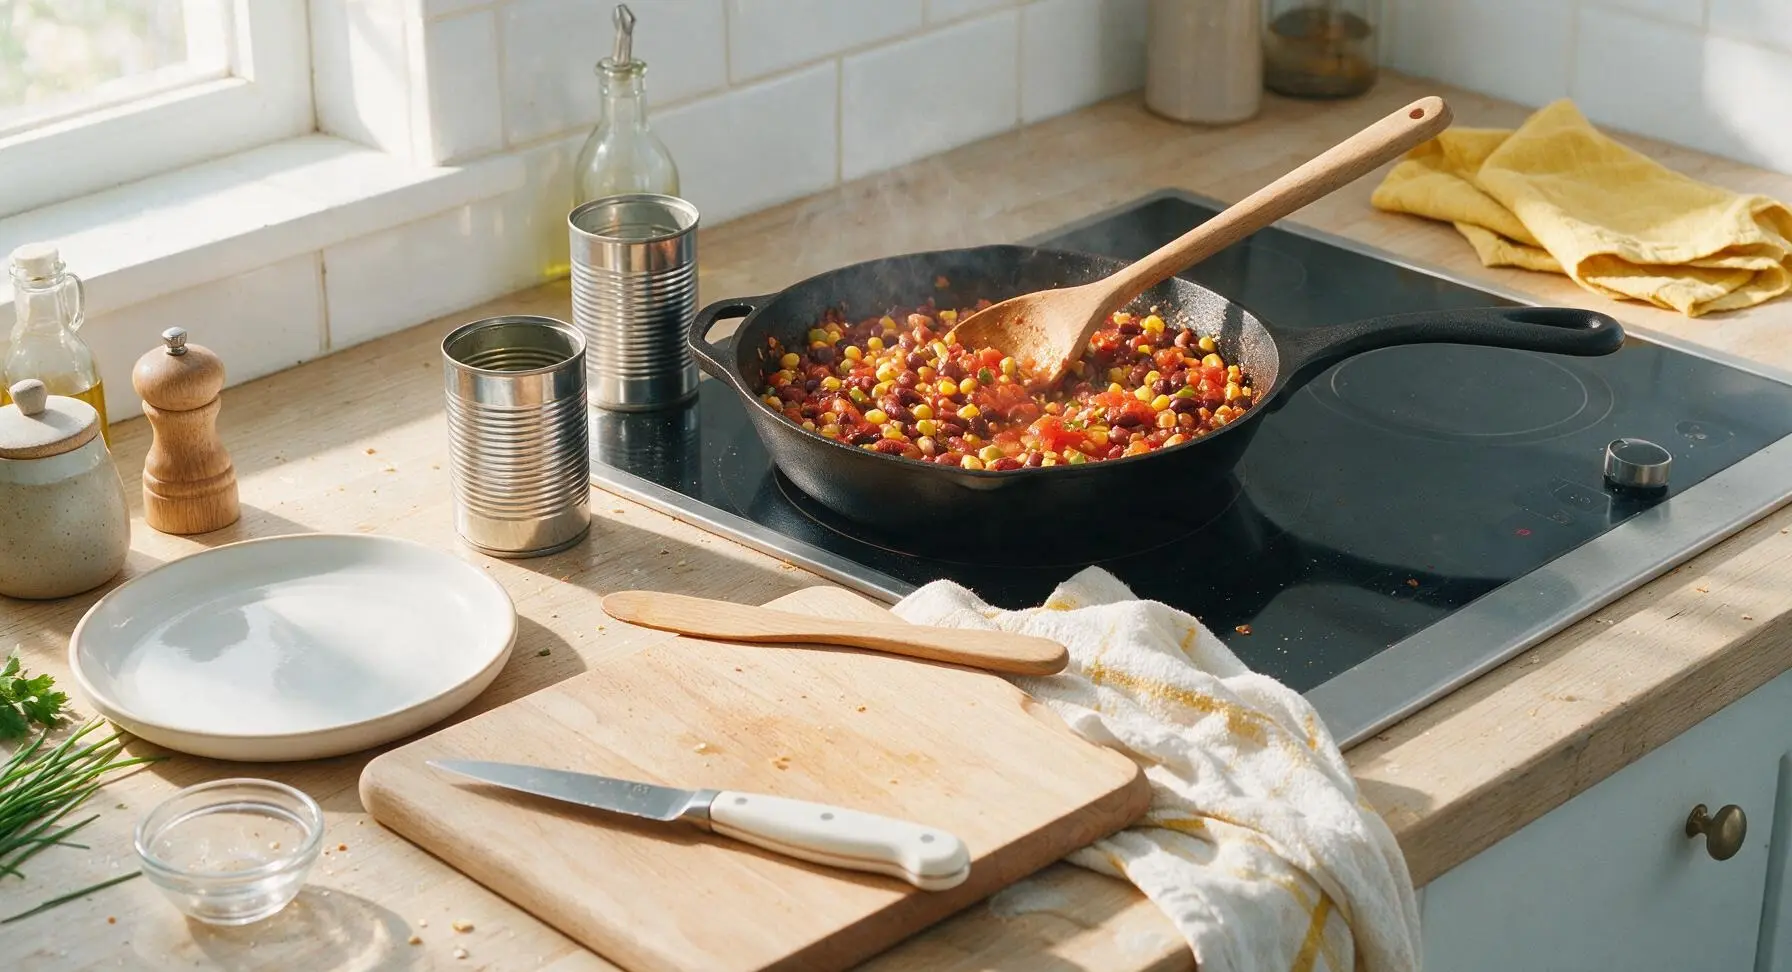
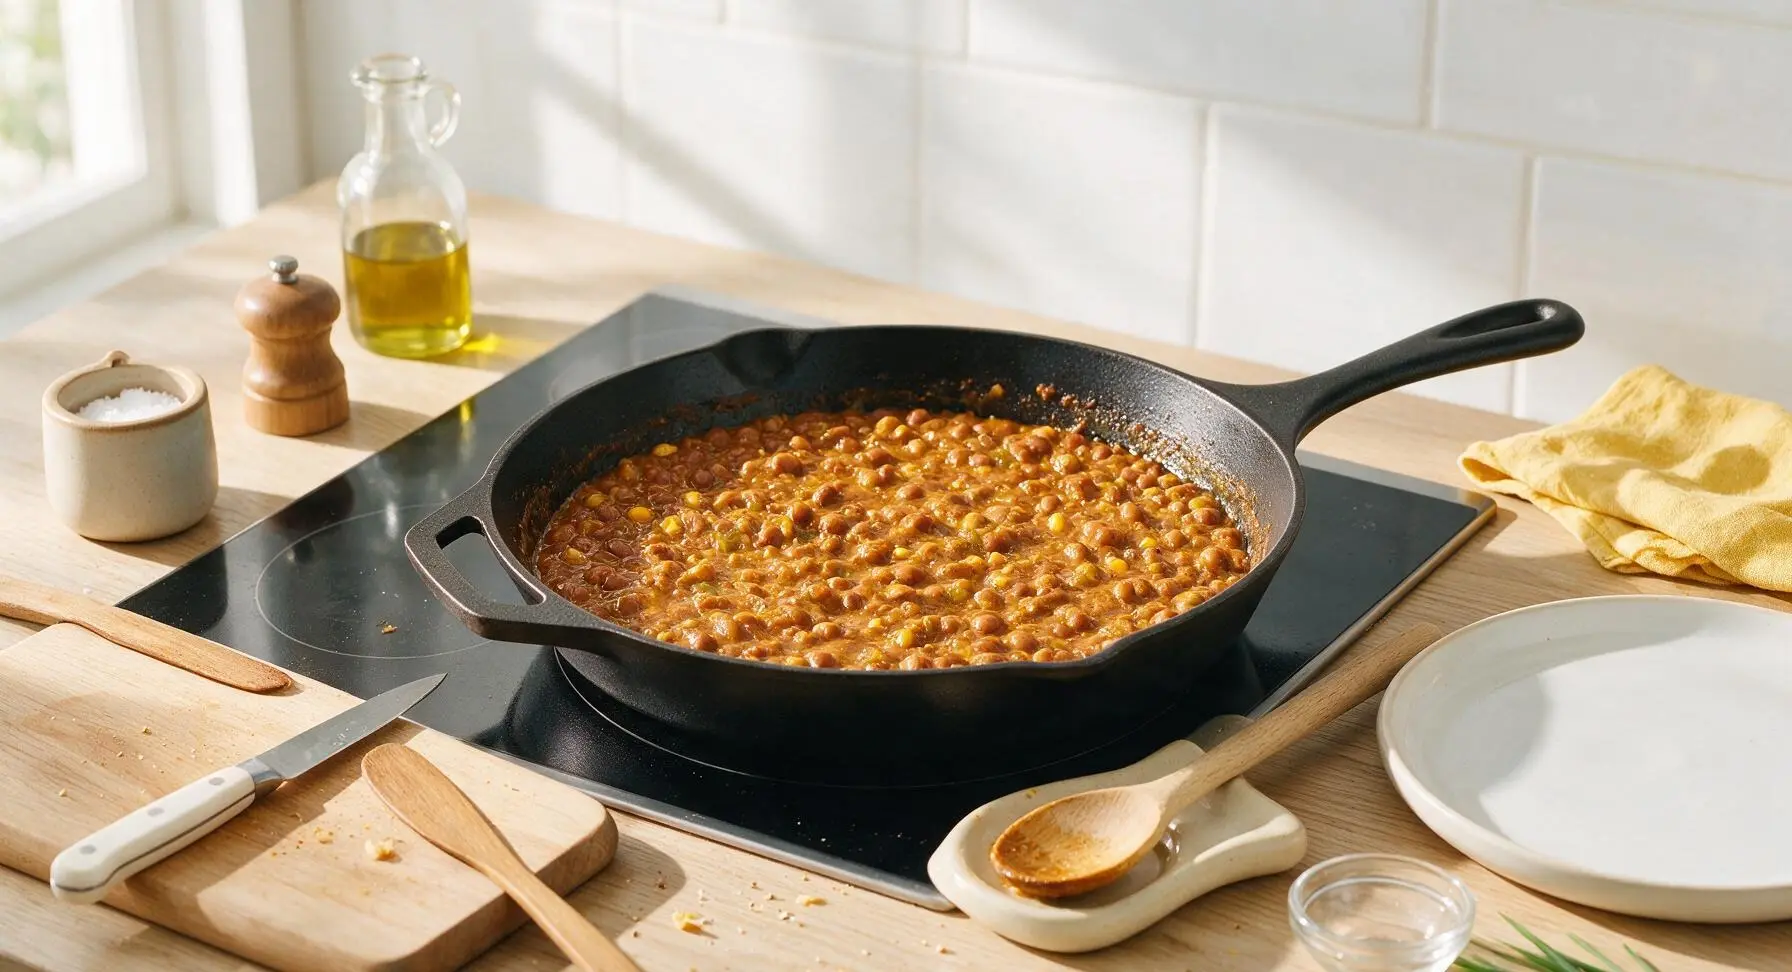
Place the 12-inch matte black carbon steel skillet on the back-center induction zone, heat to medium (350°F/175°C). Add 1 teaspoon olive oil, then scoop the refried beans, drained corn, drained green chiles, drained diced tomatoes, and 1 tablespoon taco seasoning into the skillet. Stir continuously with the beech wood mixing spoon for 4-5 minutes, until the mixture is fully combined, thick, and bubbling gently around the edges, no runny liquid pooling in the pan. Taste and add a pinch of salt or crack of black pepper from the countertop shakers if desired. Remove the skillet from heat, let cool 2 minutes so it is safe to handle for rolling.
Step 2
step2:Cook Spiced Bean Filling
Step 2
step2:Cook Spiced Bean Filling
3

Warm Flour Tortillas

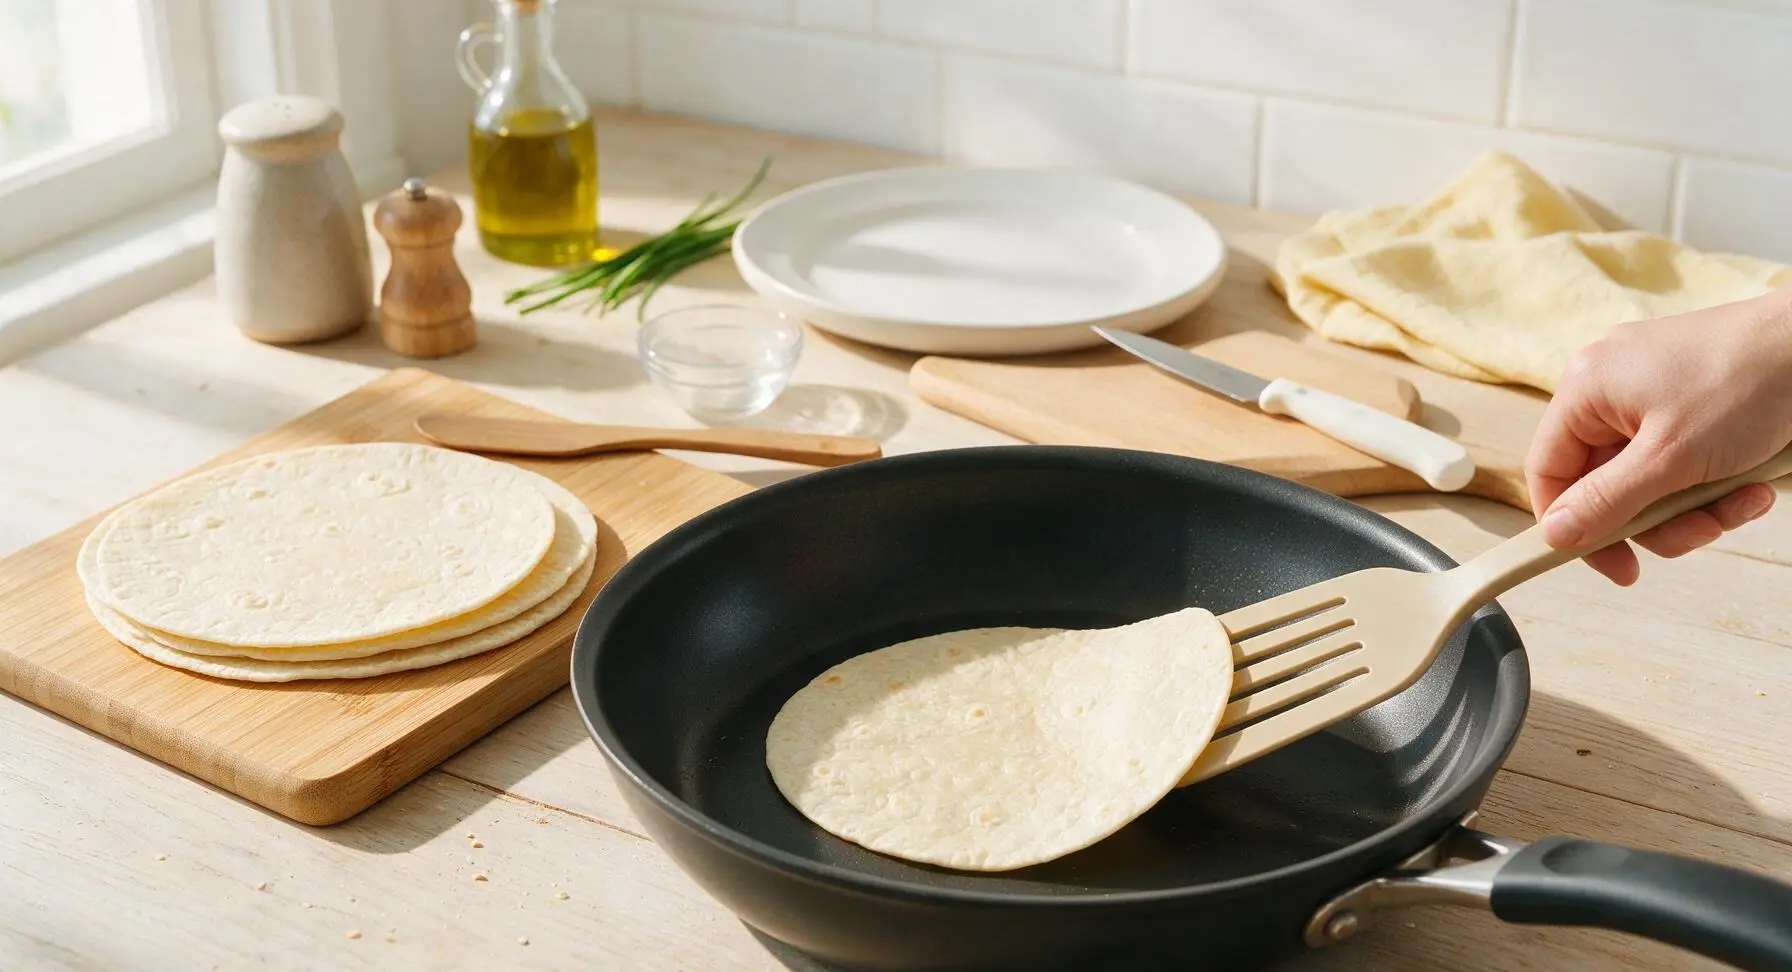
Turn the induction burner to low, place each tortilla directly on the warm skillet surface for 10 seconds per side, until soft and pliable, so they do not crack when rolling. Stack warmed tortillas on the corner of the cutting board as you work, taking 1 minute total. Do not overheat tortillas, as they will become crispy and impossible to fold.
Step 3
step3:Warm Flour Tortillas
4

Fill and Portion Burritos

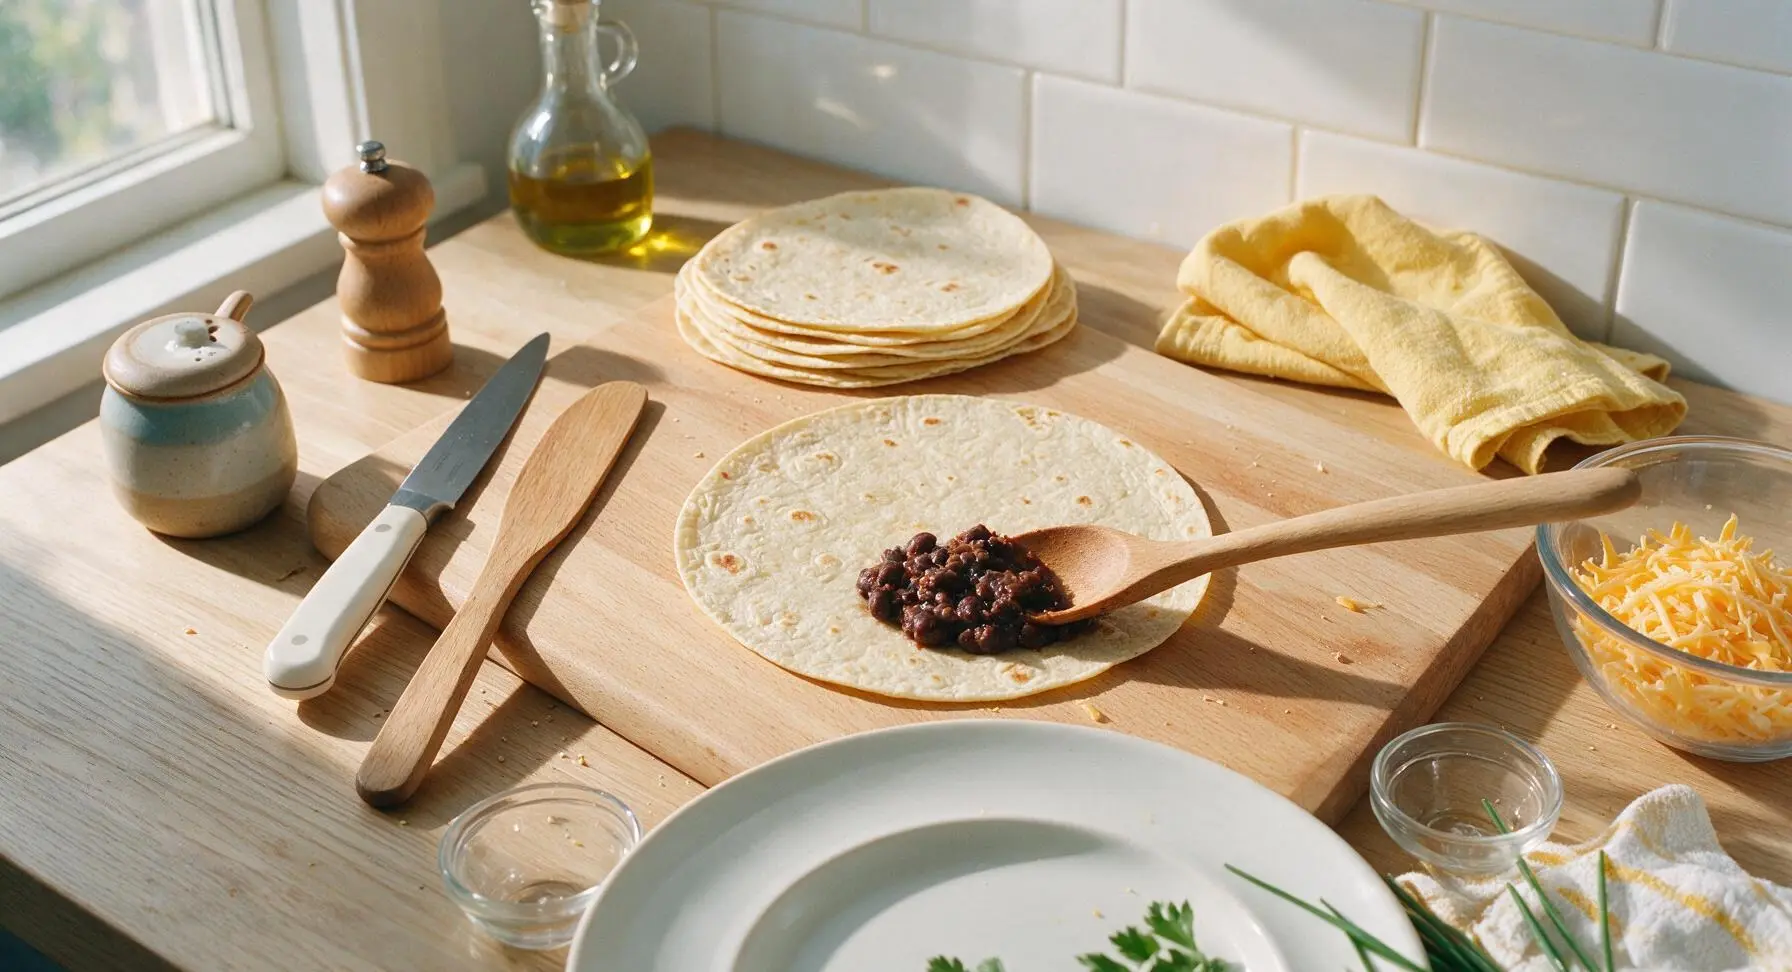
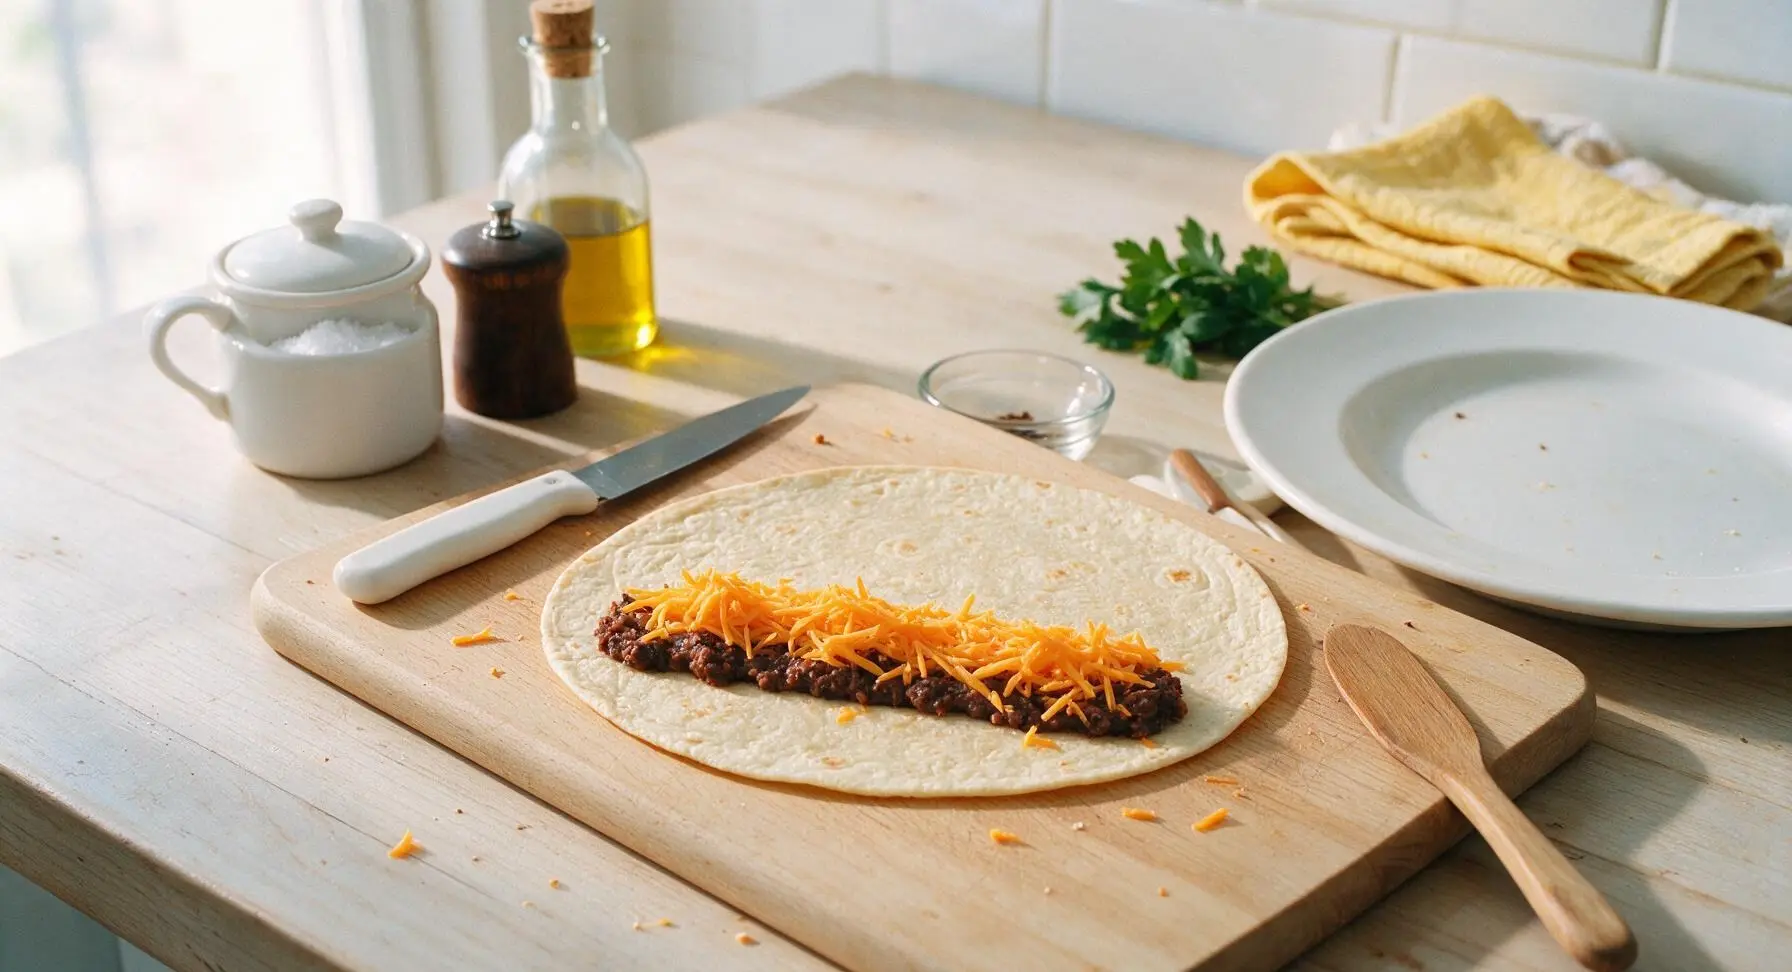
Lay one warm tortilla flat on the bamboo cutting board. Spoon ¼ of the warm bean filling (approximately ½ cup) in a straight horizontal line across the lower third of the tortilla, leaving a 2-inch border on the left and right edges. Top the filling line with ¼ of the shredded cheddar cheese (approximately 37g), evenly distributed. Repeat for all four tortillas, taking 3 minutes total. Do not overfill, as this will cause burritos to burst open during toasting.
Step 4
step4:Fill and Portion Burritos
Step 4
step4:Fill and Portion Burritos
5

Roll Burritos Tightly

Fold the left and right 2-inch borders of the tortilla in over the ends of the filling line, then fold the bottom edge of the tortilla up and over the filling, tucking it tightly under the filling to create a sealed pocket. Roll the burrito firmly upward away from you until it is fully closed, with the seam side facing down. Apply gentle, even pressure as you roll to eliminate air gaps, which prevent filling from leaking out during toasting. Repeat for all four burritos, taking 2 minutes total.
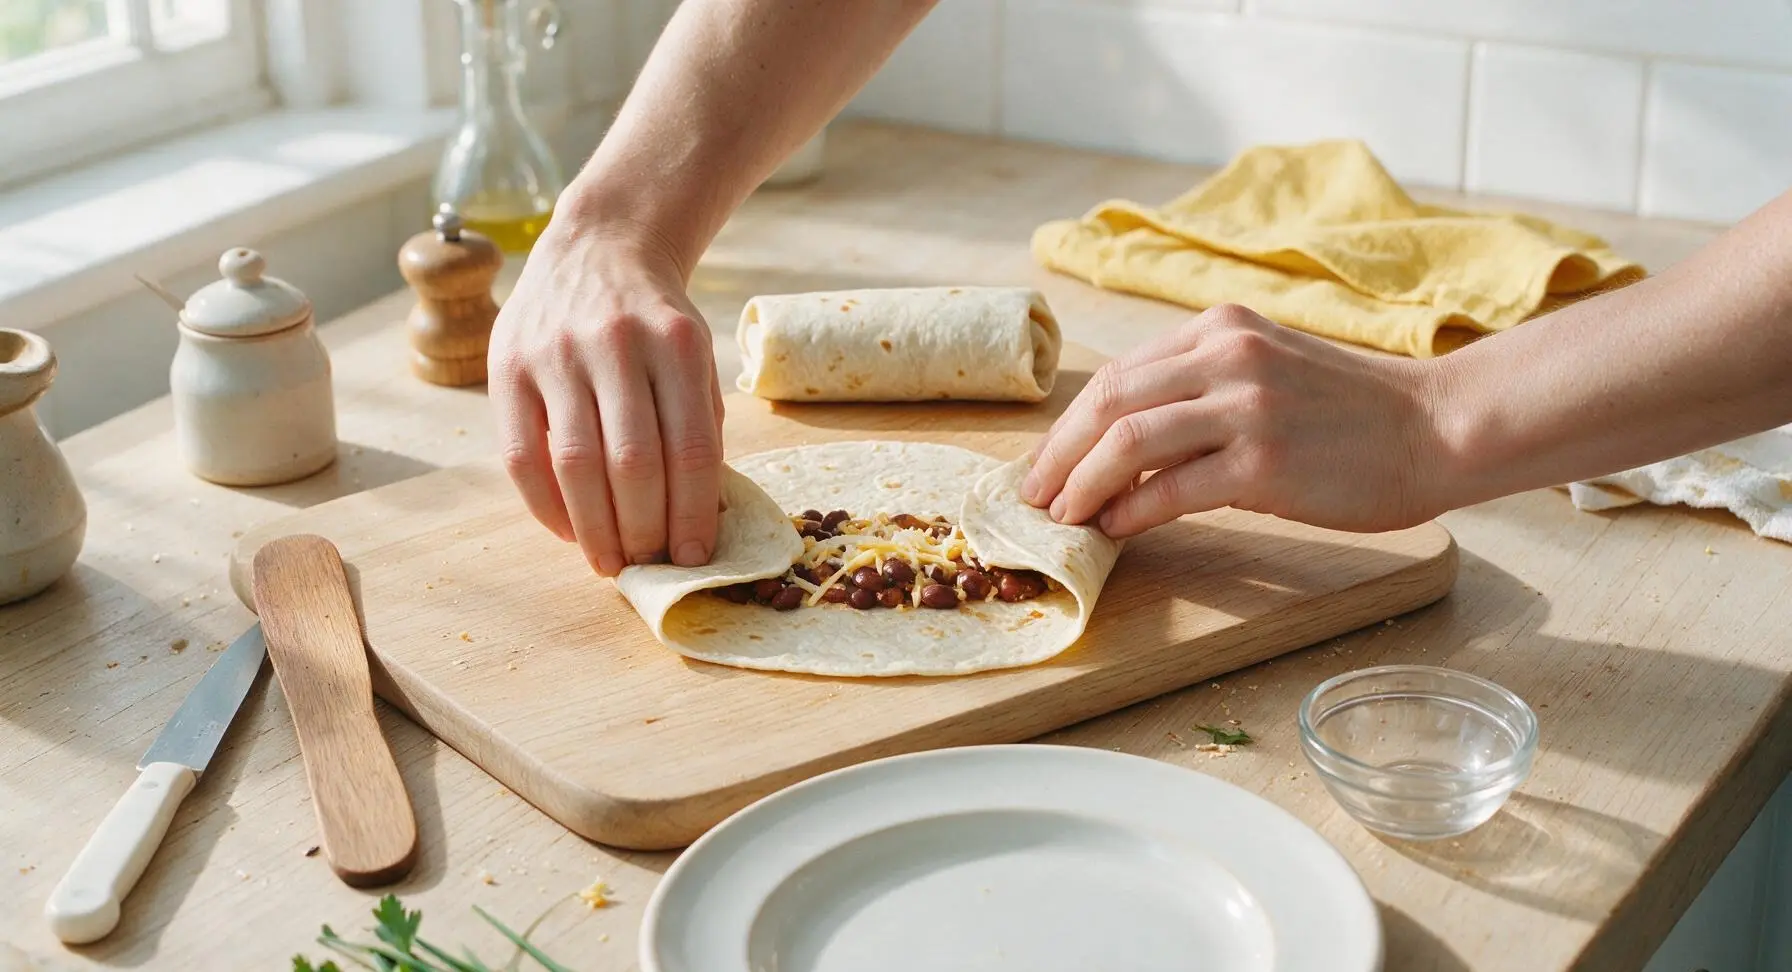
Step 5
step5:Roll Burritos Tightly
6

Toast Burritos Golden

Return the skillet to medium heat (350°F/175°C). Place the rolled burritos in the skillet seam-side down, working in two batches of two if needed to avoid crowding the pan. Cook for 2 minutes per side, using the slotted nylon turner to flip carefully, until the tortilla exterior is golden brown, slightly crispy, and the cheese inside is fully melted (you will see small bits of melted cheese oozing from the ends when done). Transfer toasted burritos to individual cream ceramic plates as you finish cooking, one per plate.
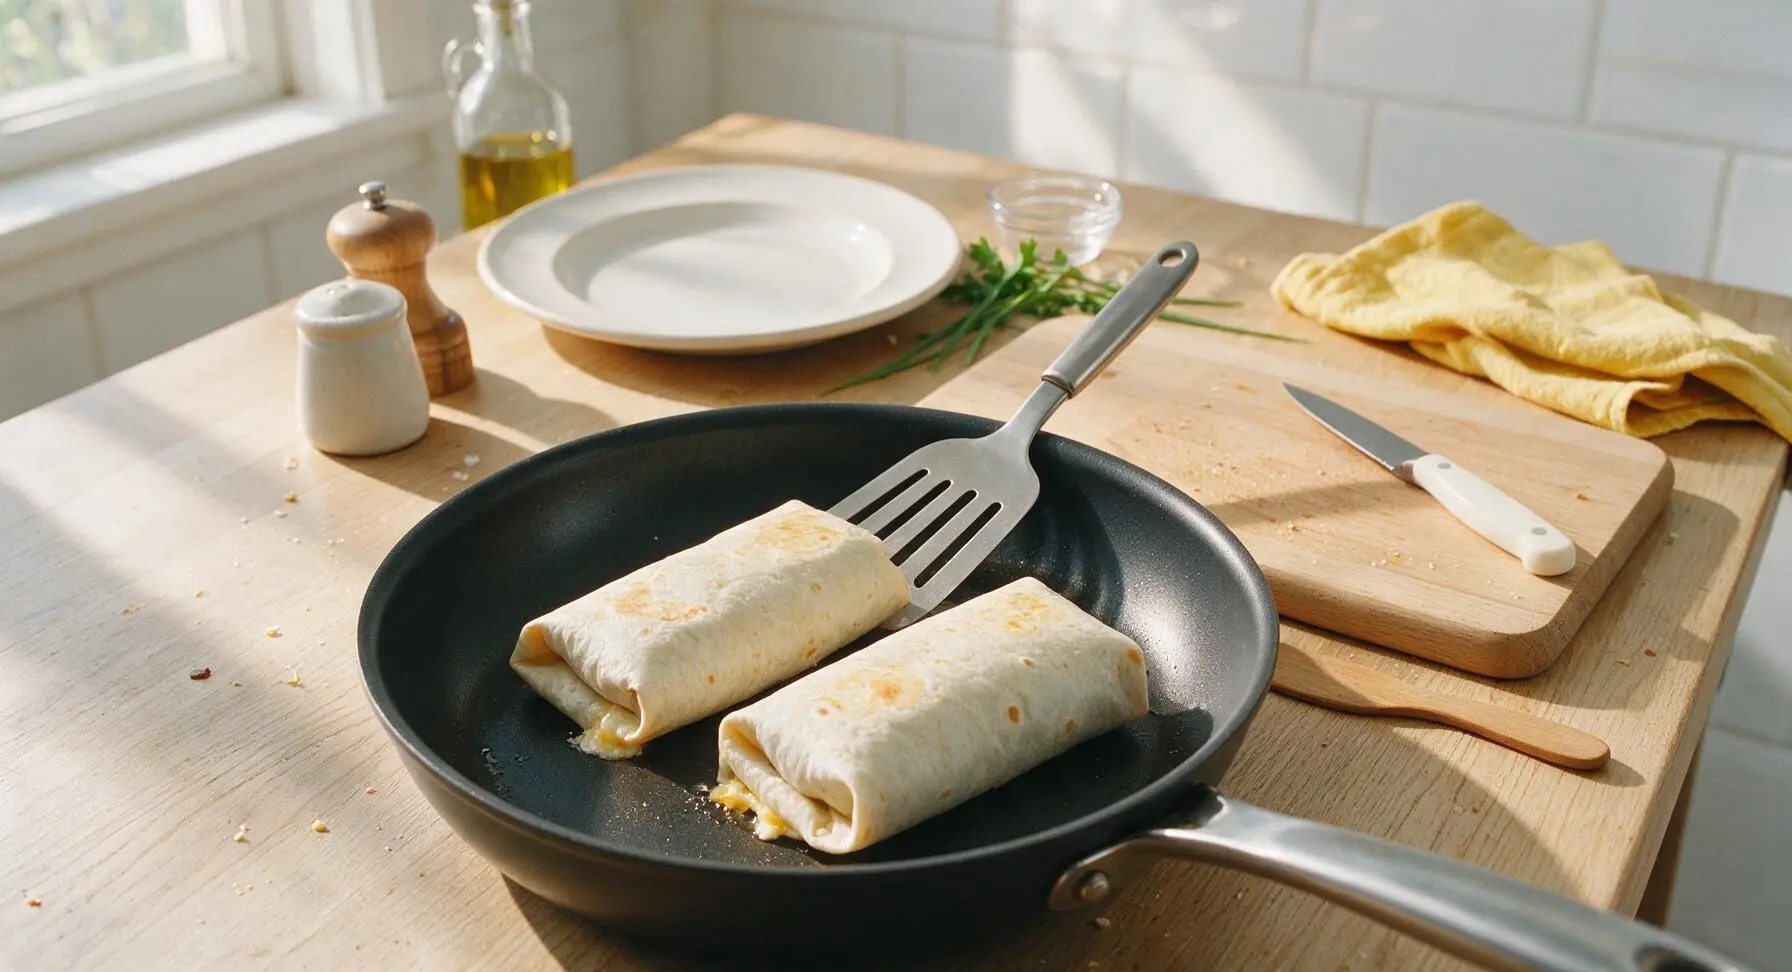
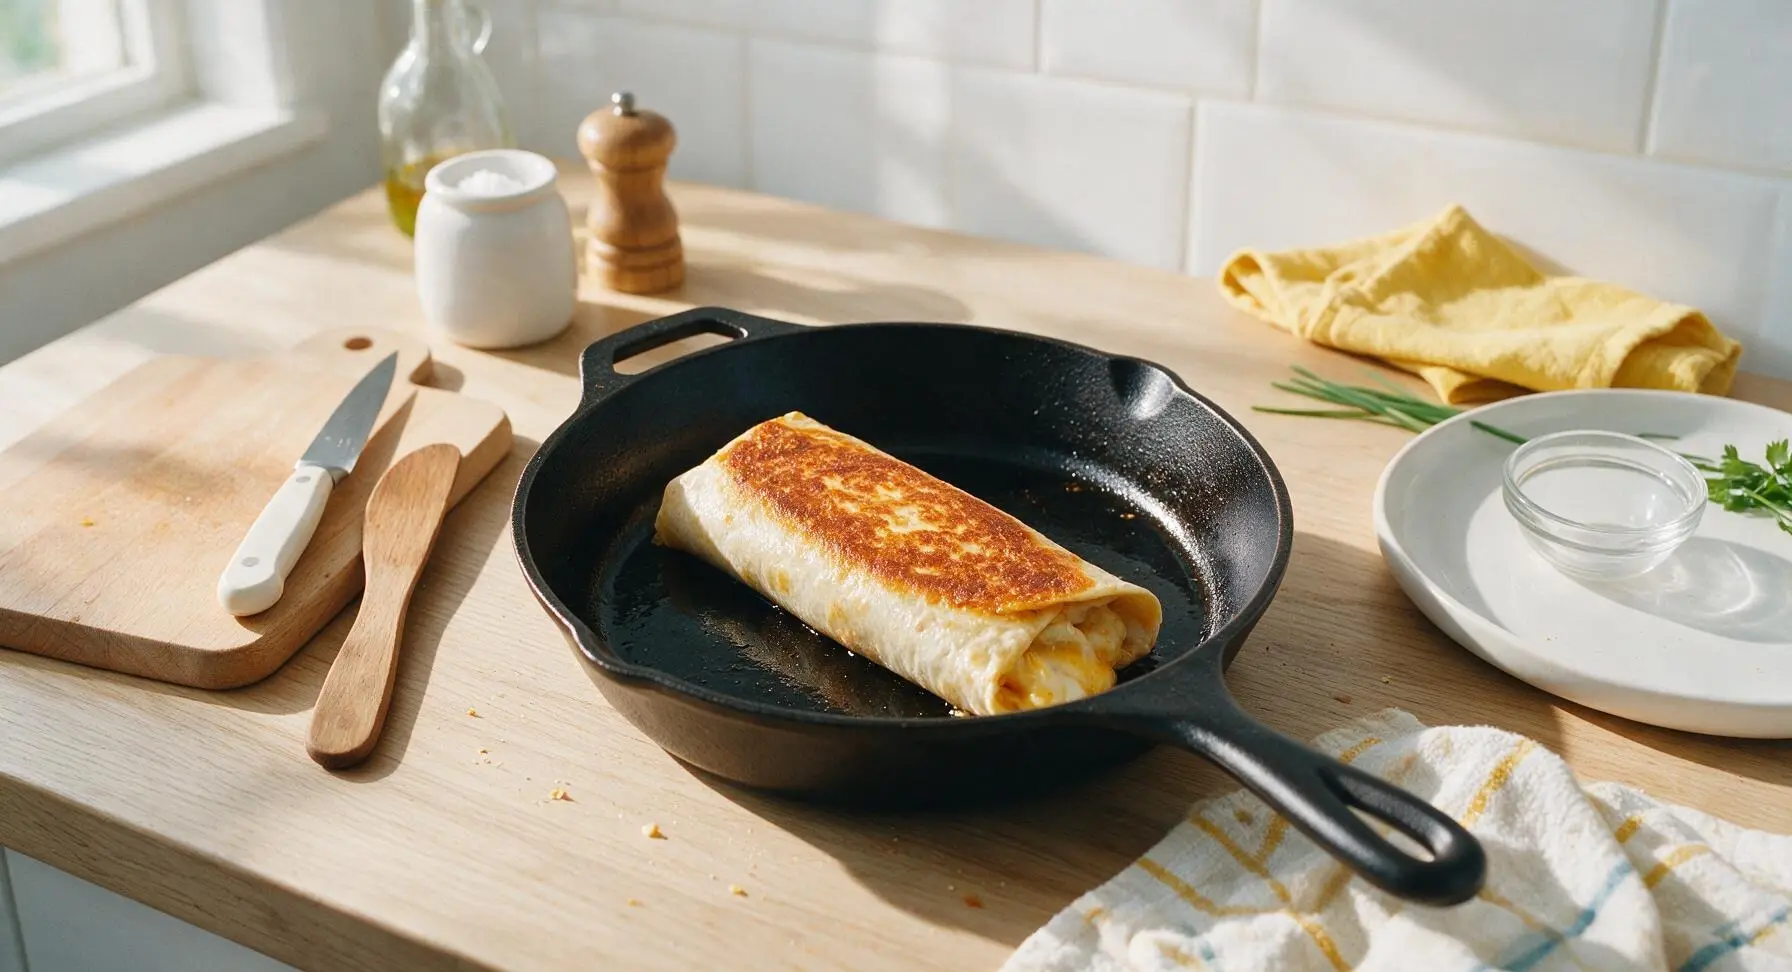
Step 6
step6:Toast Burritos Golden
Step 6
step6:Toast Burritos Golden
7

Plate and Serve Hot

Place one toasted burrito on each 27cm cream ceramic dinner plate, cutting each burrito on a sharp diagonal with the chef’s knife if desired to expose the melted filling. Top each serving with a 1 tablespoon dollop of sour cream and 3-4 pickled jalapeño slices. Serve immediately, while tortillas are crisp and cheese is fully melted, for the best texture.
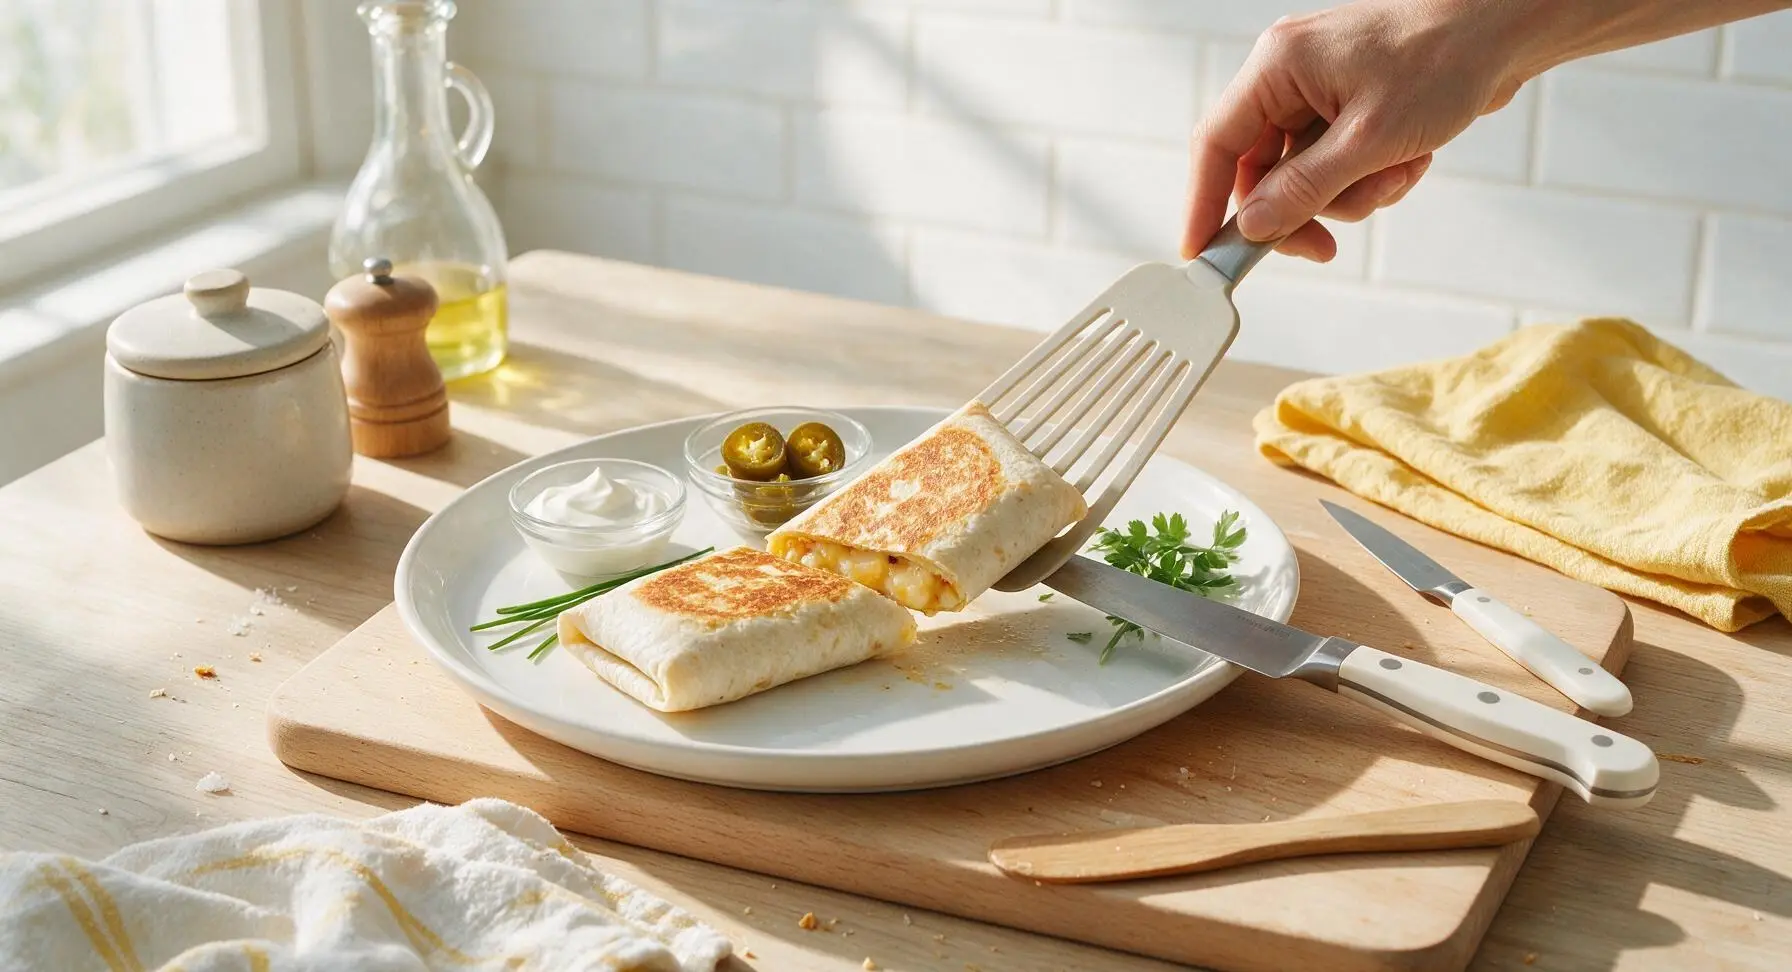
Step 7
step7:Plate and Serve Hot

Tips

1.Drain all canned vegetables (corn, chiles, tomatoes) completely before adding to filling: residual can liquid thins the bean mixture, leading to soggy tortillas and filling that leaks out the bottom of burritos as you eat. For extra dry fillings, pat drained canned veggies with a paper towel before adding to the pan.
2.Warm tortillas for 10 seconds per side before rolling: cold, room-temperature tortillas are stiff and prone to cracking along fold lines, which causes filling to spill out during toasting. Overheating tortillas for longer than 15 seconds per side will make them crispy and impossible to roll tightly.
3.Toast burritos seam-side down first: direct pan heat seals the folded tortilla seam shut in the first 60 seconds of cooking, preventing burritos from unrolling while flipping, and creating a crispy, sturdy base that holds filling securely through every bite.


✨ You May Also Like

Main Course
🍜 United Kingdom

A showstopping classic of tender seared beef, savory mushroom duxelles, and crisp prosciutto wrapped in flaky golden puff pastry, baked to juicy perfection.

⏱️ 2 hours 1Main Course ★ 4.7
Main Course
🍜 India

Tender charred marinated chicken simmered in a rich, spiced creamy tomato sauce, this iconic Anglo-Indian curry pairs perfectly with basmati rice or warm naan.

⏱️ 50 minuteMain Course ★ 4.6
Main Course
🍜 Thailand

Classic tangy, sweet, and savory Thai stir-fried rice noodles with shrimp, tofu, and crunchy garnishes, balancing all five core Thai flavor profiles.

⏱️ 30 minuteMain Course ★ 4.5
Main Course
🍜 United Kingdom

Crispy golden beer-battered cod and fluffy double-fried chips, served with tangy tartar sauce and malt vinegar: the timeless, beloved British pub comfort classic.

⏱️ 45 minuteMain Course ★ 4.7
Main Course
🍜 Mexico

Smoky, chile-marinated pork tacos with caramelized pineapple, fresh cilantro, and lime: a beloved classic Mexican street food perfect for casual summer gatherings.

⏱️ 1 hour 45Main Course ★ 4.8
Main Course
🍜 United States

Crunchy Fritos corn chips layered with savory beef chili and melted cheddar, topped with cool, zesty fixings for a beloved, cozy Tex-Mex comfort food.

⏱️ 35 minuteMain Course ★ 4.8

canned burrito:Frequently Asked Questions

1.Do I need to cook the canned ingredients before assembling the burritos? ▾
Great question! All canned ingredients are pre-cooked and safe to eat straight from the can, but I recommend warming refried beans, corn, and chiles in a small pot over medium heat for 3-4 minutes first. This helps the cheese melt evenly, eliminates cold spots, and lets the flavors meld much better than piling cold fillings into the tortilla.
2.How do I keep my canned burritos from getting soggy? ▾
The number one trick is to drain canned corn and diced green chiles really well — I even pat them dry with a paper towel to remove trapped excess moisture. Avoid overloading each tortilla with too much loose, wet refried bean filling, too. If baking, arrange burritos seam-side down on the baking sheet to keep tortillas crisp instead of mushy as they cook.
3.Can I swap the mild green chiles for a spicier option if I like extra heat? ▾
Absolutely! That’s one of the best parts of this ultra-flexible recipe. Swap mild chiles for canned hot diced green chiles, drained canned diced jalapeños, or a few spoonfuls of chopped canned chipotle in adobo for smoky, zesty heat. Just stick to the same measured amount and drain well so you don’t add extra moisture that makes tortillas soggy.
4.What’s the best way to heat these burritos to get a crispy tortilla exterior? ▾
For perfect golden, crispy tortillas, preheat your oven to 400°F, arrange assembled burritos seam-side down on a lightly greased baking sheet, and brush the tops with a tiny bit of neutral oil. Bake for 12-15 minutes, flipping halfway through, until edges are crisp and the cheese is fully melted all the way through the center.
5.Can I make these burritos ahead and freeze them for quick future meals? ▾
You totally can! Assemble the burritos fully, let any warm fillings cool completely, then wrap each one tightly in plastic wrap plus a layer of aluminum foil before freezing for up to 3 months. To reheat, remove the plastic, wrap in a damp paper towel, microwave for 2-3 minutes, then crisp in a toaster oven for 5 minutes.
6.I don’t have shredded cheddar on hand — what other cheeses work well here? ▾
No cheddar, no problem! Any good melting cheese will work beautifully in these burritos. Try shredded Monterey Jack, pepper Jack for extra heat, a pre-shredded Mexican cheese blend, or even shelf-stable canned processed cheese if that’s what you have. Skip dry, non-melting cheeses like parmesan, since they won’t give you that classic gooey burrito texture.
7.How many burritos does this recipe make, and what’s a standard serving size? ▾
Using standard 10-inch flour tortillas, this base recipe makes 4 generously filled burritos. That works out to 2 burritos per serving for a hearty adult dinner, or 1 per serving for kids or lighter lunches paired with a small side. You can easily double or triple the canned ingredient quantities if you’re cooking for a crowd or stocking the freezer.
8.Can I add extra canned proteins to make these burritos more filling? ▾
Definitely! This recipe is super easy to bulk up with shelf-stable proteins. Try adding a drained can of seasoned black beans, rinsed and drained canned chicken, or even canned pulled pork stirred into the filling mix. Just make sure to drain all extra brine or liquid from those add-ins before mixing them in to avoid soggy, mushy tortillas.
9.My tortillas keep cracking when I roll burritos — what am I doing wrong? ▾
That’s such a common, easy-to-fix issue! Cold tortillas are far more prone to cracking, so warm them first: stack them on a plate, cover with a damp paper towel, and microwave for 20-30 seconds until soft and pliable. Don’t overstuff them (stick to about ½ cup of total filling per 10-inch tortilla) and tuck ends in tightly as you roll.
10.What quick, low-fuss sides pair well with these canned burritos? ▾
Since the burritos come together in just 25 minutes, stick to equally no-fuss sides. A dollop of store-bought salsa or sour cream on top works great, as do tortilla chips, a drained can of black beans tossed with a squeeze of lime, or a bagged pre-made side salad if you want to add a little fresh produce to round out the meal.
11.Can I make these in the microwave if I don’t have access to an oven? ▾
Absolutely! The microwave works perfectly for a super fast meal, especially if you’re cooking in a dorm room, office, or small kitchen without an oven. Assemble the burrito on a microwave-safe plate, heat on high for 60-90 seconds, flip it, and heat for another 60 seconds until filling is hot and cheese is melted. Note the tortilla will be soft, not crispy, with this method.

Comments (15)

2 hours ago

OMG this is such a game changer for weeknights! I had 3 cans of refried beans and a can of green chiles sitting in my pantry forever, threw this together in 12 minutes flat and my kids devoured every bite. Will absolutely be adding this to our regular rotation!

30 minutes ago

Same here! My picky 7 year old asked for seconds, which never happens. I added a little taco seasoning to the bean mix and it was chef’s kiss

5 minutes ago

So glad the whole family loved it! Adding taco seasoning is such a great quick hack to bump up the flavor — I do that too when I have it on hand!

yesterday

As someone who barely knows how to boil water and only has a mini microwave and toaster oven in my dorm, this was perfect! No fancy ingredients, zero prep, I made 4 of these to eat through the week for late study nights. SO good, even better than the sad burritos from the campus convenience store.

2 hours ago

Love that this works for dorm cooking! Pro tip: wrap them individually in foil and they’ll keep in the fridge for up to 4 days for easy grab-and-go meals

3 days ago

Made these for our neighborhood block party potluck last weekend and they were a huge hit! I set out sour cream, salsa, and guac on the side for people to top their own. Only reason I’m not giving 5 stars is I wish I’d made a double batch, they were gone in 10 minutes flat!

1 week ago

I do meal prep every Sunday for work lunches and this is my new go-to. 15 minutes total to make 8 burritos that I can freeze and grab on my way out the door? Unbeatable. I added a can of drained black beans and a handful of shredded cheese to the mix, tastes just as good reheated as it does fresh.

5 days ago

Freezing these is such a smart move! For anyone else prepping ahead, just wrap them tightly in plastic wrap before freezing and reheat in the microwave for 2 minutes when you’re ready to eat

5 days ago

I made these last week with regular flour tortillas and they were so good! Only reason I’m not giving a full 5 stars is I tried to swap in GF tortillas for my partner and they got a little soggy. Has anyone found a trick to making these work with gluten free tortillas without the sogginess?

3 days ago

I used almond flour GF tortillas last week and they held up great! Just make sure you don’t overfill them, and crisp them a little in a pan after rolling like the recipe says and you won’t have sogginess at all

2 days ago

Great question! Almond flour or cassava flour tortillas work beautifully here, and Hannah’s tip about not overfilling is spot on to avoid sogginess

2 days ago

Made these for our weekly Taco Tuesday last night when I forgot to pick up ground beef from the grocery store. Didn’t tell my roommates the filling was all canned, and they thought I spent an hour making them from scratch. Total win!

yesterday

That’s the best kind of win! No one has to know how quick and easy it was, right? 😉

2 weeks ago

I’m 72 and don’t have the energy to spend hours in the kitchen cooking like I used to. This recipe was so simple to follow, no weird steps, and my grandson who’s visiting for the summer said it’s the best burrito he’s ever had. Thank you for sharing easy, no-fuss recipes for folks like me!

30 minutes ago

These were solid, but a little bland for my taste. I ended up dumping a bunch of hot sauce and pickled jalapeños on mine to kick it up. Easy to make, though, which is a plus.

5 minutes ago

Thanks for the feedback! If you love extra heat, try adding a can of diced green chiles or a teaspoon of cayenne pepper to the filling next time for an extra kick that cooks right in

1 week ago

Made this vegan by swapping the regular cheese for dairy free cheddar and using vegan refried beans, and it turned out amazing! I was worried canned ingredients would taste tinny or off, but a little cumin and garlic powder went a long way. Even my meat-eating brother loved them when he stopped by.

5 days ago

Oh I’m so glad this works vegan! I’ve been looking for cheap pantry meals that fit my diet, can’t wait to try this this weekend

3 days ago

Love that vegan swap! Thanks for sharing that tip for other plant-based folks checking out the recipe — I’ll have to test that version myself soon

yesterday

I usually only cook on the grill, but it poured rain all last night so I needed something quick to make inside for the family. These were so easy even I couldn’t mess them up, and the kids asked if we can have them again next week. Who knew canned goods could taste this good?

2 hours ago

So glad these saved a rainy dinner night! If you ever want to put a grilled twist on them, you can crisp the rolled burritos on the grill for a minute or two once the rain clears for that extra smoky flavor

just now

Just made these at 1am after getting home from a concert and they hit DIFFERENT. I literally only had canned beans, canned corn, and old tortillas in the fridge and it worked perfectly. 10/10 drunk food, no notes.

2 weeks ago

I’m on a super tight grocery budget this month and this recipe saved me! Total cost for all the canned ingredients and tortillas was like $8, and it made 6 filling burritos. Way cheaper than takeout, and just as tasty. I’ll be making this again when money is tight for sure.

1 week ago

That’s exactly what this recipe is for! Pantry staples don’t have to be boring, and I love that it’s an affordable option for anyone looking to cut down on grocery costs without skipping good food

5 minutes ago

Made these after soccer practice tonight with my three boys, and they all had theirs loaded up with extra cheese and sour cream before I even got a chance to sit down. The 15 minute cook time is no joke — I was done before they even finished taking off their cleats. Lifesaver!

3 days ago

I added a can of shredded chicken to the filling and it was so hearty and delicious! Has anyone tried adding canned ground beef or canned chili to these? I want to mix up the flavors for next time.

2 days ago

I added a can of no-bean chili last time I made these and it was insane! Tasted exactly like a chili cheese burrito from my favorite fast food place, no extra work needed

yesterday

Canned shredded chicken or chili are both fantastic add-ins! I’ve also used canned pulled pork for a fun BBQ twist before, it works so well with the bean base

30 minutes ago

I just started learning how to cook last month and I was so nervous to try making burritos, but this recipe was so straightforward I didn’t mess it up at all! My roommate said it tasted like restaurant food, which made me feel so proud. Thank you for making recipes that are actually easy for beginners!



