
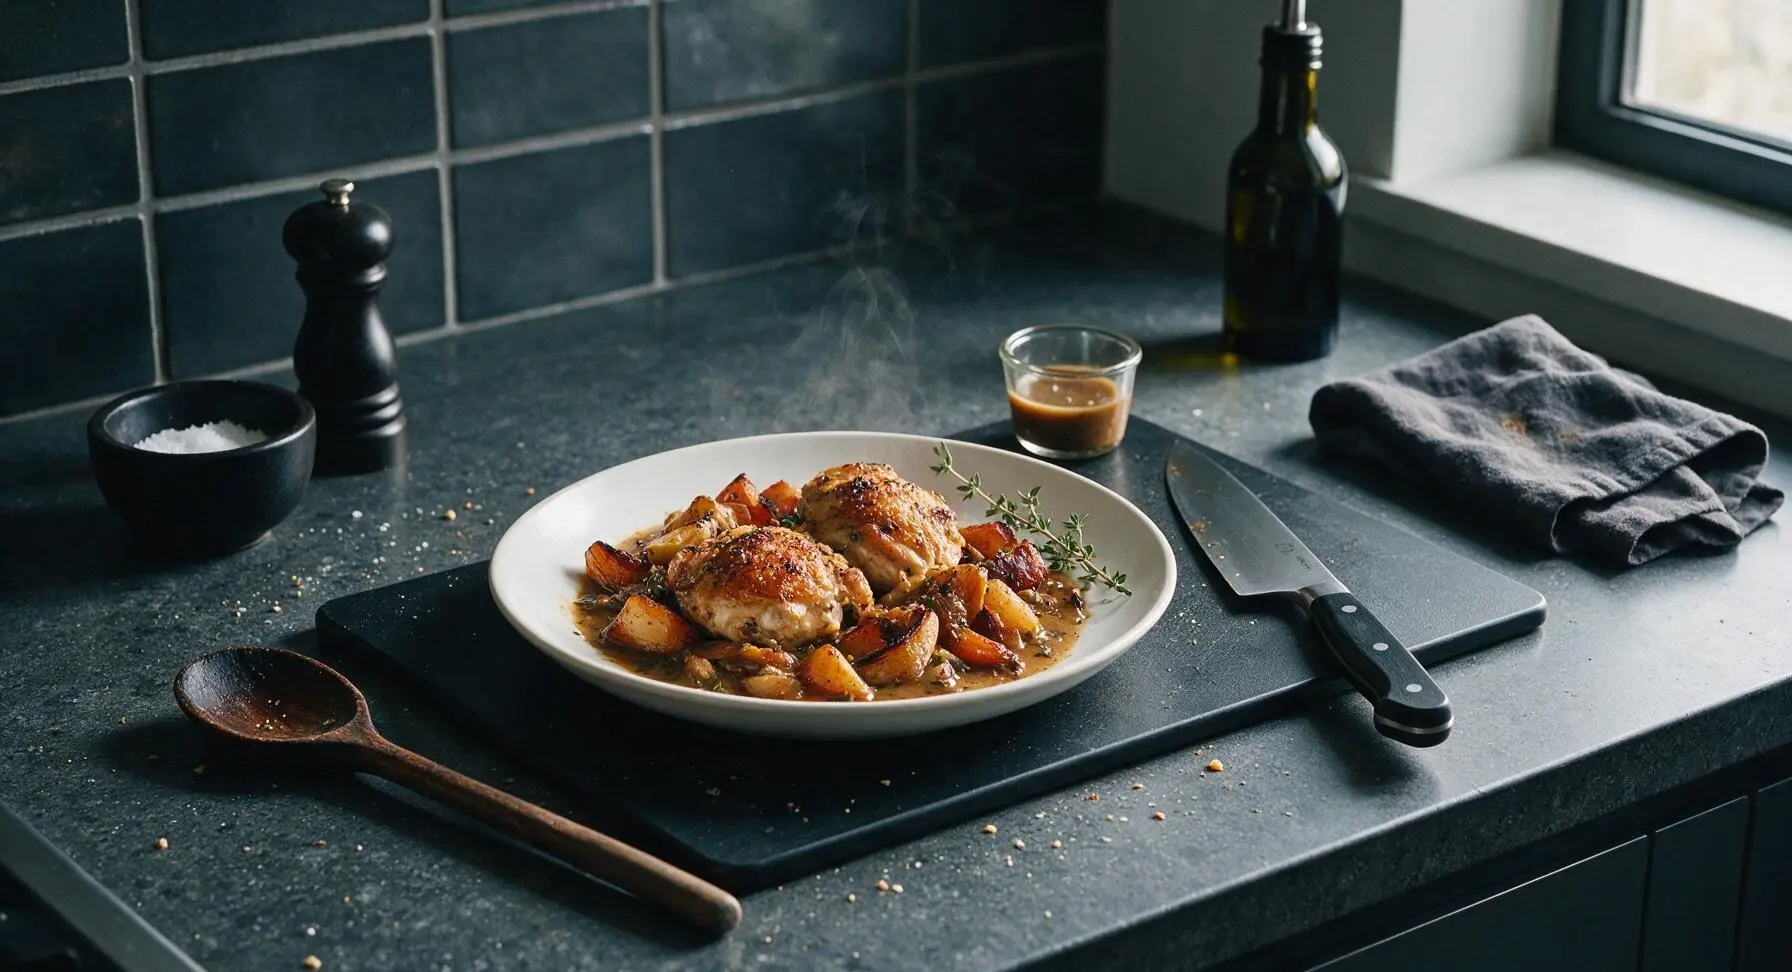
cast iron casserole

title 1
cast iron casserole
⏱️ cook time 1 hour 10 minutes
🍽️ servings 4
⚡ Difficulty easy

intro

Crispy-skinned chicken, caramelized root vegetables, and rich herby gravy slow-baked in a single cast iron pot for cozy, low-cleanup family meals.

Ingredients
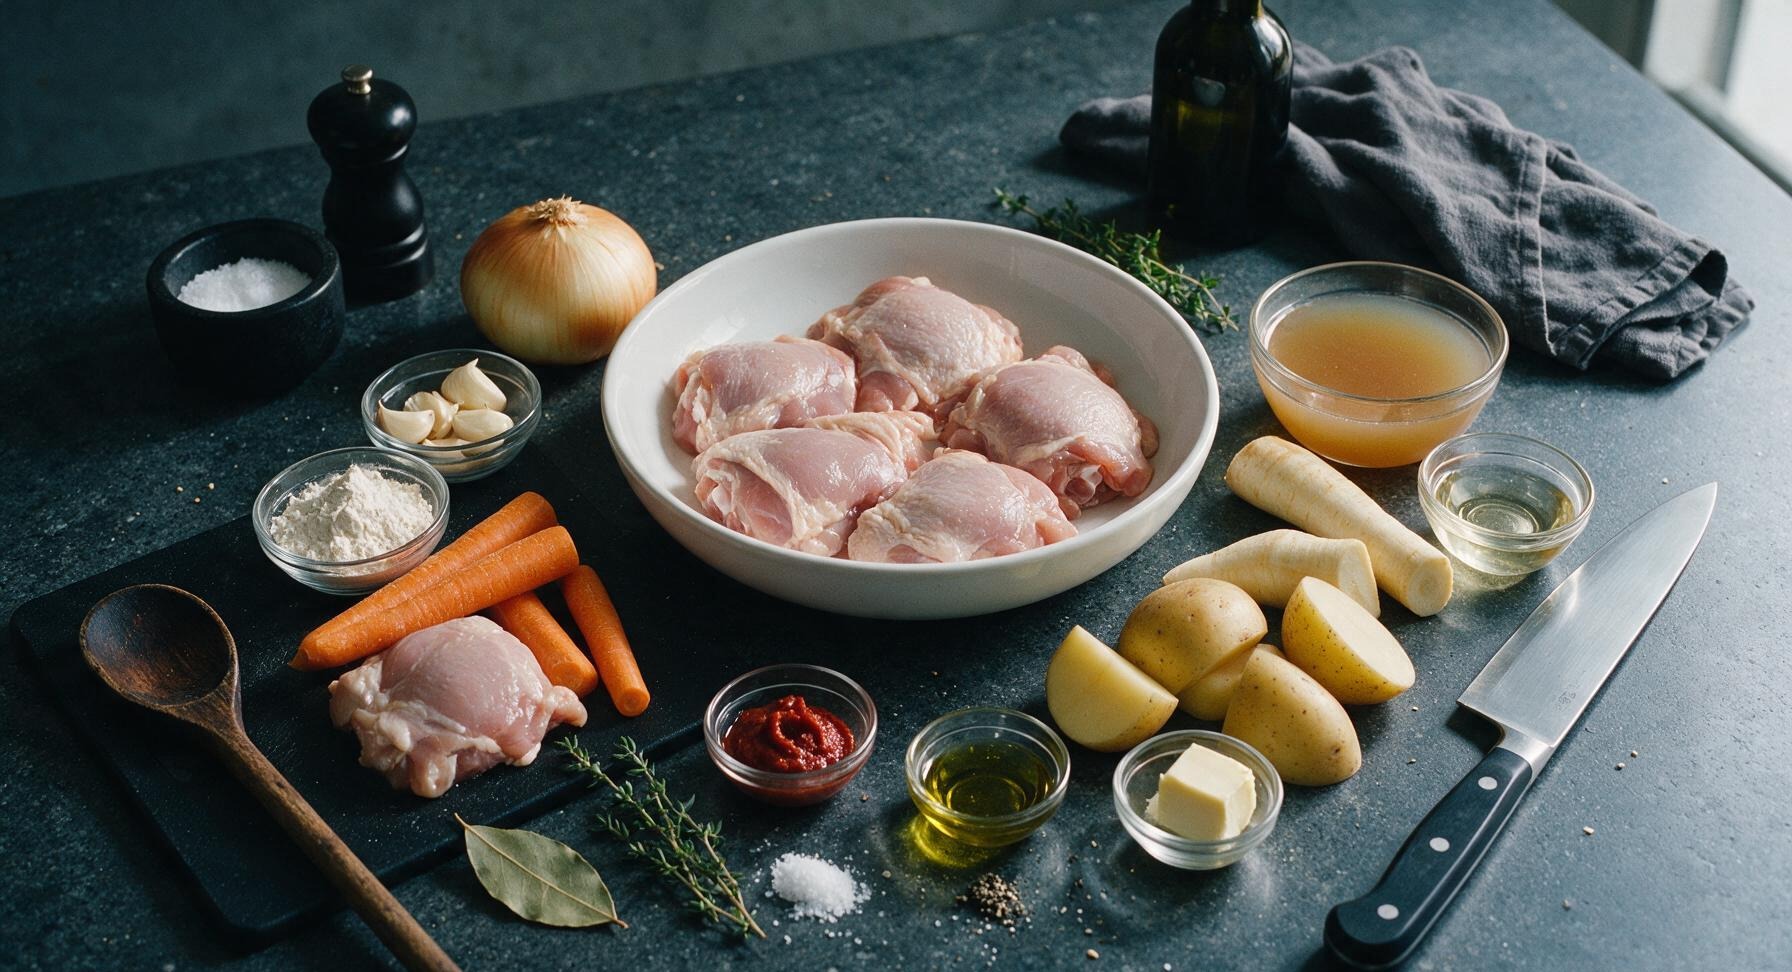
Bone-in, skin-on chicken thighs 800g (6 pieces)
Yellow onion 1 large (200g), diced
Carrots 2 medium (150g), cut into 5cm chunks
Parsnips 2 medium (150g), cut into 5cm chunks
Yukon gold potatoes 3 medium (300g), cut into 4cm wedges
Garlic cloves 4 cloves, crushed
All-purpose flour 2 tablespoons
Low-sodium chicken stock 400ml
Dry white wine 120ml
Tomato paste 1 tablespoon
Fresh thyme 4 sprigs
Bay leaf 1 whole
Extra-virgin olive oil 2 tablespoons
Unsalted butter 1 tablespoon
Kosher salt 1 teaspoon
Freshly ground black pepper 1/2 teaspoon

Steps

1

Prep and Season Chicken

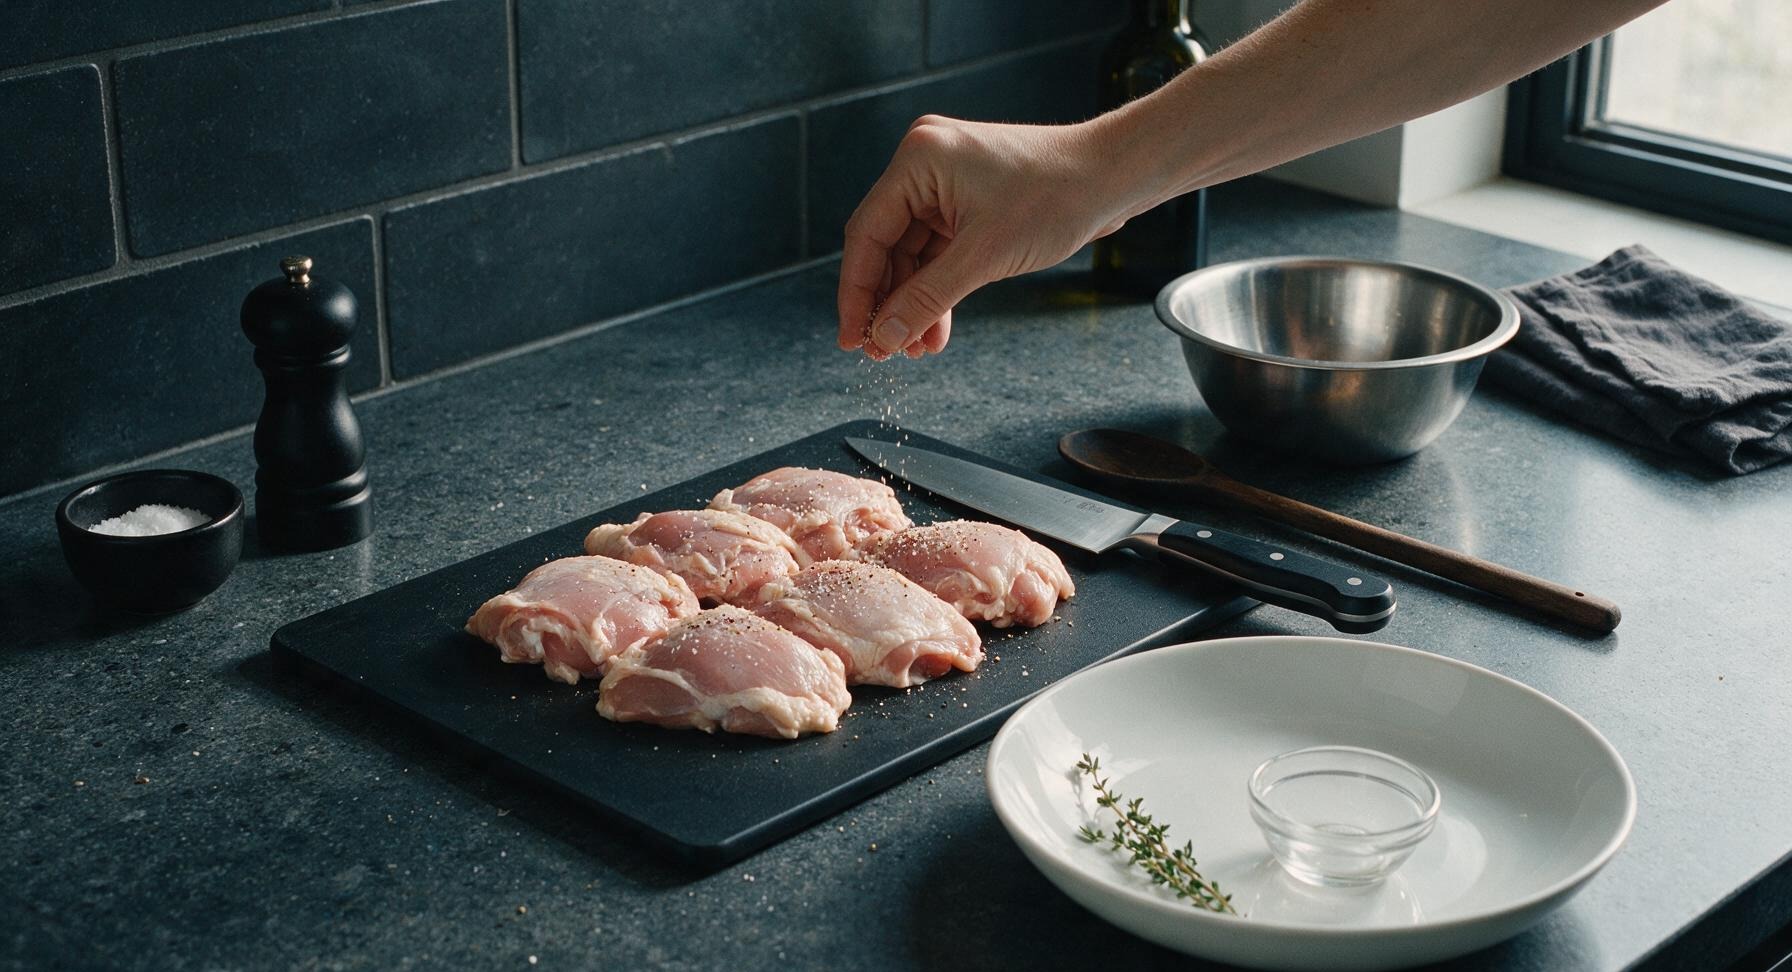
Place chicken thighs on the maple cutting board. Pat thoroughly dry on all sides with paper towels, then season evenly with 1/2 teaspoon kosher salt and 1/4 teaspoon black pepper, pressing seasoning gently into the skin and meat. Set aside for 10 minutes at room temperature to allow seasoning to penetrate before searing.
Step 1
step1:Prep and Season Chicken
2

Chop Root Vegetables

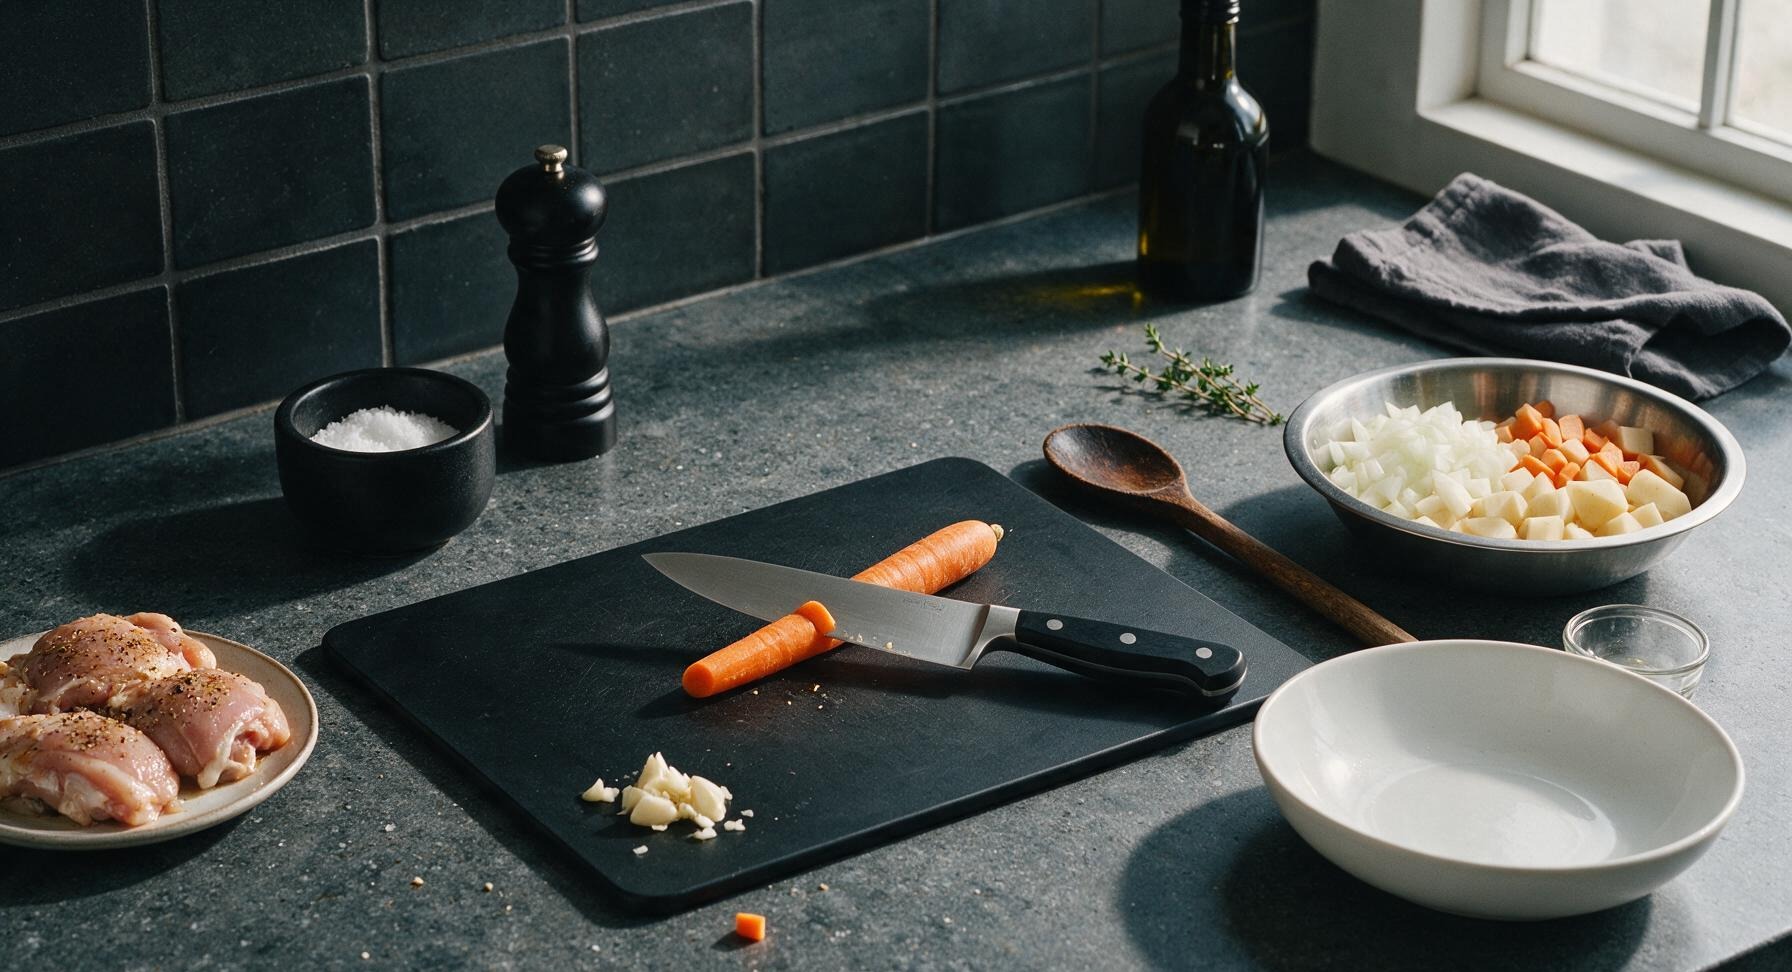
Using the chef’s knife on the maple cutting board, cut the peeled yellow onion into 2cm dice, slice carrots and parsnips into 5cm thick diagonal chunks, and cut Yukon gold potatoes into 4cm wedges (peeling is optional if skins are clean and smooth). Crush garlic cloves lightly with the flat of the knife, discarding papery skins. Transfer all chopped vegetables to the stainless steel mixing bowl as you work.
Step 2
step2:Chop Root Vegetables
3

Sear Chicken Thighs

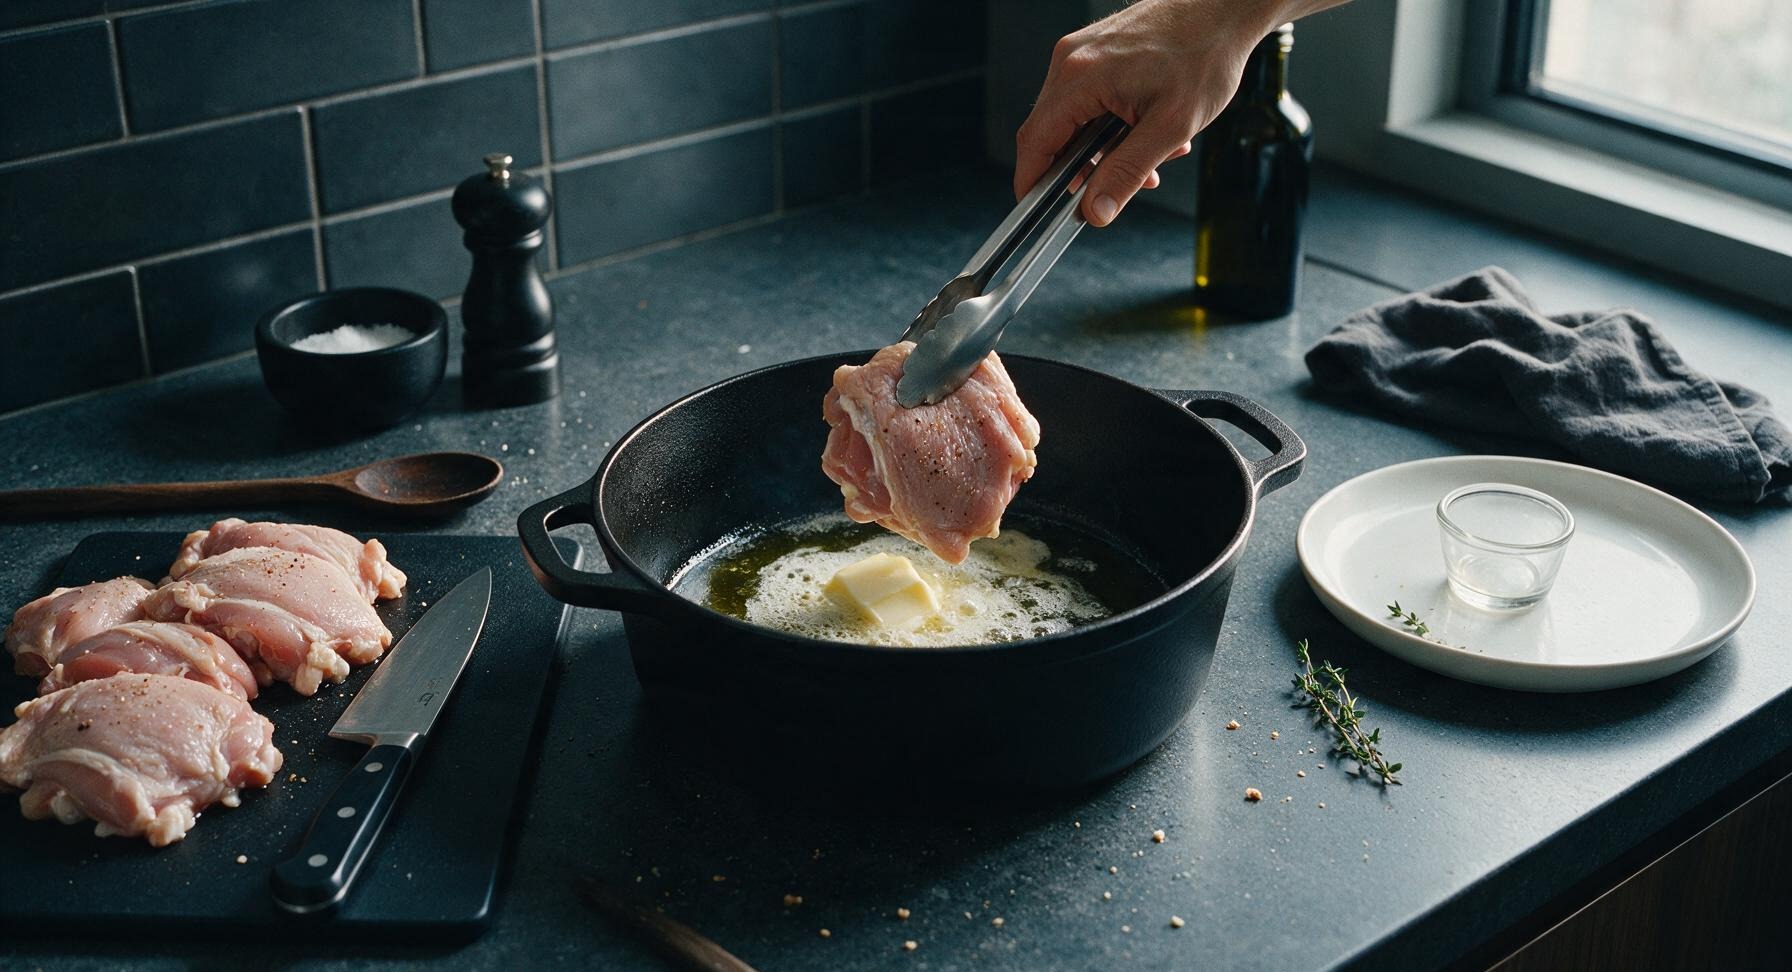
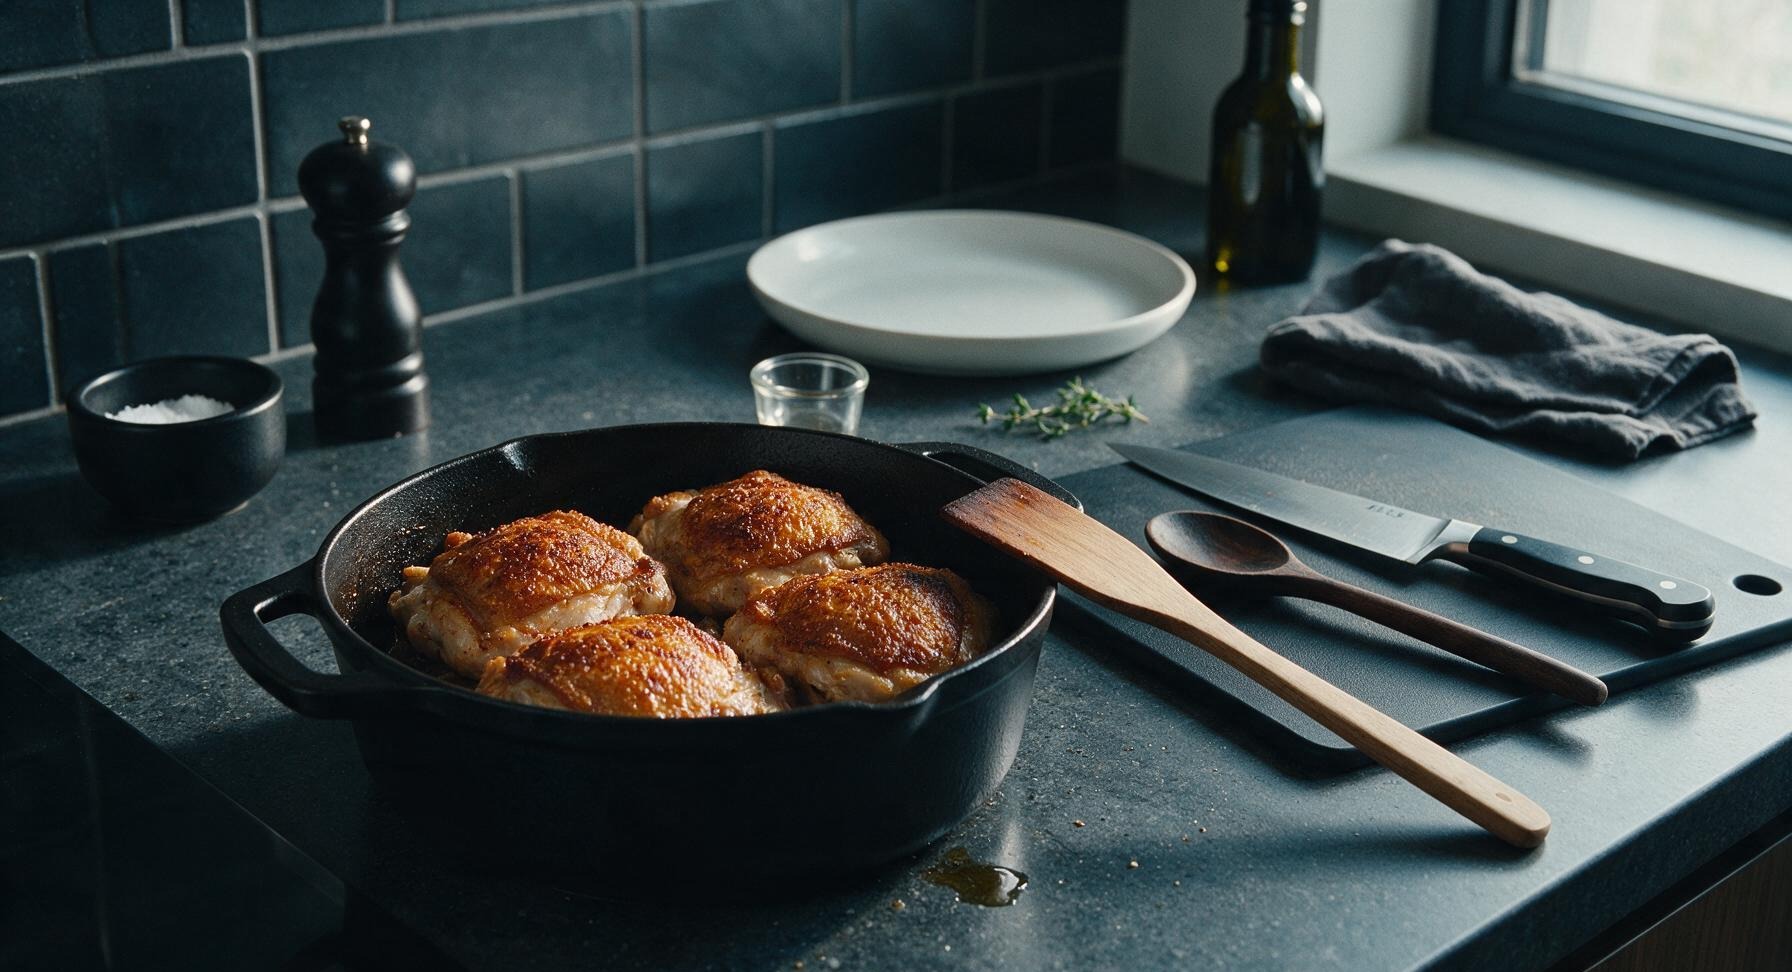
Place the matte black cast iron casserole pot on the stovetop over medium heat, add 1 tablespoon olive oil and 1 tablespoon unsalted butter. Once butter is foaming (but not browned), arrange chicken thighs skin-side down in a single layer, working in 2 batches if needed to avoid crowding the pot. Sear for 6-7 minutes per side, until skin is deep golden and crispy, and meat releases easily from the pot. Transfer seared chicken to a clean plate and set aside.
Step 3
step3:Sear Chicken Thighs
Step 3
step3:Sear Chicken Thighs
4

Sauté Aromatic Vegetables

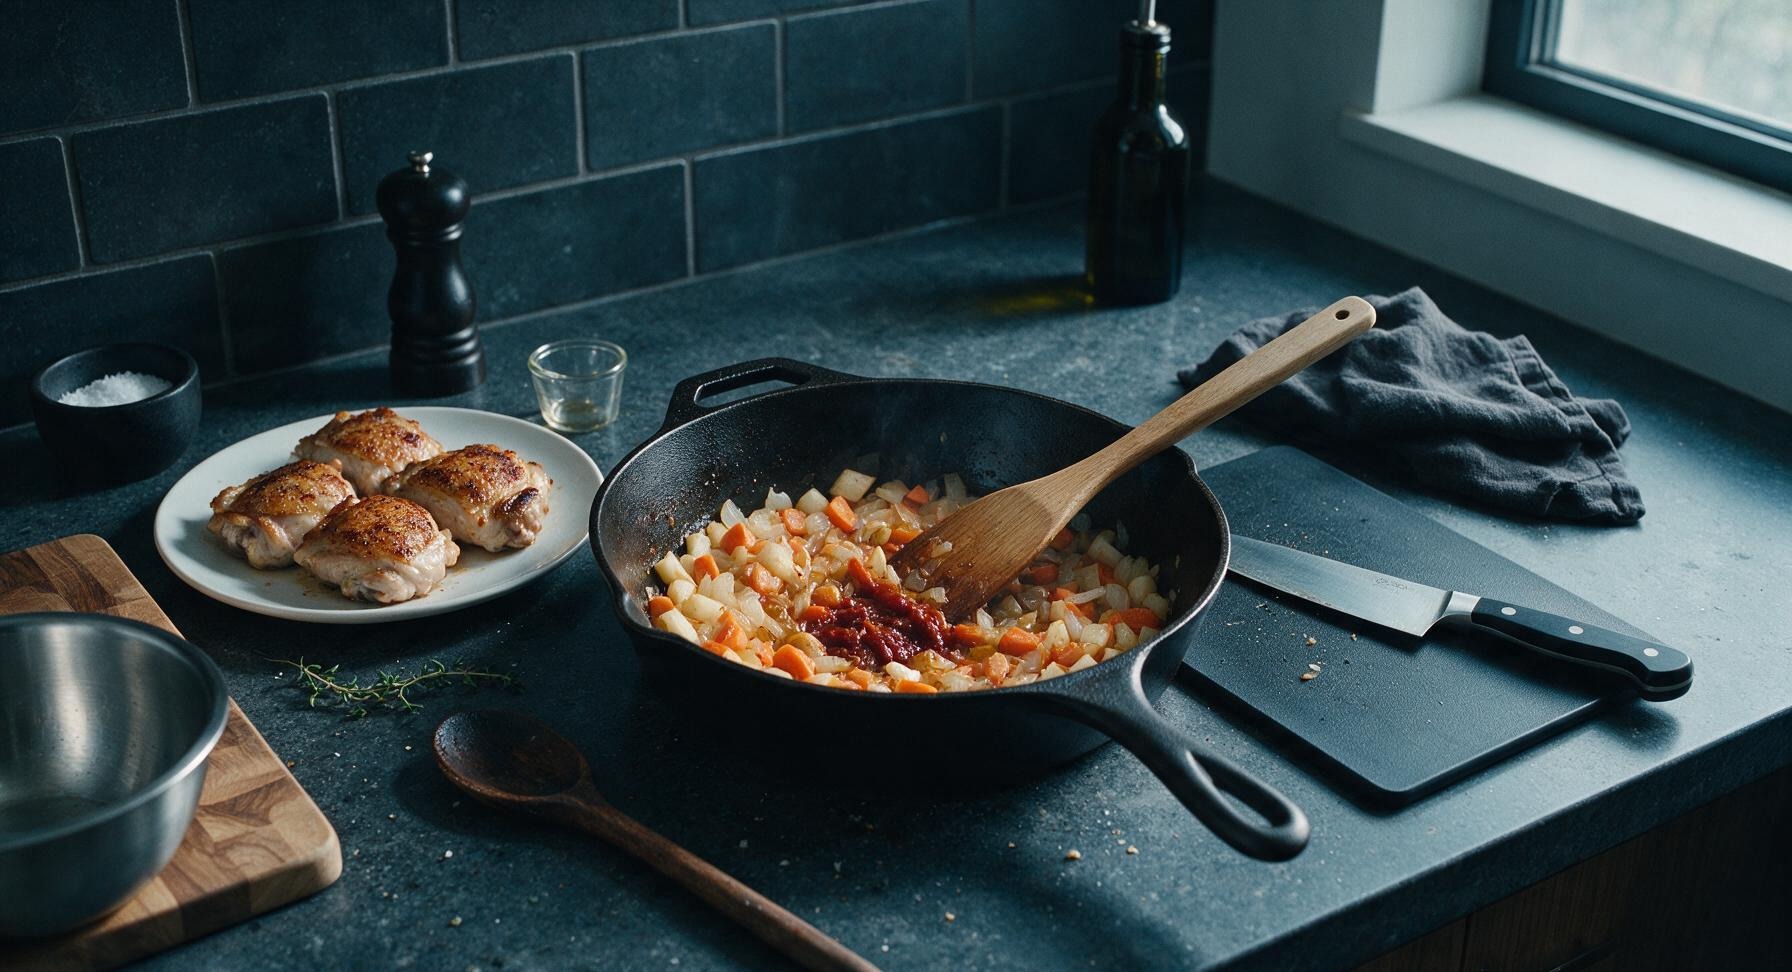
Leave 2 tablespoons of rendered chicken fat in the cast iron pot, discarding any excess. Reduce heat to medium-low, add chopped onion, carrot, and parsnip to the pot, stirring with the beech wood spatula to coat in fat. Sauté for 8 minutes, until vegetables are slightly softened and onion is translucent, then add crushed garlic and tomato paste, cooking for 1 more minute until tomato paste darkens to a deep rust color and smells fragrant.
Step 4
step4:Sauté Aromatic Vegetables
5

Deglaze Pot for Gravy

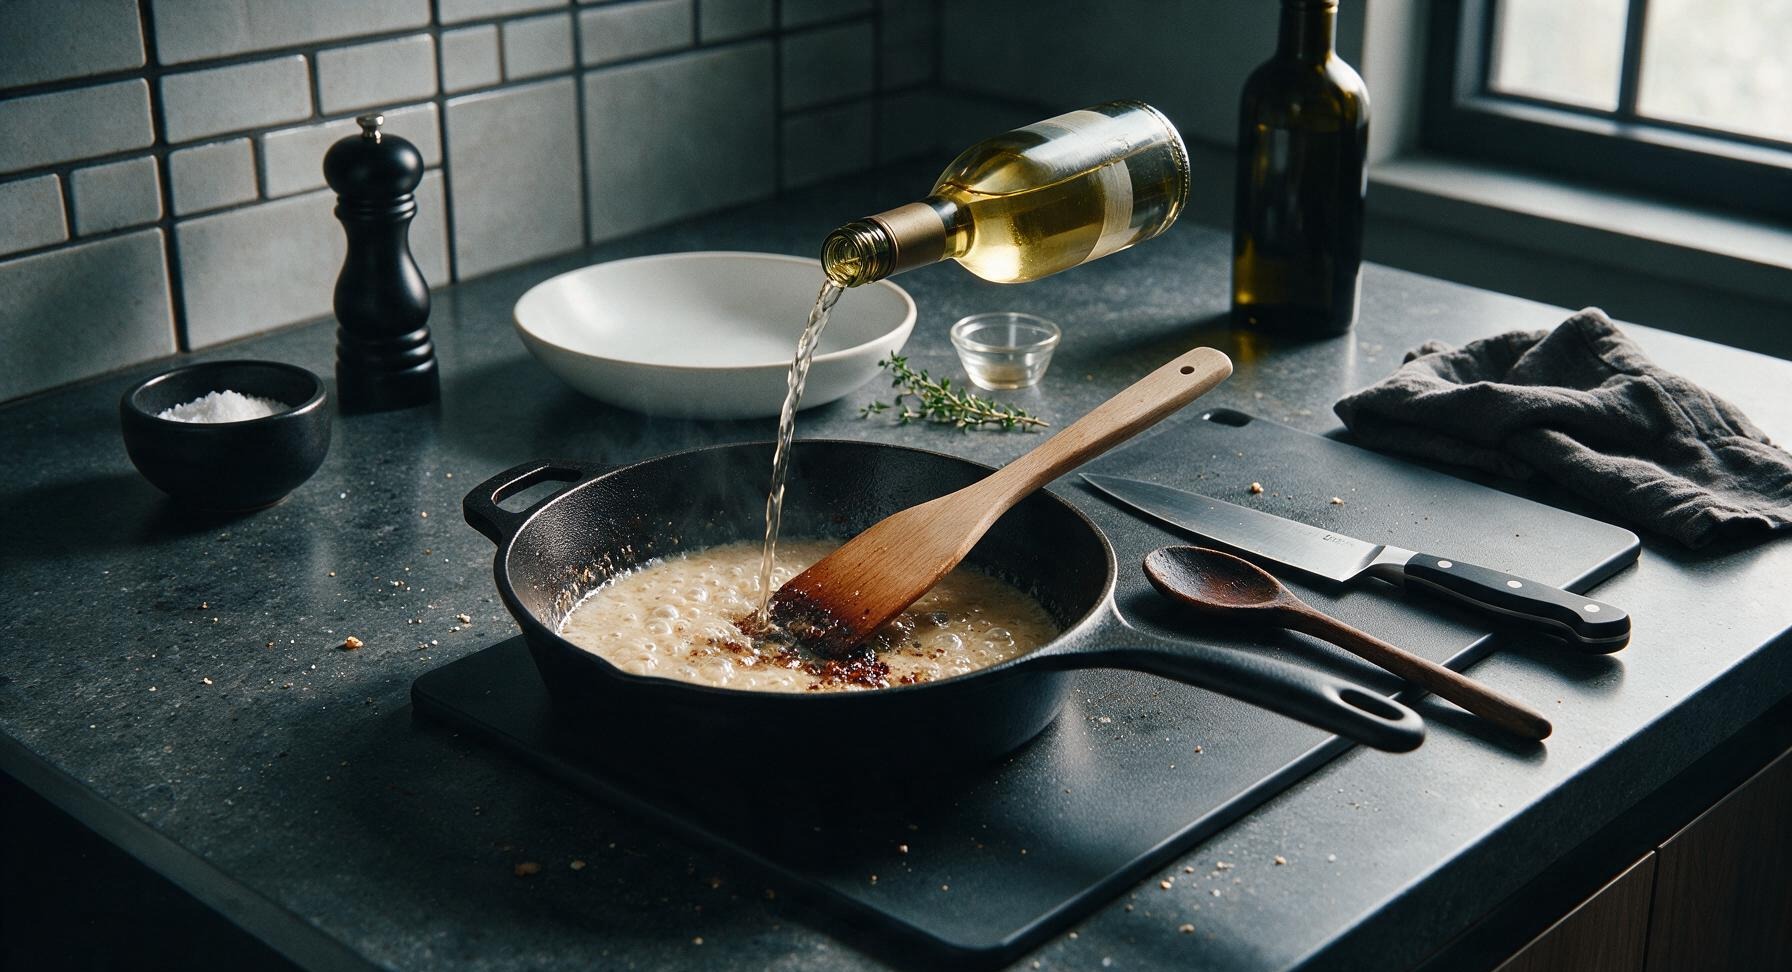
Sprinkle 2 tablespoons all-purpose flour over the sautéed vegetables, stirring constantly for 1 minute to cook out the raw flour taste. Slowly pour in 120ml dry white wine, scraping the bottom of the pot with the spatula to lift all browned fond bits (the flavorful crispy bits stuck to the pot base). Simmer for 2 minutes until wine is reduced by half, then pour in 400ml chicken stock, stirring until the flour mixture dissolves into a smooth, thin amber gravy.
Step 5
step5:Deglaze Pot for Gravy
6

Layer Casserole Ingredients

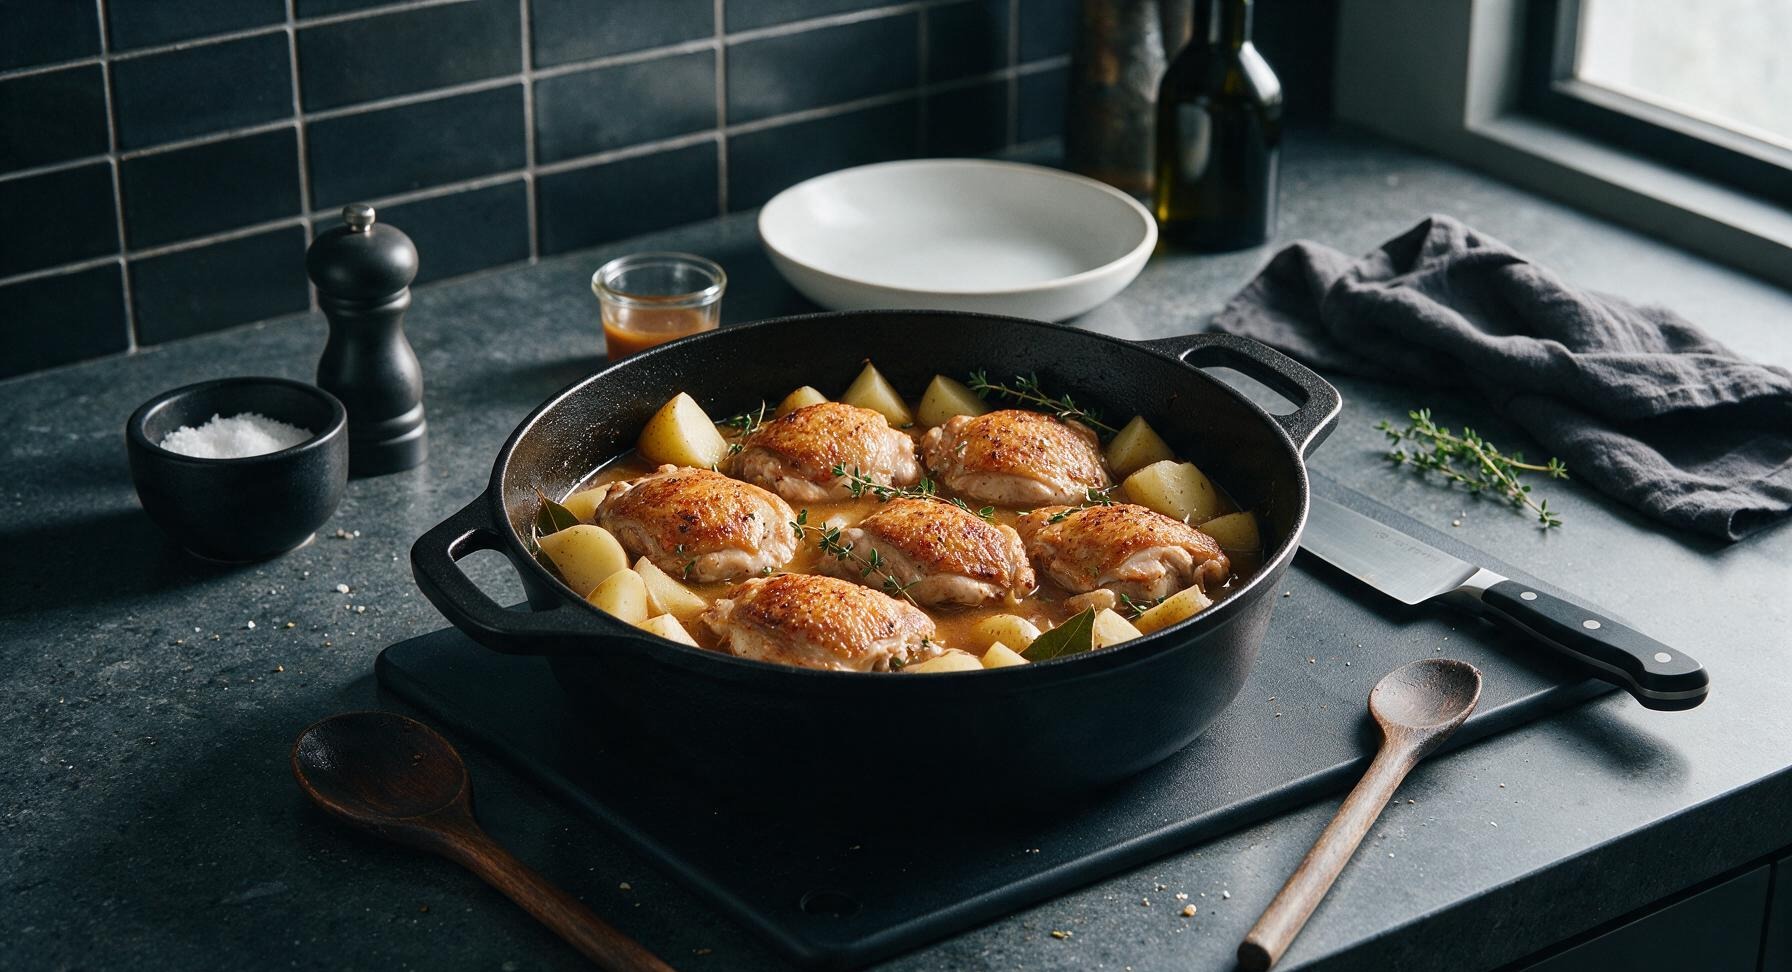
Nestle the seared chicken thighs back into the pot, skin-side up, pushing them slightly down into the gravy so they are half-submerged. Tuck potato chunks, fresh thyme sprigs, and 1 bay leaf into the liquid around the chicken, ensuring potatoes are covered by gravy to cook evenly. Bring the liquid to a gentle simmer, then skim any light foam from the surface.
Step 6
step6:Layer Casserole Ingredients
7

Bake Until Tender

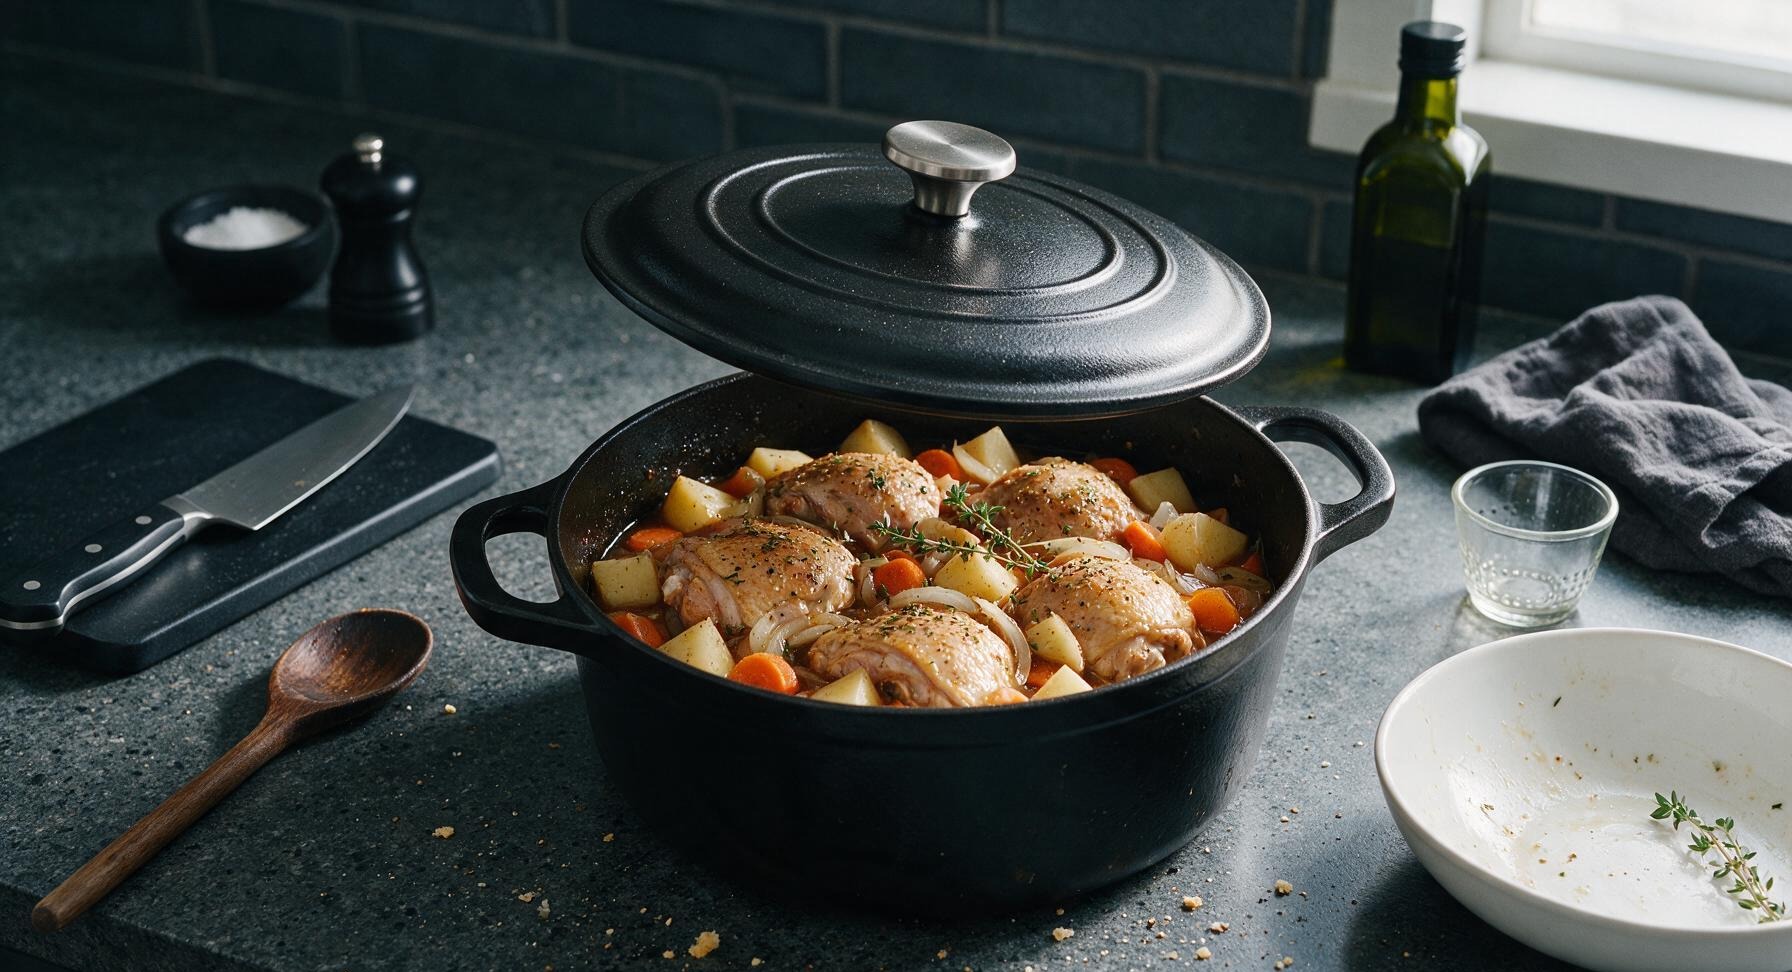
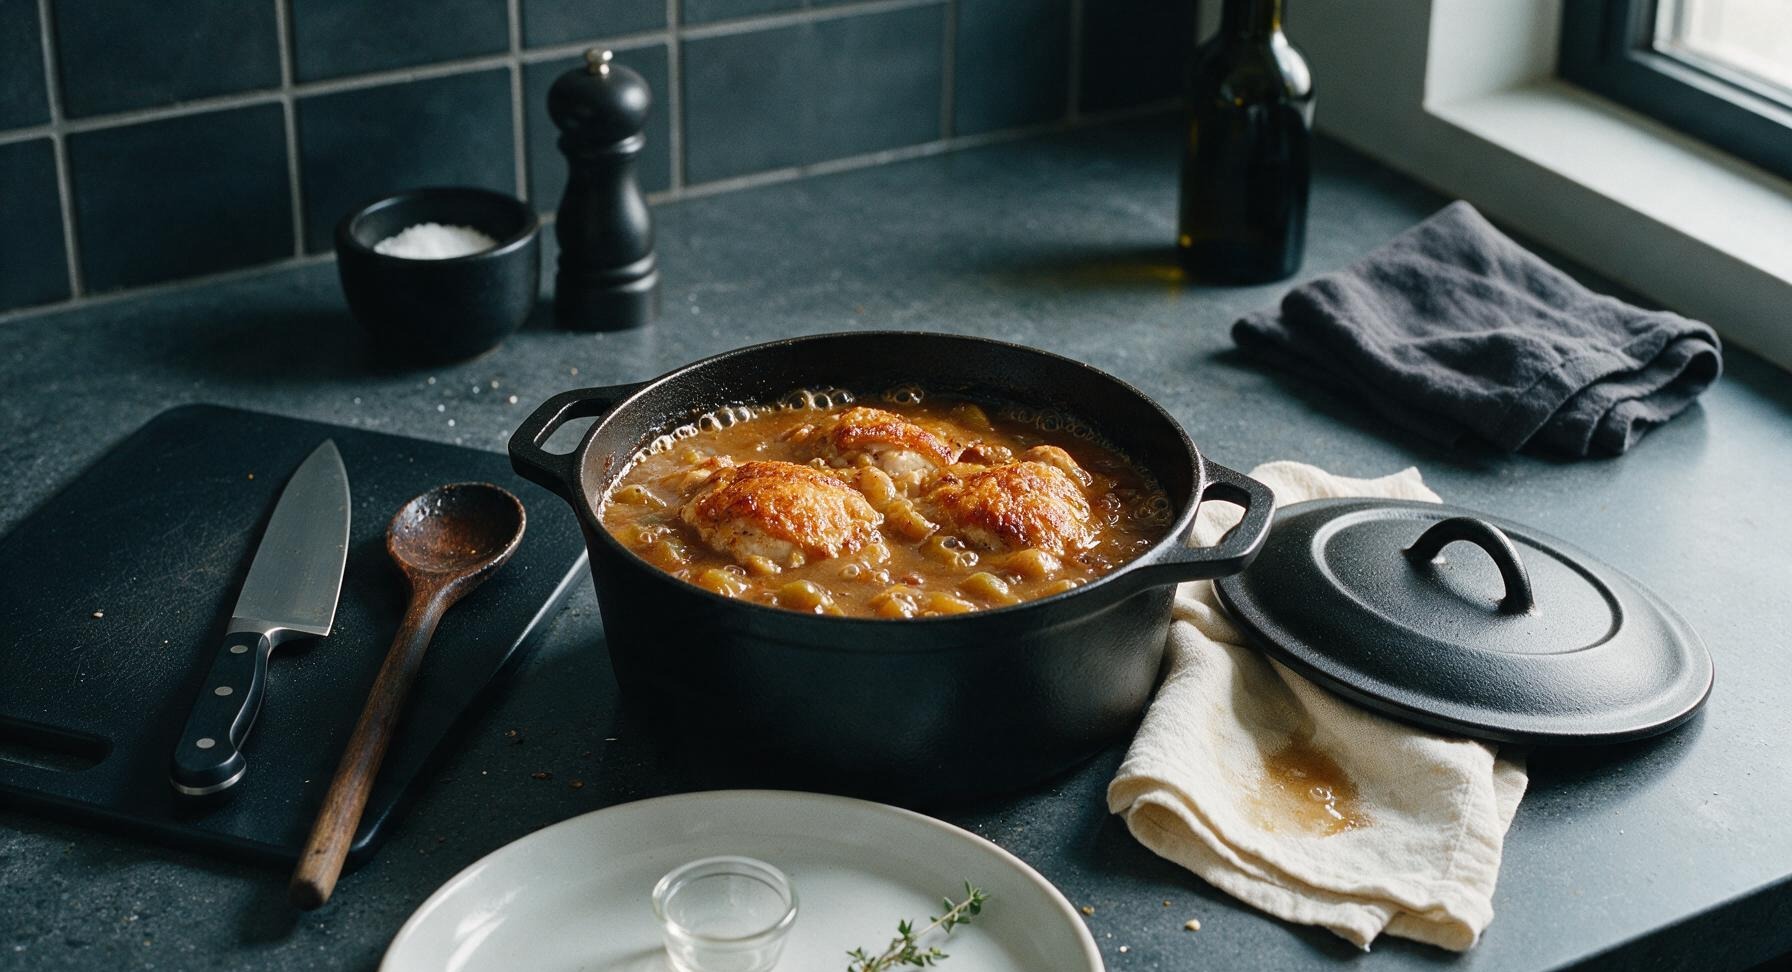
Place the cast iron lid on the pot, then transfer to a preheated 175C (350F) oven. Bake covered for 45 minutes, then remove the lid and bake for an additional 15 minutes, until chicken reaches an internal temperature of 74C (165F), potatoes are fork-tender, and gravy is thickened and bubbling around the edges. Avoid over-stirring to keep chicken skin crispy on top.
Step 7
step7:Bake Until Tender
Step 7
step7:Bake Until Tender
8

Rest and Serve

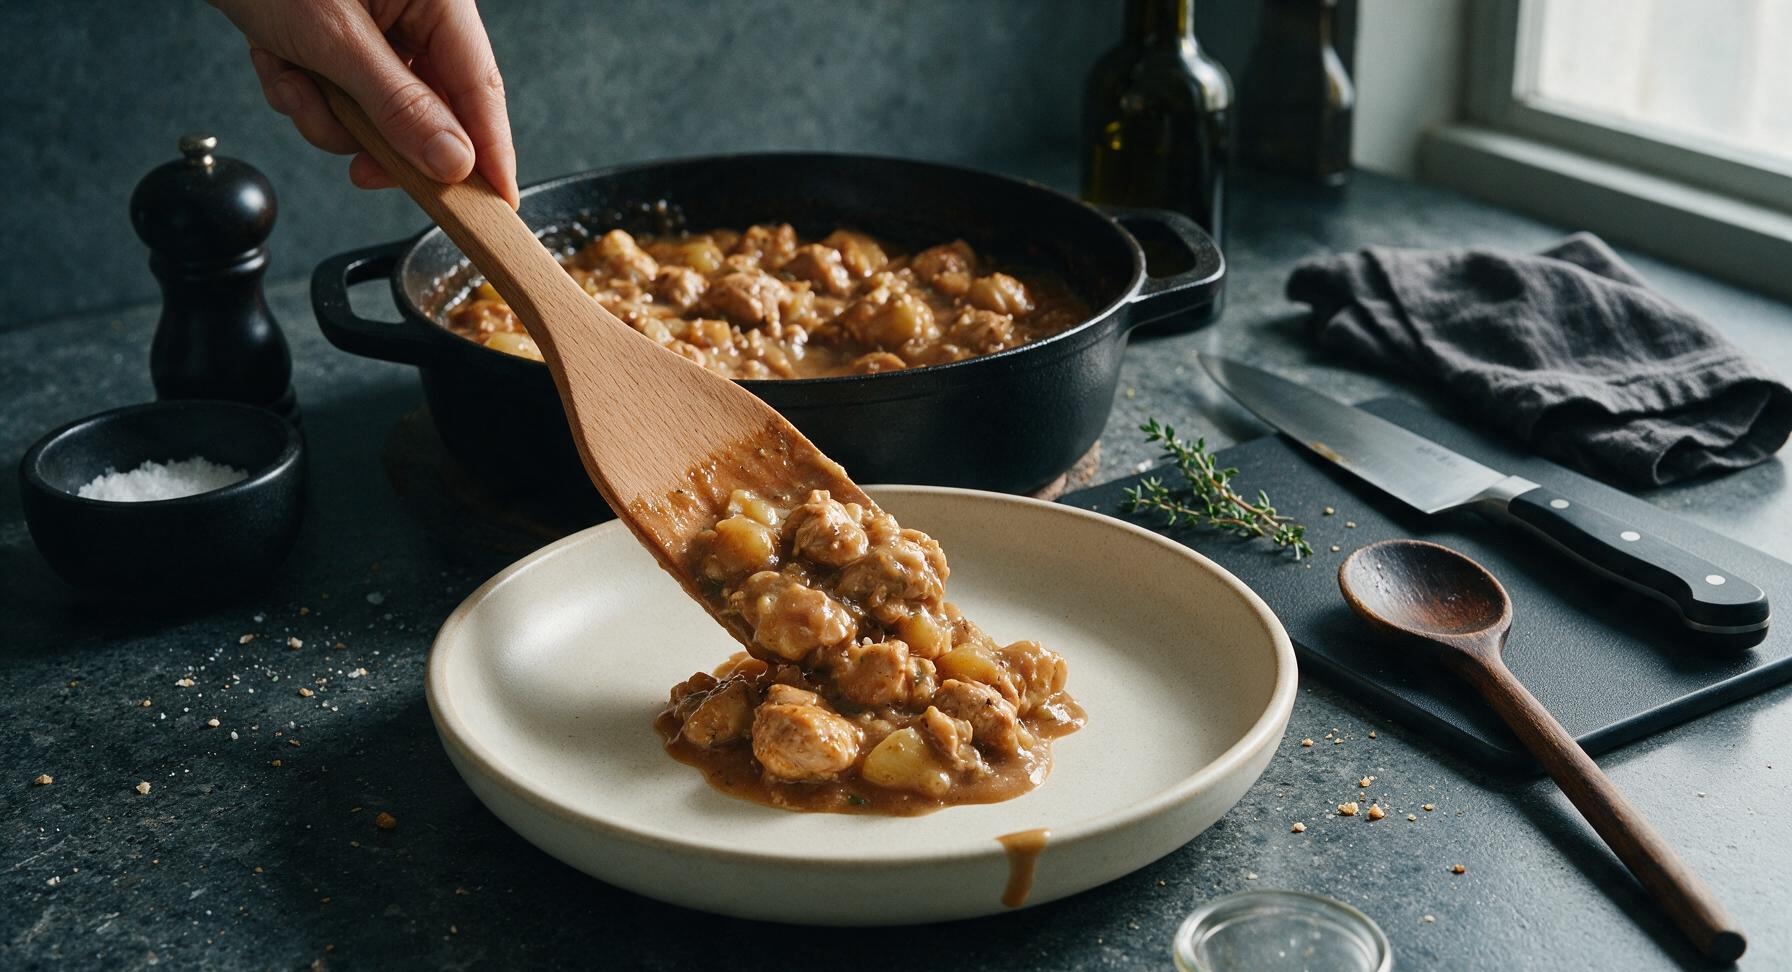
Remove the casserole from the oven, discard the bay leaf and woody thyme stems, and let rest for 10 minutes to allow gravy to settle and thicken. Taste and adjust seasoning with remaining salt and pepper if needed. Scoop servings onto the matte cream stoneware dinner plates, spooning extra gravy over the top, and garnish with a fresh sprig of thyme.
Step 8
step8:Rest and Serve

Tips

1.Pat chicken completely dry before searing: Any surface moisture will create steam instead of a crisp, golden crust, which adds deep, savory flavor to both the chicken and the gravy made from pot drippings.
2.Scrape all browned fond bits when deglazing: These dark, crispy bits stuck to the cast iron base are packed with concentrated umami; leaving them behind will result in flat, less flavorful gravy.
3.Let the casserole rest 10 minutes after baking: This allows the flour-thickened gravy to set so it coats chicken and vegetables evenly, instead of running thin across the plate, and gives meat time to reabsorb juices for extra tender bites.


✨ You May Also Like

Main Course
🍜 United Kingdom

A showstopping classic of tender seared beef, savory mushroom duxelles, and crisp prosciutto wrapped in flaky golden puff pastry, baked to juicy perfection.

⏱️ 2 hours 1Main Course ★ 4.7
Main Course
🍜 India

Tender charred marinated chicken simmered in a rich, spiced creamy tomato sauce, this iconic Anglo-Indian curry pairs perfectly with basmati rice or warm naan.

⏱️ 50 minuteMain Course ★ 4.6
Main Course
🍜 Thailand

Classic tangy, sweet, and savory Thai stir-fried rice noodles with shrimp, tofu, and crunchy garnishes, balancing all five core Thai flavor profiles.

⏱️ 30 minuteMain Course ★ 4.5
Main Course
🍜 United Kingdom

Crispy golden beer-battered cod and fluffy double-fried chips, served with tangy tartar sauce and malt vinegar: the timeless, beloved British pub comfort classic.

⏱️ 45 minuteMain Course ★ 4.7
Main Course
🍜 Mexico

Smoky, chile-marinated pork tacos with caramelized pineapple, fresh cilantro, and lime: a beloved classic Mexican street food perfect for casual summer gatherings.

⏱️ 1 hour 45Main Course ★ 4.8
Main Course
🍜 United States

Crunchy Fritos corn chips layered with savory beef chili and melted cheddar, topped with cool, zesty fixings for a beloved, cozy Tex-Mex comfort food.

⏱️ 35 minuteMain Course ★ 4.8

cast iron casserole:Frequently Asked Questions

1.Why use bone-in, skin-on chicken thighs instead of chicken breasts for this casserole? ▾
Bone-in, skin-on thighs are ideal here because their higher fat content renders as the casserole bakes, creating that shatteringly crisp chicken skin we all love, while the bone infuses the surrounding gravy and veggies with deep, savory flavor. Unlike lean chicken breasts, thighs stay tender and juicy even through longer slow bake times, so you won’t end up with dry, chalky chicken.
2.Do I need to pre-season my cast iron pot before making this casserole? ▾
If your cast iron is already well-seasoned from regular use, no extra pre-seasoning is needed beyond a light wipe to remove surface dust. If it’s newer or has patchy seasoning, give the interior a quick rub with a thin layer of neutral oil before adding ingredients—this prevents sticking, helps build that non-stick patina, and adds a subtle toasty note to the final dish.
3.Can I swap parsnips for another vegetable if I don’t have them on hand? ▾
Absolutely! Parsnips add a sweet, earthy, slightly peppery note, but great swaps include turnips, celeriac, extra carrots, or even cubed sweet potato if you prefer a sweeter profile. Just cut all root veggies to the same 1-inch size so they cook evenly and caramelize at the same rate, with no mushy, half-raw bits in your finished casserole.
4.How do I get crispy chicken skin instead of soggy skin in this casserole? ▾
The biggest trick to crispy skin is patting chicken thighs completely dry with paper towels before placing them skin-side up on top of the veggies, and leaving the pot uncovered for the last 20 minutes of baking. Resist tucking chicken under the vegetable layer—exposed skin hits direct cast iron oven heat, letting fat render fully instead of steaming against moist veggies.
5.Why does this recipe call for Yukon Gold potatoes instead of russets? ▾
Yukon Golds have a perfect medium starch content that holds their shape well during slow baking, developing caramelized, crispy edges while staying creamy and tender inside, instead of turning mealy or falling apart into the gravy like drier russet potatoes can. Their thin skin means you can skip peeling if you want, cutting down on prep and cleanup time.
6.Do I need to sear the chicken first before baking the casserole? ▾
You can get great results without searing thanks to cast iron’s even, retained heat, but a quick 3-minute sear of chicken skin over medium heat before adding veggies will amp up crispiness and add extra deep, browned flavor to the gravy. If you’re short on time, skip the sear—just make sure the oven is fully preheated to jumpstart browning.
7.How do I make the rich herby gravy for this casserole? ▾
The gravy builds itself as the casserole bakes! Rendered chicken fat, vegetable juices, and hardy herbs combine at the bottom of the cast iron pot for a flavorful, light pan sauce. If you want thicker gravy, stir a slurry of 1 tablespoon cornstarch and 2 tablespoons cold water into the pot juices during the last 10 minutes of baking, then let it bubble to thicken.
8.Can I prep this casserole ahead of time for busy weeknights? ▾
Absolutely! You can chop all your veggies and pat dry the chicken thighs up to 24 hours ahead, storing them separately in airtight containers in the fridge. When you’re ready to cook, just layer everything in your cast iron pot and bake as directed. Don’t assemble the full dish more than a day ahead, as chicken skin will get soggy sitting against moist veggies.
9.What oven temperature and bake time works best for this casserole? ▾
Bake the covered casserole at 375°F for 40 minutes, then uncover and bake for an additional 20 to 25 minutes. The initial covered cook lets veggies tenderize and chicken cook gently, while the uncovered final stretch crisps skin, caramelizes veggie edges, and reduces pan juices into rich gravy. Always confirm chicken hits 165°F near the bone for food safety.
10.Can I make this recipe if I don’t own a cast iron pot? ▾
While cast iron is ideal for its even heat retention and seamless stovetop-to-oven use, you can use any heavy-bottomed, oven-safe Dutch oven with a tight-fitting lid as a substitute. Avoid thin, lightweight baking dishes, as they create hot spots that burn veggie bottoms and won’t crisp chicken skin evenly, and confirm your dish is rated for at least 425°F.
11.How do I prevent the root vegetables from turning mushy as they bake? ▾
Cut all your carrots, parsnips, potatoes, and onion into uniform 1-inch chunks so they cook at the same rate, and don’t over-stir them once they’re in the pot. Tucking veggies under the chicken instead of leaving them fully exposed for the whole bake keeps them from over-caramelizing or turning to mush, while still letting them develop sweet, golden edges.
12.What herbs work best to get that classic cozy, herby flavor? ▾
Stick to hardy, woody herbs that hold up to slow baking: fresh rosemary, thyme, and a small sprig of sage work beautifully, tossed in with the veggies before baking. If you only have dried herbs, use 1/3 the amount you’d use fresh, since dried herbs are more concentrated, and save delicate herbs like parsley for a garnish right before serving.
13.Is there a way to make this casserole lower in fat without losing flavor? ▾
You can trim any excess loose skin from the chicken thighs before baking to cut down on rendered fat, but leave a thin layer of skin on to keep chicken juicy and build that flavorful gravy base. After baking, you can also skim a spoonful of excess rendered fat off the top of the gravy before serving, without losing that deep, savory roasted flavor.
14.How many servings does this make, and what sides pair well with it? ▾
A standard batch with 6 chicken thighs and 2 pounds of mixed root veggies feeds 4 to 6 people, perfect for a casual family dinner. Since it’s already packed with protein and veggies, you don’t need much on the side: a bright green salad, crusty bread to sop up extra gravy, or a scoop of buttery egg noodles all pair beautifully without adding extra work.
15.How should I store leftovers, and how long will they stay good? ▾
Let leftover casserole cool completely within 2 hours of baking, then transfer it to an airtight container (you can even store it right in your seasoned cast iron if covered tightly) and keep it in the fridge for up to 4 days. Reheat portions in the oven at 325°F for 15 minutes, or the microwave for 2 minutes, until chicken hits 165°F to keep skin as crisp as possible.
16.Why do my roasted vegetables sometimes turn out bland even after baking? ▾
The most common culprit is under-seasoning the veggie layer before baking! Toss your chopped onion, carrots, parsnips, and potatoes with a generous pinch of kosher salt, black pepper, and herbs before adding chicken on top—don’t just season the chicken. Salt draws out veggie juices as they bake, building deeper flavor and helping veggies caramelize instead of tasting flat.
17.Can I add extra mix-ins to this casserole to change up the flavor? ▾
Definitely! Toss in a handful of sliced cremini mushrooms with the veggies for extra umami, add 2 cloves of crushed garlic for a warm, aromatic kick, or stir a half cup of frozen peas into the gravy during the last 5 minutes of baking for bright color and sweetness. Just don’t overcrowd the pot, as too many extras will make chicken skin steam instead of crisping.

Comments (14)

2 days ago

OMG this casserole was a total game changer for our weeknight family dinner! I was worried it would take forever since it’s cast iron, but it was so easy to throw together even with all three kids tugging at my sleeves. The chicken came out so juicy, and the crispy edges from the cast iron? *Chef’s kiss* My kids went back for seconds, even my picky middle one who turns his nose up at everything! 10/10 will be adding this to our regular rotation.

yesterday

Wait did you use boneless skinless thighs like the recipe says or breasts? I only have breasts on hand and don’t wanna run to the store!

yesterday

So glad your family loved it! Boneless skinless breasts work totally fine here too — just make sure you don’t overcook them, and toss an extra tablespoon of butter on top to keep them moist!

1 week ago

Made this for our Sunday potluck with the neighbors and it was gone in 10 minutes flat! I added a little extra shredded cheddar on top the last 10 minutes of baking and it took it over the top. The cook time was exactly as stated, no guessing, which I love. Only reason I’m not giving 5 stars is I wish there was a little more seasoning recommendation — I tossed in some paprika and garlic powder and it was perfect.

5 days ago

Thanks for the awesome feedback! That extra cheddar hack sounds incredible — we’ll be sure to add optional paprika and extra garlic notes to the recipe card for future cooks!

30 minutes ago

SO good. I was skeptical a one-pan cast iron casserole could actually be hearty enough to feed me and my two roommates after our weekend hike, but we all had full plates and leftovers for lunch tomorrow. Zero cleanup too since it all cooks in the same skillet? Are you kidding? That’s the real win for me.

1 week ago

This is my new go-to meal prep for the work week! It reheats like a dream, doesn’t get soggy, and the portion size is perfect. I was worried cast iron clean up would be a pain after making a big batch, but as long as you wipe it out while it’s still warm it’s no trouble at all. Already made this two weeks in a row!

5 days ago

How long do the leftovers stay good in the fridge for? I usually prep on Sundays for the whole week!

3 days ago

Great question! Stored in an airtight container, these leftovers will stay fresh for 3-4 days in the fridge — we don’t recommend freezing it though, as the potato and veggie texture can get a little mushy when thawed.

2 weeks ago

I’ve been making chicken casserole for 40 years and I have to say, this version is right up there with my old family recipe! The cast iron gives it that deep, toasty flavor you just can’t get from a glass baking dish. I used home-canned green beans from my garden instead of frozen and it tasted like pure comfort.

1 week ago

Oh the home canned green bean swap is genius! I have a whole shelf of them from summer canning, I’m definitely doing that next time I make this!

2 hours ago

Took me a minute to remember where I stored my cast iron skillet after moving, but this recipe was 100% worth digging it out for. Super straightforward, no weird fancy ingredients I had to track down at a specialty grocery store, and the whole apartment smelled amazing while it baked.

yesterday

Brought this to my office potluck yesterday and I can’t tell you how many people asked me for the recipe! It’s so filling, not too heavy, and it stayed warm the whole drive over since the cast iron holds heat so well. Pro tip: sprinkle a little crispy fried onion on top before serving for extra crunch.

5 minutes ago

That fried onion tip is *chef’s kiss* — we love hearing little customizations people come up with, thanks for sharing!

3 days ago

Wait, has anyone tried making this with bone-in chicken? I prefer the flavor but I wasn’t sure if the cook time would change? I’m making this for my partner’s birthday dinner tonight and don’t wanna mess it up!

2 days ago

I made it with bone-in thighs last week! Just added 10 extra minutes of cook time, covered with foil so the top didn’t burn, and it turned out perfect, so much extra flavor.

2 days ago

Kevin is exactly right! Bone-in cuts work beautifully, just tack on 8-12 minutes of cook time and check that the internal temp hits 165°F before pulling it out. Hope the birthday dinner is a hit!

5 days ago

I don’t cook a ton, honestly, but this recipe was marked easy so I gave it a shot. Wow. Even I didn’t mess it up! The directions were super clear, no weird confusing steps, and it came out looking exactly like the photos. My roommate thought I ordered takeout, lmao.

3 days ago

This makes me so much more confident to try it! I’m literally the worst at cooking chicken, it always comes out dry, so I’m glad to hear the directions are easy to follow.

5 days ago

This is the perfect cold weather comfort food! We had our first snowfall here last weekend and this hit so different. Warm, savory, hearty, didn’t leave me feeling gross and overly stuffed like a lot of creamy casseroles do. Will be making this all winter long.

3 days ago

Tried making this last night and the bottom got a little burnt on my cast iron? Did I have the heat too high? I followed the oven temp exactly but my skillet is pretty old and seasoned to death, wonder if that’s why?

2 days ago

Oh yeah, older well-seasoned cast iron can conduct heat way faster than newer ones! I usually drop my oven temp by 25 degrees when I use my grandma’s 70 year old skillet for casseroles.

2 days ago

Great call out! If you have a vintage or extra-thick cast iron skillet, dropping the temp by 25°F and checking for doneness 10 minutes early usually prevents that burnt bottom. Sorry that happened on your first go, give it another shot!

yesterday

My 7 year old helped me stir everything together for this last night and he was so proud to eat something he helped make! It’s such a kid-friendly recipe, no weird chunks, all familiar flavors, easy enough for little hands to help with prep. We had it with a side of dinner rolls and it was the perfect cozy Tuesday night meal.

30 minutes ago

This makes our day! We love recipes that the whole family can help make, especially when kids get to get in the kitchen and help out. The dinner roll side sounds like the perfect pairing!

just now

I swapped the regular potatoes for sweet potatoes on a whim because that’s what I had in the pantry, and holy cow it was so good! The little hint of sweetness paired with the savory chicken and veggies was unmatched. Don’t sleep on that swap if you have sweet potatoes lying around.

just now

Oh I would have never thought to do that! I have two sweet potatoes on my counter I need to use up this week, now I know exactly what I’m making for dinner tomorrow.

5 minutes ago

I’ve been in such a dinner rut lately, scrolling for easy recipes that don’t require a million dishes, and this popped up at exactly the right time. Cook time was totally reasonable for a weeknight, flavor was on point, and I didn’t have a sink full of pots and pans to scrub after dinner. Total win in my book.



