
cheese crust burrito
intro
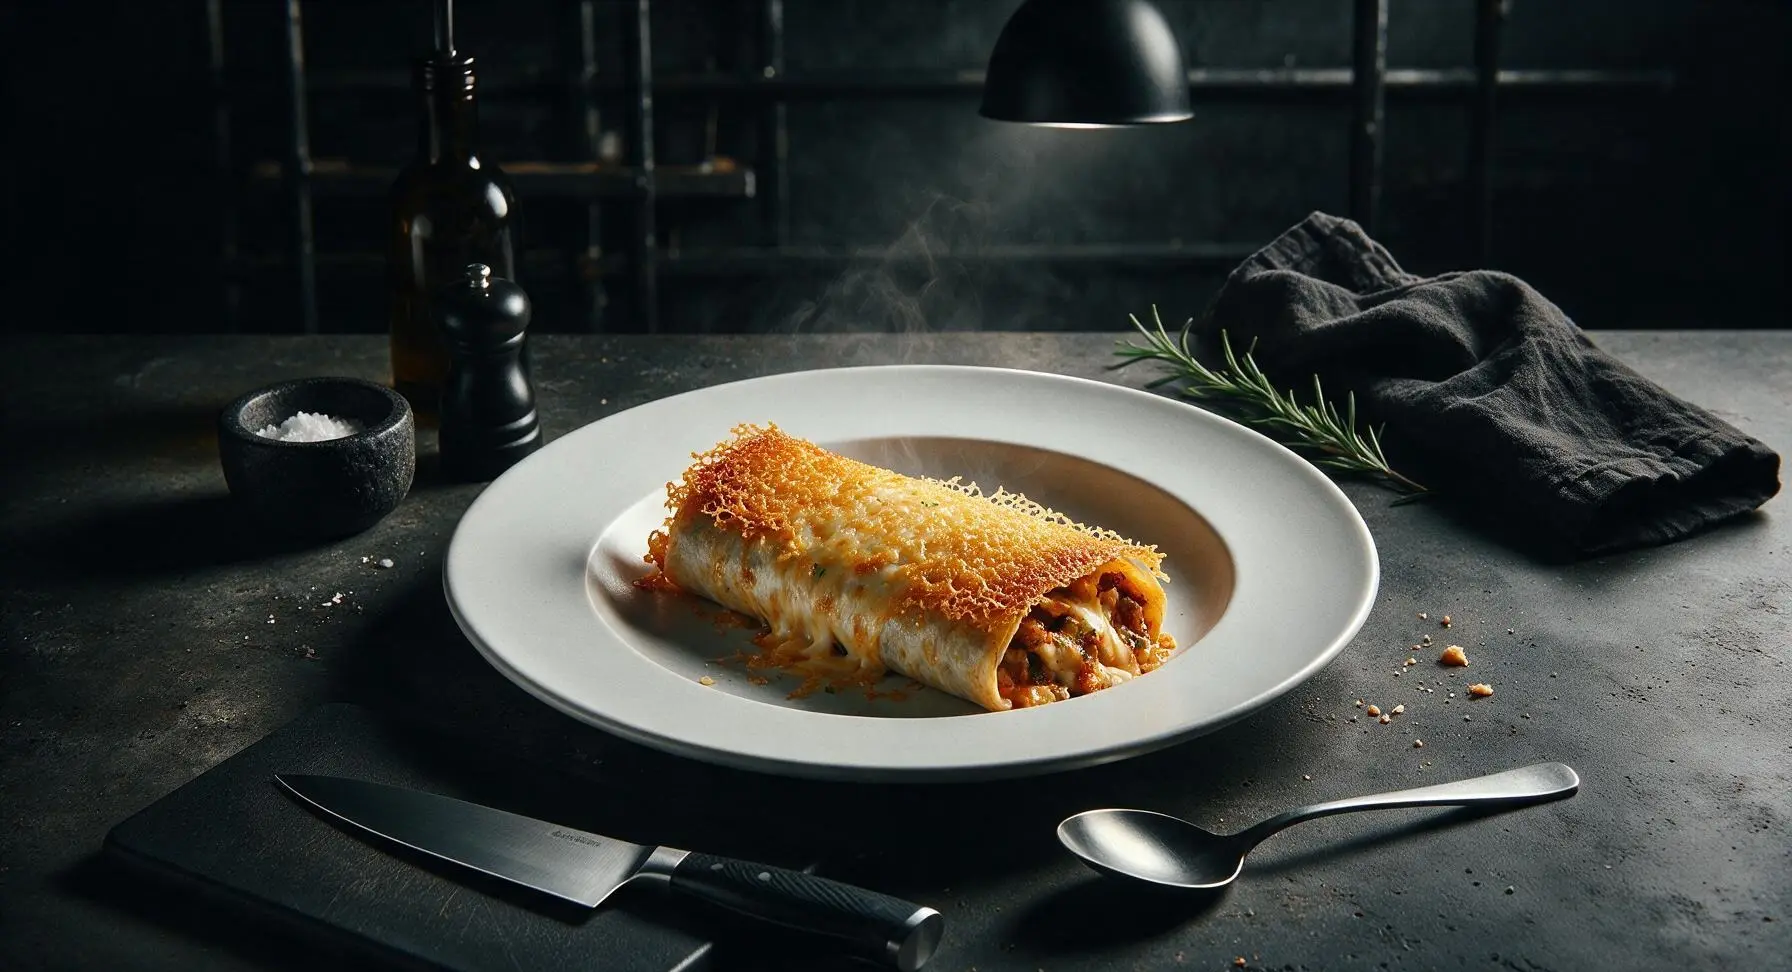
Crispy, lacy golden cheese crust wrapped around a warmly spiced, savory burrito filling—this handheld Tex-Mex favorite is quick to make, satisfying, and packed with oozing, melty cheese in every bite.
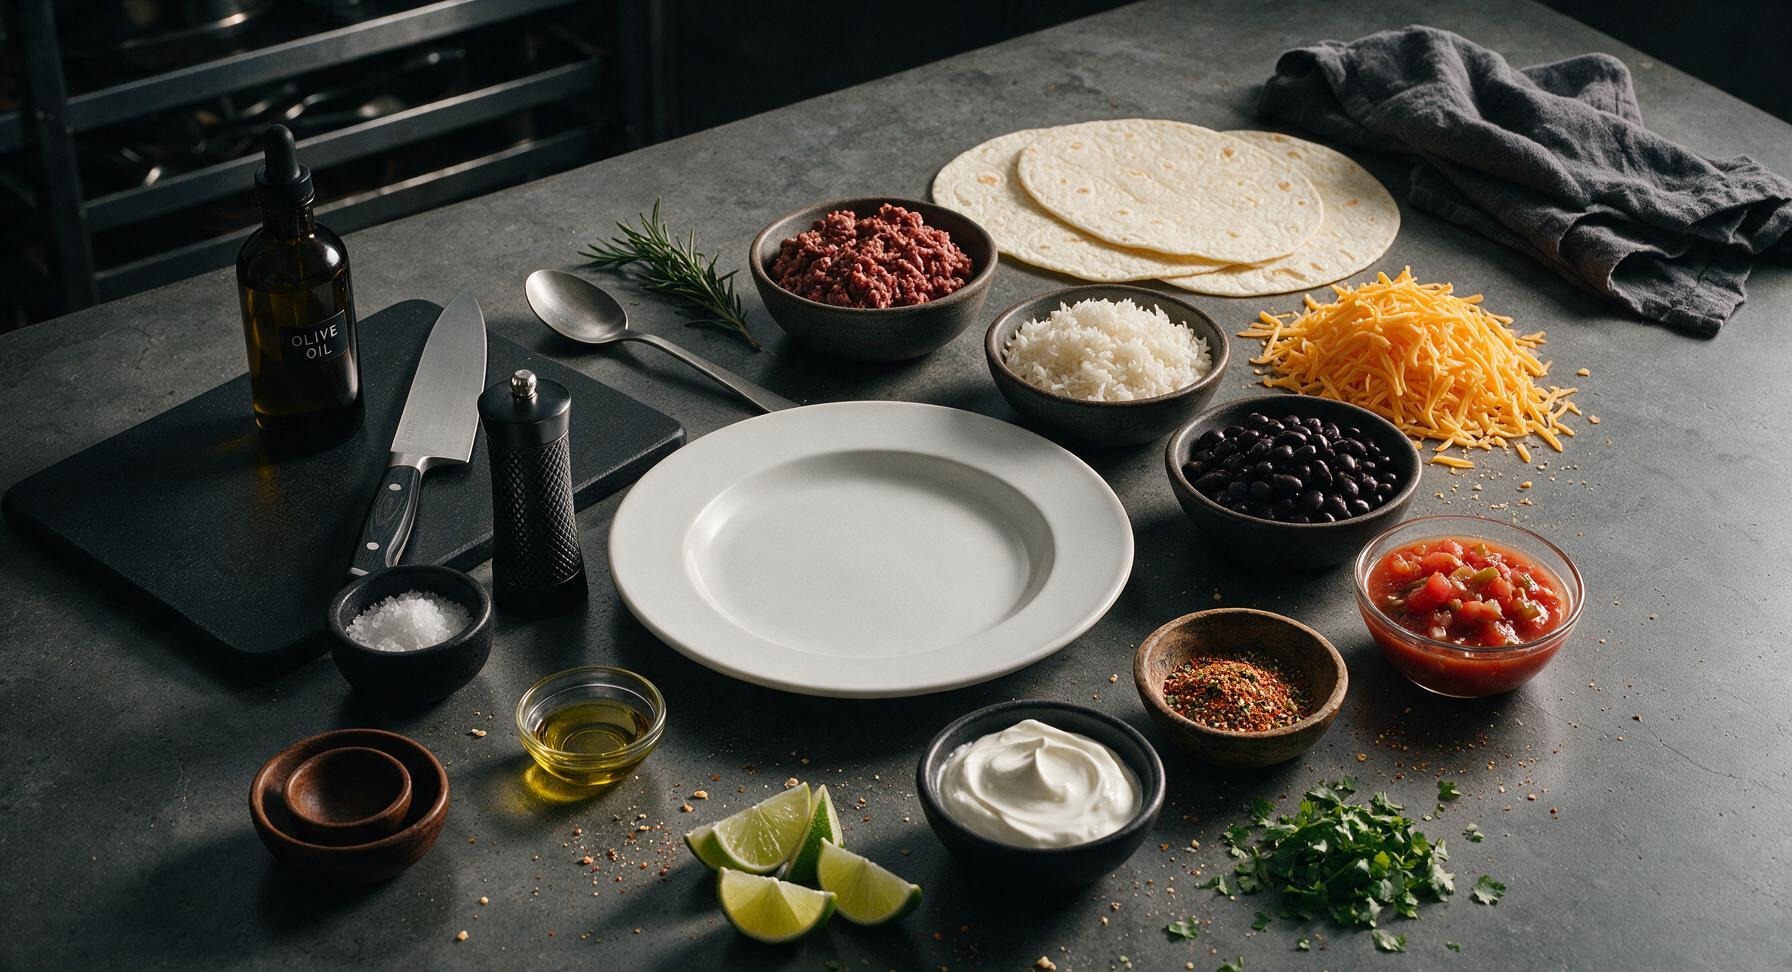
Ingredients
Steps
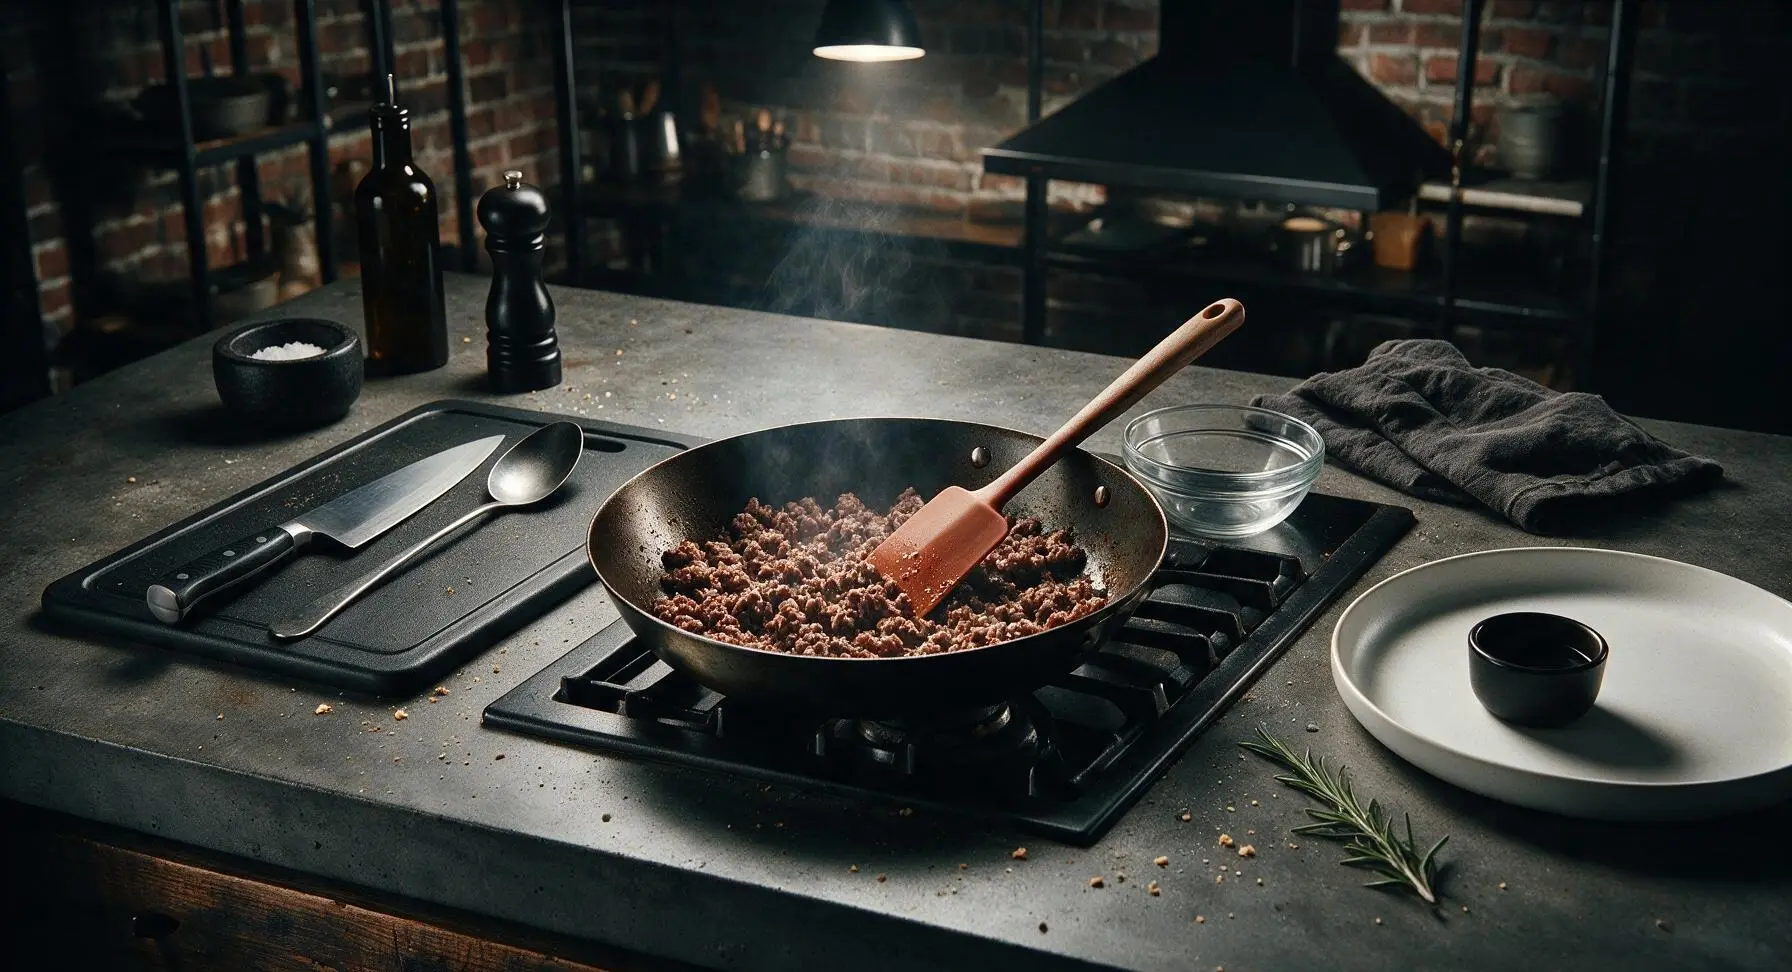
Brown Seasoned Beef
Heat 1 tablespoon olive oil in the 10-inch carbon steel skillet over medium heat (350°F/175°C). Add 225g (8oz) lean ground beef, break it apart into small crumbles with the terracotta silicone spatula, and cook for 5-6 minutes until no pink remains and the edges of the beef start to crisp slightly. Stir in 2 tablespoons taco seasoning, cook for 1 additional minute until the spice blend is fragrant and evenly coats the beef. Transfer the cooked beef to one of the clear glass prep bowls, and wipe the skillet interior lightly with a paper towel to remove excess grease, leaving a thin seasoned layer for later cooking.
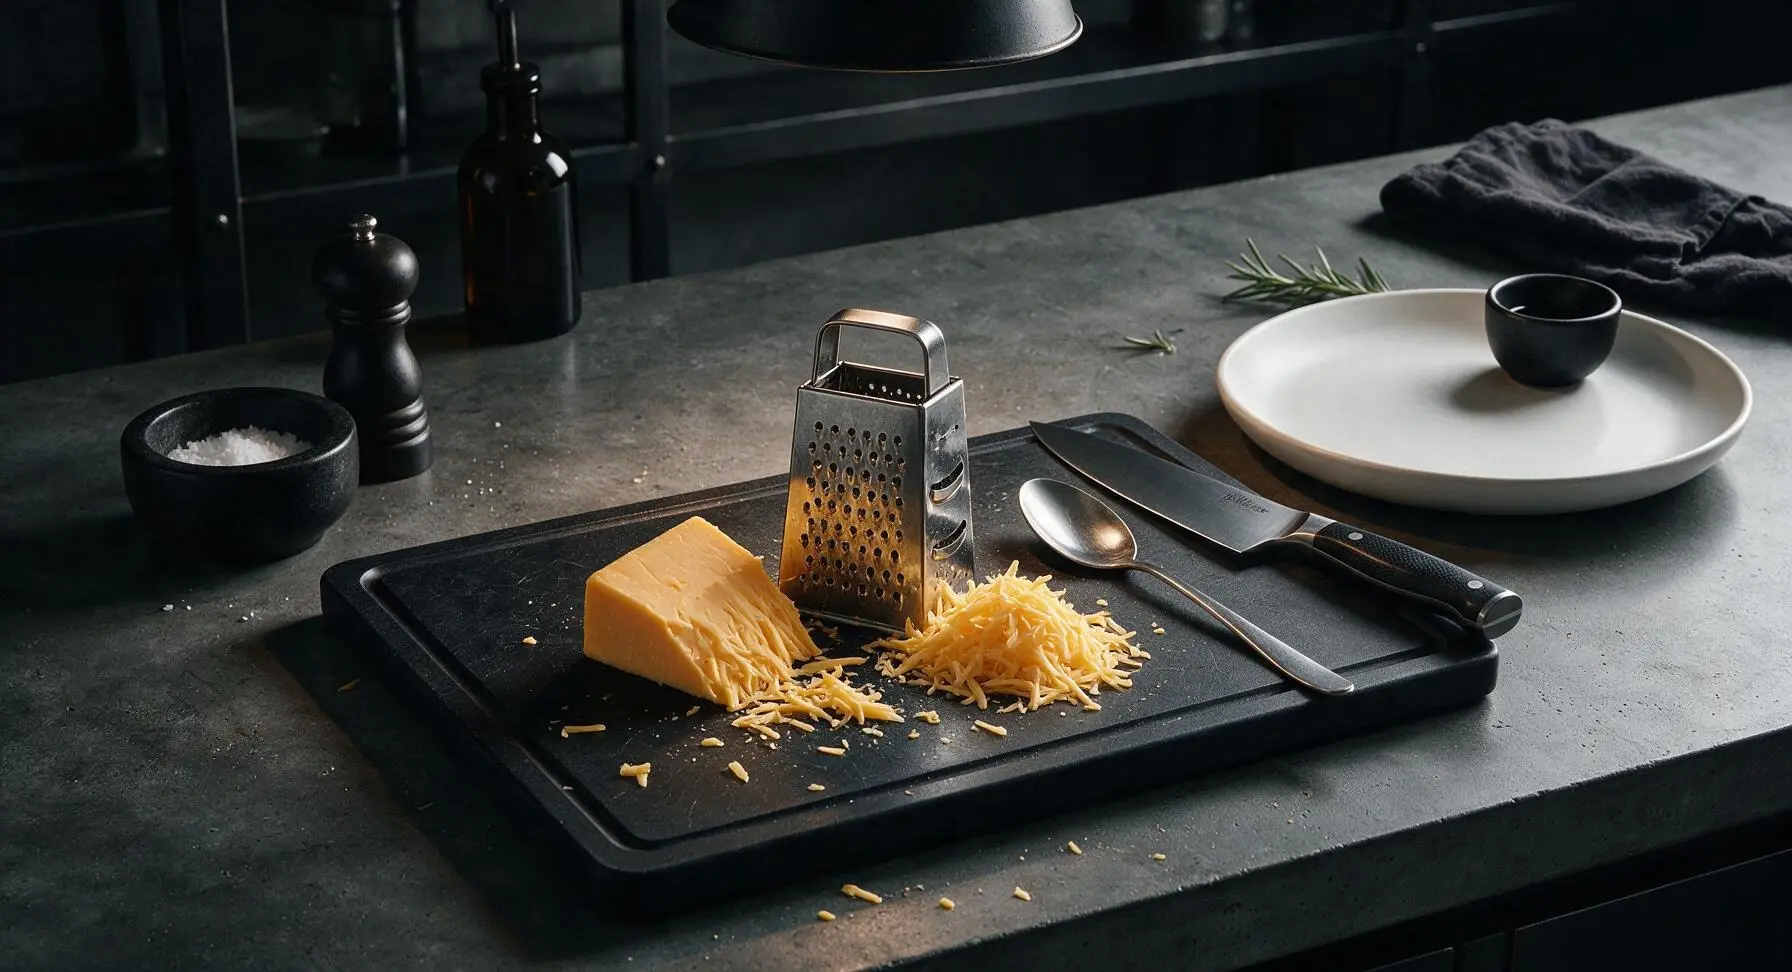
Shred Sharp Cheddar
Move the stainless steel box grater from its backsplash position to the center of the maple cutting board. Shred all 225g (8oz) of sharp cheddar cheese using the grater’s large holes, collecting fluffy shreds in a loose pile on the board. Separate the shreds into 5 equal portions: four 42g (1.5oz) portions reserved for the crispy crust, and one 55g (2oz) portion divided for the burrito filling. Keep shreds loose and uncompressed for even melting. Return the grater to its fixed backsplash position once done.
Roll Tight Burritos
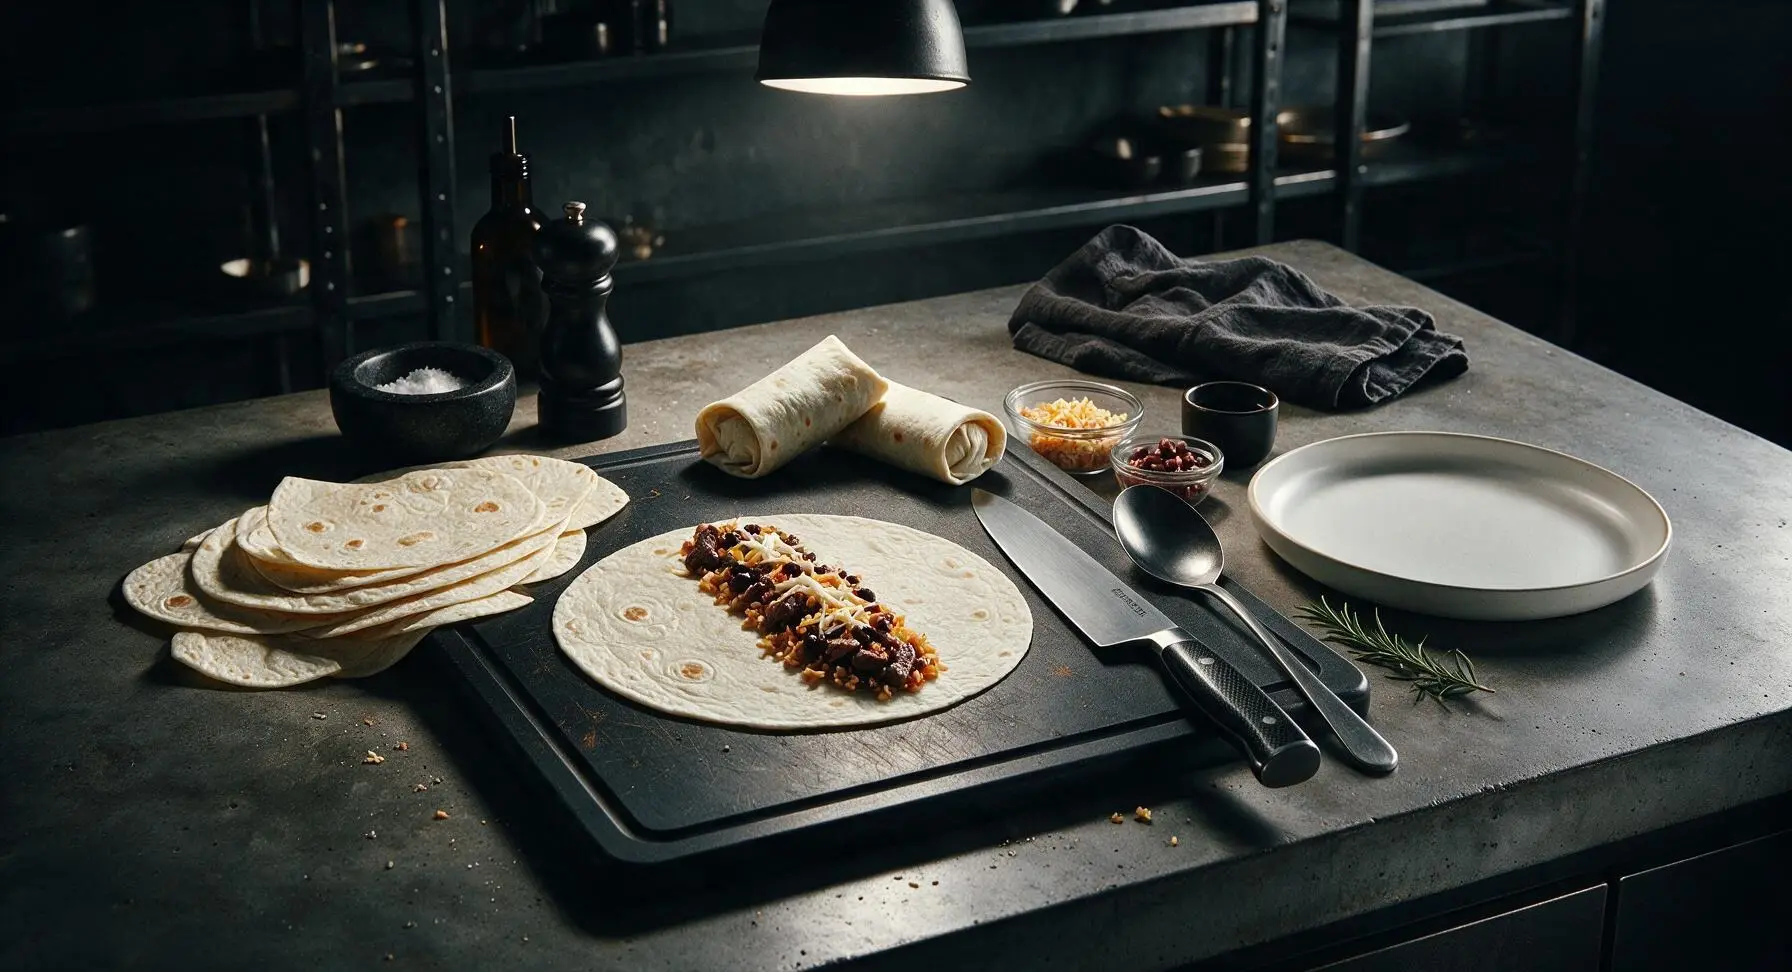
Lay one 12-inch flour tortilla flat on the empty section of the maple cutting board. Layer 1/4 of the cooked seasoned beef, 50g (1/4 cup) cooked white rice, 30g (2 tbsp) rinsed black beans, and 1/4 of the reserved filling cheese down the exact center of the tortilla, leaving a 5cm (2-inch) clear border at the top and bottom edges. Fold the short top and bottom edges over the filling, then roll the tortilla tightly from the long side to form a compact, sealed burrito. Repeat with the remaining 3 tortillas and fillings, setting finished rolled burritos seam-side down on the top edge of the cutting board.
Melt Cheese for Crust
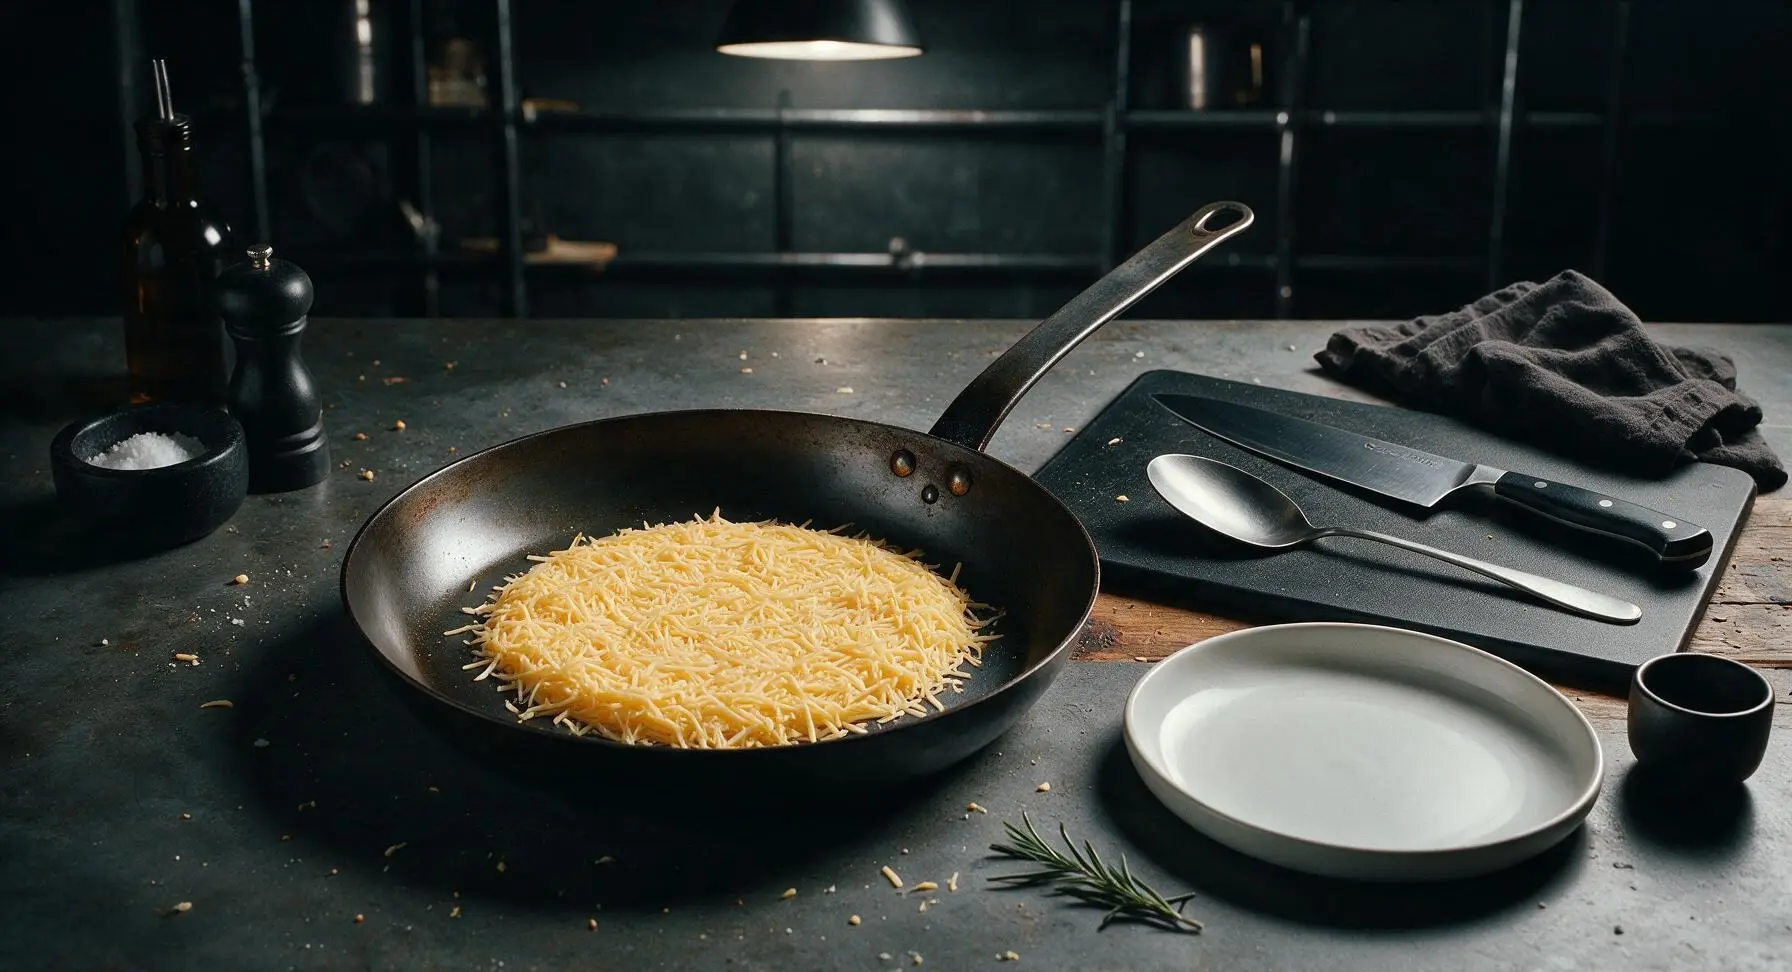
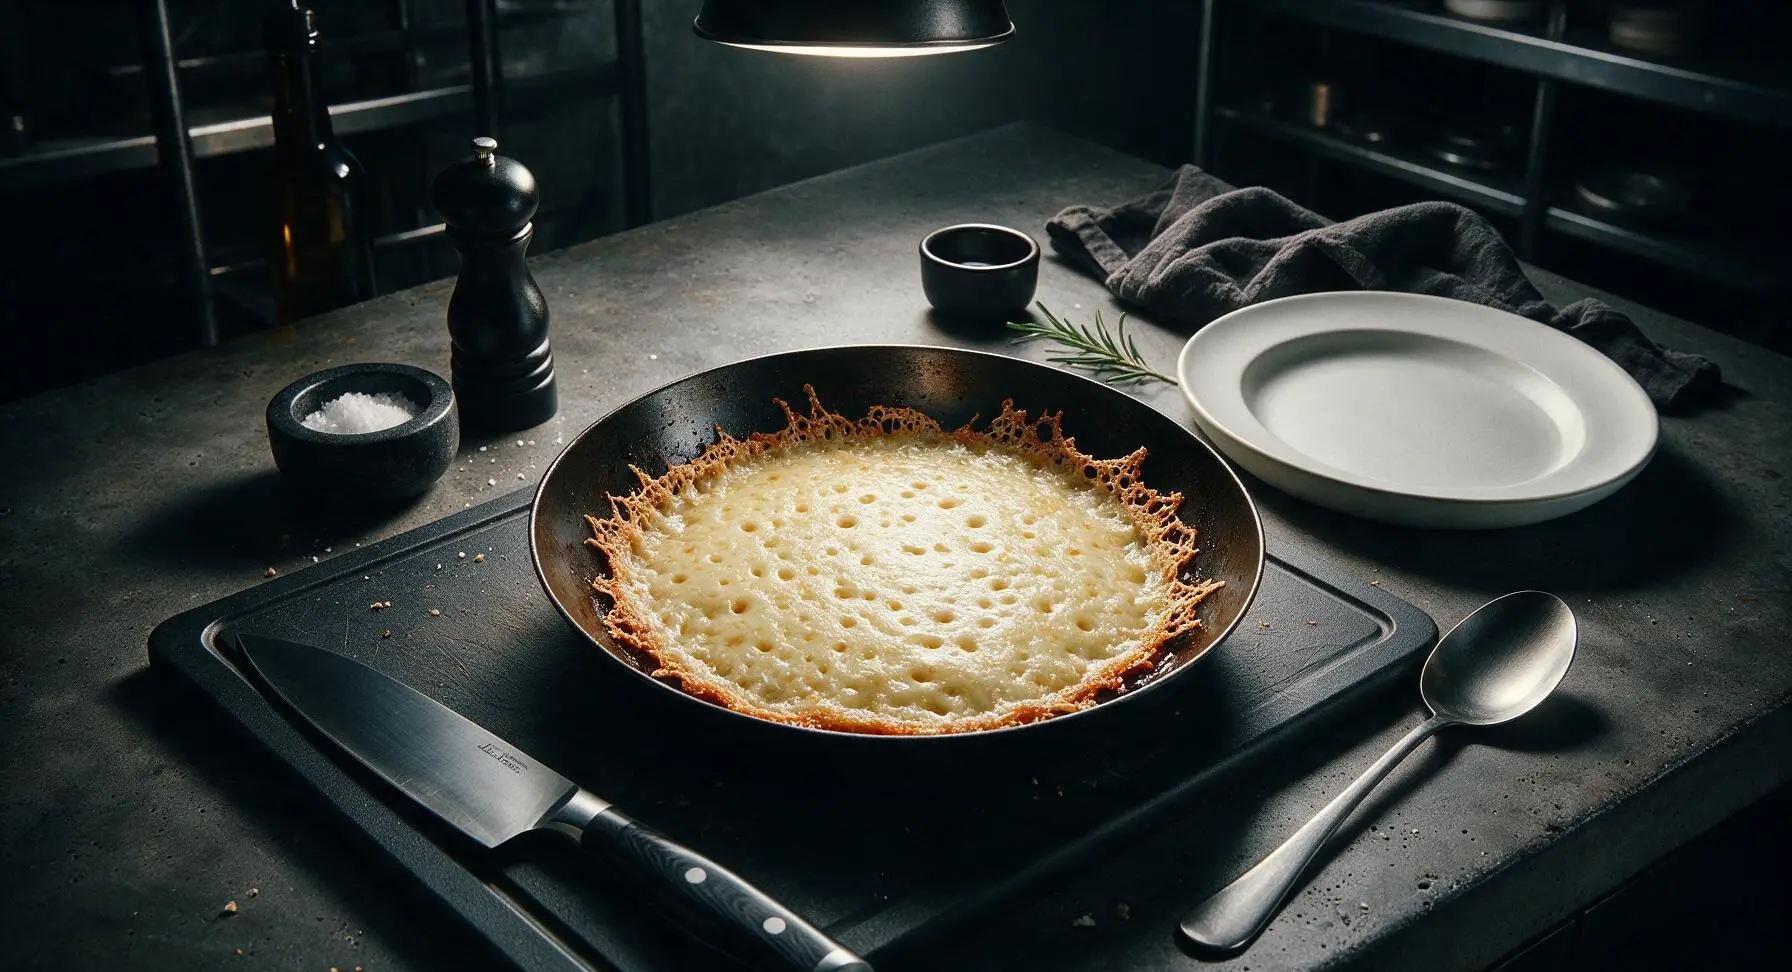
Return the wiped carbon steel skillet to medium-low heat (325°F/160°C). Do not add oil or butter to the pan. Sprinkle one 42g (1.5oz) portion of the crust cheese in an even, thin 20cm (8-inch) circle directly on the dry skillet surface. Let the cheese cook undisturbed for 1.5-2 minutes, until it is fully melted, bubbling across the entire surface, and the outermost edges turn a deep, caramelized golden amber.
Crisp Burrito on Cheese
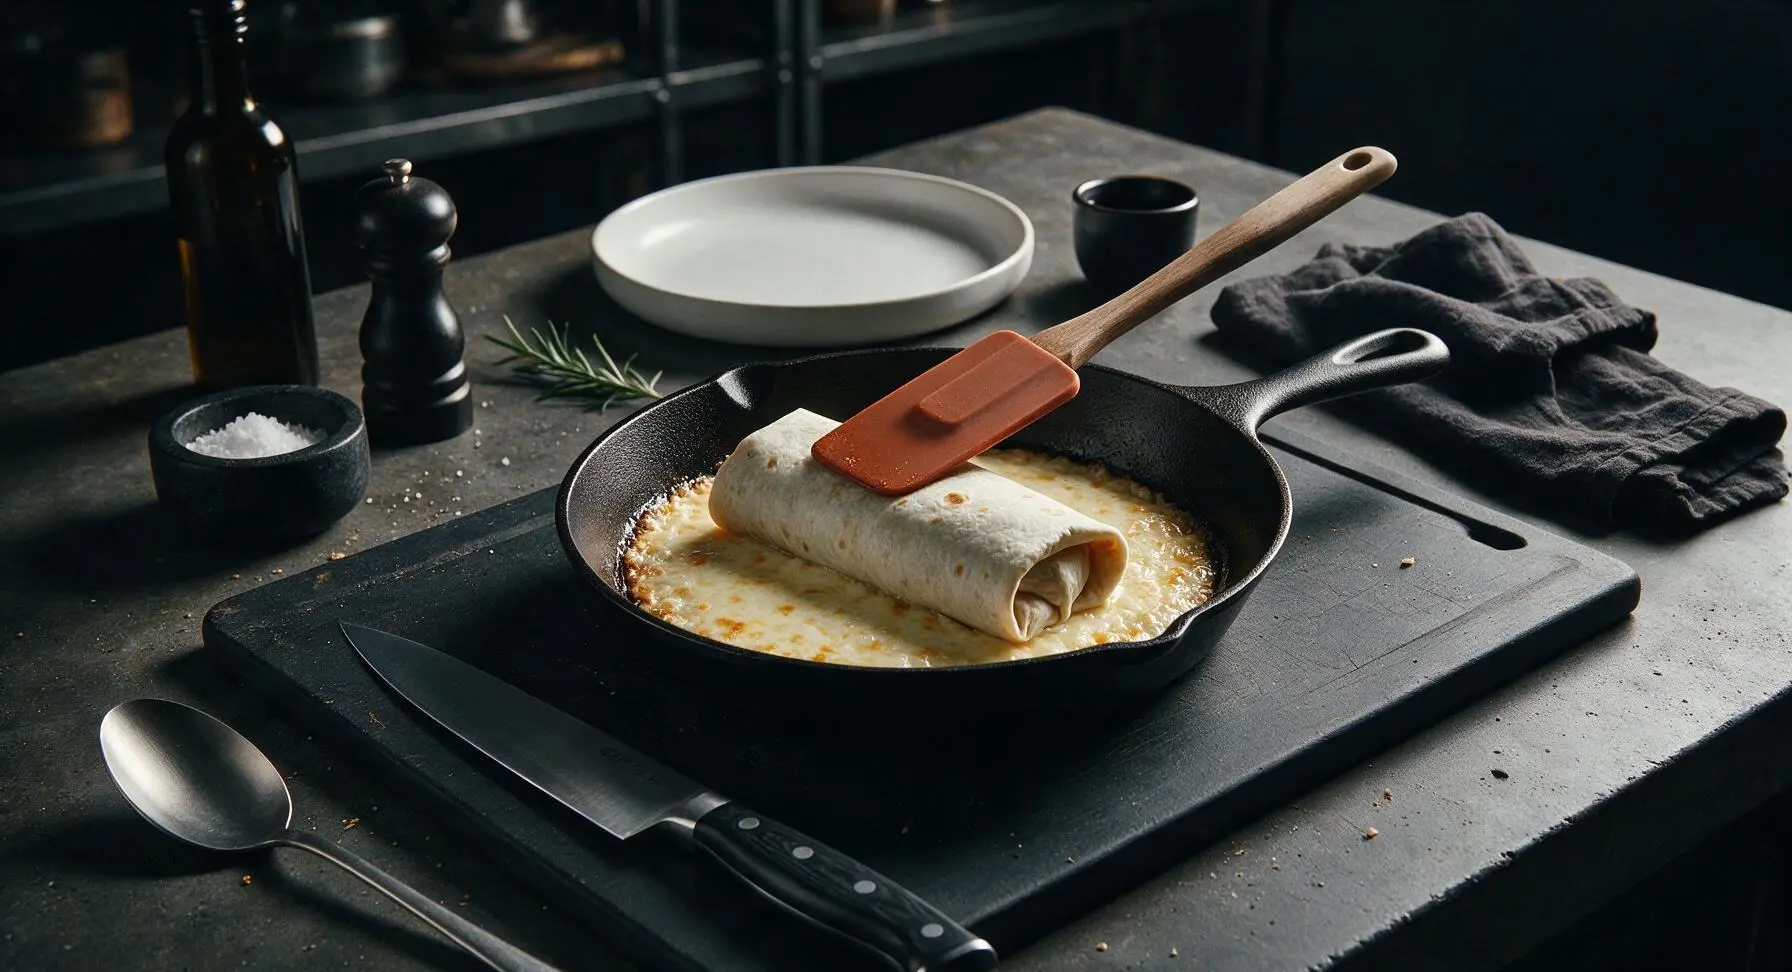
Immediately place one rolled burrito seam-side down directly on top of the melted cheese circle in the skillet, pressing lightly with the silicone spatula to ensure full contact between the tortilla and cheese. Cook for 2 minutes without moving, until the cheese fuses fully to the tortilla bottom and forms a rigid, crispy, golden crust. Use the spatula to carefully flip the burrito, and cook for 1 additional minute on the opposite side to warm the tortilla through. Transfer the finished crusted burrito to the matte off-white dinner plate, and repeat the cheese-melting and crisping process with the remaining 3 burritos.
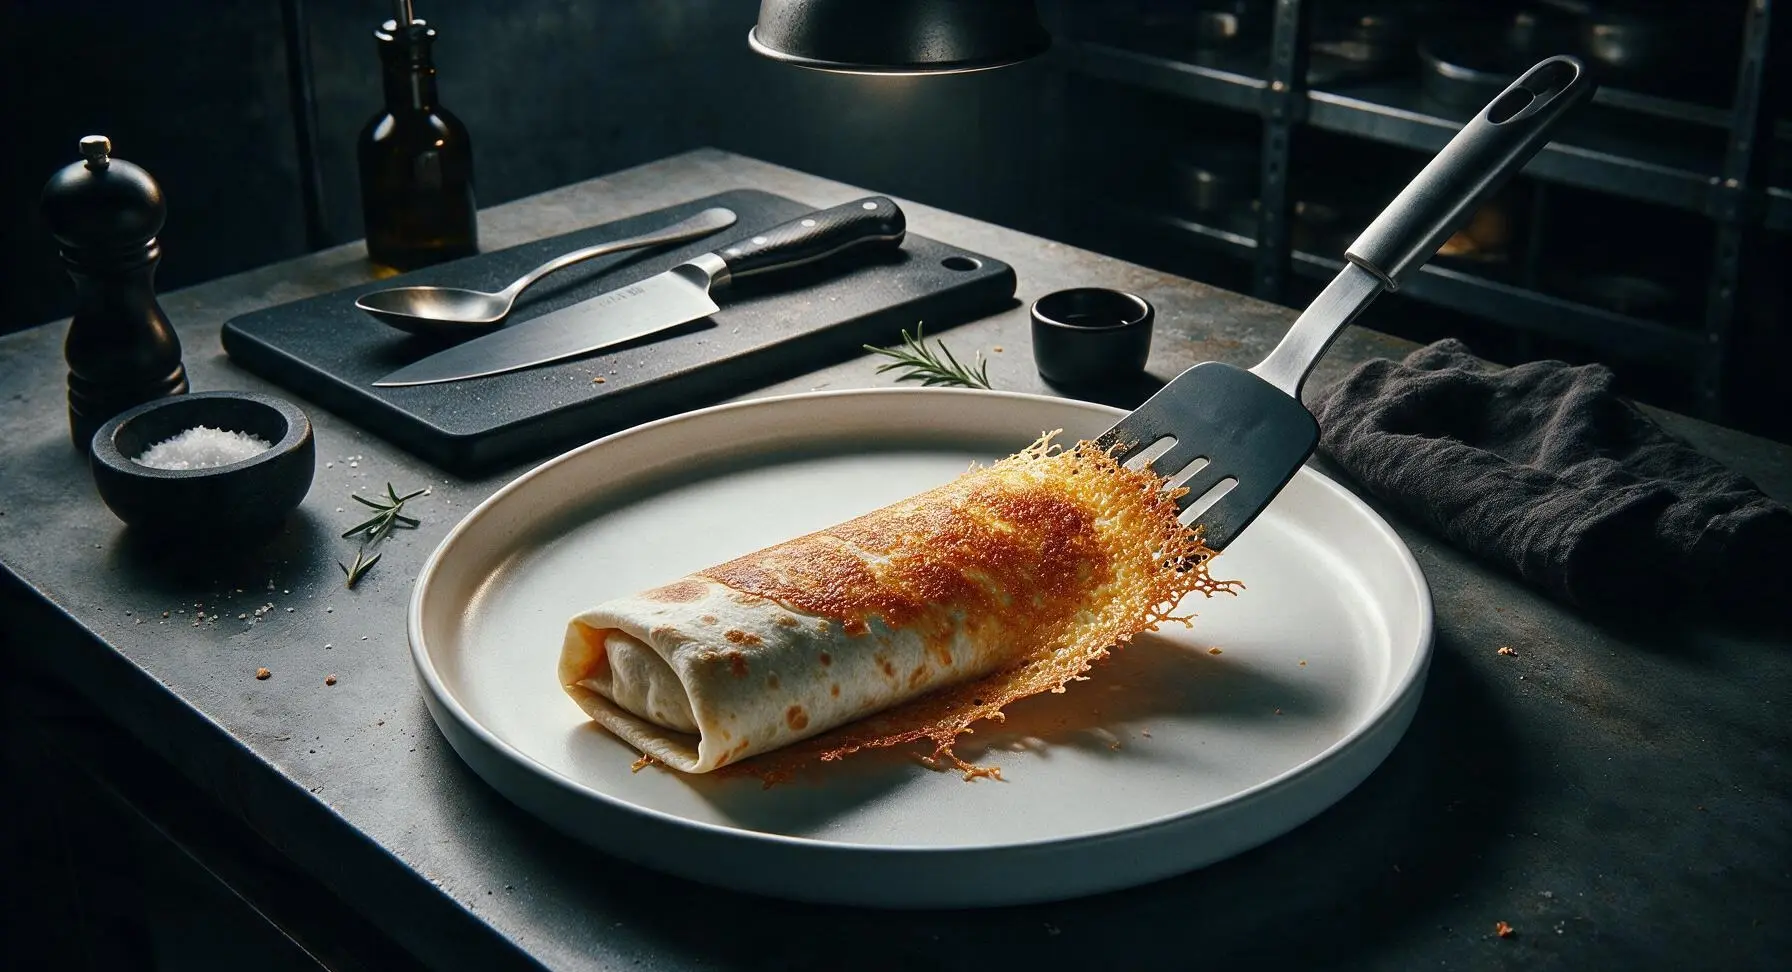
Slice and Plate Burritos
Once all 4 burritos are cooked and transferred to the off-white ceramic plate, let them rest for 2 minutes to allow the cheese crust to set and fillings to cool slightly. Use the chef knife to slice two of the burritos in half on a sharp diagonal, exposing the layered savory filling inside. Arrange the whole and halved burritos on the plate, tuck a lime wedge at the plate edge, and sprinkle a pinch of chopped fresh cilantro over top. Set the two terracotta ramekins of salsa and sour cream beside the plate for serving.
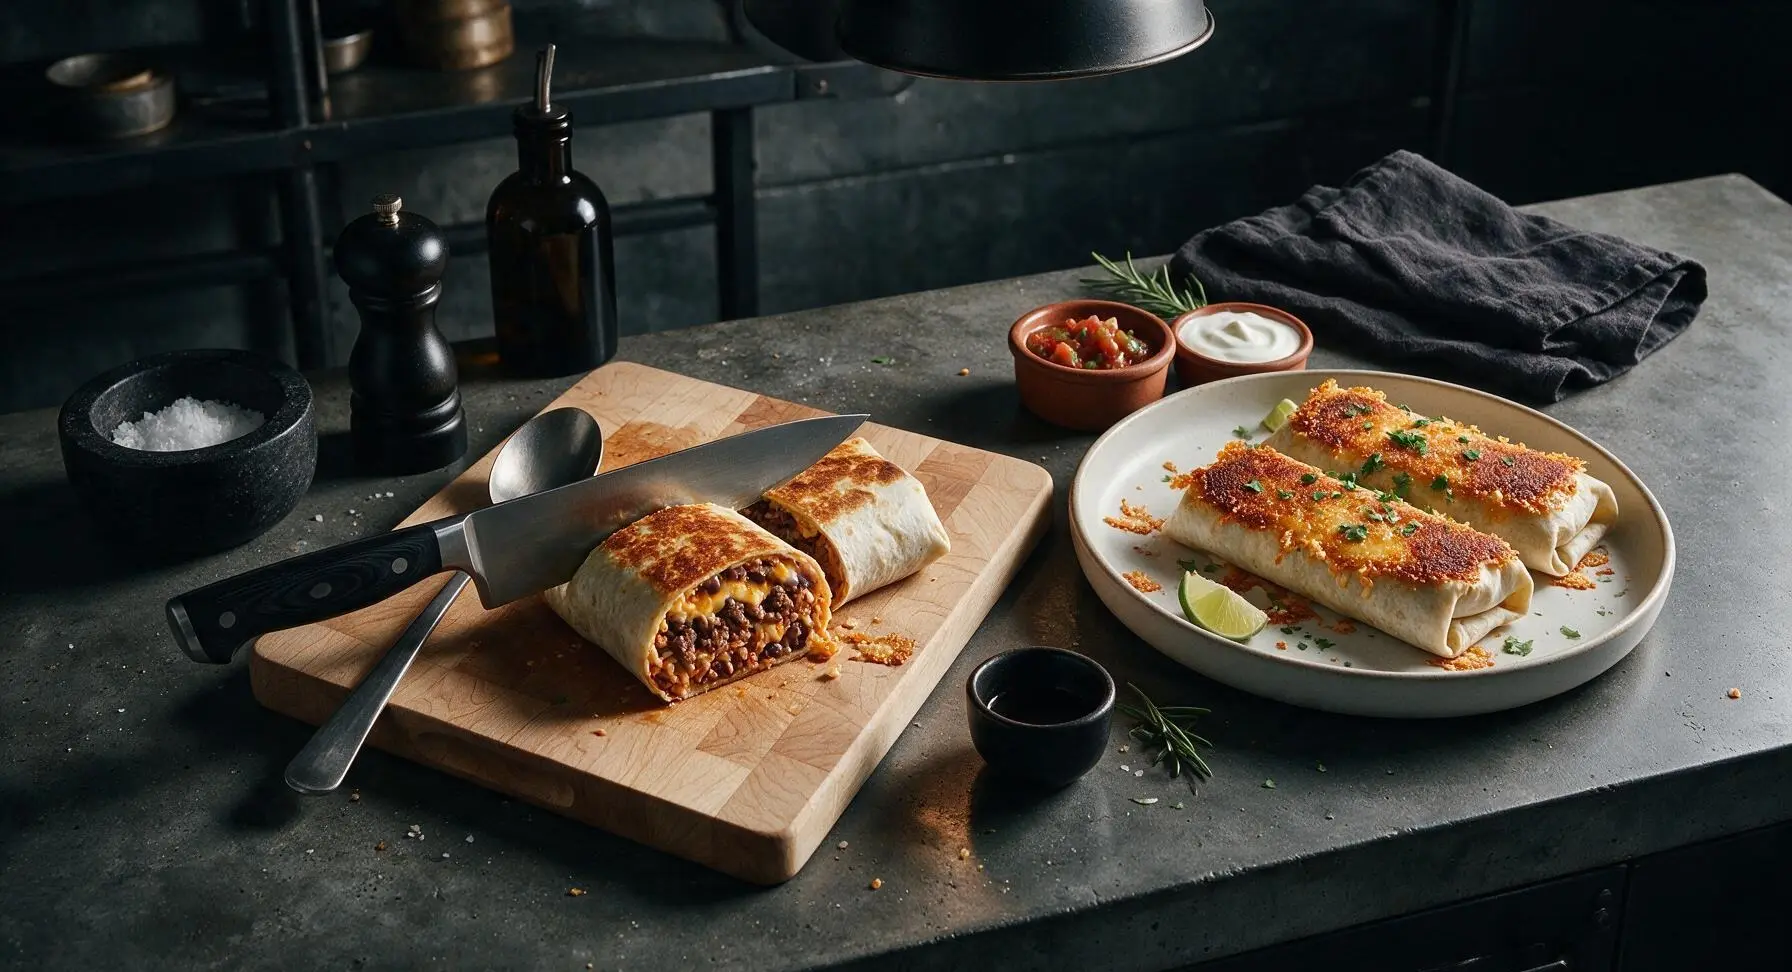
Tips
2.Roll burritos as tightly as possible without tearing the tortilla: loose rolls will unroll when placed on the hot melted cheese, causing filling to spill into the pan and breaking the smooth, even cheese crust seal around the tortilla. A tight roll also keeps fillings from oozing out when you take a bite.
3.Don’t skip the 2-minute rest after cooking: the molten cheese crust is very soft immediately off the heat, and resting lets it set into a crisp, snappy layer that stays attached to the tortilla instead of pulling off with your first bite. It also cools the hot filling enough to avoid burnt tongues.






OMG this crispy cheese crust is a total game changer! I made these for taco night last night and my entire family was raving. The cheese gets perfectly crunchy around the burrito, no soggy mess at all. SO good, already making them again tonight!
Super easy recipe that took me exactly 20 minutes start to finish, perfect for weeknight dinners when I’m running between soccer practice and homework help. My 7 and 9 year old devoured these, no complaints about veggies hidden inside! Only note is I used pepper jack instead of cheddar for a little kick, worked great.
Wait, why did I never think to crisp the cheese directly on the pan before wrapping the burrito? This is genius. I meal prepped 5 of these on Sunday, kept them in the fridge, and just crisped them up in a pan each night for dinner. Way cheaper than getting takeout burritos every week!
Brought these to our neighborhood block party potluck last weekend and they were gone in 10 minutes flat! People kept coming up to ask for the recipe, I felt like a celebrity. I made a batch with ground beef and a veggie batch with black beans and corn, both were hits.
So happy this works with gluten free tortillas! I was worried the cheese crust wouldn’t crisp up right with a GF wrap but it turned out perfectly crunchy. Even my non-gluten-free husband said these are better than our regular takeout spot.
Took me a couple tries to get the cheese melted just right so it forms a crust instead of oozing all over the pan, but once I got the heat dialed in? *Chef’s kiss.* I added some pickled jalapeños inside the burrito for extra tang, highly recommend that add-in.
20 minute cook time is NOT a lie! I got home late from work, threw these together with leftover rice and beans I had in the fridge, and had dinner on the table before my roommate even finished picking what takeout to order. The crispy cheese is so satisfying, way better than a regular plain burrito.
Help! I tried making this last night and my cheese kept sticking to the pan instead of forming a crust around the burrito. What am I doing wrong? I used pre-shredded cheddar, if that matters.
This is now my go-to quick meal for game days! I made a spread of these with different fillings for the football watch party last Sunday, and my friends didn’t even touch the chips and queso I put out. The crispy cheese crust adds so much flavor you barely need extra salsa or sour cream.
These are such a meal prep game changer! I make a big batch on Sundays, wrap them individually in foil, and they keep for 4 days in the fridge. Way more exciting than my usual sad chicken and rice lunches. The crust stays crispy even when I reheat them in the office toaster oven!
I would have never guessed a recipe this easy tastes this good. I mean, it’s basically a burrito wrapped in a crispy cheese shell? 10/10, no notes. I ate two for dinner last night and had another for breakfast this morning with a little hot sauce on top. No regrets.
Made these for my grandkids when they came to visit this weekend, and even my pickiest 6 year old granddaughter asked for seconds! I added a little taco seasoning to the cheese before crisping it, it gave the crust such a nice zesty flavor. Will be making these every time they come over now.
Wait, this is so easy even I can make it and I burn toast 90% of the time. No fancy ingredients, no complicated steps, just crispy cheesy burrito perfection. My roommate thought I ordered delivery when I set these on the table, lmao.