
chicken enchilada bake

title 1
chicken enchilada bake
⏱️ cook time 35 minutes
🍽️ servings 6
⚡ Difficulty easy

intro

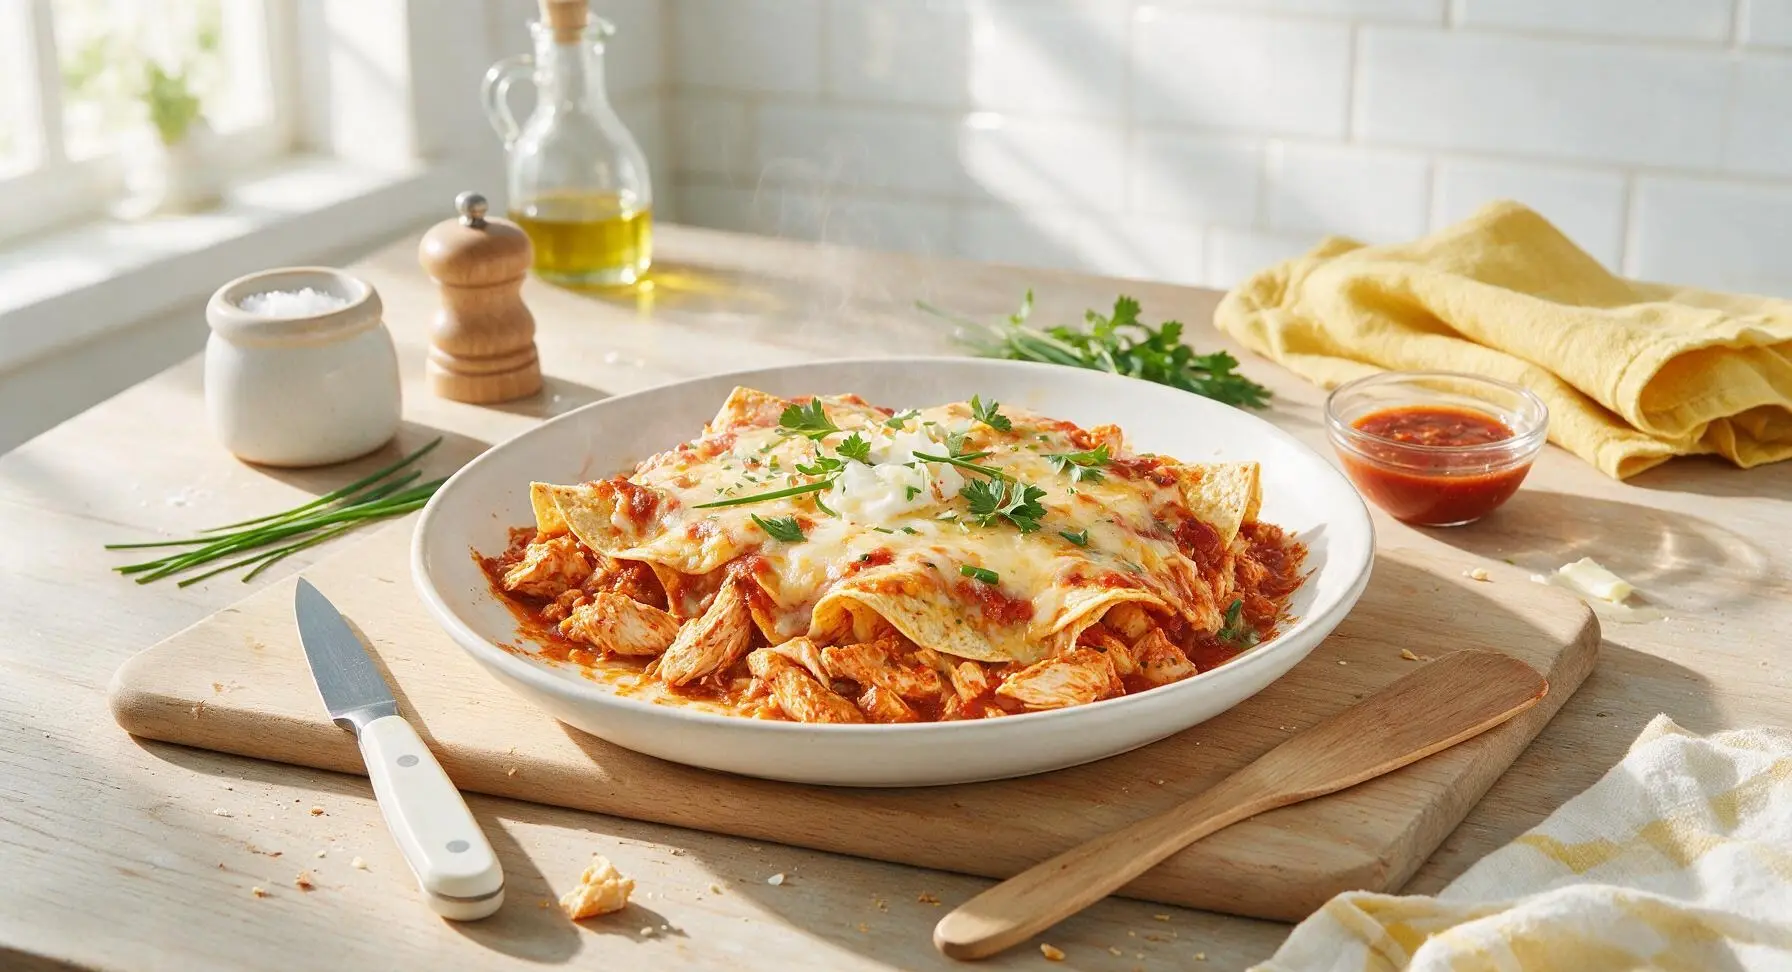
Tender spiced chicken, soft corn tortillas, zesty red sauce, and bubbly melted cheese layered into a cozy, shareable bake perfect for gathering around the table.

Ingredients
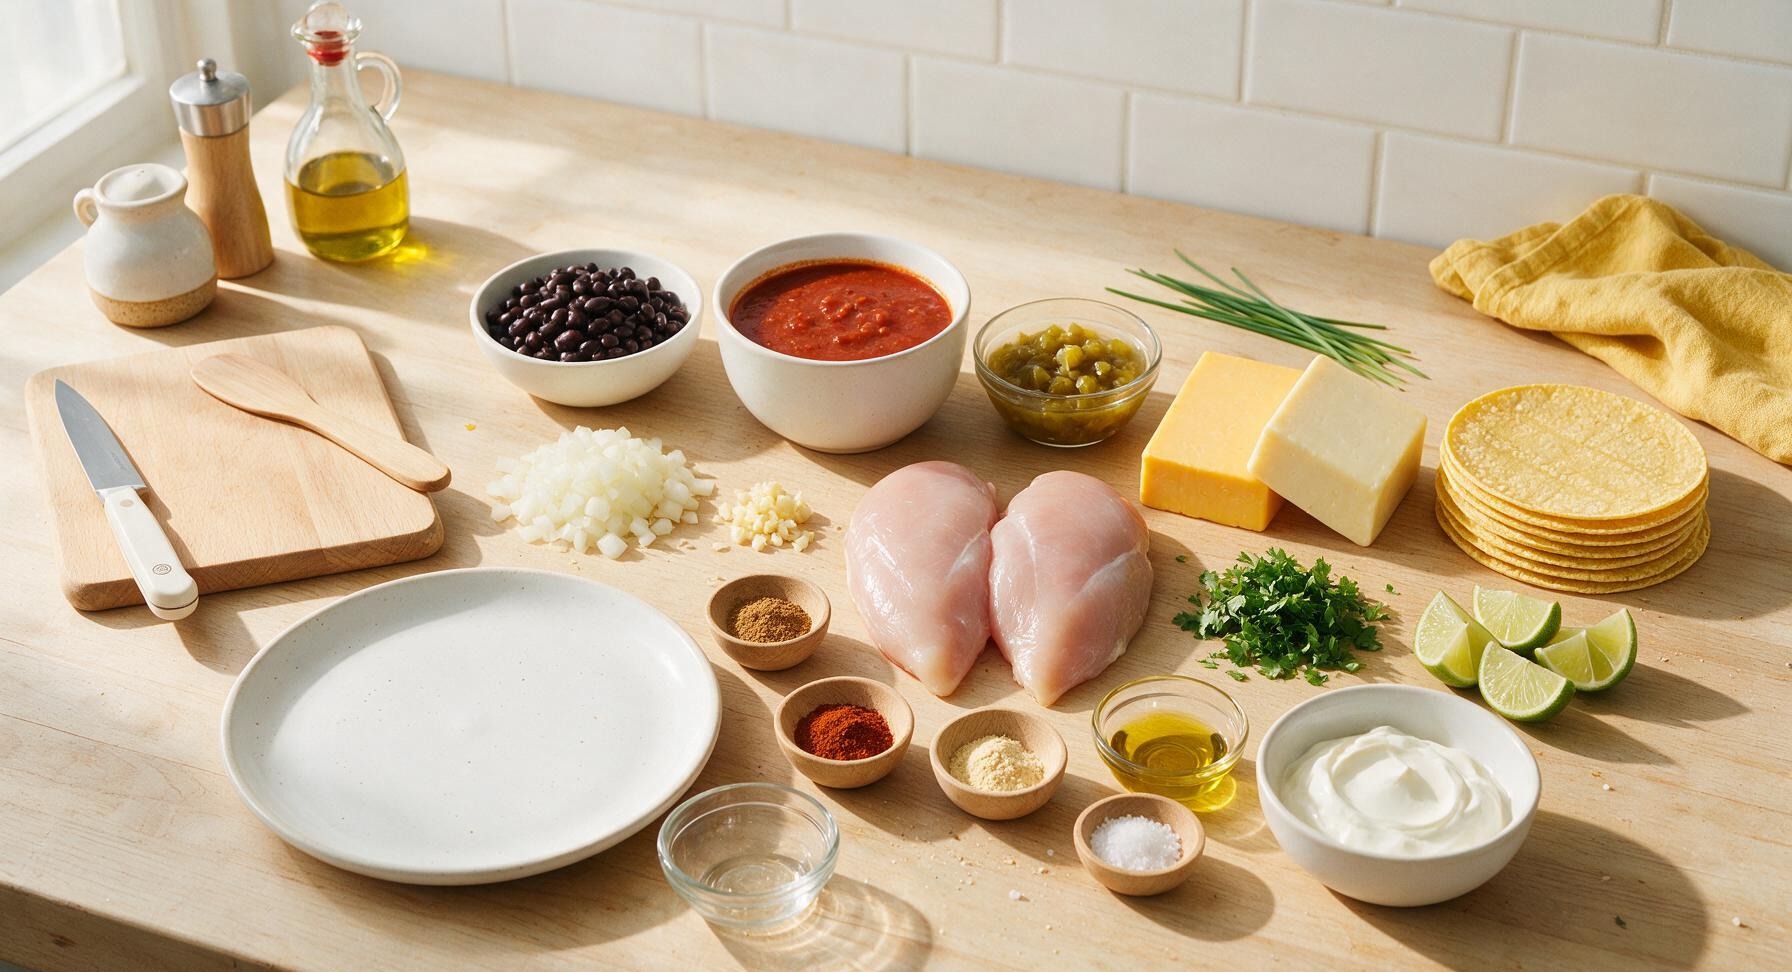
Boneless, skinless chicken breasts 450g (2 large)
Yellow corn tortillas (6-inch) 8 count
Red enchilada sauce 500g (2 cups)
Sharp cheddar cheese 225g (8oz, block)
Monterey Jack cheese 115g (4oz, block)
Small yellow onion 1 (150g, diced)
Garlic cloves 3 (10g, minced)
Canned black beans, drained and rinsed 425g (1 can)
Canned mild diced green chiles 113g (1 can)
Olive oil 1 tbsp (15ml)
Ground cumin 1 tsp (2g)
Chili powder 1 tsp (2g)
Garlic powder 1/2 tsp (1g)
Kosher salt 1/2 tsp (3g)
Fresh cilantro 1/4 cup (10g, chopped)
Whole lime 1 (cut into wedges)
Sour cream 1/2 cup (120g, for serving)

Steps

1

Sauté Chicken and Aromatics

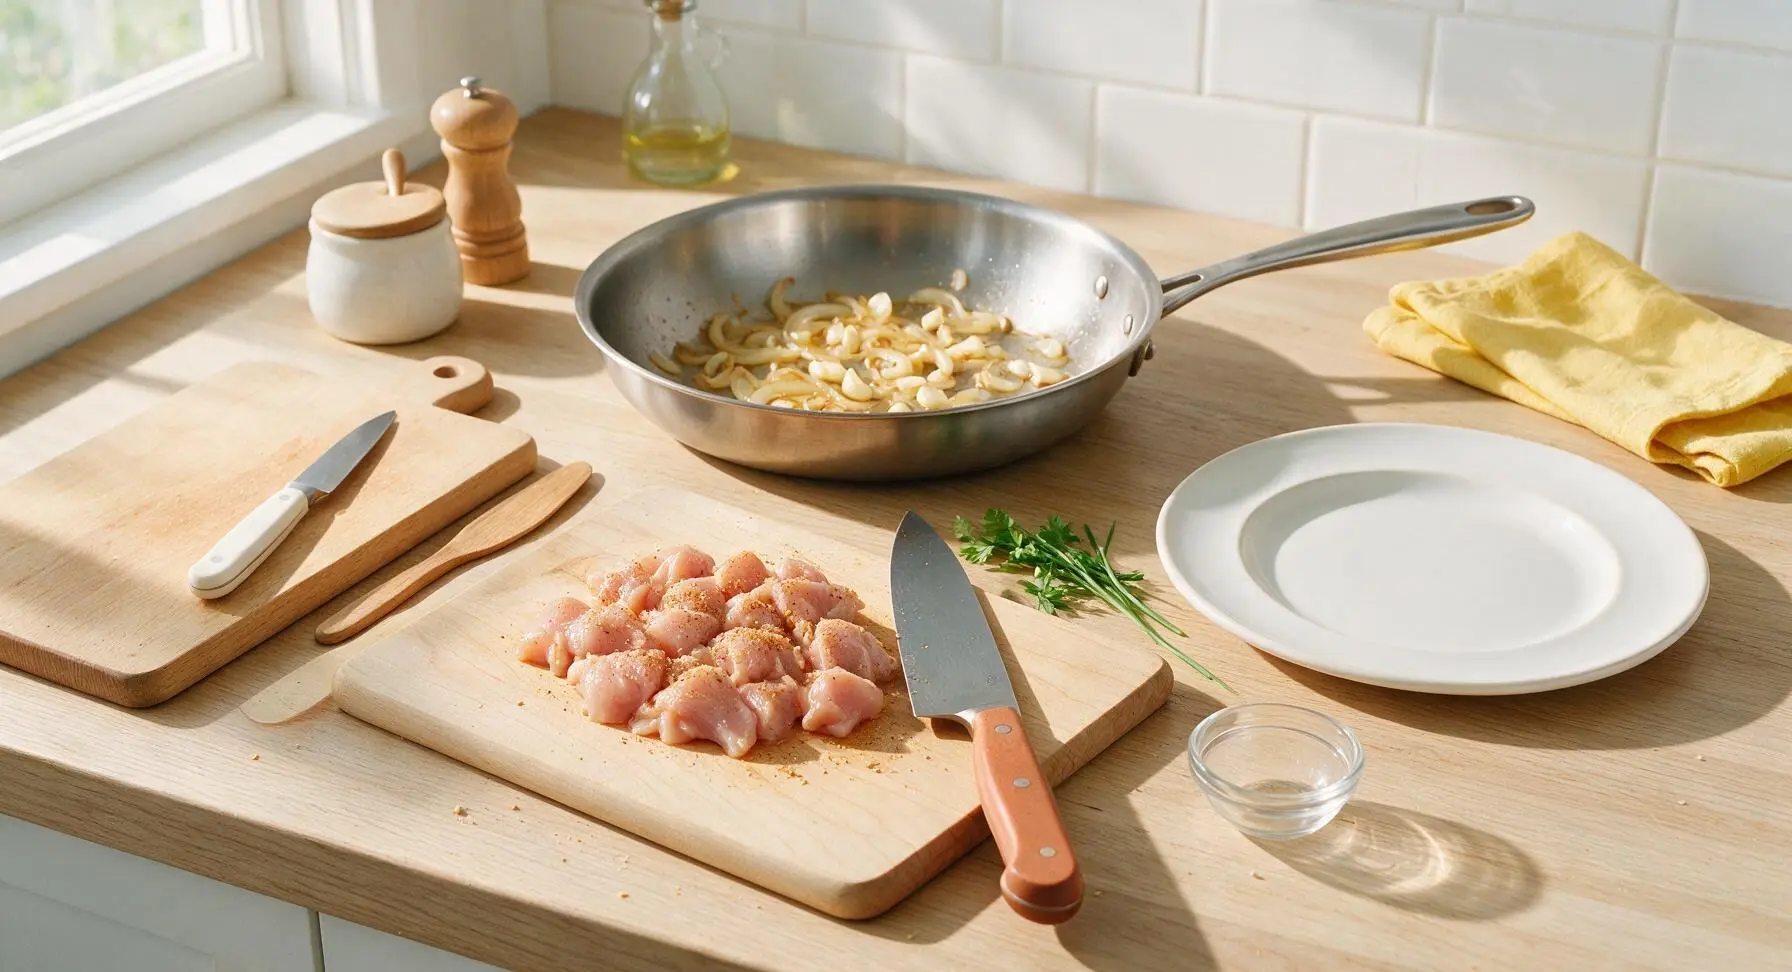
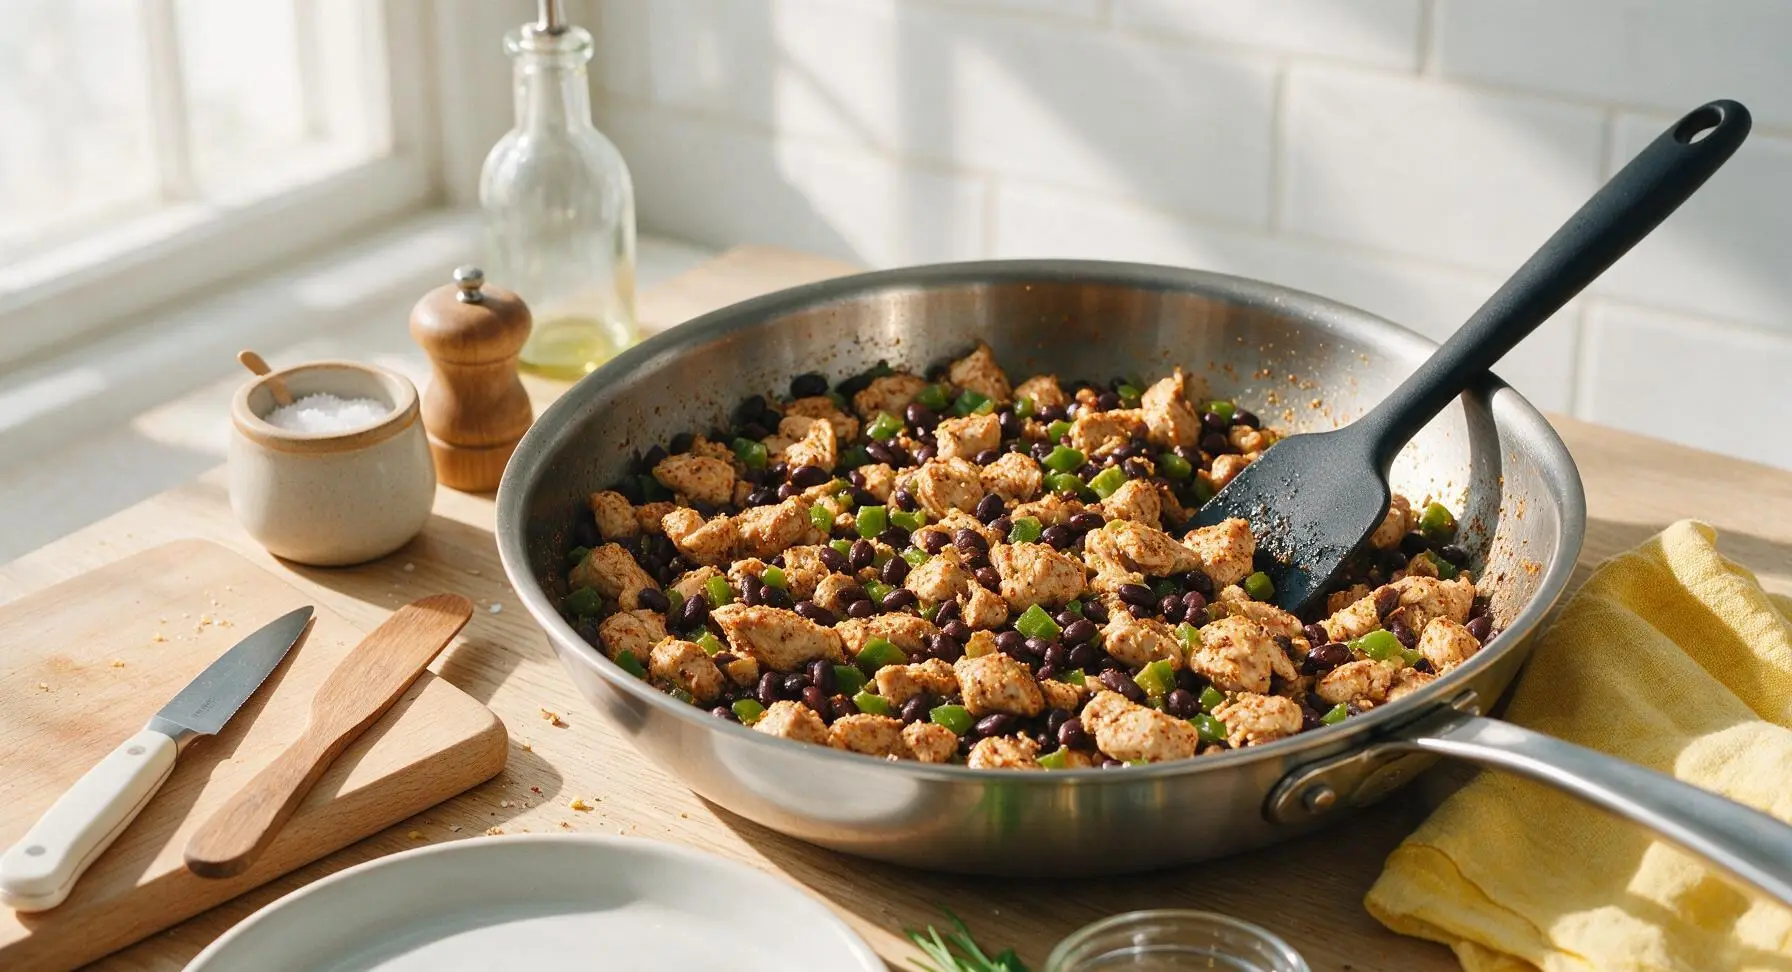
Preheat oven to 190°C (375°F). Heat 1 tablespoon olive oil in the 28cm stainless steel skillet over medium heat. Dice the small yellow onion into 1cm pieces, add to the skillet, and sauté for 3 minutes until soft and translucent. Mince 3 garlic cloves finely, add to the onion, and cook for 30 seconds until fragrant (do not burn, as garlic will turn bitter). Cut chicken breasts into 2cm cubes, season with 1/2 teaspoon kosher salt, 1 teaspoon ground cumin, 1 teaspoon chili powder, and 1/2 teaspoon garlic powder, then add to the skillet. Cook for 5-6 minutes, stirring occasionally with the silicone spatula, until chicken is lightly browned on all sides and reaches an internal temperature of 74°C (165°F). Stir in drained, rinsed black beans and mild diced green chiles, then remove the skillet from heat.
Step 1
step1:Sauté Chicken and Aromatics
Step 1
step1:Sauté Chicken and Aromatics
2

Prep Cheese and Tortillas

Set the stainless steel box grater on the light maple cutting board. Shred the sharp cheddar and Monterey Jack cheese into a loose pile, then transfer to a bowl and toss gently to mix evenly. Stack the 8 corn tortillas and cut them into 5cm (2-inch) wide strips. Pour 1/2 cup of red enchilada sauce into the bottom of the 9x13 inch matte cream ceramic baking dish, and spread into a thin even layer with the silicone spatula to prevent the bottom tortillas from sticking during baking.
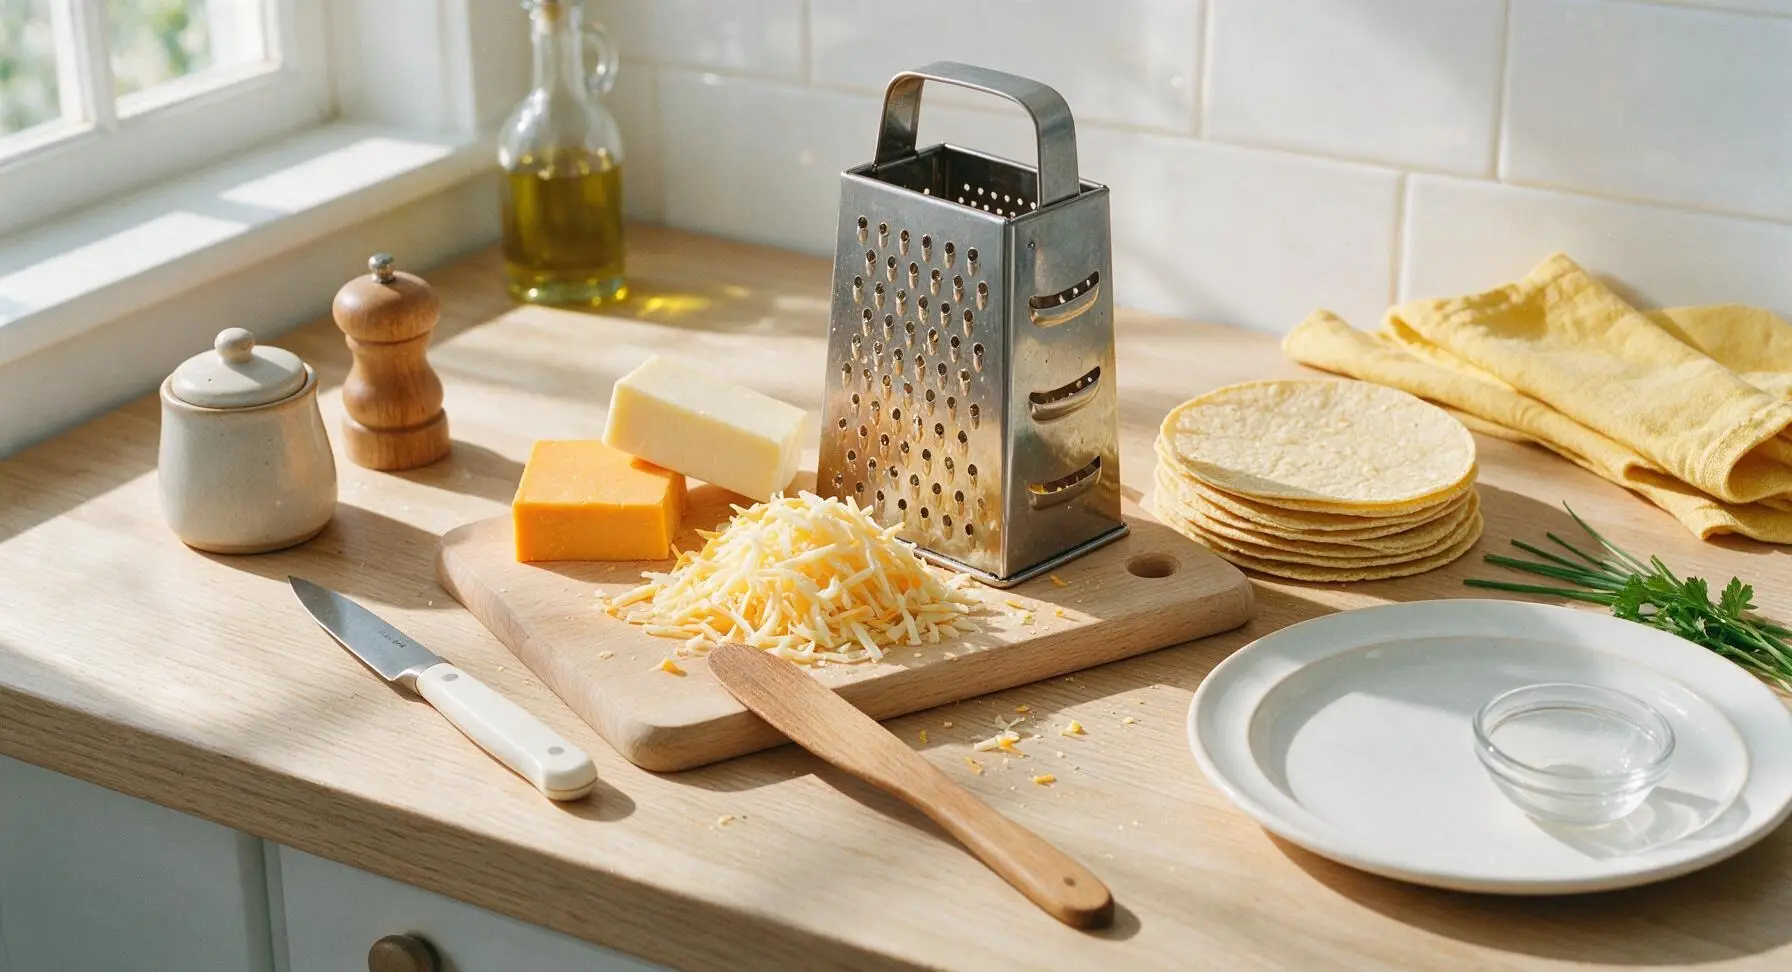
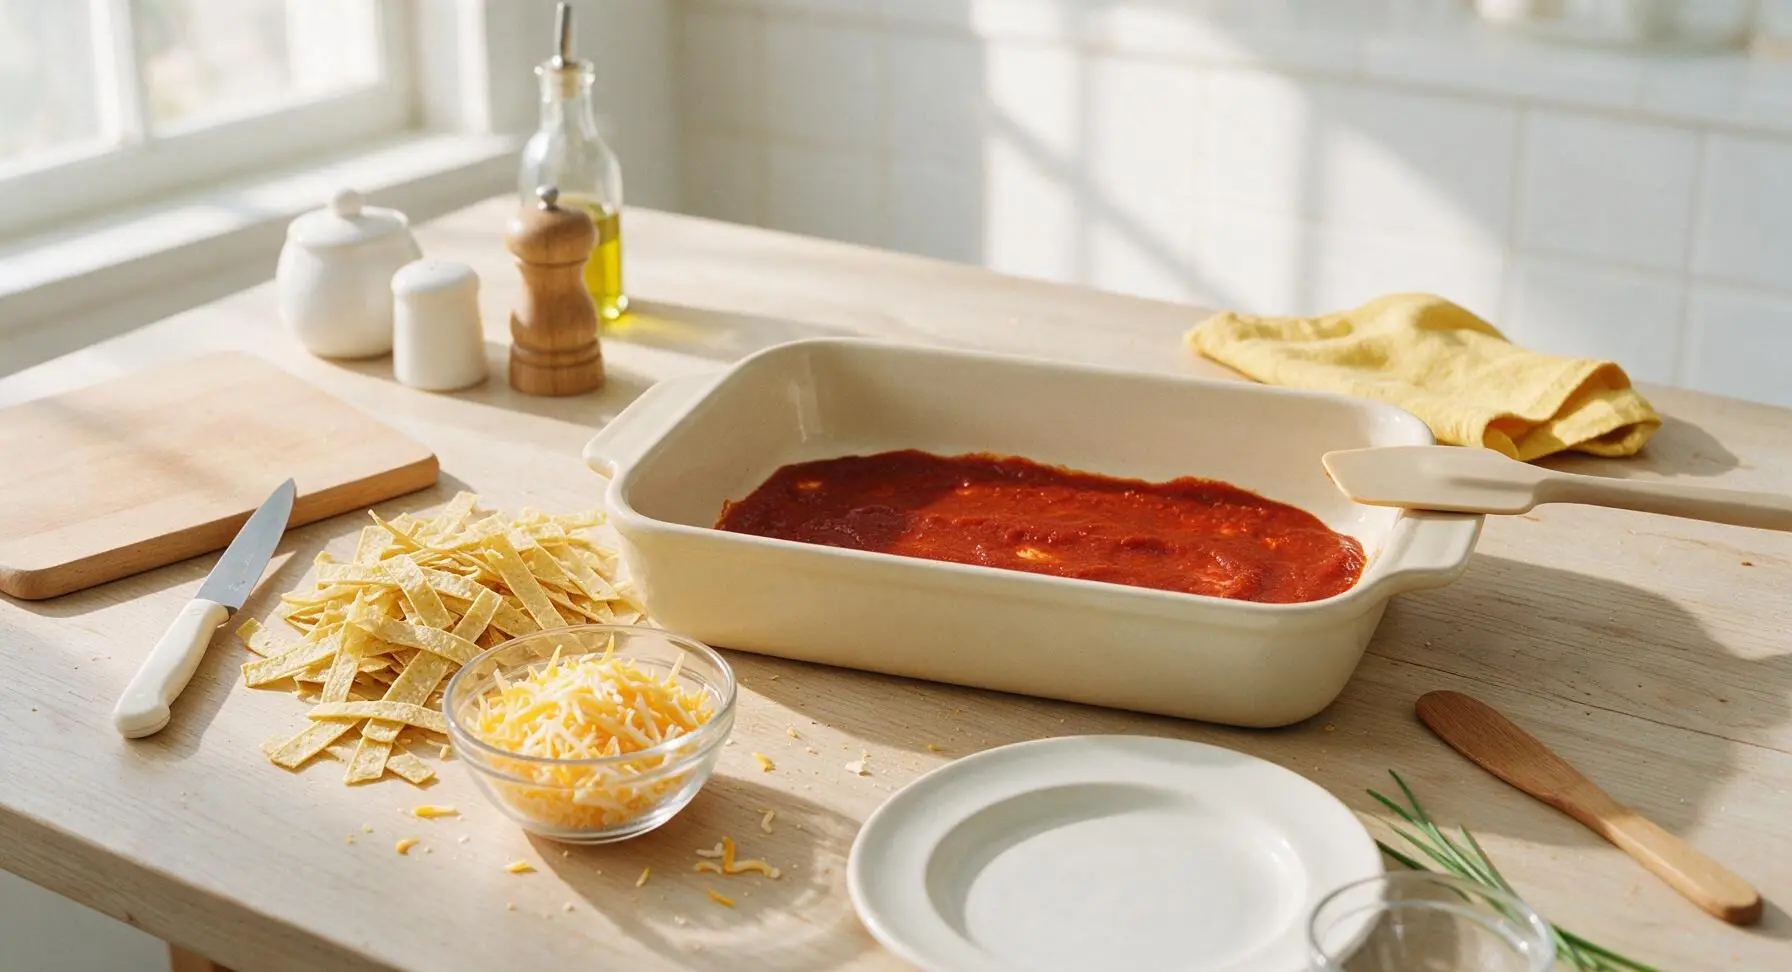
Step 2
step2:Prep Cheese and Tortillas
Step 2
step2:Prep Cheese and Tortillas
3

Layer Casserole Evenly

Arrange 1/3 of the tortilla strips over the sauced bottom of the baking dish, overlapping slightly to create a solid base layer. Top the tortillas with 1/2 of the cooked chicken and bean mixture, spreading it in an even layer, then add 1/3 of the shredded cheese and 1/3 of the remaining enchilada sauce, spreading sauce to cover the cheese. Repeat the layering sequence a second time: 1/3 of the tortilla strips, the remaining 1/2 of the chicken mixture, 1/3 of the cheese, 1/3 of the sauce. Top with the final 1/3 of tortilla strips, then pour the last of the enchilada sauce over the top, spreading carefully to coat every tortilla strip—uncovered tortilla edges will turn hard and crunchy during baking.
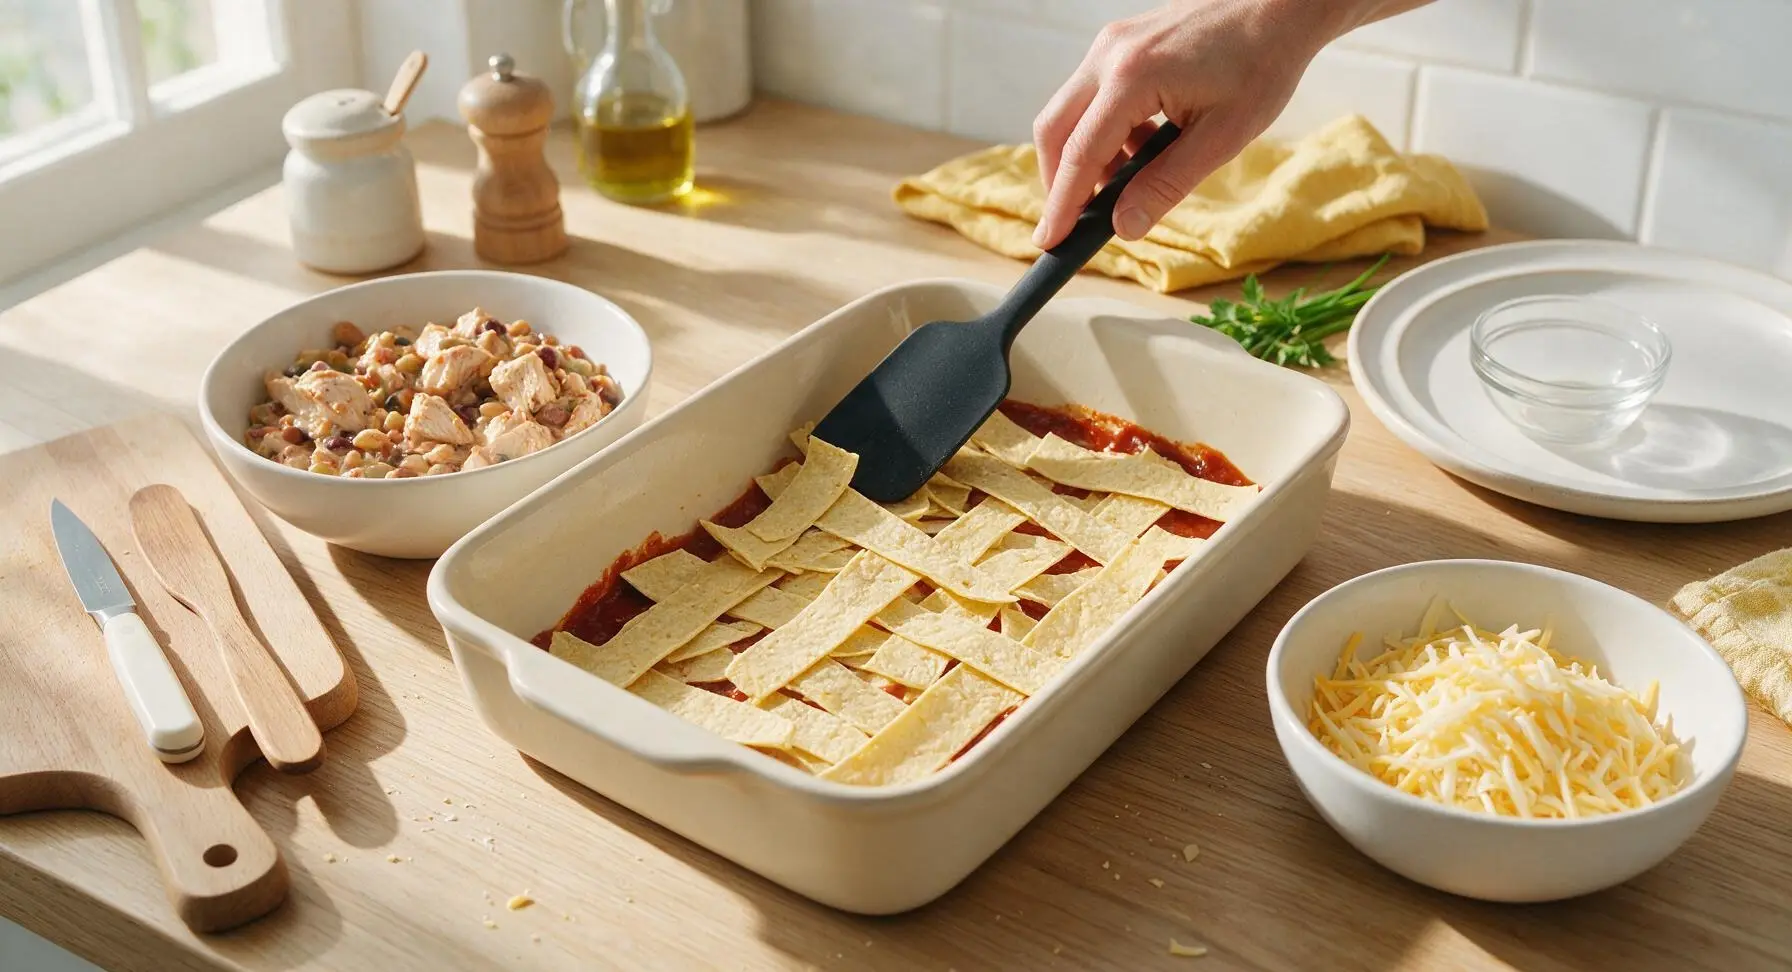
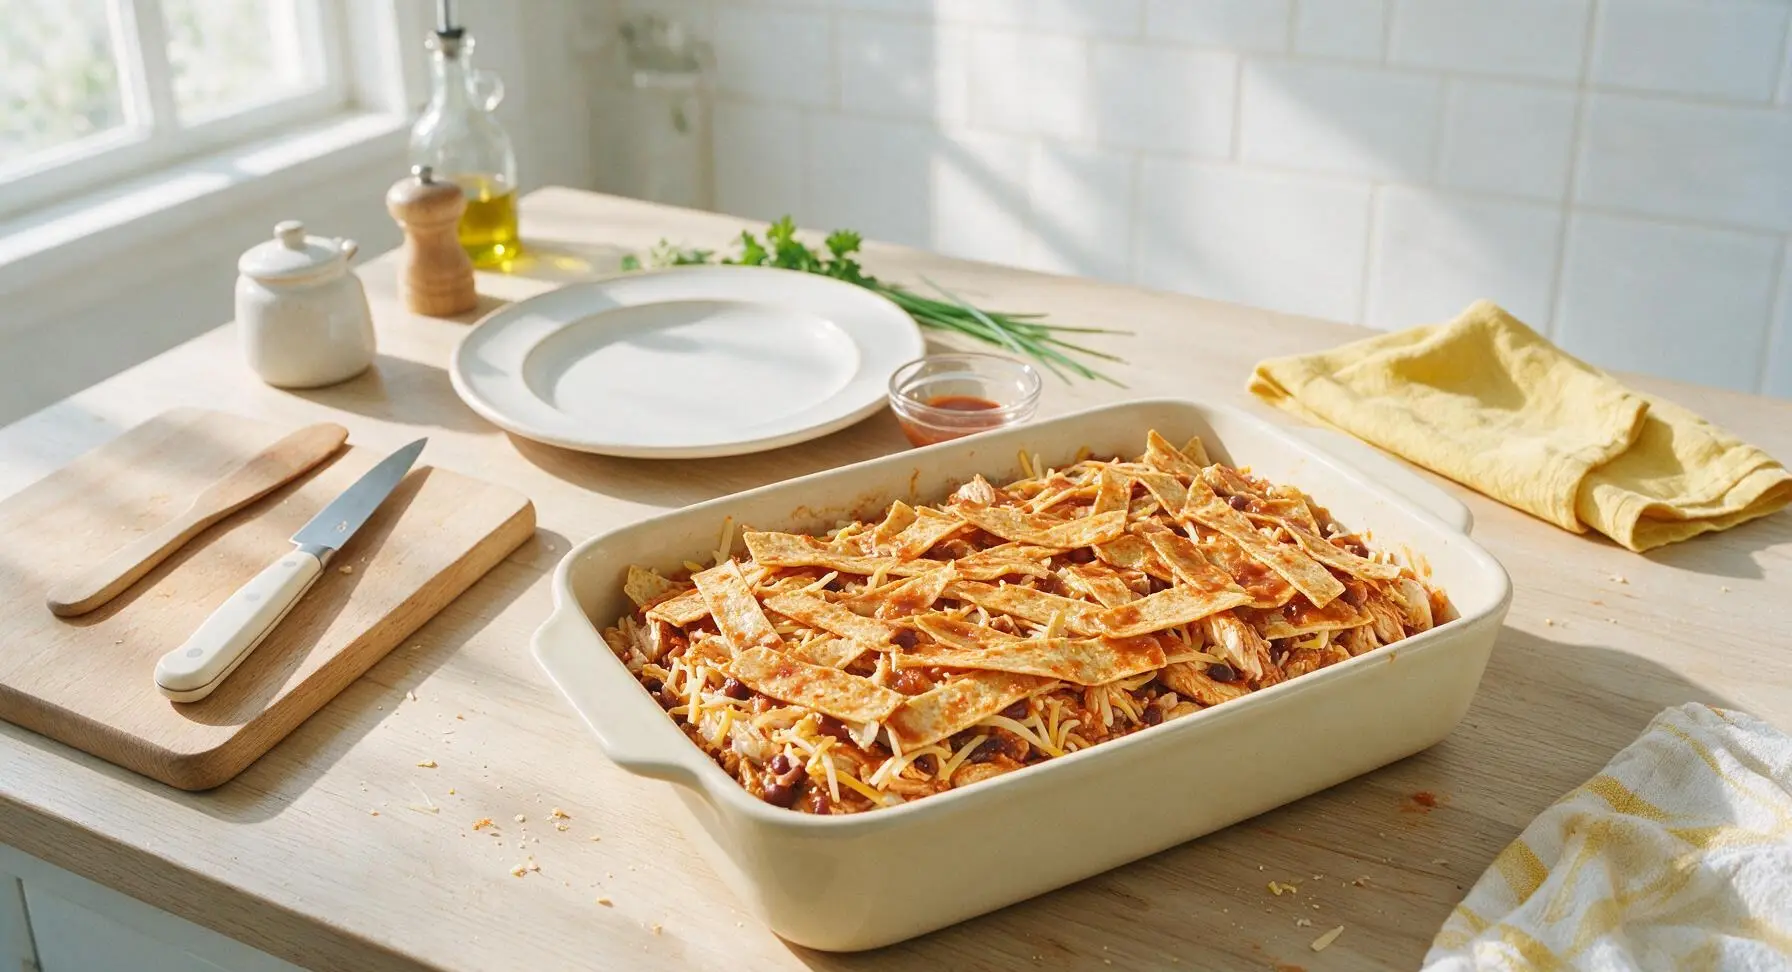
Step 3
step3:Layer Casserole Evenly
Step 3
step3:Layer Casserole Evenly
4

Top and Bake Casserole

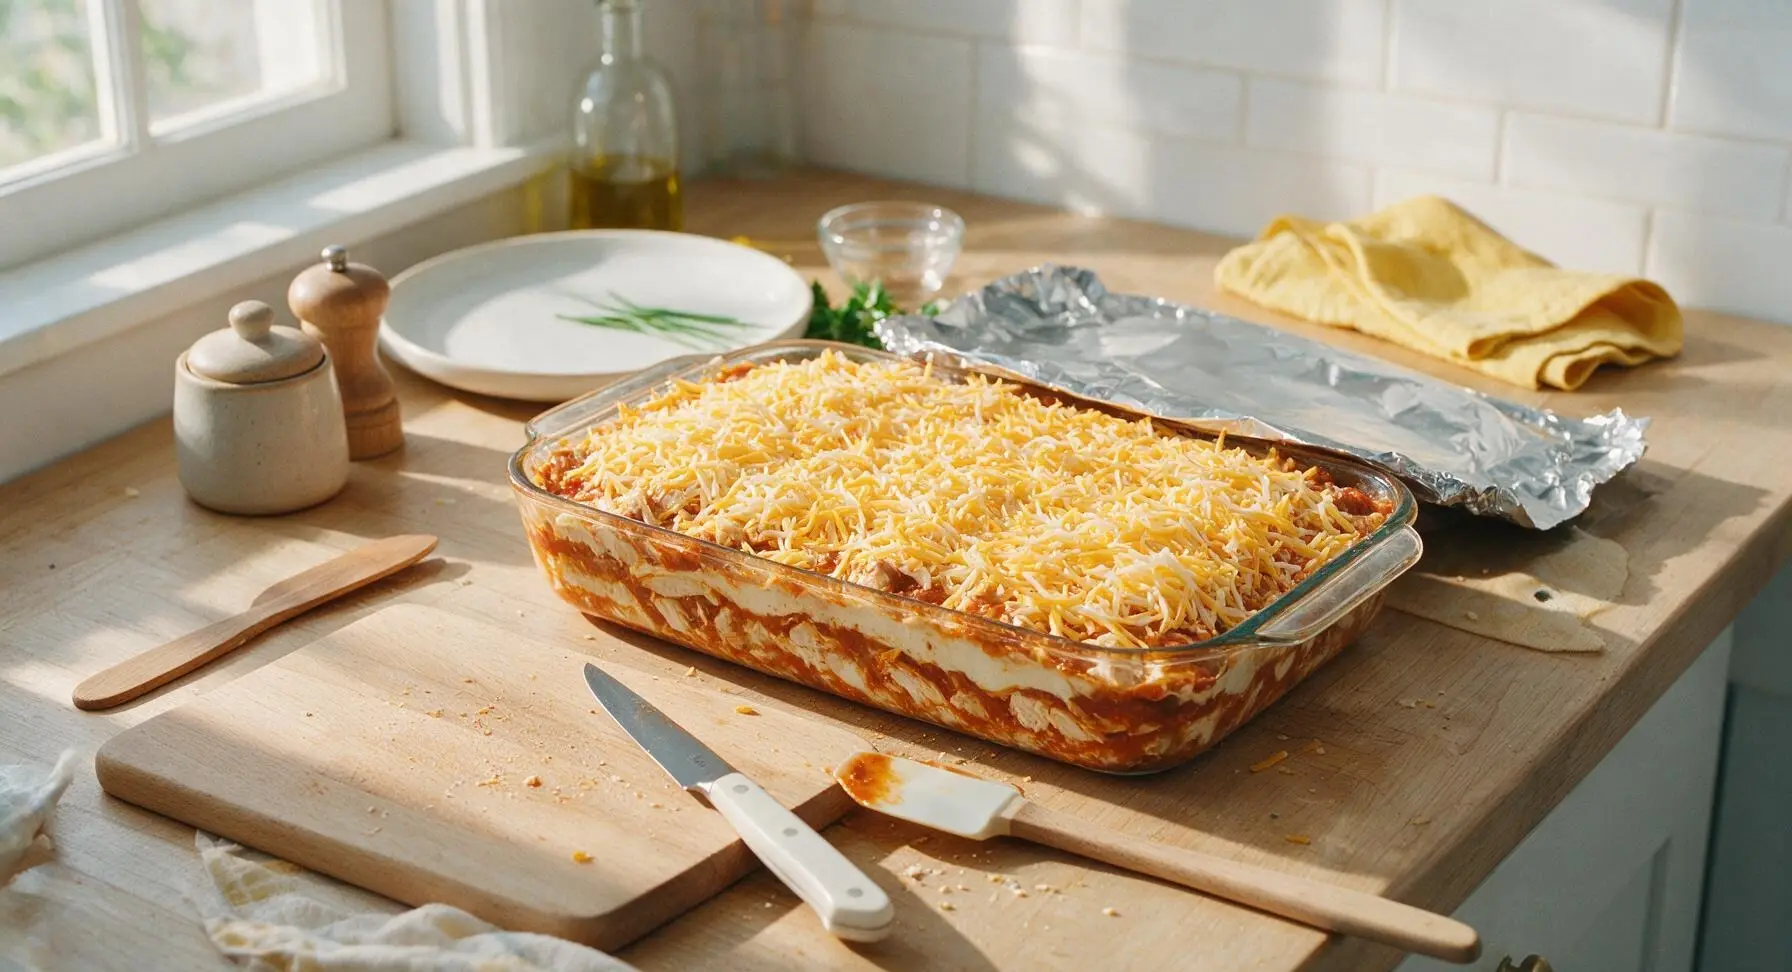
Sprinkle the remaining 1/3 of the shredded cheese evenly over the top sauced tortilla layer, covering the entire surface for a uniform cheesy crust. Cover the baking dish tightly with aluminum foil to trap steam, which will soften the tortillas and melt the cheese evenly. Place on the middle rack of the preheated oven, and bake for 20 minutes covered. Remove the foil, then bake for an additional 12-15 minutes, until the cheese is fully melted, sauce is bubbling around the edges of the dish, and scattered spots of cheese are deep golden brown.
Step 4
step4:Top and Bake Casserole
5

Rest Before Serving

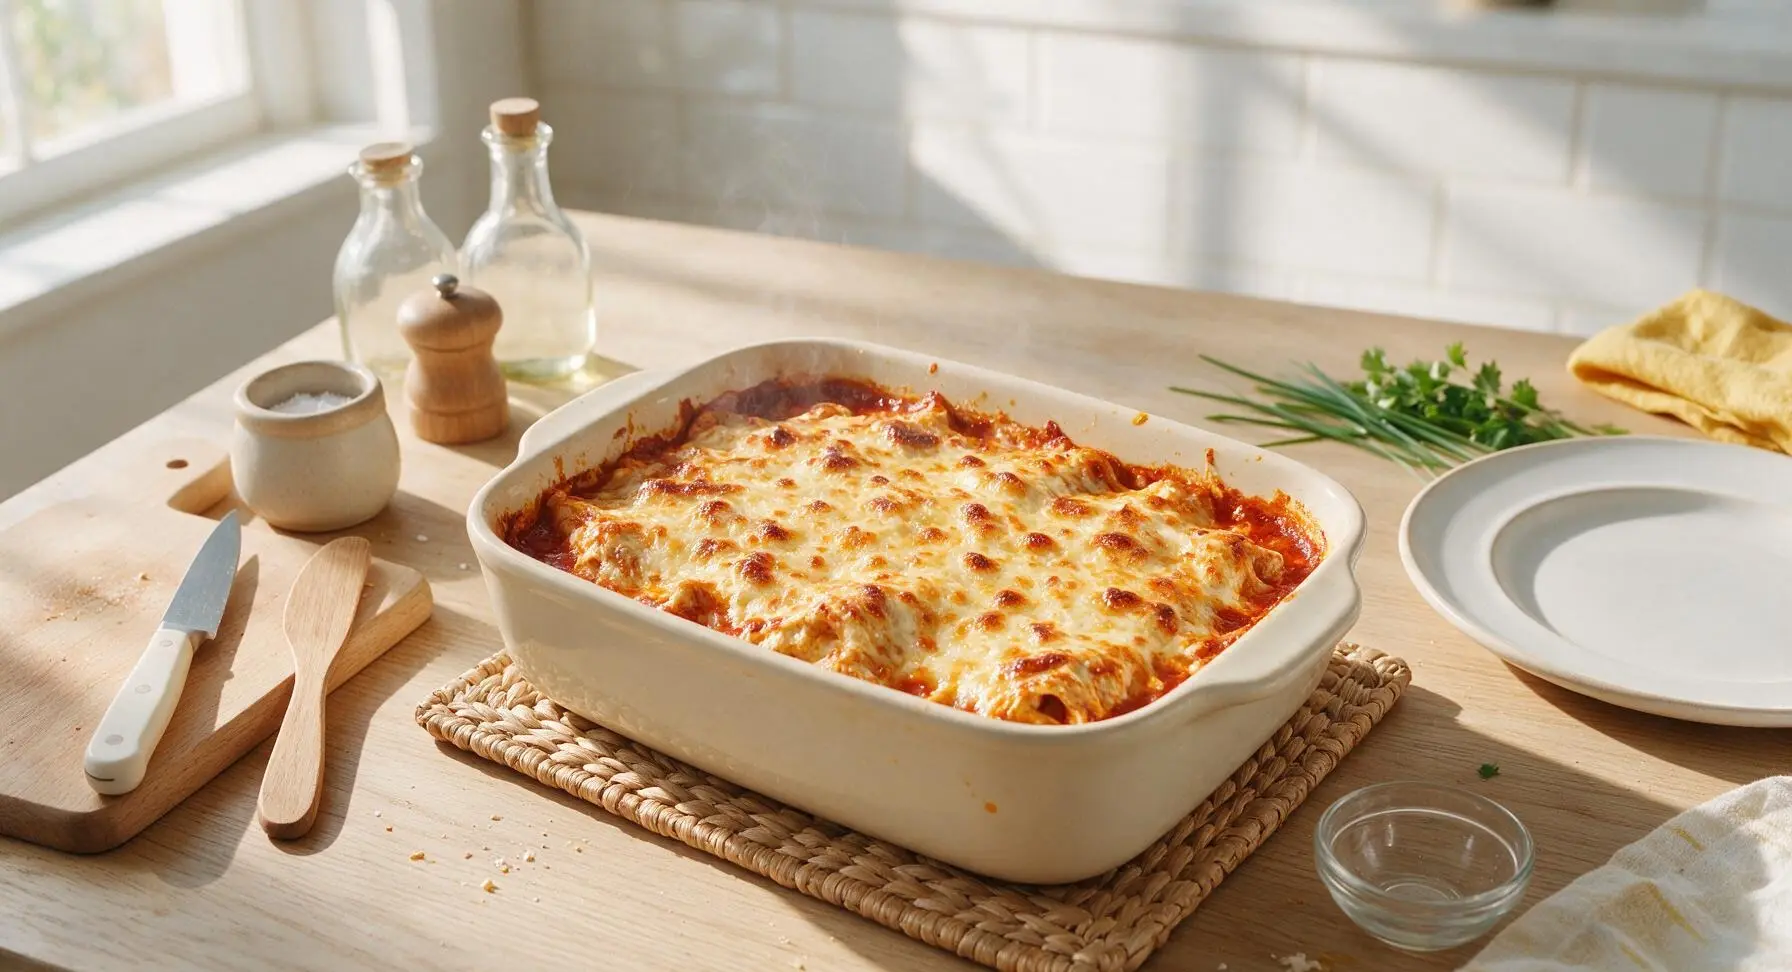
Carefully remove the hot baking dish from the oven, set it on a woven rattan trivet on the counter, and let it rest undisturbed for 10 minutes. This rest period allows the layers to set, so portions will hold their square shape when cut instead of sliding apart, and gives the bubbling sauce time to cool to a safe eating temperature.
Step 5
step5:Rest Before Serving
6

Plate and Garnish

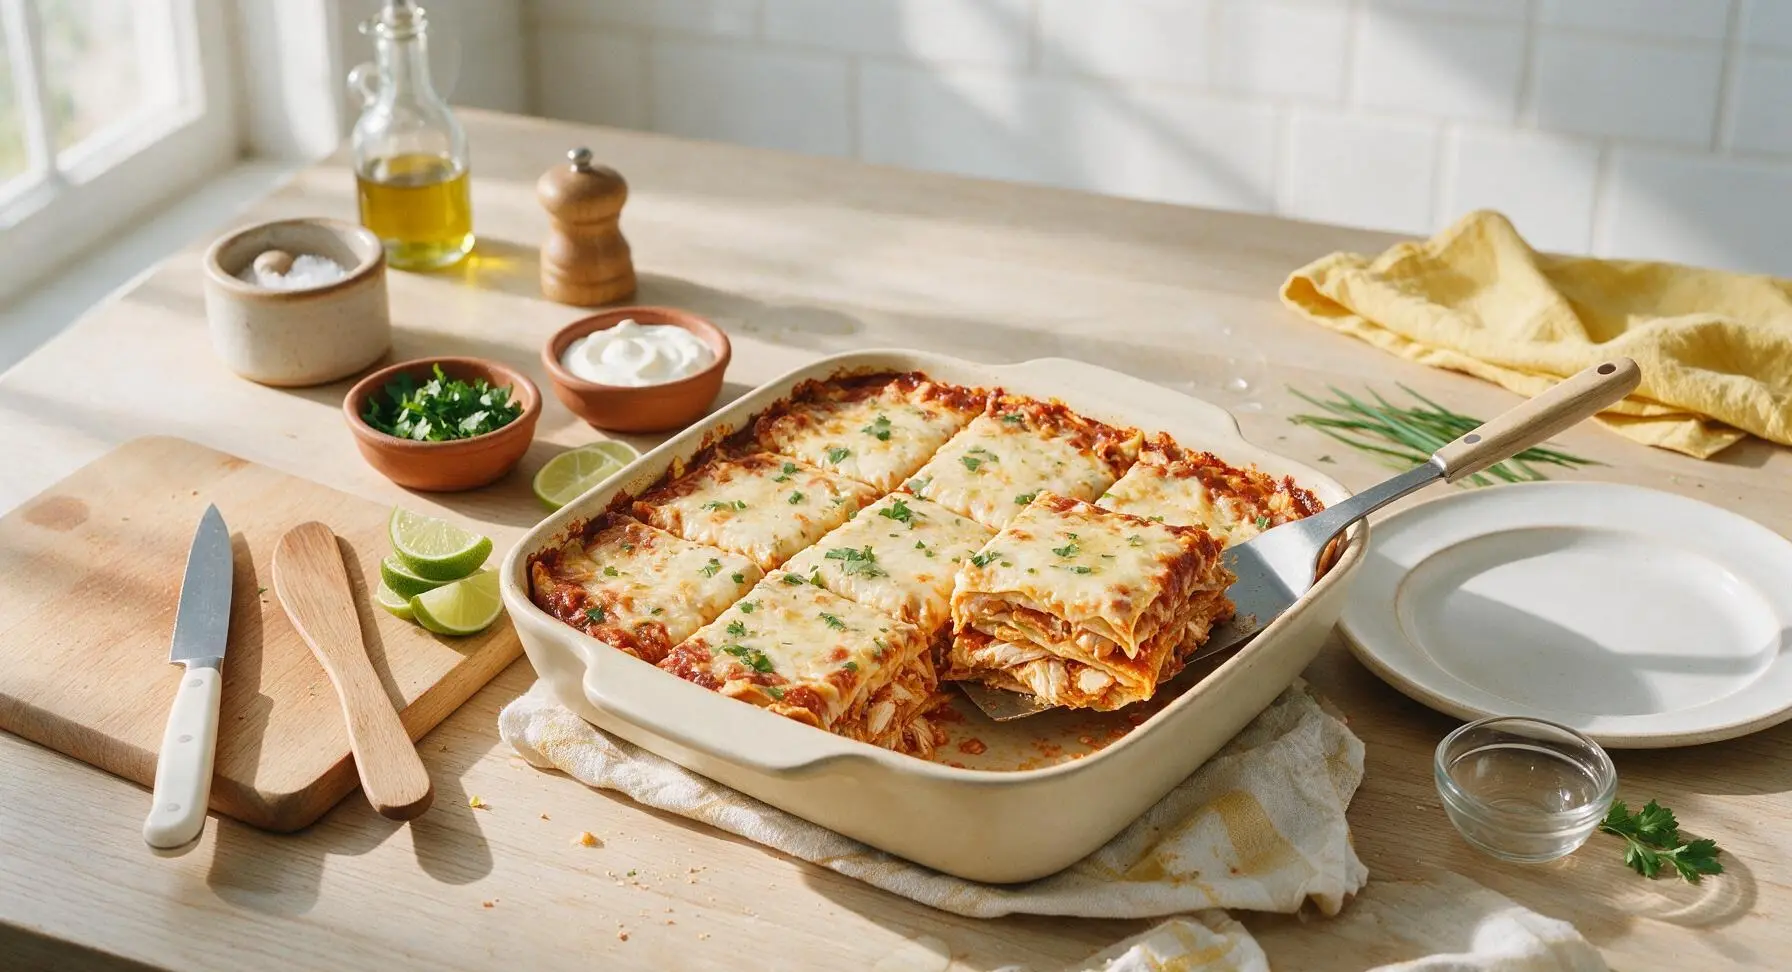
While the casserole rests, chop 1/4 cup fresh cilantro and cut the whole lime into 6 equal wedges. Use a sharp metal spatula to cut the rested bake into 6 equal square portions. Lift one portion onto the matte off-white ceramic dinner plate, top with a 1-tablespoon dollop of sour cream, a light sprinkle of chopped cilantro, and place one lime wedge on the plate edge for squeezing over top before eating.
Step 6
step6:Plate and Garnish

Tips

1.Cut prep time by 10 minutes on busy nights by swapping raw chicken for 3 cups of shredded store-bought rotisserie chicken. Toss it with the spices, beans, and chiles before layering—this adds extra roasted flavor with zero extra cooking.
2.Coat every exposed tortilla strip with enchilada sauce before adding the final cheese layer. Dry, uncoated tortilla edges will turn hard and cracker-like during baking, instead of softening into the tender, sauce-infused texture that makes enchilada bakes so satisfying.
3.Don’t skip the 10-minute rest after baking. Cutting into the casserole immediately will cause hot layers to slide apart, leading to messy portions and runny sauce. The short rest lets the cheese and sauce set for clean, neat slices.


✨ You May Also Like

Main Course
🍜 United Kingdom

A showstopping classic of tender seared beef, savory mushroom duxelles, and crisp prosciutto wrapped in flaky golden puff pastry, baked to juicy perfection.

⏱️ 2 hours 1Main Course ★ 4.7
Main Course
🍜 India

Tender charred marinated chicken simmered in a rich, spiced creamy tomato sauce, this iconic Anglo-Indian curry pairs perfectly with basmati rice or warm naan.

⏱️ 50 minuteMain Course ★ 4.6
Main Course
🍜 Thailand

Classic tangy, sweet, and savory Thai stir-fried rice noodles with shrimp, tofu, and crunchy garnishes, balancing all five core Thai flavor profiles.

⏱️ 30 minuteMain Course ★ 4.5
Main Course
🍜 United Kingdom

Crispy golden beer-battered cod and fluffy double-fried chips, served with tangy tartar sauce and malt vinegar: the timeless, beloved British pub comfort classic.

⏱️ 45 minuteMain Course ★ 4.7
Main Course
🍜 Mexico

Smoky, chile-marinated pork tacos with caramelized pineapple, fresh cilantro, and lime: a beloved classic Mexican street food perfect for casual summer gatherings.

⏱️ 1 hour 45Main Course ★ 4.8
Main Course
🍜 United States

Crunchy Fritos corn chips layered with savory beef chili and melted cheddar, topped with cool, zesty fixings for a beloved, cozy Tex-Mex comfort food.

⏱️ 35 minuteMain Course ★ 4.8

chicken enchilada bake:Frequently Asked Questions

1.Can I use pre-cooked chicken instead of raw boneless, skinless chicken breasts for this bake? ▾
Absolutely! Shredded rotisserie chicken cuts prep time by 20 minutes and works perfectly here. If using raw chicken, poach 1.5 lbs of breasts in seasoned water for 12–15 minutes until they hit 165°F internally, then shred. Toss the shredded chicken with ¼ cup of enchilada sauce before layering to lock in moisture and avoid dry bites.
2.Can I swap flour tortillas for the 6-inch yellow corn tortillas called for in the recipe? ▾
You can swap them, but 6-inch yellow corn tortillas deliver that classic earthy enchilada flavor and hold up far better to saucy layers without turning mushy. If you use flour tortillas, pick small 6-inch soft taco size, and lightly toast them in a dry skillet for 30 seconds per side first to add structure so they don’t dissolve into the bake.
3.My corn tortillas always crack when I layer casseroles—how do I prevent that? ▾
Great question! Cold corn tortillas crack very easily, so warm them first before layering. Wrap a stack of 8–10 tortillas in a damp paper towel and microwave for 30–45 seconds until soft and pliable, or quickly dip each tortilla in warm enchilada sauce before adding it. This keeps them flexible and adds an extra punch of flavor, too.
4.Is store-bought red enchilada sauce acceptable, or do I need to make it from scratch? ▾
Both work perfectly! A good-quality store-bought red enchilada sauce (opt for low-sodium if you’re watching salt intake) cuts total prep time to under 20 minutes. If you make homemade sauce, let it simmer for 10 minutes first to deepen the chile flavor before layering, so it doesn’t taste raw in the finished bake.
5.What cheese ratio gives that perfect bubbly, melty top and balanced flavor? ▾
For ideal stretch and rich, balanced flavor, mix equal parts shredded sharp cheddar and Monterey Jack. The cheddar brings a bright, tangy bite, while Monterey Jack melts ultra-smooth and stretchy. Reserve 1/3 of the cheese mix to sprinkle over the very top of the bake for that golden, bubbly crust everyone fights over.
6.Can I assemble this bake ahead of time for a party or weekly meal prep? ▾
Absolutely! You can fully assemble the unbaked casserole, cover it tightly with plastic wrap, and refrigerate it for up to 2 days before baking. Just pull it out of the fridge 20 minutes before popping it in the oven to take the chill off, then add 5–7 minutes to the bake time if it’s still cold going in.
7.How do I keep the tortilla layers from getting soggy in the finished bake? ▾
Sogginess usually comes from excess wet sauce against un-prepped tortillas. First, warm your tortillas as noted earlier, and spread a thin layer of enchilada sauce on the dish bottom before adding the first tortilla layer. Avoid over-saturating each layer, and leave the bake uncovered for the last 10 minutes of cook time to let excess moisture evaporate.
8.What internal temperature does the chicken need to reach to be food-safe? ▾
All poultry, including the boneless, skinless chicken breasts in this bake, needs to reach a safe internal temperature of 165°F when measured with an instant-read thermometer. If cooking raw chicken directly in the bake, check the center of the thickest chicken layer after 30 minutes to confirm it hits that mark before serving.
9.Can I freeze this chicken enchilada bake to eat later? ▾
Yes, it freezes beautifully! You can freeze it either unbaked or fully baked for up to 3 months. If freezing unbaked, wrap it tightly in two layers of plastic wrap and one layer of foil, then thaw fully in the fridge overnight before baking. If freezing baked, let it cool completely first before portioning and storing.
10.What size baking dish works best for this layered enchilada bake? ▾
A standard 9x13-inch glass or ceramic baking dish is ideal for even layering and consistent cooking. Glass dishes heat gently and evenly, so you won’t get burnt edges before the center is heated through. If you only have a metal baking pan, reduce the oven temperature by 25°F to prevent the bottom tortilla layer from crisping too much.
11.Do I need to cover the bake with foil while it’s in the oven? ▾
Cover it for the first 25 minutes of baking to trap steam and help the layers heat through evenly without the top cheese burning before the center is warm. Remove the foil for the last 10–12 minutes of cook time to let the cheese turn golden and bubbly, and let any excess moisture cook off to avoid sogginess.
12.What simple mix-ins can I add to customize this bake for my family? ▾
You can add drained, rinsed black beans, roasted corn, diced mild green chiles, or sautéed bell peppers between layers for extra veggies and texture. Just make sure any added veggies are patted dry before layering so they don’t leach extra water and make the bake soggy. Stick to 1–2 mix-ins total so you don’t overcrowd layers.
13.How long should I let the bake rest after taking it out of the oven? ▾
Let it rest for 10 full minutes before slicing and serving! This gives the layers time to set, so each slice holds its shape instead of oozing apart when you scoop it. If you cut into it right out of the oven, the hot sauce and melted cheese will run all over the pan, leaving you with messy, uneven servings.
14.My family doesn’t like spicy food—how can I make this bake mild? ▾
Pick a mild red enchilada sauce (most brands mark heat levels clearly on the front label) and skip any added jalapeños or hot chiles. You can stir a 4-oz can of diced mild green chiles into the chicken for gentle, bright flavor without extra heat. The cheddar and Monterey Jack will also help mellow any subtle spice in the sauce.
15.Can I use chicken thighs instead of chicken breasts if I prefer dark meat? ▾
Absolutely! Boneless, skinless chicken thighs work beautifully here, and they have a richer, juicier flavor that pairs perfectly with the red sauce and cheese. Just trim any excess fat from the thighs before shredding, and note that thighs reach 165°F in roughly the same cook time as breasts, so no major recipe adjustments are needed.
16.What easy toppings should I serve with this enchilada bake? ▾
Top servings with cool, bright add-ons right before eating: a dollop of sour cream, diced fresh tomato, sliced avocado, a squeeze of lime, chopped cilantro, or thin slices of pickled red onion. These fresh toppings cut through the rich, cheesy, saucy layers and add a nice pop of contrast to every bite, no extra cooking required.

Comments (3)

3 days ago

OMG this was a total game changer for our weeknight family dinner! I was scrambling last week because I forgot to thaw anything for dinner, threw this together with leftover rotisserie chicken I had in the fridge, and it was done in 35 minutes flat. My kids all asked for seconds, even my super picky 7 year old who turns his nose up at anything with 'red sauce' — total win! Already added this to our regular meal prep rotation, it’s too easy not to make on repeat.

2 days ago

Ugh this sounds perfect! I’ve been looking for an easy dish to bring to my office potluck next week — does this reheat well, or will it get soggy if I make it the night before?

yesterday

So happy this was a hit with your kids — that’s the best compliment we can get! Great question from Pam too: this reheats beautifully in the oven or microwave, and it actually tastes even better the next day once the flavors meld, so it’s ideal for potlucks and meal prep. Just cover it with foil when reheating to keep the top from getting too crispy!

5 days ago

SO good. I made a big pan of this on Sunday to portion out for my work lunches all week, and I’m actually excited to eat lunch every day this week? Wild. It was truly easy — no fancy ingredients, no weird complicated steps, and the flavor is way better than the enchilada bake I used to make that took 2 whole hours. The only swap I made was tossing in a can of rinsed black beans because I had them open in the fridge, highly recommend adding that if you’ve got ‘em.

3 days ago

Love the black bean add-in! That’s such a great way to sneak in extra fiber and make the dish even heartier without any extra work. So glad this is making your work week lunches feel less of a chore — that’s exactly what these quick, easy recipes are for!

2 hours ago

Wait a second, this is so easy to adapt for gluten free! I swapped the regular flour tortillas for yellow corn tortillas and used a labeled gluten free enchilada sauce, and you literally couldn’t tell the difference from regular enchiladas. My husband who hates all 'gluten free fake food' went back for thirds. I made this for our casual game night with friends last night and everyone asked for the recipe before they left. 10/10, no notes, will be making this constantly.



