1.Why does this recipe call for bone-in, skinless chicken thighs, and can I use boneless cuts or breast instead?
▾
Bone-in, skinless chicken thighs are ideal here because they stay juicy and tender through high-heat searing and masala simmering, with rich, savory depth that stands up to bold, aromatic spices. Unlike lean breast meat, thighs won’t dry out easily if slightly overcooked, and the bone adds subtle extra savoriness. You can use boneless skinless thighs if preferred—just cut to the same 5cm size and reduce post-sear cook time by 2-3 minutes, since no bone slows cooking. If using breast, cut pieces 1cm larger and trim 3-4 minutes of cook time to avoid toughness.
2.Can I use low-fat or non-fat yogurt instead of full-fat plain yogurt?
▾
I strongly recommend sticking to full-fat plain yogurt for the silkiest, richest masala coating that doesn’t split or curdle when heated. Low-fat or non-fat yogurt has higher water content and a thinner consistency, which can make the masala runny and leave a grainy, watery texture instead of the thick, spiced coating that sticks to each chicken piece. If you only have low-fat, stir in 1 tablespoon of heavy cream to stabilize it before mixing with spices.
3.What makes Kashmiri red chili powder different from regular red chili powder, and can I substitute it?
▾
Kashmiri red chili powder is prized for its vibrant, deep red color and mild, fruity heat—usually about 1/3 the heat of standard cayenne or regular red chili powder. It gives the curry its signature bright hue without making it overwhelmingly spicy. If you don’t have it, mix 3 parts sweet paprika with 1 part cayenne pepper to match the color and mild, balanced heat profile for this recipe.
4.Do I have to marinate the chicken first, and how long is long enough?
▾
Marinating is non-negotiable for tender, evenly flavored chicken here! At minimum, let the chicken rest in the yogurt and spice mix for 30 minutes at room temperature to let the spices penetrate and the yogurt tenderize the meat. For the best results, marinate it covered in the fridge for 4 to 12 hours—just let it sit out 15 minutes before cooking so it sears evenly instead of steaming.
5.Why do I need to sear the chicken first instead of cooking it straight in the masala?
▾
Searing the chicken over high heat first creates crispy, caramelized edges that give this "fry curry" its signature texture, rather than soft, steamed chicken. The browned bits (called fond) left in the pan also add deep, nutty, savory flavor to the masala when you sauté spices in the same pan. Don’t crowd the pan while searing—work in batches if needed to get that crisp edge instead of steaming the chicken.
6.My yogurt curdled when I added it to the hot pan—what did I do wrong, and can I fix it?
▾
Yogurt curdles when it hits very high heat too quickly, usually because it was cold straight from the fridge or added all at once to a screaming hot pan. To fix it, lower the heat immediately, stir in 1-2 tablespoons of warm water or heavy cream, and whisk vigorously until the masala smooths out. Next time, bring marinated chicken to room temp first, and stir continuously for the first 2 minutes after adding it to the pan to prevent curdling.
7.Can I make this curry ahead of time for meal prep?
▾
Absolutely! This curry actually tastes even better the next day, as the spices have time to meld and deepen in flavor. Let it cool completely, store it in an airtight container in the fridge for up to 4 days, and reheat gently on the stovetop over low heat with a splash of water if the masala has thickened too much. It freezes well for up to 3 months—just thaw in the fridge overnight before reheating.
8.What side dishes pair best with South Indian Chicken Fry Curry?
▾
This bold, spiced curry pairs beautifully with fluffy white basmati rice to soak up the thick masala, or soft, flaky parotta for a classic South Indian serving. It also works well with warm naan, crispy dosa, or even simple lemon rice for a brighter, tangy contrast. Add a side of cool cucumber raita or quick pickled onions to cut through the richness and balance the warm spices.
9.I don’t eat dairy—what can I use to replace the yogurt in the marinade?
▾
For a dairy-free version, swap the full-fat plain yogurt for unsweetened, full-fat coconut yogurt (make sure it has no added vanilla or sugar) for a nearly identical thick, tangy marinade that won’t curdle easily. You can also use ½ cup thick coconut cream mixed with 1 teaspoon of lemon juice to replicate yogurt’s tang, though you’ll get a subtle coconut note that pairs beautifully with the South Indian spice profile.
10.How spicy is this curry, and can I adjust the heat level to suit my taste?
▾
As written with Kashmiri red chili powder, this curry is mild to medium heat, with warm, aromatic spice rather than searing burn. For less heat, cut the Kashmiri chili powder in half and replace the missing amount with extra sweet paprika to keep the vibrant red color. For more heat, add ¼ to ½ teaspoon of cayenne pepper or a finely chopped fresh green chili when sautéing your masala base.
11.The recipe says to cut chicken into 5cm pieces—can I use larger or smaller cuts?
▾
Sticking to 5cm (about 2 inch) pieces is ideal, because that size gets crispy edges when seared while staying juicy in the center, and cooks through evenly in the time the masala needs to thicken. If you cut pieces much smaller, they’ll overcook and dry out before you get that crisp edge; if you use larger pieces, add 3-5 minutes of covered simmer time to ensure the chicken cooks all the way through.
12.Do I need to add extra water to make this a saucier curry, or is it supposed to be dry?
▾
This is a "fry curry," which means it has a thick, clingy masala coating rather than a thin, soupy gravy—you shouldn’t need more than 2-3 tablespoons of water total to keep the spices from burning. If you prefer a saucier consistency to serve over rice, stir in ¼ cup of warm water or chicken broth after searing, and let it simmer covered for 2 extra minutes to loosen the masala without making it watery.
13.Can I add vegetables to this curry, and which ones work best?
▾
You absolutely can add veggies to make this a more complete meal! Stick to sturdy, quick-cooking veggies that hold up to high-heat searing: diced parboiled potato, sliced onion, bell pepper, or extra fresh curry leaves are classic additions. Sauté the veggies in the pan right after searing the chicken, before adding the chicken back in to coat in masala, so they pick up all that savory spiced flavor.
14.I don’t have ground coriander—what’s a good substitute?
▾
If you don’t have pre-ground coriander, toast 1 tablespoon of whole coriander seeds in a dry pan for 30 seconds until fragrant, then grind them in a spice grinder for the brightest, freshest flavor. If you don’t have coriander at all, use 1 teaspoon of ground cumin plus ½ teaspoon of mild curry powder as a backup—you’ll miss some of coriander’s bright, citrusy note, but it will complement the other warm spices well.
15.Why is my chicken coming out tough instead of juicy and tender?
▾
Tough chicken usually happens for one of three common reasons: you used lean breast meat without adjusting cook time, you seared it over too low heat so it steamed instead of searing quickly, or you cooked it too long after adding the masala. Remember that thighs only need 8-10 minutes of total cook time after searing to cook through; any longer and the muscle fibers will tighten up and turn dry and chewy.
16.Are there any traditional whole spices I can add to make this more authentic?
▾
For an extra layer of authentic South Indian flavor, do a quick tempering (called tadka) right before serving: heat 1 teaspoon of coconut oil, toss in ½ teaspoon of mustard seeds, a sprig of fresh curry leaves, 2 dried red chilies, and a pinch of asafoetida, and cook until the mustard seeds pop. Pour this hot, spiced oil over the finished curry for unbeatable aromatic, nutty depth classic to the region.
17.What role does turmeric powder play in this curry, and can I use fresh turmeric instead?
▾
Turmeric powder adds a warm, earthy base note and signature golden undertone to the masala, plus it has subtle tenderizing properties that work with yogurt to keep chicken juicy. If you have fresh turmeric, grate 1 teaspoon of peeled fresh root to replace ½ teaspoon of dried ground turmeric—you’ll get a brighter, slightly peppery flavor and more vibrant color, just be careful it doesn’t stain your hands or counters.
18.How do I get that perfectly crispy chicken edge instead of soft, mushy masala-coated chicken?
▾
To get those signature crispy edges, make sure your pan is hot enough before adding the chicken—you should hear a loud sizzle the second the chicken hits the oil. Don’t stir the chicken for the first 3 minutes of searing, so a golden crust can form on the bottom, and don’t overcrowd the pan (cook in 2 batches if needed). Pat marinated chicken lightly with a paper towel before searing to remove excess marinade that would steam instead of crisp.

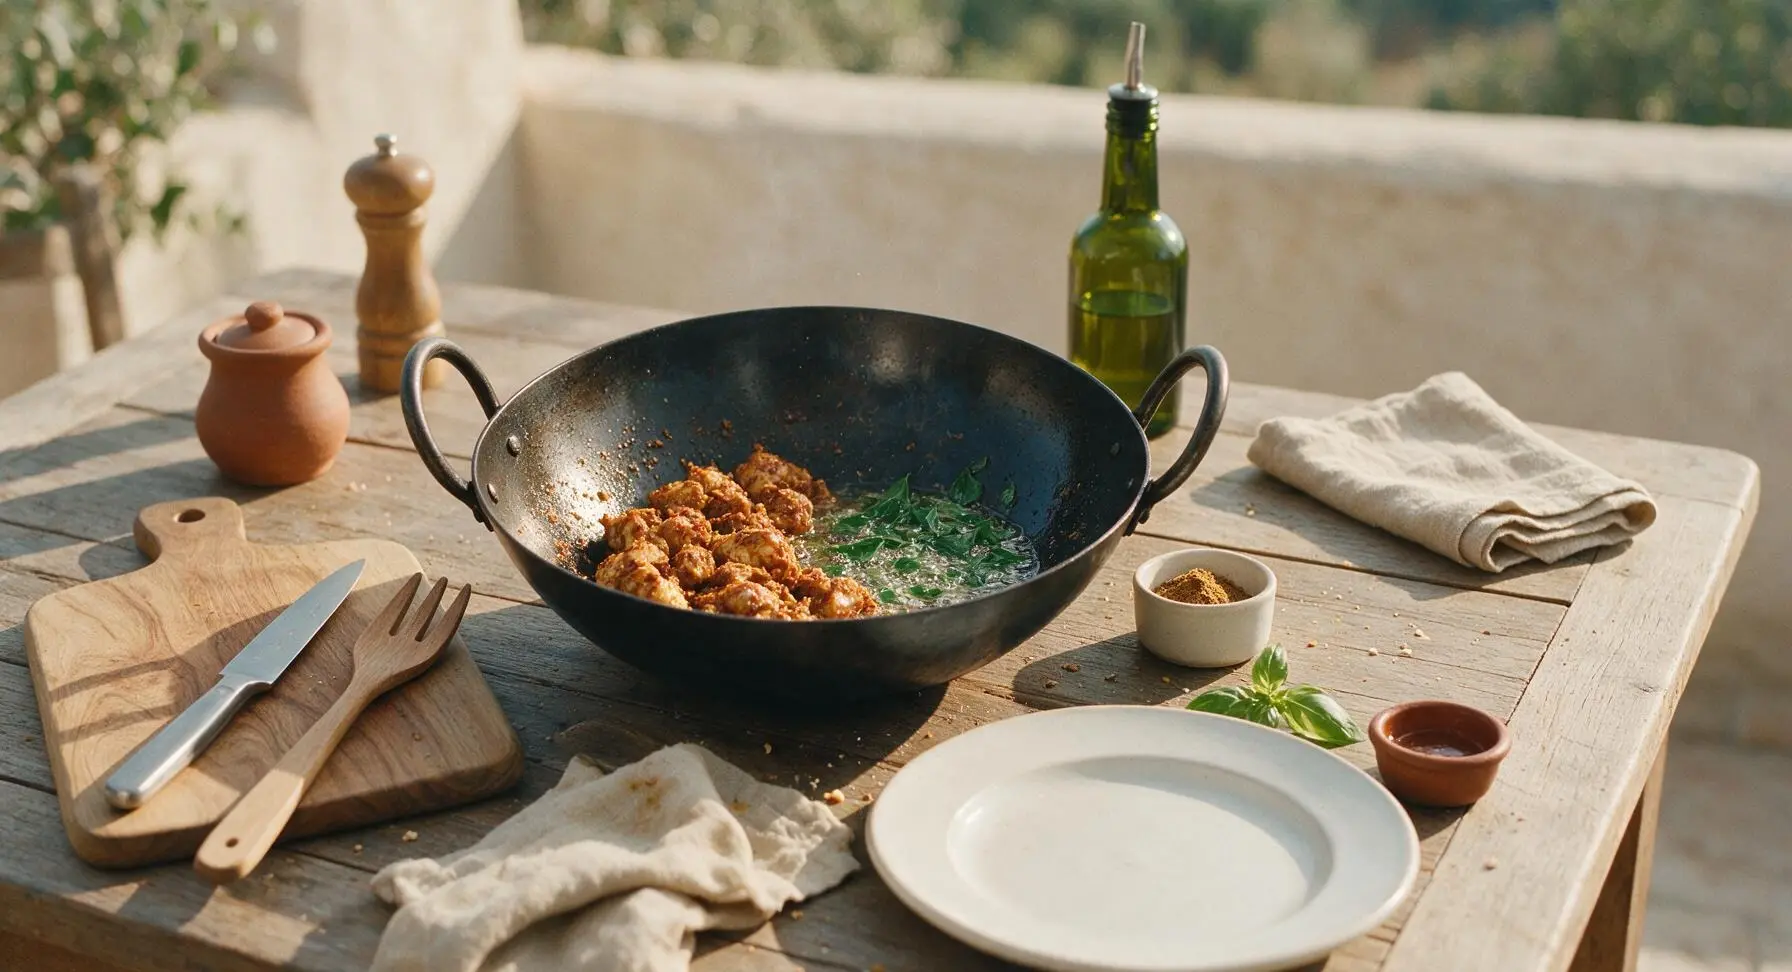
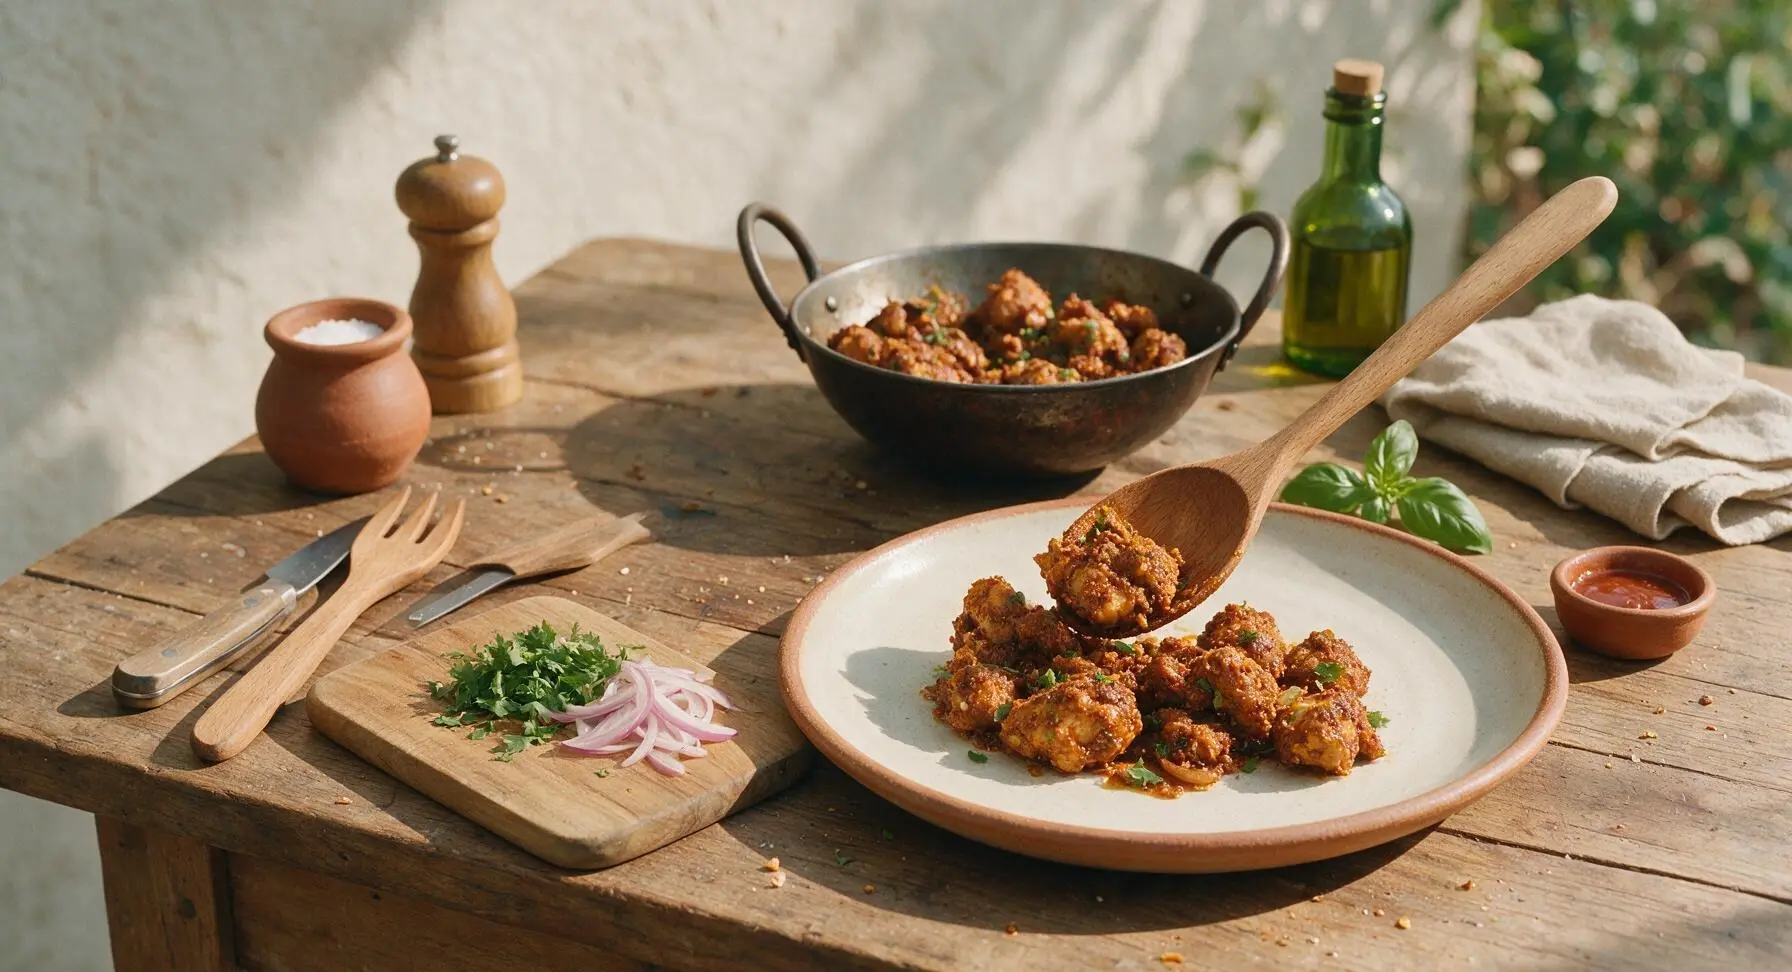






Made this for our Sunday family dinner last night and OMG, even my pickiest kid who swears he hates all curry went back for seconds! I cut back a little on the red chili for the kids and it was still SO flavorful, no bland bites anywhere. 10/10 will be adding this to our weekly meal rotation.
Brought this to our office potluck earlier this week and people were hounding me for the recipe before I even set the dish down! The crispy fried chicken bits mixed with that tangy curry sauce is such a game changer, way better than the takeout we usually order for team lunches.
Meal prepped this on Sunday for the work week and it held up perfectly in the fridge! All the flavors got even better after a day or two, and it reheats like a dream in the microwave. Super manageable 35 minute cook time too, perfect for busy weeknights when I don’t feel like slaving over the stove.
Just finished making this for dinner! I’m a total wimp when it comes to super spicy food so I was nervous to try it, but I followed the tips to use kashmiri chili instead of the hotter variety and it was perfect! Warm, aromatic, no burn that makes me chug 3 glasses of milk. Will absolutely make again.
Quick question before I make this tonight—can I use boneless skinless chicken thighs instead of bone-in? I have a pack in the fridge I need to use up and don’t have time to run to the store.
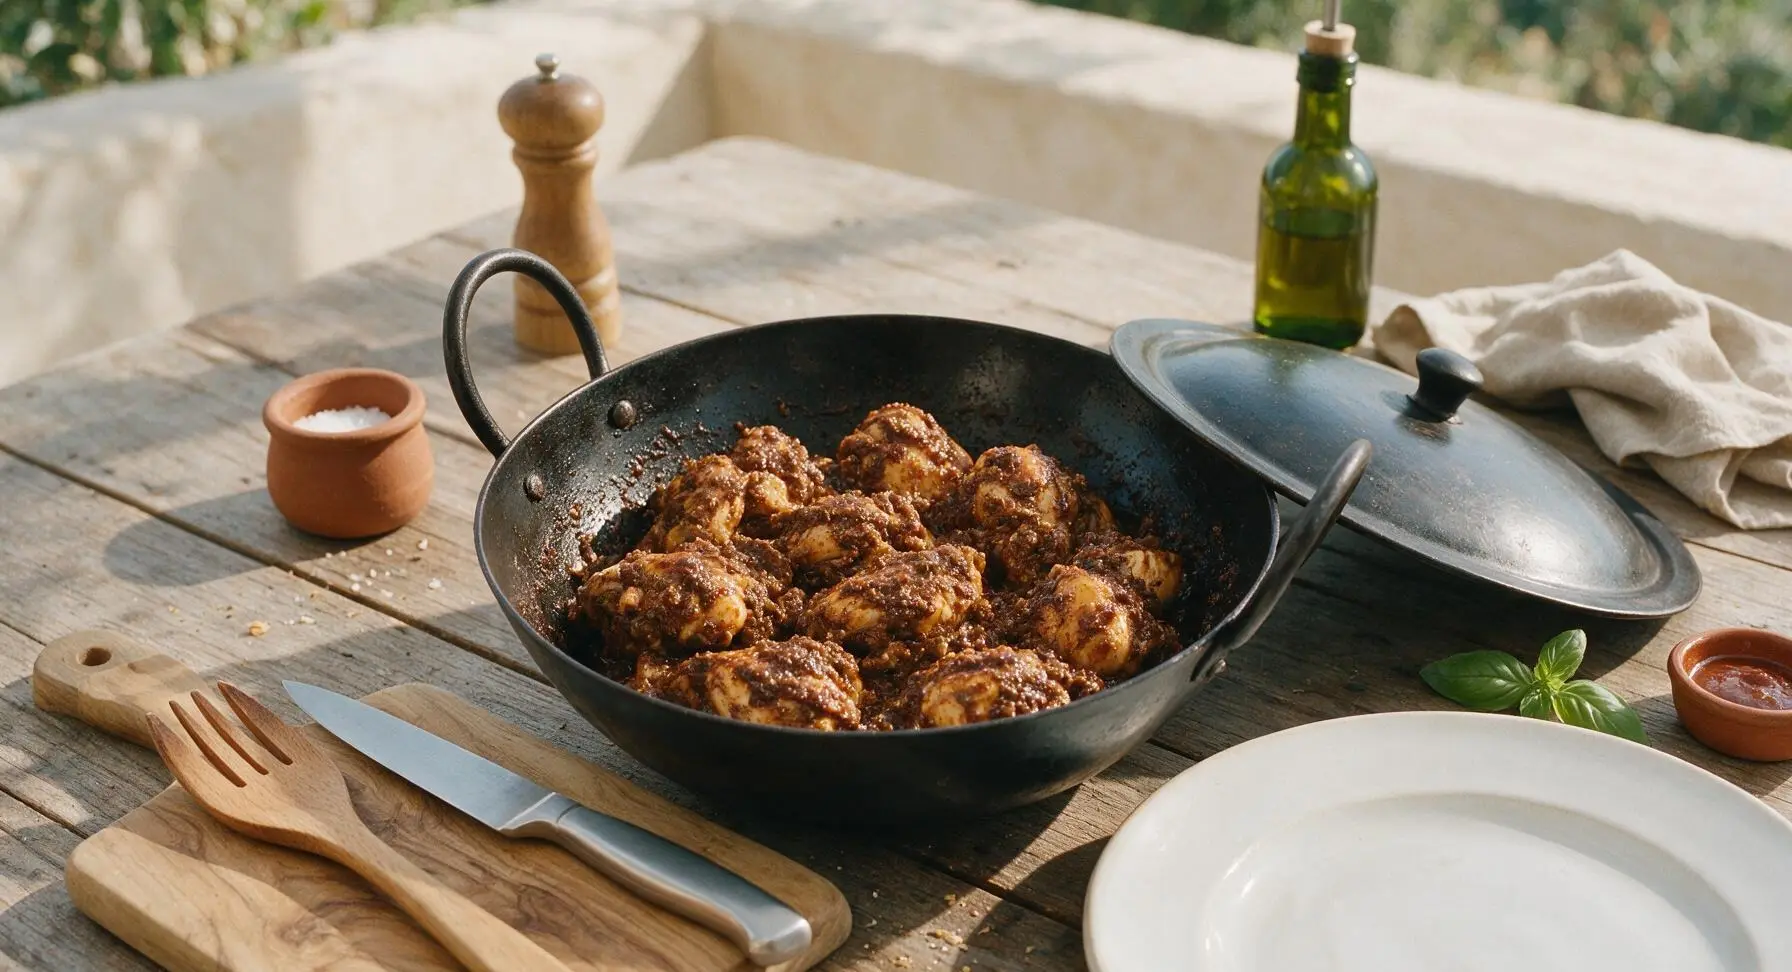
Tried making this yesterday and it was really tasty, but my curry came out a little runnier than the photos show. Did I do something wrong? I followed the measurements exactly as written.
This is now my go-to chicken curry recipe! The only tweak I made was adding a handful of fresh curry leaves from the plant I keep on my windowsill, and it made the aroma absolutely unreal.
What do you all usually serve this with? I made it last night and ate it with basmati rice, but I feel like it would pair great with something else too.
I’ve never made any South Indian food before, so I was intimidated by the medium difficulty rating, but this was so straightforward! The step-by-step instructions were super easy to follow even for a total newbie like me.
Pro tip: If you have leftovers, toss a scoop of this curry with a fried egg on top for breakfast the next day. It sounds weird but trust me, it’s life-changing.
Wait how spicy is this on a scale of 1-10? I can barely handle mild Taco Bell fire sauce, so I don’t want to make something that’s gonna leave my mouth on fire for an hour.
Ugh, I tried making this tonight and the spices burned when I did the tadka, so the whole thing had that bitter burnt taste. What did I do wrong? I don’t want to waste ingredients trying again if I’m gonna mess it up.
Game. Changer. I used to drop $20+ a week on South Indian takeout from the place down the street because I thought I could never replicate that flavor at home, but this is BETTER than the restaurant version. My husband thought I ordered out when he walked in and smelled it cooking!
Is this recipe gluten free? I have celiac so I have to be super careful about cross contamination and hidden gluten ingredients, and I’d love to make this for my friend’s birthday dinner next week.