
chicken handi
intro
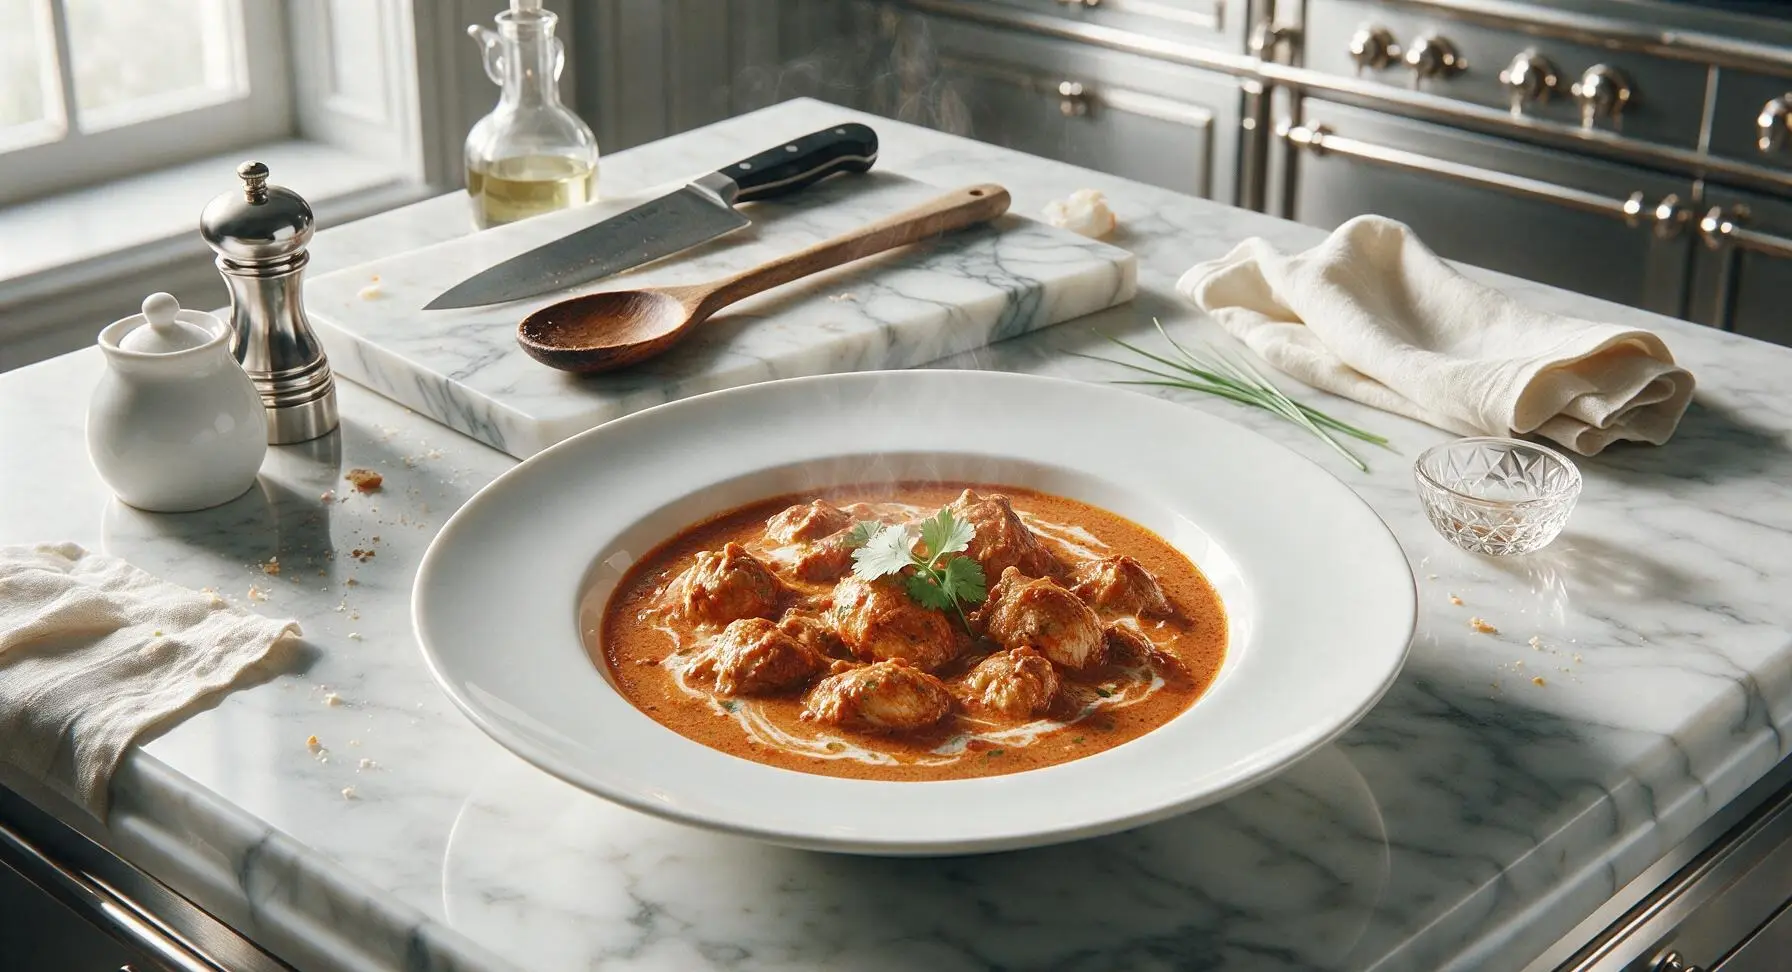
Tender spiced chicken slow-simmered in a creamy, aromatic tomato-yogurt gravy, traditionally cooked in a clay handi for deep, layered, comfort-food flavor.
Ingredients
Steps
Marinate the Chicken
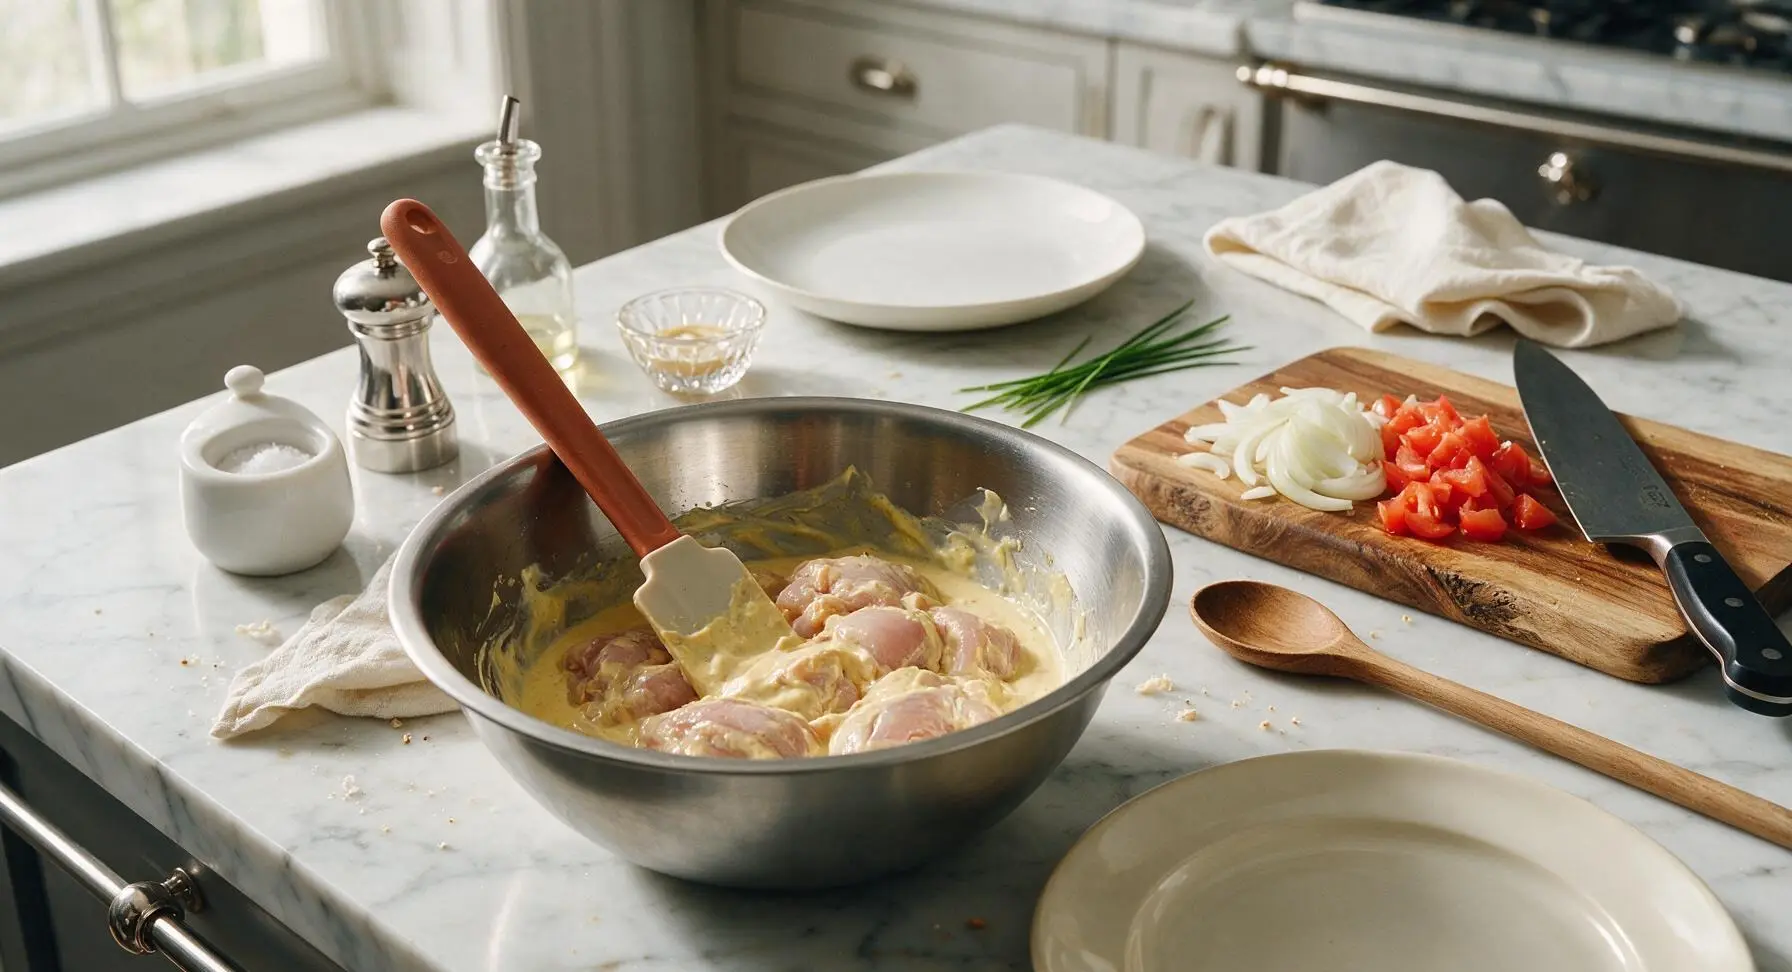
Add the cut chicken pieces to the brushed stainless steel mixing bowl. Pour in 100g of the full-fat yogurt, 1/4 tsp turmeric powder, and 1/2 tsp kosher salt. Mix thoroughly with the terracotta-handled silicone spatula until every chicken piece is evenly coated in the pale yellow marinade. Set aside to marinate for 15 minutes at room temperature while you prep remaining aromatics.
Fry Golden Onions
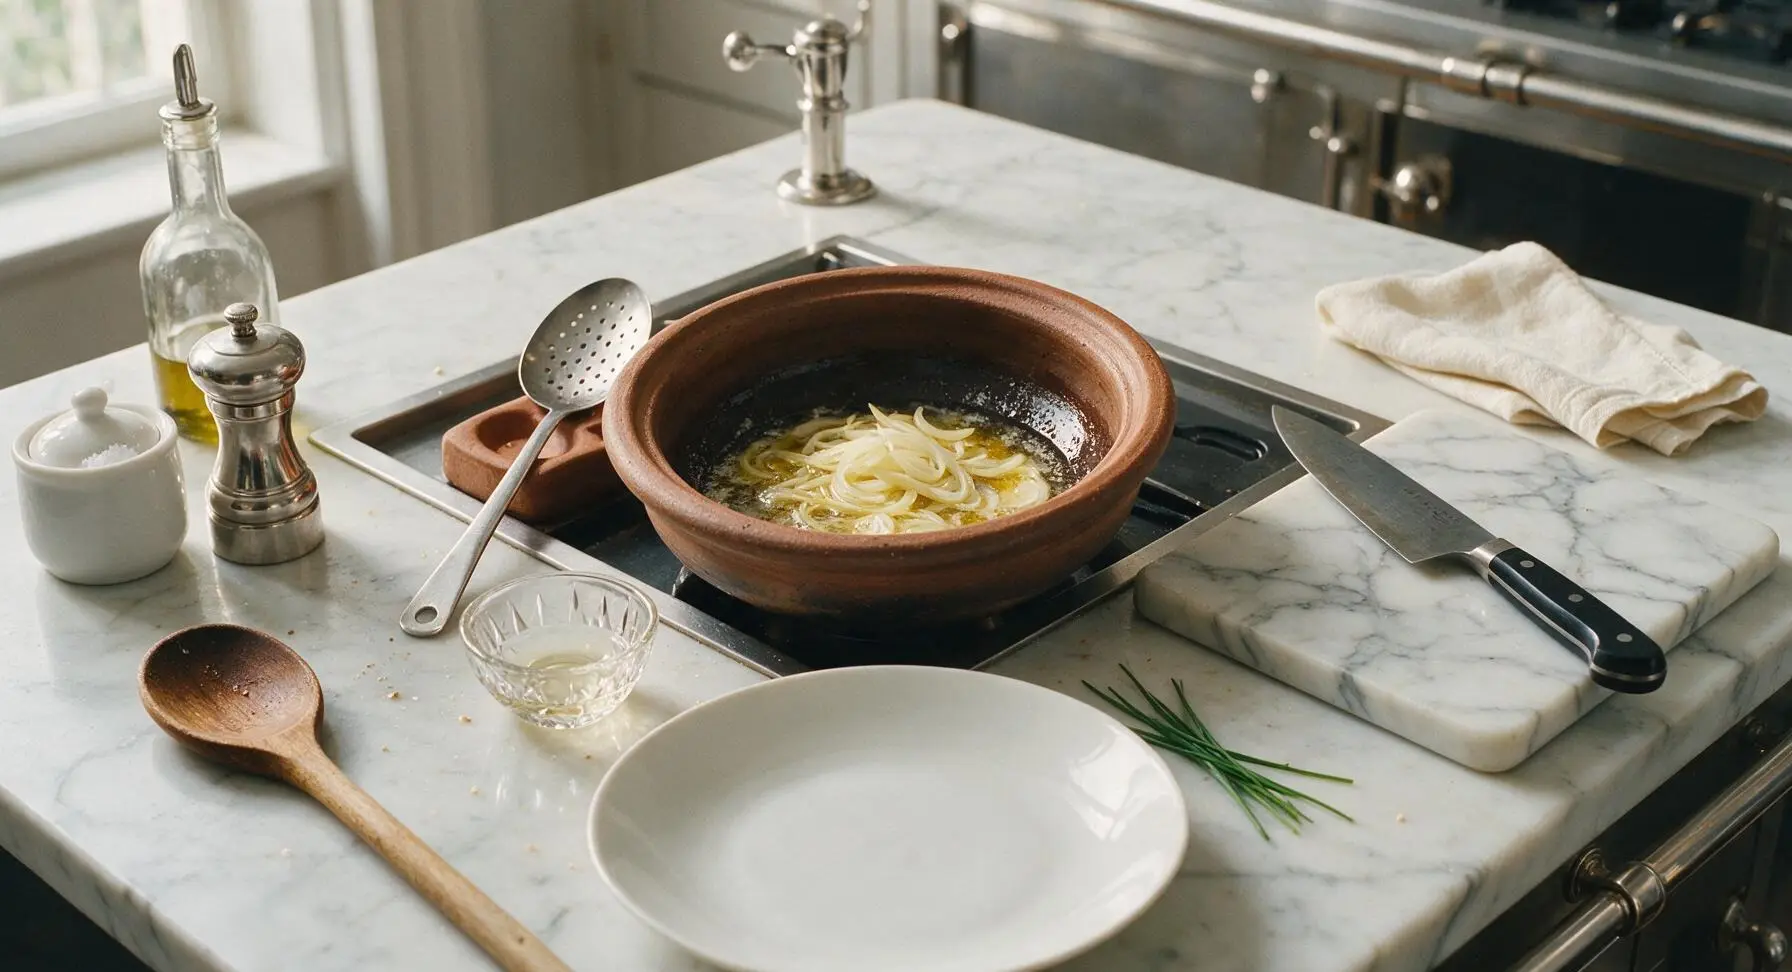
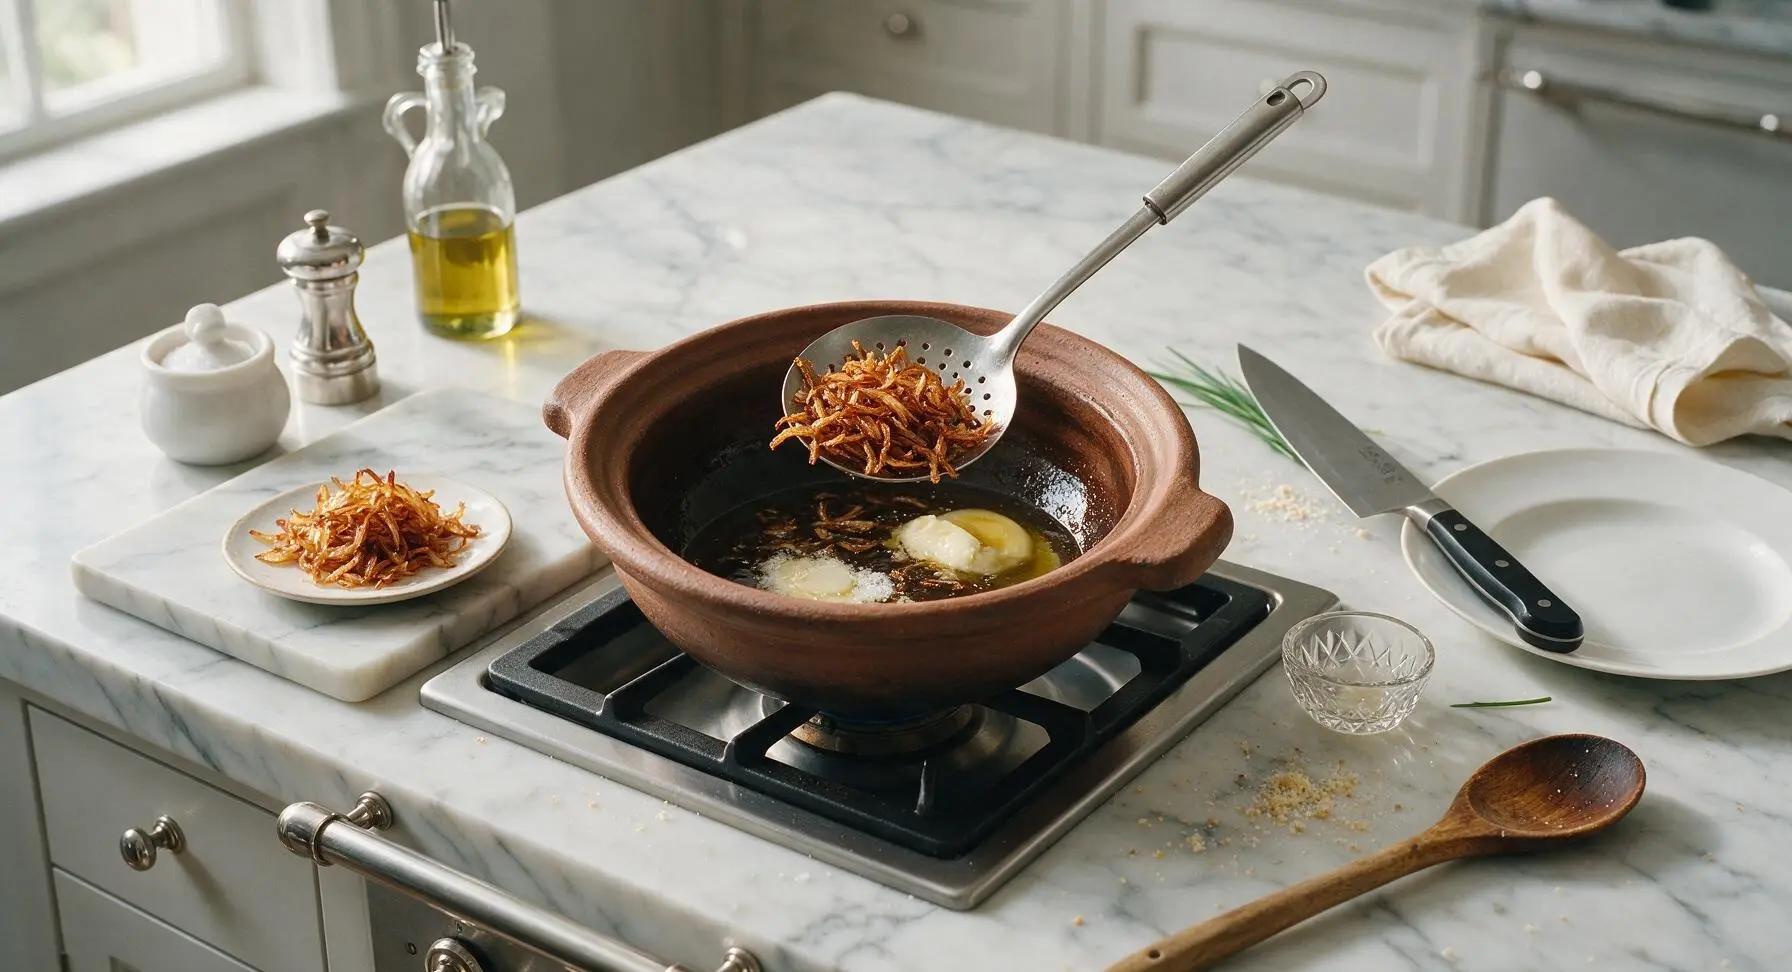
Place the traditional clay handi at center counter on the stovetop over medium heat (160C/325F). Add 2 tbsp ghee and 1 tbsp neutral cooking oil. Once the ghee melts and shimmers, add the thinly sliced yellow onions. Sauté for 8-10 minutes, stirring occasionally with the stainless steel slotted spoon, until onions turn deep golden brown and crispy at the edges. Use the slotted spoon to remove half the fried onions, setting them aside on a small plate for garnish.
Temper Whole Spices
Reduce stovetop heat to medium-low (140C/285F). To the remaining ghee and onions in the handi, add the whole spice mix: cumin seeds, green cardamom pods, cloves, and cinnamon stick. Sauté for 30 seconds, stirring constantly with the silicone spatula, until spices release a warm, nutty aroma and cumin seeds start to pop. Take care not to burn the spices, as this will create a bitter gravy.
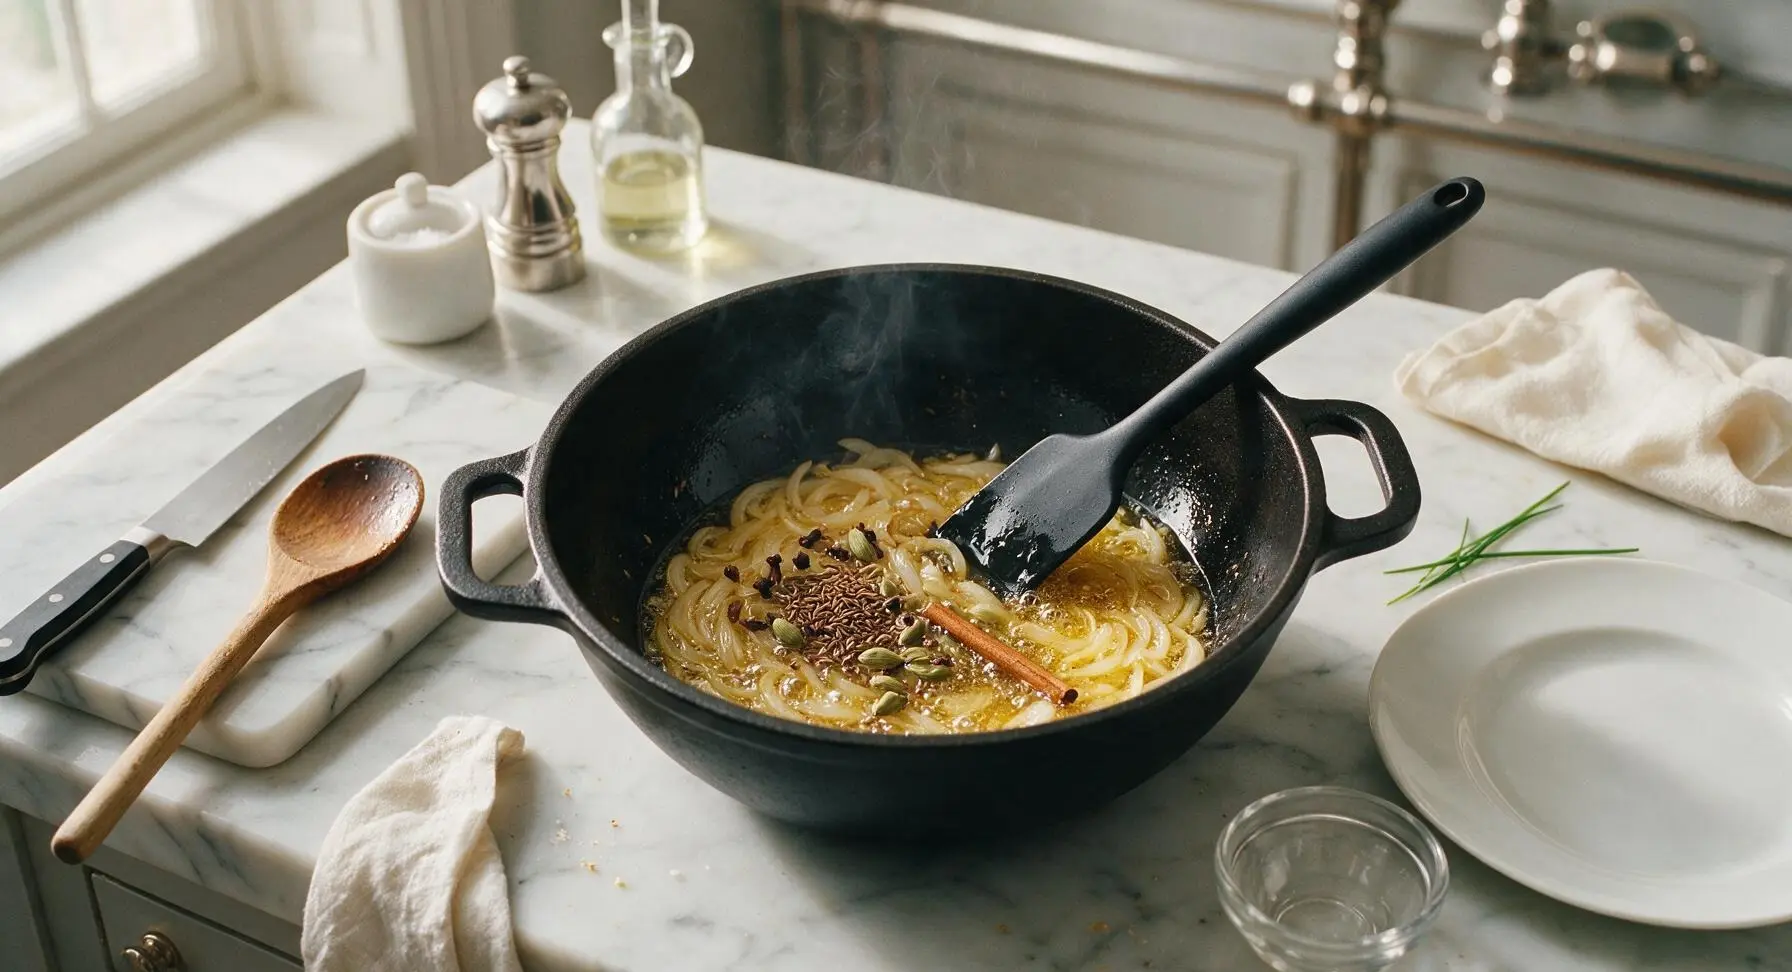
Cook Gravy Base
Add the ginger-garlic paste and slit green chilies to the handi, sauté for 1 minute until the sharp raw smell of garlic fades. Add the chopped roma tomatoes, remaining 1/4 tsp turmeric, coriander powder, red chili powder, and remaining 1/2 tsp kosher salt. Stir to combine, then cook for 8-10 minutes, mashing tomatoes gently with the back of the slotted spoon, until tomatoes break down completely into a thick, smooth deep-red paste and golden oil starts to separate from the sides of the masala.
Simmer the Chicken
Add the marinated chicken pieces to the handi, stirring well with the slotted spoon to coat every piece in the thick masala. Increase heat to medium (160C/325F), sear the chicken for 5 minutes, turning pieces occasionally, until the outside of chicken is lightly browned and no longer pink. Reduce heat to low (110C/230F), cover the handi with its matching terracotta lid, and let chicken simmer for 15 minutes, stirring every 5 minutes to prevent sticking, until chicken is almost tender and releases its natural juices into the gravy.
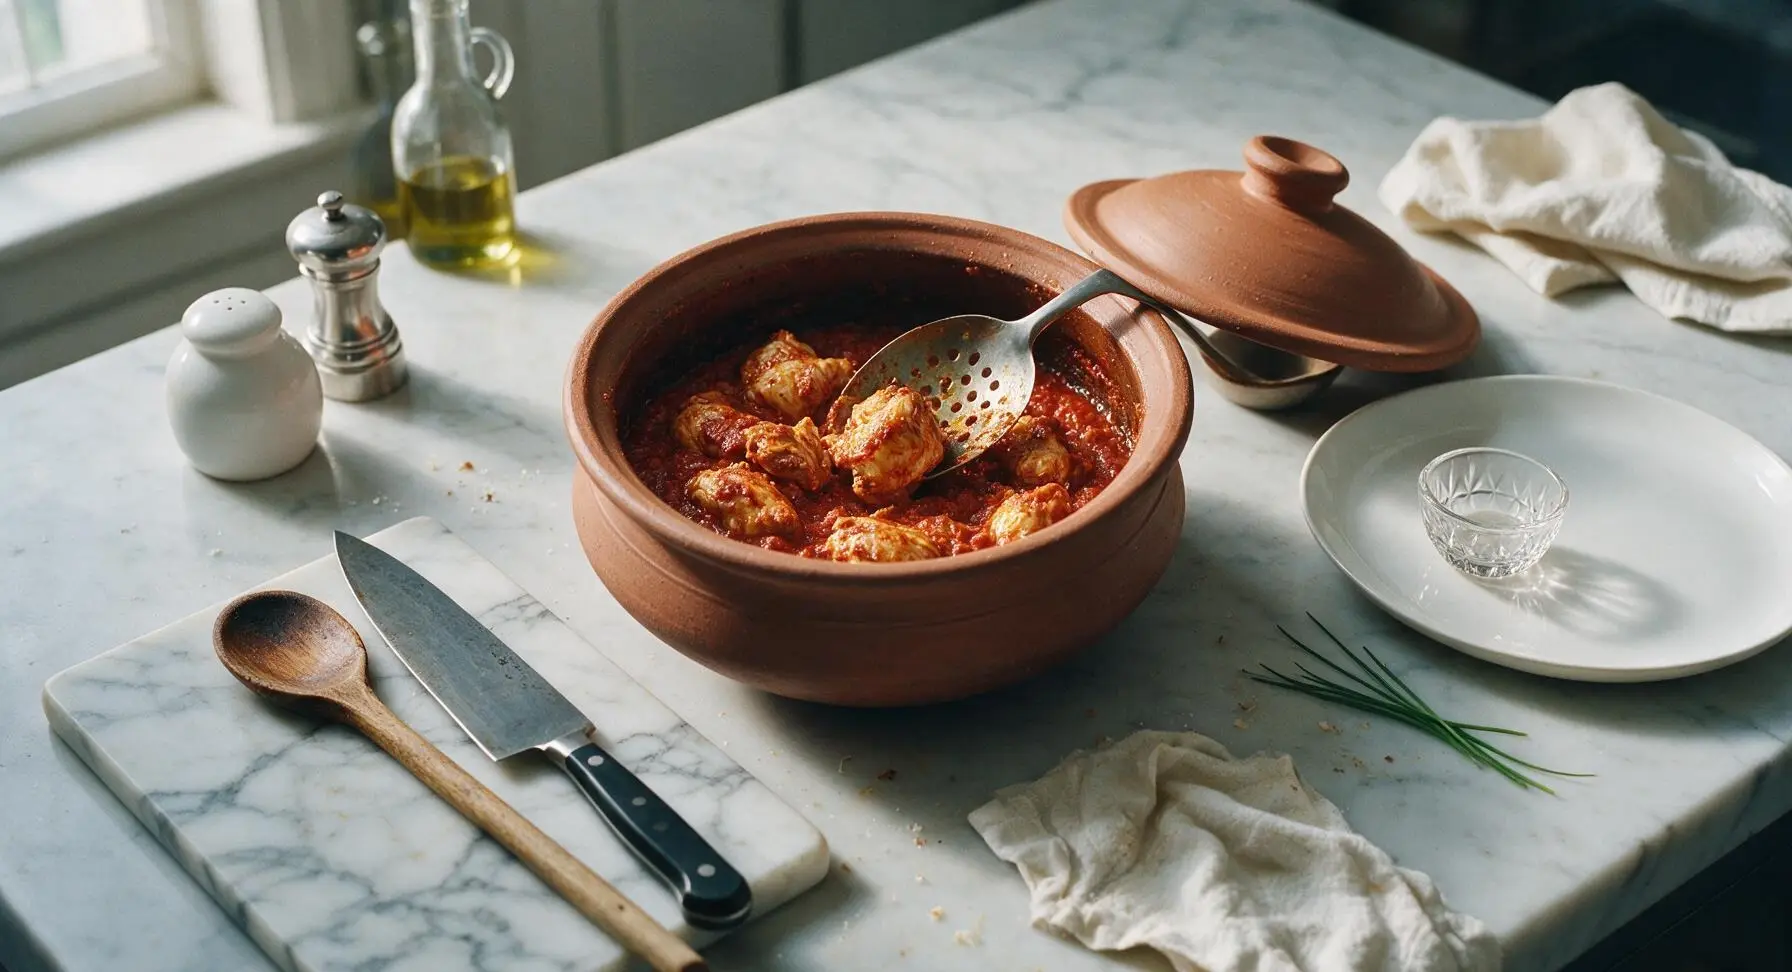
Finish Creamy Gravy
Remove the lid from the handi. Stir in the remaining 50g of full-fat yogurt, mixing well to combine into the gravy. Cook uncovered for 5 minutes on low heat, until gravy thickens to a coating consistency that clings to the chicken pieces. Stir in 1 tbsp of heavy cream and garam masala, mixing gently, then turn off the stovetop heat.
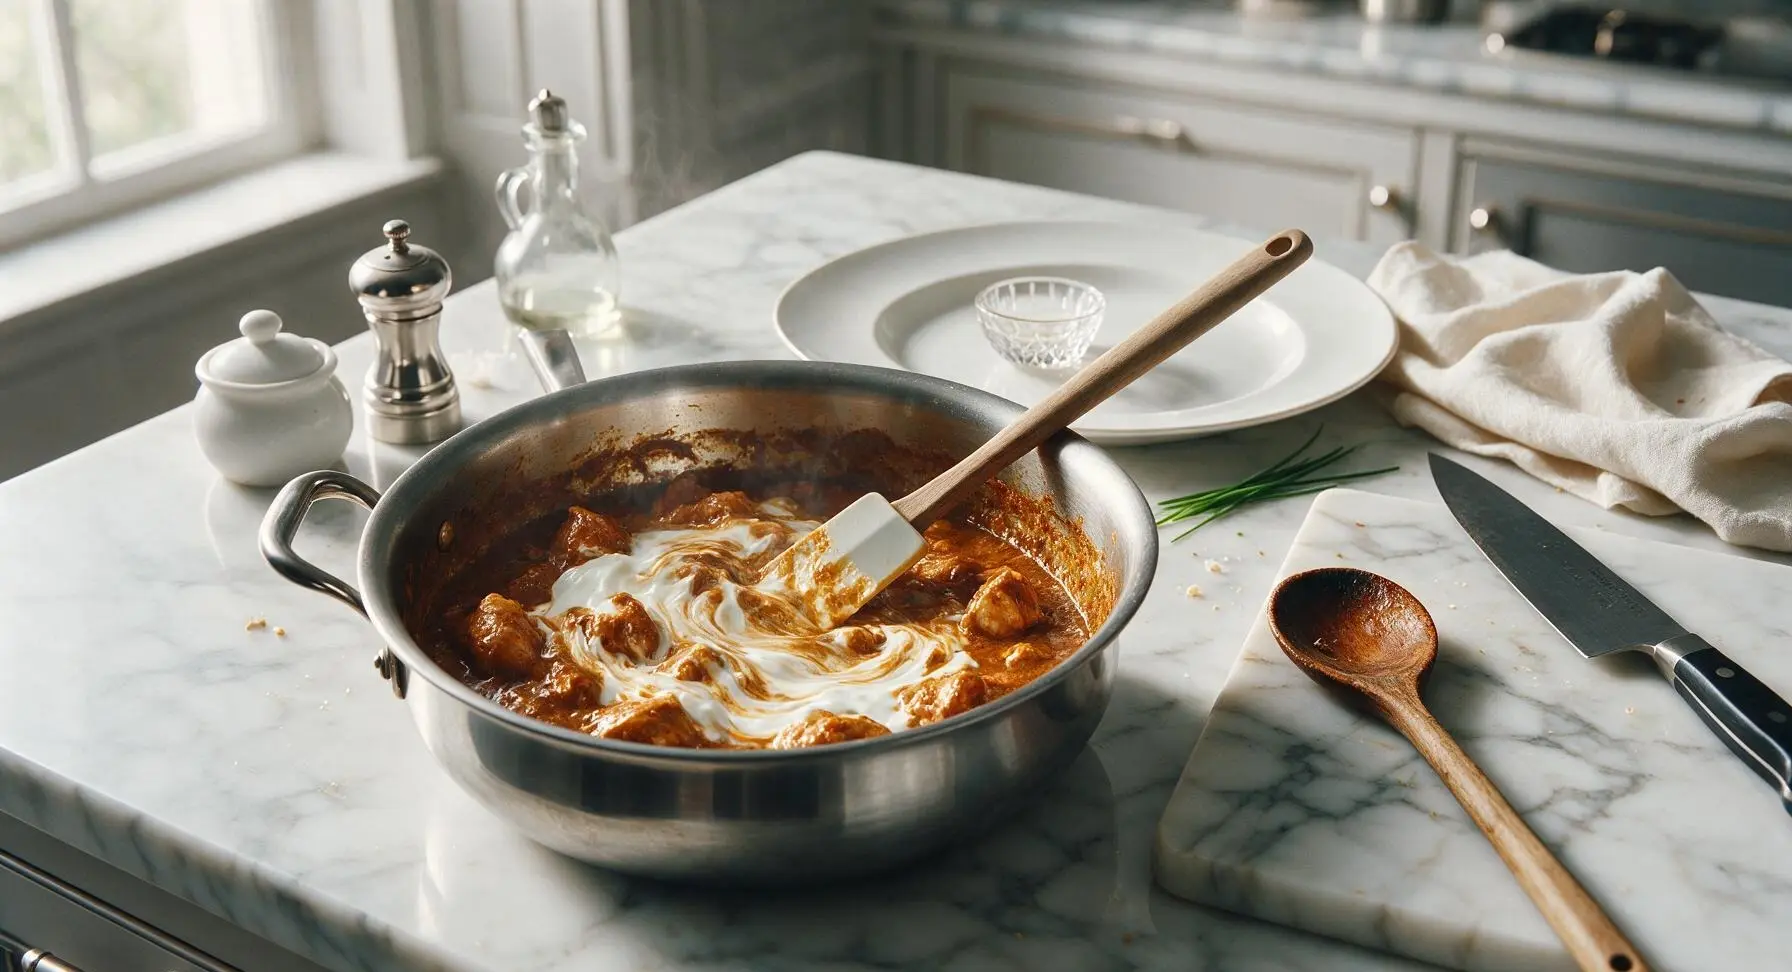
Garnish and Rest
Let the chicken handi rest, covered, for 5 minutes to allow flavors to meld. Top the curry with the reserved crispy fried onions, remaining 1 tbsp of heavy cream (drizzled in a thin swirl), julienned fresh ginger, and chopped fresh coriander leaves before plating.
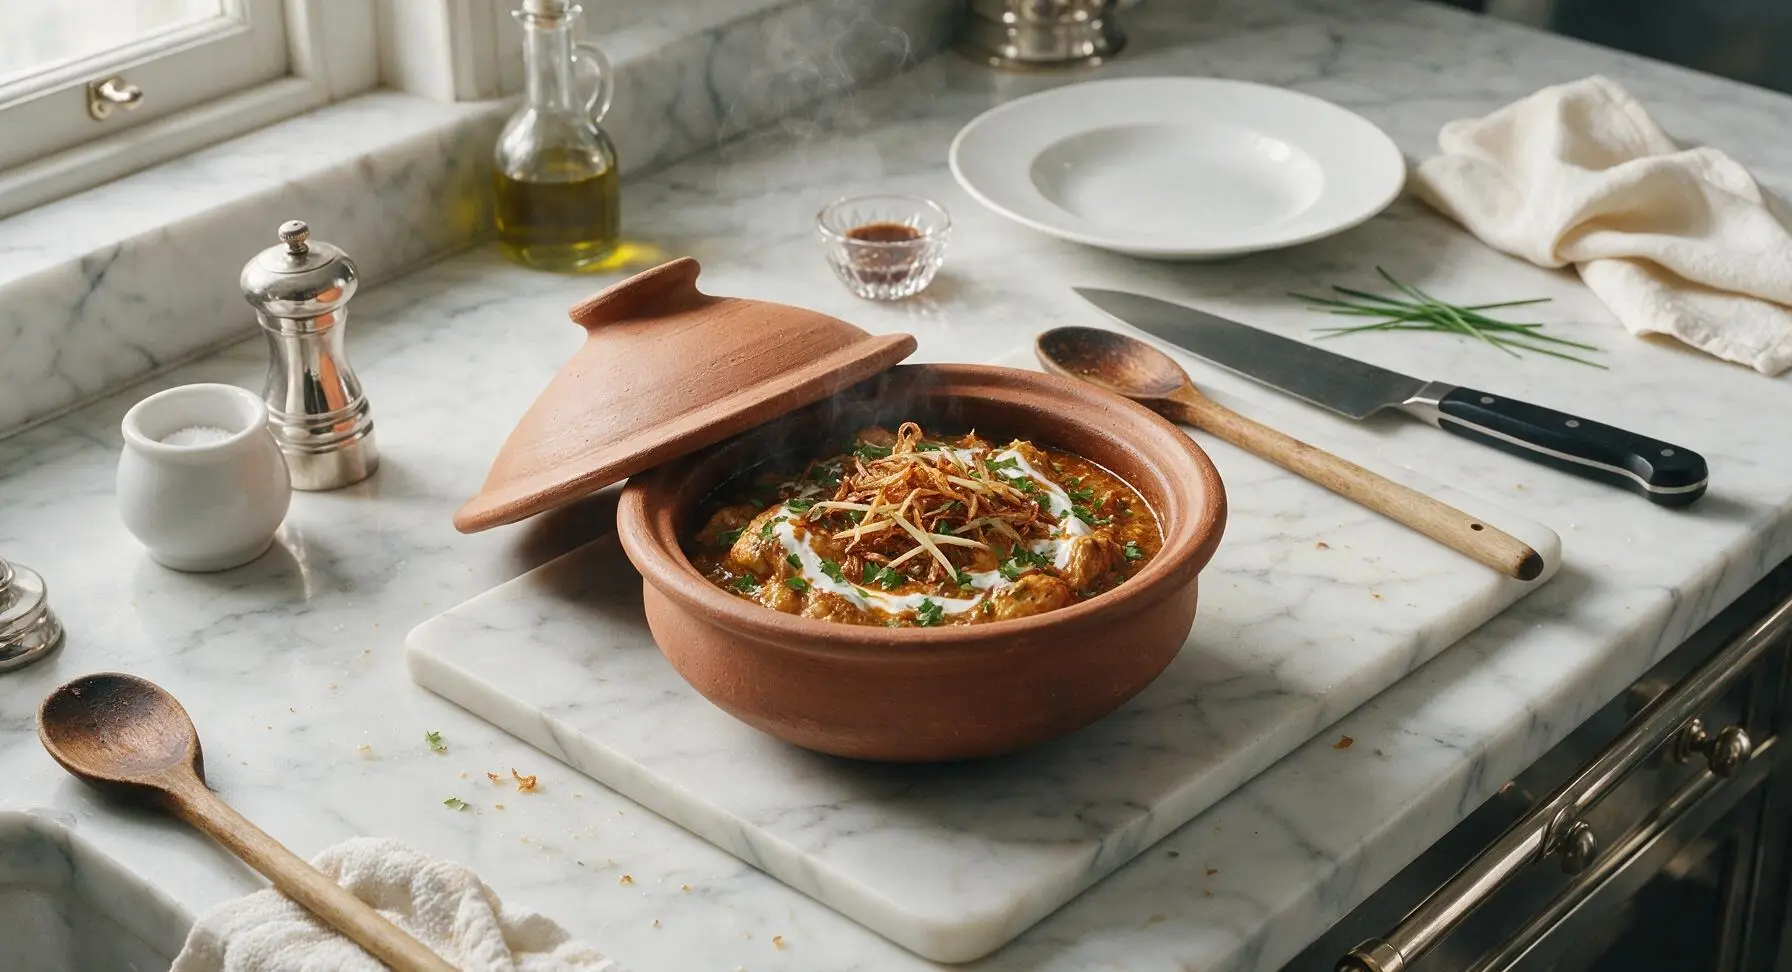
Tips
2.Always add yogurt on low heat and stir continuously: high heat will cause full-fat yogurt to split and curdle, creating a grainy, separated gravy instead of the smooth, luxuriously creamy texture that defines traditional chicken handi.
3.Do not skip the 5-minute rest after cooking: this resting period allows the sharp notes of ground spices to mellow and blend into the gravy, rather than tasting disjointed, and helps the gravy thicken to the perfect coating consistency for serving with naan or roti.






OMG this Traditional Chicken Handi was a total game changer for our Sunday family dinner! I was nervous the medium difficulty would be too much to tackle after a long work week, but the steps were so straightforward, and the cook time was exactly 45 minutes — no extra messing around waiting for it to finish. My kids devoured two servings each, even my super picky 7 year old asked for seconds! It’s SO good, I’m already planning to make a big batch for our next church potluck next month.
Made this last night for me and my roommate, and holy cow it’s better than the chicken handi we get at our favorite local Pakistani spot down the street! I added a little extra garam masala because we love extra warmth, and it paired perfectly with basmati rice and garlic naan. Only thing is I wish I made a double batch, because we ate almost all of it in one sitting, no leftovers for meal prep this week lmao.
Tried this for a quick weeknight meal, and while the flavor was amazing, I had to cook it for almost 15 minutes longer than the 45 minute cook time listed because my chicken thighs were still a little pink in the middle. Maybe I cut them too big? Either way, the end result was worth the extra wait, my whole family raved about the creamy, tangy sauce. Will cut the chicken into smaller chunks next time to stick to the 45 minute timeline.
I never cook creamy meat dishes because I always mess up the sauce consistency, but this recipe was foolproof! I brought it to a friend’s potluck over the weekend, and every single person asked me for the recipe. I even had one person offer to pay me to make it for their next dinner party, no joke. 10/10, will be in my regular dinner rotation from now on.
This was so good, but as someone who loves super spicy food, I upped the red chili powder to 1.5 tsp and added a chopped green chili when sautéing the onions, and it was perfect for my heat tolerance. The base recipe is so solid, it’s super easy to tweak to your own taste preferences without messing it up. My only note is that I used boneless skinless breasts instead of thighs because that’s what I had on hand, and it still came out juicy, which shocked me!
Wow, this is going to be a new meal prep staple for me! I made a double batch on Sunday, portioned it out with basmati rice and roasted broccoli, and it’s held up perfectly in the fridge for work lunches all week. The flavor actually gets better the longer it sits, which is my favorite kind of meal prep recipe. The medium difficulty rating is totally accurate too — it’s not totally set-it-and-forget-it, but none of the steps are complicated even for someone who isn’t a super confident cook. 10/10, already sent the recipe to my roommate and my mom.
Okay I’m literally a total beginner when it comes to cooking any kind of South Asian food, and I was so intimidated by the medium difficulty rating, but I decided to give this a shot for my dad’s birthday since he loves chicken handi. It turned out SO well! My dad said it tasted just like the one his mom used to make when he was a kid, and I almost cried I was so happy. Thank you so much for sharing this recipe, it made his whole birthday.
Made this for date night last night with my girlfriend, and she was so impressed she thought I ordered it from the fancy Indian restaurant downtown! We paired it with garlic naan and a side of cucumber raita, and it was the perfect cozy date night meal. I will say, I didn’t have a traditional handi pot so I just used my heavy-bottomed Dutch oven, and it worked totally fine, no issues at all. Don’t skip the fresh ginger garnish at the end, it adds such a bright pop of flavor!