
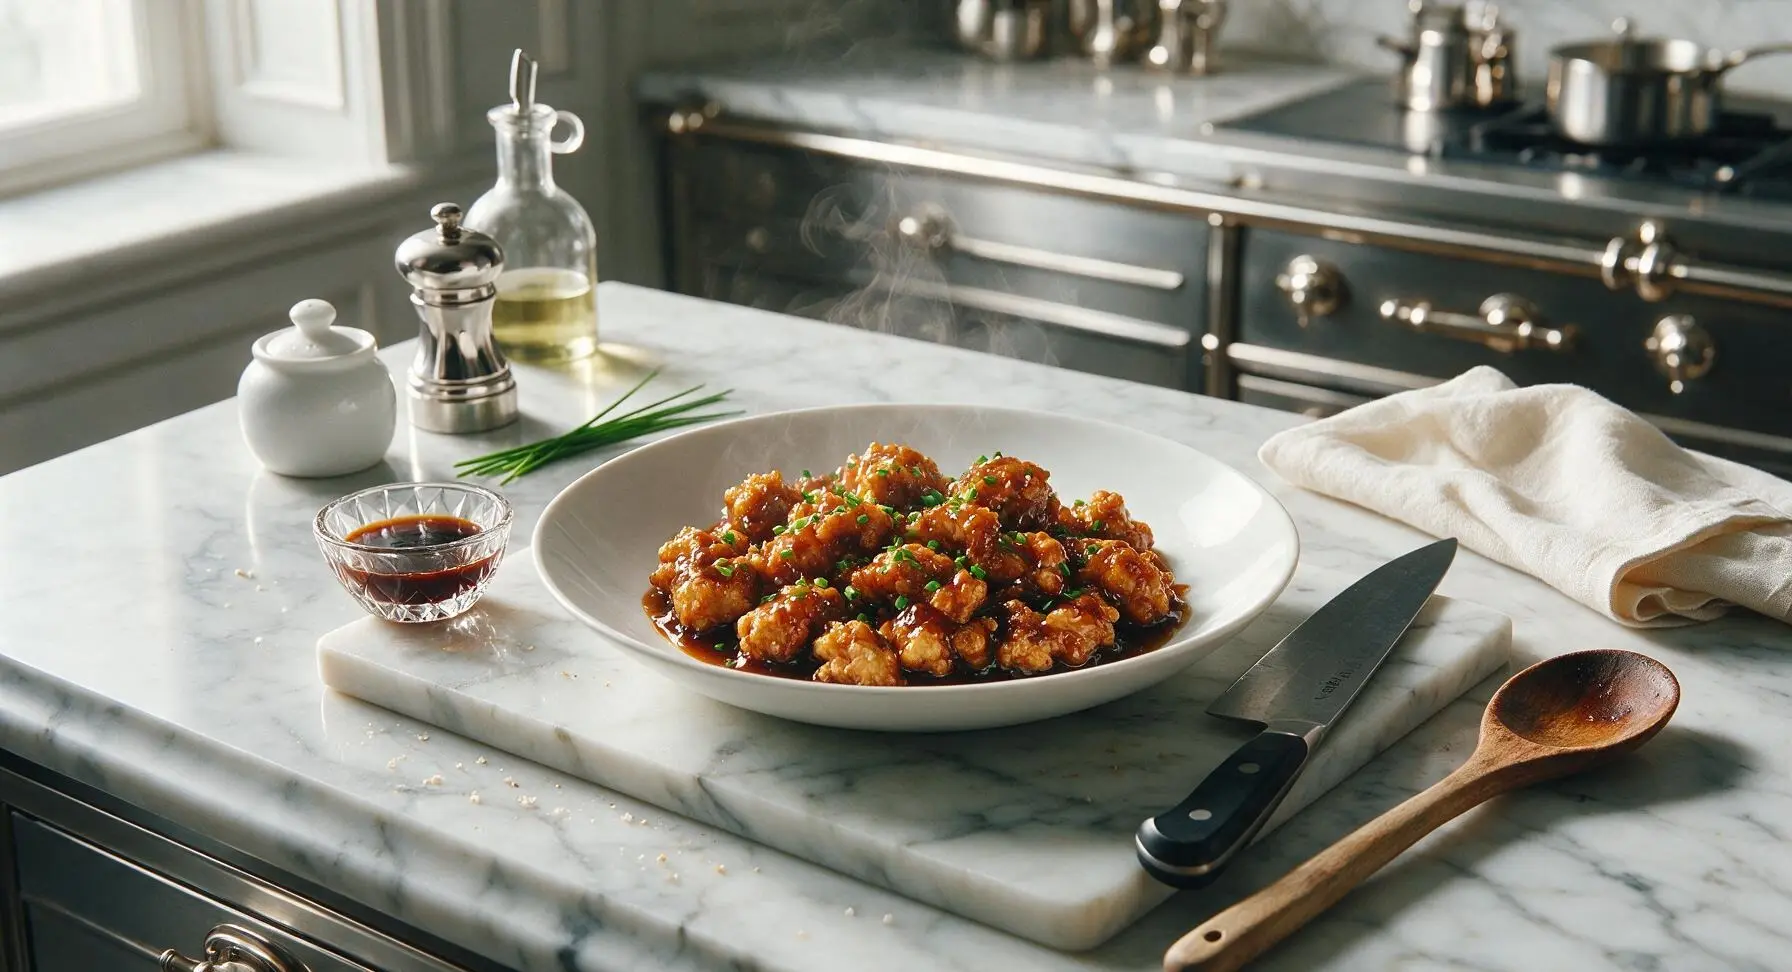
chicken manchurian

title 1
chicken manchurian
⏱️ cook time 25 minutes
🍽️ servings 4
⚡ Difficulty medium

intro

Crispy battered chicken chunks tossed in a glossy, tangy umami soy-ginger sauce, the beloved Indo-Chinese takeout classic made simple for home cooking.

Ingredients
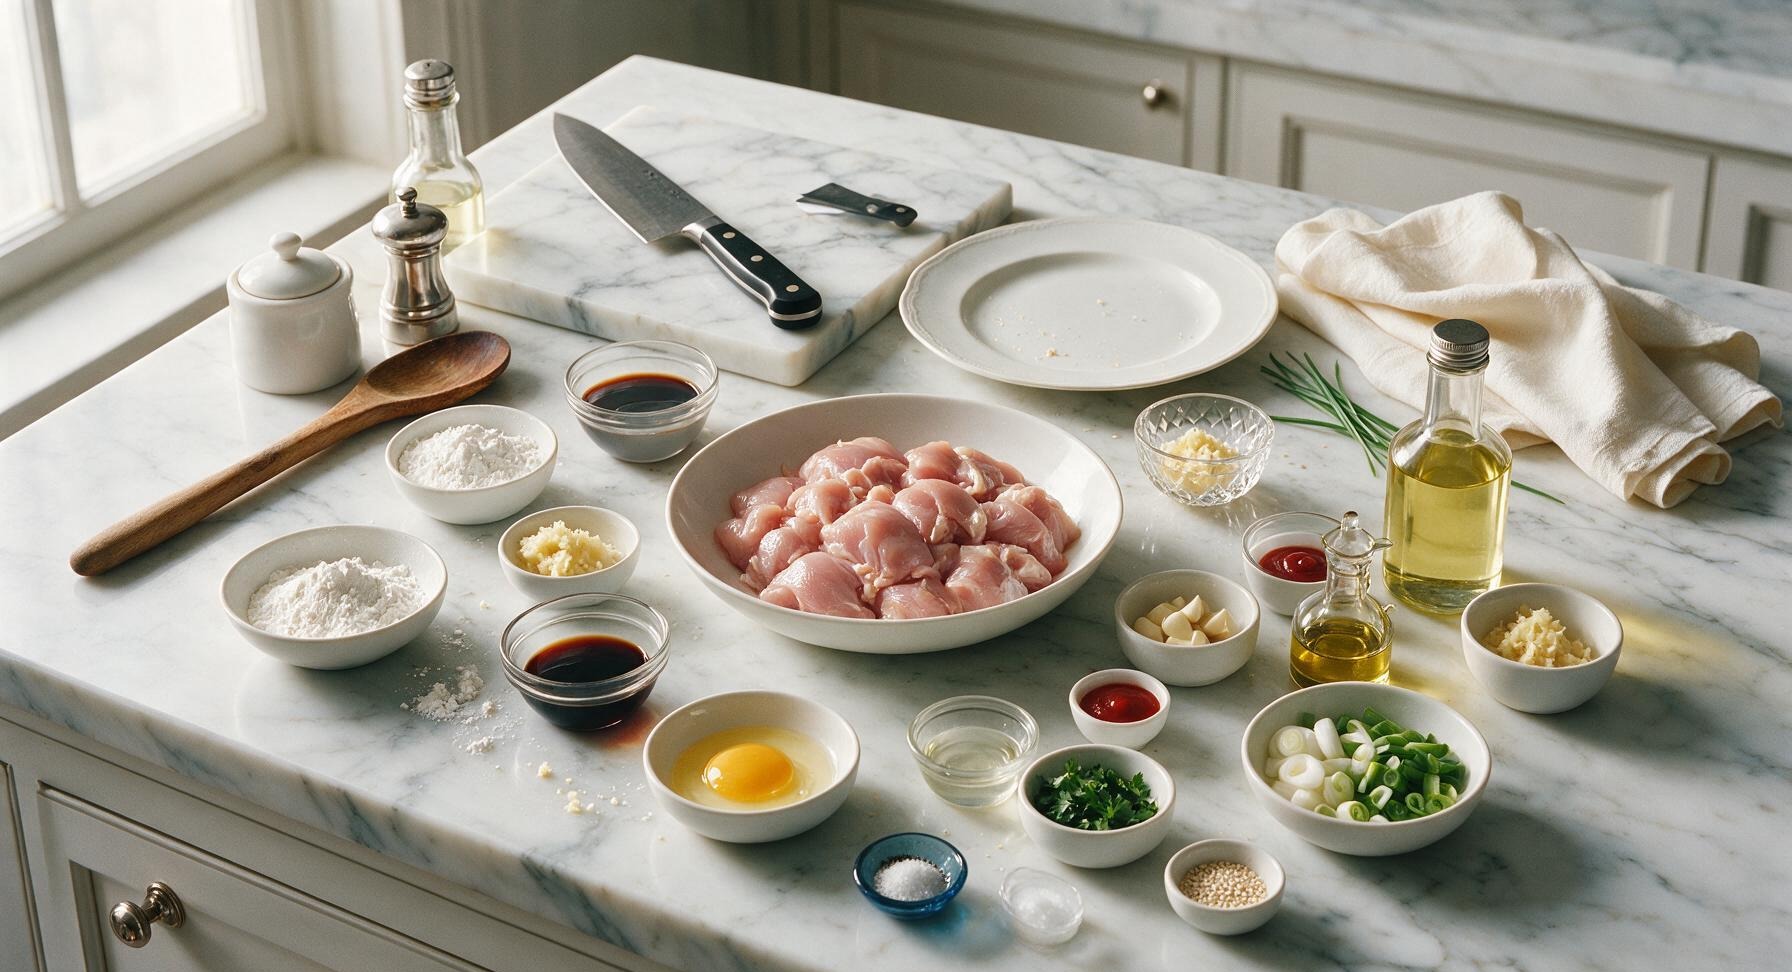
Boneless skinless chicken thighs, cut into 2.5cm chunks 500g
Cornstarch (divided for batter and slurry) 65g
All-purpose flour 30g
Large egg, lightly beaten 1 unit
Light soy sauce (divided for marinade and sauce) 3 tbsp (45ml)
Fresh ginger, grated (divided for marinade and sauce) 2 tbsp (20g)
Garlic cloves, minced 6 cloves (20g)
Spring onions, sliced (green/white parts separated) 3 stalks (60g)
Rice vinegar 1 tbsp (15ml)
Tomato ketchup 1 tbsp (15ml)
Red chili sauce 1 tsp (5ml)
Toasted sesame oil 1 tsp (5ml)
Ground black pepper 1/2 tsp
Fine table salt (divided) 1 tsp (5g)
Neutral canola oil (for frying) 500ml (2 cups)
Fresh cilantro, chopped (for garnish) 1 tbsp (5g)
Toasted sesame seeds (for garnish) 1 tsp
Cold water (for cornstarch slurry) 2 tbsp (30ml)

Steps

1

Prep Chicken Marinade

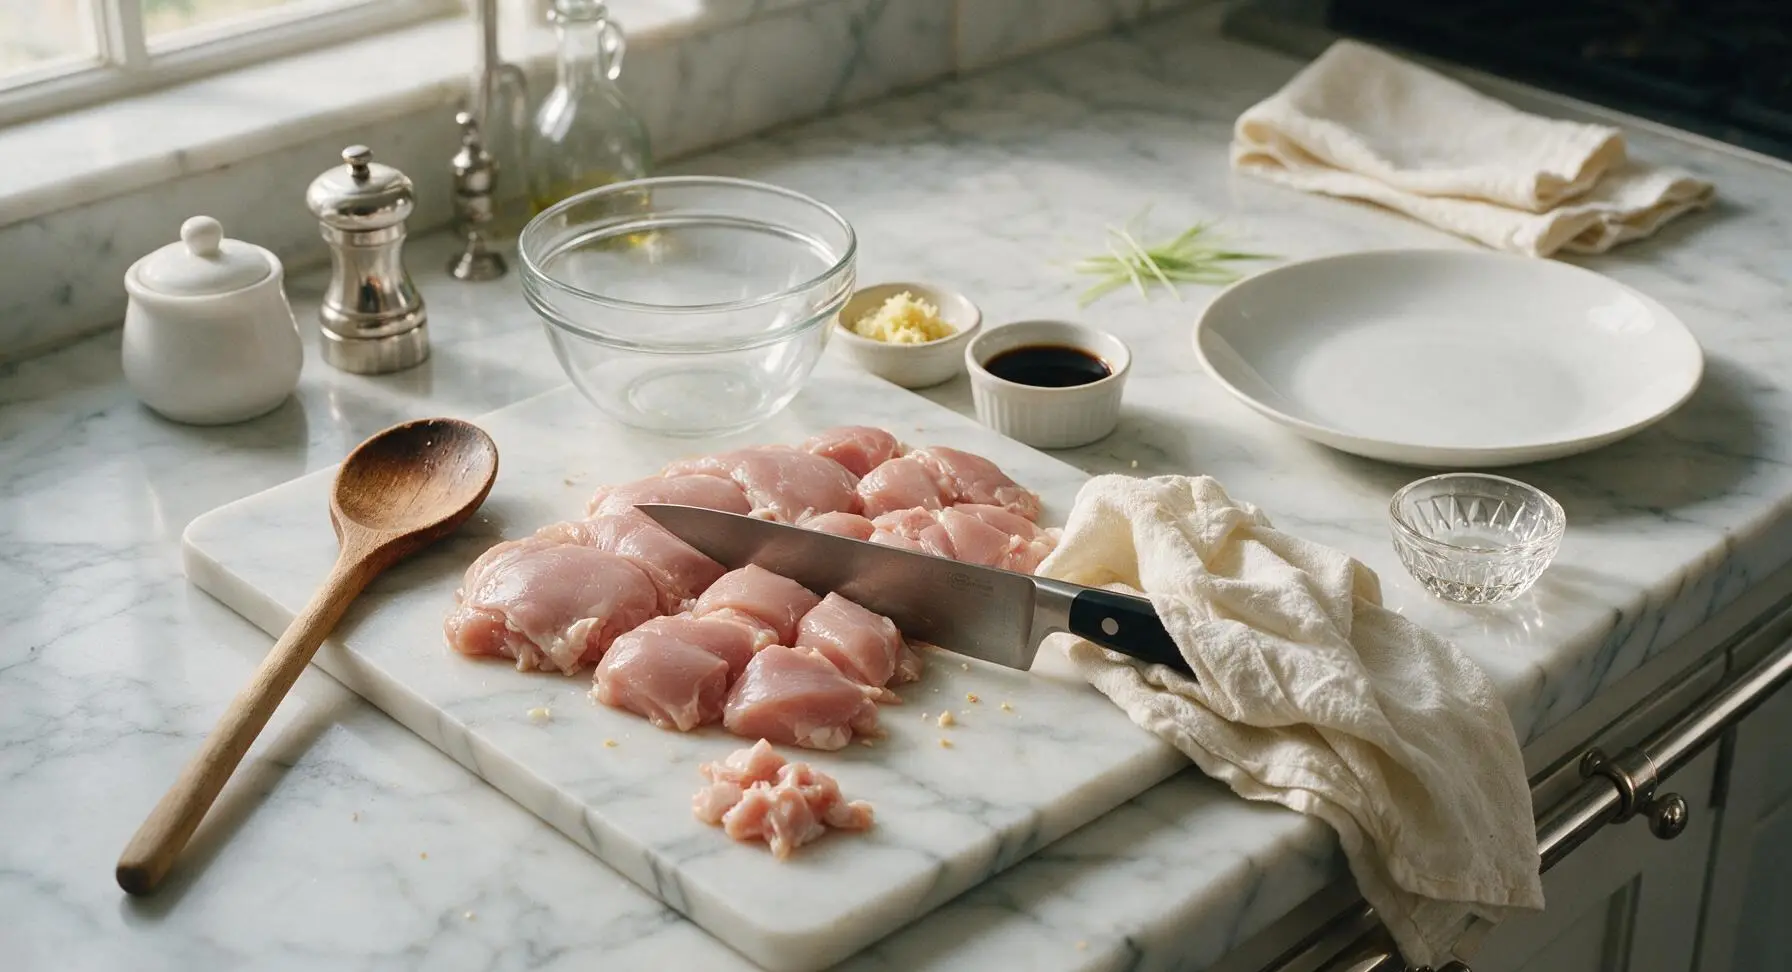
Place 500g boneless skinless chicken thighs on the walnut cutting board. Use the matte black handled chef knife to trim excess hard fat and cut meat into uniform 2.5cm chunks, then pat completely dry with the edge of the cream linen towel. Transfer chunks to the medium glass mixing bowl, add 1 tbsp light soy sauce, 1/4 tsp salt, 1/4 tsp black pepper, and 1 tbsp grated ginger, toss to coat evenly. Let rest 10 minutes at room temperature to absorb flavor.
Step 1
step1:Prep Chicken Marinade
2

Mix Crispy Frying Batter

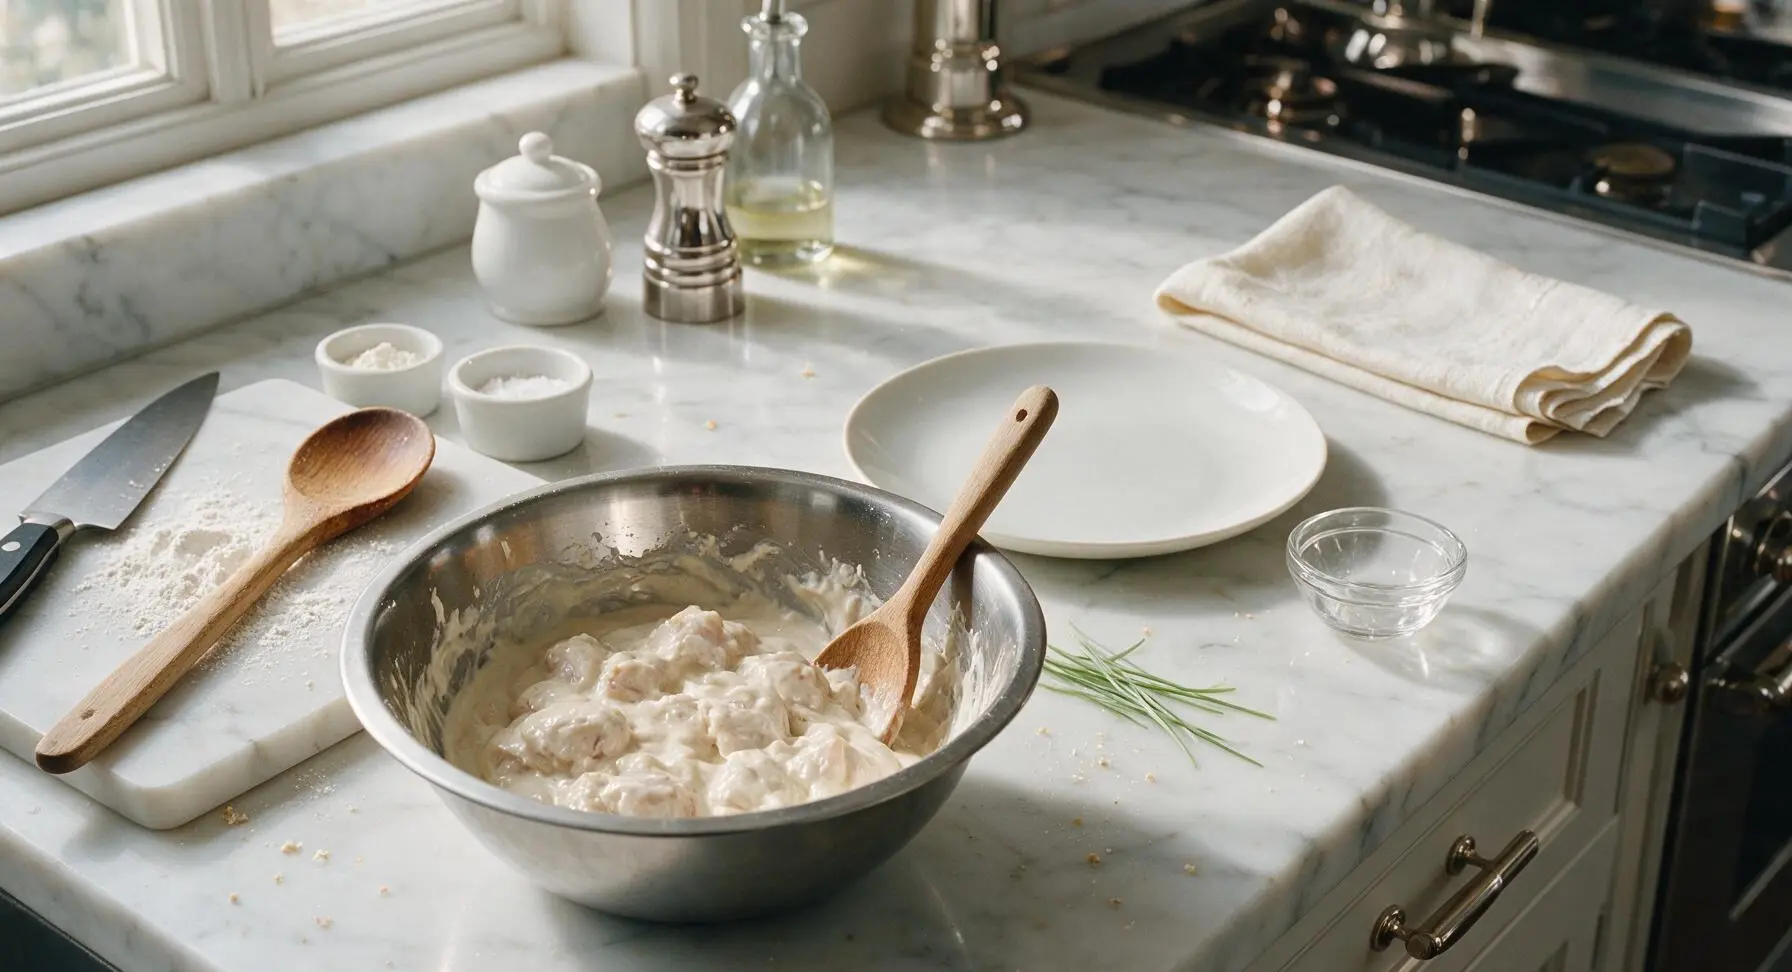
To the bowl of marinated chicken, add 1 lightly beaten large egg, 60g cornstarch, 30g all-purpose flour, and 1/4 tsp salt. Stir thoroughly with the solid beech wood spoon until every chicken chunk is evenly coated in a thick, sticky batter that clings to the meat, with no dry flour pockets remaining at the bottom of the bowl.
Step 2
step2:Mix Crispy Frying Batter
3

Heat Wok Frying Oil

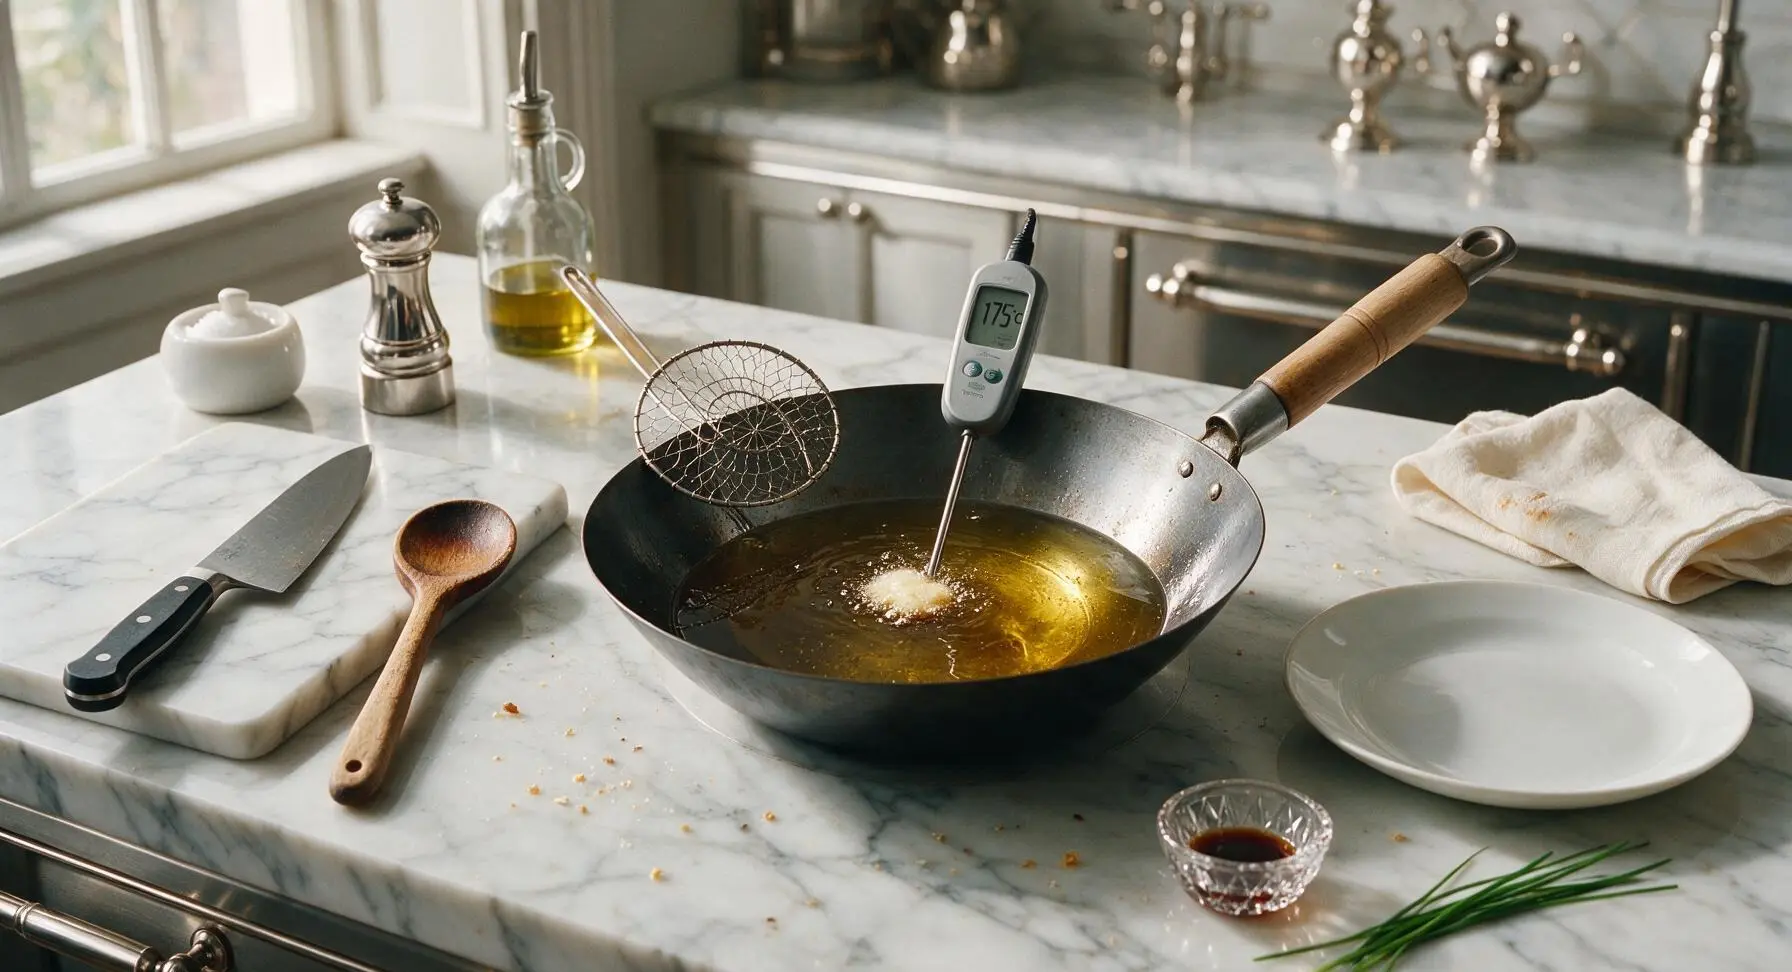
Pour 2 cups (500ml) neutral canola oil into the carbon steel wok, set heat to medium-high. Heat oil to 175C (350F), checking temperature with the digital probe thermometer. Oil is ready when it shimmers slightly (no smoke), and a single drop of batter dropped in sizzles immediately and rises to the surface within 2 seconds.
Step 3
step3:Heat Wok Frying Oil
4

Fry Chicken Until Crisp

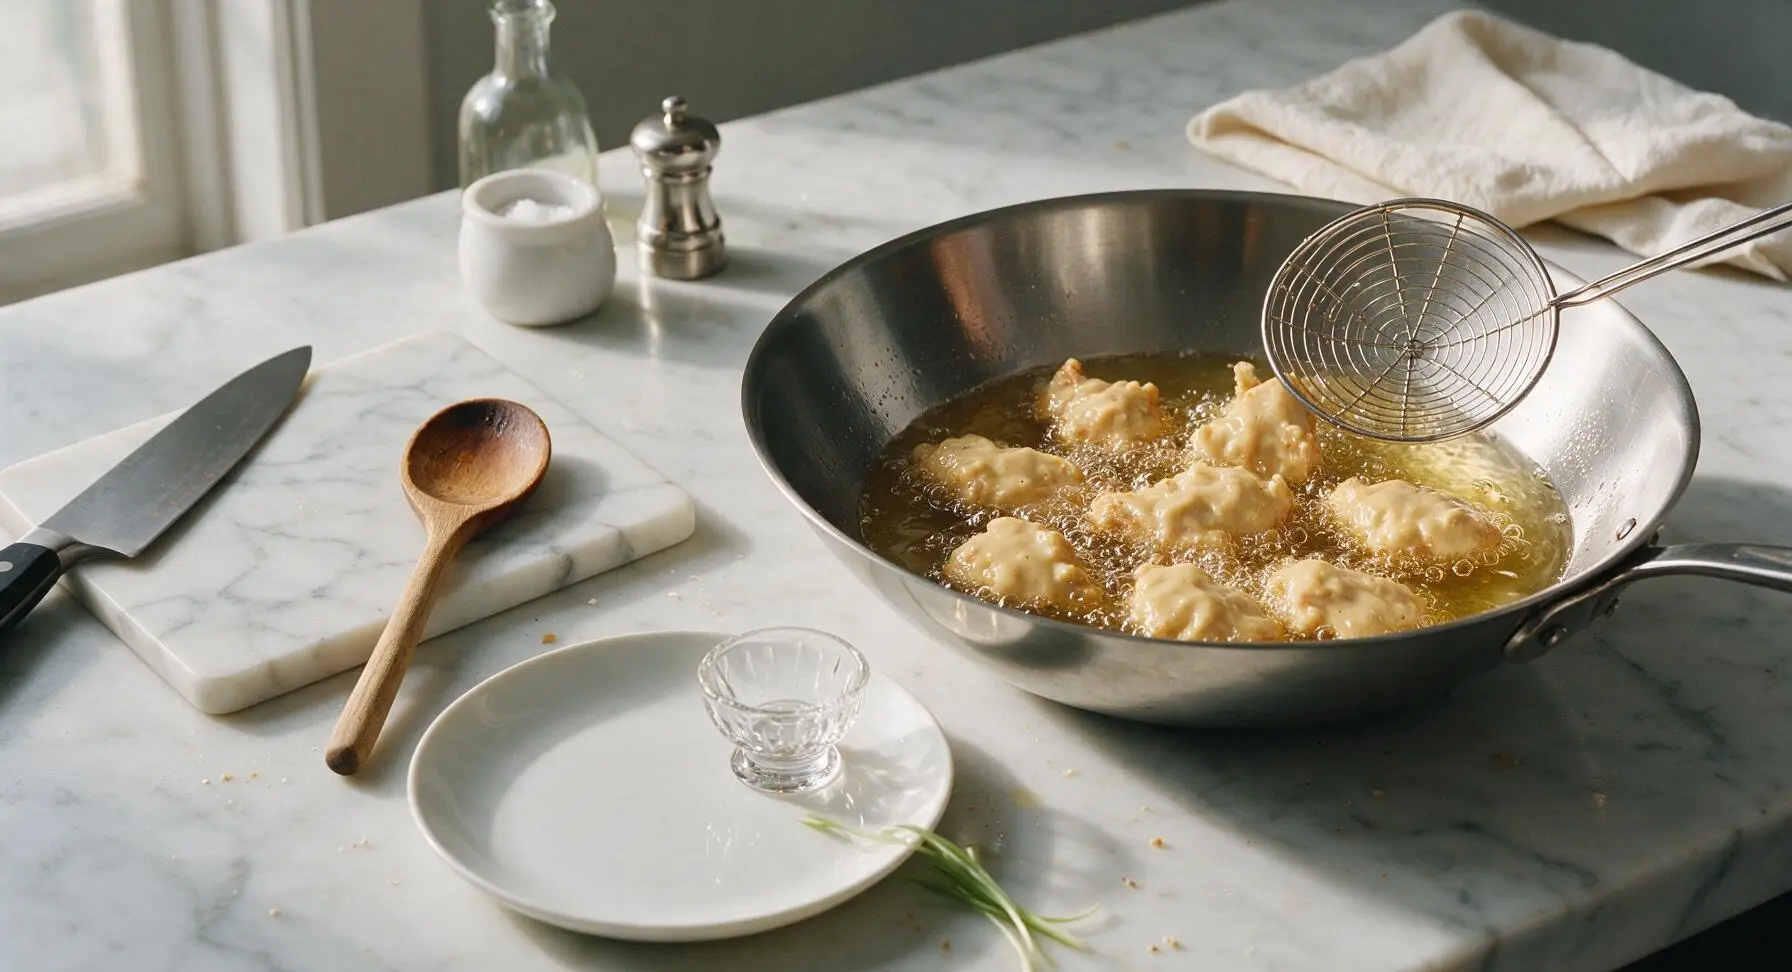
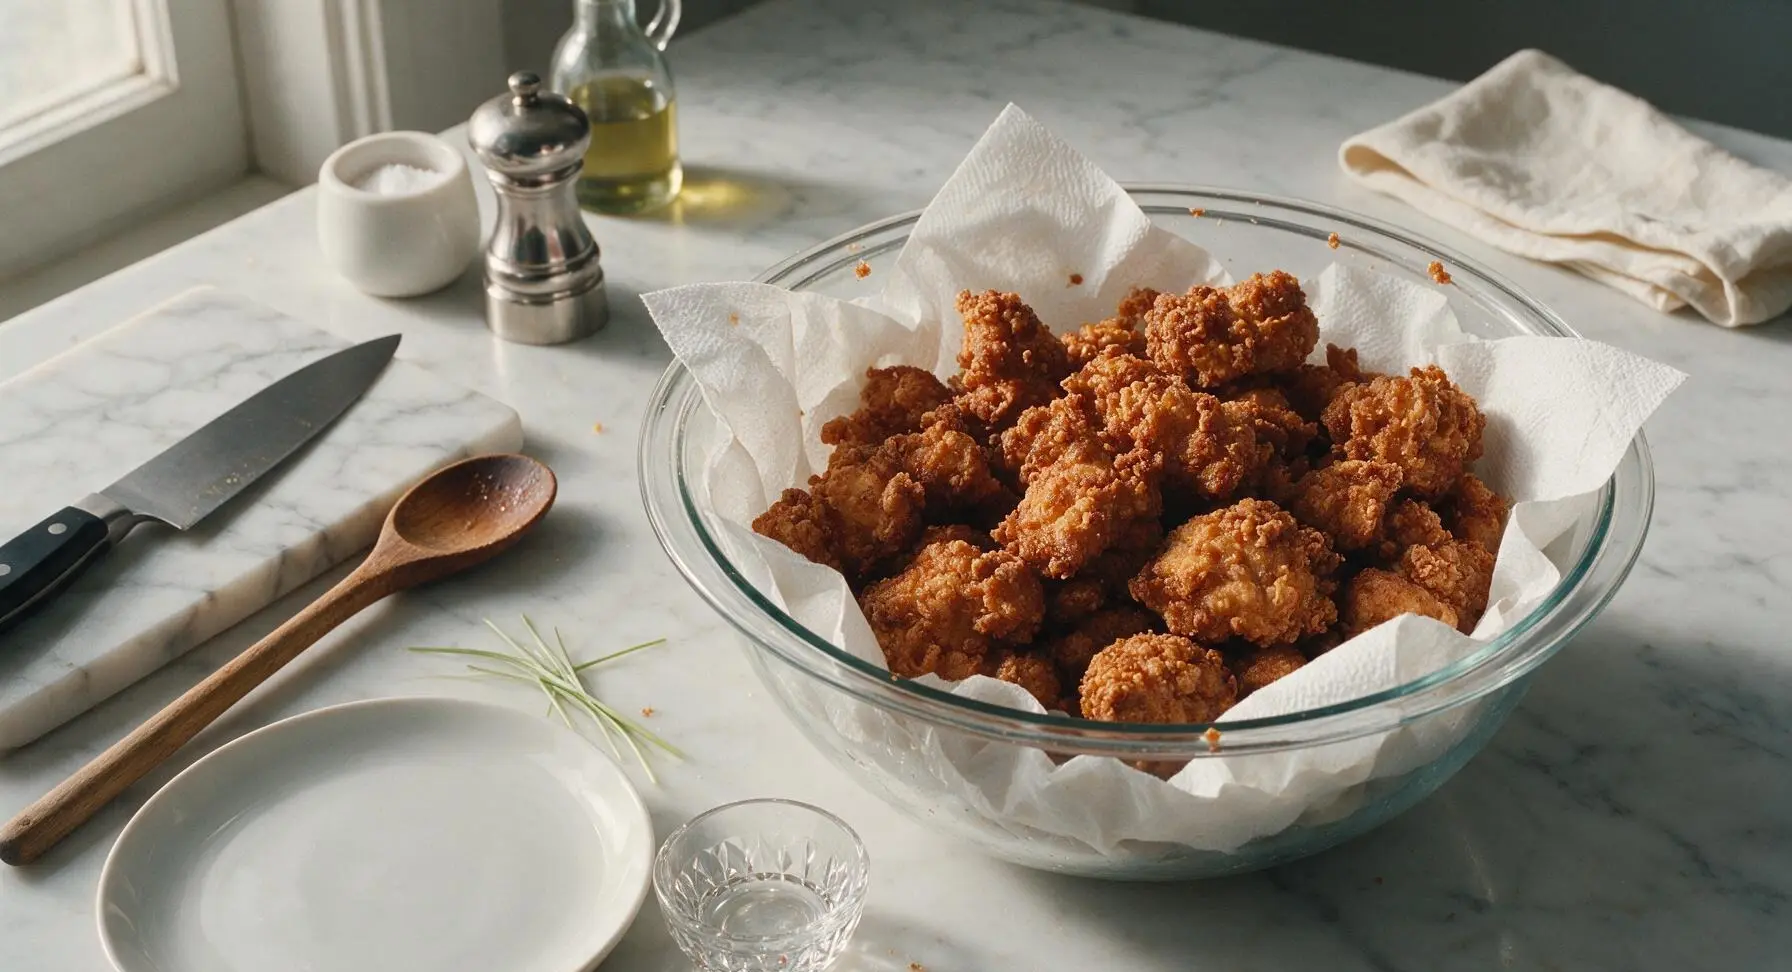
Working in 3 small batches to avoid lowering oil temperature, gently drop individual battered chicken chunks into the hot oil. Fry for 4 minutes per batch, turning chunks halfway with the wire skimmer, until deep golden and crispy on all sides, with an internal temperature of 75C (165F). Use the skimmer to transfer fried chicken to the large glass mixing bowl lined with paper towel to drain excess oil, and set aside while cooking remaining batches.
Step 4
step4:Fry Chicken Until Crisp
Step 4
step4:Fry Chicken Until Crisp
5

Sauté Sauce Aromatics

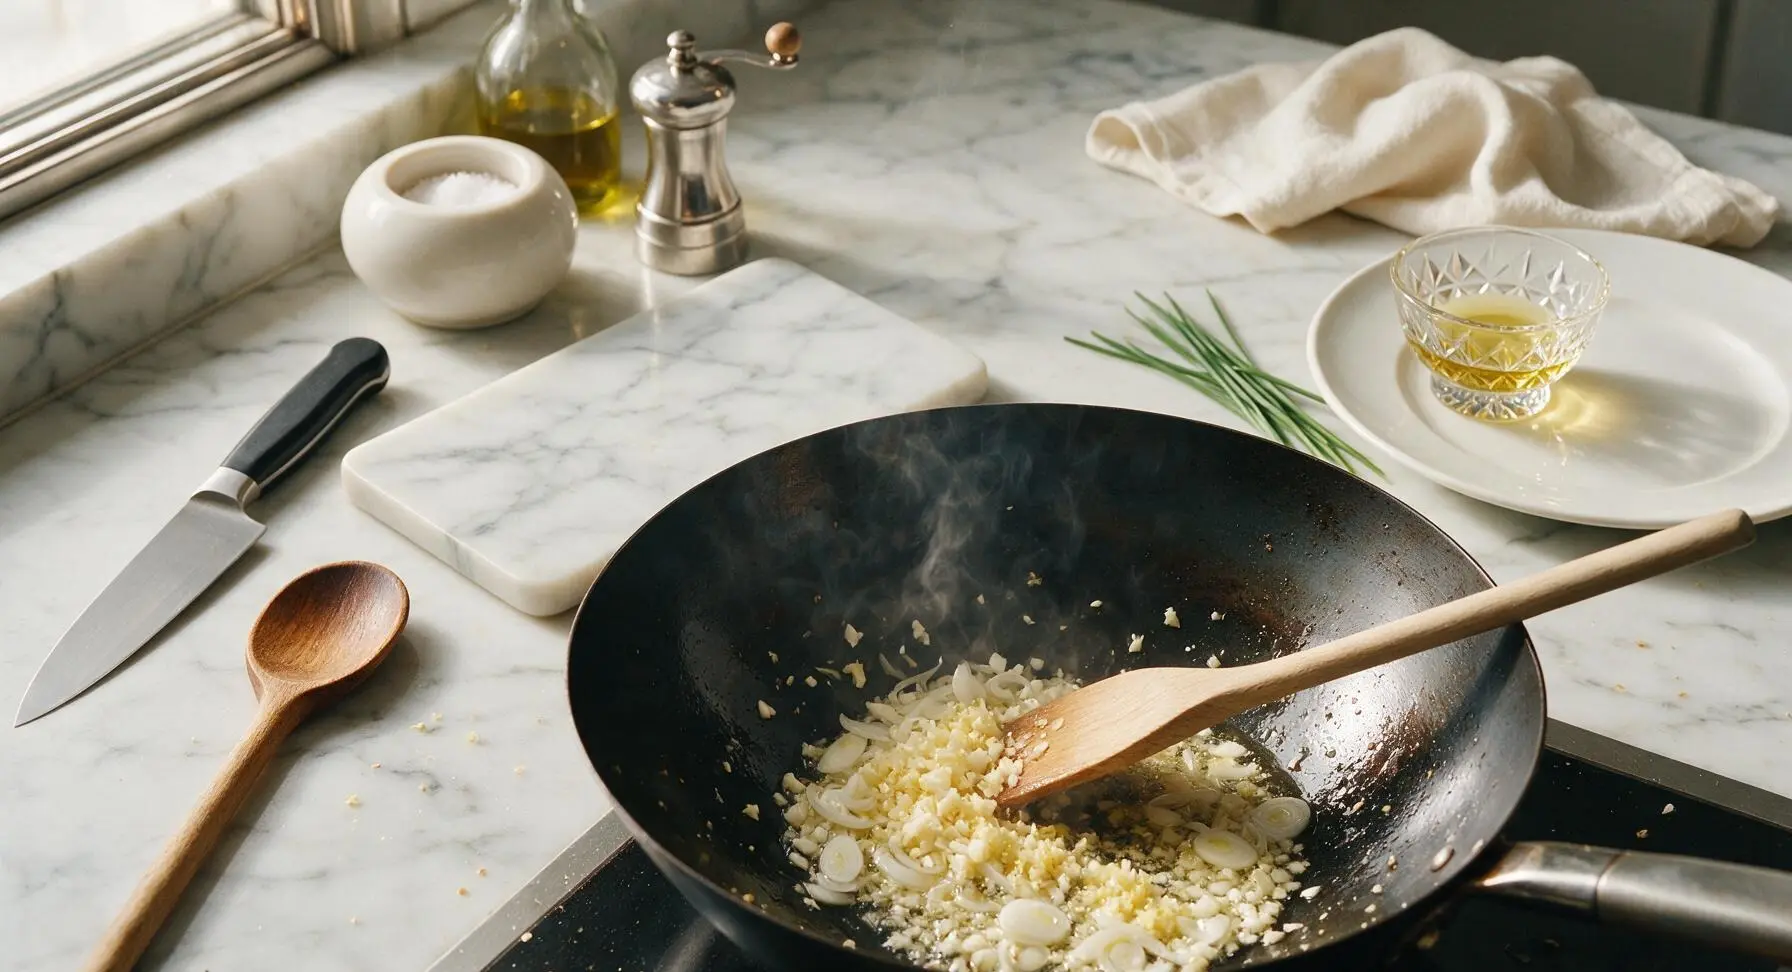
Carefully pour off all but 1 tablespoon of frying oil from the wok, reduce heat to medium. Add the white parts of the sliced spring onions, minced garlic, and remaining 1 tbsp grated ginger to the wok. Stir fry continuously with the solid beech wood spoon for 30 seconds, until bright and fragrant, taking care not to burn the garlic (burnt garlic will make the sauce bitter).
Step 5
step5:Sauté Sauce Aromatics
6

Simmer Thickened Sauce

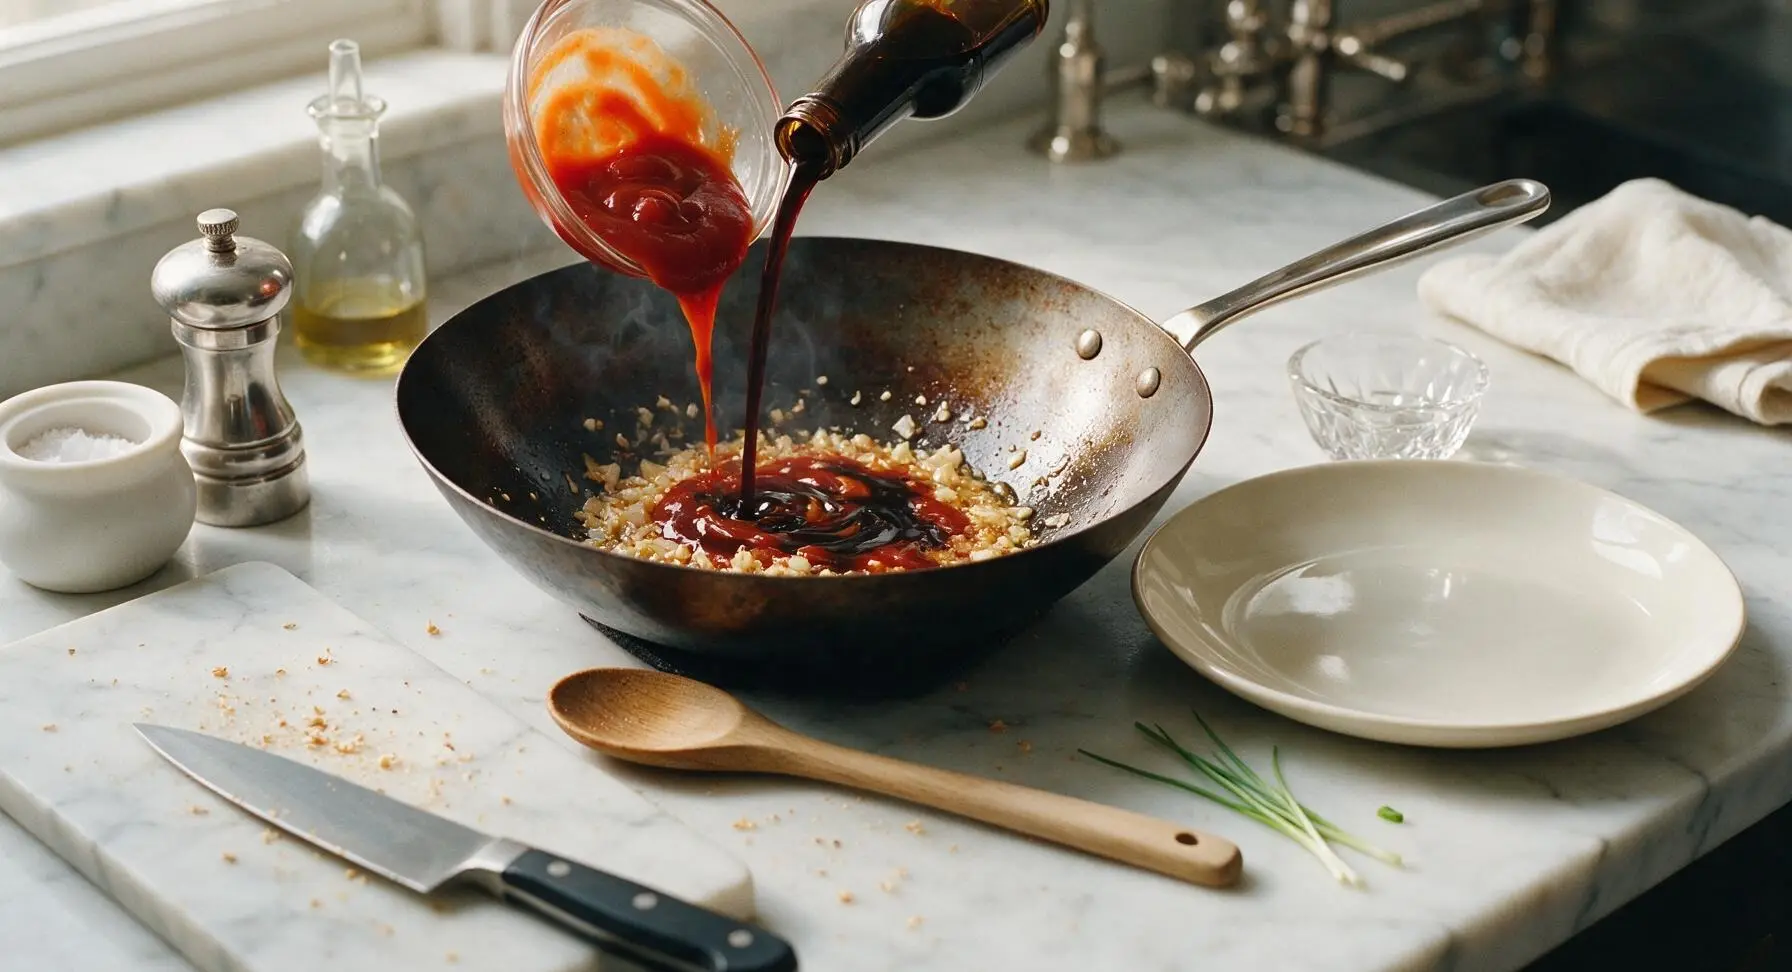
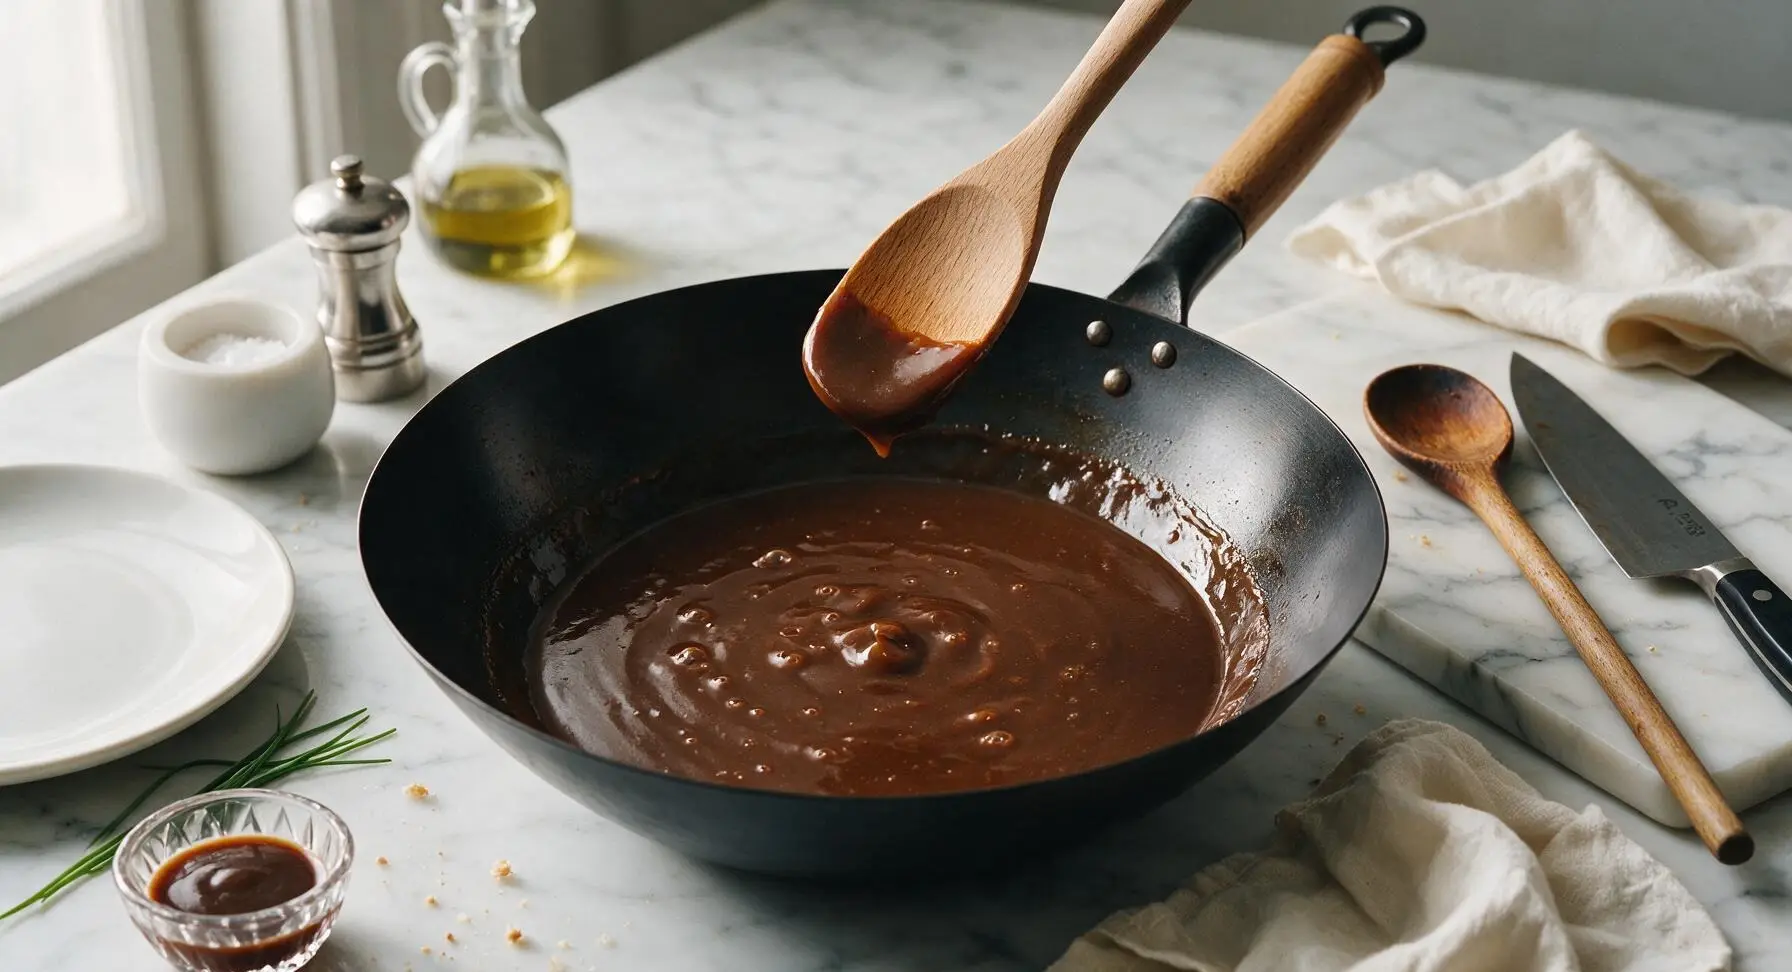
Add 2 tbsp light soy sauce, 1 tbsp rice vinegar, 1 tbsp tomato ketchup, 1 tsp red chili sauce, remaining 1/4 tsp black pepper, and 1 tsp sesame oil to the wok with aromatics. Stir to combine, then bring to a gentle simmer. Mix 5g (1 tsp) cornstarch with 2 tbsp cold water to make a smooth slurry, then pour into the simmering sauce while stirring constantly. Cook for 1 minute, until sauce thickens to a glossy, syrupy consistency that coats the back of the spoon.
Step 6
step6:Simmer Thickened Sauce
Step 6
step6:Simmer Thickened Sauce
7

Toss Chicken in Sauce

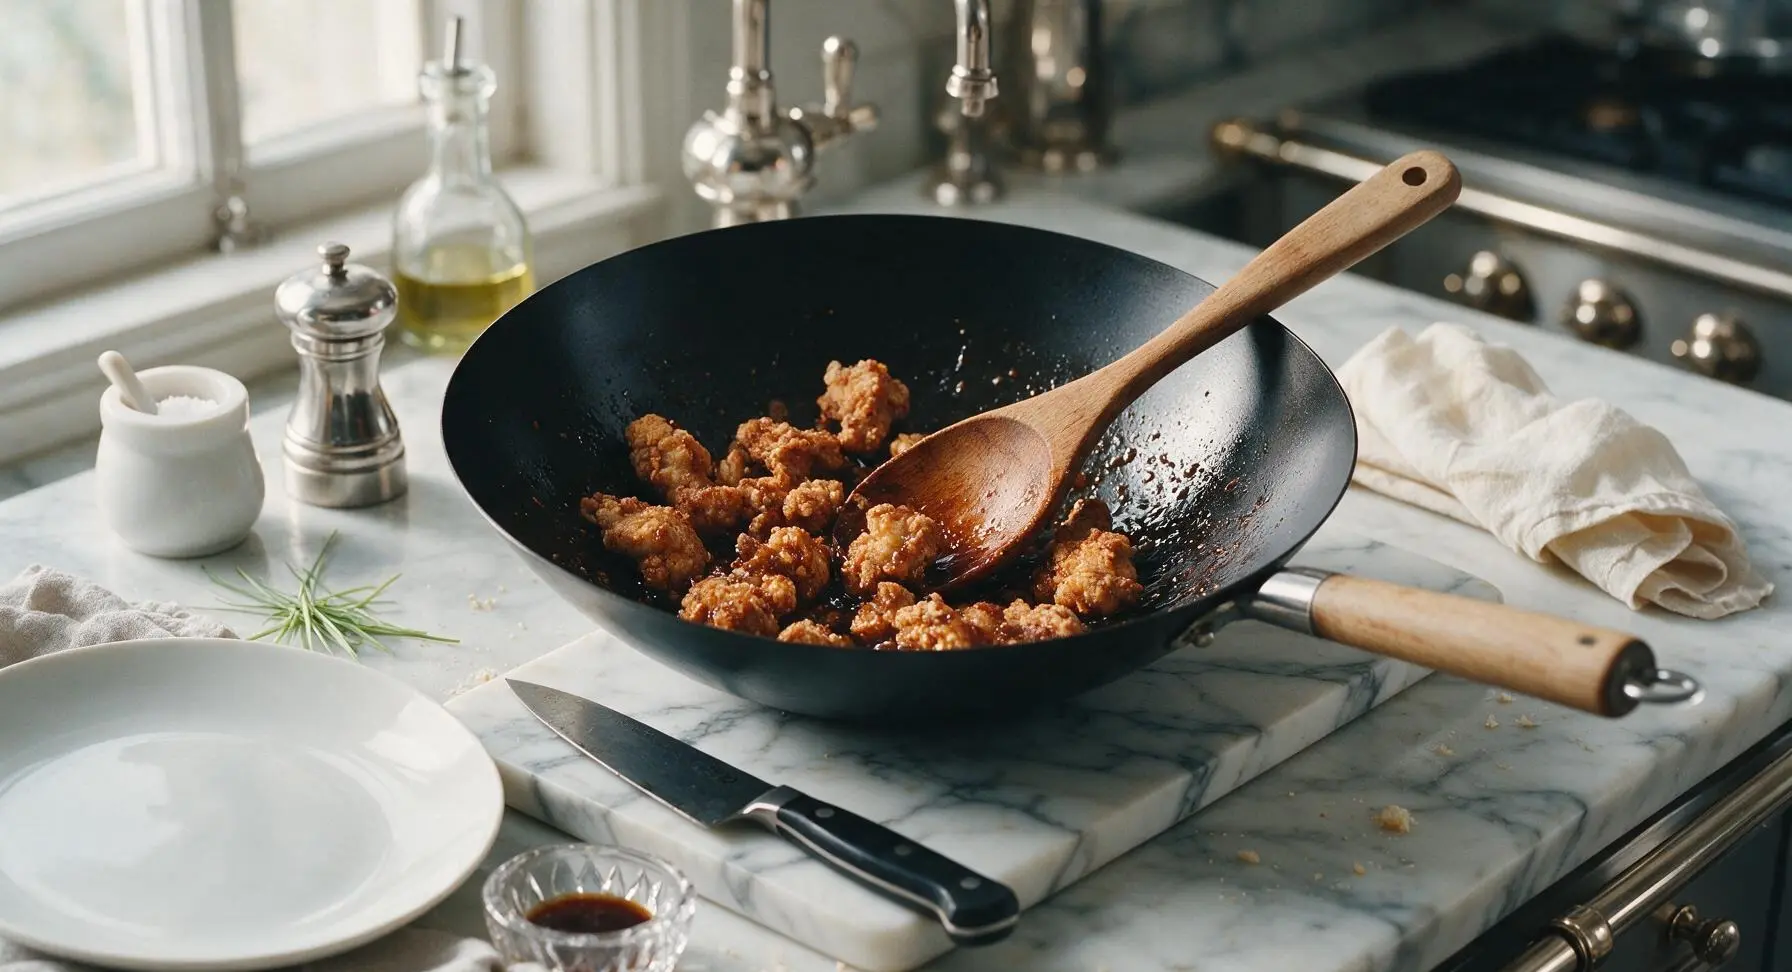
Add all the crispy fried chicken chunks to the wok with the thickened sauce. Toss continuously over medium heat for 1 minute, until every chicken chunk is evenly coated in glossy sauce, with no dry crispy spots remaining. Do not overcook, as extended time in sauce will make the crispy coating turn soggy.
Step 7
step7:Toss Chicken in Sauce
8

Plate and Garnish Dish

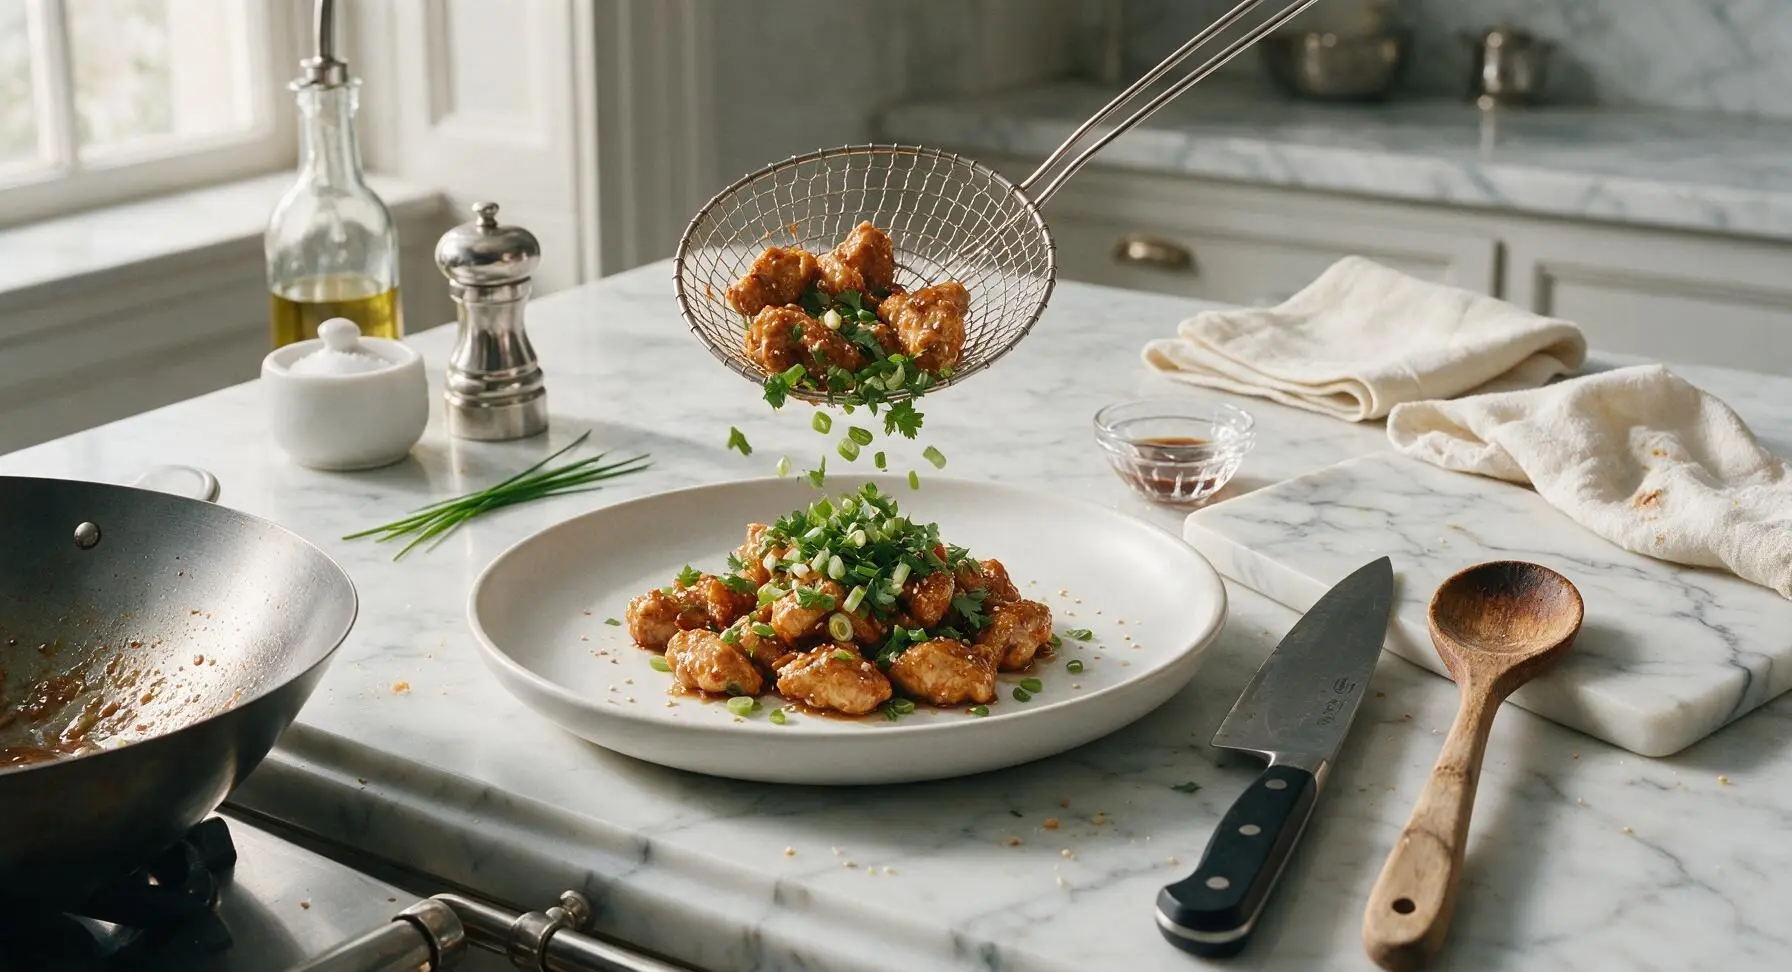
Transfer the sauced chicken to the 26cm matte white ceramic dinner plate, piling it gently in the center. Sprinkle the reserved bright green spring onion tops, chopped fresh cilantro, and toasted sesame seeds over the top as garnish. Serve immediately while the coating is still crisp and the sauce is hot.
Step 8
step8:Plate and Garnish Dish

Tips

1.Use boneless, skinless chicken thighs instead of breast meat for this recipe: thigh meat has a higher fat content that stays juicy even after high-heat frying and tossing in sauce, while lean breast meat can easily become dry and tough.
2.Always fry chicken in small, spaced batches: overcrowding the wok drops oil temperature rapidly, leading to soggy, oil-soaked batter instead of the light, shatteringly crisp coating that defines good Chicken Manchurian.
3.Toss chicken in sauce immediately before serving: if left sitting in hot sauce for more than 5 minutes, the crispy fried coating will absorb too much moisture and turn soft, losing its signature textural contrast with the tangy sauce.


✨ You May Also Like

Main Course
🍜 United Kingdom

A showstopping classic of tender seared beef, savory mushroom duxelles, and crisp prosciutto wrapped in flaky golden puff pastry, baked to juicy perfection.

⏱️ 2 hours 1Main Course ★ 4.7
Main Course
🍜 India

Tender charred marinated chicken simmered in a rich, spiced creamy tomato sauce, this iconic Anglo-Indian curry pairs perfectly with basmati rice or warm naan.

⏱️ 50 minuteMain Course ★ 4.6
Main Course
🍜 Thailand

Classic tangy, sweet, and savory Thai stir-fried rice noodles with shrimp, tofu, and crunchy garnishes, balancing all five core Thai flavor profiles.

⏱️ 30 minuteMain Course ★ 4.5
Main Course
🍜 United Kingdom

Crispy golden beer-battered cod and fluffy double-fried chips, served with tangy tartar sauce and malt vinegar: the timeless, beloved British pub comfort classic.

⏱️ 45 minuteMain Course ★ 4.7
Main Course
🍜 Mexico

Smoky, chile-marinated pork tacos with caramelized pineapple, fresh cilantro, and lime: a beloved classic Mexican street food perfect for casual summer gatherings.

⏱️ 1 hour 45Main Course ★ 4.8
Main Course
🍜 United States

Crunchy Fritos corn chips layered with savory beef chili and melted cheddar, topped with cool, zesty fixings for a beloved, cozy Tex-Mex comfort food.

⏱️ 35 minuteMain Course ★ 4.8

chicken manchurian:Frequently Asked Questions

1.Why does this recipe call for boneless skinless chicken thighs instead of chicken breast? ▾
Chicken thighs have a higher fat content than breast, so they stay juicy and tender even after the double fry needed for the signature crispy restaurant crust, without turning dry or tough. If you only have breast on hand, cut chunks 2cm instead of 2.5cm and reduce fry time by 30 seconds to avoid toughness.
2.Can I marinate the chicken ahead of time to cut down on weeknight prep? ▾
Absolutely! You can toss the chicken chunks with the marinade portion of light soy sauce, cover, and refrigerate for up to 24 hours before cooking. Wait to add the egg, flour, and batter portion of cornstarch until right before frying, though—adding those too early will make the coating gummy instead of crisp.
3.Why is cornstarch divided between the batter and a separate slurry? What purpose does each serve? ▾
The cornstarch in the batter creates that shatteringly crisp, light coating on fried chicken that never gets heavy like an all-flour batter. The separate cornstarch slurry, mixed with cold water, thickens the Manchurian sauce into that glossy, clingy texture that coats every chunk perfectly, just like takeout.
4.My batter always slides off the chicken when I fry it—what am I doing wrong? ▾
This usually happens for one of two common reasons: either your chicken was too wet when you added the batter ingredients, or your oil wasn’t hot enough (aim for 350°F) when you added the chunks. Pat marinated chicken lightly with a paper towel before mixing batter, and don’t overcrowd the pan to keep oil temperature steady.
5.Do I have to double fry the chicken to get that authentic restaurant-style crisp? ▾
While a single fry will cook the chicken through, double frying is the secret to long-lasting crisp that holds up to the thick sauce, instead of turning soggy 2 minutes after tossing. Do the first fry at 325°F to cook the chicken, then a 1-minute second fry at 375°F to crisp the crust right before saucing.
6.Can I adjust this recipe to be gluten-free for guests with dietary restrictions? ▾
Yes, with two simple swaps. Replace the all-purpose flour in the batter with a 1:1 gluten-free all-purpose flour blend that contains xanthan gum, and swap regular light soy sauce for certified gluten-free tamari. The rest of the ingredients are naturally gluten-free, so the final flavor will be nearly identical to the original.
7.What’s the difference between light and dark soy sauce, and can I use dark soy instead? ▾
Light soy sauce is saltier, lighter in color, and adds a bright umami base without making sauce too dark or heavy. Dark soy is thicker, sweeter, and much darker; using it in place of light will turn your dish an overly deep brown and throw off the tangy, balanced salt level. If you only have dark, use half the amount and add a pinch of extra salt.
8.What size should I cut the chicken chunks for the perfect takeout-style bite? ▾
Aim for uniform 2.5cm (1-inch) chunks, as specified in the recipe. Cutting pieces too small will make them overcook and dry out during frying, while chunks larger than 2.5cm will leave undercooked chicken in the center before the batter gets fully crisp. Uniform cuts ensure every piece cooks at the exact same rate.
9.My sauce always turns out too runny and doesn’t stick to the chicken—how do I fix that? ▾
Runny sauce almost always comes from an improperly mixed cornstarch slurry, or adding slurry to sauce that isn’t at a gentle simmer. Stir your cornstarch and cold water right before pouring it in (cornstarch settles fast!), then stir constantly for 30-60 seconds as the sauce simmers until it coats the back of a spoon.
10.Can I bake the battered chicken instead of frying it for a lower-fat version? ▾
You can, though the texture will be slightly less crisp than the classic fried restaurant-style version. Arrange battered chunks in a single layer on a wire rack set over a baking sheet, spray generously with oil, and bake at 425°F for 18-20 minutes, flipping halfway, until golden and cooked through. Toss in sauce immediately after pulling from the oven.
11.What traditional add-ins can I mix into the sauce for extra flavor and texture? ▾
Most takeout versions add finely chopped fresh ginger, minced garlic, thin slices of green onion (white parts for cooking, green parts for garnish), and sometimes diced green bell pepper or dried red chilis for subtle heat. Sauté these aromatics for 30 seconds before adding the sauce base to deepen that classic umami flavor.
12.Why does the recipe say to lightly beat the egg before adding it to the batter? ▾
Lightly beating the egg before mixing it into the chicken and dry ingredients breaks up the thick egg white and yolk so it combines evenly with the flour and cornstarch, instead of creating clumpy, thick spots of egg in the batter. This creates a thin, even coating on every chunk that fries up light and crisp, not heavy or doughy.
13.How should I store leftover Chicken Manchurian, and how do I reheat it without sogginess? ▾
Store leftovers in an airtight container in the fridge for up to 3 days. To reheat and bring back the crisp, spread chunks on a baking sheet and warm in a 375°F oven for 8-10 minutes, or air fry at 360°F for 4-5 minutes. Avoid microwaving, as it will turn the crispy coating mushy and make chicken rubbery.
14.Is this recipe spicy? I’m cooking for young kids who don’t tolerate heat well. ▾
The base recipe as written is not spicy—it has that balanced tangy, umami, slightly sweet flavor that works for all ages. If you want heat for adult portions, stir a teaspoon of chili garlic sauce or pinch of red pepper flakes into sauce after you portion out a kid-friendly batch, so everyone gets the version they prefer.
15.Can I use bone-in chicken for this recipe instead of boneless cuts? ▾
I don’t recommend it for this restaurant-style preparation. Bone-in chicken requires much longer cook time to cook through to the bone, which would burn the thin, crisp batter long before the chicken is done. Stick to boneless, skinless thighs for the fast, even cook that matches the classic takeout texture.
16.What’s the best oil to use for frying chicken to get a neutral, non-greasy flavor? ▾
Use a high-smoke-point neutral oil like canola, vegetable, peanut, or avocado oil for frying. These oils don’t add any off-flavors to chicken when heated to frying temperature, and they won’t smoke or break down during the double fry process. Avoid olive oil or sesame oil, which have low smoke points and strong, distinct flavors.
17.Should I toss the chicken in sauce right after frying, or let it rest for a few minutes first? ▾
Toss the chicken in the hot, thickened sauce immediately after the second fry, while the crust is still hot and crisp. The hot crust will grab onto the glossy sauce perfectly so every chunk is evenly coated. If you let chicken cool too long, the crust will firm up and sauce will slide off instead of clinging.

Comments (4)

3 days ago

OMG this recipe is a total game changer! I’ve tried so many chicken Manchurian recipes that end up too soggy or the sauce is way too vinegary, but this one tasted exactly like the dish we get at our favorite local Indo-Chinese spot. My husband and two kids devoured the whole batch at dinner last night, even my super picky 7-year-old asked for seconds. Cook time was spot on 25 minutes too, perfect for busy weeknights! 10/10 will be making this for our next neighborhood potluck for sure.

2 days ago

Wait did you find the sauce thickened up okay? I tried making this last week and mine was a little runny, wondering if I messed up the cornstarch slurry ratio.

yesterday

Hi Jake! Great question - make sure you're stirring the cornstarch slurry really well right before adding it to the hot sauce, and let it simmer for 1-2 minutes after adding so it can fully thicken up. If you prefer a thicker sauce, you can add an extra 1/4 tsp of cornstarch mixed with cold water too!

yesterday

SO good! I was a little intimidated by the medium difficulty rating but it was way easier to pull off than I expected. I swapped the boneless chicken thighs for breast since that’s what I had in the fridge for meal prep, and it still turned out super juicy. Only note is I added a tiny extra pinch of red chili flakes because I like my Manchurian with a little more heat. Will absolutely make this again.

30 minutes ago

Made this for my girlfriend’s birthday dinner since she’s obsessed with chicken Manchurian, and she said it was better than the restaurant we usually order from! The crispy chicken coating stays crunchy even after tossing it in the sauce, which is the thing most recipes get totally wrong. 25 minute cook time is no joke either, I didn’t feel rushed at all even when I was juggling making fried rice to go with it.

5 minutes ago

That makes us so happy to hear, Tyler! So glad the birthday dinner was a hit - pairing it with fried rice sounds like the perfect combo, great call!

1 week ago

Really solid recipe! The flavor of the sauce is spot on, but I think I over-fried my chicken a little bit because it was chewier than I wanted. First time making any kind of Indo-Chinese food at home though, so that’s definitely user error, not the recipe. Definitely gonna give it another go next week and keep a closer eye on the oil temp.

5 days ago

I had the same issue my first time! Turned out my oil was too hot, so the outside cooked too fast before the inside was done. I kept it around 350F the second time and it came out perfect, hope that helps!



