
chicken thighs
intro
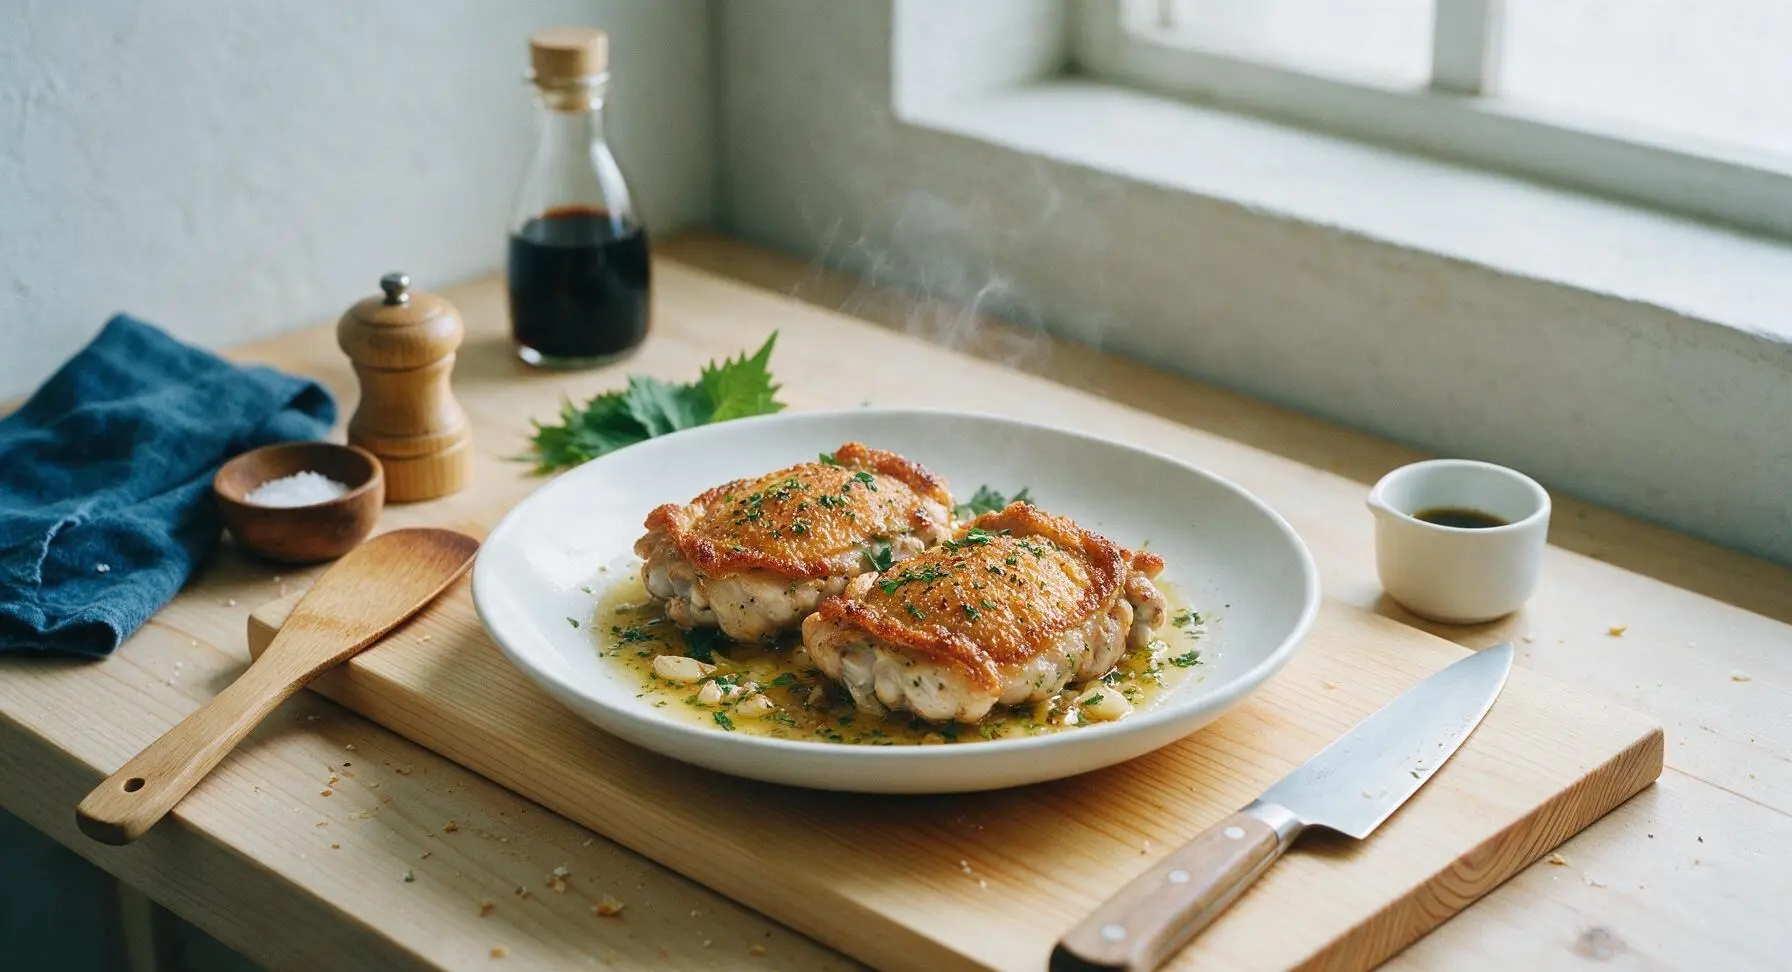
Shatteringly crisp golden skin gives way to juicy, herb-infused chicken thighs, finished with a bright lemon-garlic butter pan sauce. This one-pan staple delivers big flavor with minimal cleanup.
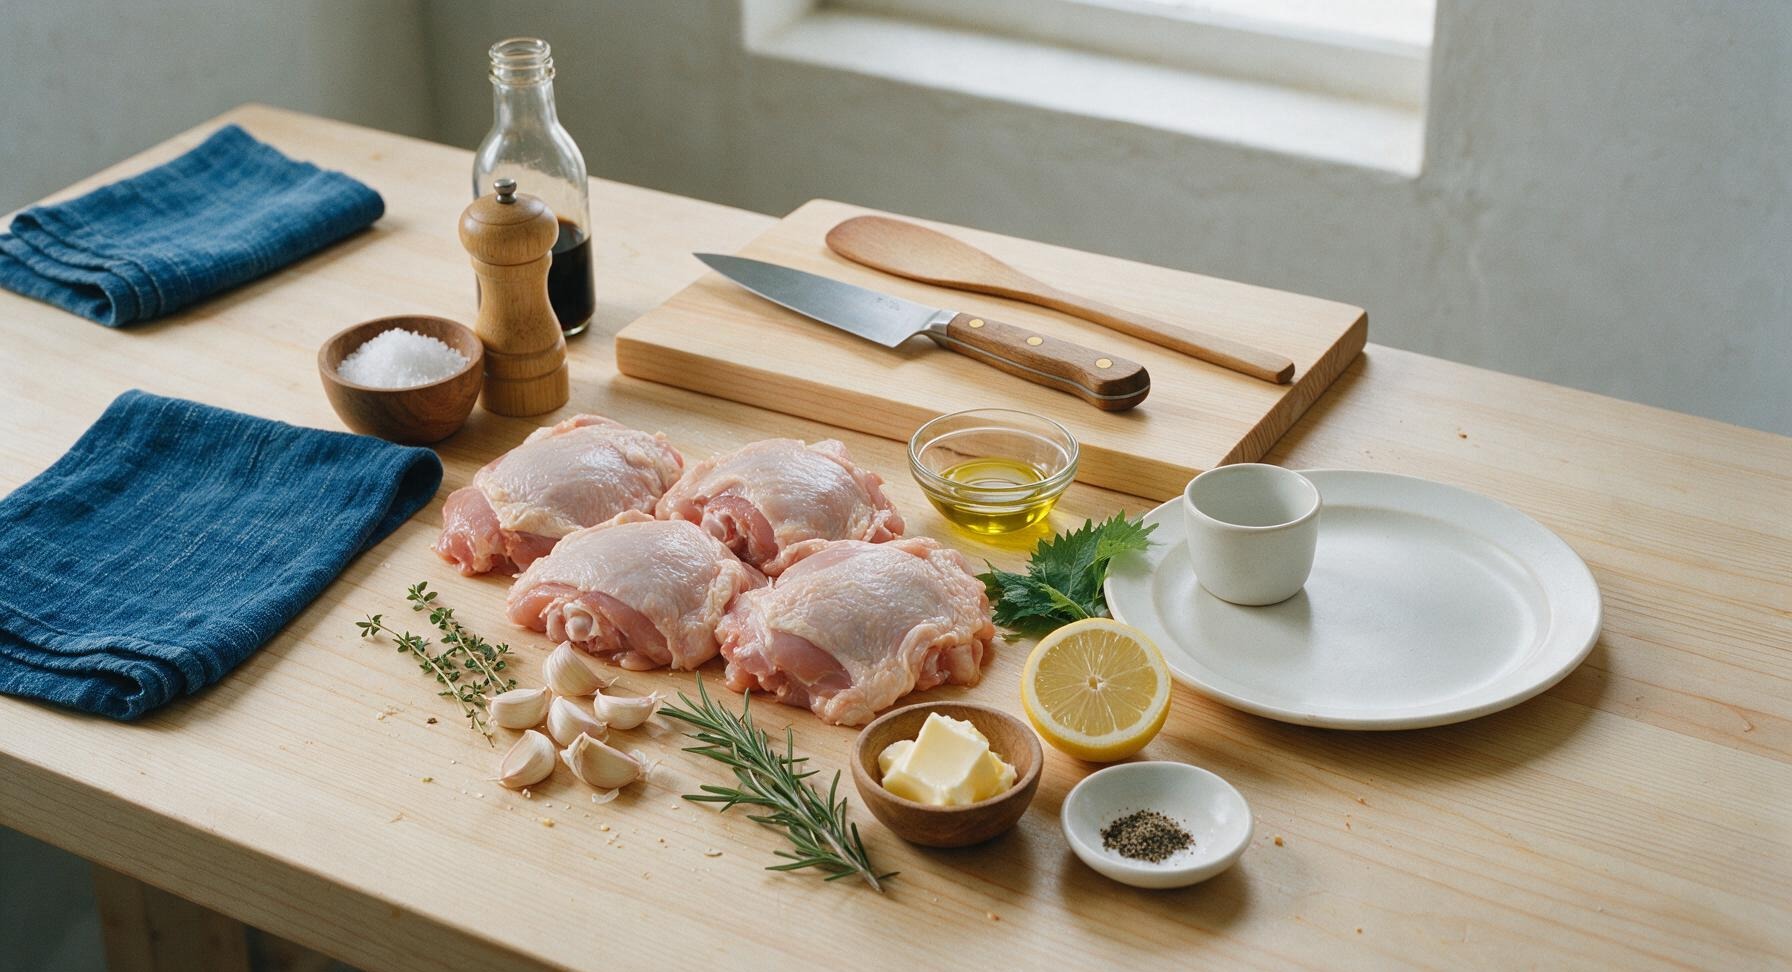
Ingredients
Steps
Pat Chicken Dry, Season
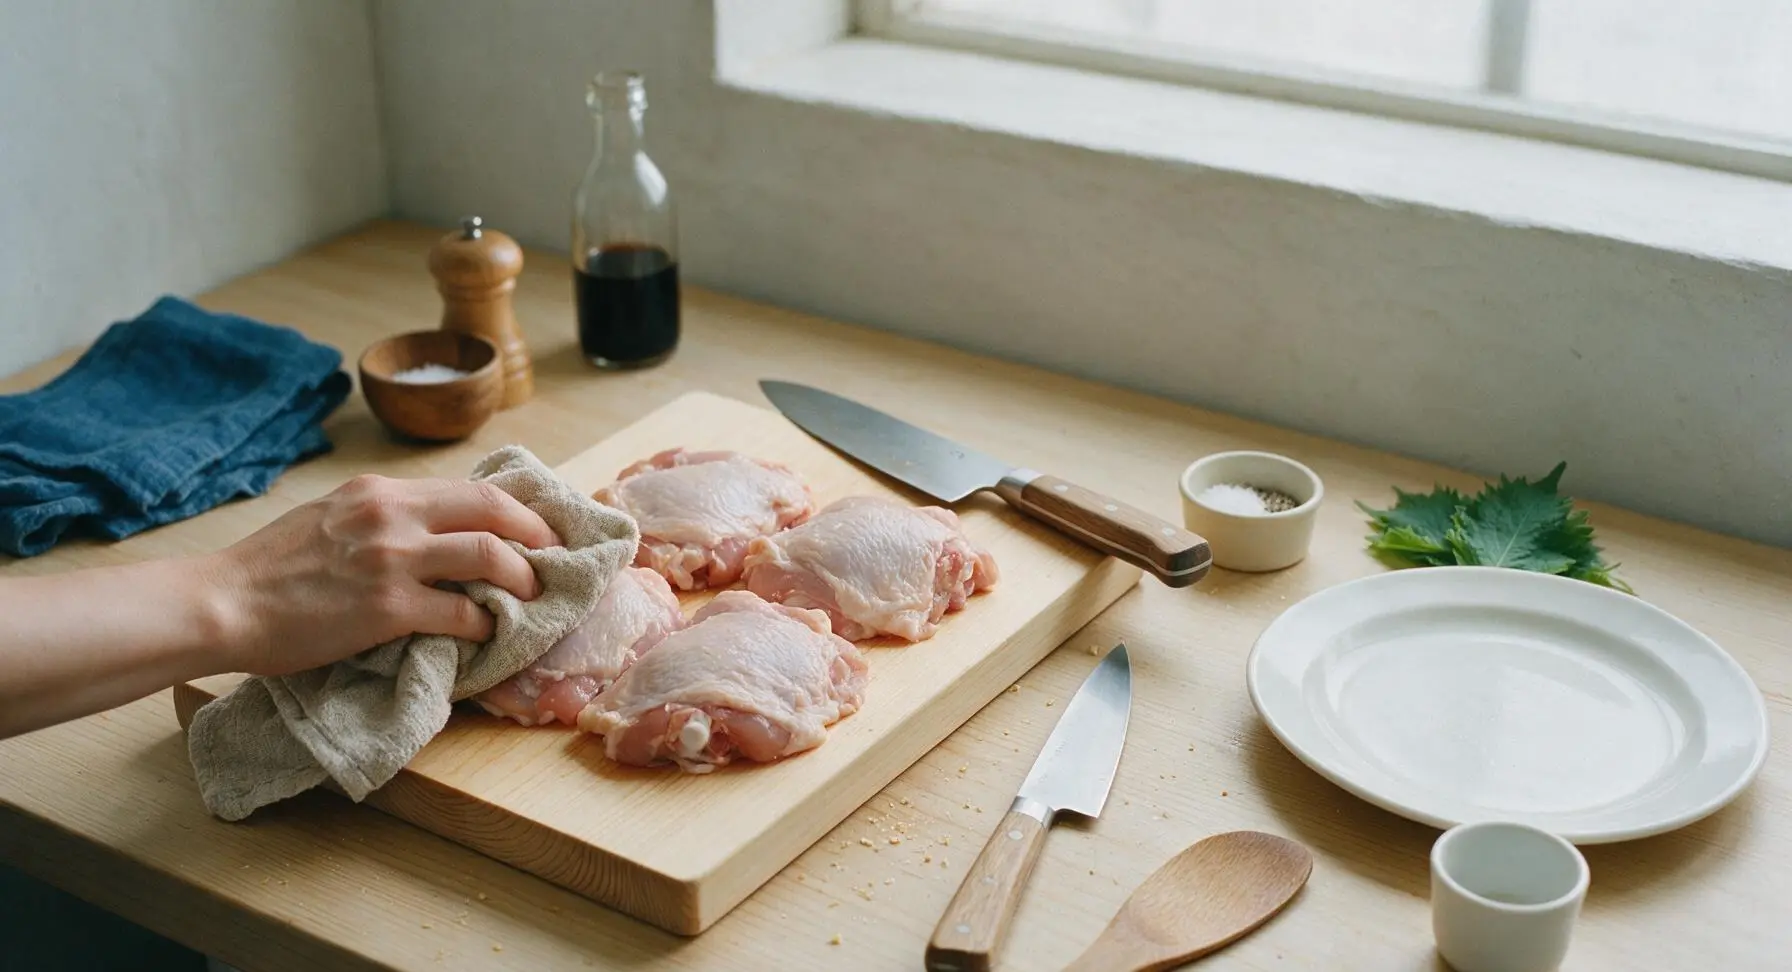
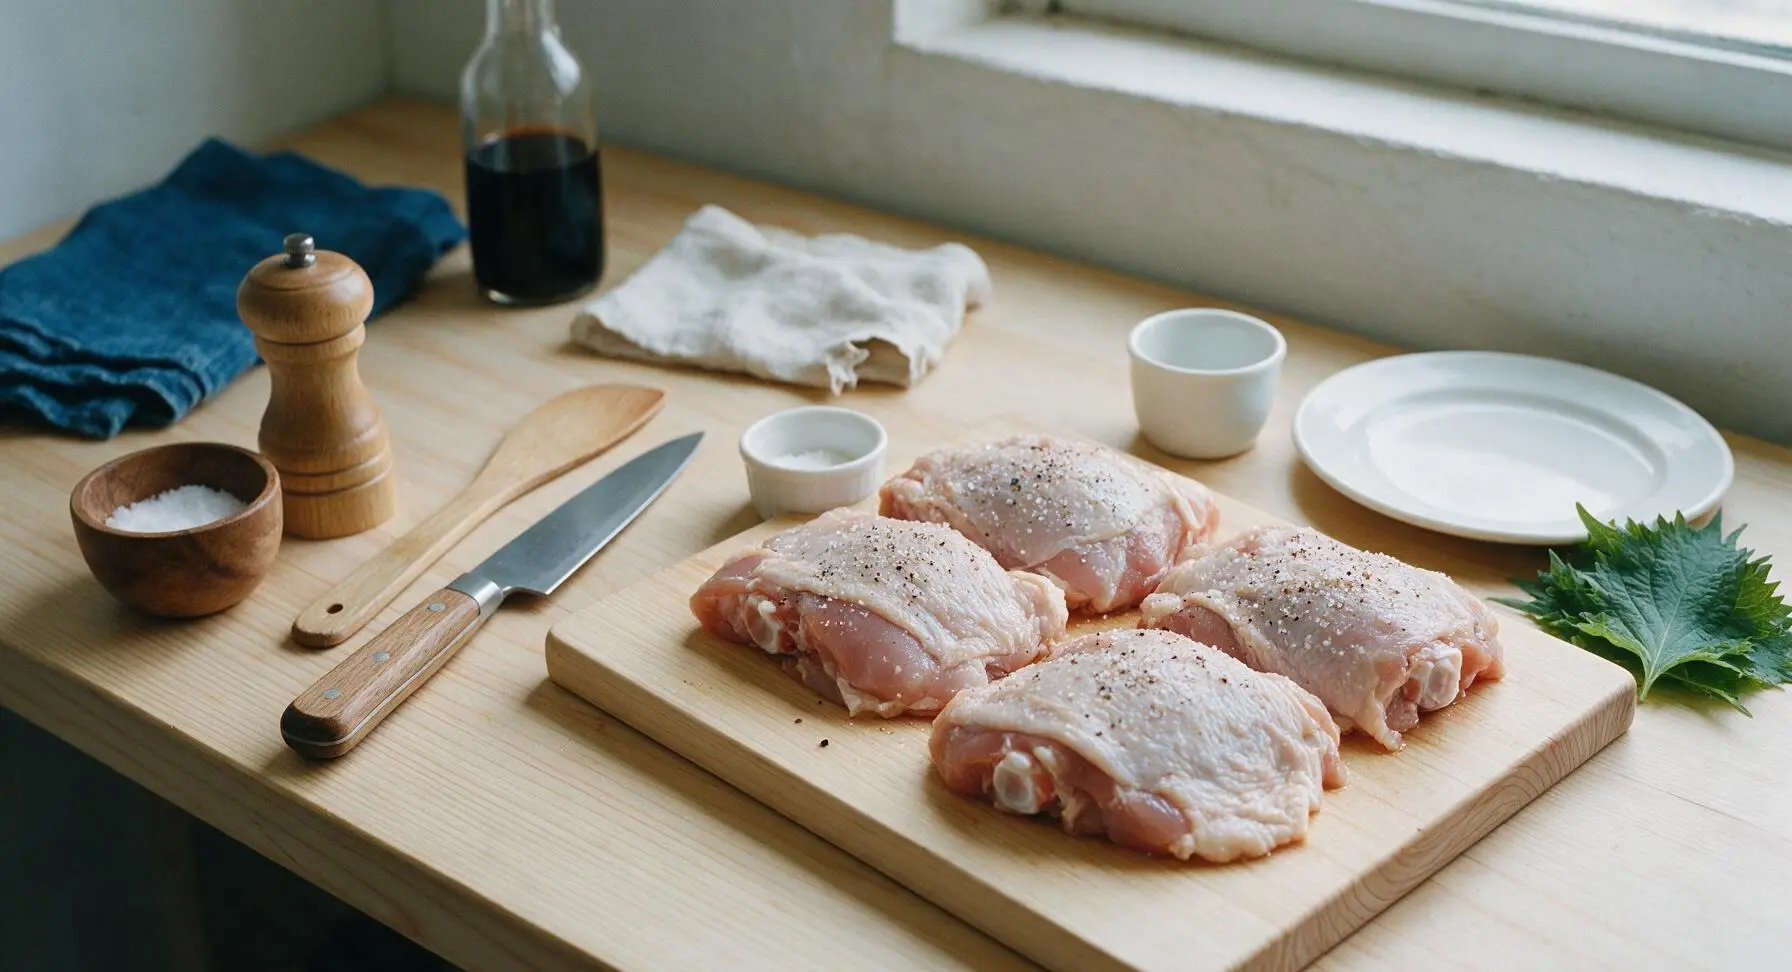
Place the 4 bone-in, skin-on chicken thighs on the light oak end-grain cutting board. Tear a small corner of the oat linen towel to pat every surface of the chicken, especially the skin side, completely dry of all residual moisture or packaging liquid. Season all sides evenly with 1 teaspoon kosher salt and 1/2 teaspoon freshly ground black pepper, pressing the seasoning gently into the skin and meat to help it adhere. Let the seasoned chicken rest at room temperature for 5 minutes to take the chill off, which promotes even cooking.
Heat Skillet to Temperature
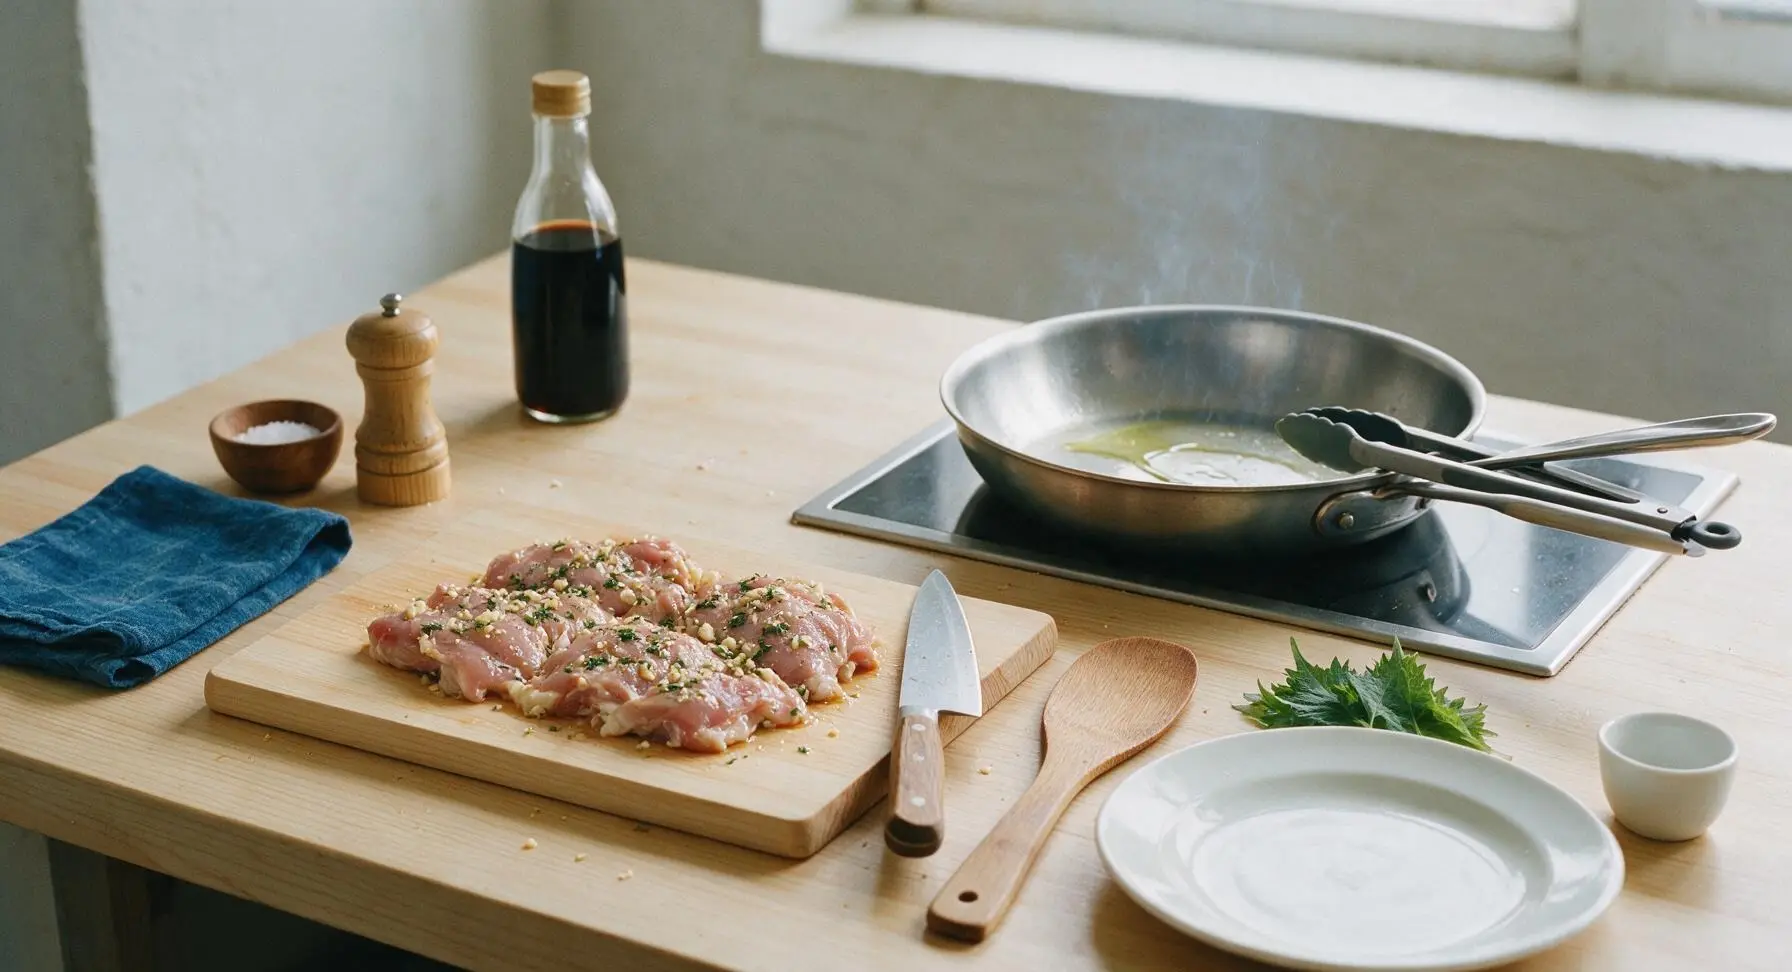
Retrieve the 12-inch heavy-gauge stainless steel skillet and place it on the flush-mounted induction burner set to medium-high heat. Add 1 tablespoon of extra-virgin olive oil to the pan, and heat for 3 minutes until the oil shimmers across the pan surface and sends up thin, wispy trails of pale smoke. Do not let the oil turn dark brown or smell acrid, as this means it is burning.
Sear Chicken Skin-Side Down
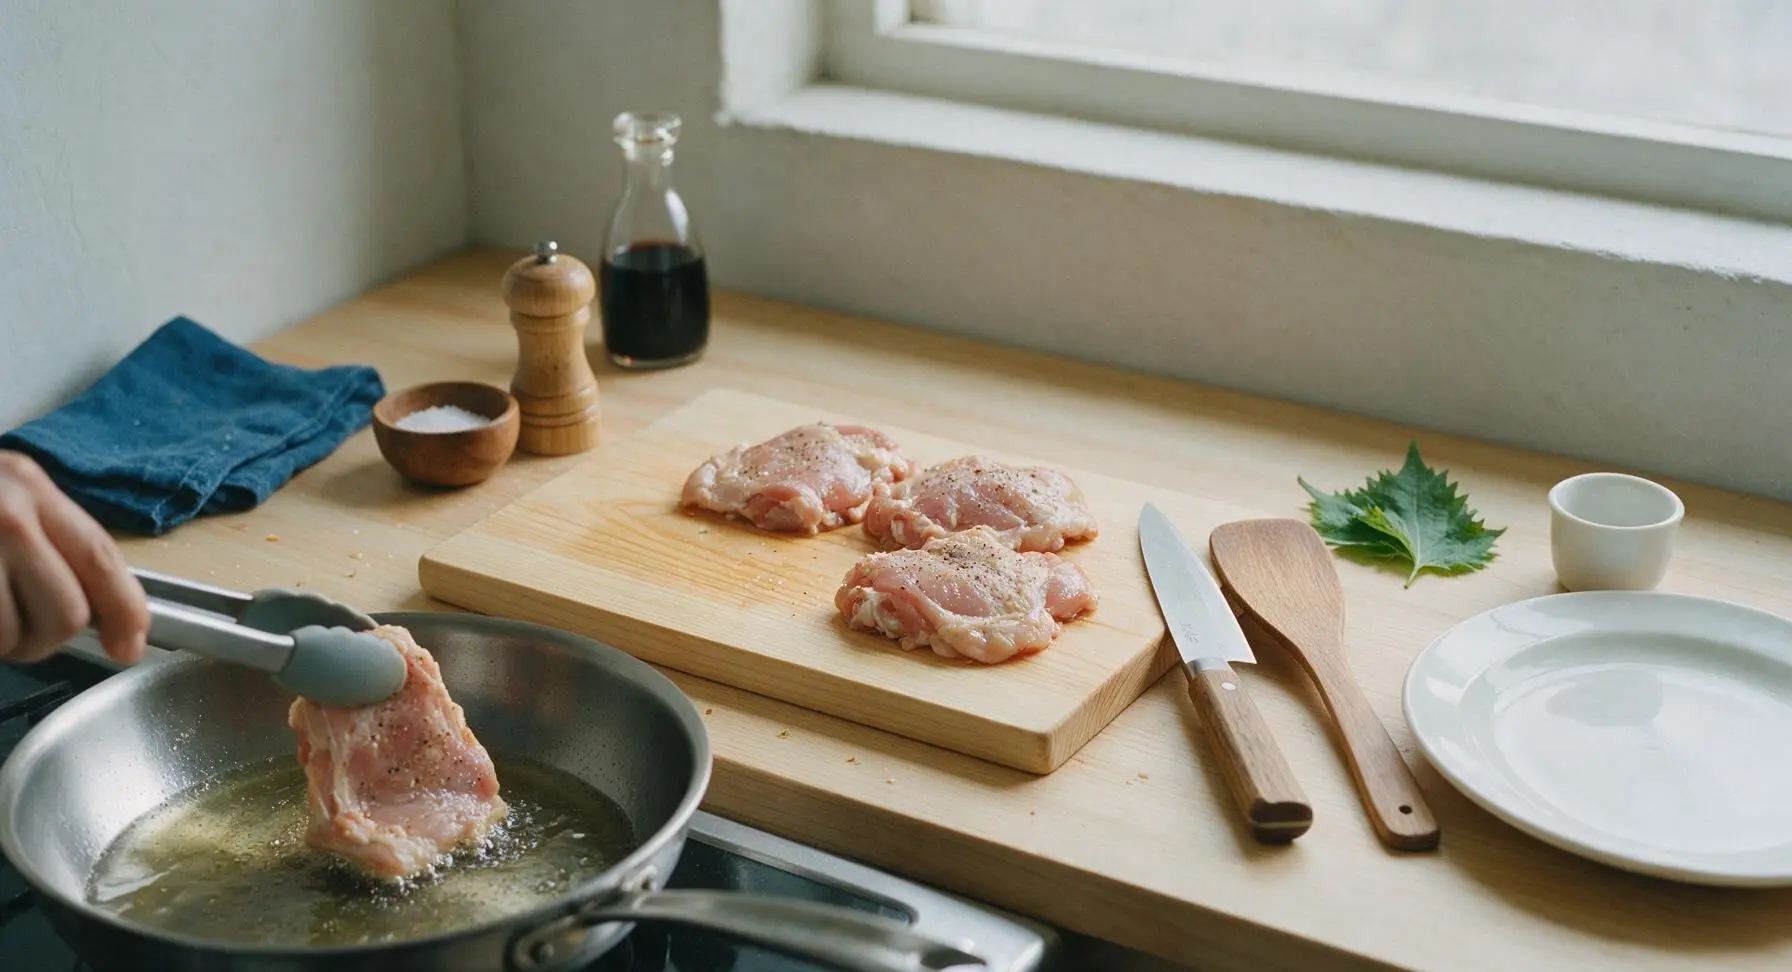
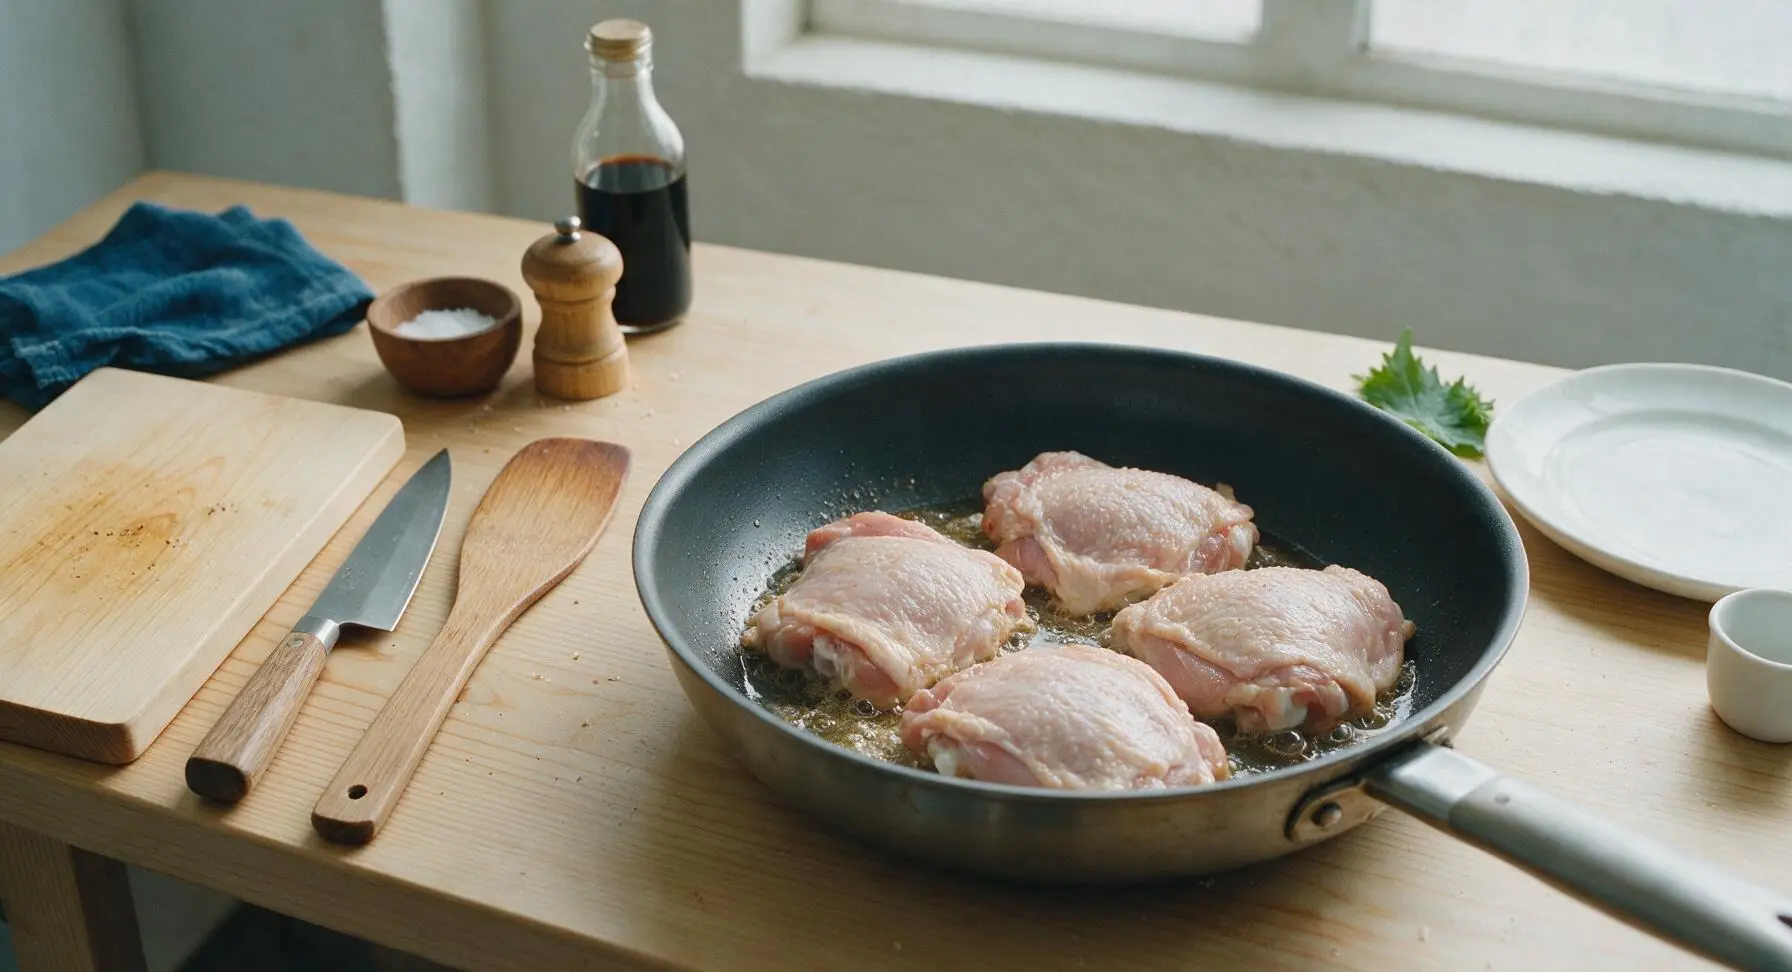
Use the silicone-tipped tongs to carefully place each chicken thigh in the hot skillet skin-side down, arranging the pieces in a single even layer with 2cm of space between each thigh to avoid crowding (crowding causes steaming instead of searing). Do not move, lift, or press the chicken for 10 full minutes. Adjust the heat as needed to maintain a steady, gentle sizzle: if the sizzle sounds sharp and acrid, lower heat slightly; if there is no sizzle at all, raise heat slightly. After 10 minutes, the skin will be deep golden and release easily from the pan.
Flip Chicken, Add Aromatics
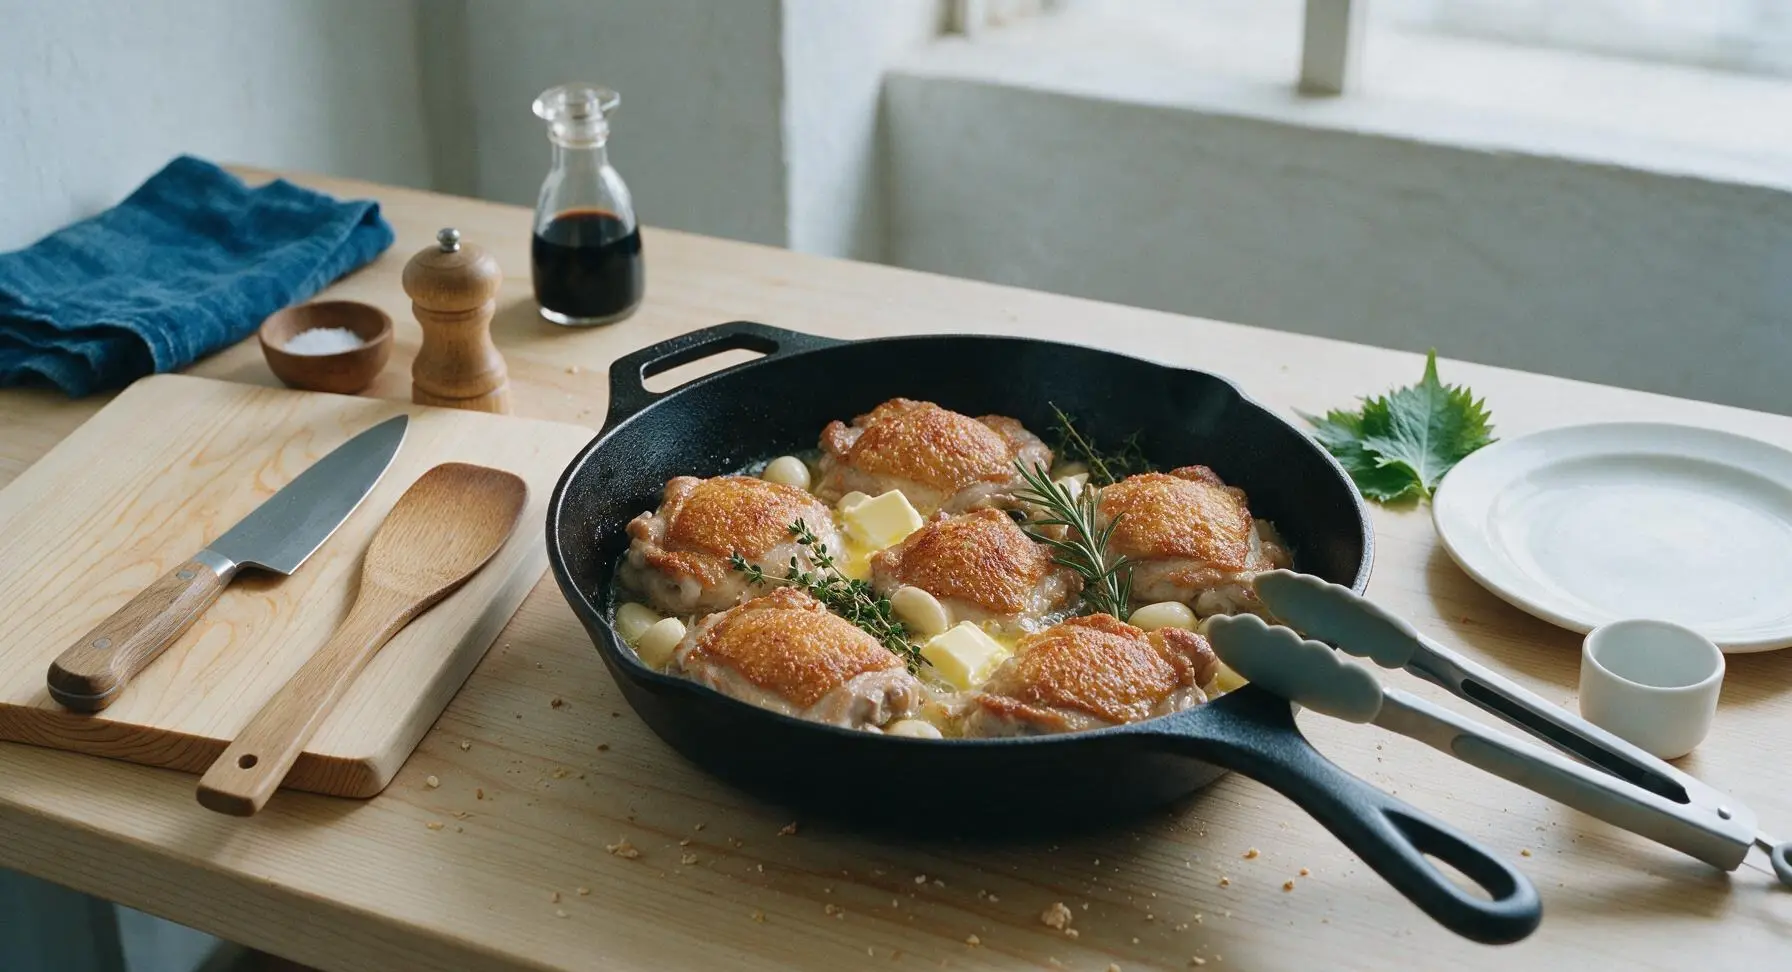
After 10 minutes of undisturbed searing, use the tongs to flip each chicken thigh so the crispy seared skin faces up. Add the 6 lightly crushed garlic cloves, 3 thyme sprigs, 1 rosemary sprig, and 2 tablespoons of unsalted butter to the skillet, tucking the garlic and herbs into the gaps between the chicken pieces. Reduce the burner heat to medium to prevent the butter and garlic from burning.
Baste Chicken to Doneness
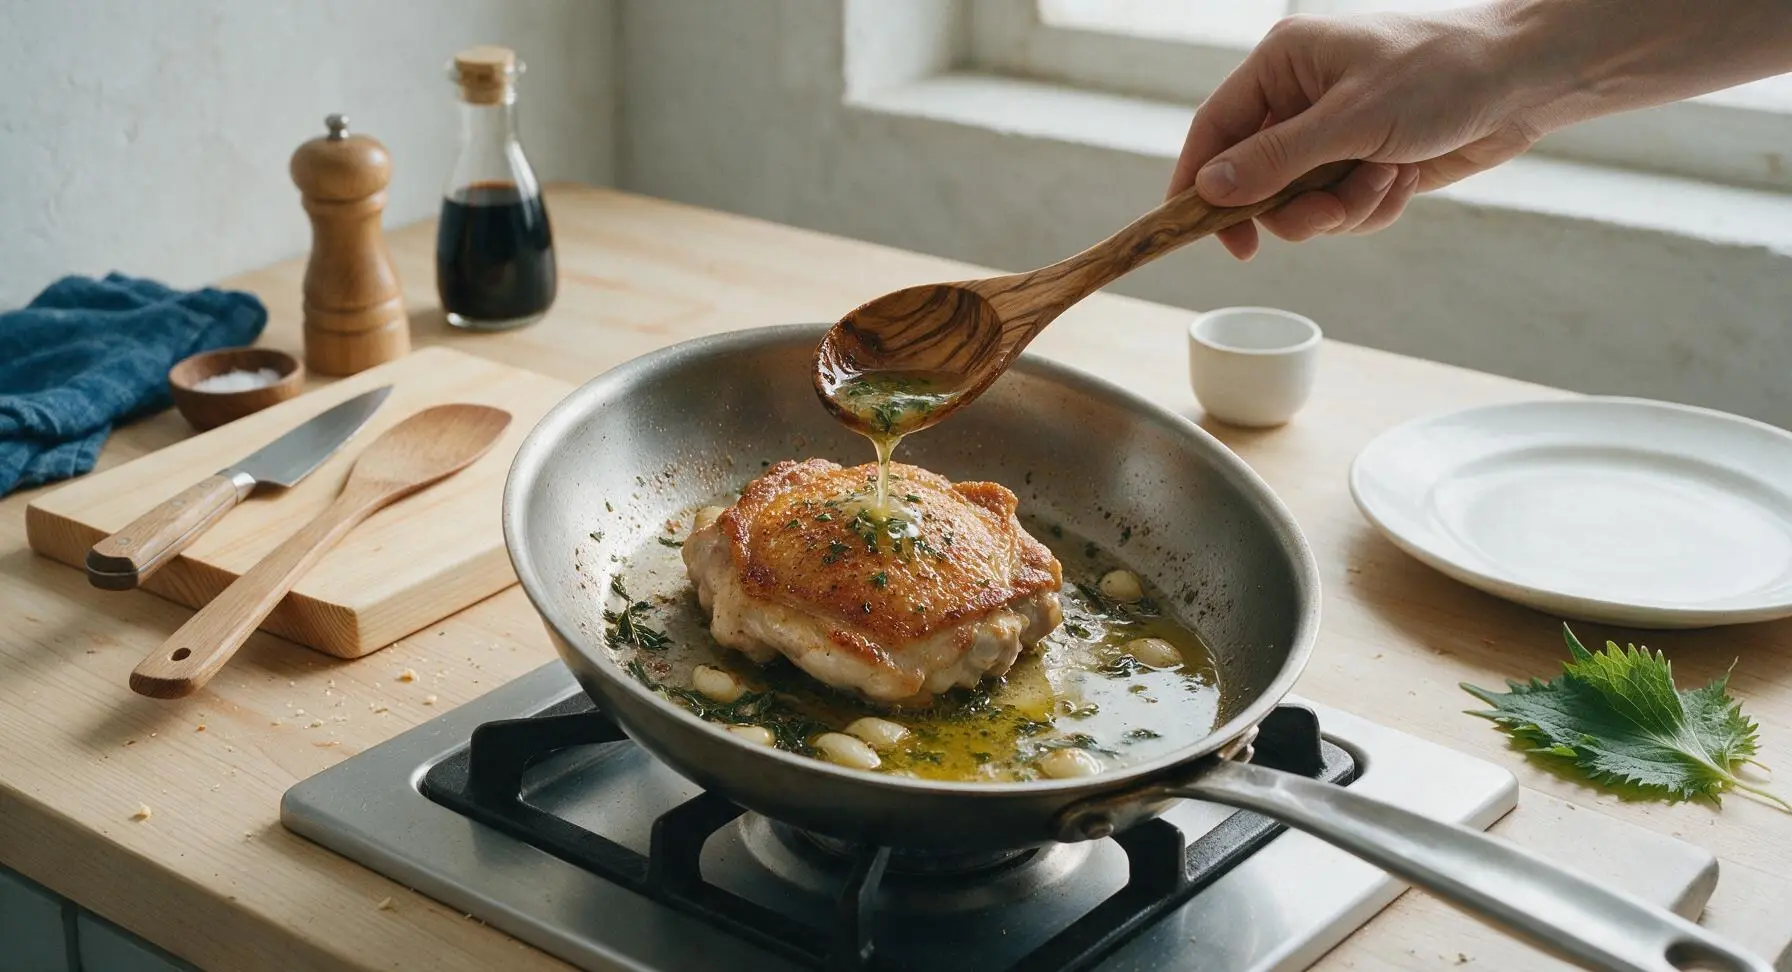
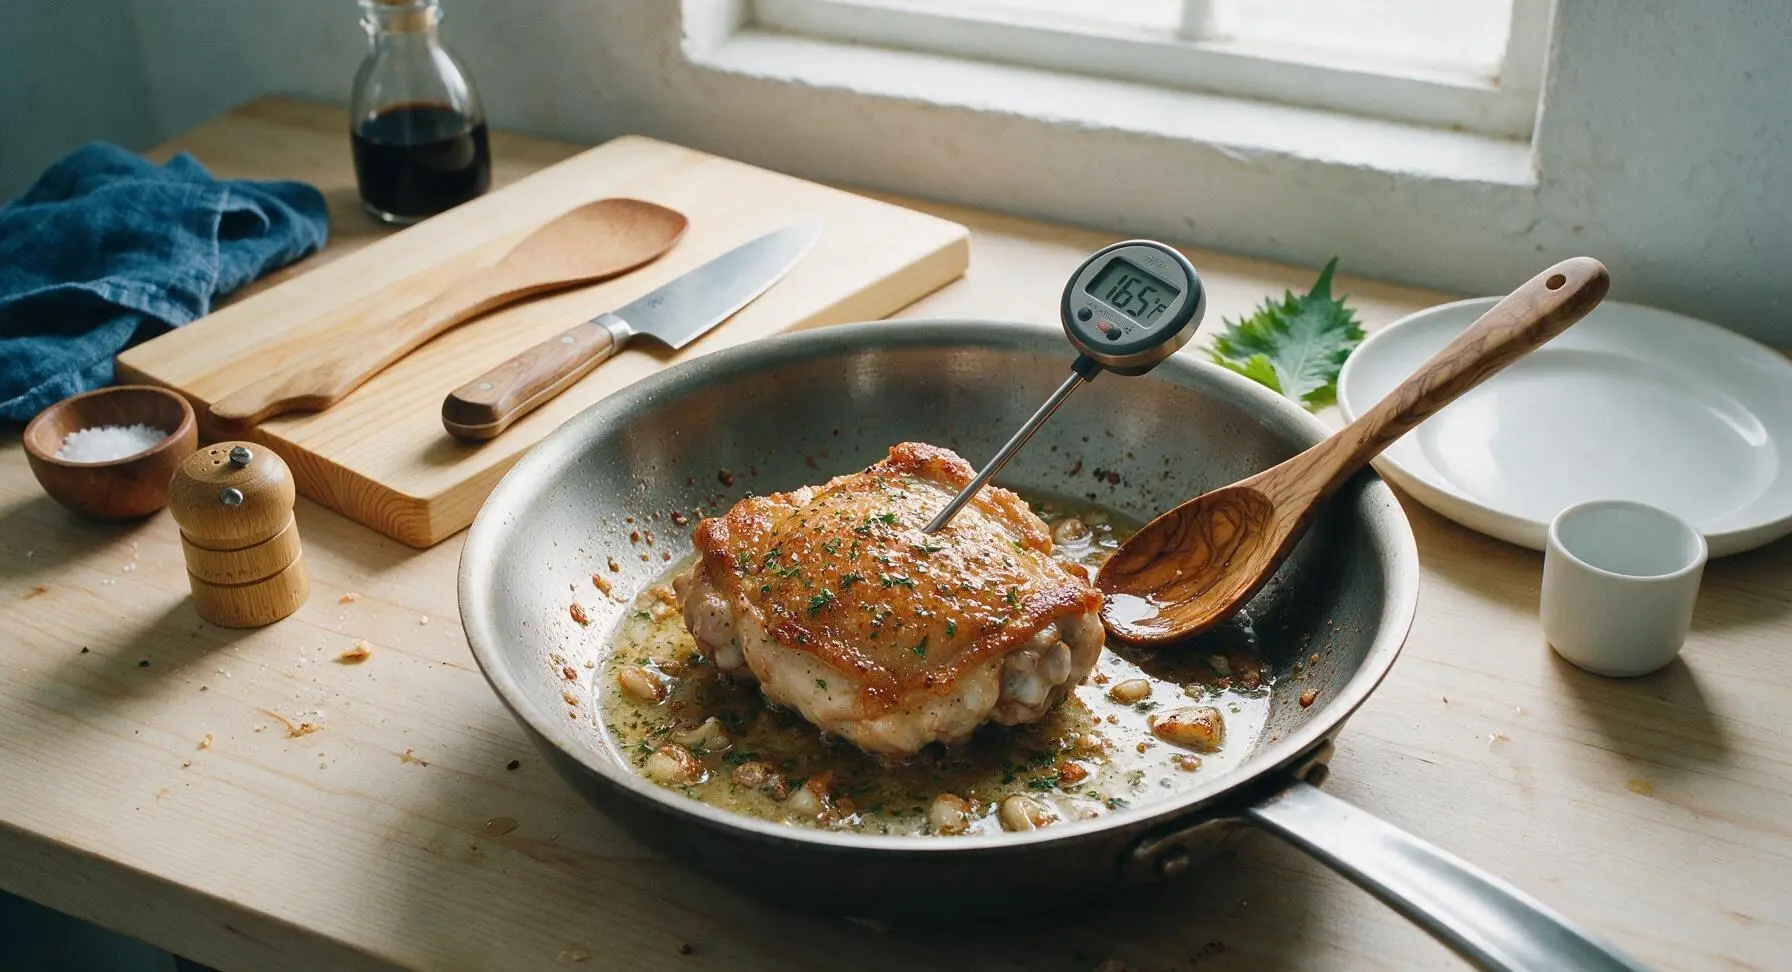
Tilt the skillet slightly so the melted, garlic and herb-infused butter pools at the lower edge of the pan. Use the polished olive wood basting spoon to repeatedly scoop the hot butter and pour it over the top of the chicken thighs, basting continuously for 8 minutes. Check doneness by inserting the instant-read digital meat thermometer into the thickest part of the thigh, avoiding contact with bone: chicken is done when it reaches an internal temperature of 165°F (74°C). If the garlic cloves turn dark brown at any point, push them to the cooler edge of the pan to prevent bitter flavor.
Rest Chicken, Make Sauce
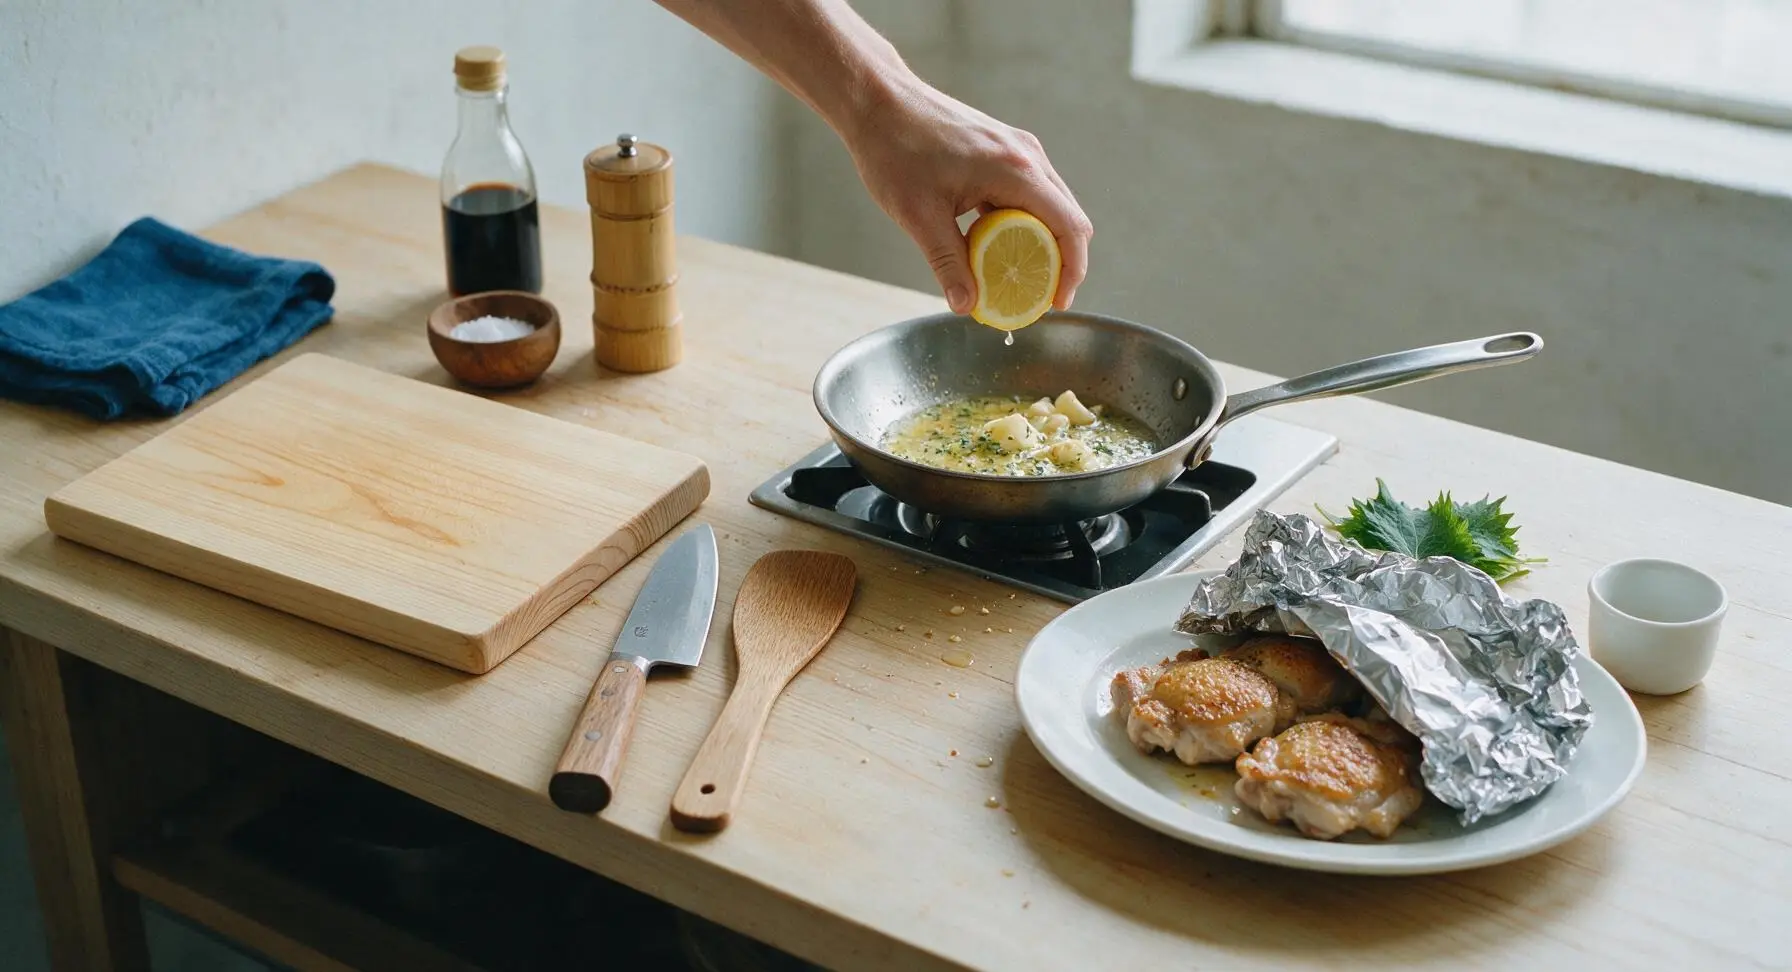
Use the tongs to transfer all cooked chicken thighs from the skillet to the creamy off-white stoneware dinner plate. Loosely tent a small sheet of aluminum foil over the top of the chicken to hold in gentle heat, and let it rest for 5 minutes to allow muscle fibers to relax and reabsorb juices. While the chicken rests, squeeze 1 teaspoon of fresh lemon juice into the remaining herb butter in the skillet, stirring gently with the basting spoon to combine into a bright, fragrant pan sauce.
Plate, Garnish, and Serve
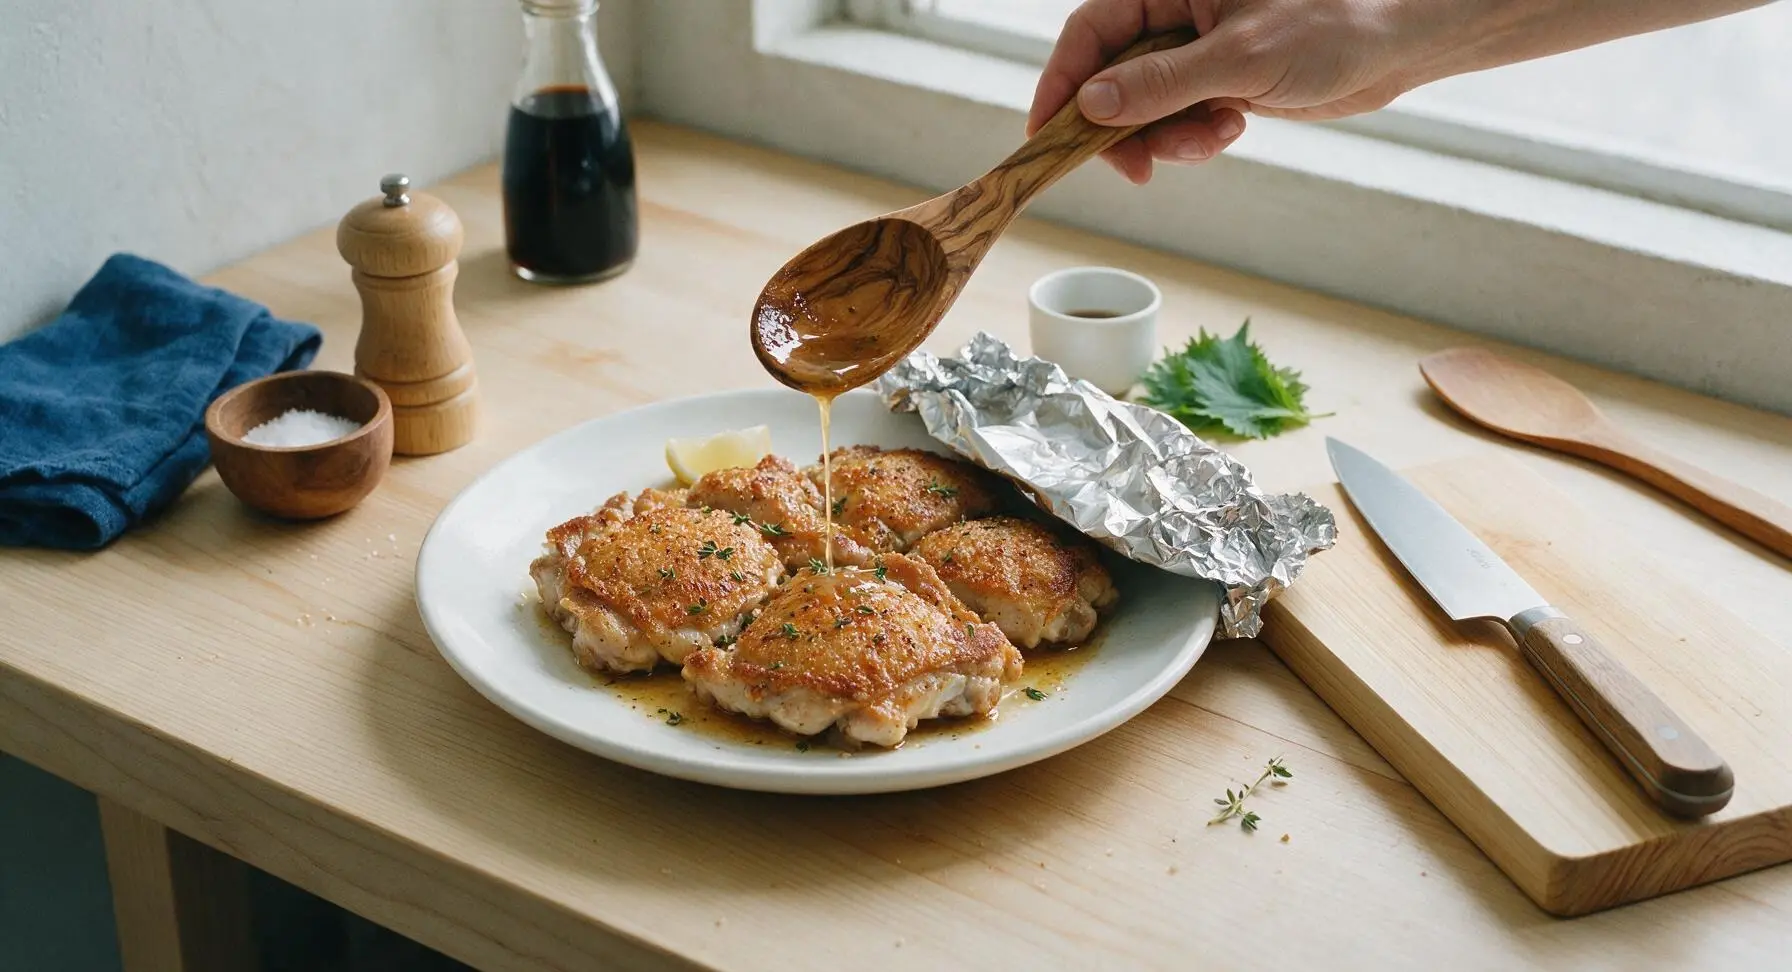
Remove the aluminum foil tent from the rested chicken. Drizzle the warm lemon-herb pan sauce from the skillet over the chicken thighs, letting a small amount pool around the edges of the plate. Scatter a few picked fresh thyme leaves over the crispy chicken skin, and tuck a fresh lemon wedge on the plate rim for extra squeezing at the table. Serve immediately while the skin is still crisp and the chicken is hot.
Tips
2.Do not move the chicken while it sears skin-side down: novice cooks often lift or flip chicken too early, which breaks the developing crust and causes the skin to stick to the pan. The chicken will release cleanly from the skillet once the skin is fully crisped and the Maillard reaction is complete, usually after the full 10 minutes.
3.Never skip the 5-minute rest period: cutting into hot chicken immediately after cooking causes all the flavorful, juicy internal liquid to run out onto the plate, leaving dry, tough meat. Resting lets the muscle fibers relax and reabsorb those juices, so every bite stays moist and tender.






OMG this was such a win for weeknight dinner! I threw this together in 25 minutes flat after soccer practice and my two picky kids ate every single bite. The skin got so crispy I thought I’d ordered it from a restaurant. 10/10 will be in our regular rotation!
Usually I only grill chicken thighs but it was pouring rain last night so I gave this a shot. Man, that garlic herb crust is no joke. I used fresh rosemary from my backyard planter and it hit so hard. My wife asked when I’m making it again before we even finished eating.
Total meal prep game changer! I made a big batch on Sunday and these held up perfectly all week for lunch. The skin stayed crisp even when I reheated them in the toaster oven at work. No sad soggy chicken here! Paired it with roasted broccoli and quinoa for a balanced meal.
As someone who can barely boil pasta without messing it up, this recipe was so easy to follow! I didn’t have fresh herbs so I used dried Italian seasoning and it still came out SO good. My roommates thought I’d gotten takeout lmao. Will definitely make again when I’m sick of ramen.
Brought these to my neighborhood block party potluck last weekend and people were hounding me for the recipe before I even set the platter down! The garlic aroma is incredible, and the crispy skin holds up even when they sit out for a little bit. Perfect party food that doesn’t require a ton of work.
This was delicious, but my skin didn’t get nearly as crispy as the photo shows! I used boneless skinless thighs by accident — oops! Wonder if that’s why? Also I added a little extra paprika for a tiny kick, which was chef’s kiss.
Perfect keto-friendly recipe! Zero weird ingredients, super high protein, and that fat from the crispy skin keeps me full for hours. I’ve been making this twice a week since I found the recipe last month.
Made this for my husband for our first anniversary dinner at home and he said it’s the best thing I’ve ever cooked! I was nervous because I’m still learning to cook meat properly, but the timing instructions were so easy to follow. No raw chicken, no burnt bits, perfection.
My son usually turns his nose up at any chicken that isn’t dinosaur-shaped nuggets, but he ate two whole thighs last night! I did skip the fresh thyme because he says ‘green bits’ are gross, and it still tasted amazing. Win for mom!
Quick question — can I use dried herbs instead of fresh? My grocery store was out of fresh rosemary and thyme this week and I don’t feel like running to three different stores for ingredients.
I’ve been cooking for 40+ years and I have to say, this method for getting crispy chicken skin is spot on. Drying the thighs, not moving them around the pan too much while searing — people skip those steps all the time and wonder why their skin is soggy. Great recipe, straight to the point no fluff.
Made this last night with roasted garlic mashed potatoes and sautéed green beans, and my entire family raved. The only thing is, my garlic burned a little bit when I added it too early! Got a little bitter but was still edible. Any tips for that next time?
Wait a second, 25 minute cook time? That seems too good to be true for crispy chicken thighs that aren’t baked in the oven. I need to try this this week — I’m so sick of spending an hour cooking after work when I’m already exhausted.
Used fresh thyme, rosemary, and parsley straight from my windowsill herb garden for this and it was chef’s kiss. The fresh herbs make such a huge difference vs dried! I also squeezed a little fresh lemon over top right before serving, which brightened everything up so much.
Is there a good dairy-free swap for the butter? I’m lactose intolerant and I’d hate to miss out on that rich garlic herb sauce that coats the chicken at the end.
Made this for date night last night and my date thought I was a total cooking pro! I served it with a simple arugula salad and a glass of white wine, and we had zero leftovers. 10/10 will be pulling this out for every casual date night from now on.
How do you all reheat these without the skin getting soggy? I want to bring these on a backpacking trip next weekend but I’m worried they’ll be mushy by the time I eat them on the trail.
Wait, I totally forgot to buy bone-in thighs so I used thin boneless skinless ones, and they cooked way too fast and were a little dry. Oops! My bad for not following the recipe exactly, but the garlic herb butter was so good I still ate two of them. Will do it right next time!