
Coddled Eggs
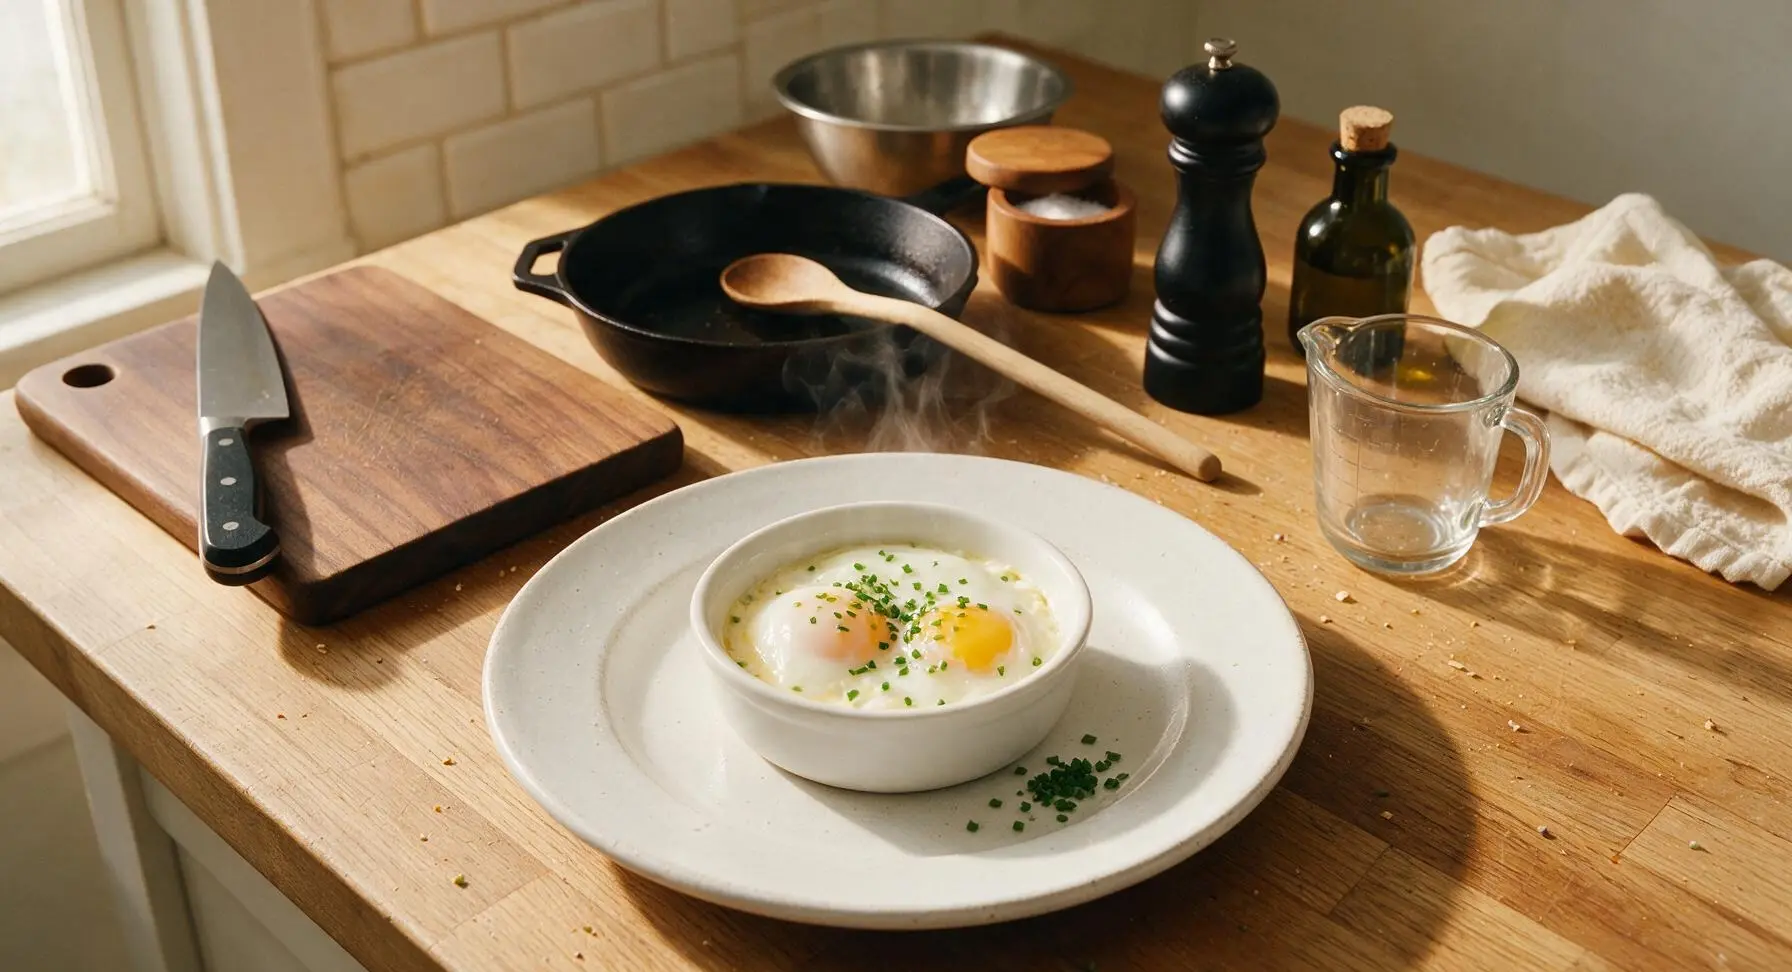
intro
Silky, gently steamed coddled eggs with runny golden yolks, enriched with cream and fresh chives, for a luxuriously quick, comforting meal ready in 15 minutes.
Ingredients
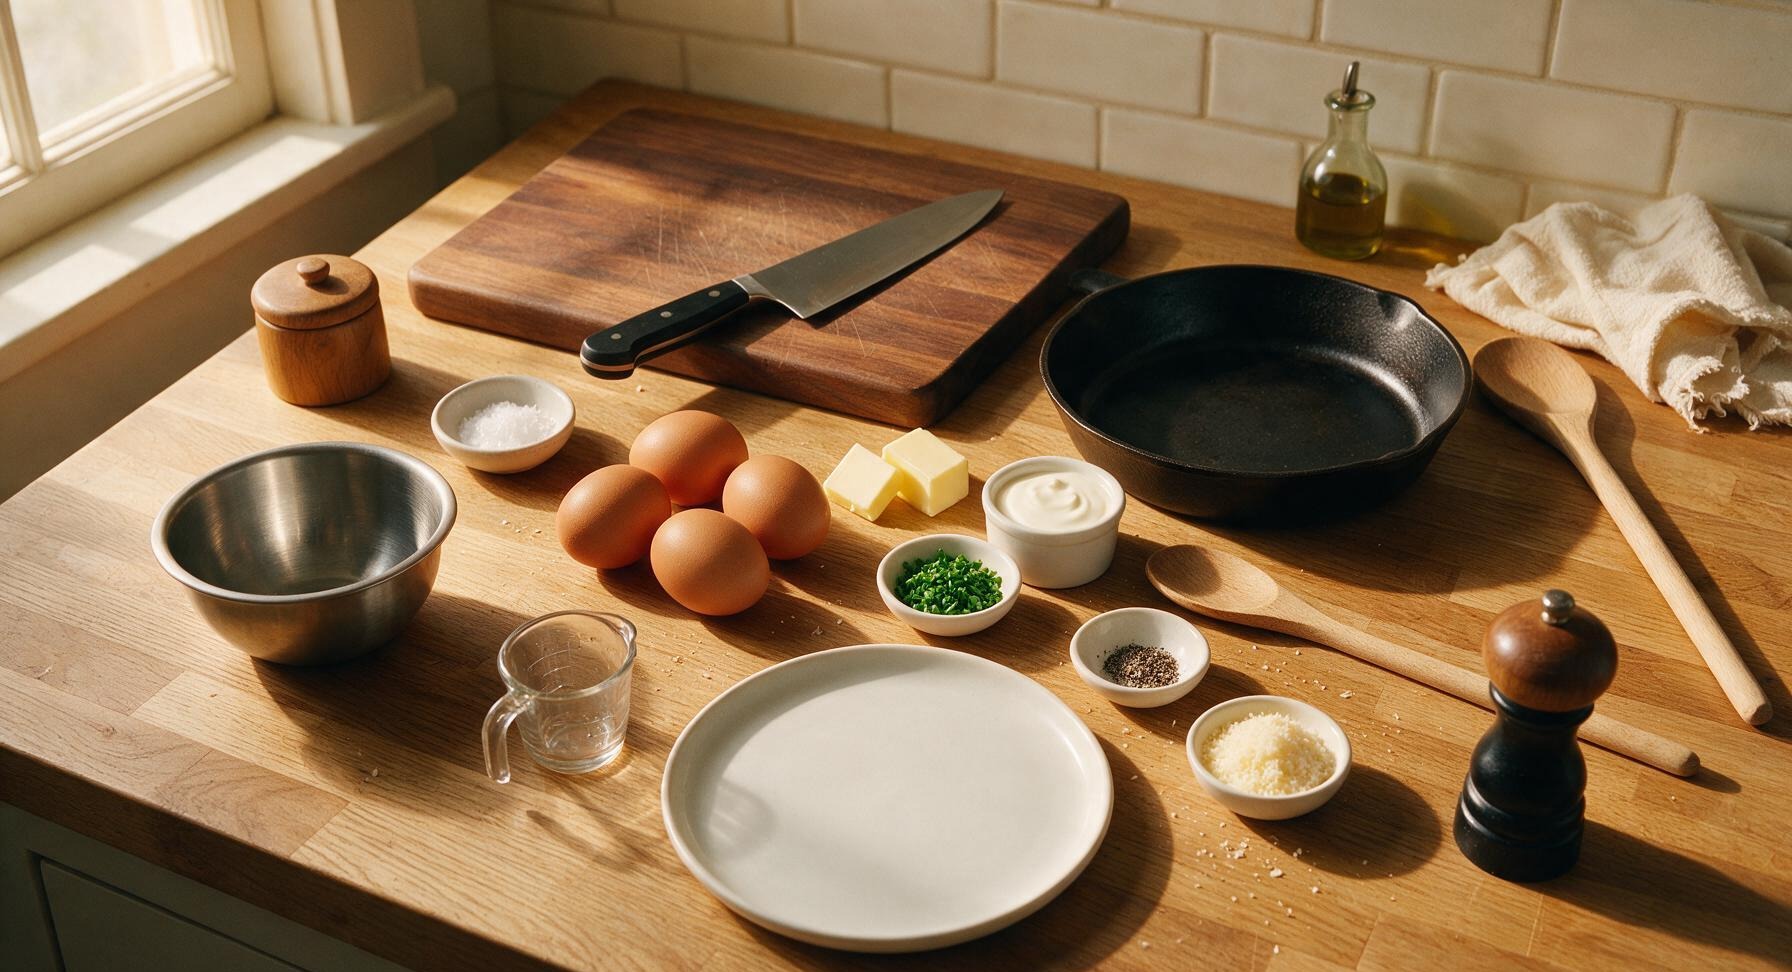
Steps
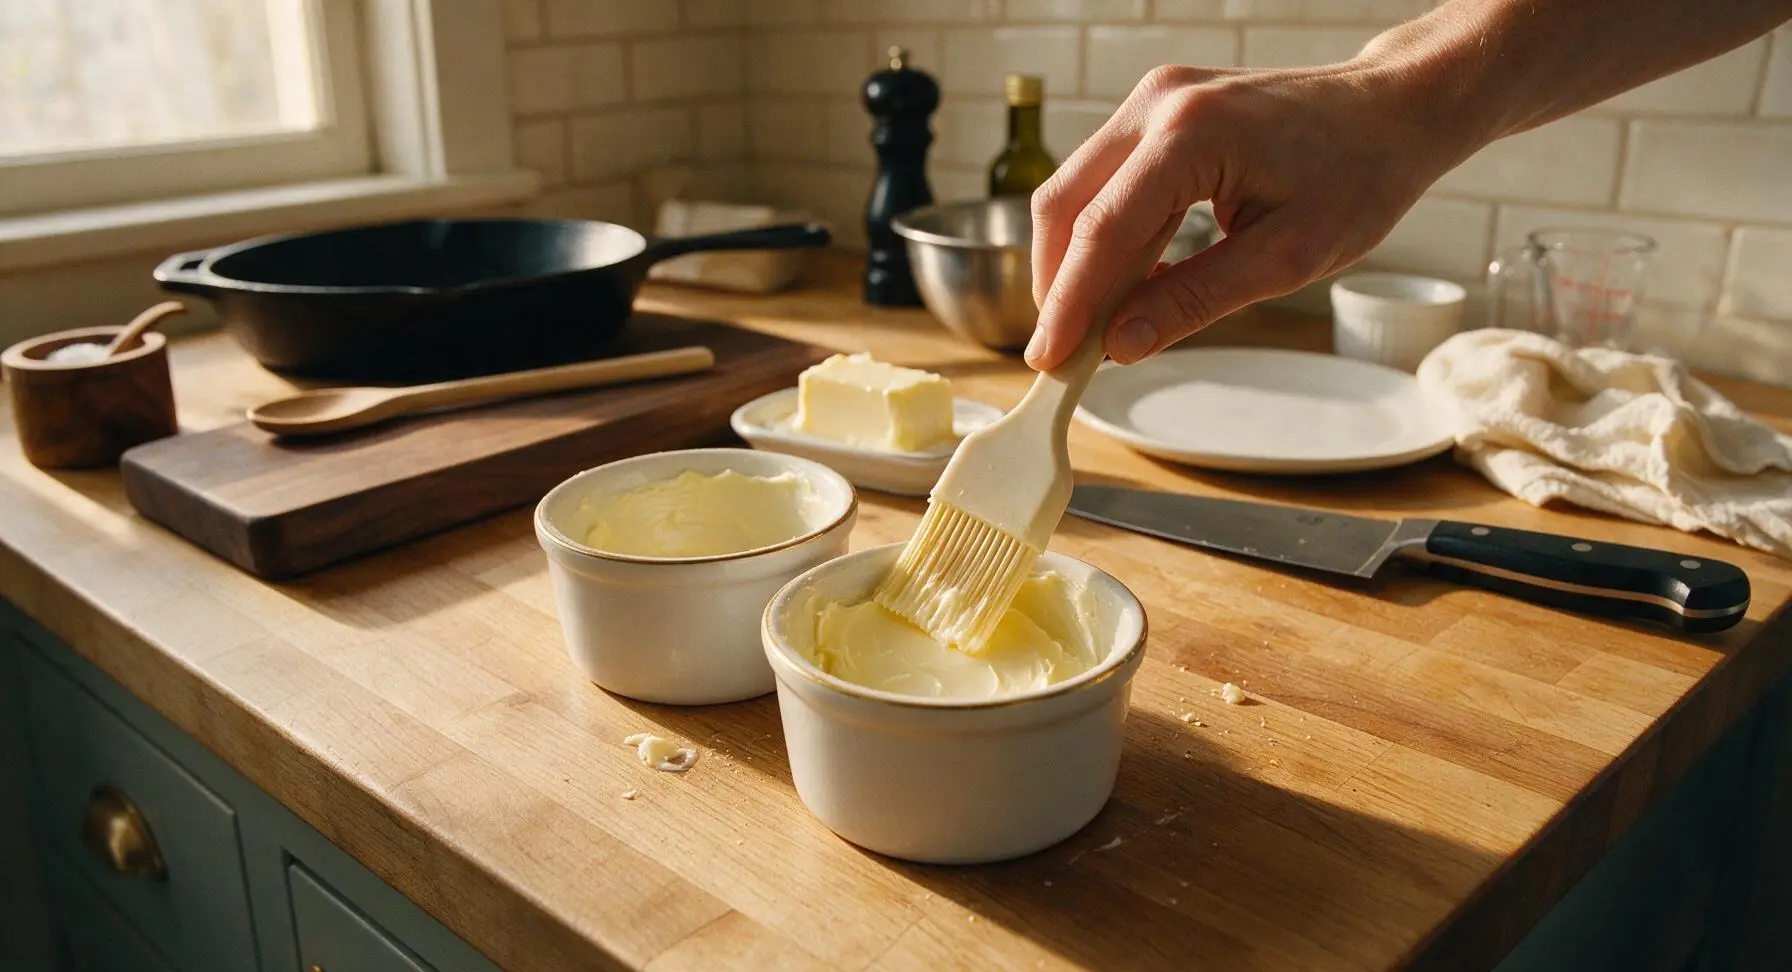
Butter the ramekins
Use the silicone pastry brush to spread 1 tsp of softened unsalted butter evenly across the entire interior surface of each 120ml white porcelain ramekin, including the lower 1cm of the rim. Ensure no dry ceramic spots remain, as unbuttered areas will cause eggs to stick as they cook. Set the buttered ramekins on the counter near the stovetop.
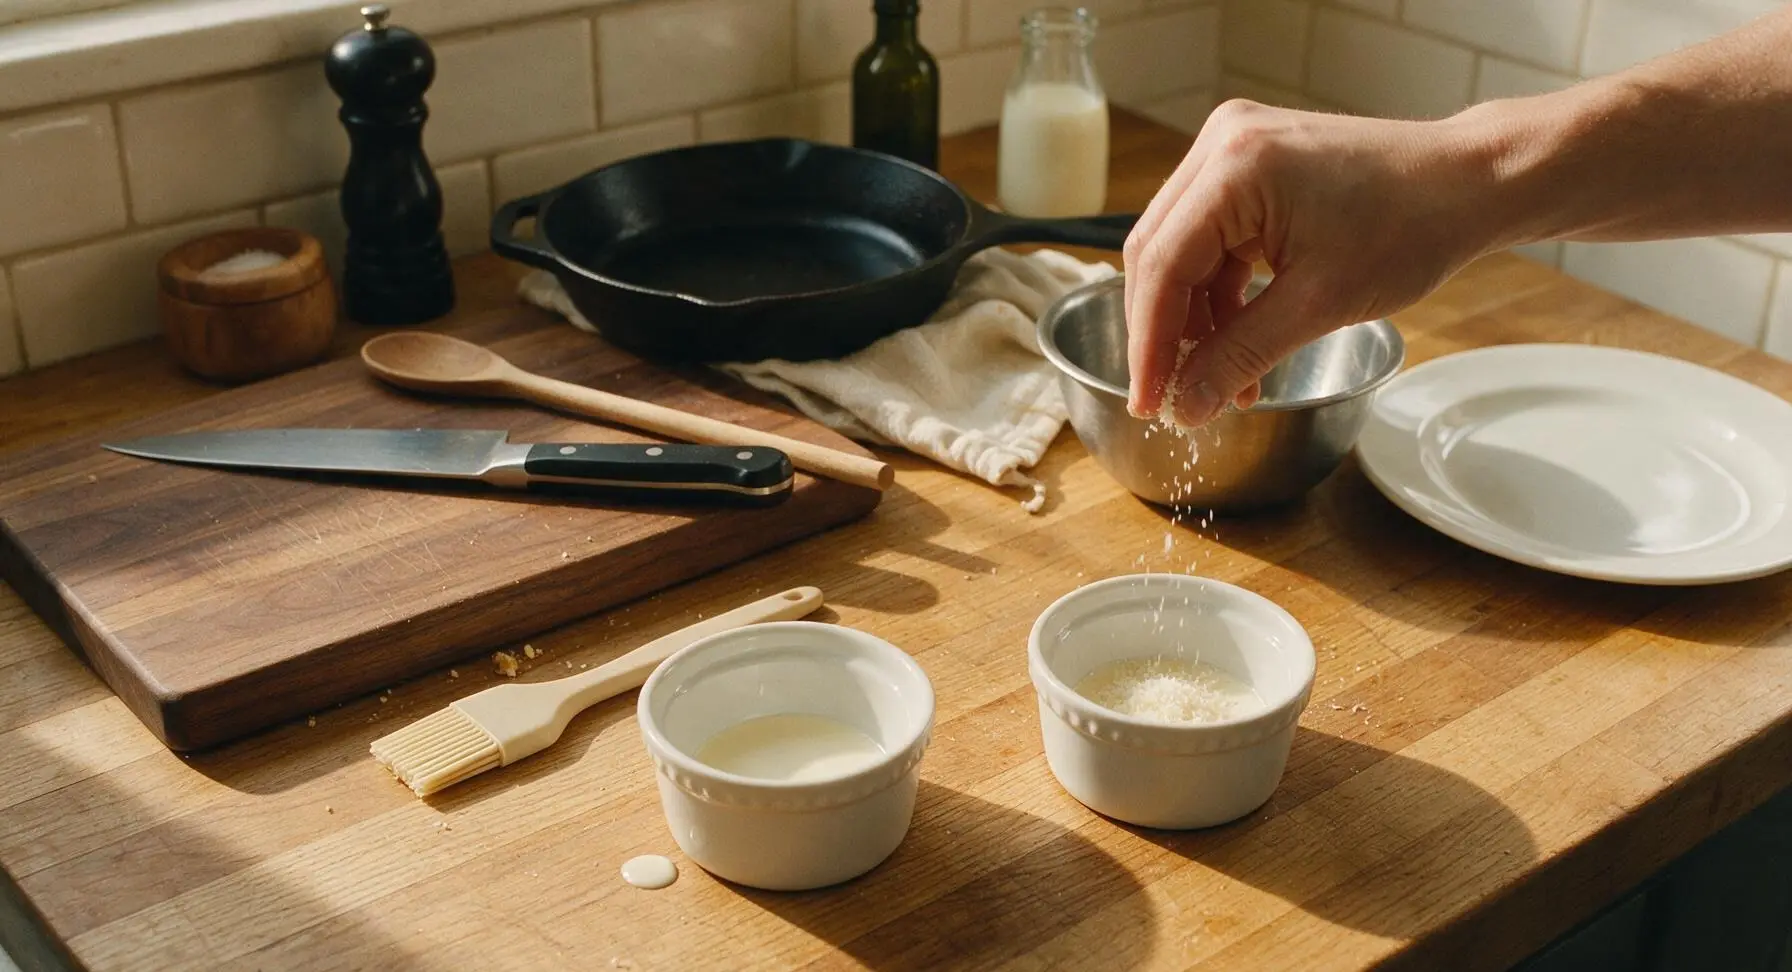
Add cream base
Pour 1 tbsp of heavy cream into the bottom of each buttered ramekin. If using optional parmesan cheese, add 1/2 tbsp to each ramekin, stirring gently to combine with the cream. Add a tiny pinch of flaky sea salt and a light twist of black pepper to each ramekin, reserving most of the seasoning for final serving.
Crack eggs into ramekins
Crack 2 large eggs carefully into each ramekin, taking care not to break the delicate yolks. Pour slowly so the eggs rest gently on top of the cream layer, adjusting yolks to sit centered if they slide. Do not stir the eggs; the whites will settle evenly around the yolk as they cook.
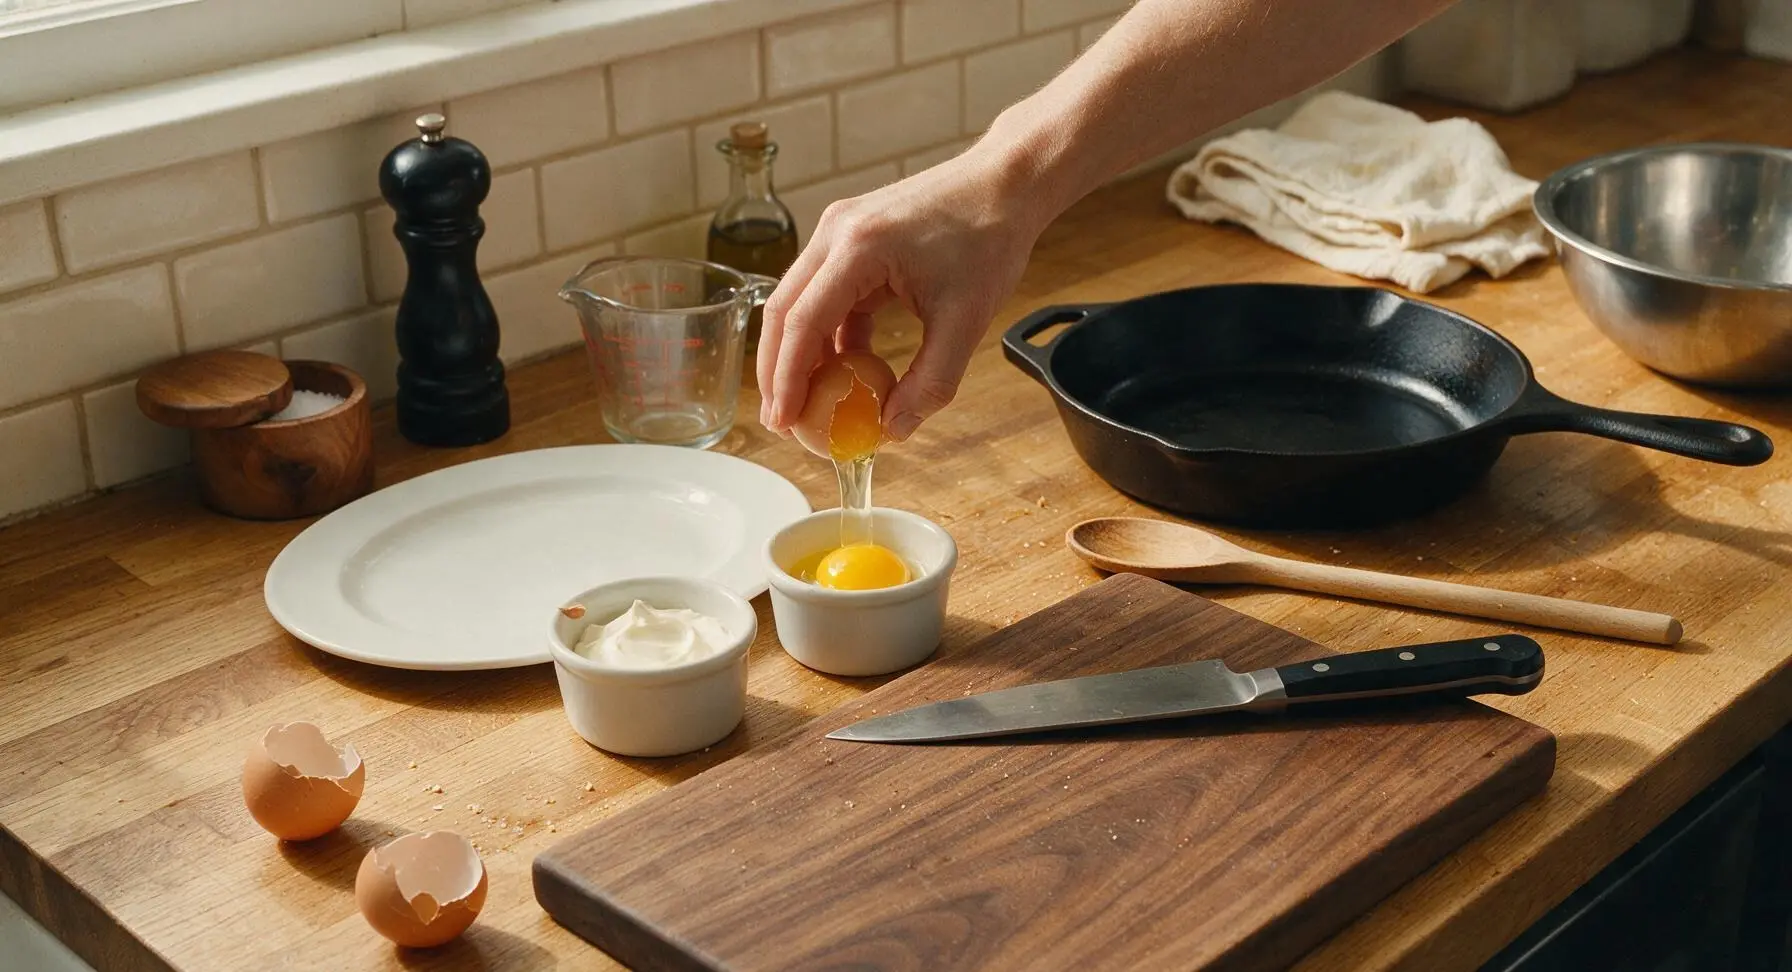
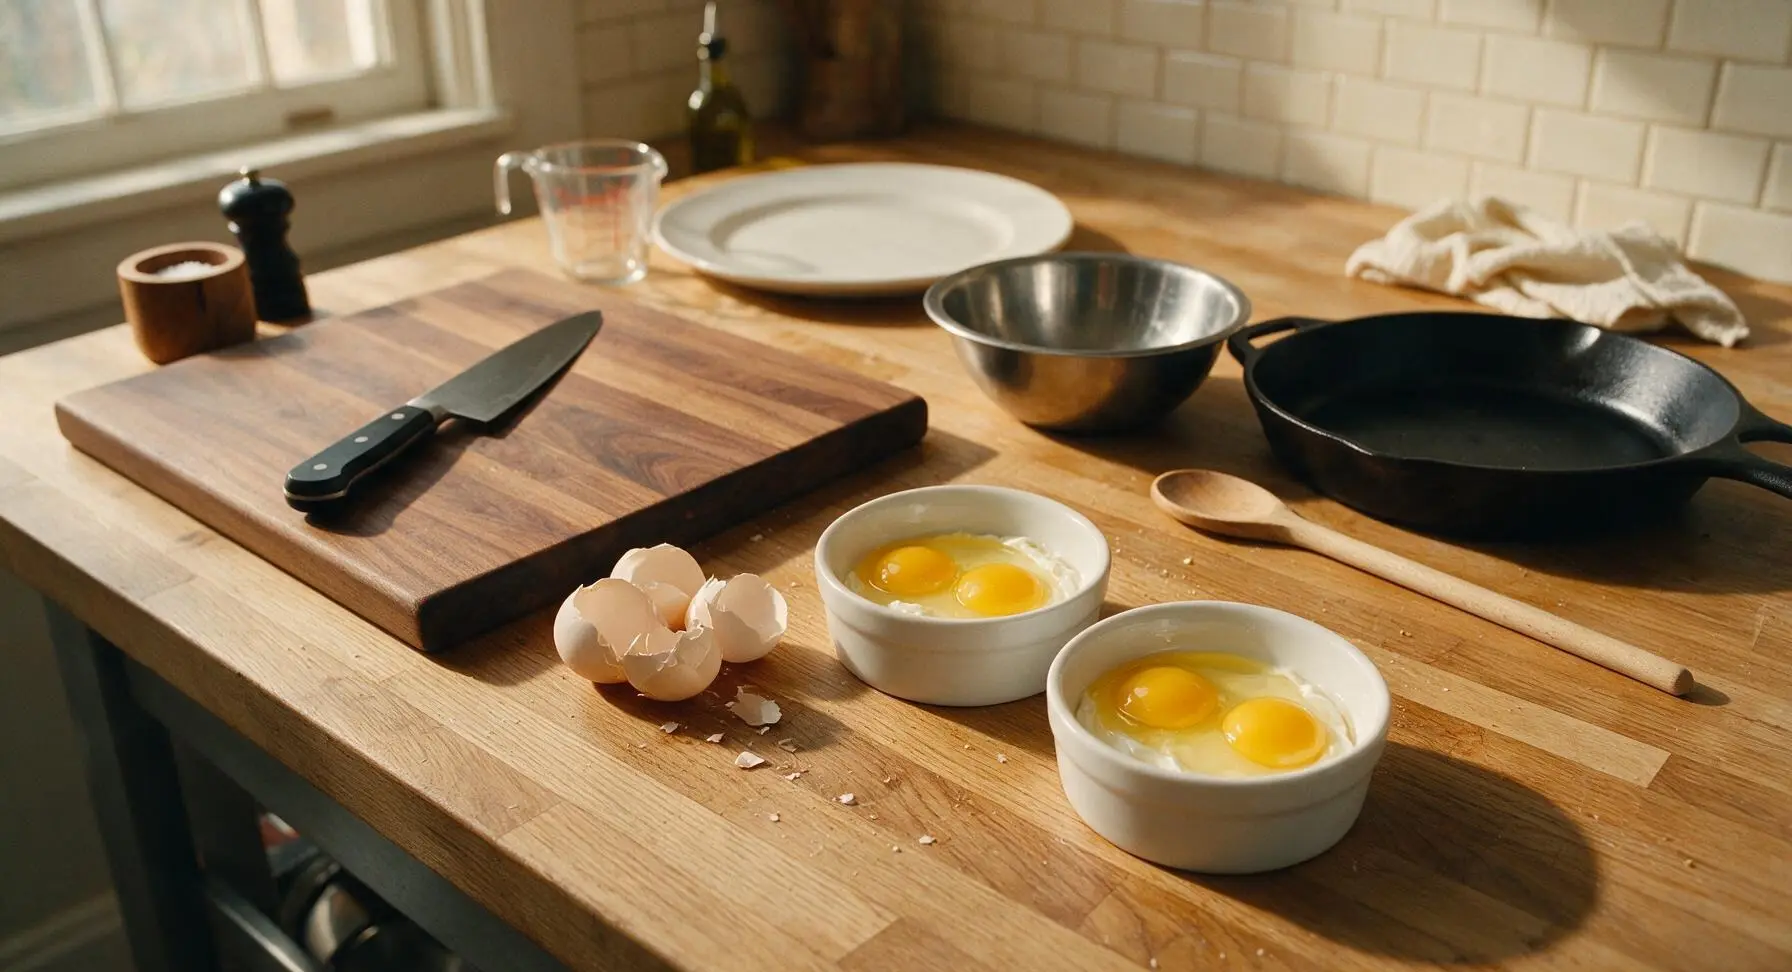
Cover ramekins tightly
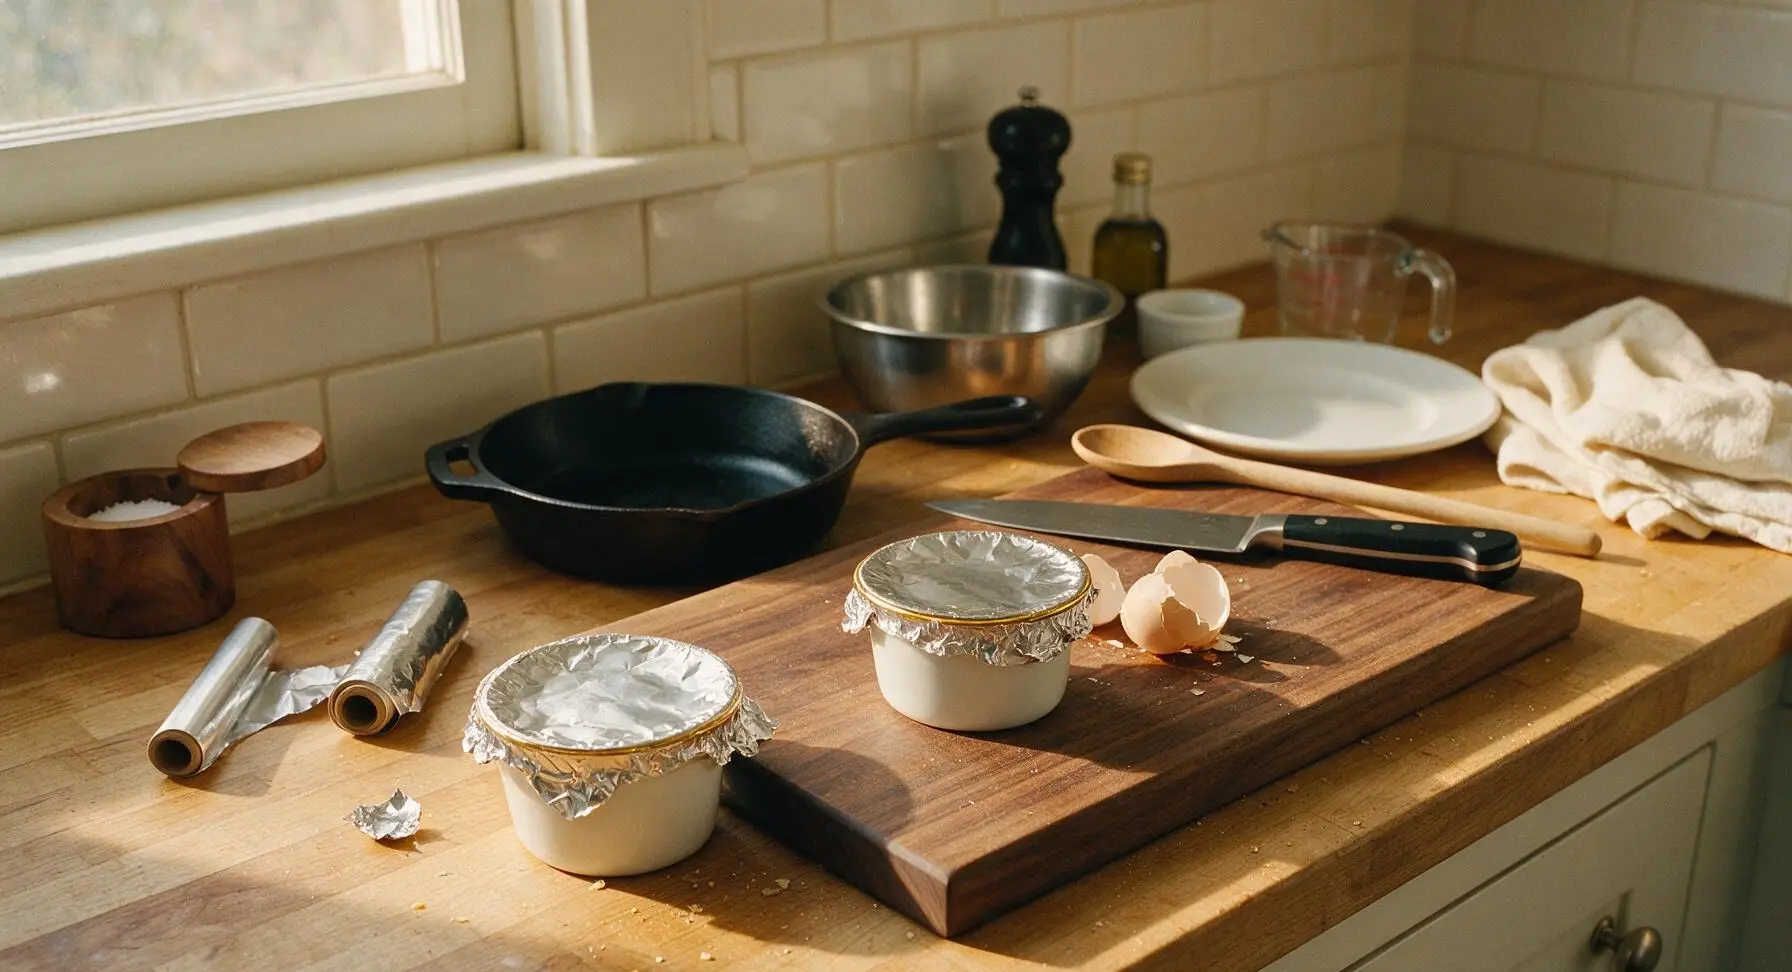
Cut two 10cm squares of aluminum foil, and press one square tightly over the top of each ramekin, crimping edges firmly around the rim to create a fully sealed lid. A tight seal traps steam inside the ramekin, which cooks eggs gently and prevents water from seeping in during the water bath.
Heat water for bath
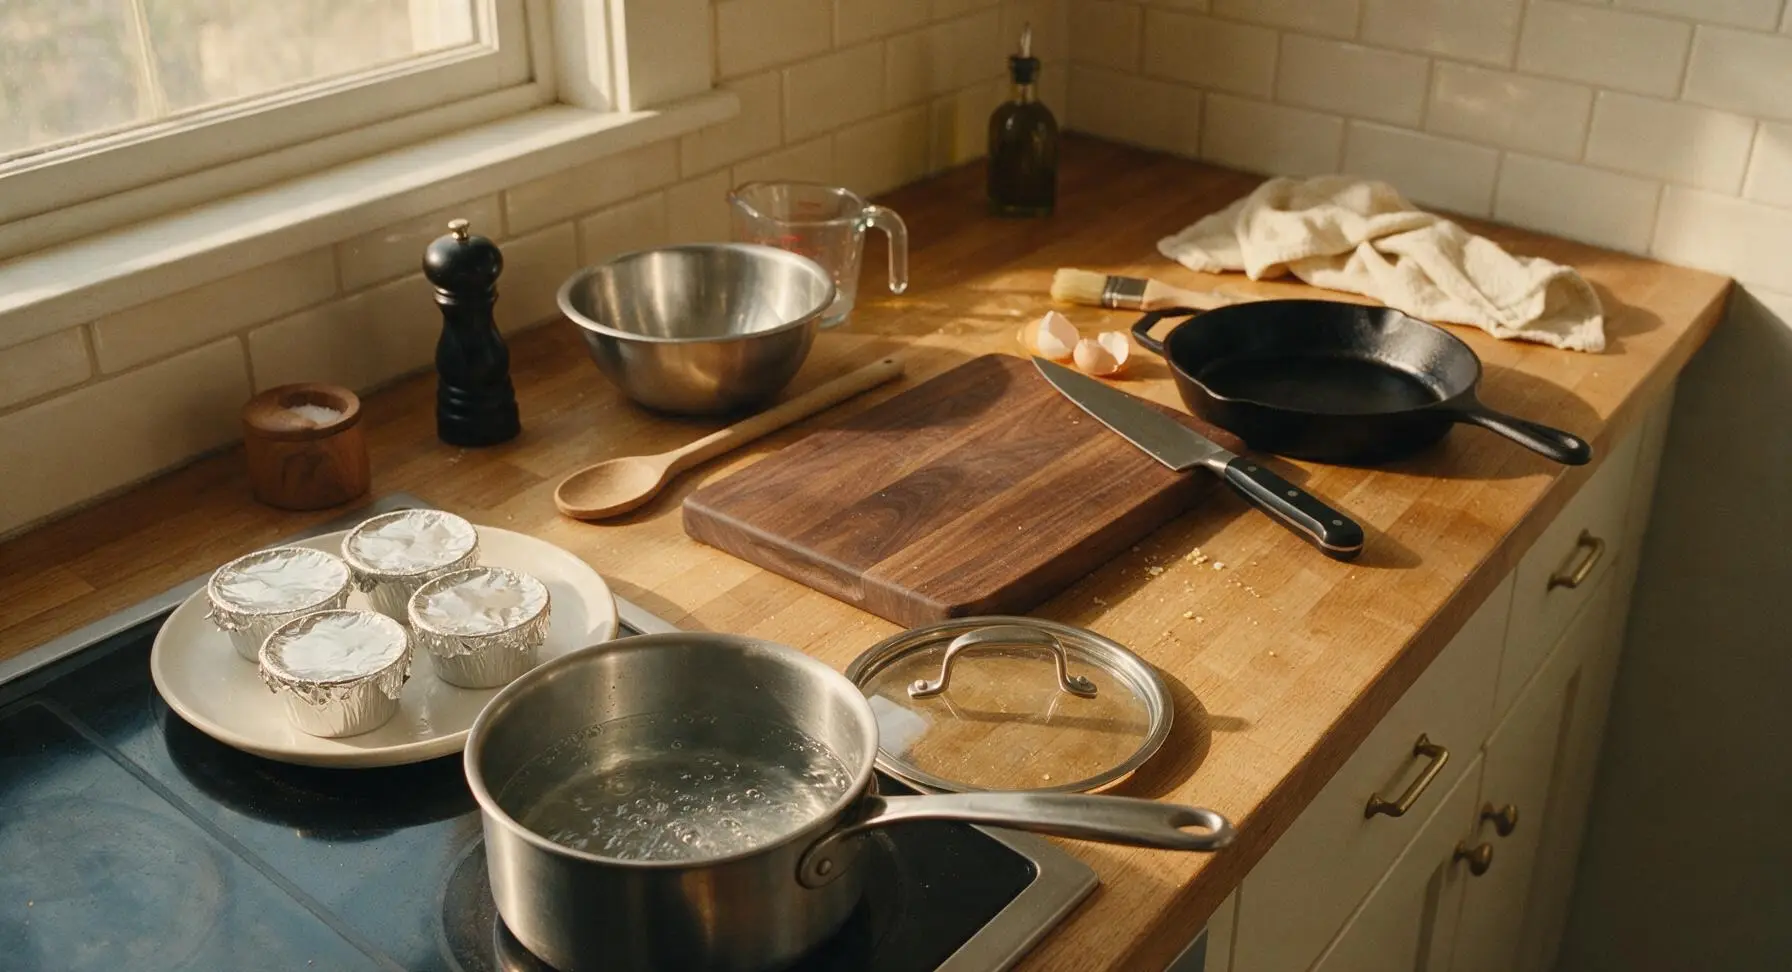
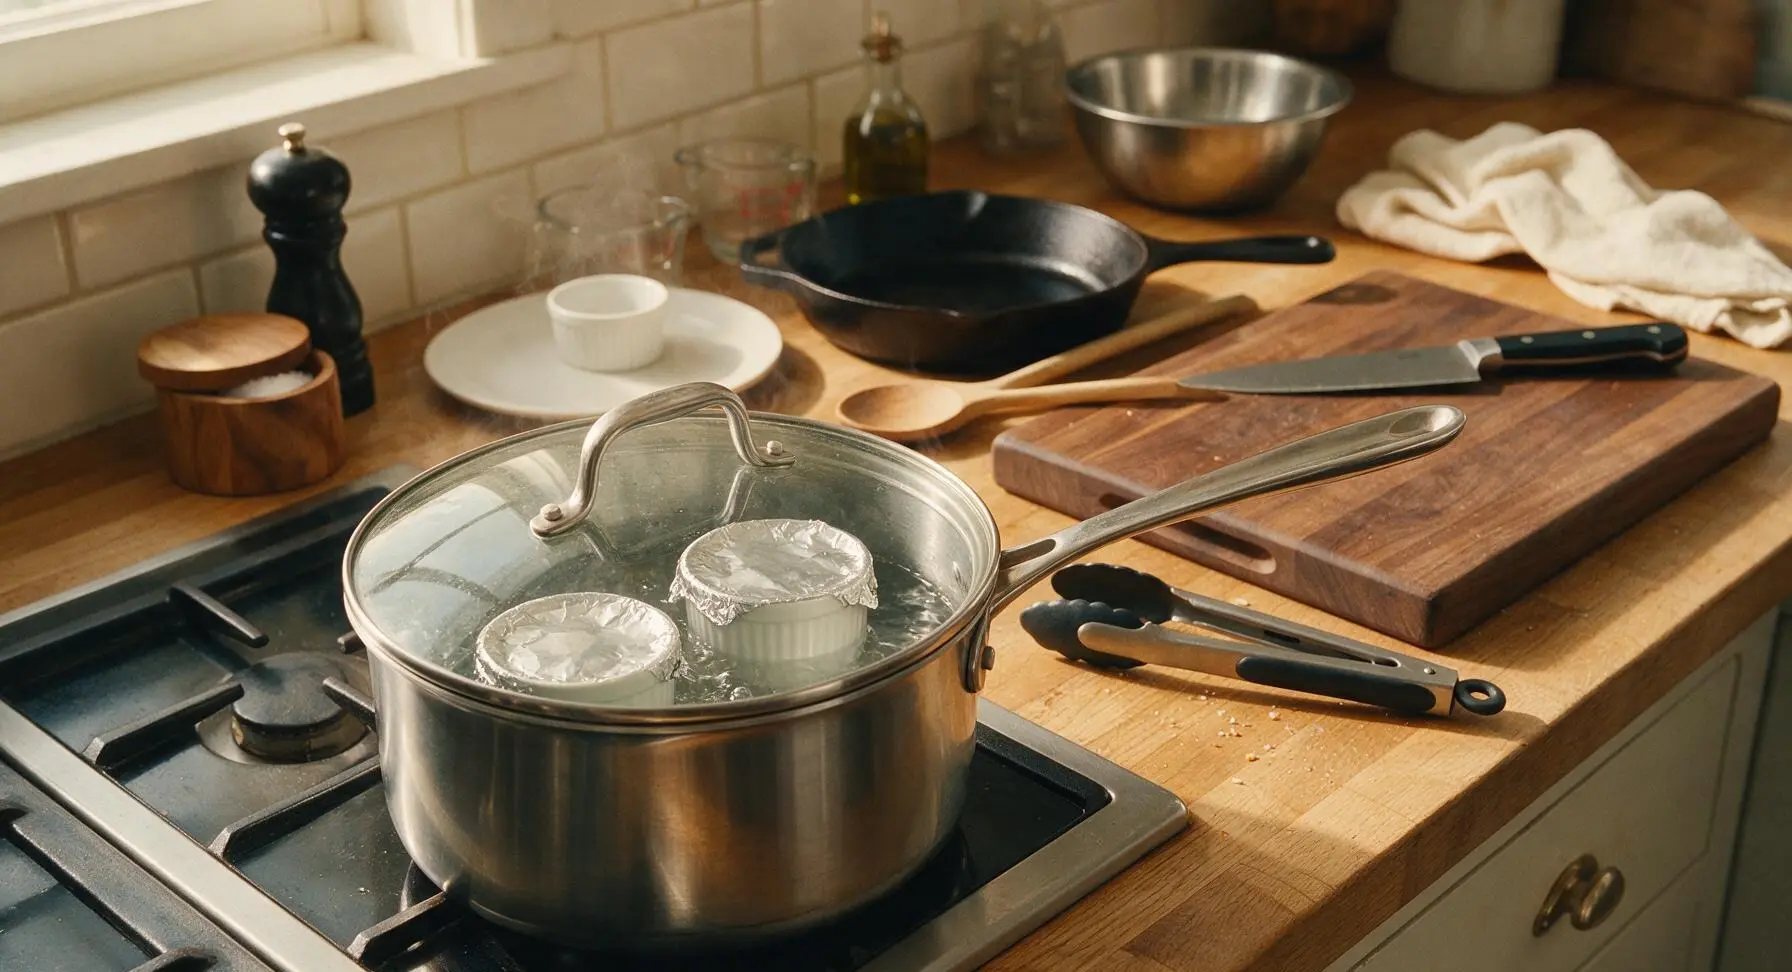
Place the 2-quart stainless steel saucepan on the stovetop, and add 5cm of cold tap water. Bring water to a gentle rolling boil over medium heat, then reduce heat to low to maintain a steady, soft simmer. Violent, rapid boils will jostle ramekins and overcook egg whites.
Coddle eggs gently
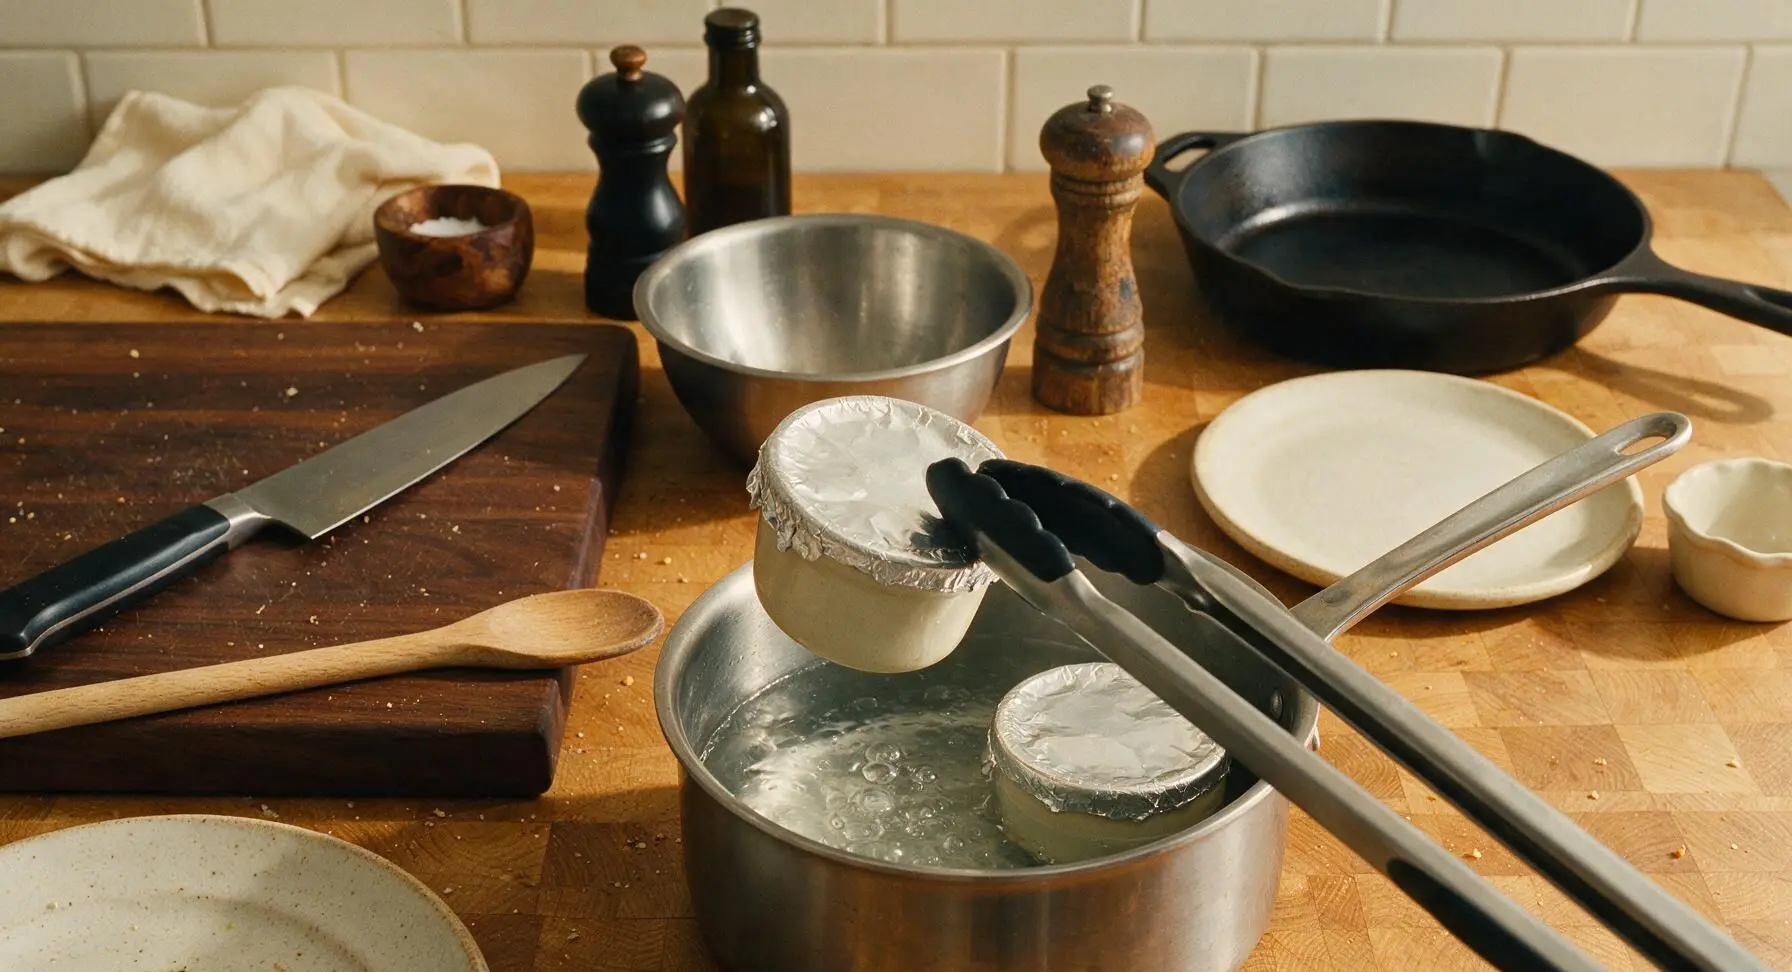
Use the silicone-tipped tongs to carefully lower the sealed foil-covered ramekins into the simmering water. The water should reach exactly halfway up the sides of the ramekins, not high enough to seep over the foil edges. Cover the saucepan with its glass lid, and set a timer for 7 minutes for runny yolks, or 9 minutes for fully firm yolks. Do not lift the lid while cooking.
Chop fresh chives
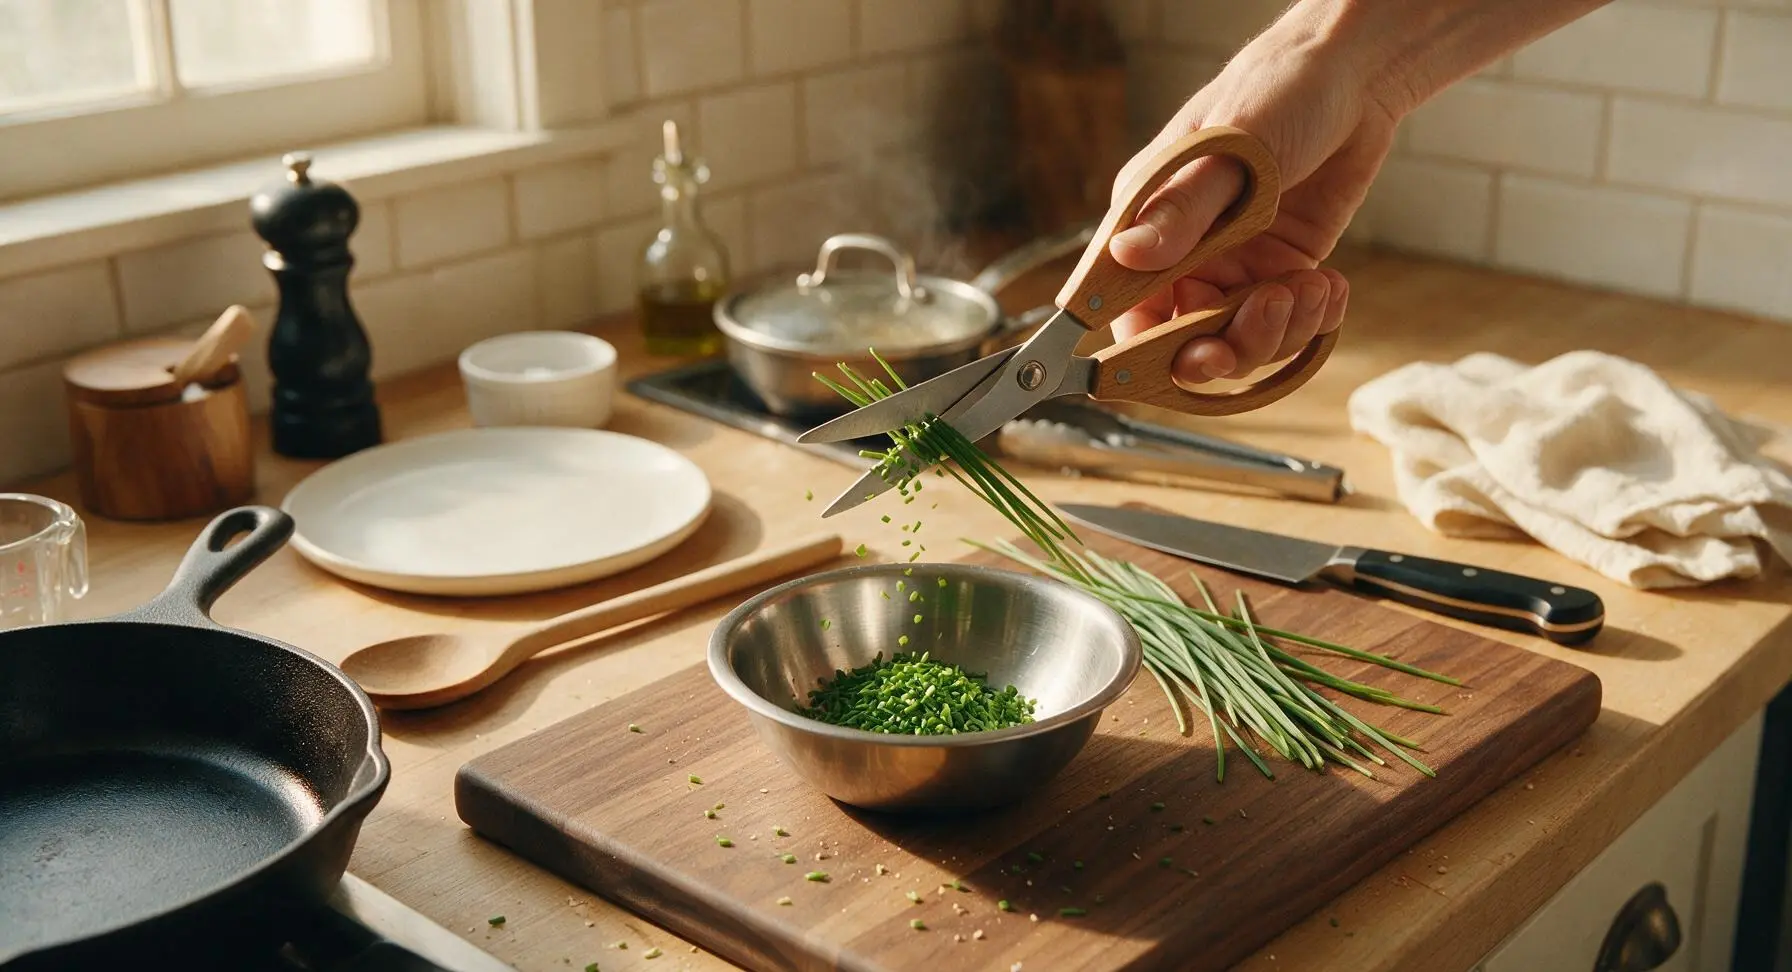
While the eggs coddle for 7 minutes, use the kitchen scissors to snip fresh chives into tiny 3mm pieces directly into the small stainless steel mixing bowl. Discard any tough, woody stem ends. Prepping garnish while eggs cook reduces total prep time and keeps chives bright and fresh for serving.
Season and serve
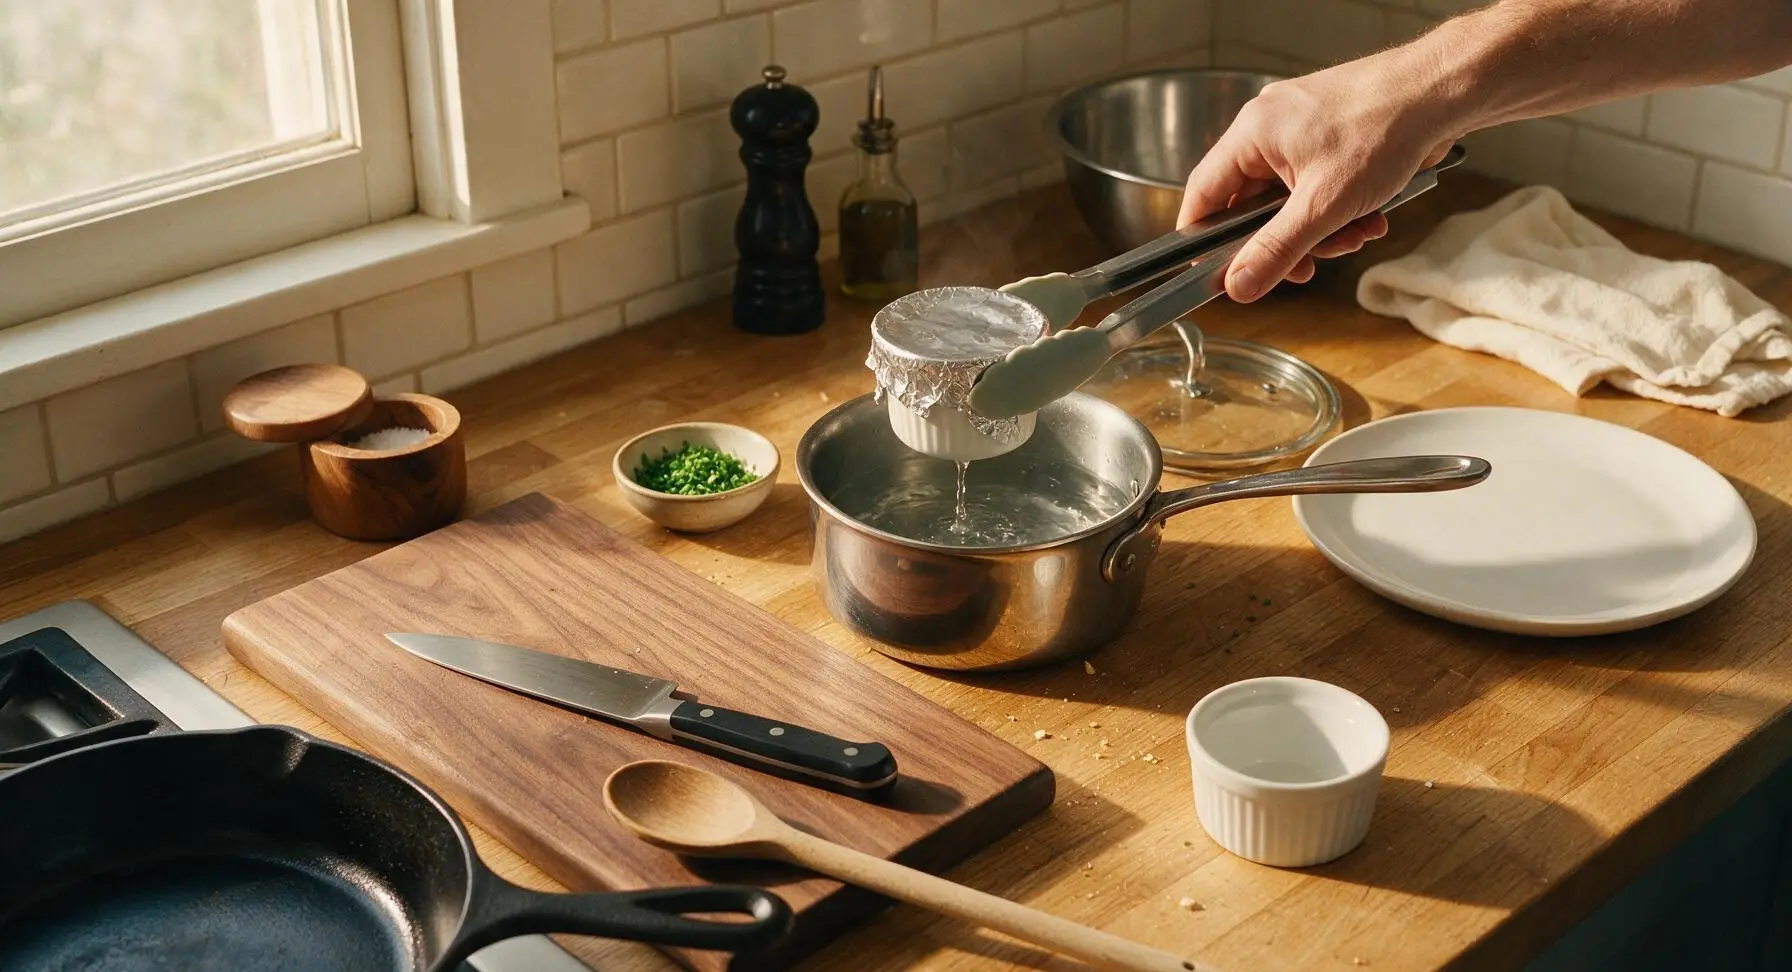
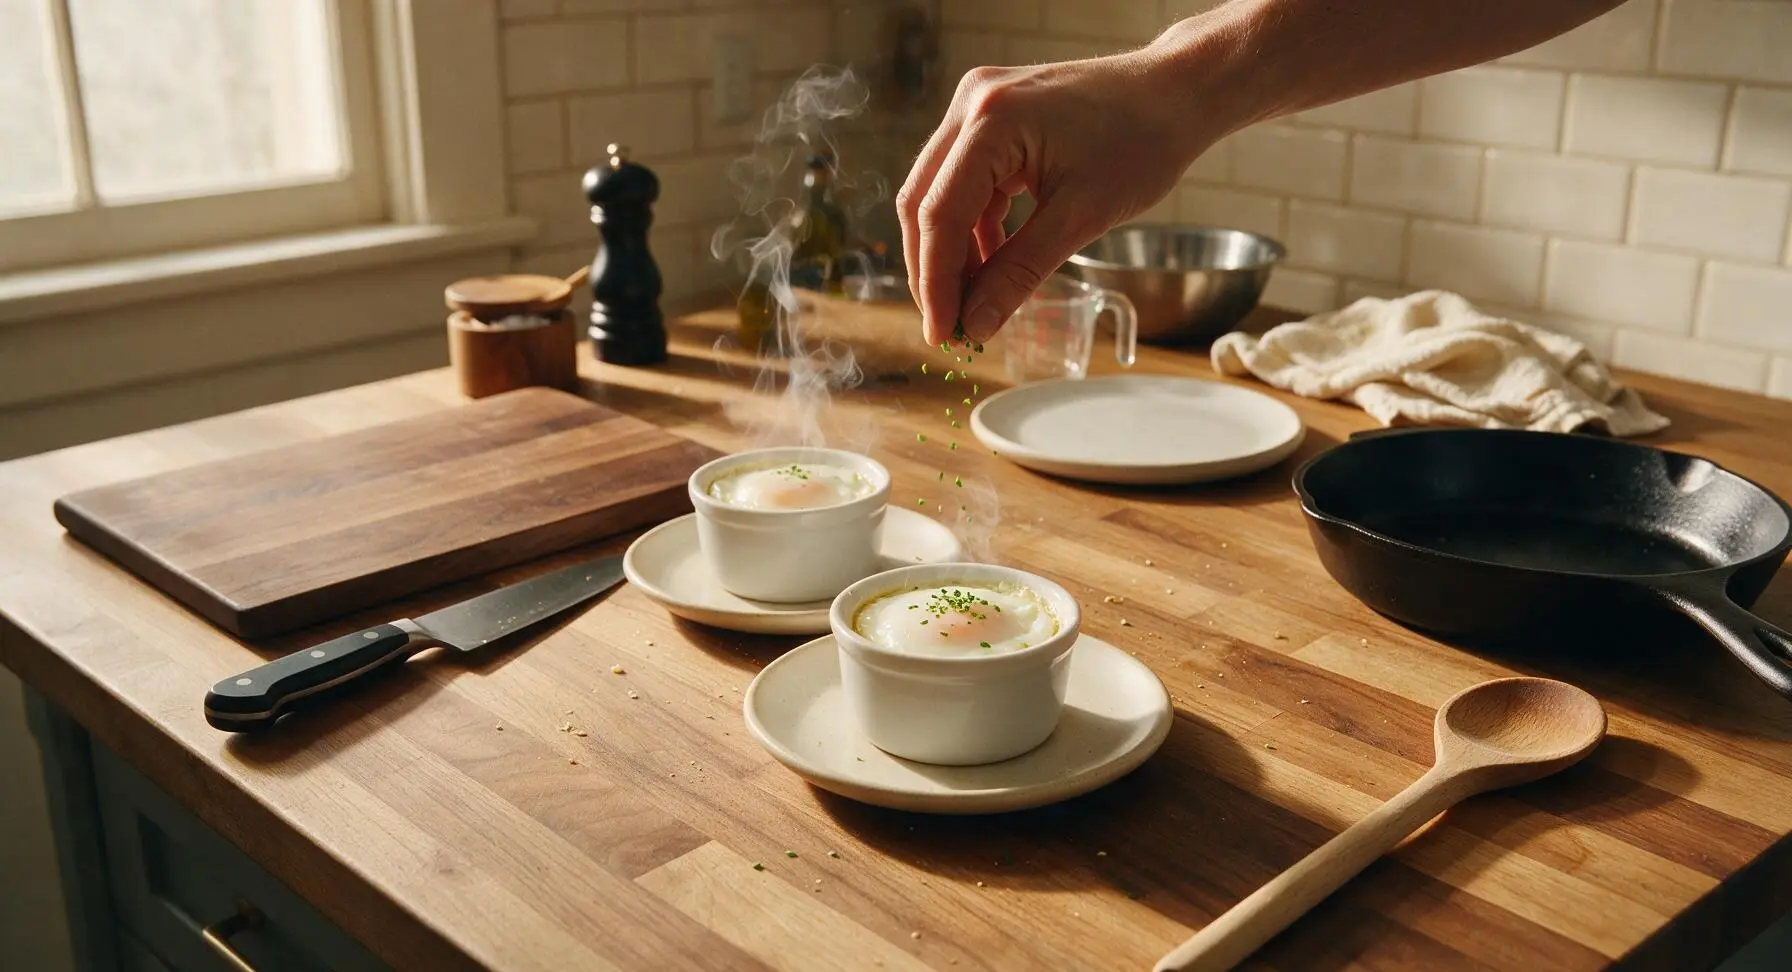
After the 7 minute coddling time, turn off the heat. Use the silicone-tipped tongs to carefully lift the hot ramekins out of the water bath, setting each on a 15cm matte cream ceramic side plate. Peel foil covers off carefully, tilting them away from your face to avoid burns from trapped hot steam. Confirm egg whites are fully opaque and just set, with soft yolks. Sprinkle each egg with freshly chopped chives, remaining flaky sea salt, and a light crack of black pepper. Serve immediately while hot.
Tips
2.For perfectly runny yolks, set a timer as soon as you put the lid on the pan, and avoid lifting the lid while cooking. Every time you lift the lid, trapped steam escapes, lowering the temperature inside the pan and adding 1-2 minutes to cook time, which can turn runny yolks unpleasantly firm.
3.If you don’t have traditional porcelain egg coddlers, standard 120ml ramekins work perfectly as long as you seal them tightly with foil. For easy flavor variations, add a thin slice of smoked salmon, a pinch of truffle salt, or a spoonful of squeezed sautéed spinach to the bottom of the ramekin before adding the eggs.






OMG these coddled eggs are SO good! I made them for a lazy Sunday brunch with my roommates and everyone asked for the recipe immediately. The texture is so much silkier than regular scrambled eggs, I’m never going back. Total game changer for weekend breakfasts!
10 minute cook time? Sign me up! I made these for my kids before school on Wednesday and they ate every single bite, no complaints about “slimy eggs” for once. Even my picky 7 year old asked for seconds. Will be adding this to our regular weekday rotation!
Really solid recipe! I overcooked mine a tiny bit the first try because my coddler is a little thicker than average, but the second batch turned out perfect. Next time I’m going to stir in a little hot sauce for a kick. Great easy breakfast for meal prep too!
I brought these to our neighborhood potluck brunch last weekend and people were hovering over the platter! I prepped them in individual little ramekins so people could grab and go, and they were gone in 10 minutes flat. Everyone kept saying how rich and creamy they were. 10/10!
Taste was great but I didn’t have an official egg coddler so I used a small mason jar and it leaked a little bit in the water bath? Messed up my pot a little, but the eggs that didn’t get water in them were super creamy. Any tips for people who don’t have the fancy coddler cups?
Took these to my girlfriend’s family brunch yesterday and her mom said they’re better than the ones she had on her trip to London last year. I added a tiny bit of truffle salt on top right before serving and *chef’s kiss*. Absolute home run, will be making these for every family gathering from now on!
Just made a big batch of these for my weekly meal prep! They reheat so well in the microwave for 30 seconds, I can grab one on my way out the door to work and have a hot, protein packed breakfast instead of stopping for fast food. Game changer for my busy schedule!
These are amazing! I swapped the heavy cream for oat milk because my son has a dairy allergy and they still came out super creamy, no weird texture at all. Only reason I’m not giving 5 stars is I wish the recipe noted how easy it is to swap in non-dairy options for people with allergies!
I’ve been making coddled eggs for my family for over 50 years and this recipe is exactly how my mother taught me to make them! The slow cook in the water bath makes all the difference for that creamy, velvety texture. So happy to see this classic recipe getting the love it deserves!
Just whipped these up after my morning workout and they’re chef’s kiss. I added a little diced turkey sausage and a handful of spinach to mine for extra protein and veggies, and it was the perfect post-gym meal. So quick to throw together, no fancy skills needed!
First time ever making coddled eggs and they turned out pretty good! I will say I wish the recipe specified what heat level to keep the water at while they cook—mine was boiling too hard at first and I thought they were going to be rubbery, but I turned it down to a gentle simmer and they worked out. Super easy once I got the hang of it!
Made these for our monthly brunch club meetup and everyone was raving! We set up a little toppings bar with chives, bacon bits, hot sauce, shredded cheese, and truffle oil so people could customize their own, and it was such a hit. 10 minutes of cook time meant I didn’t have to stress about being stuck in the kitchen while my guests were over.
Made these on my camp stove last weekend when we were out at the campground and they worked like a charm! I just used my small metal camping cups covered with foil, set them in a pot of simmering water over the campfire grate, and they were perfectly creamy in 10 minutes. Way better than the usual sad camp scrambled eggs!
Why did I sleep on coddled eggs for so long??? These are so much creamier than poached eggs and way harder to mess up. I served mine over buttered sourdough toast with a side of roasted asparagus and it felt like a fancy restaurant breakfast but took zero effort. SO good!
Added a dash of cayenne and a sprinkle of cotija cheese to mine and it was *chef’s kiss*. The creamy base is perfect for loading up with whatever seasonings or toppings you have on hand, no fancy ingredients required. Already made this twice this week!