
Creamy Scrambled Eggs

title 1
Creamy Scrambled Eggs
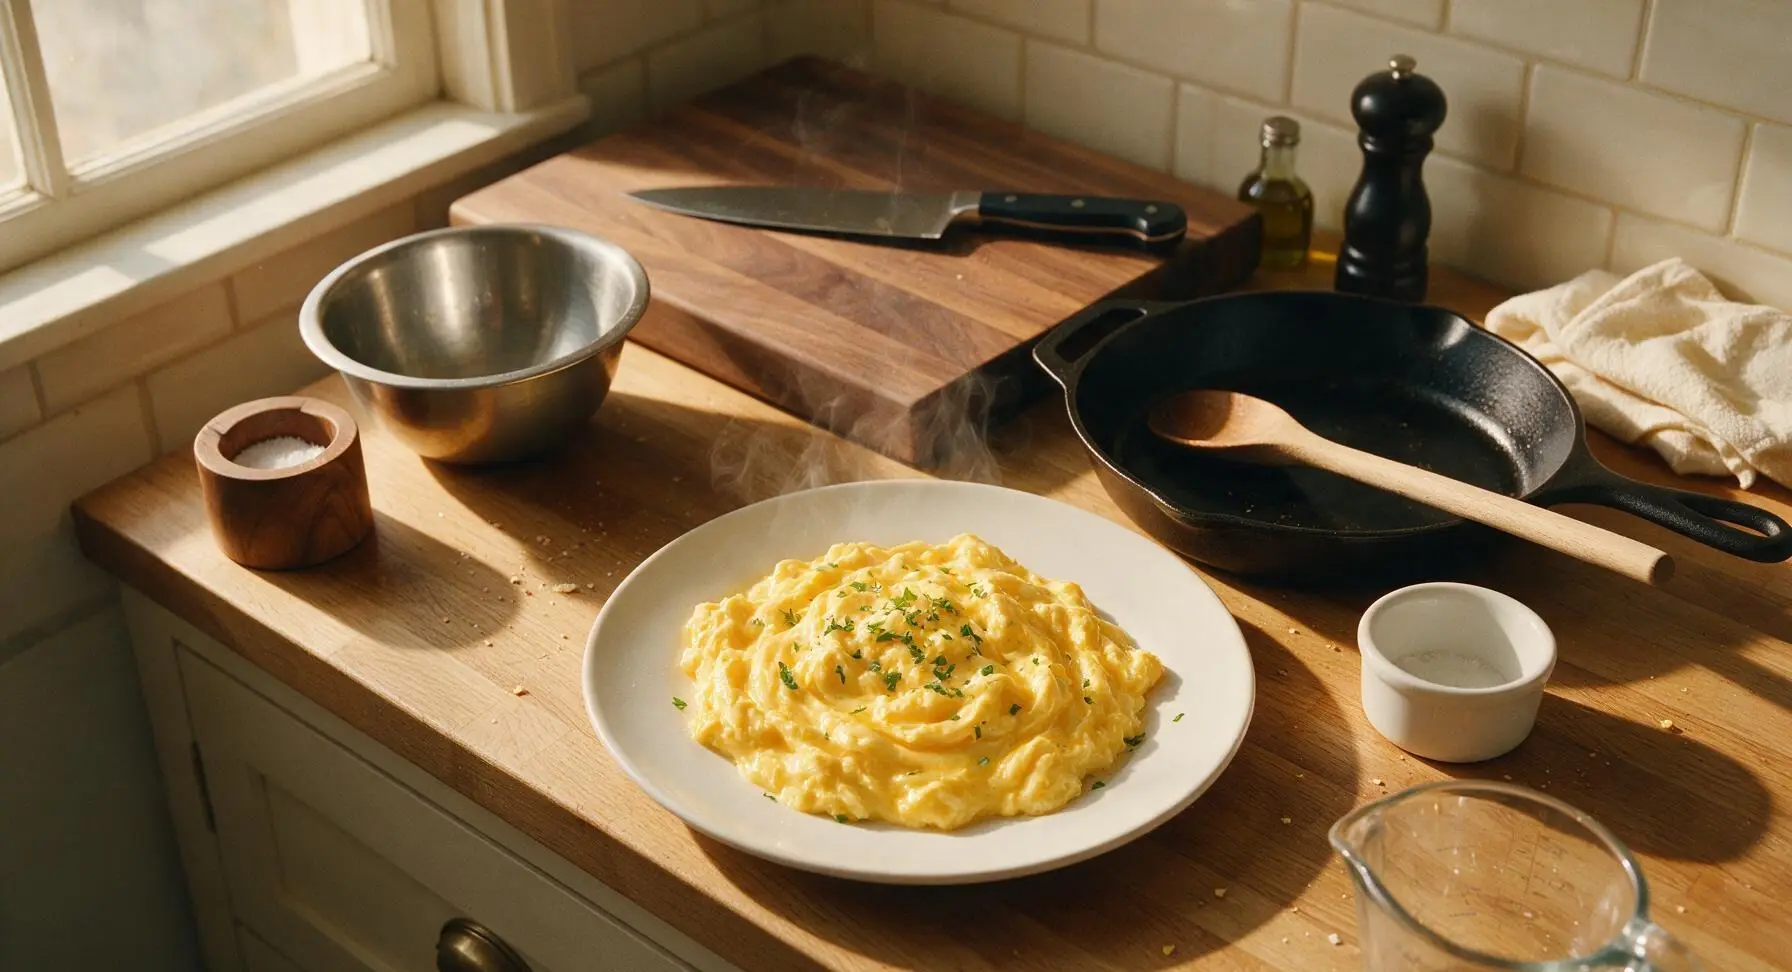
⏱️ cook time 5 minutes
🍽️ servings 2
⚡ Difficulty easy

intro

Silky, custardy creamy scrambled eggs cooked low and slow for melt-in-your-mouth texture, no rubbery bits, just rich, simple luxury ready in 10 minutes with minimal cleanup.

Ingredients
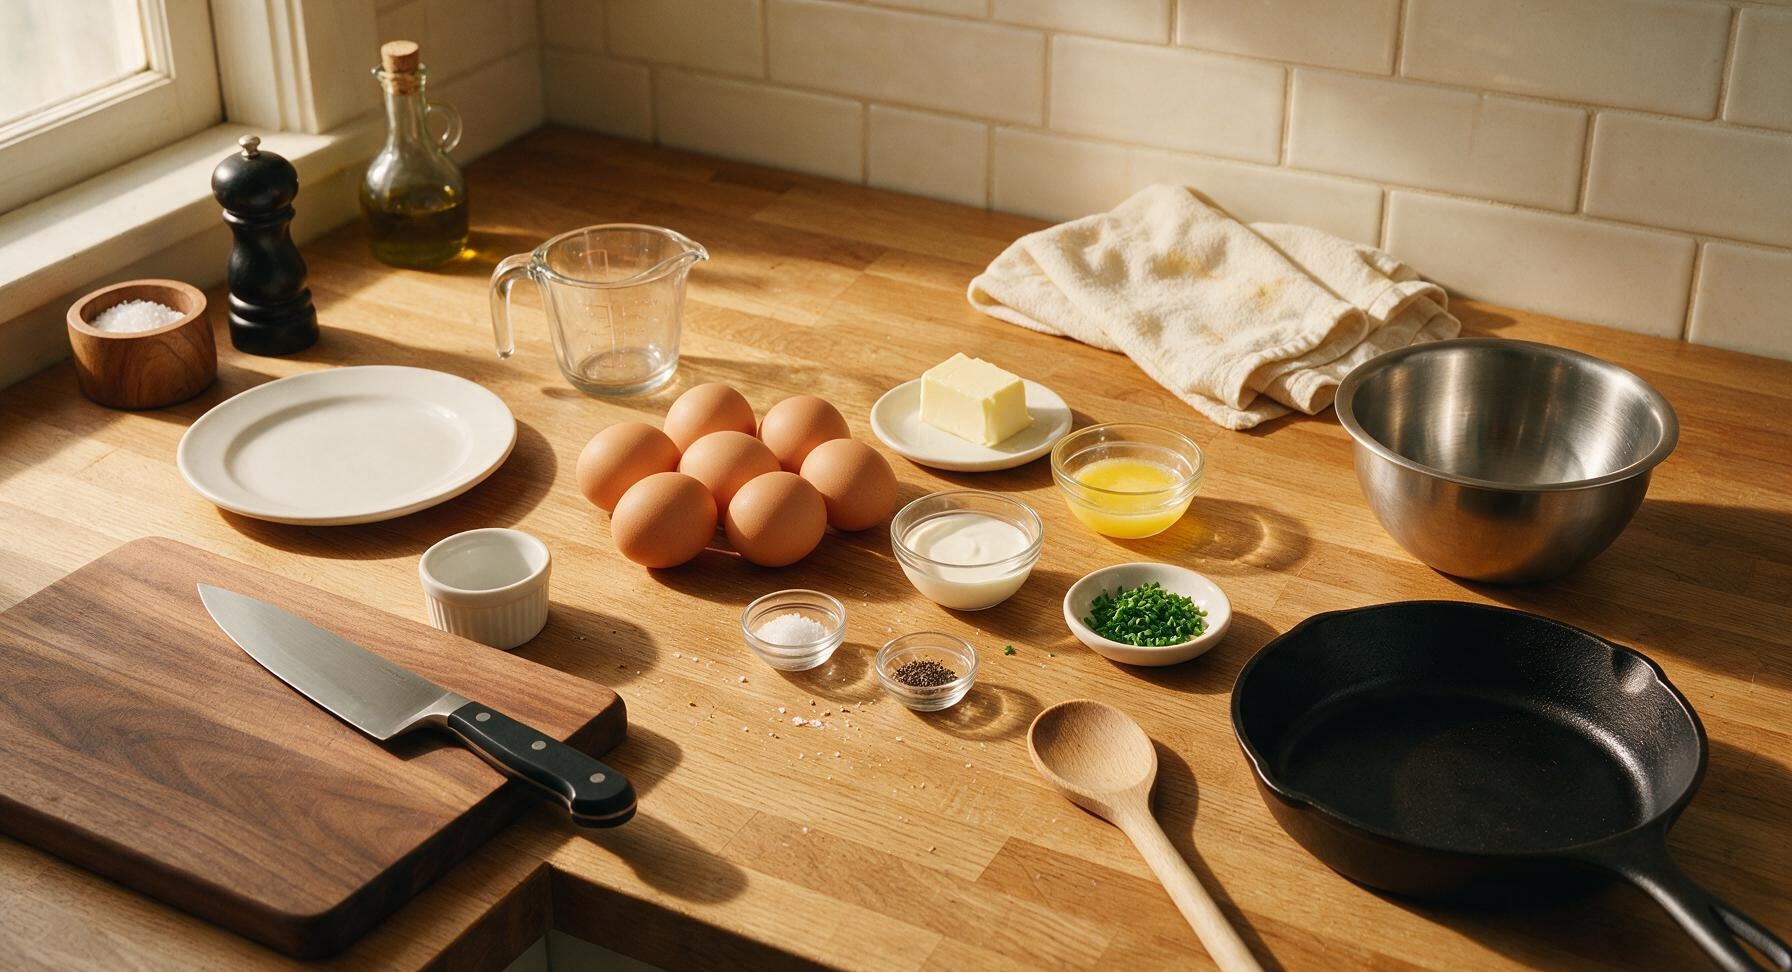
Large grade A eggs 6
Unsalted butter 2 tbsp
Heavy whipping cream 2 tbsp
Fine sea salt 1/4 tsp
Freshly ground black pepper 1/8 tsp
Fresh chives 1 tbsp (chopped)

Steps

1

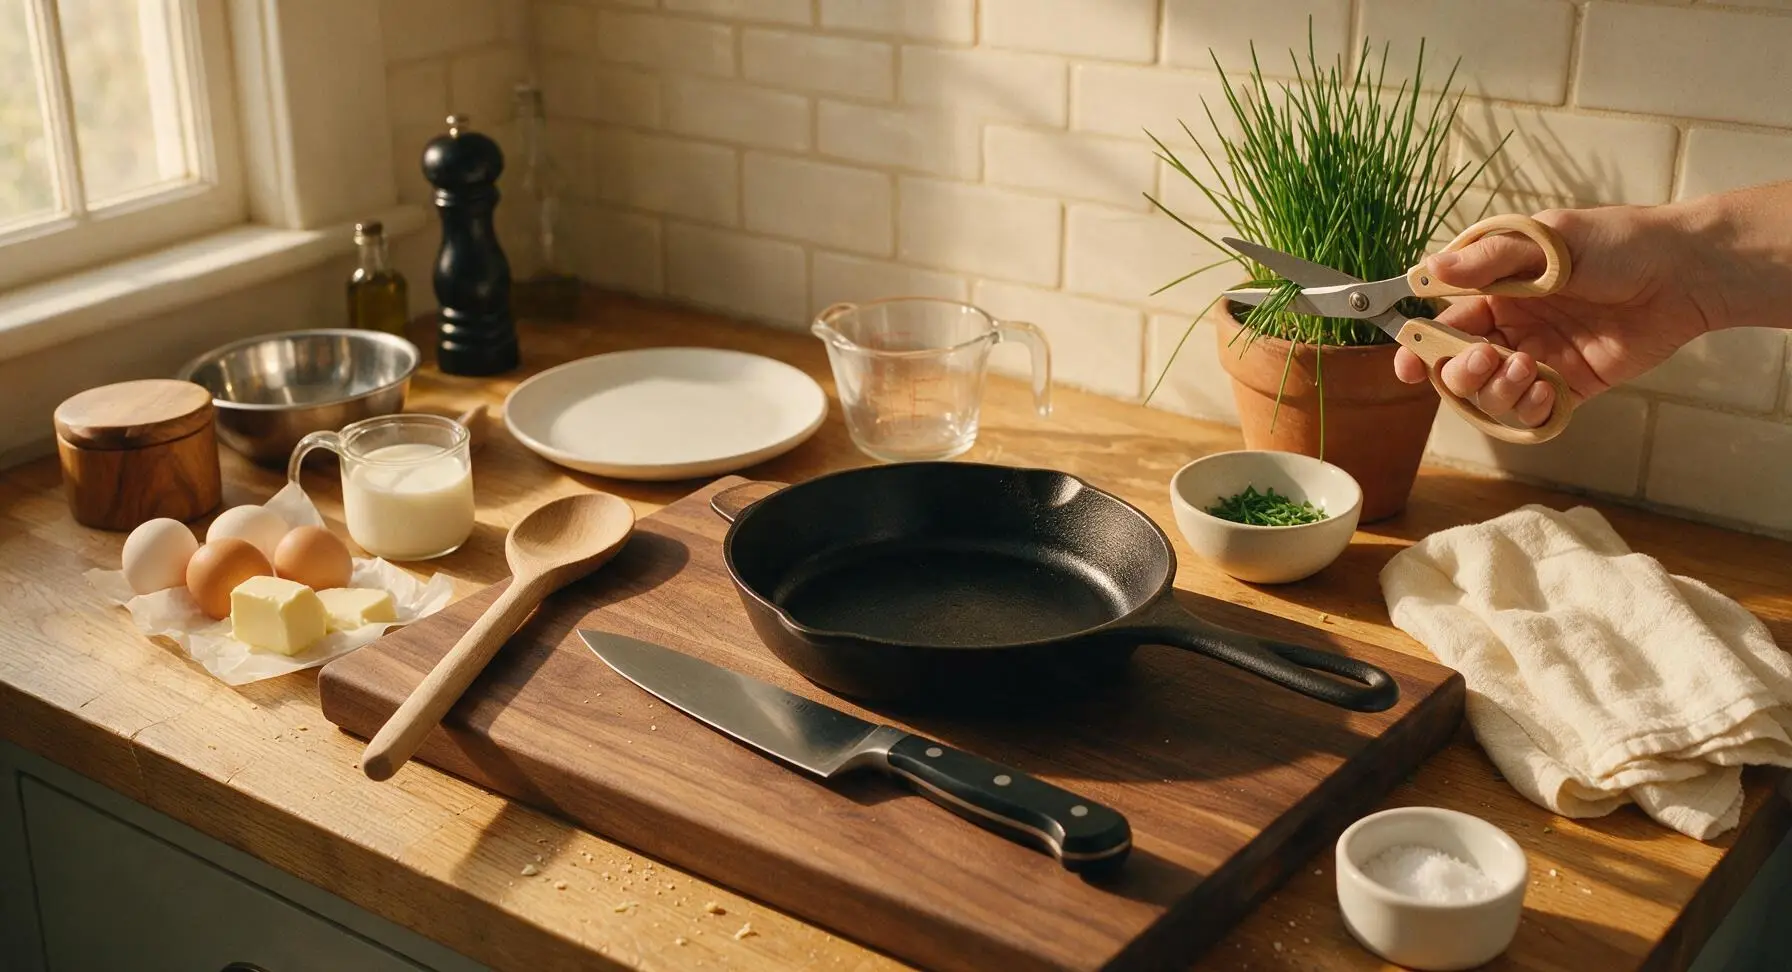
Snip Fresh Chives

Use the stainless steel kitchen scissors with pale beech wood handles to snip 1 tbsp of tender, bright green chive leaves from the live plant in the terracotta pot, cutting them into 5mm (1/4 inch) pieces directly into one of the matte white pinch bowls. Set the bowl of cut chives aside on the counter. Avoid cutting tough, woody chive stems near the soil line, as these will be fibrous and unpleasant in the final dish.
Step 1
step1:Snip Fresh Chives
2

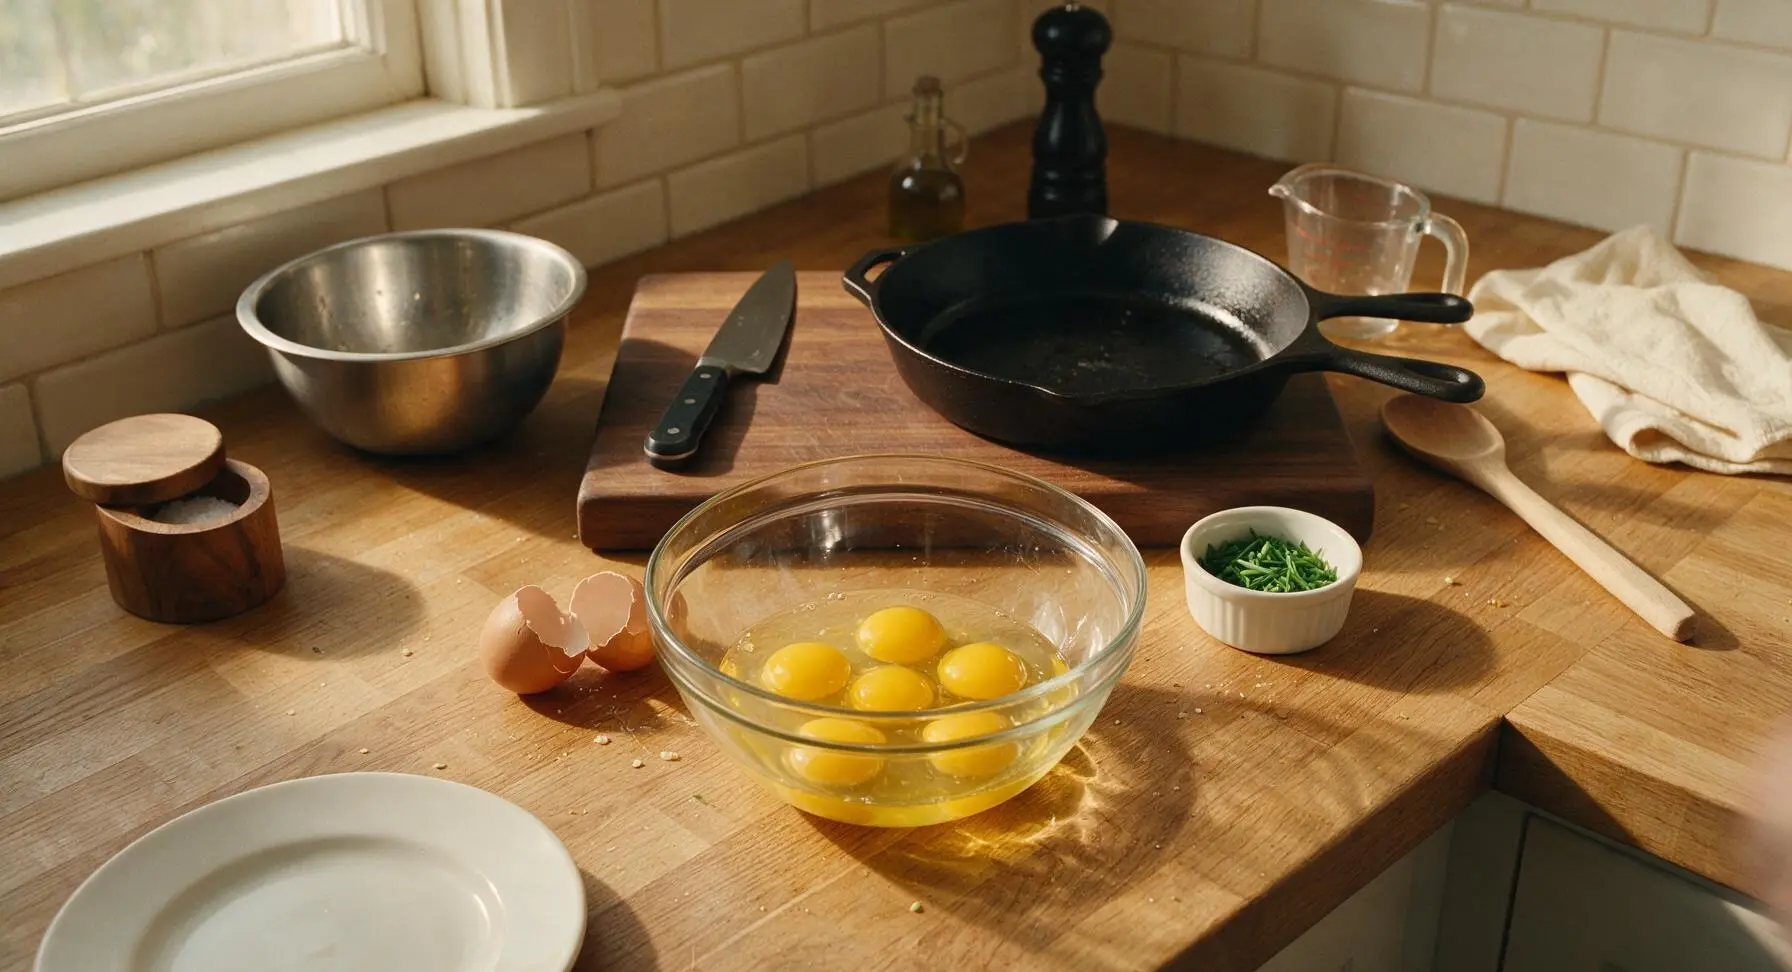
Crack Eggs Into Bowl

Set the medium borosilicate glass mixing bowl in the center of the work counter. Gently crack 6 large cold eggs against the bowl’s edge, dropping yolks and whites fully into the bowl. Fish out any tiny shell fragments with a half-piece of empty eggshell to avoid crunch or waste, as eggshell sticks to other eggshell far more easily than it sticks to utensils or fingers.
Step 2
step2:Crack Eggs Into Bowl
3

Whisk Egg Base

Add 2 tbsp heavy cream from the glass creamer and 1/4 tsp fine sea salt from the second pinch bowl to the eggs. Use the matte brushed stainless steel whisk to stir the mixture slowly for 20-30 seconds, just until yolks and whites are fully combined into a uniform pale golden liquid, with no streaks of clear white remaining. Do not over-whisk to create large bubbles, as trapped air leads to dry, fluffy rather than creamy curds.
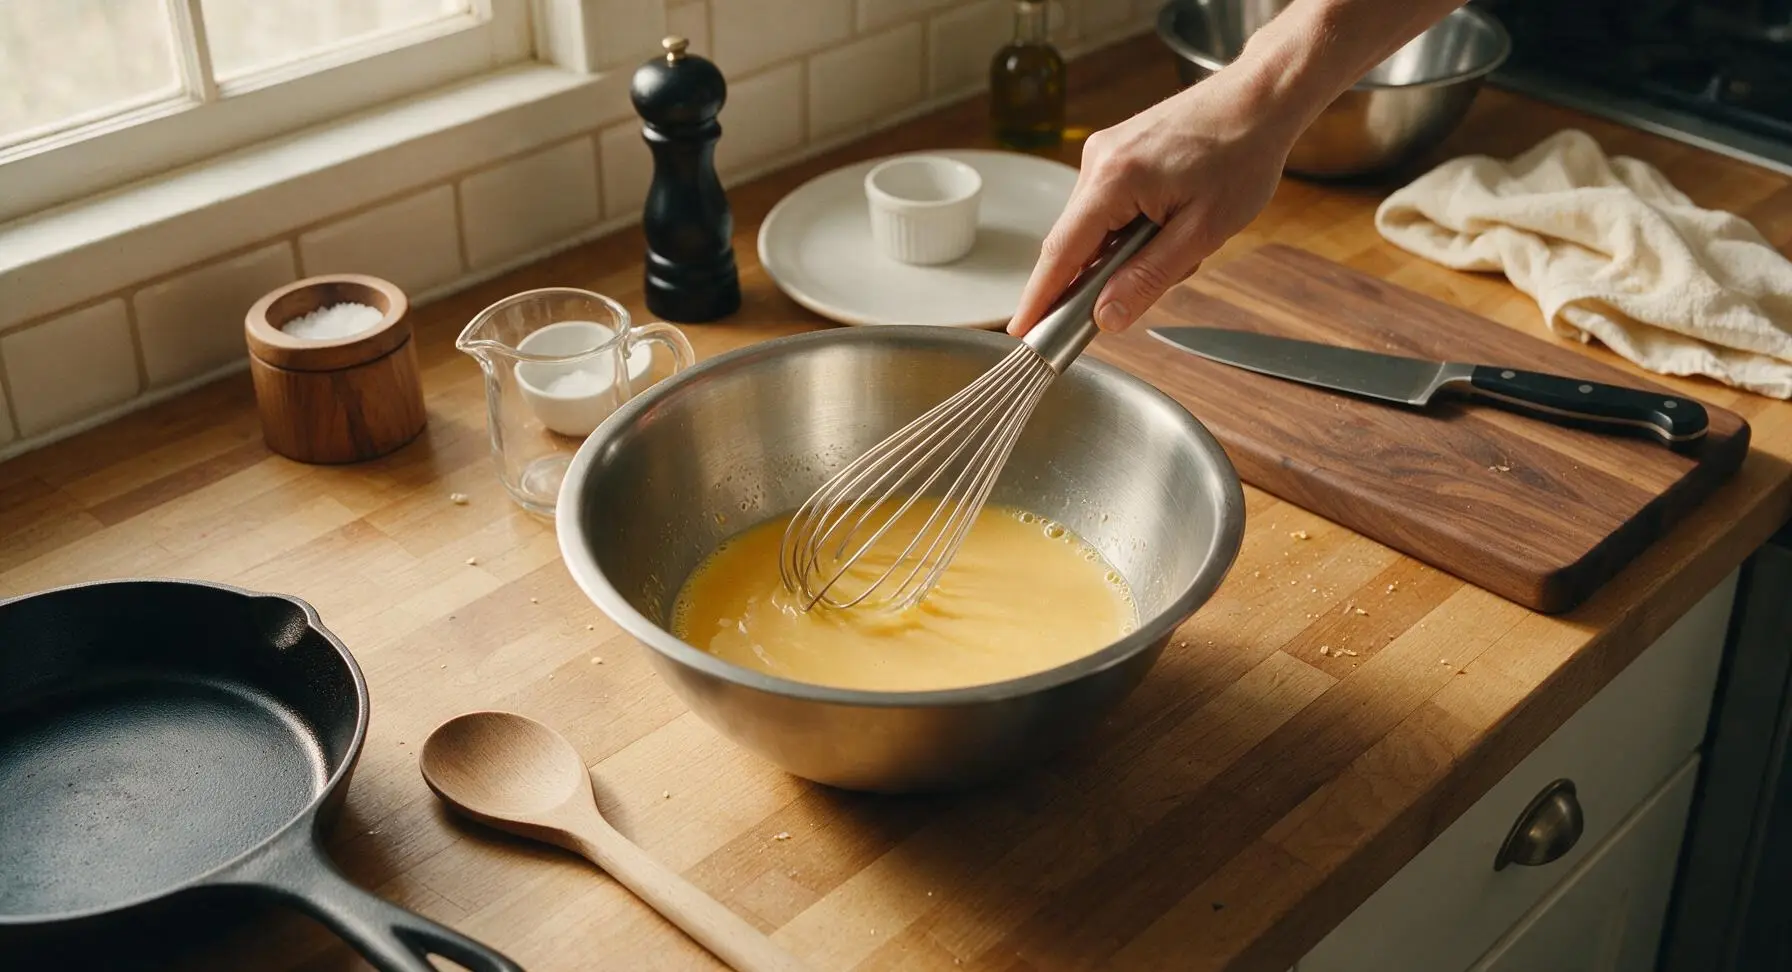
Step 3
step3:Whisk Egg Base
4

Preheat Pan Gently

Place the 20cm matte charcoal non-stick skillet on the flush induction cooktop, set to the lowest heat setting (120°C / 250°F). Add 2 tbsp unsalted butter to the cold pan, letting it melt slowly until it forms a pale, gentle foam with no sizzling or browning. If butter turns golden immediately, remove the pan from heat for 30 seconds to cool—overheated butter will cook eggs too fast on contact, leading to tough curds.
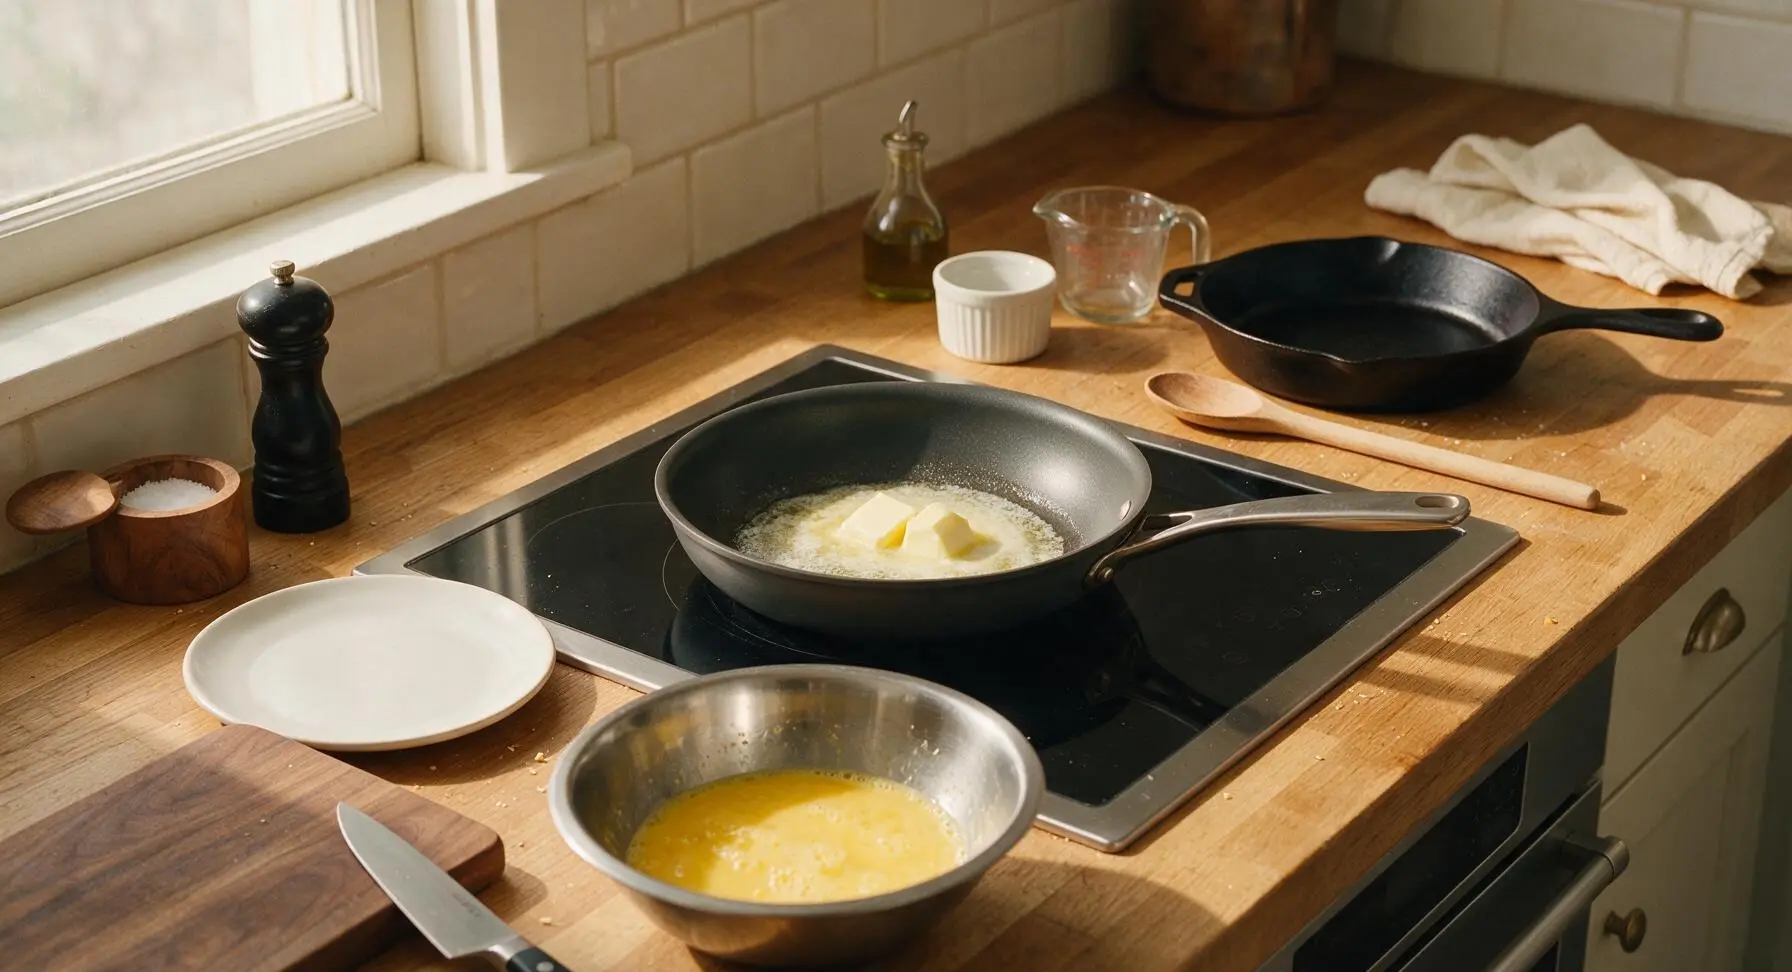
Step 4
step4:Preheat Pan Gently
5

Pour Eggs Into Pan

Once butter is fully melted and foam has subsided slightly, pour the entire whisked egg mixture into the pan in one smooth, steady pour. Let the eggs rest undisturbed for 15 seconds, allowing the thin layer touching the pan to set into soft, delicate curds without seizing. Faint pale yellow set edges will form around the pan perimeter, with loose liquid egg filling the center.
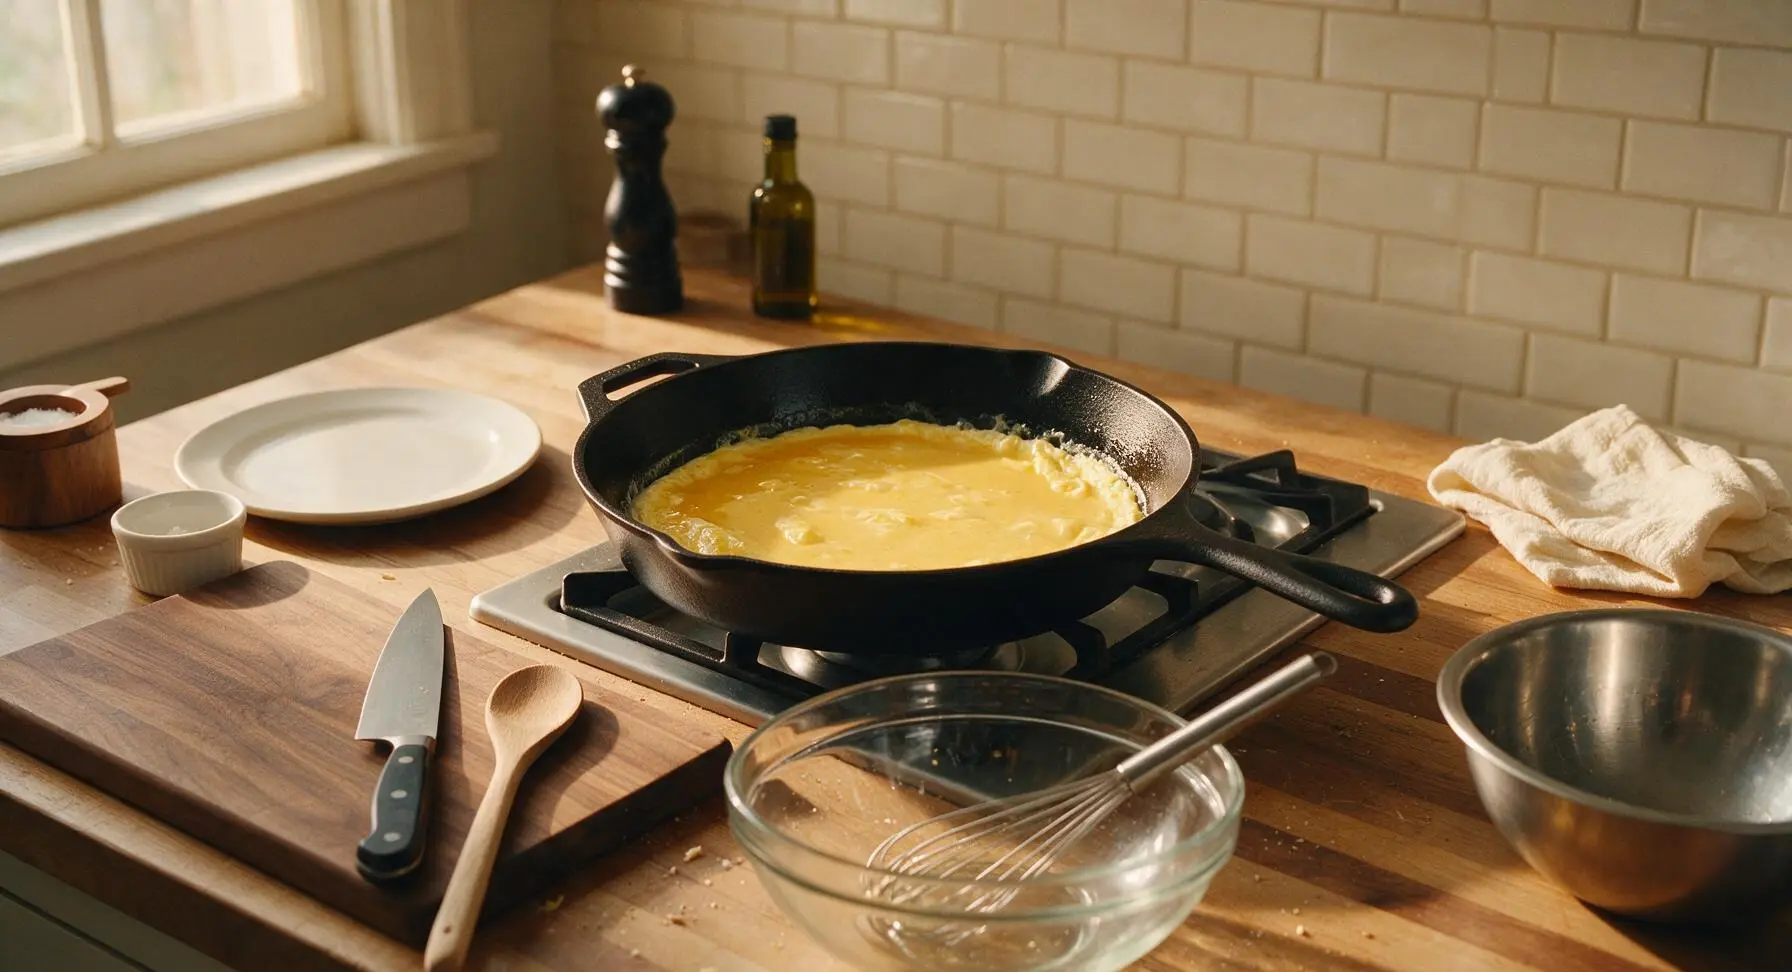
Step 5
step5:Pour Eggs Into Pan
6

Fold Curds Slowly

Use the pale cream silicone spatula to gently push set curds from the pan edges toward the center, tilting the pan slightly to let uncooked liquid egg flow into the empty spaces. Repeat this slow push-and-tilt motion every 10-15 seconds for 3-4 minutes total, never scraping aggressively or stirring constantly. Curds will form into large, soft, pillowy clumps with no browned crispy edges. When eggs are 80% set (still slightly runny between curds, no large liquid pools), remove the pan from heat immediately—residual pan heat will finish cooking the eggs to perfect creaminess.
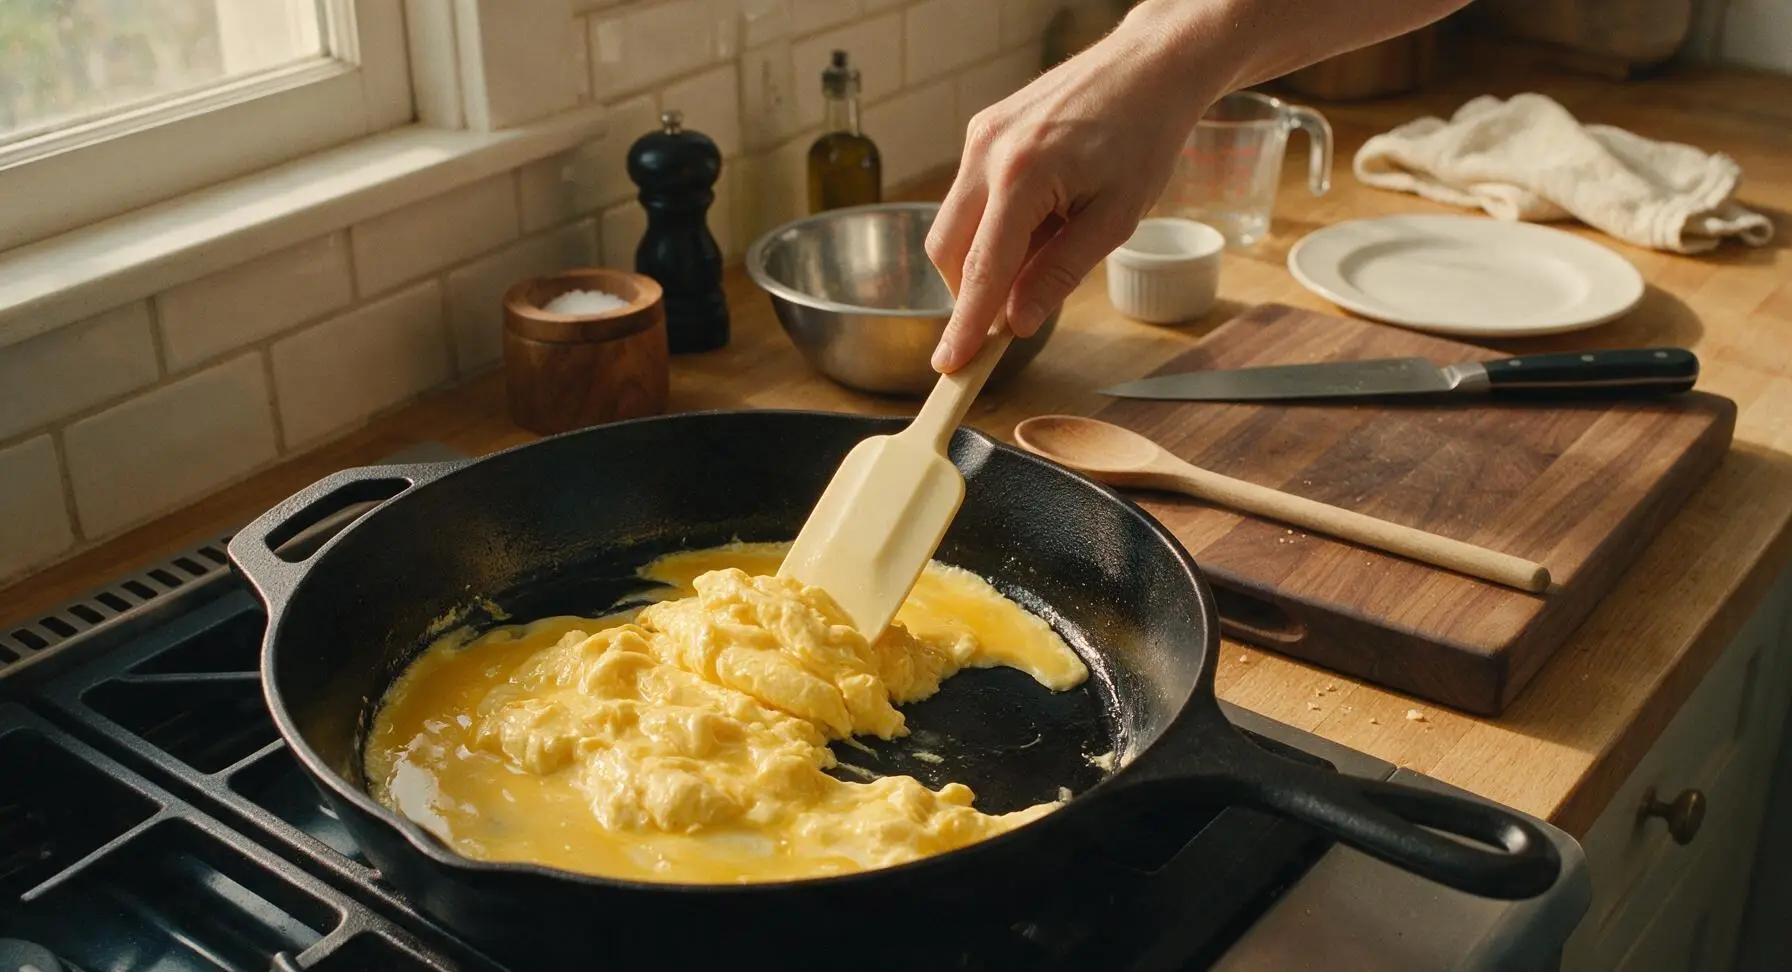
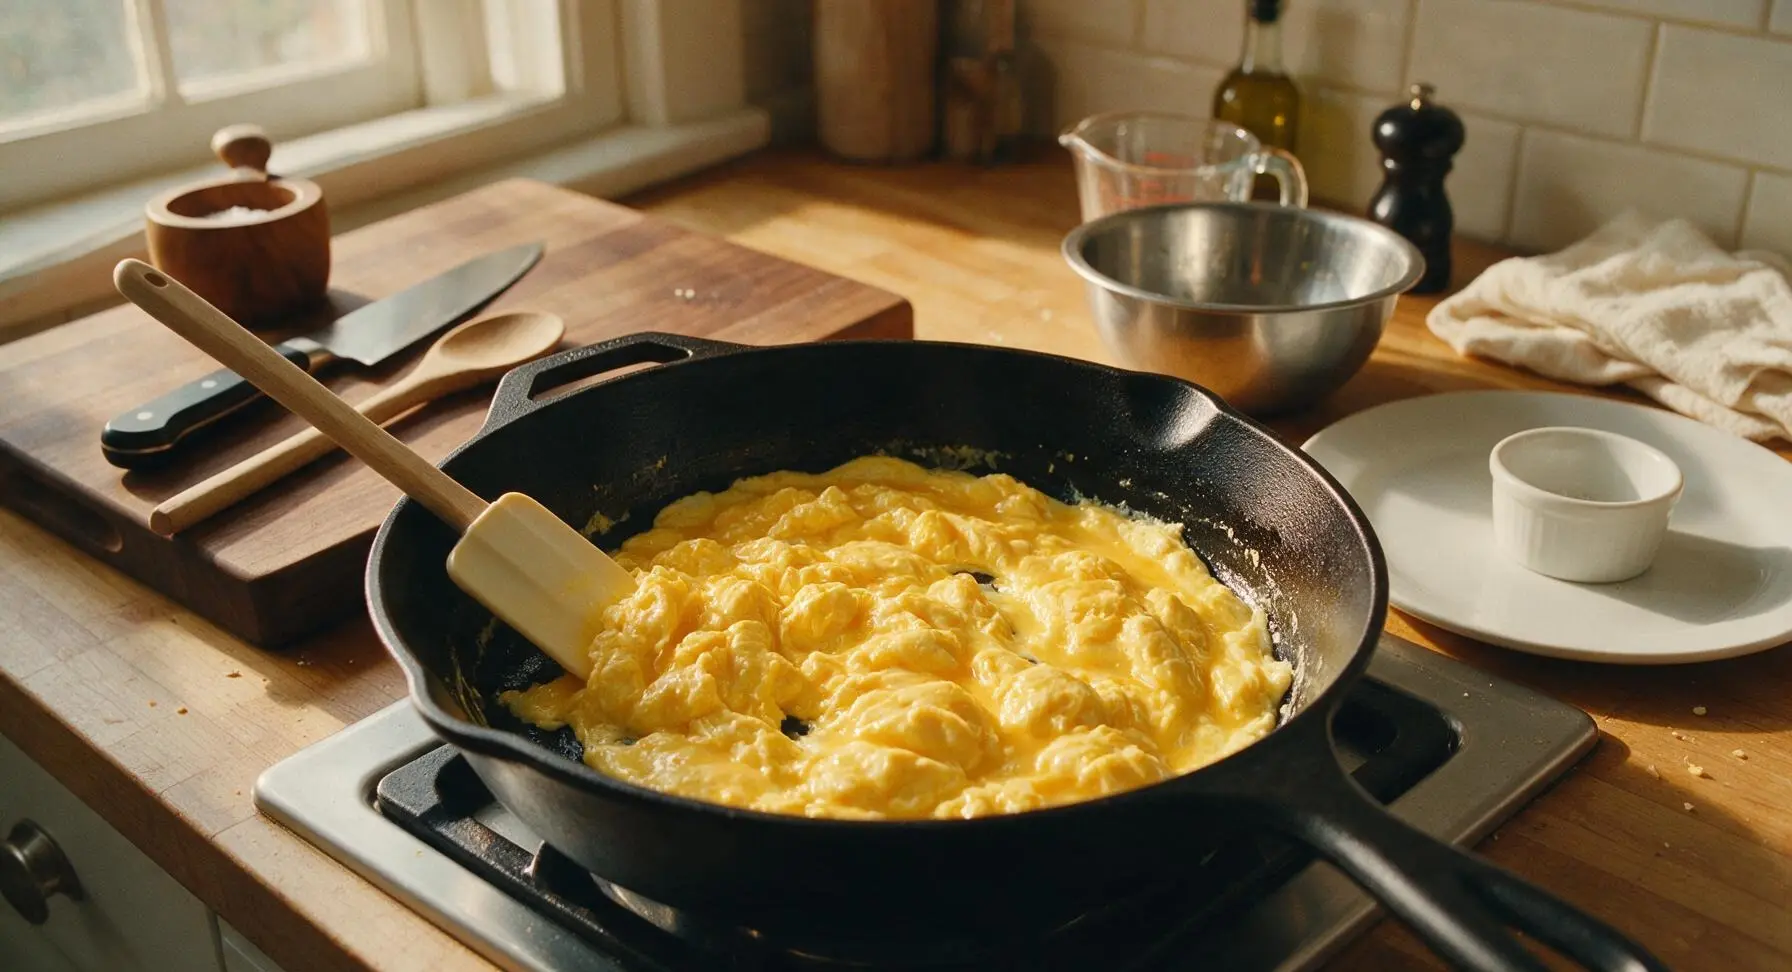
Step 6
step6:Fold Curds Slowly
Step 6
step6:Fold Curds Slowly
7

Rest Off Heat

Set the pan on the cool quartz countertop beside the cooktop, and let the eggs rest for 30 seconds, giving one final gentle fold with the spatula to incorporate remaining liquid egg into the curds. This carryover cooking creates the signature custardy texture without overcooking. Wait to add pepper until plating, as early pepper addition can leave bitter dark specks on soft curds.
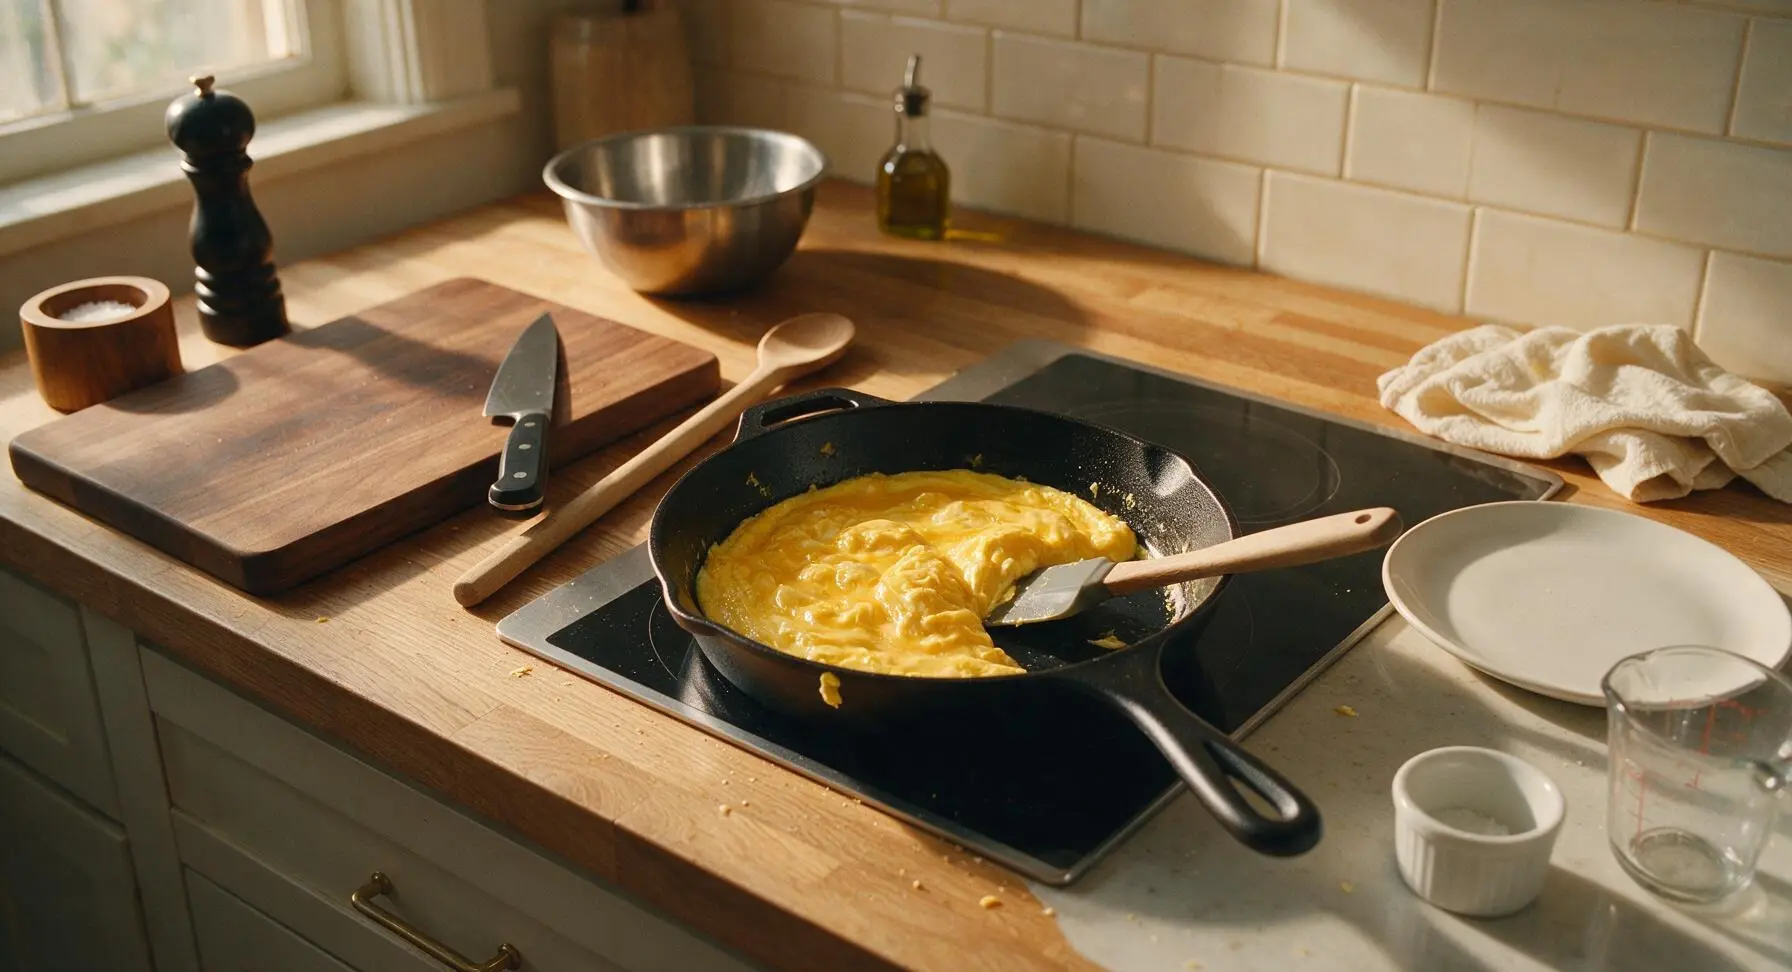
Step 7
step7:Rest Off Heat
8

Plate and Garnish

Gently slide the eggs from the pan onto the center of the matte cream ceramic breakfast plate, piling them in a loose, soft mound rather than pressing them flat. Grind 1/8 tsp fresh black pepper over the top, sprinkle the reserved snipped chives evenly across the curds, and add a single pinch of flaky sea salt from the acacia salt cellar if desired. Do not smooth the top of the eggs—their uneven, soft curd texture is part of the dish’s simple luxury.
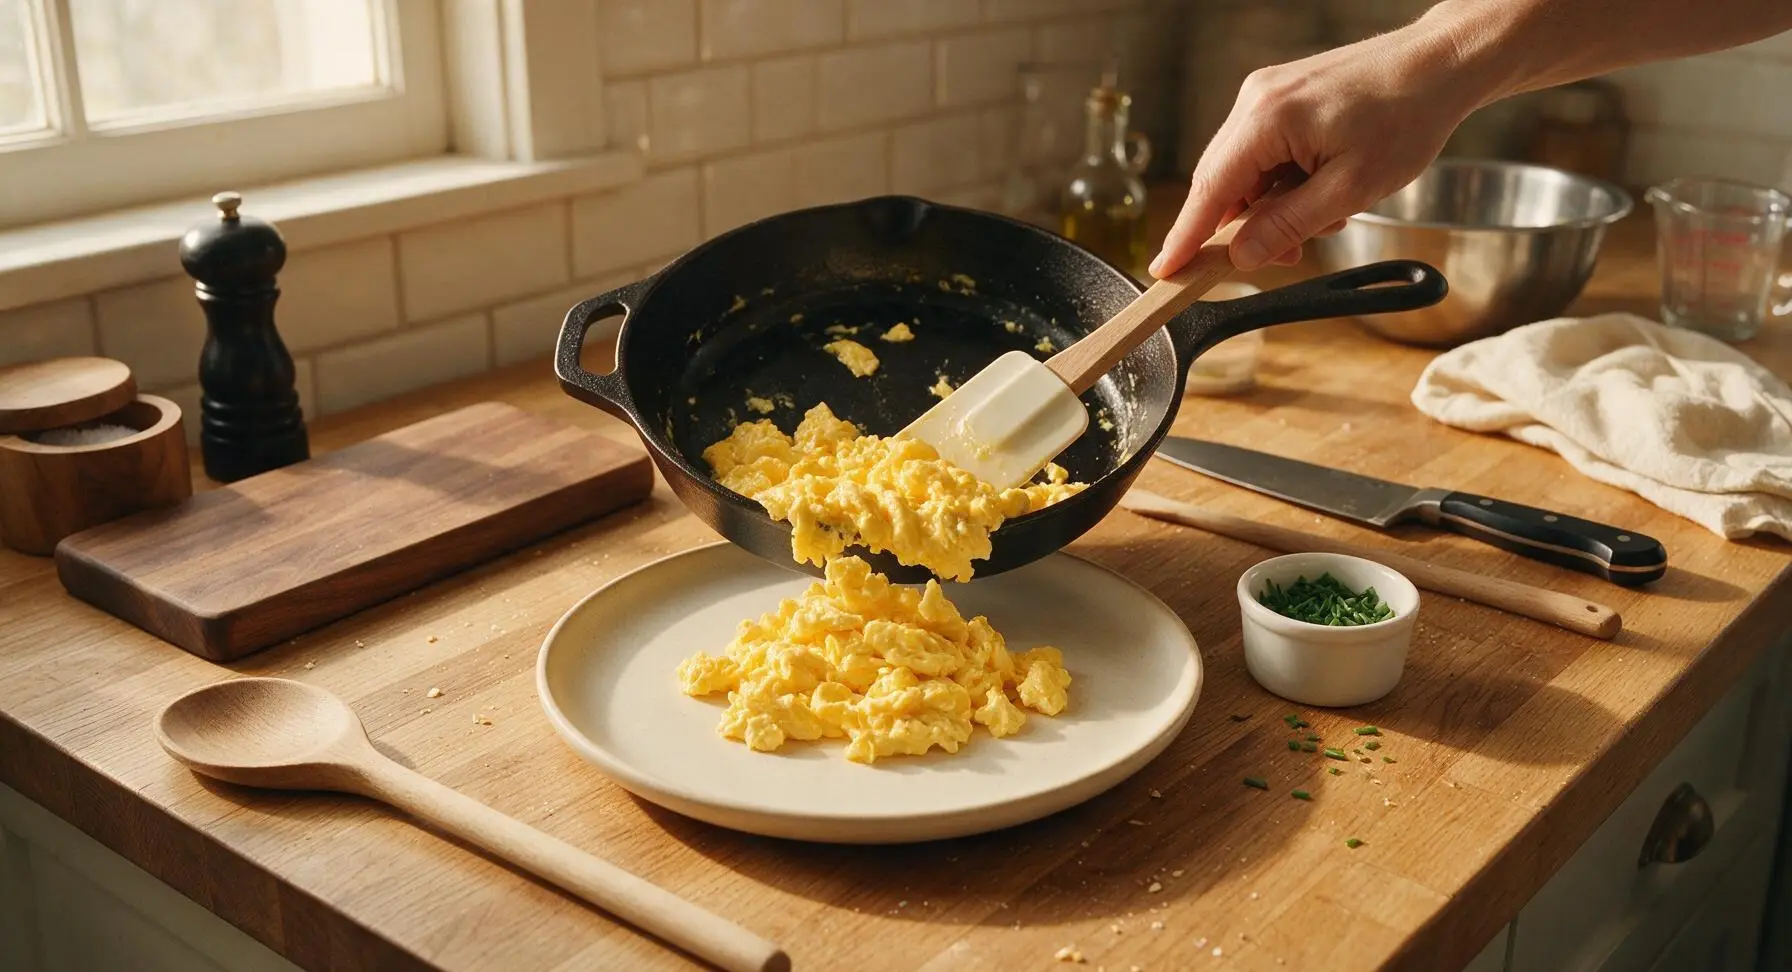
Step 8
step8:Plate and Garnish

Tips

1.Use cold eggs straight from the refrigerator: cold eggs cook more gradually over low heat, preventing outer edges from seizing into rubbery bits before the center sets, for evenly tender curds.
2.Skip the milk and stick with heavy cream: milk has a high water content that separates during cooking, leading to watery, curdled eggs, while the high fat content in heavy cream creates a rich, smooth, cohesive texture.
3.Pull eggs from heat when they look slightly underdone: residual pan heat will finish cooking the curds in 30 seconds off the burner; waiting until eggs look fully set in the pan guarantees dry, overcooked eggs by plating time.


✨ You May Also Like

Breakfast
🍜 United States

Crisp-edged, fluffy lard griddle cakes are a nostalgic homestyle staple, with rich savoriness from rendered lard, perfect topped with maple syrup or savory gravy.

⏱️ 25 minuteBreakfast ★ 4.8
Breakfast
🍜 United States

Flaky, buttery homemade buttermilk biscuits smothered in creamy, peppery pork sausage gravy: a beloved, hearty Southern American comfort food classic.

⏱️ 35 minuteBreakfast ★ 4.8
Breakfast
🍜 United States

Golden, custardy brioche stuffed with sweet cream cheese and fresh berries, pan-fried to crisp perfection. An indulgent, cozy breakfast perfect for slow weekend mornings.

⏱️ 30 minuteBreakfast ★ 4.7
Breakfast
🍜 United States

Flaky, buttery Southern-style biscuits stuffed with savory salty country ham, a portable, satisfying classic perfect for casual on-the-go meals.

⏱️ 25 minuteBreakfast ★ 4.8
Breakfast
🍜 United States

Iconic puffy baked pancake popularized in Seattle, with crisp golden edges and soft custardy center, served warm with classic sweet toppings.

⏱️ 35 minuteBreakfast ★ 4.6
Breakfast
🍜 United States

Fluffy, golden pancakes studded with juicy peak-summer mixed berries, drizzled with maple syrup for a bright, comforting, crowd-pleasing family breakfast.

⏱️ 25 minuteBreakfast ★ 4.7

Creamy Scrambled Eggs:Frequently Asked Questions

1.What makes these scrambled eggs creamy instead of dry and rubbery? ▾
The two biggest secrets are low, slow cooking and balanced fat from both unsalted butter and heavy cream. Skip high heat entirely—it seizes egg proteins fast to create tough, rubbery bits. Cook over medium-low heat, and pull the pan off right when eggs are softly set, since residual heat will finish cooking them gently for that melt-in-your-mouth texture.
2.Can I use milk instead of heavy whipping cream for this recipe? ▾
You can, but you won’t get that same rich, custardy mouthfeel. Milk has a much higher water content than heavy cream, so it can make eggs slightly watery or less lush if you add too much. If you do swap, use whole milk only, cut the amount by a third, and make sure it’s fully incorporated before pouring eggs into the pan.
3.What heat setting should I use to get that perfect silky texture? ▾
Stick strictly to medium-low heat the entire time, and don’t preheat the pan until it’s screaming hot. High heat cooks egg proteins too quickly, squeezing out moisture and creating tough, curdled bits. Low, steady heat lets eggs form soft, delicate curds slowly, locking in that rich, creamy consistency without unwanted browned, crispy edges.
4.How long does this recipe actually take to make from start to finish? ▾
This whole dish comes together in right around 10 minutes total, with barely any cleanup. You’ll spend 2 minutes prepping (cracking eggs, measuring cream and butter), 6 to 7 minutes cooking low and slow, and 1 minute finishing with fine sea salt and freshly ground black pepper. It’s perfect for quick weekday breakfasts or lazy weekend brunches with no big time commitment.
5.Do I need to add salt to the eggs ahead of time, or right at the end? ▾
For the creamiest texture, add a pinch of fine sea salt to your egg and cream mixture about 10 to 15 minutes before cooking, if you have the time. Salt breaks down egg proteins slightly to keep them from seizing up tight as they cook, leading to softer curds. If you’re short on time, salting right before cooking works too—just skip salting fully set eggs, which leads to uneven seasoning.
6.How many eggs should I use per serving for this recipe? ▾
Plan for 2 to 3 large grade A eggs per adult serving, depending on how hungry everyone is. This recipe scales really easily: just add 1 tablespoon of heavy cream and 1 teaspoon of unsalted butter for every 2 extra eggs you use, keep the heat low, and adjust cook time slightly to account for extra volume in the pan.
7.Should I stir the eggs constantly while they cook? ▾
You don’t need to stir nonstop, but you do want to push soft curds across the pan every 10 to 15 seconds with a heatproof silicone spatula. Constant fast stirring creates tiny, crumbly curds instead of the lush, larger soft curds you want for creamy eggs. Let eggs set for a few seconds between pushes to build tender, layered curds.
8.Can I make these eggs ahead of time for meal prep? ▾
Creamy scrambled eggs are definitely best eaten right off the stove, but you can store leftovers in an airtight container in the fridge for up to 2 days. Reheat them super gently in 15-second bursts in the microwave, stirring between each, to avoid turning them rubbery. They won’t be quite as silky as fresh, but they’ll still taste rich and buttery.
9.Why use unsalted butter instead of salted butter here? ▾
Unsalted butter lets you control exactly how much salt goes into your eggs, so you don’t end up with an overly salty final dish. Salted butter varies wildly in sodium content between brands, which makes consistent seasoning tricky. If you only have salted butter on hand, skip adding extra salt to the egg mix first, then taste and adjust at the end.
10.What kind of pan works best for cooking creamy scrambled eggs? ▾
A heavy-bottomed nonstick skillet is your best bet here, since it distributes heat evenly to avoid hot spots that can overcook parts of the eggs, and it keeps delicate curds from sticking. A well-seasoned carbon steel or cast iron pan works too, as long as you add enough butter. Skip thin stainless steel pans, which cause uneven cooking and rubbery spots.
11.How do I know when the eggs are done cooking so I don’t overcook them? ▾
Pull the pan off the heat when the eggs are about 80% set—they’ll look soft, slightly wet, and formed into big, tender curds, with no runny liquid left in the pan. Residual heat from the pan and eggs will keep cooking them for a minute or two after you take them off, leaving you with perfectly custardy eggs instead of dry, crumbly ones.
12.Can I add mix-ins like cheese, herbs, or veggies to this recipe? ▾
Absolutely! Just add mix-ins at the right time to keep the creamy texture intact. Grated hard cheese, chopped fresh herbs, or pre-cooked diced veggies should go in right as you pull the pan off the heat, so they melt or warm through without overcooking the eggs. Skip watery raw veggies, which leach moisture and make eggs runny.
13.Why are my eggs coming out watery even when I cook them low and slow? ▾
Watery eggs usually come from adding too much dairy, using high-water-content dairy like skim milk, or cooking eggs so slowly that they separate instead of forming set curds. Stick to 1 tablespoon heavy cream per 3 eggs, keep heat at steady medium-low (not the lowest possible setting), and don’t let eggs sit unstirred for too long.
14.Do I need any special equipment to make these creamy scrambled eggs? ▾
Nope, you don’t need any fancy tools! All you need is a small mixing bowl to whisk eggs and cream together, a whisk or fork to beat them, a nonstick skillet, and a heatproof silicone spatula to stir curds as they cook. Cleanup is minimal too—you’ll only have one bowl, one pan, and a spatula to wash when you’re done.

Comments (9)

2 hours ago

OMG these are SO good! I’ve been making dry, rubbery scrambled eggs my whole adult life and this 5 minute method is a total game changer. I added a tiny sprinkle of chives on top and my husband asked if we can have these every Sunday brunch from now on.

1 hour ago

So happy you and your husband love them! Chives are such a perfect bright addition to the rich, creamy eggs—great call. 😊

yesterday

Perfect quick weekday breakfast for my chaotic school mornings! My 7 and 9 year old devoured these before I even finished packing their lunches. I never thought cooking on low heat and stirring slow would make such a huge difference, no more weird crumbly eggs for us. Will be making these on repeat!

3 days ago

Made these for my weekend potluck with friends and everyone was asking for the recipe! I stirred in a tiny bit of crumbled feta at the end and it’s chef’s kiss. Only thing is I accidentally turned the heat up too high my first try and they got a little lumpy, second batch was perfect though.

2 days ago

Ooh the feta addition sounds incredible! I’m gonna try that this weekend when my parents come to visit, thanks for the idea!

2 days ago

So glad they were a hit at the potluck! Low and slow is definitely the key to that silky texture—great call adding feta, the salty tang pairs so nicely with the creamy eggs.

1 week ago

These hold up so well for meal prep! I make a big batch on Sunday, portion them out, and reheat for 30 seconds in the microwave at work all week. They don’t get weird and rubbery like regular scrambled eggs do, total game changer for my busy work days.

5 days ago

Wait you reheat these? I thought creamy scrambled eggs would get gross in the microwave! Gotta give the meal prep version a shot next week, thanks for the tip!

5 days ago

Great tip, Liz! For anyone reheating, just make sure to do it in short 15 second bursts and stir in between to keep that creamy texture, no rubbery eggs guaranteed!

5 minutes ago

As someone who can barely boil water without messing it up, this recipe was so easy to follow! 5 minutes total, no fancy ingredients, and they came out perfectly creamy on my first try. I feel like a real chef now lmao.

2 weeks ago

Y’all, I added a dash of hot sauce and a sprinkle of shredded sharp cheddar to these and they’re the best scrambled eggs I’ve ever had. My partner said they taste like the fancy eggs we get at our favorite brunch spot downtown, and they cost like a dollar to make at home! Can’t beat that.

1 week ago

Which hot sauce did you use? I’ve been putting Tabasco on my eggs for years but I’m always looking for new recs to try with these!

6 days ago

The sharp cheddar is such a good call! I tried it with mozzarella last week and it was good but sharp cheddar sounds way better, gonna swap it tomorrow.

30 minutes ago

Great high protein breakfast option! I used a little bit of Greek yogurt instead of heavy cream to cut a few calories and they still came out super creamy, no weird aftertaste or anything. 10/10, will be a staple in my rotation now.

20 minutes ago

Love that swap! Greek yogurt adds such a nice tang while keeping that rich, creamy texture, it’s one of our favorite easy modifications for folks looking for a lighter option.

2 days ago

I’ve been paying $12 for creamy scrambled eggs at my local diner every Saturday for years, and this recipe tastes exactly the same for a fraction of the cost. Why didn’t I find this sooner?!

1 day ago

Right?! I was shocked how much better these are than diner eggs, and you don’t have to wait 45 minutes for a table to get them. Total win.

just now

Made these at 2am after a late night out and they hit DIFFERENT. So creamy, so quick, no fancy stuff needed. I added a little pinch of garlic powder and it was chef’s kiss, no regrets. Will absolutely be making these again after future late nights.



