
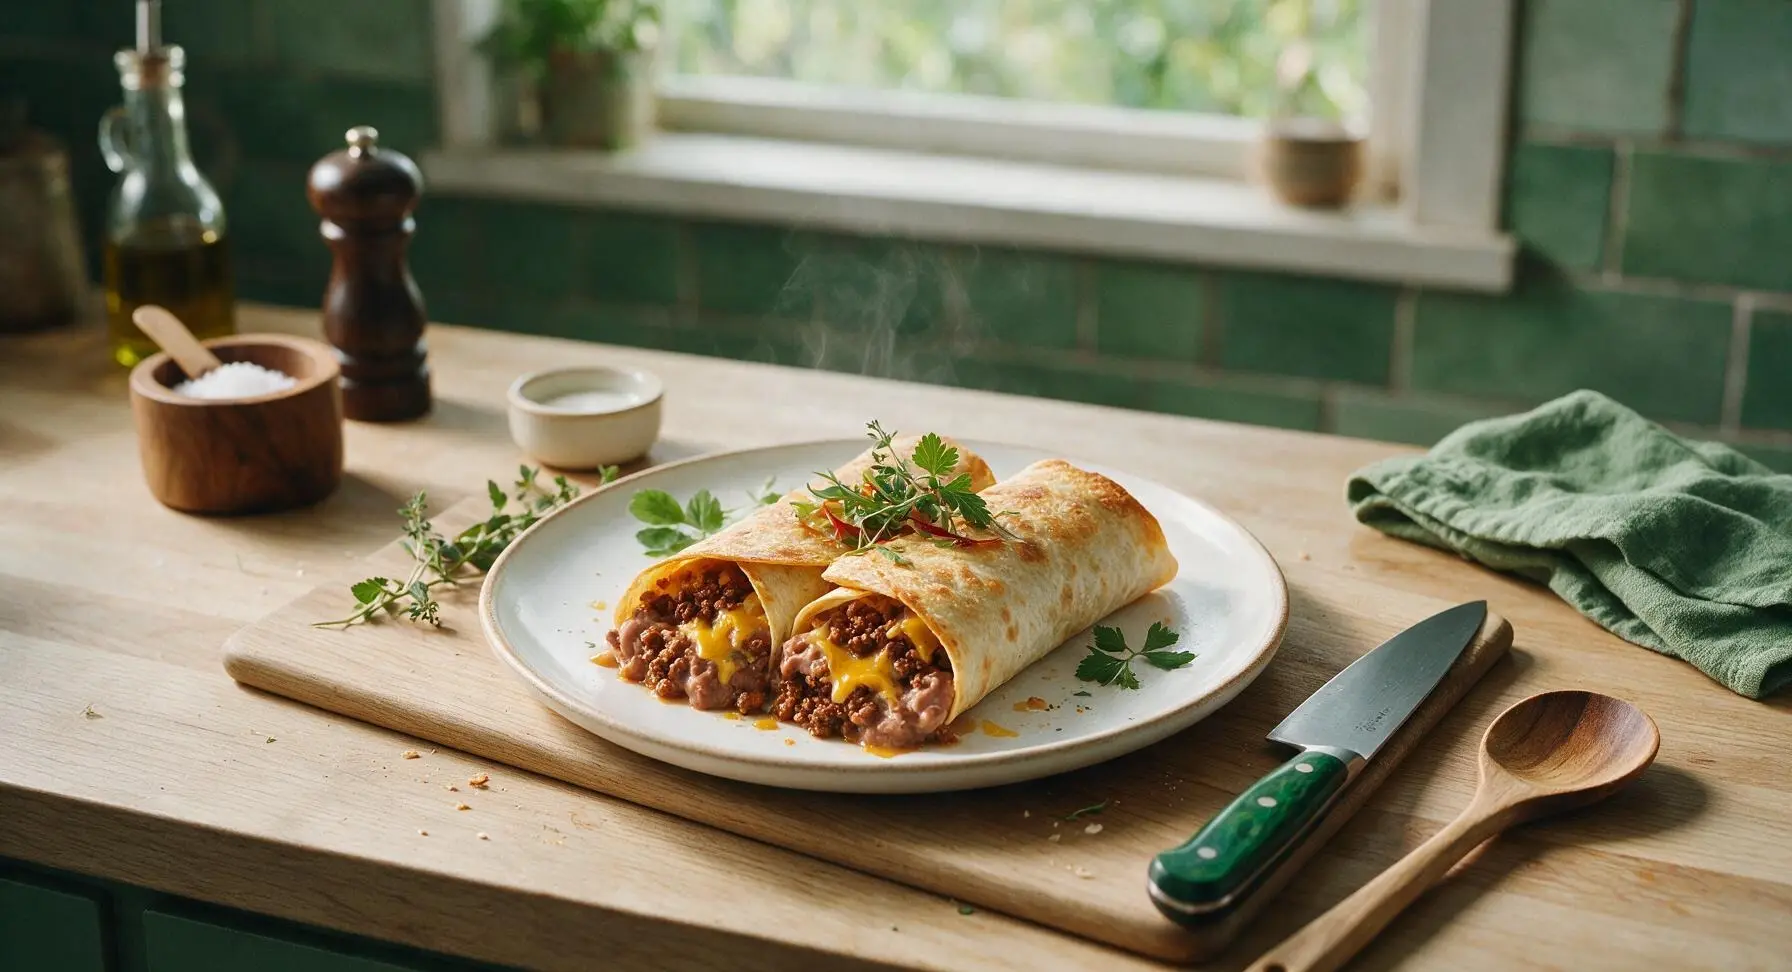
crispy meat burrito

title 1
crispy meat burrito
⏱️ cook time 25 minutes
🍽️ servings 4
⚡ Difficulty easy

intro

Shatteringly crisp golden flour tortillas wrapped around spiced ground beef, melted cheddar, and creamy refried beans—an easy, satisfying Tex-Mex weeknight favorite ready in 40 minutes.

Ingredients
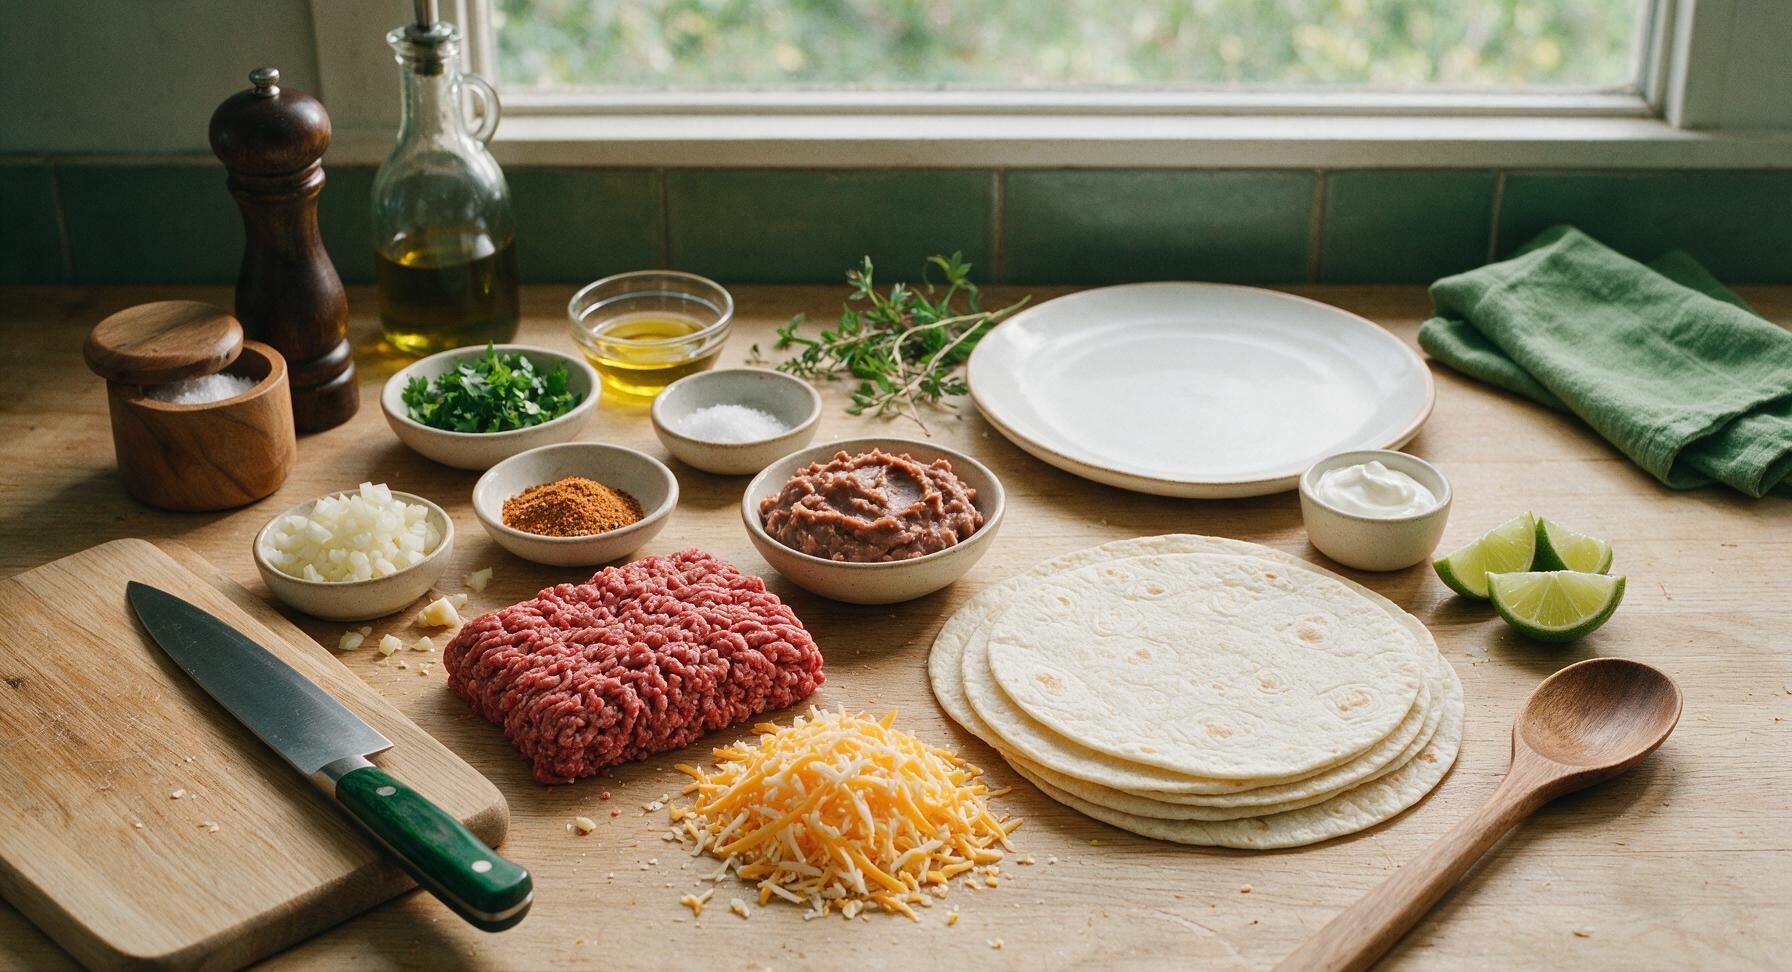
80/20 ground beef 500g
10-inch flour tortillas 4 each
Shredded sharp cheddar cheese 100g
Canned refried beans 120g
Small yellow onion, finely diced 100g (1 small)
Garlic cloves, minced 10g (3 cloves)
Taco seasoning blend 2 tbsp
Canola oil 1 tbsp
Kosher salt 1 tsp
Fresh cilantro, chopped 1/4 cup
Sour cream 60g
Fresh lime 1 whole, cut into wedges

Steps

1

Prep Aromatic Base

Place the whole yellow onion and garlic cloves on the light birch cutting board. Using the 8-inch walnut-handle chef’s knife, peel and finely dice the onion to uniform 5mm pieces, then mince the garlic, collecting both in one of the matte terracotta ramekins. Uniformly sized onion pieces cook evenly without burning, so take time to cut large chunks down to size. This prep step takes approximately 3 minutes.
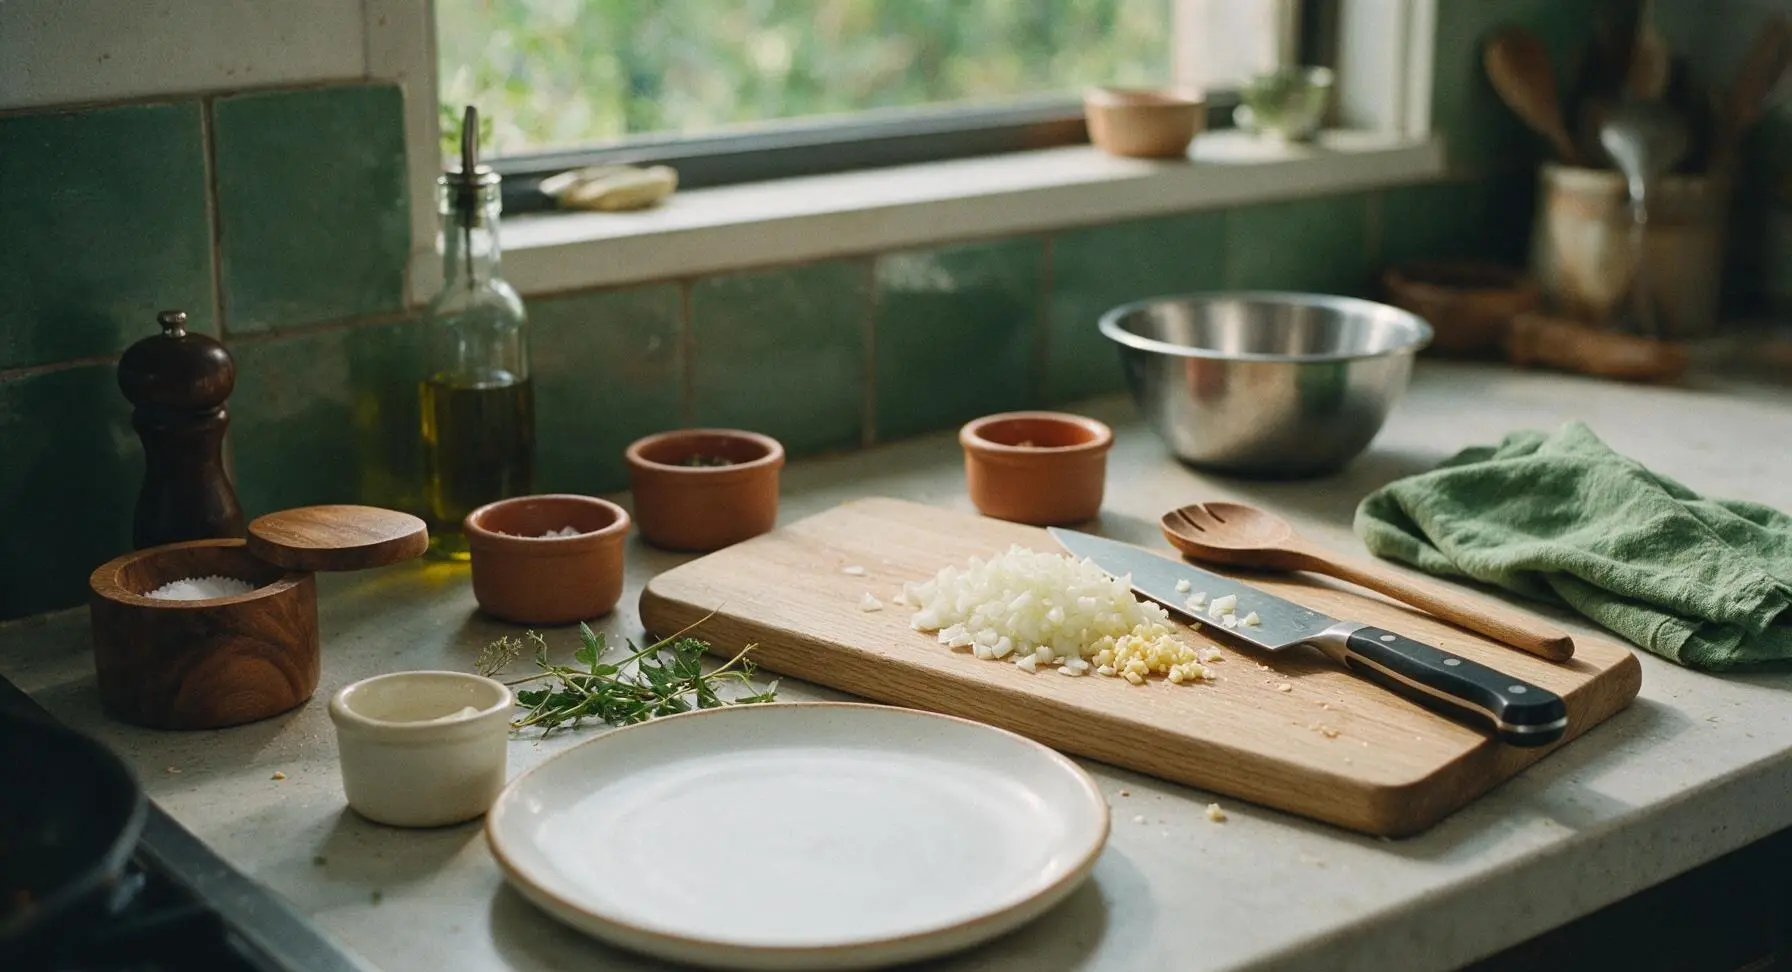
Step 1
step1:Prep Aromatic Base
2

Brown Spiced Beef

Bring out the 10-inch matte black carbon steel skillet, placing it in its fixed back center position, along with the off-white silicone spatula on its cream spoon rest and stainless steel tongs. Add 1 tbsp canola oil to the skillet and heat over medium heat (175C/350F) for 1 minute. Add the diced onion and cook for 2 minutes until soft and translucent, then add minced garlic and cook for 30 seconds until fragrant. Add the 500g ground beef, breaking it apart into fine crumbles with the silicone spatula as it cooks. Stir in 2 tbsp taco seasoning and 1 tsp kosher salt, cooking for 6-7 minutes until the beef is fully browned with no pink remaining, and all released cooking liquid has fully evaporated. Remove from heat and let the beef cool for 3 minutes before assembling to prevent tortillas from getting soggy.
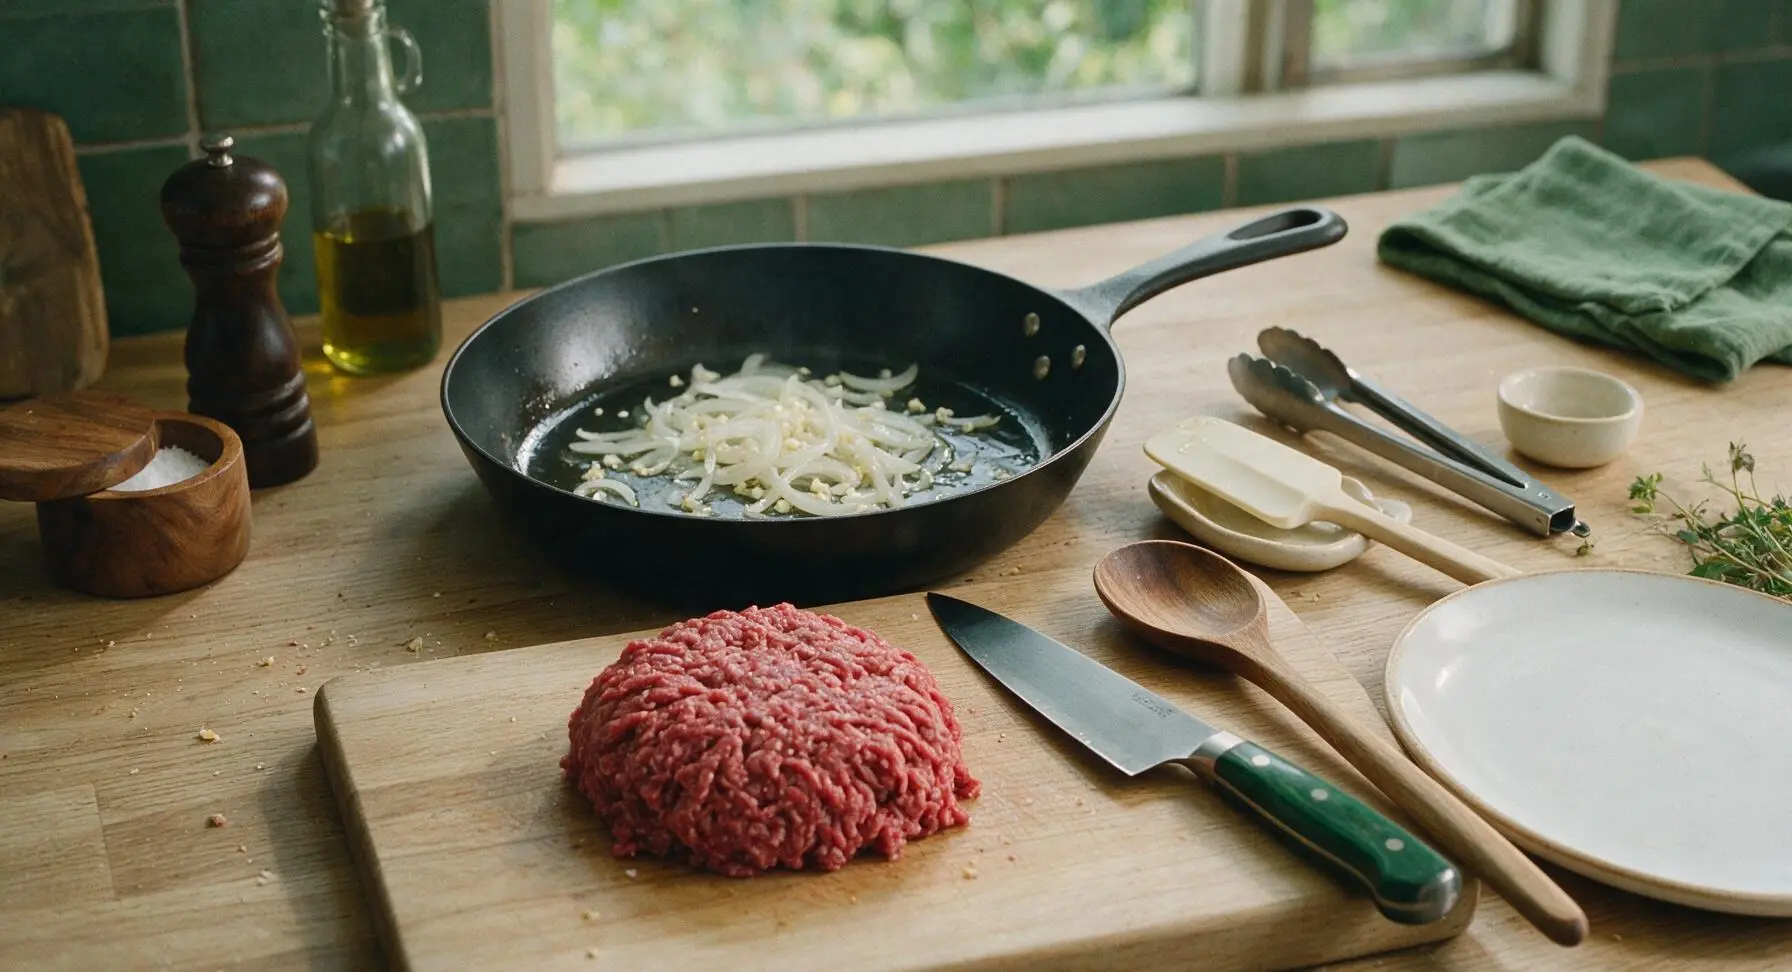
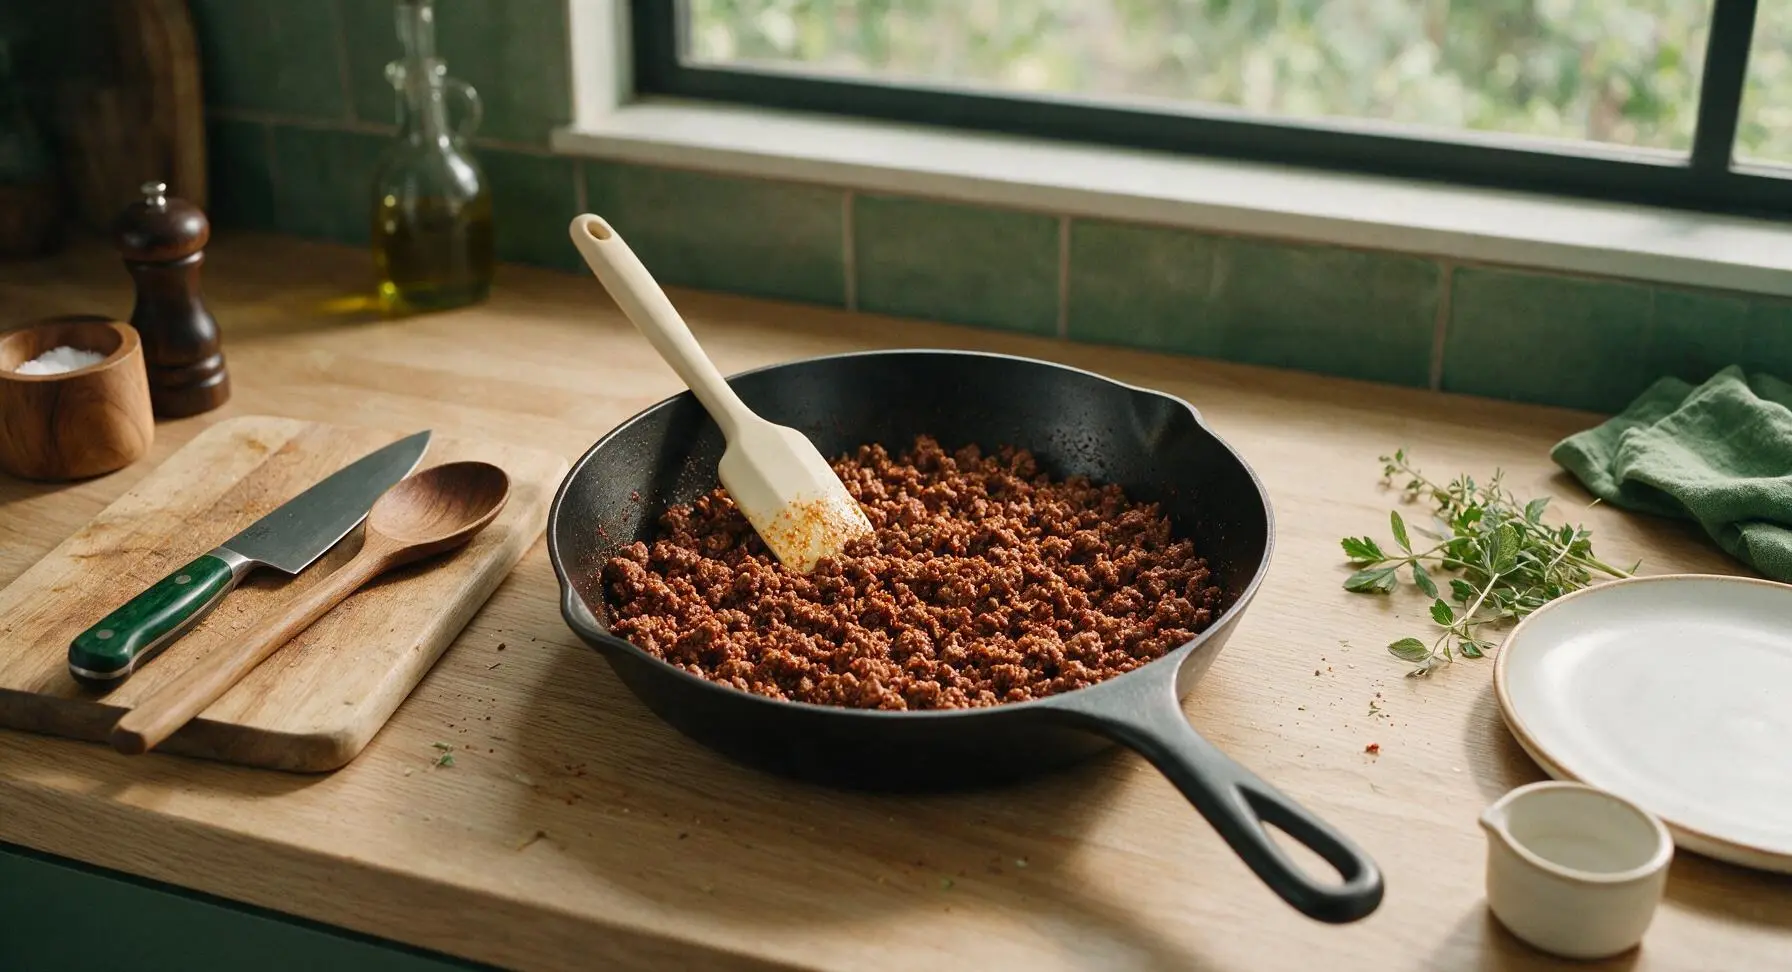
Step 2
step2:Brown Spiced Beef
Step 2
step2:Brown Spiced Beef
3

Warm Tortillas for Folding

Stack the four 10-inch flour tortillas on a clean section of the birch cutting board. Working one at a time, warm each tortilla for 10 seconds per side over low residual heat in the skillet (or 30 seconds in a microwave wrapped in a damp paper towel) until soft and pliable. Warming prevents tortillas from cracking when folded, which is critical for creating a tight seal that crisps evenly without leaking filling. Keep warmed tortillas stacked and loosely covered with the edge of the terracotta kitchen towel while prepping fillings to retain heat and softness.
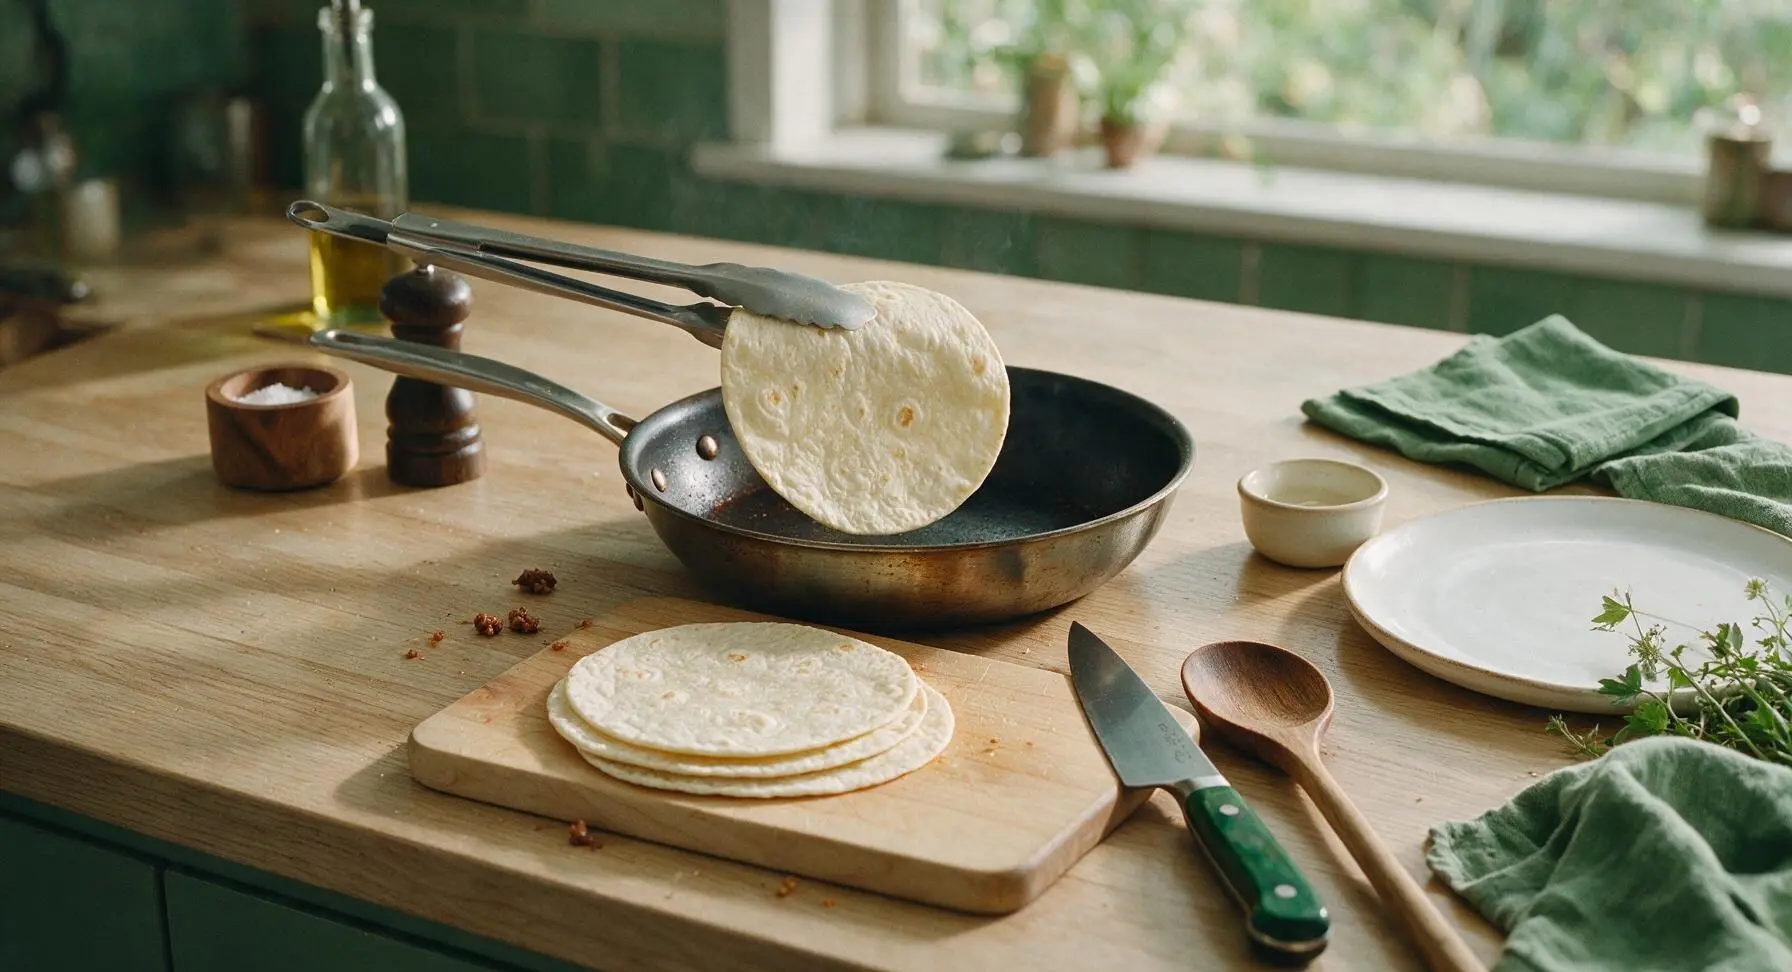
Step 3
step3:Warm Tortillas for Folding
4

Fill and Fold Burritos

Lay one warm tortilla flat on the birch cutting board. Spread 30g (2 tbsp) of refried beans in a thin 4-inch wide line down the center of the tortilla, leaving a 2-inch border at the top and bottom short edges. Top the beans with 1/4 of the cooked, cooled spiced ground beef, followed by 25g (1/4 cup) of shredded sharp cheddar cheese. Fold the short top and bottom edges of the tortilla in 1 inch over the filling, then roll tightly from one long side to the other to form a compact, sealed burrito, placing it seam-side down to hold its shape. Repeat with the remaining three tortillas and fillings.
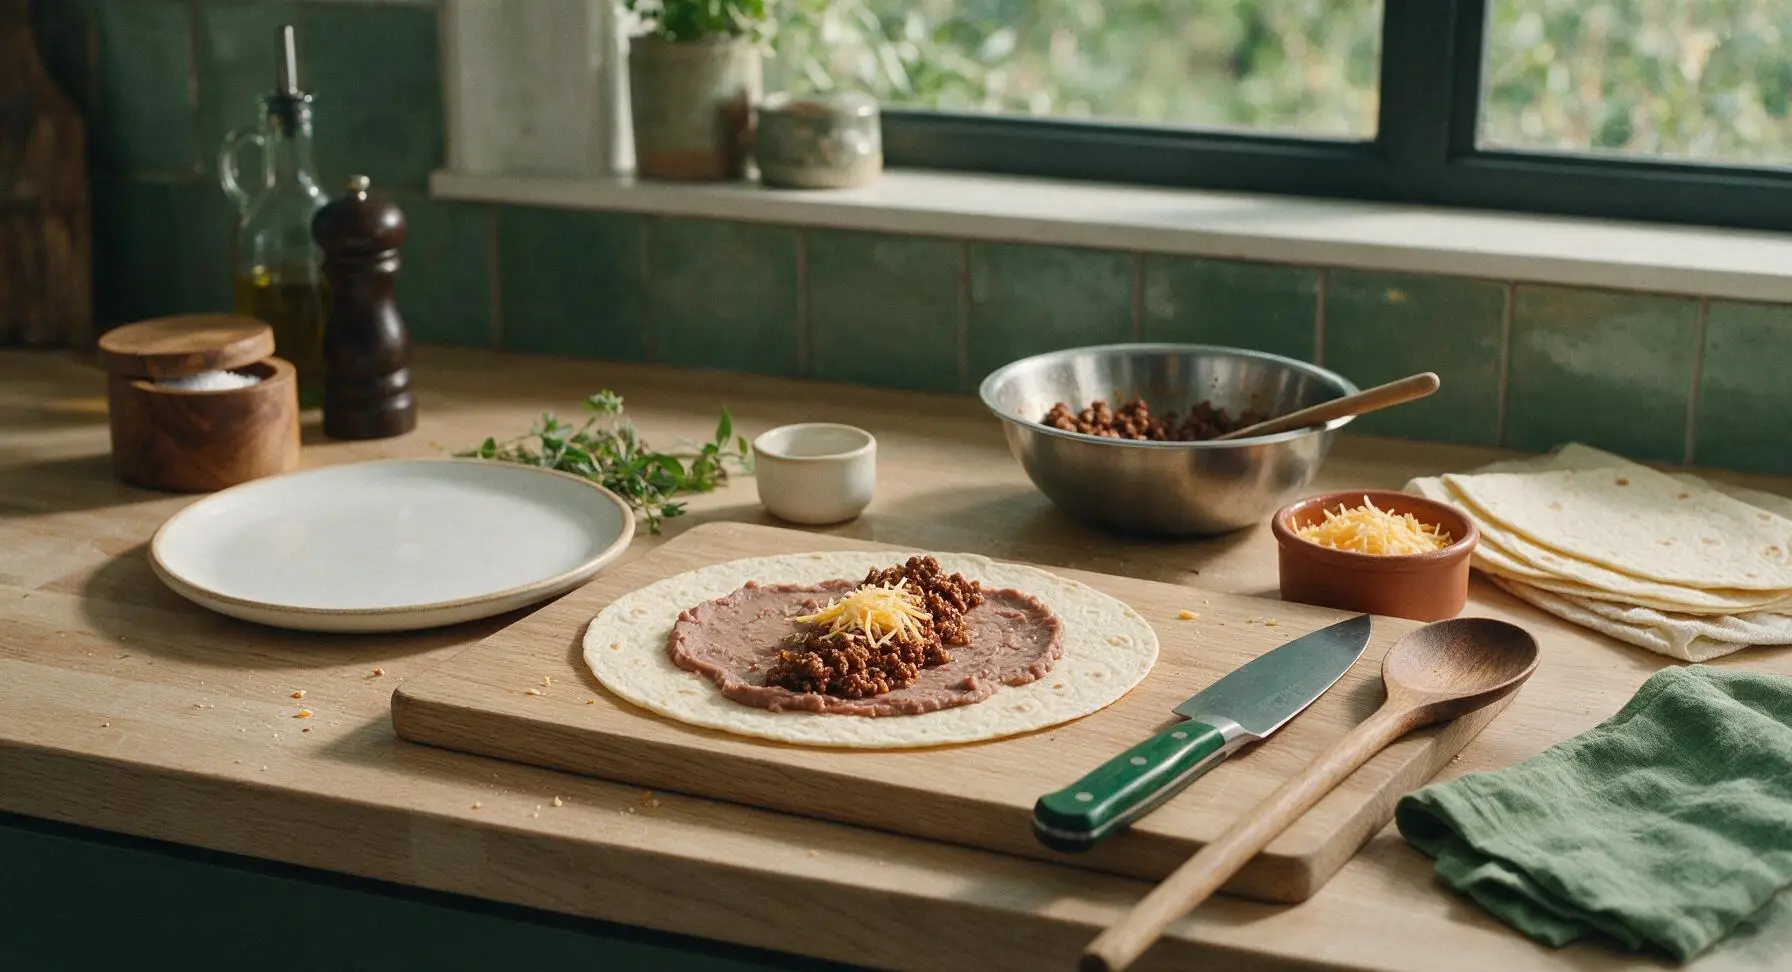
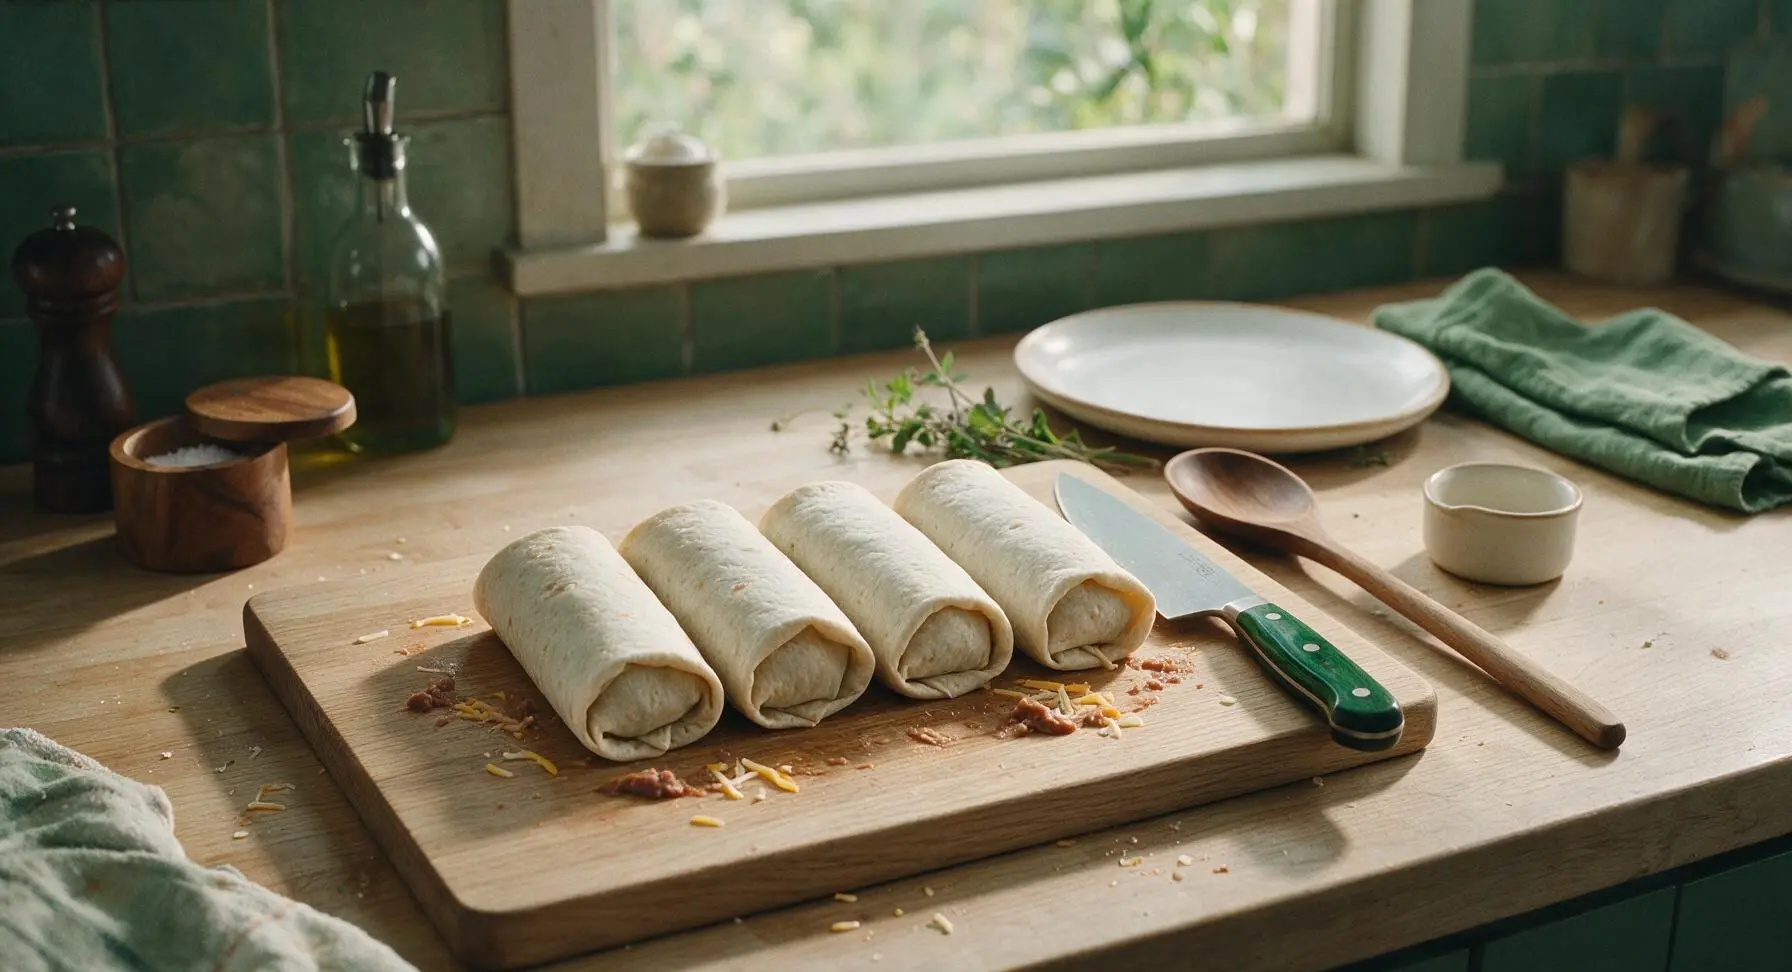
Step 4
step4:Fill and Fold Burritos
Step 4
step4:Fill and Fold Burritos
5

Pan-Fry for Crispness

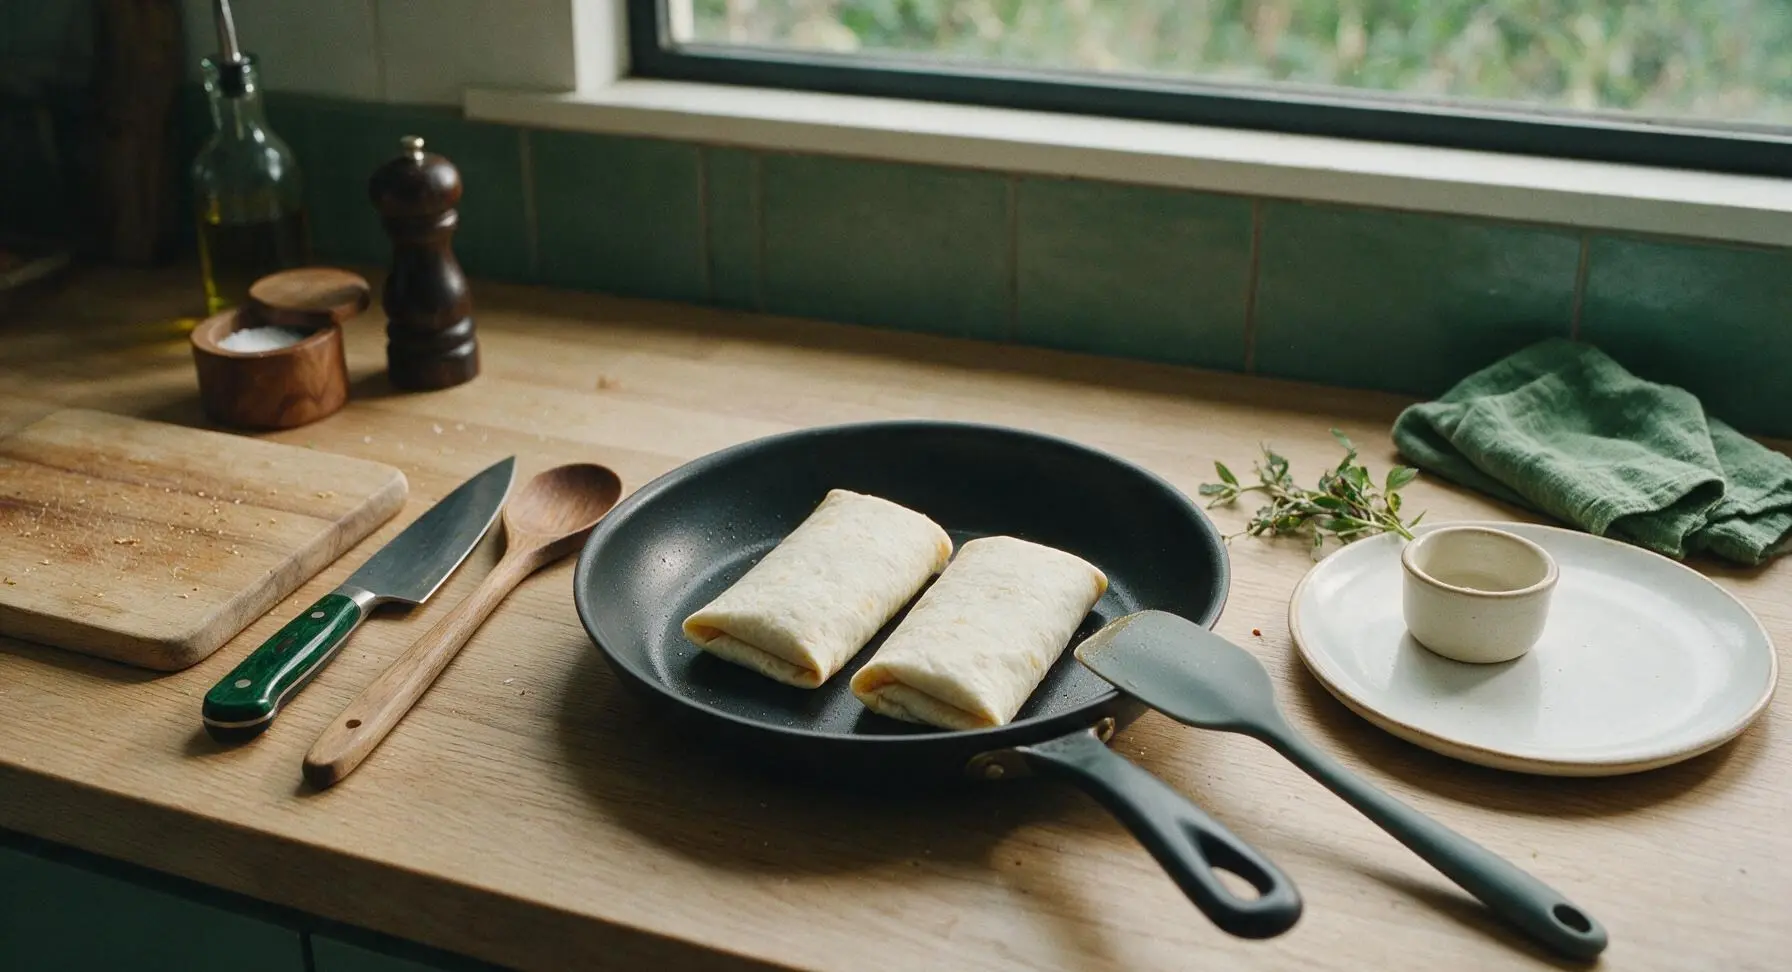
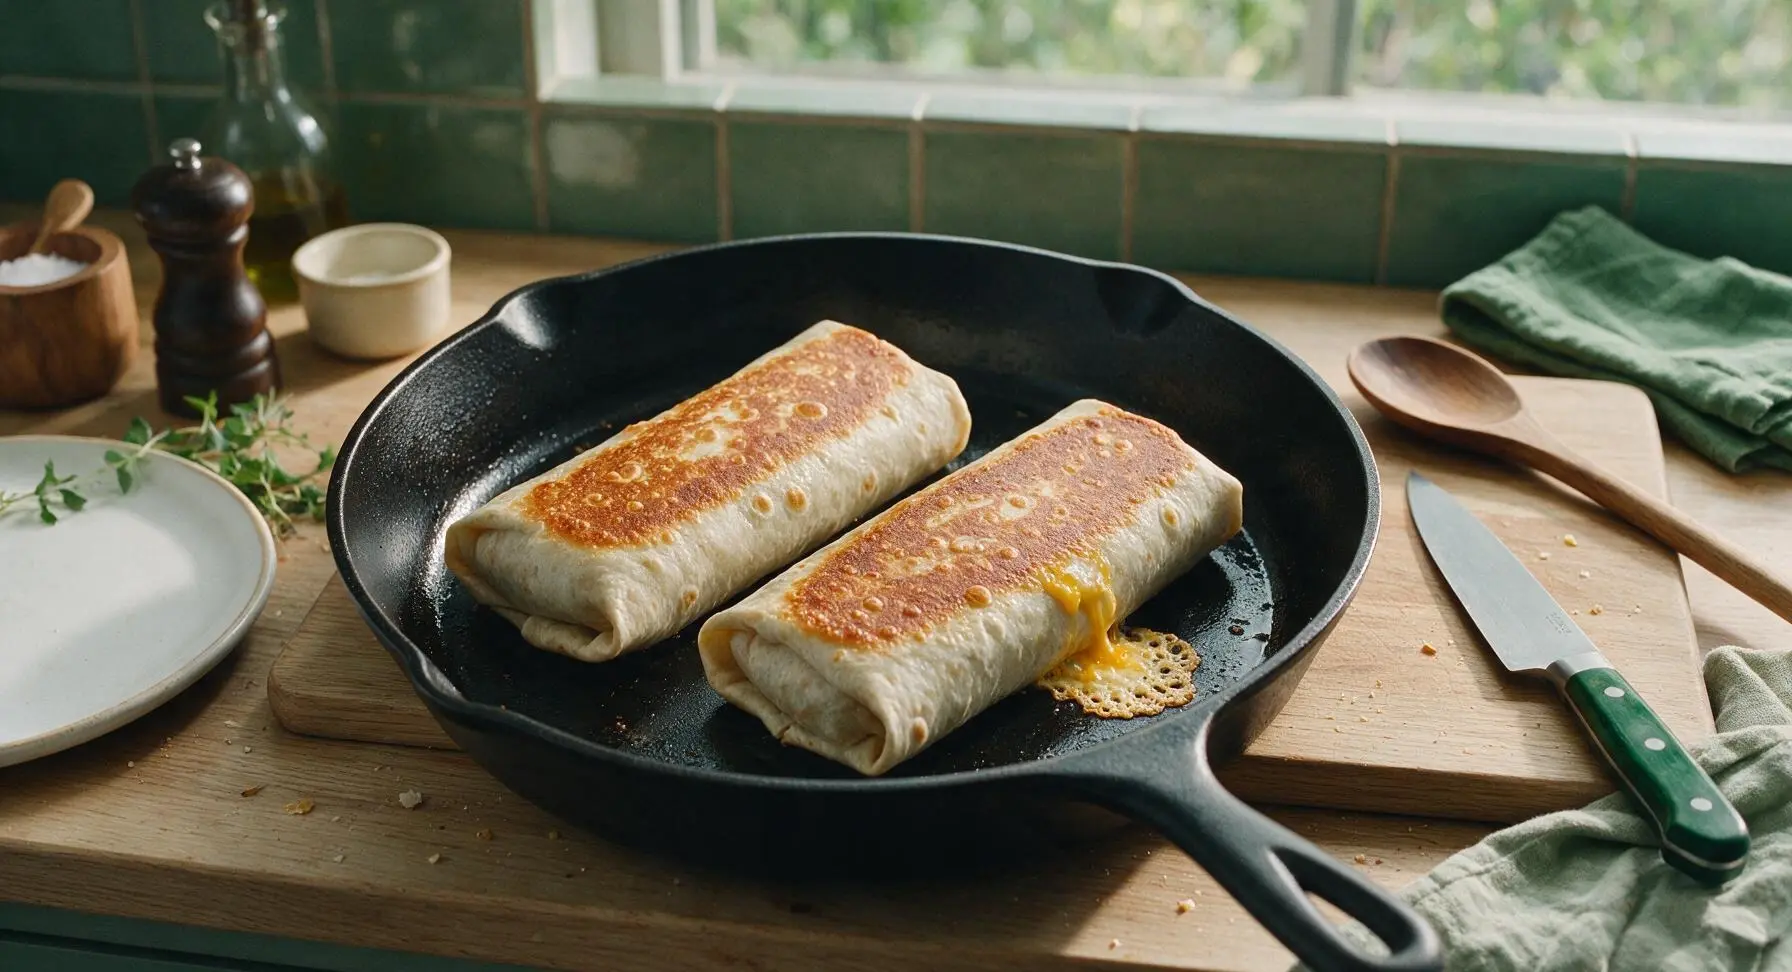
Return the skillet to medium heat (180C/350F). Place the folded burritos seam-side down in the skillet, working in batches of two to avoid crowding the pan (crowding causes steaming instead of crisping). Cook for 3 minutes per side, pressing gently but firmly with the silicone spatula to ensure full, even contact between the tortilla and the hot pan surface, until every side of the burrito is deep golden brown, crispy, and dotted with small blistered dark flecks. The internal cheese will be fully melted once all sides are crisp.
Step 5
step5:Pan-Fry for Crispness
Step 5
step5:Pan-Fry for Crispness
6

Plate and Garnish

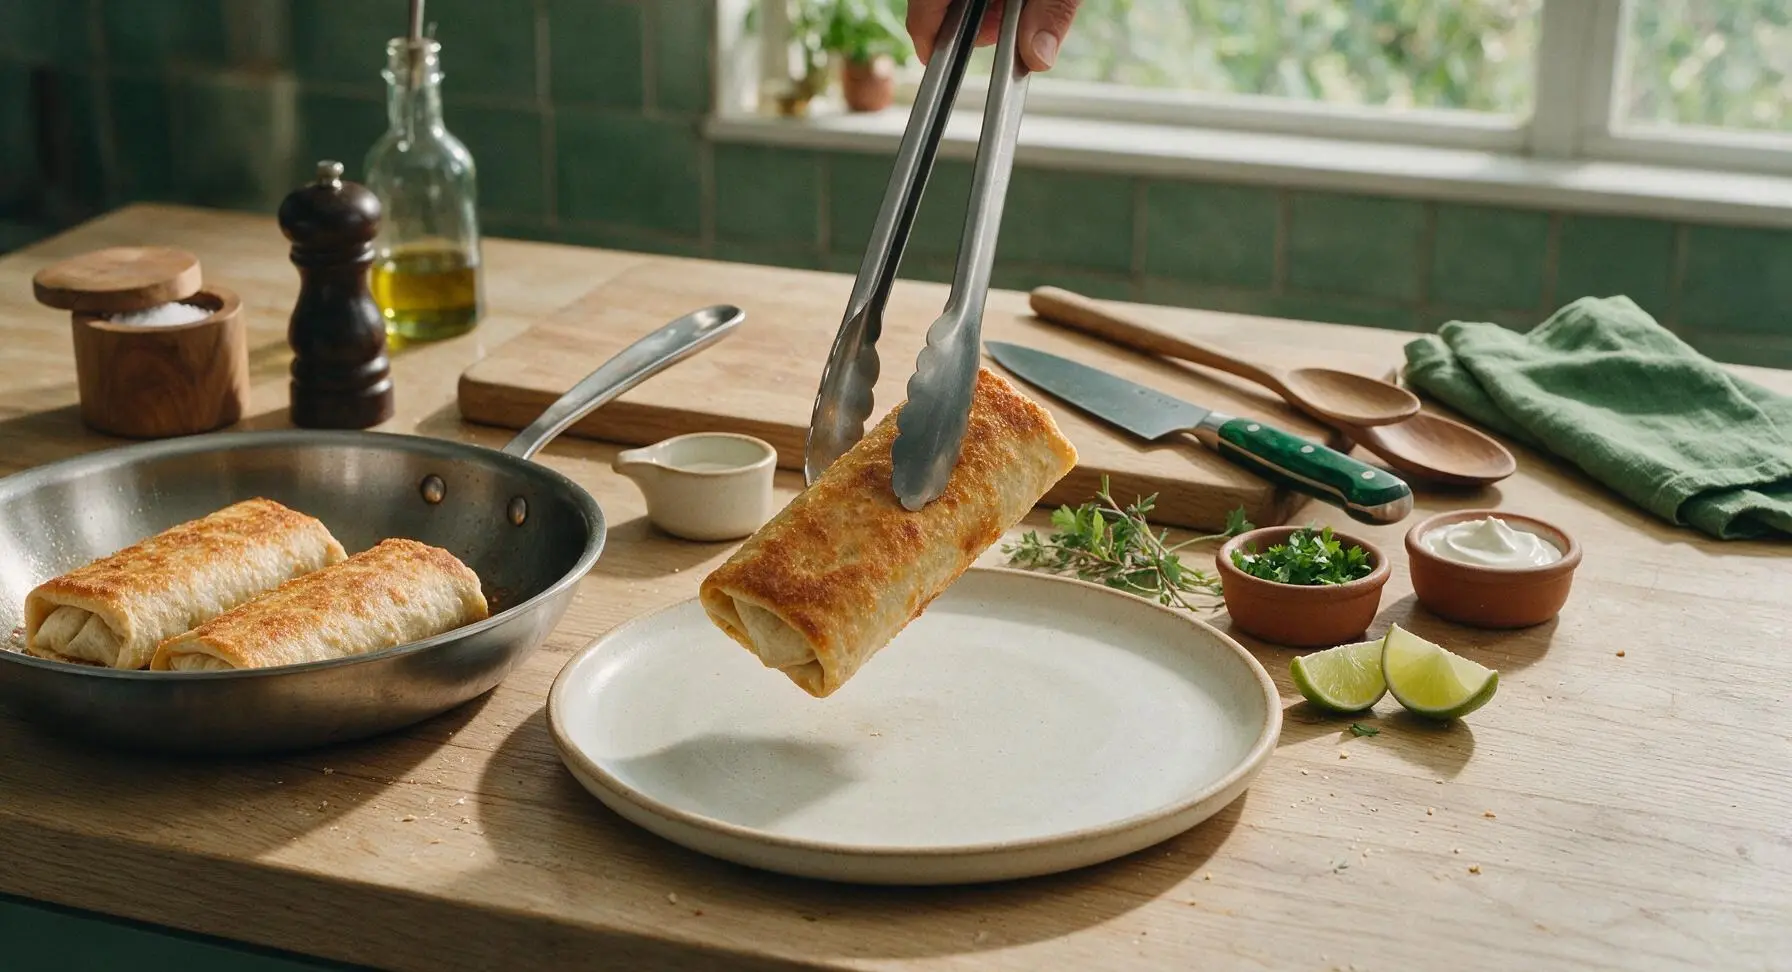
Using the stainless steel tongs, transfer the cooked crispy burritos from the skillet, placing two diagonally on the fixed off-white matte ceramic dinner plate. Cut a 2-inch slit in the top of each plated burrito to vent steam, then add a 15g (1 tbsp) dollop of sour cream to the plate, sprinkle lightly with chopped fresh cilantro, and tuck two lime wedges alongside for squeezing over top before eating. Serve immediately while the tortillas are shatteringly crisp and the filling is hot with fully melted cheese.
Step 6
step6:Plate and Garnish

Tips

1.Always warm tortillas before folding: Cold tortillas crack easily when rolled, creating gaps that let filling leak out during frying and prevent a uniformly crisp exterior. Warming for 10 seconds per side makes them pliable enough to roll tightly without tearing.
2.Avoid overfilling burritos: Adding more than 1/2 cup of total filling per tortilla makes tight rolling impossible, and bursting burritos will lose melted cheese and beef into the pan instead of staying sealed for a crisp, neat finish.
3.Cook burritos seam-side down first: The weight of the filling seals the tortilla edge shut as it crisps, preventing the burrito from unrolling during frying and eliminating the need for toothpicks to hold it closed.


✨ You May Also Like

Main Course
🍜 United Kingdom

A showstopping classic of tender seared beef, savory mushroom duxelles, and crisp prosciutto wrapped in flaky golden puff pastry, baked to juicy perfection.

⏱️ 2 hours 1Main Course ★ 4.7
Main Course
🍜 India

Tender charred marinated chicken simmered in a rich, spiced creamy tomato sauce, this iconic Anglo-Indian curry pairs perfectly with basmati rice or warm naan.

⏱️ 50 minuteMain Course ★ 4.6
Main Course
🍜 Thailand

Classic tangy, sweet, and savory Thai stir-fried rice noodles with shrimp, tofu, and crunchy garnishes, balancing all five core Thai flavor profiles.

⏱️ 30 minuteMain Course ★ 4.5
Main Course
🍜 United Kingdom

Crispy golden beer-battered cod and fluffy double-fried chips, served with tangy tartar sauce and malt vinegar: the timeless, beloved British pub comfort classic.

⏱️ 45 minuteMain Course ★ 4.7
Main Course
🍜 Mexico

Smoky, chile-marinated pork tacos with caramelized pineapple, fresh cilantro, and lime: a beloved classic Mexican street food perfect for casual summer gatherings.

⏱️ 1 hour 45Main Course ★ 4.8
Main Course
🍜 United States

Crunchy Fritos corn chips layered with savory beef chili and melted cheddar, topped with cool, zesty fixings for a beloved, cozy Tex-Mex comfort food.

⏱️ 35 minuteMain Course ★ 4.8

crispy meat burrito:Frequently Asked Questions

1.Why do you recommend 80/20 ground beef instead of a leaner blend for these burritos? ▾
80/20 ground beef strikes the perfect juicy, flavorful balance for these burritos. The 20% fat content eliminates the need for extra cooking oil when browning, carries warm Tex-Mex spice notes beautifully, and prevents the filling from turning dry and crumbly. Leaner blends like 90/10 will leave you with a less rich, drier filling, even with extra seasonings.
2.My burritos always turn out soggy instead of crisp—what am I doing wrong? ▾
Sogginess usually comes from overstuffed tortillas, trapped air, or excess filling moisture. Roll tight, well-sealed burritos without overfilling, pat any excess grease off your cooked beef, and cook them seam-side down first over medium heat. Don’t stack cooked burritos right away; rest them on a wire rack for 2 minutes to keep crusts shatteringly crisp.
3.Can I use whole wheat flour tortillas instead of regular white 10-inch tortillas? ▾
Absolutely, though you’ll get a slightly nuttier, heartier flavor and a touch less delicate crisp. Stick to 10-inch whole wheat tortillas for easy rolling, and warm them for 10 seconds in the microwave or on a dry skillet before assembling to make them more pliable, so they don’t crack when you fold and roll tight.
4.Do I need to cook canned refried beans before adding them to the filling? ▾
You don’t have to, but warming them for 2 to 3 minutes in a small saucepan or microwave makes them much easier to spread evenly across the tortilla, which helps you roll tighter burritos that don’t leak. If your canned beans are extra thick, stir in a tablespoon of water or chicken broth to loosen them to a smooth consistency first.
5.What’s the best way to roll burritos so filling doesn’t leak out while crisping? ▾
Lay your warmed tortilla flat, pile fillings in a tight horizontal line down the lower third, leaving 1.5 inches of space on both sides. Fold the two side edges in over the filling, then tuck the bottom tortilla flap up tight over the fillings and roll firmly upward until fully sealed. Skip overstuffing—it’s the #1 cause of split, leaky burritos.
6.Can I swap the sharp cheddar for a different type of cheese? ▾
Of course! Sharp cheddar delivers that classic tangy, melty Tex-Mex bite, but you can swap it for shredded pepper jack for a spicy kick, a pre-mixed Mexican cheese blend for more authentic flavor, or Monterey Jack for a milder, super creamy melt. Just avoid pre-shredded cheese with anti-caking coatings for the gooiest, smoothest melt.
7.How long should I cook the burritos to get a perfect crisp without burning the tortilla? ▾
Cook each burrito over medium heat (350°F if using an electric skillet) for 2 to 3 minutes per side, starting seam-side down to set the seal. They’re done when every side is a deep, even golden brown, the cheese is fully melted inside, and the tortilla has a firm, crisp texture that gives a light crunch when tapped.
8.Can I make these burritos ahead of time for weekly meal prep? ▾
You can prep the beef, bean, and onion filling up to 3 days ahead and store it in an airtight container in the fridge, but wait to assemble and crisp the burritos until right before serving. If you assemble them too early, moisture from the beans and beef will soak into the tortillas and leave you with a soggy final texture.
9.The recipe calls for finely diced yellow onion—can I skip it or use a different onion? ▾
The small yellow onion adds subtle, sweet savory depth to the ground beef filling that cuts through the richness of the cheese and beans, but you can swap it for an equal amount of finely diced white onion if you prefer a sharper bite, or leave it out entirely. Just avoid large, chunky onion pieces, which make rolling harder.
10.Should I deep fry, pan fry, or bake these to get the best crisp texture? ▾
Pan-frying in a thin layer of neutral oil over medium heat gives the most consistent, shatteringly crisp crust without the excess grease of deep frying. For a lower-oil option, bake on a wire rack set over a baking sheet at 425°F for 15 to 18 minutes, flipping halfway, though the crust will be slightly less delicate than pan-fried versions.
11.What seasonings should I use for the spiced ground beef filling? ▾
For that classic Tex-Mex profile, stir 1 tablespoon of chili powder, 1 teaspoon of ground cumin, ½ teaspoon of garlic powder, ½ teaspoon of smoked paprika, and a pinch of salt and pepper into your browned beef and onion. Skip pre-made taco seasoning packets with added sugar if you want that savor-forward, restaurant-style flavor.
12.Can I add extra fillings like rice or veggies inside these burritos? ▾
You can add small amounts of low-moisture extra fillings without ruining the crisp texture. Cooked, well-drained Spanish rice, roasted corn, or diced pickled jalapeños work great, but skip watery add-ins like fresh salsa, sour cream, or lettuce—save those as toppings to add after cooking, not inside the burrito.
13.How do I reheat leftover burritos so they stay crisp instead of turning mushy? ▾
Skip the microwave, which will turn the tortilla rubbery and soggy. Instead, reheat leftovers in a dry skillet over medium-low heat for 3 to 4 minutes per side, or in a 375°F oven on a wire rack for 10 minutes, until filling is heated through and the tortilla crisps back up. Store leftovers wrapped in foil in the fridge for up to 3 days.
14.Why do my flour tortillas crack when I try to roll the burritos? ▾
Cold, straight-from-the-fridge tortillas are the most common culprit here. Warm your 10-inch flour tortillas for 10 to 15 seconds in the microwave, wrapped in a damp paper towel, or 30 seconds per side on a dry hot skillet before assembling. This softens the tortilla’s gluten, making it pliable enough to roll tight without splitting or cracking.

Comments (11)

2 days ago

OMG these were SO good! I threw these together on a busy weeknight when I forgot to plan dinner, total cook time was actually even less than 25 minutes for me because I had pre-cooked taco meat in the freezer. My kids devoured two each and asked if we can have them every Taco Tuesday from now on. The crispy outside is total game changer compared to regular soggy burritos I used to make!

yesterday

Wait did you crisp them in the air fryer or a skillet? I tried pan frying last time and mine got a little too greasy!

yesterday

So glad your family loved them! You can get that perfect crisp with either method - if pan frying, just use a thin layer of oil over medium heat, or air fry at 400F for 6-8 minutes spritzed with a little cooking spray for a less greasy finish!

1 week ago

Perfect easy recipe for Sunday meal prep! I made a big batch, wrapped them individually, and they reheat beautifully in the oven for 10 minutes at lunch. The seasoning blend is spot on, didn’t need to add any extra taco sauce or salt to make it taste great. Already added this to my regular rotation.

5 days ago

Love that these work for your meal prep! Pro tip: wait to add any fresh toppings like lettuce or pico until right before eating if you’re prepping ahead to keep that tortilla crispy!

3 days ago

Brought these to my neighborhood block party potluck last weekend and they were gone in 10 minutes flat! People kept coming up to ask for the recipe, I couldn’t believe how big of a hit they were. Super easy to make in big batches too, 10/10 would recommend for any group gathering.

5 days ago

These are great but I kicked them up a notch by adding pickled jalapeños and a drizzle of chipotle crema inside before rolling. The crisp on the tortilla is chef’s kiss, way better than the fast food burritos I used to grab on my way home from work. Only thing is I wish I made double, my roommate ate half the batch before I even got a second one!

3 days ago

Omg the pickled jalapeño addition sounds insane, I’m definitely trying that next time I make these! Did you use homemade pickled jalapeños or the store bought jar kind?

3 days ago

Just regular store bought from the grocery store, nothing fancy! I bet homemade would be even better though, I need to try making my own soon.

30 minutes ago

I’m literally a total beginner in the kitchen and I didn’t mess these up! That’s how easy this recipe is. I was worried about rolling the burritos tight enough so the filling didn’t fall out, but the step by step instructions made it super straightforward. Mine got perfectly crispy even on my old beat up frying pan.

5 minutes ago

That makes us so happy to hear! Don’t stress if your first couple burritos are a little messy - they still taste just as good, and rolling gets easier every time you make them :)

yesterday

Made these for my teen son and his friends after their football practice last night, those boys ate every single one. I added a little extra shredded cheese to the filling because teens are basically cheese monsters, and the crispy tortilla held up even loaded up with extra filling. Total home run, will be making these all season for post-practice snacks.

2 weeks ago

Was so happy I could adapt this super easily with gluten free flour tortillas! I was worried the GF tortillas would crack or not get crispy, but they turned out perfectly crunchy just like the regular ones. I used ground turkey instead of beef to lighten it up a little and it still had tons of flavor, didn’t miss the beef at all.

2 weeks ago

Great swaps! Ground turkey works beautifully in this recipe, and we’re so glad the gluten free tortilla option worked out for you - that’s such a helpful tip for other folks with dietary restrictions!

2 hours ago

Wow this recipe is so affordable! I already had most of the spices in my cabinet, I just needed to grab ground beef, tortillas, and cheese from the store, and the whole batch cost me under $12 to make 6 big burritos. Way cheaper than takeout and tastes way better too. The crispy texture is unreal.

30 minutes ago

Right?! I calculated it out and it’s like $1.75 a burrito, which is wild because the food truck near my office charges $9 for a burrito that’s half the size and not even crispy!

5 minutes ago

We love a budget-friendly weeknight win! You can also bulk up the filling with extra rice or beans to stretch it even further if you’re feeding a crowd on a tight budget.

5 minutes ago

Game changer alert! I made these in my air fryer and they came out so crispy without being greasy at all. I stuffed mine with extra black beans and corn inside the meat filling, and dipped them in queso when they were done. 10/10, I will be making these at least once a week from now on.

just now

What temp and time did you use in the air fryer? I tried making crispy burritos last week and they came out rock hard on one side, totally messed it up!

1 week ago

These tasted amazing but my filling kept leaking out the ends when I was frying them! Did I roll them too loose? I still ate every bite because the flavor was so good, but I want to get it right next time. The crispy tortilla was so much better than the soft burritos I usually make.

1 week ago

Great question! The best trick to prevent leaking is to tuck the ends in tightly before you roll the burrito all the way up, and make sure you don’t overstuff them (we’ve all been there, it’s hard not to pack in extra filling!). Try placing the burrito seam-side down in the pan first to help seal it shut as it cooks!

just now

I was skeptical how good a 25 minute burrito could be, but wow, these delivered! I didn’t have any fancy ingredients, just ground beef, taco seasoning, shredded cheese, and the flour tortillas I had in the fridge, and they tasted like something I’d order at a Tex-Mex restaurant. My husband already asked if we can have these for our Friday night movie dinner this week.



