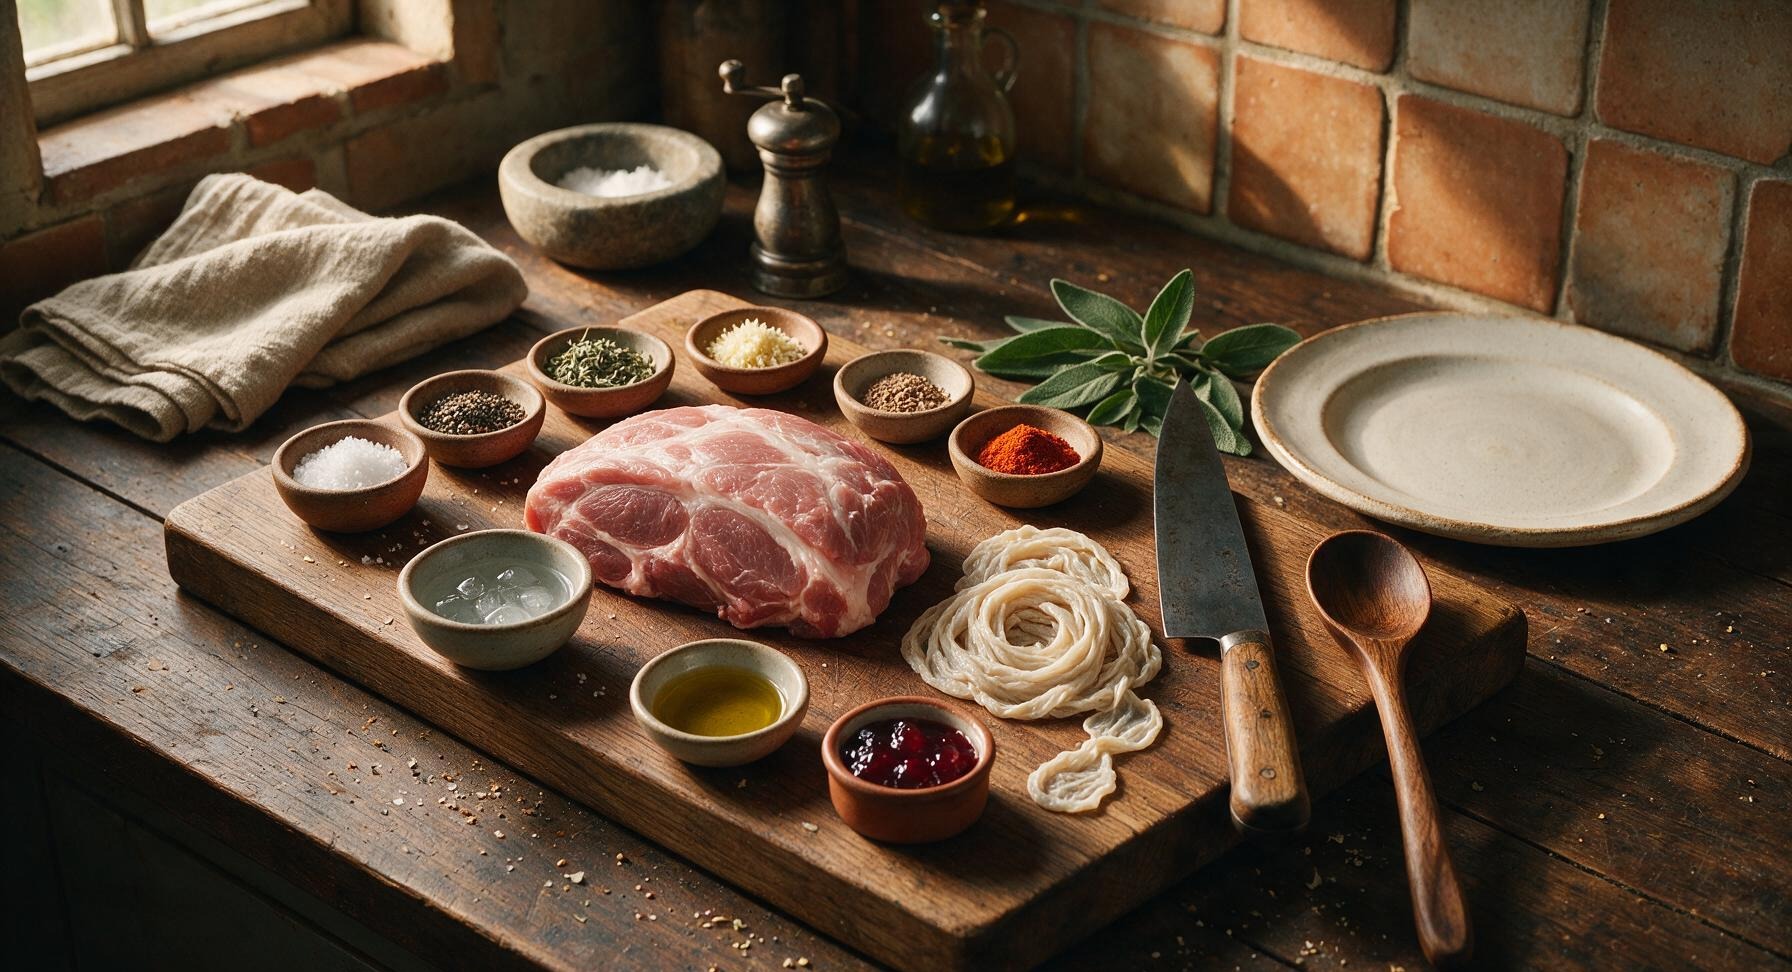
1.Why is an 80/20 lean-to-fat ratio for pork shoulder required for this recipe?
▾
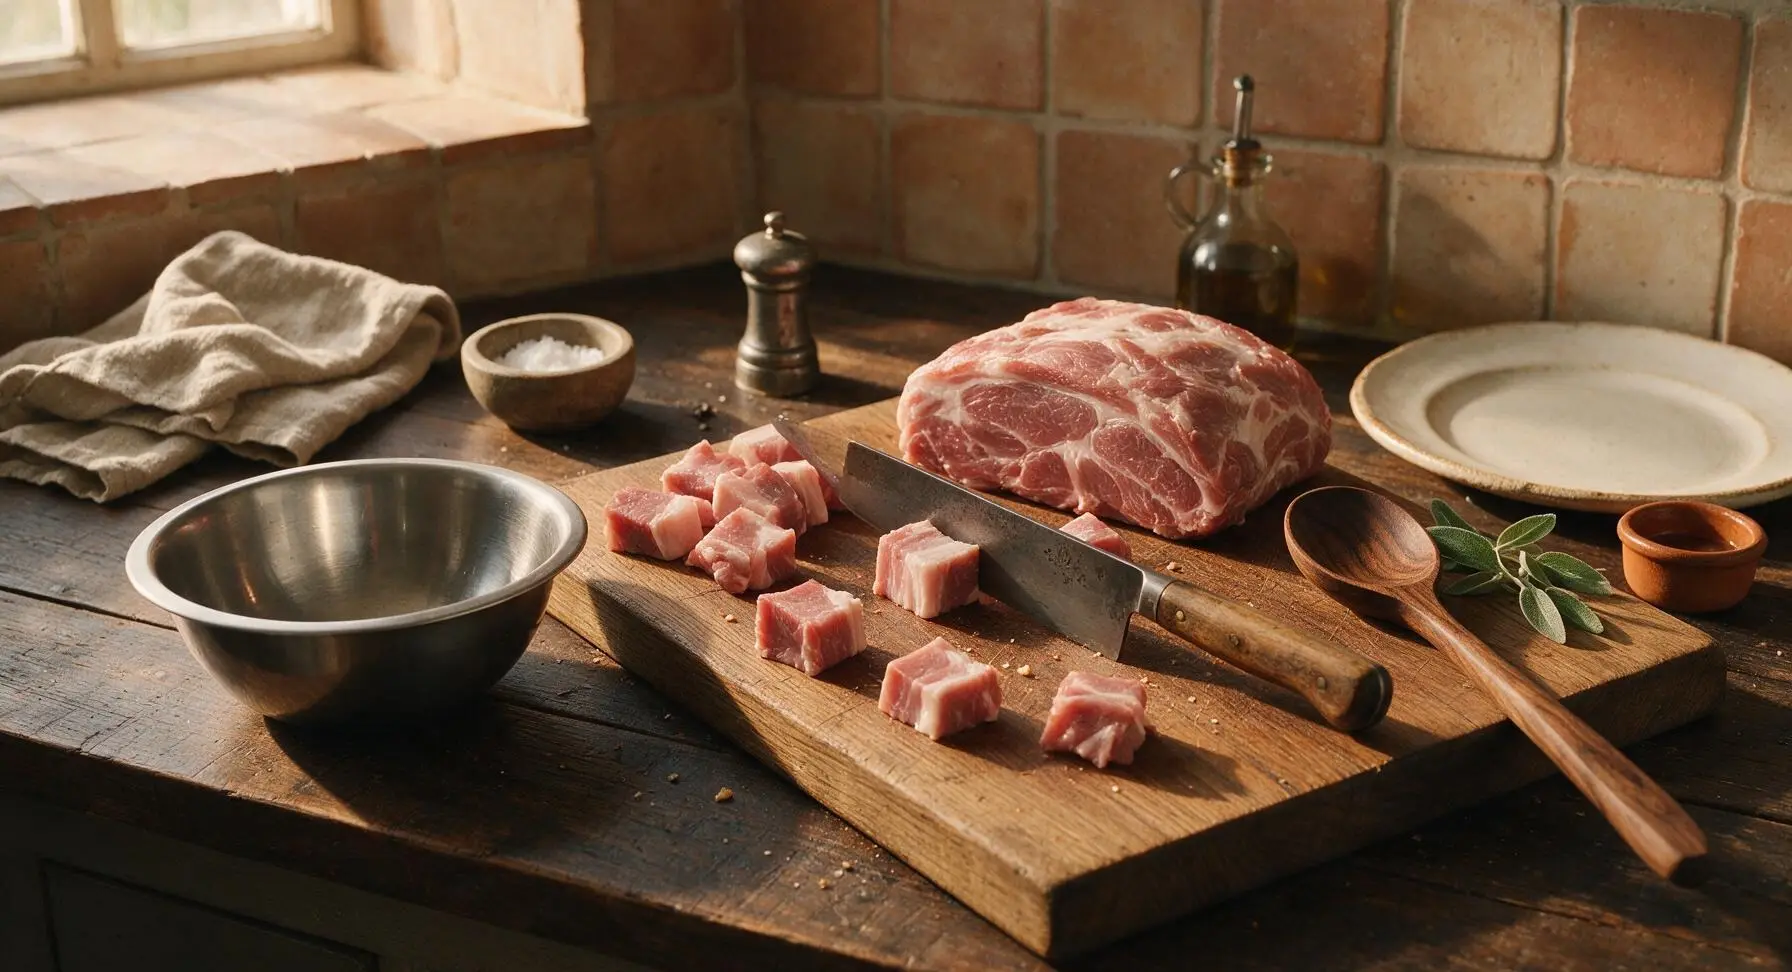
That 80/20 ratio is non-negotiable for juicy, authentic results with no dry, crumbly texture. Too lean, and your sausage will turn out tough and bland; too fatty, and it will shrink excessively and feel greasy when cooked. Pork shoulder’s natural marbling renders just enough fat during searing to keep the coarse meat moist and build that signature crisp golden crust without excess greasiness.
2.Can I use pre-ground grocery store pork instead of grinding my own?
▾
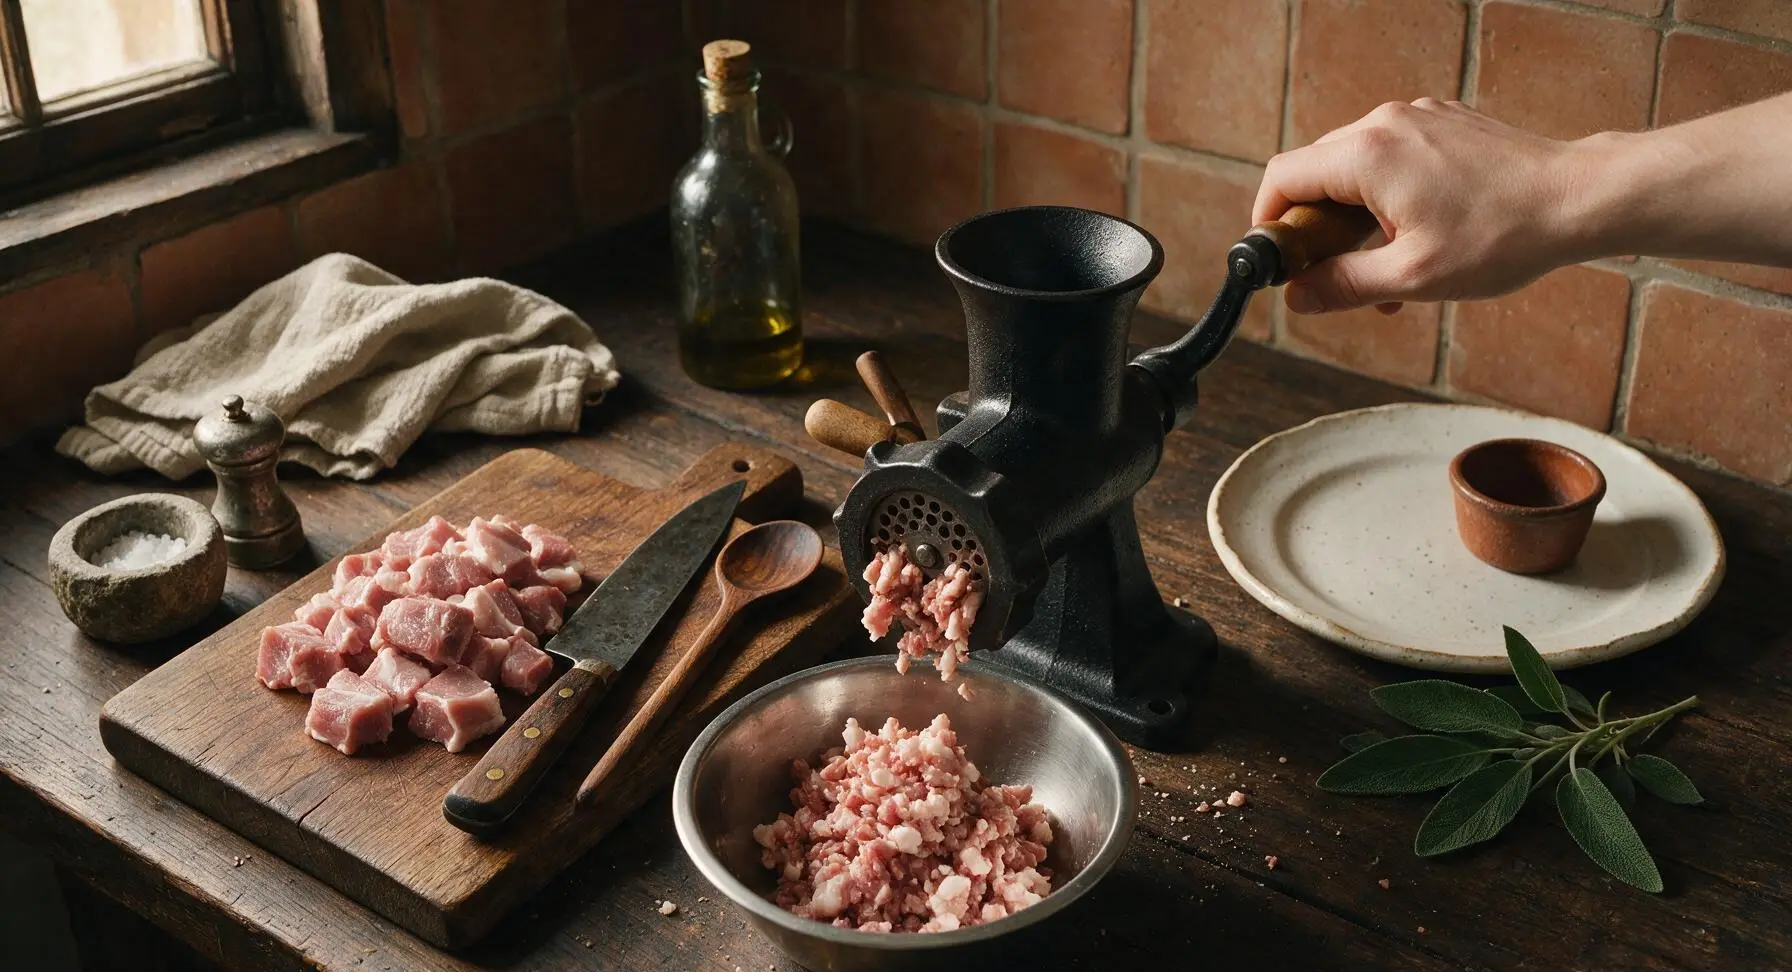
Pre-ground pork works in a pinch, but for Cumberland’s signature coarse, rustic texture, grind your own chilled pork shoulder using a 10mm (large) meat grinder die. Store-bought pre-ground pork is often milled too fine, leading to a dense, bologna-like texture, and it usually has inconsistent fat ratios that throw off the final juiciness and classic, balanced flavor.
3.Can I substitute collagen casings for the specified natural hog casings?
▾
Stick to 28–32mm diameter natural hog casings for the most traditional result, as they have the perfect tender snappy bite and hold the classic coiled shape beautifully during cooking. Same-diameter edible collagen casings work as a shelf-stable substitute, but they lack that natural texture and are more prone to splitting when you pan-sear over medium heat.
4.How do I prep natural hog casings before stuffing to avoid issues?
▾
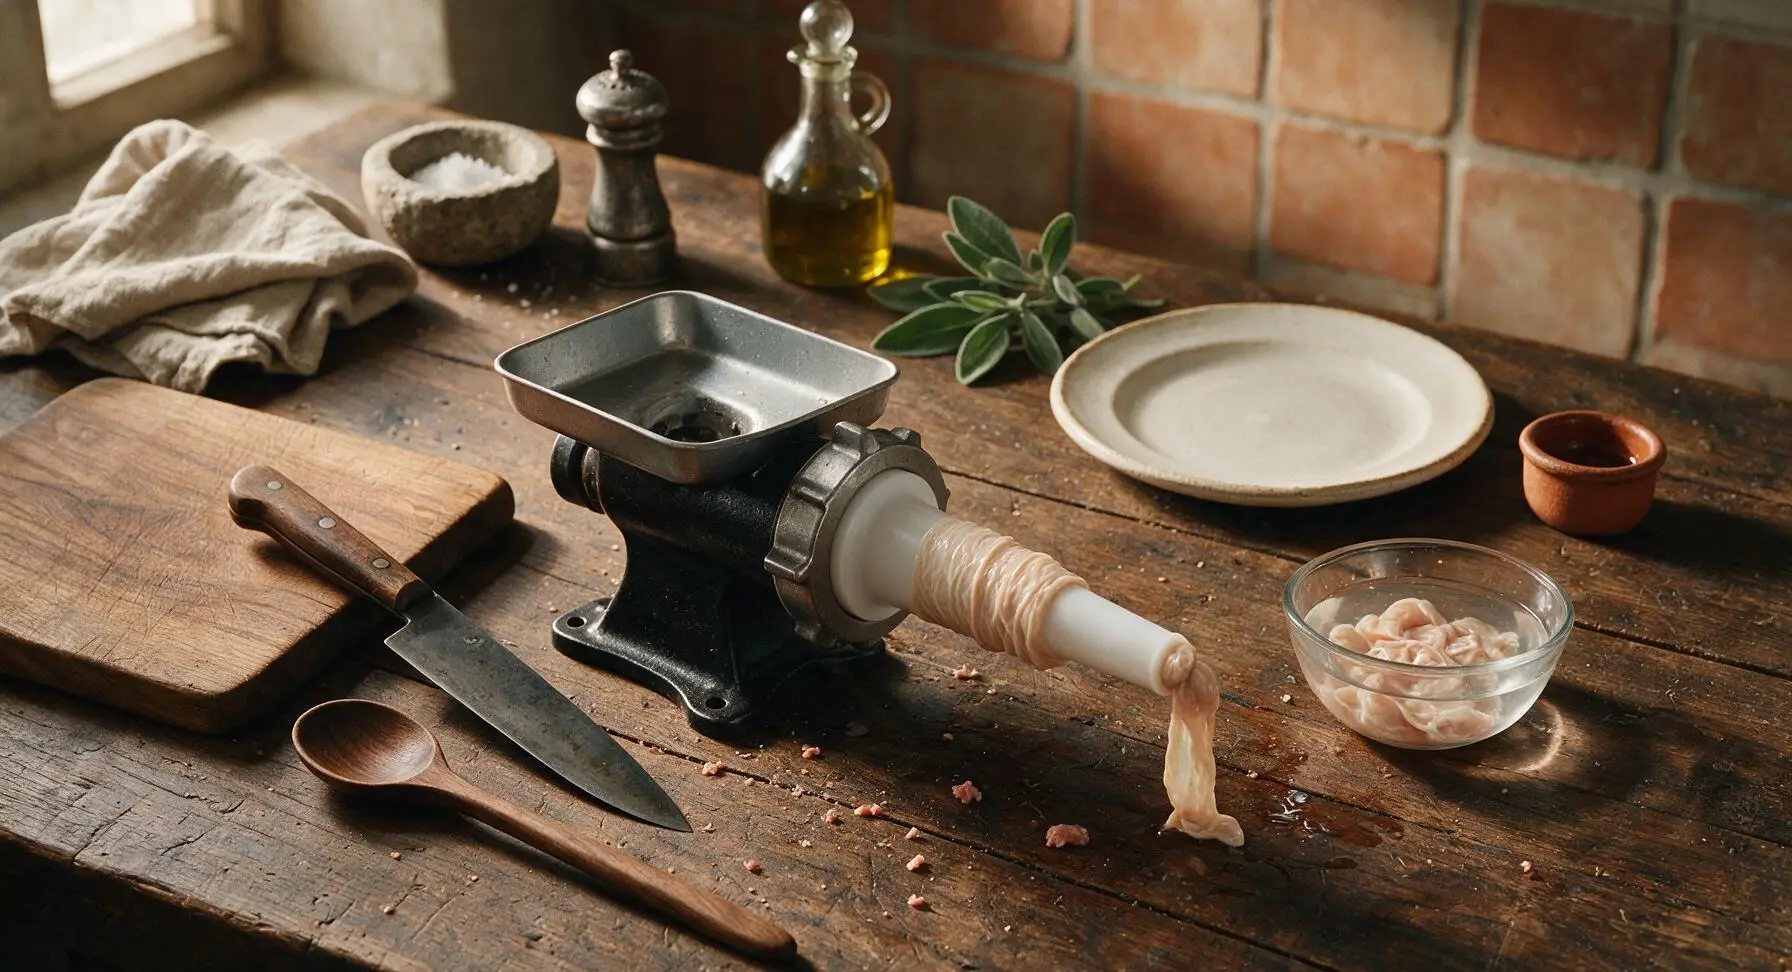
First, rinse salt-packed casings under cool running water to remove excess surface salt, then soak them in lukewarm water for 30 minutes to soften. Run a small stream of water through the inside of each casing to check for tiny punctures, and trim away any damaged sections to prevent leaks during stuffing. Pat casings lightly dry right before loading them onto your stuffing tube.
5.Why does the recipe call for dried rubbed sage instead of fresh sage?
▾
Dried rubbed sage has a concentrated, warm, earthy flavor that is iconic to traditional Cumberland sausage, and it distributes far more evenly through the coarse meat mix than fresh sage. Fresh sage has a high water content that can create mushy, uneven pockets in the sausage, and its brighter, sharper taste doesn’t match the mellow, herby profile of the classic recipe.
6.How coarse should the meat grind be for authentic Cumberland sausage?
▾
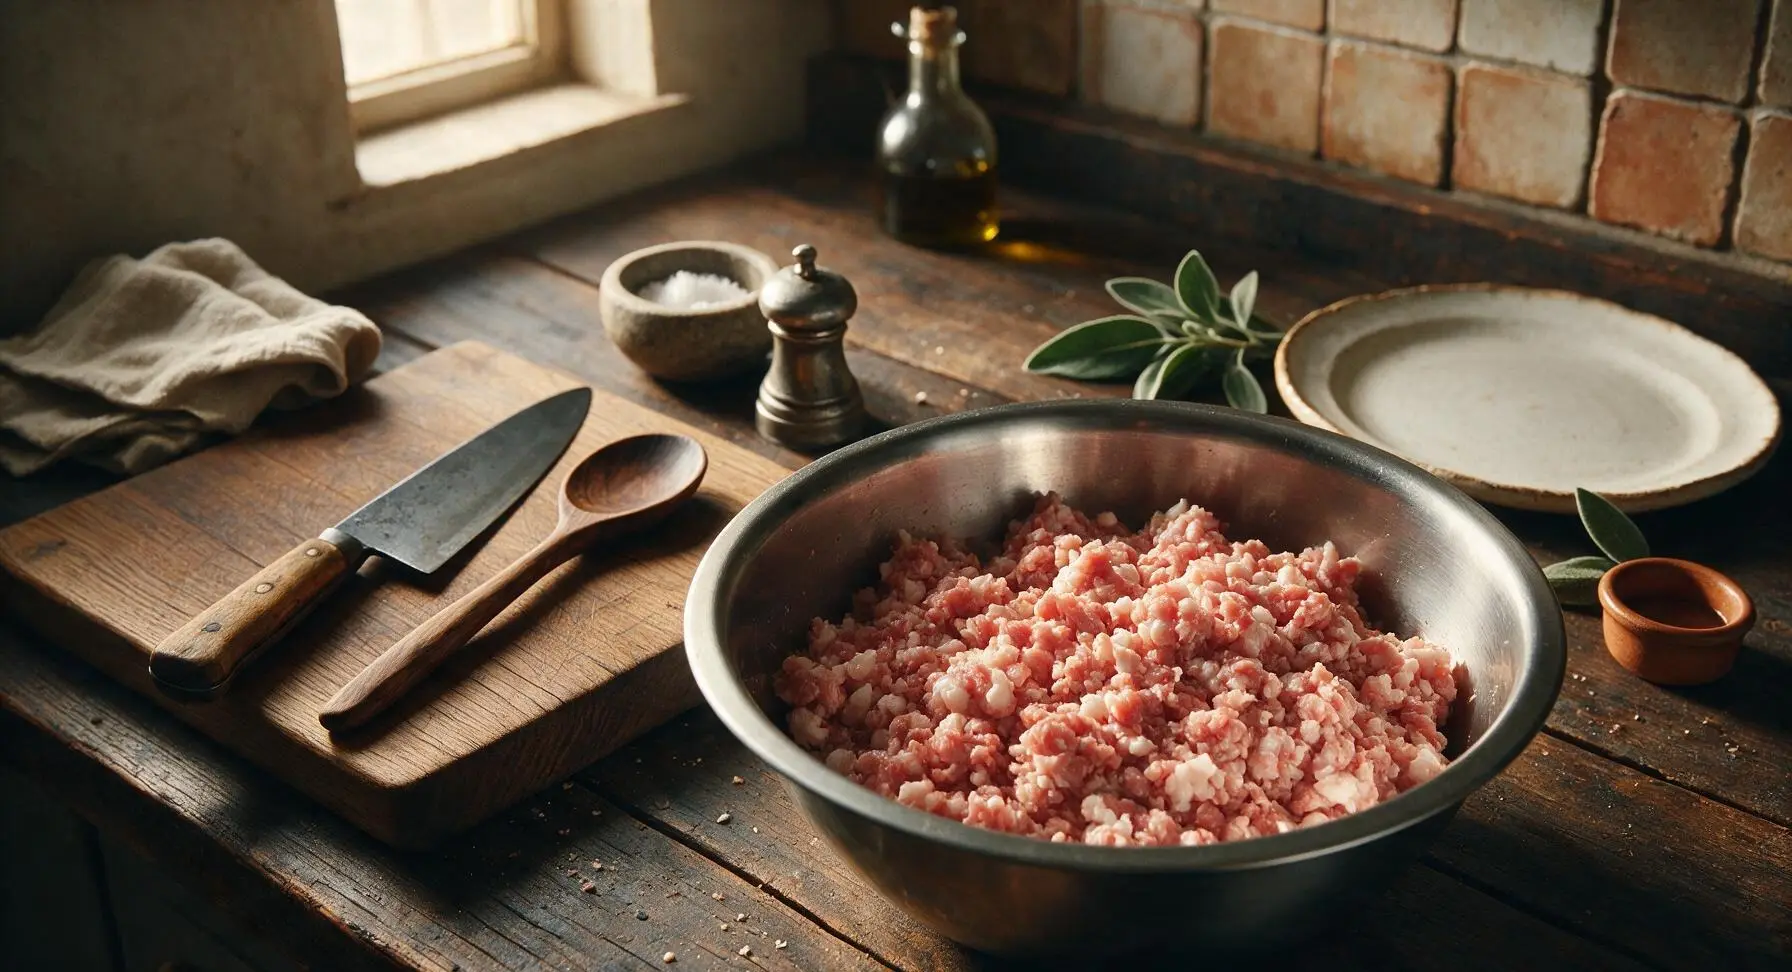
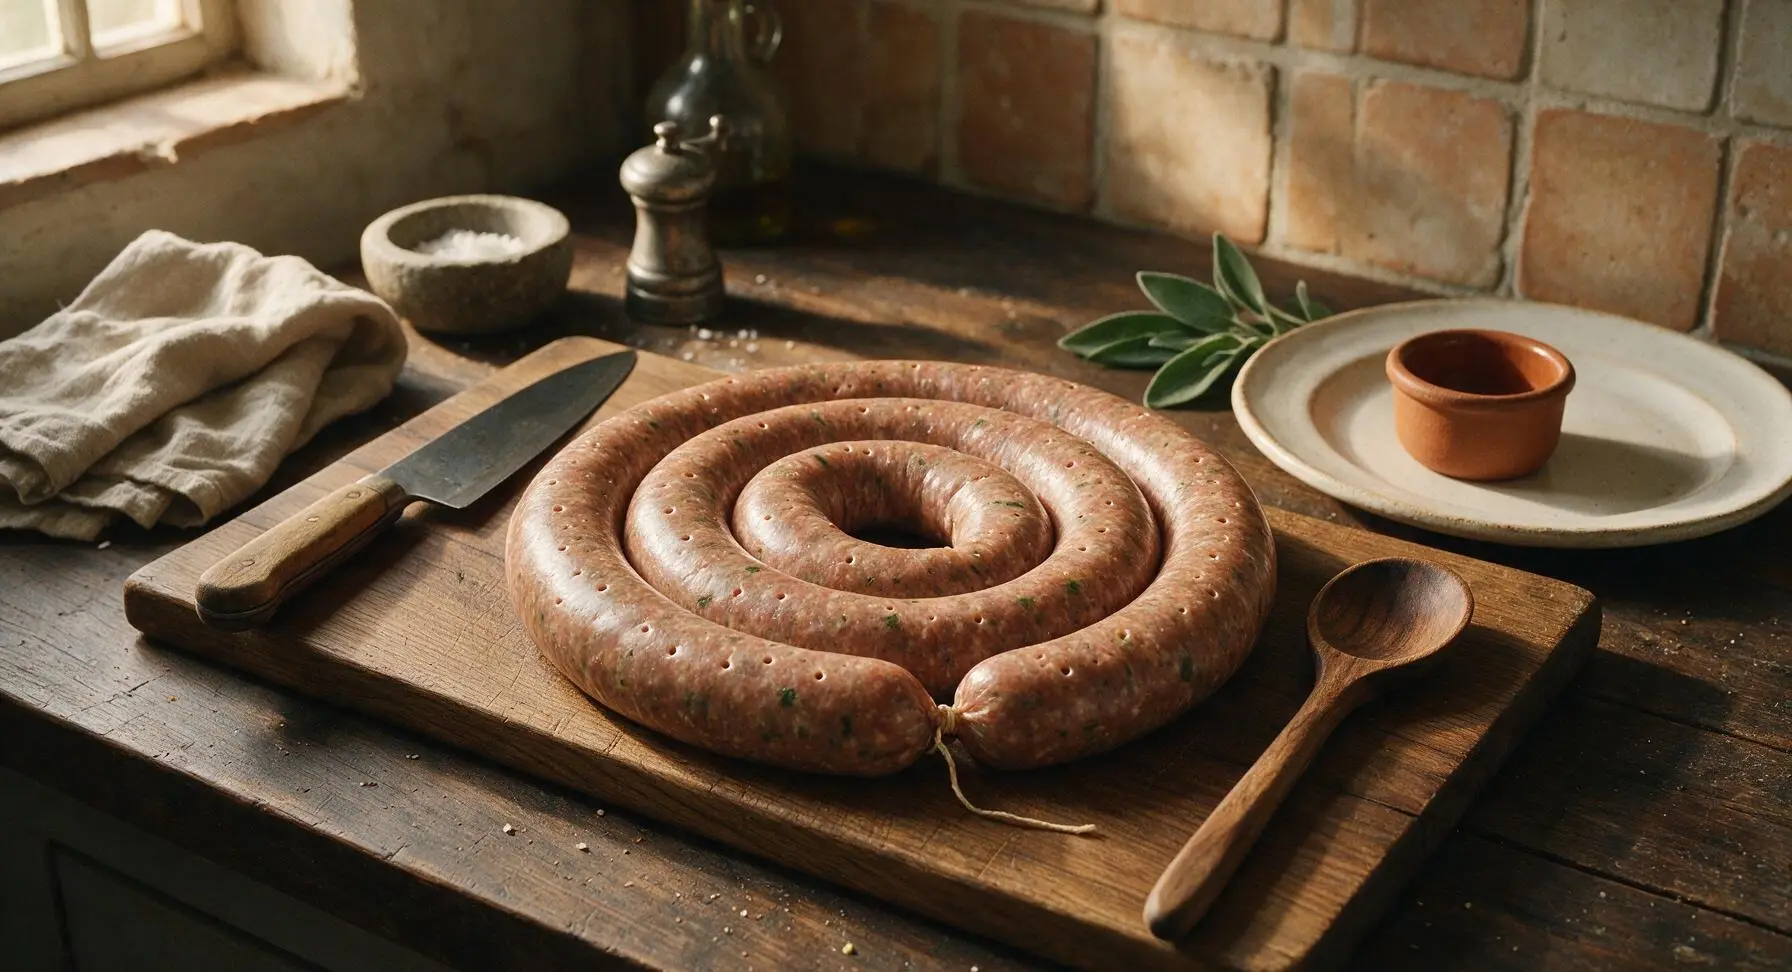
Authentic Cumberland sausage has a distinctly coarse, rustic texture, so use the largest (8–10mm) grinding plate on your meat grinder for the pork shoulder. Skip fine grinding plates, which produce a smooth, uniform texture that feels more like hot dog or bologna than traditional Cumberland. You should see distinct, pea-sized bits of lean meat and fat evenly mixed in the final blend.
7.Do I have to coil the sausage, or can I twist it into individual links?
▾
Cumberland is traditionally sold and served as one long, continuous coil, but you can absolutely twist it into 4–6 inch individual links if that works better for your cooking and serving needs. Just twist every other link in opposite directions to prevent unraveling, and take care not to overstuff casings, which will cause splitting when you twist or cook the sausage.
8.How do I keep sausage meat from getting too warm during grinding and stuffing?
▾
Keep your pork shoulder, grinder parts, and stuffing tube fully chilled—pop them in the freezer for 30 minutes before you start working. Warm meat causes fat to smear, which leads to dry, crumbly sausage with a mushy texture instead of a clean, coarse bite. If the meat feels soft or sticky mid-process, pop it back in the fridge for 15 minutes before resuming.
9.What’s the best pan-searing method to get a crisp golden crust without burning?
▾
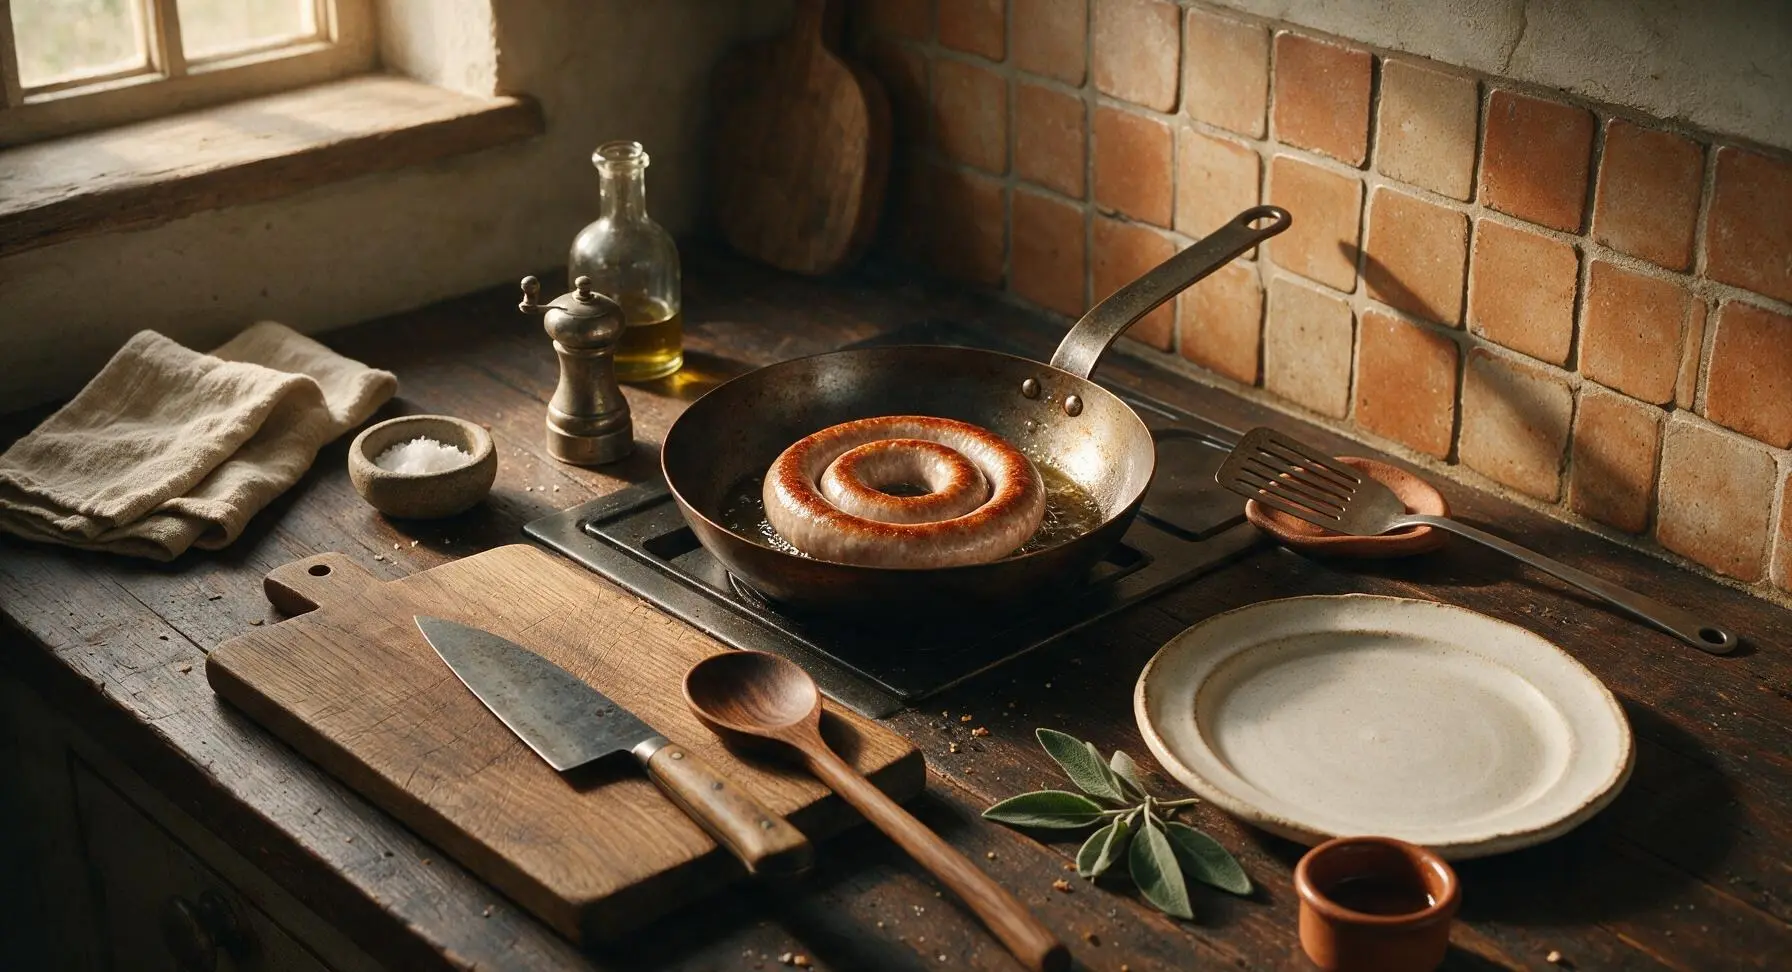
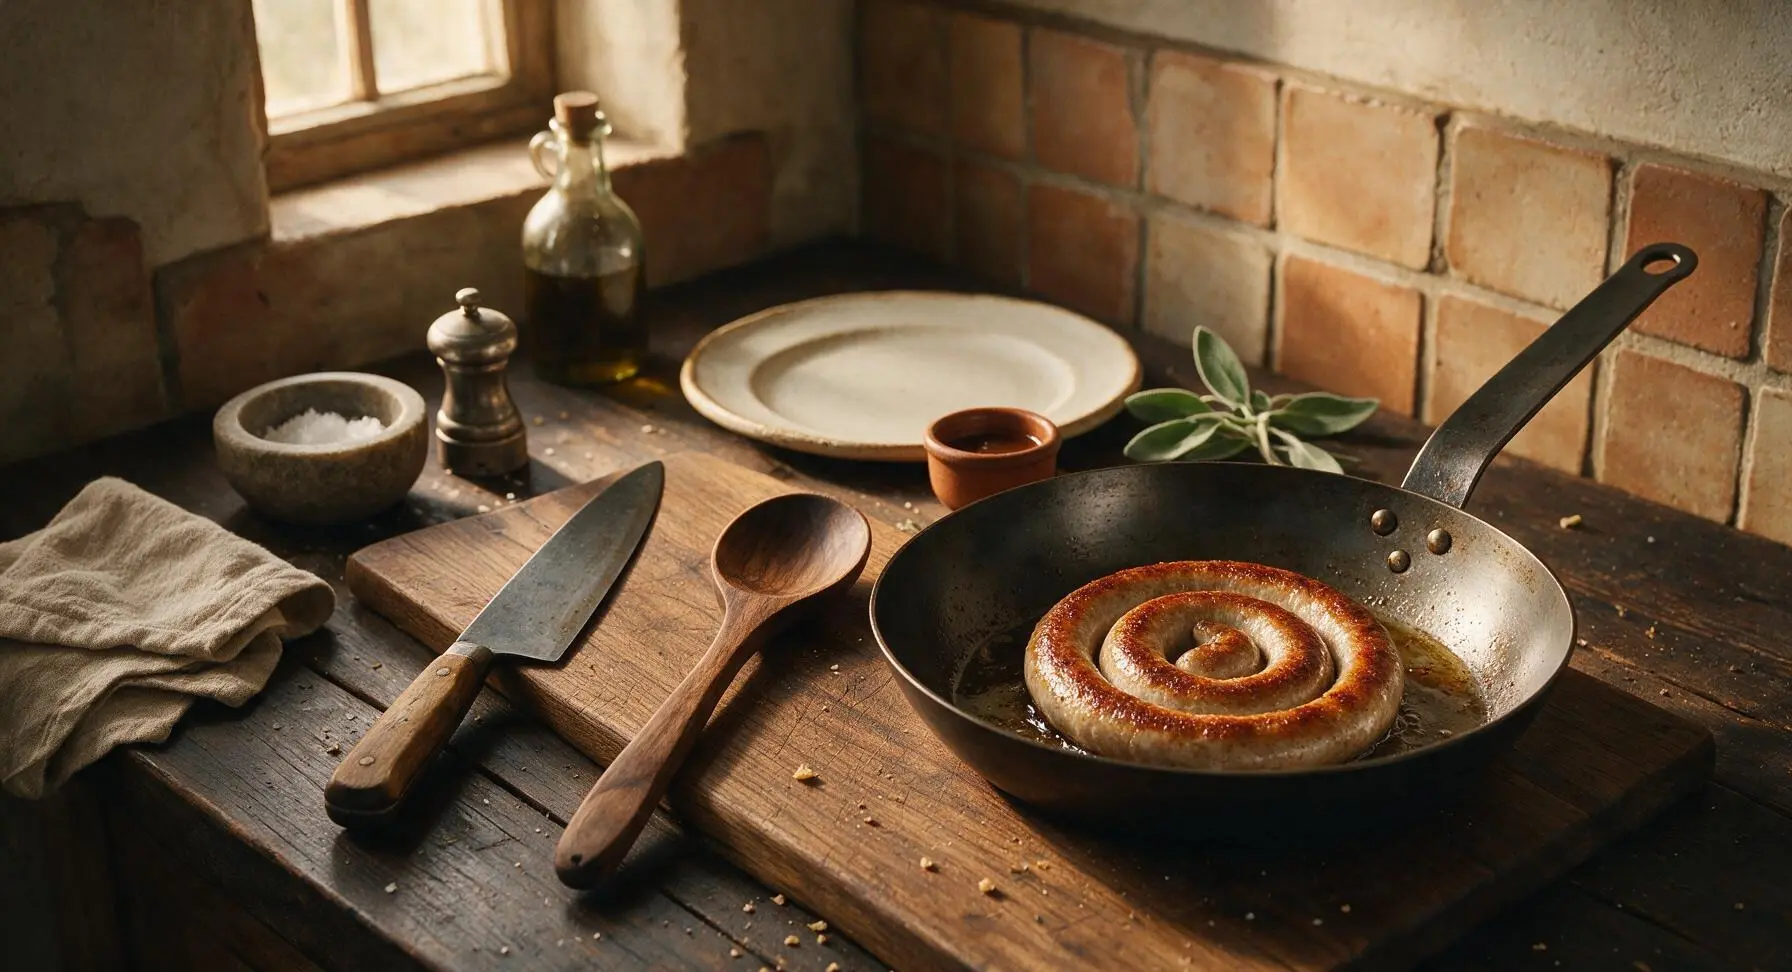
Heat a heavy-bottomed skillet over medium-low heat, add a tiny splash of neutral oil, then add your sausage coil or links. Cook for 12–15 minutes total, turning gently every 2–3 minutes, until the exterior is deep golden and crisp and the internal temperature hits 160°F. Avoid high heat, which burns the outside before the center cooks and causes casings to split.
10.Can I freeze these homemade sausages, and how long will they stay good?
▾
Yes, these freeze beautifully. Let stuffed, uncooked sausages rest uncovered in the fridge for 2 hours to let seasoning meld and casings dry slightly, then wrap them tightly in plastic wrap and freezer paper, or seal in a vacuum bag. They’ll keep for up to 3 months in the freezer; thaw fully in the fridge before pan-searing for the best texture and flavor.
11.Why does my homemade sausage turn out dry even when I use 80/20 pork?
▾
Dry sausage almost always stems from one of three common mistakes: grinding the meat too finely, working with warm meat that causes fat to smear and render out during cooking, or cooking over excessively high heat for too long. Stick to a coarse grind, keep all equipment and meat well-chilled, and cook low and slow to lock in juicy fat instead of letting it leak into the pan.
12.Do I need extra spices beyond salt, pepper, and sage for authentic flavor?
▾
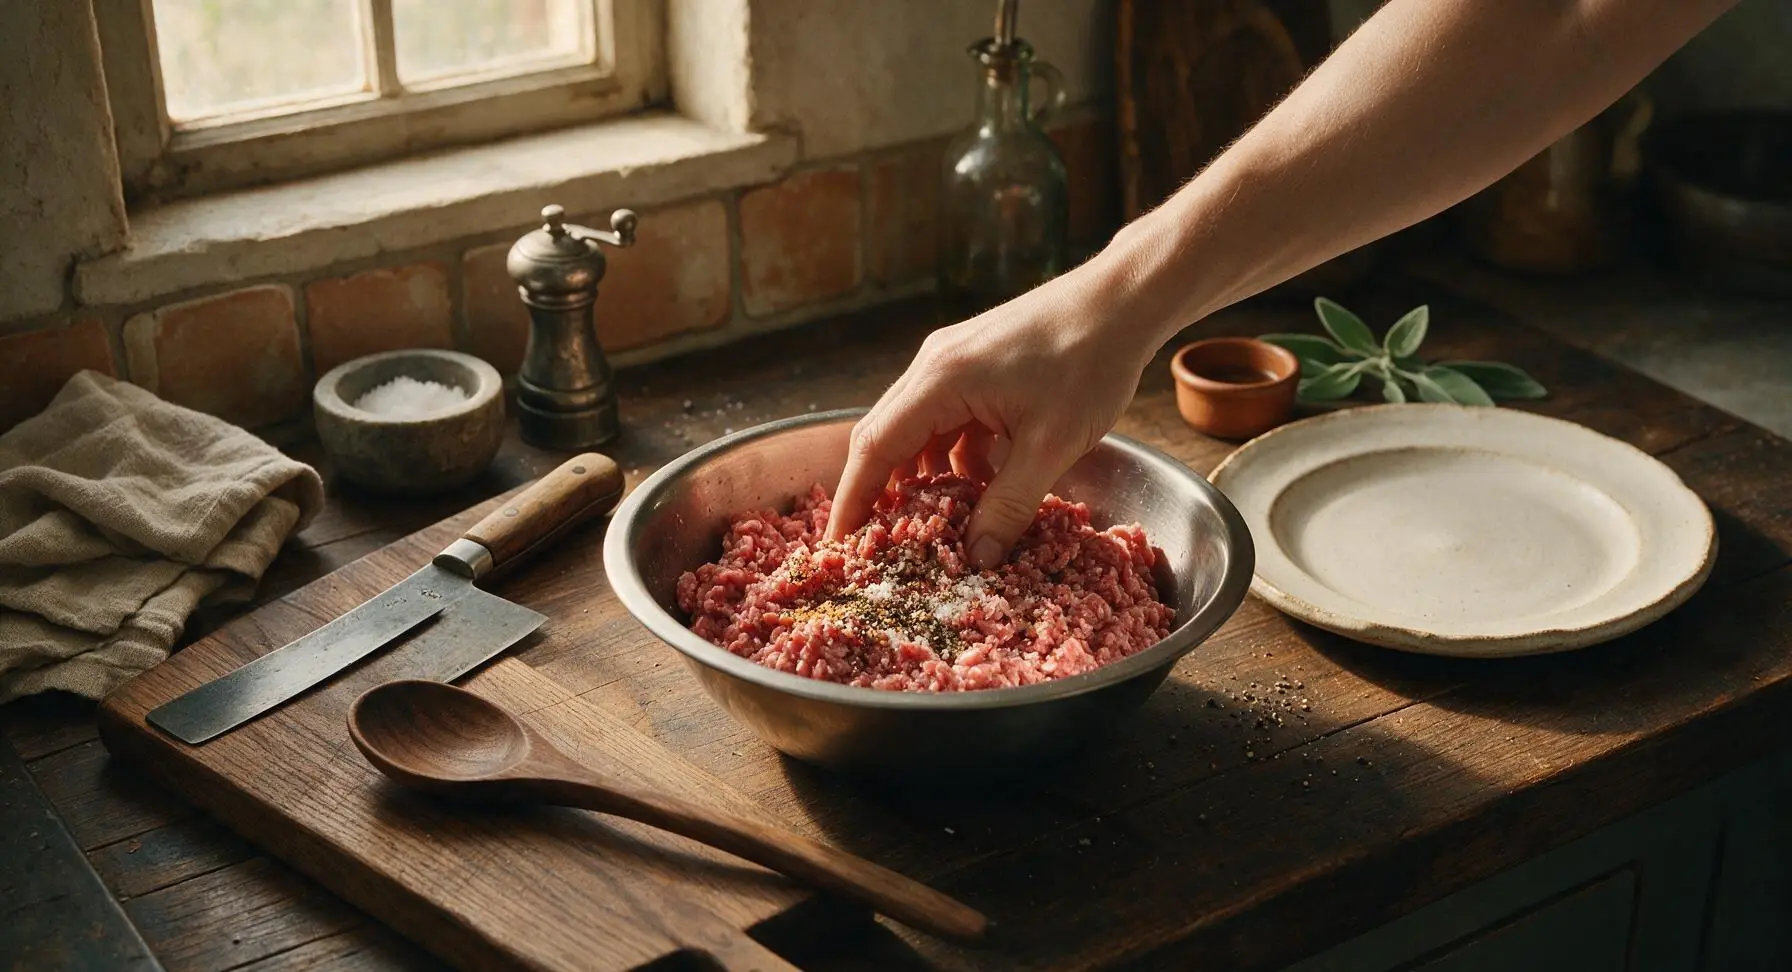
Traditional Cumberland sausage relies on that simple trio of fine sea salt, freshly ground black pepper, and dried rubbed sage for its signature warm, herby flavor—no extra nutmeg, mace, or garlic is used in the classic version. If you want a tiny personal twist, you can add a pinch of ground white pepper, but skip heavy add-ins like garlic or paprika that overpower the simple, savory profile.
13.How long should I let stuffed sausages rest before cooking them?
▾
Let your stuffed sausages rest uncovered on a wire rack in the fridge for at least 4 hours, and ideally overnight, before cooking. This rest time lets seasoning distribute evenly through the meat, lets casings dry slightly for a snappier bite, and helps the meat bind so it doesn’t shrink away from the casing or fall apart when you slice into it after cooking.
14.My casings keep splitting while I stuff them—what am I doing wrong?
▾
Casing splits usually happen for one of three reasons: you’re overstuffing the casings (leave a little give when filling to leave room for expansion), your casings weren’t soaked long enough and are too brittle, or you’re stuffing meat too quickly, which builds up pressure that tears the casing. Leave ½ inch of empty casing at each end to tie off securely, too.
15.Can I make this sausage without casings if I don’t have a stuffer?
▾
Absolutely! If you don’t have casings or a sausage stuffer, you can form the seasoned coarse pork mix into 4-ounce patties for a casing-free Cumberland sausage that works perfectly for breakfast or sandwiches. The flavor and texture will be nearly identical; you just won’t get the snappy casing bite or classic coiled presentation, and patties will cook 2–3 minutes faster per side.
16.What internal temperature should I cook these to for safety without overcooking?
▾
Cook your Cumberland sausages to a safe internal temperature of 160°F, measured with an instant-read thermometer inserted into the thickest part, avoiding contact with the hot pan. Don’t rely on color alone—even if the outside is deep golden, the center may be undercooked, and cooking past 165°F will quickly dry out the meat and make the texture tough and crumbly.
17.Why is Cumberland sausage traditionally coiled instead of linked like other sausages?
▾
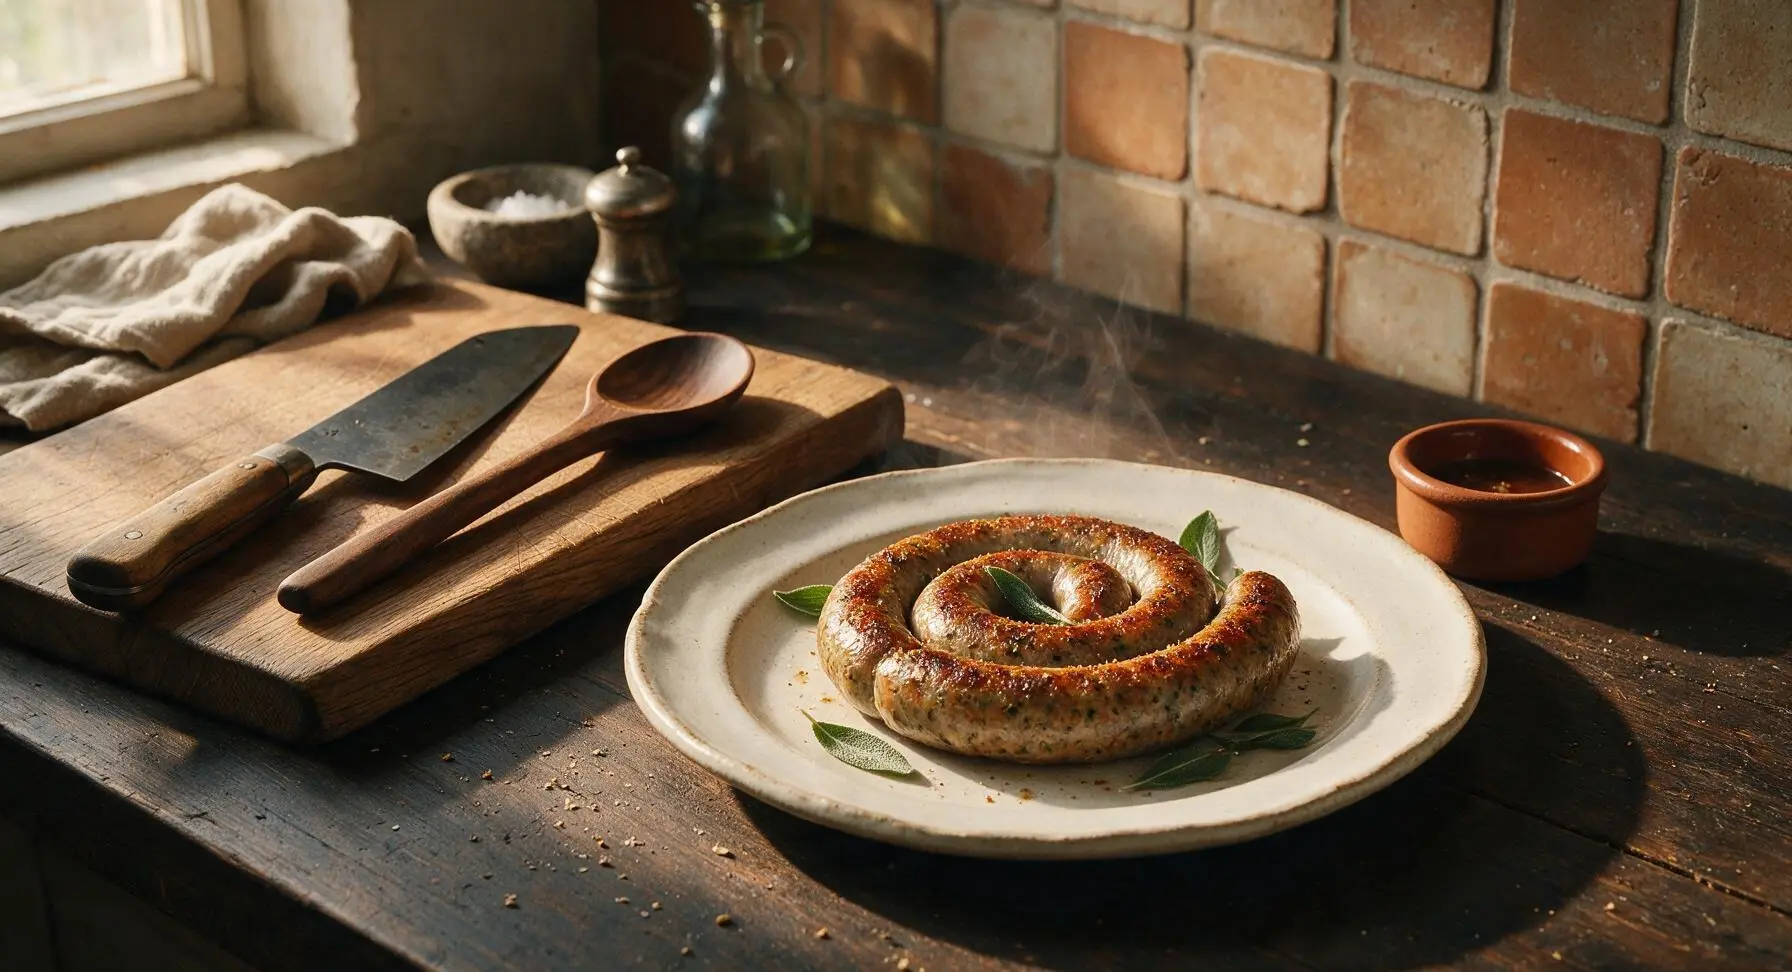
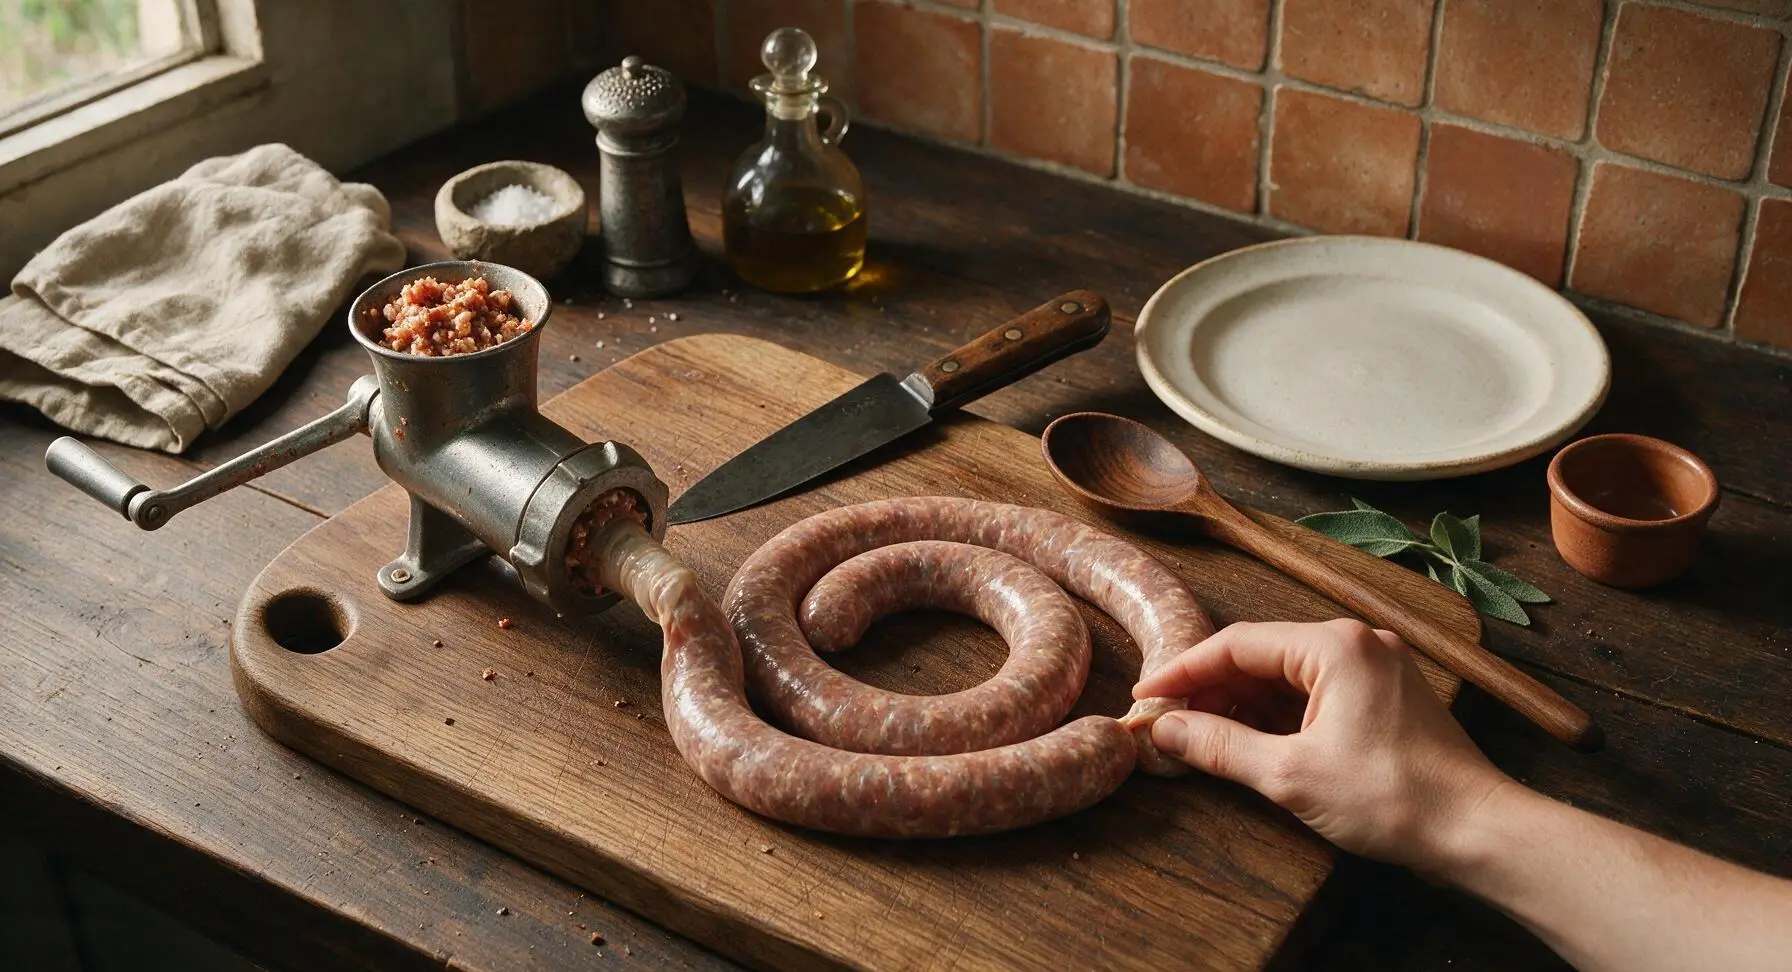
The iconic coiled shape dates back to the historic Cumberland region of Northwest England, where butchers sold sausage as one long, unlinked rope coiled into a spiral so customers could cut off exactly the amount they wanted, no pre-portioned links required. The shape also helps the sausage cook evenly, with a mix of crisp outer edges and tender, juicy center across the whole coil.
18.Can I cook these sausages on the grill instead of pan-searing them?
▾
Yes, you can grill these sausages for a subtle smoky twist, but stick to medium indirect heat instead of high direct flame to prevent splitting and burnt casings. Place the coil or links on the cool side of the grill, close the lid, and cook for 14–16 minutes, turning once, until the internal temp hits 160°F, then move them over direct heat for 1 minute per side to crisp the casing.







OMG these turned out SO good! I made them for our Sunday family dinner and even my super picky 7 year old asked for seconds. The seasoning ratio is perfect, not too herby, just enough peppery kick. Game changer not having to buy the grocery store ones that are full of weird fillers!
Made these for a neighborhood potluck last weekend and people were asking me for the recipe left and right! I smoked half the batch for 10 mins before finishing them on the grill and the flavor was unreal. 10/10 will be making these a regular for summer cookouts.
Wait, mine came out a little dry? I followed the cook time exactly (25 mins at 375 like it says, right?) but they were a bit crumbly too. Did I overwork the meat when mixing? Flavor was still great though, just texture was off.
These are perfect for my weekly meal prep! I cooked up a double batch on Sunday, sliced them up, and tossed them in breakfast scrambles, pasta, and even sheet pan dinners all week. They hold up so much better than pre-made sausage links!
I grew up eating Cumberland sausage when my grandma would make it for Christmas breakfast, and this recipe tastes exactly like I remember! The hint of mace is the secret I was missing from all the other recipes I've tried over the years. Absolute nostalgia in a bite.
Medium difficulty is no joke—stuffing the casings took me a solid 20 minutes of fumbling before I got the hang of it! That said, the end result was so worth the extra effort. Way better than any artisanal sausage I've paid $12 a pound for at the butcher shop.
I added a tiny extra pinch of cayenne to my batch because I love a little extra heat, and oh my gosh it was chef's kiss. Served them with creamy mashed potatoes and onion gravy for the coziest weeknight dinner ever. My partner already asked when I'm making them again!
Wait, can I make these without casings? I don't have a sausage stuffer and really don't want to buy one just for this recipe. The flavor sounds too good to pass up!
Made these for brunch last weekend with scrambled eggs, sourdough toast, and roasted tomatoes. All my guests raved! I love that the cook time is only 25 minutes, so I didn't have to wake up at the crack of dawn to get everything on the table.
I was worried this would be super expensive to make at home but it's actually way cheaper than buying premium sausage at the store, and I know exactly what's going into it. Win win! Only note is I wish the recipe had a note on how to freeze them for later?
My kids went crazy for these! I let them help mix the seasonings in (messy, but fun) and they were so proud to eat something they helped make. We had them in hot dog buns with grilled onions for a fun weekend lunch. 10/10 family activity + meal.
So happy this recipe is naturally gluten free! I've been searching for a good GF sausage recipe that doesn't have weird fillers or breadcrumbs, and this fits the bill perfectly. No weird aftertaste, just perfect savory sausage flavor.
I've been making Cumberland sausage for 40 years, and this recipe is spot on to the traditional version I learned to make when I worked in the Lake District. The ratio of pepper to sage to mace is perfect, you don't need to tweak a thing.
Made these for game day last weekend, grilled 'em up and served them with mustard and sauerkraut. Absolute hit! My friends thought I bought them from a specialty meat market. The only issue I had was a couple of casings burst when I was grilling, any tips?