
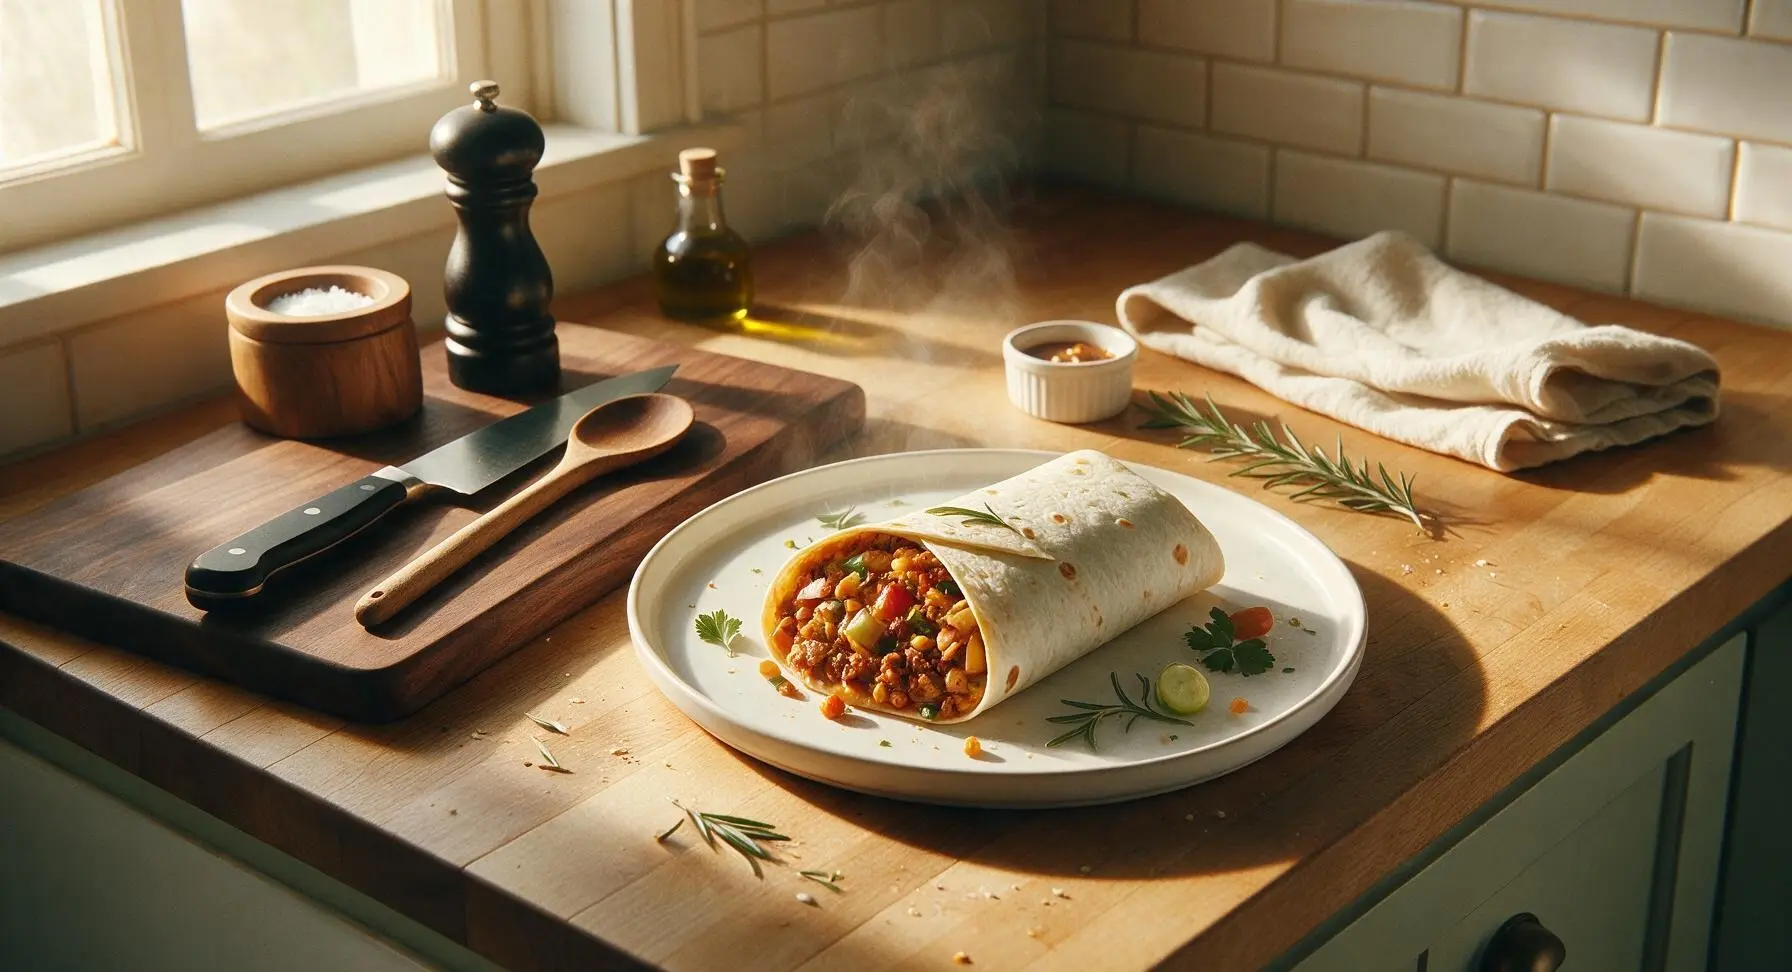
diy frozen burritos

title 1
diy frozen burritos
⏱️ cook time 15 minutes
🍽️ servings 8
⚡ Difficulty easy

intro

Stock your freezer with these hearty, customizable Tex-Mex burritos—perfect for grab-and-go lunches or fast weeknight dinners, with crispy tortillas and melty, savory filling every time.

Ingredients
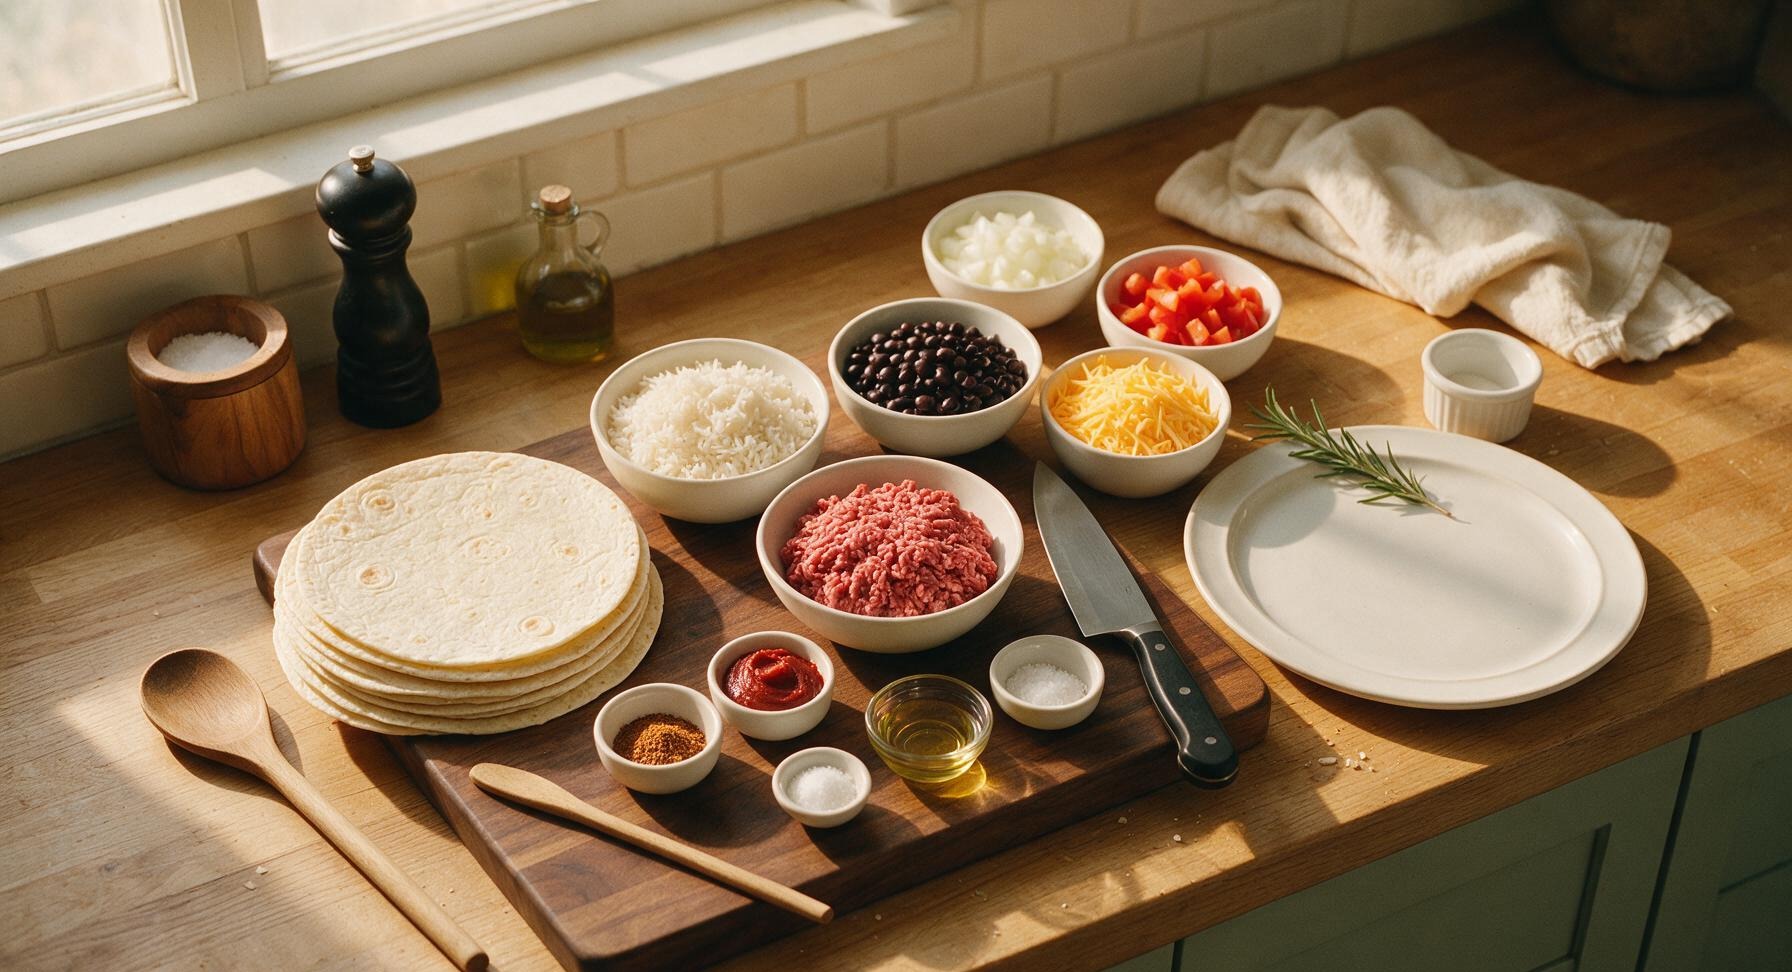
10-inch burrito-size flour tortillas 8 count
90/10 lean ground beef 1 lb (450g)
Cooked long-grain white rice 2 cups
Canned black beans (rinsed, drained) 1 (15oz) can
Shredded sharp cheddar cheese 1.5 cups
Small yellow onion (diced) 1 each
Medium red bell pepper (diced) 1 each
Taco seasoning blend 2 tbsp
Tomato paste 2 tbsp
Neutral cooking oil 1 tbsp
Kosher salt 1 tsp

Steps

1

Sauté Aromatic Vegetables

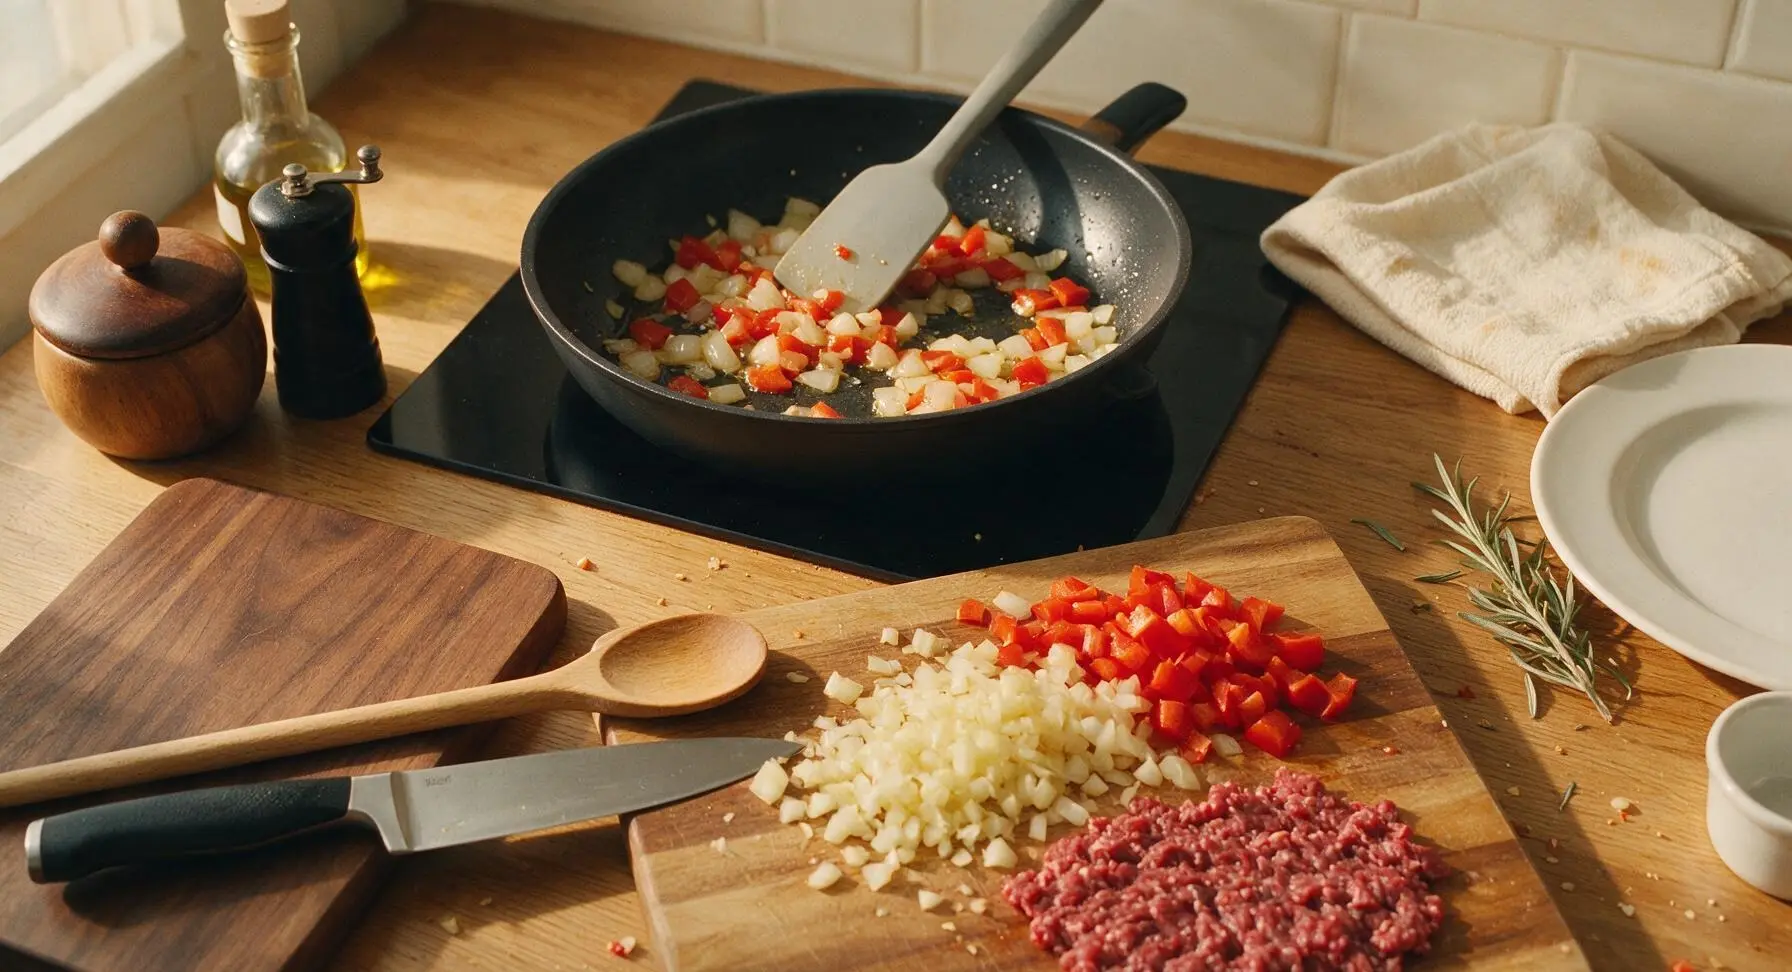
Heat 1 tablespoon neutral cooking oil in the 10-inch matte charcoal non-stick skillet set on the induction cooktop to medium heat (350°F). Add the pre-diced yellow onion and red bell pepper, cook for 4 minutes, stirring occasionally with the heat-resistant silicone spatula, until vegetables are soft, slightly translucent at the edges, and just starting to develop faint golden brown spots.
Step 1
step1:Sauté Aromatic Vegetables
2

Brown Ground Beef

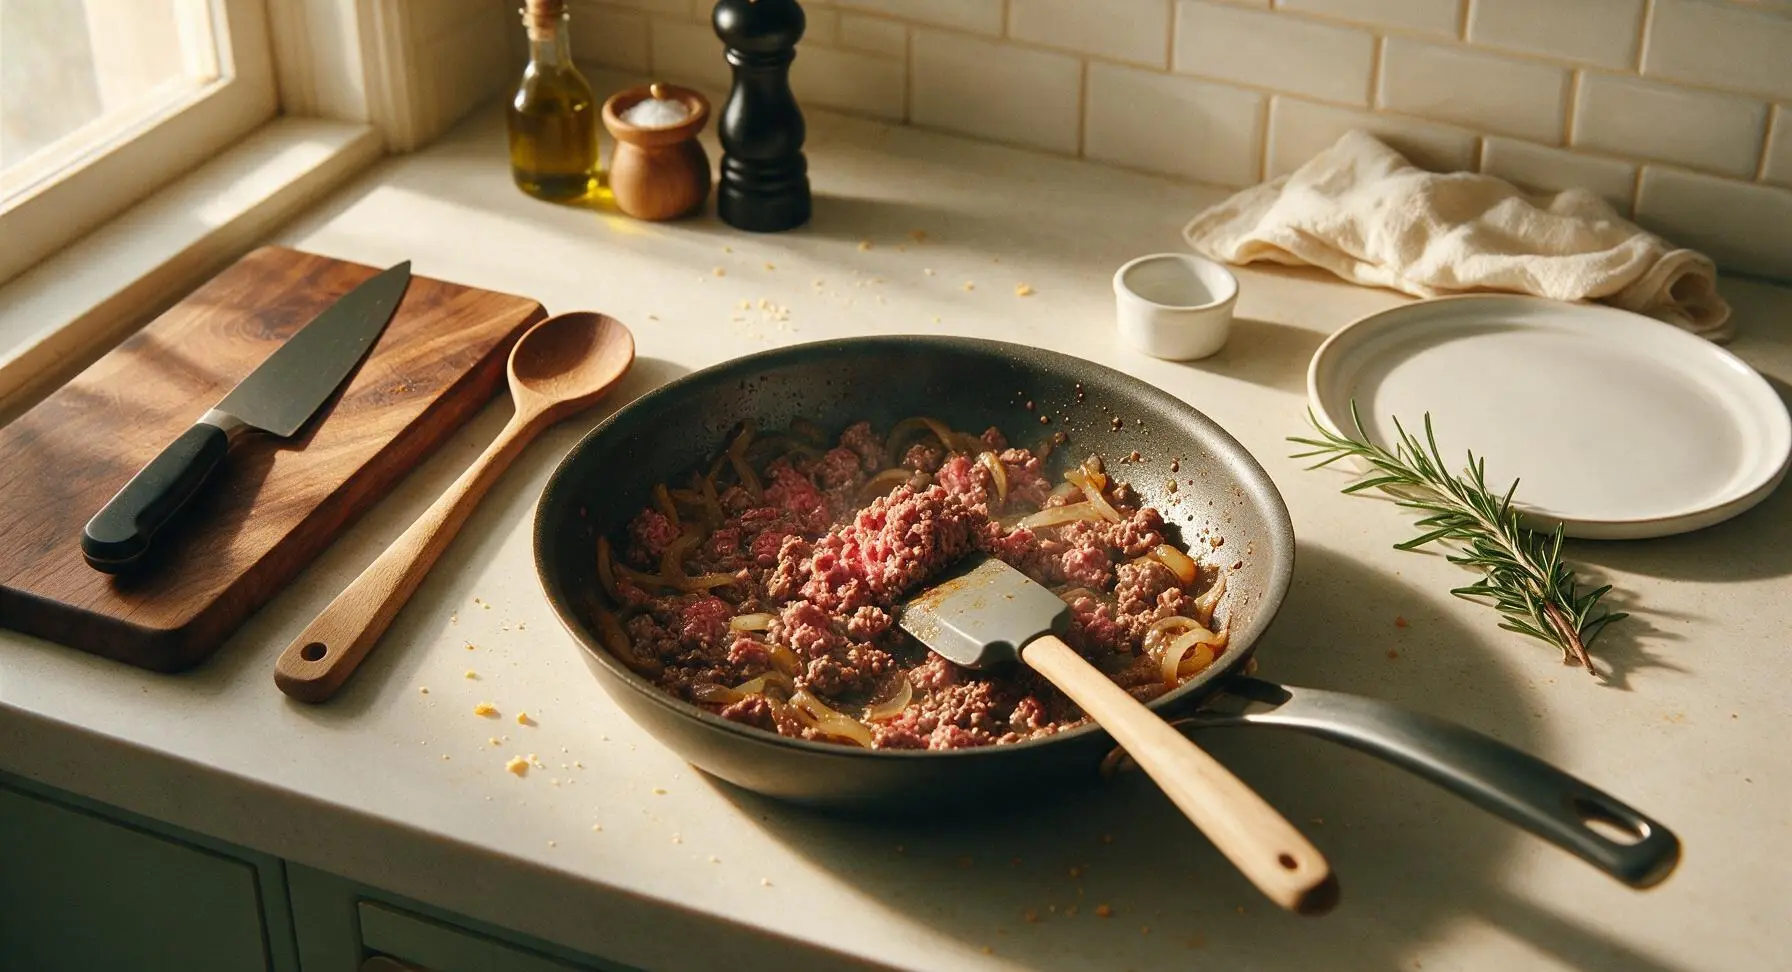
Add 1 pound 90/10 lean ground beef to the skillet with the softened vegetables. Use the silicone spatula to break the beef into fine, even crumbles as it cooks. Cook for 6 minutes over medium heat, until the beef is fully browned with no visible pink remaining, and all excess rendered liquid has evaporated from the pan.
Step 2
step2:Brown Ground Beef
3

Season and Simmer Filling

Stir 2 tablespoons tomato paste and 2 tablespoons taco seasoning into the browned beef mixture. Cook for 1 minute, stirring constantly, until the spices smell fragrant and the tomato paste deepens to a dark rust color. Pour in 1/4 cup water, stir to fully combine, then simmer for 3 minutes until the liquid reduces to a thick, glossy coating on the beef and vegetables. Season with 1 teaspoon kosher salt and 3 grinds of fresh black pepper from the acacia pepper mill.
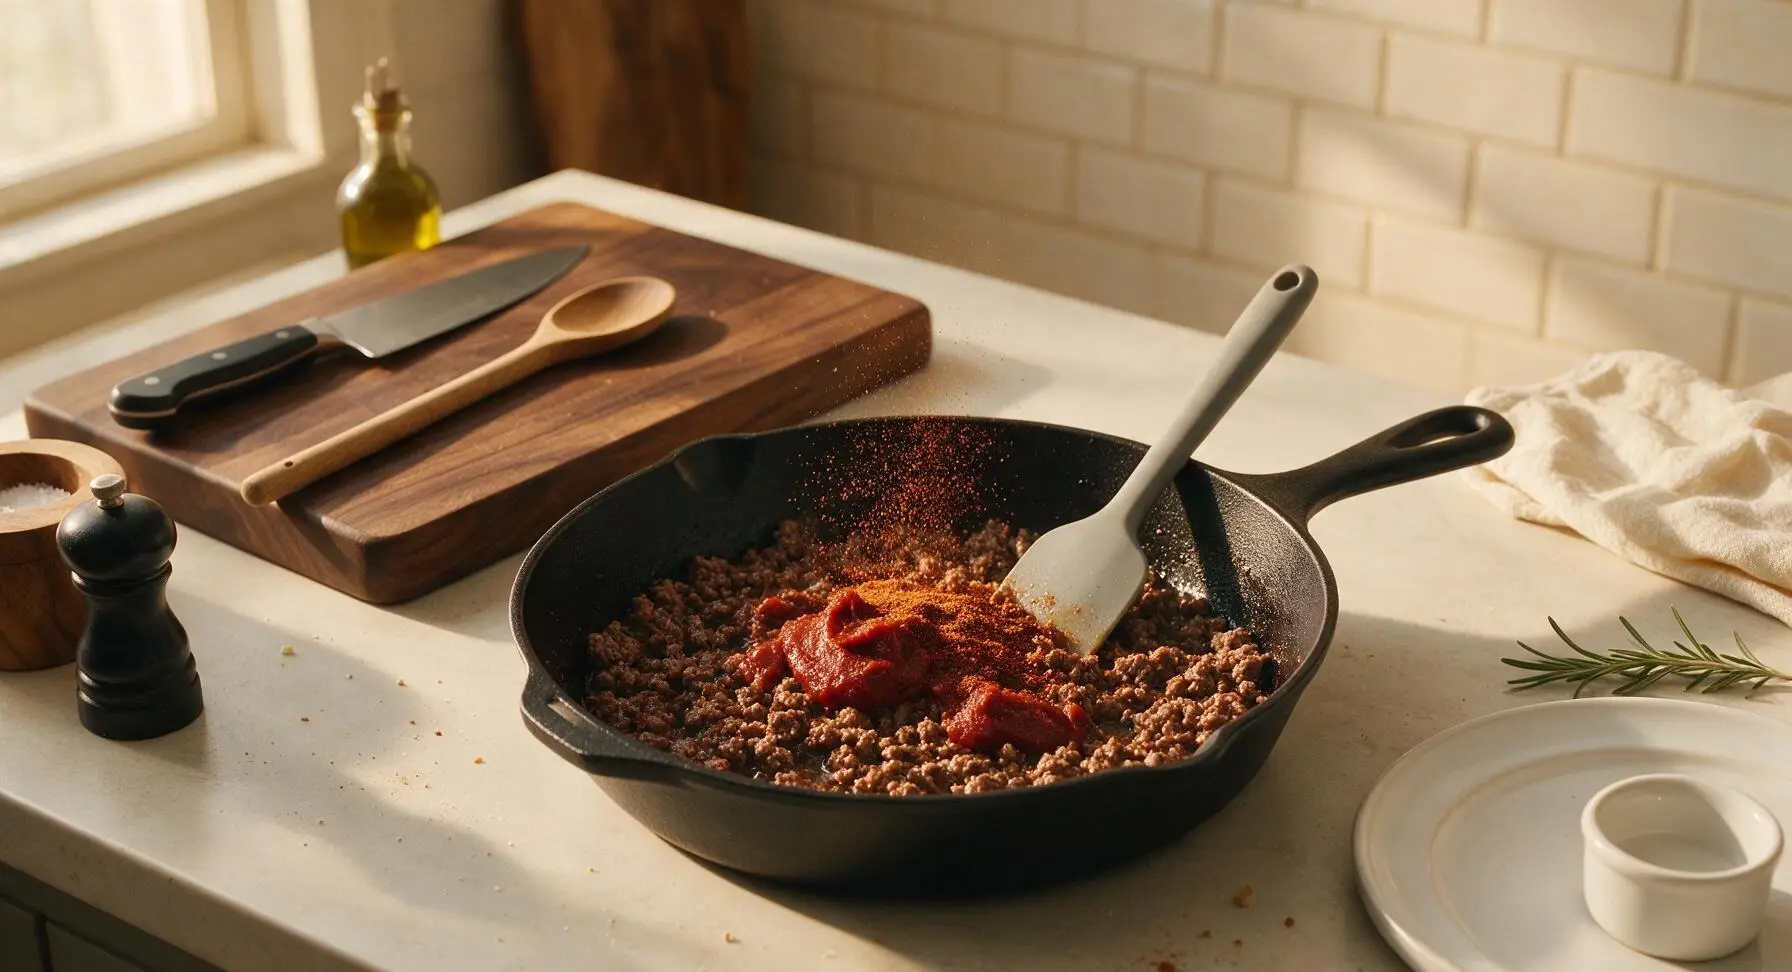
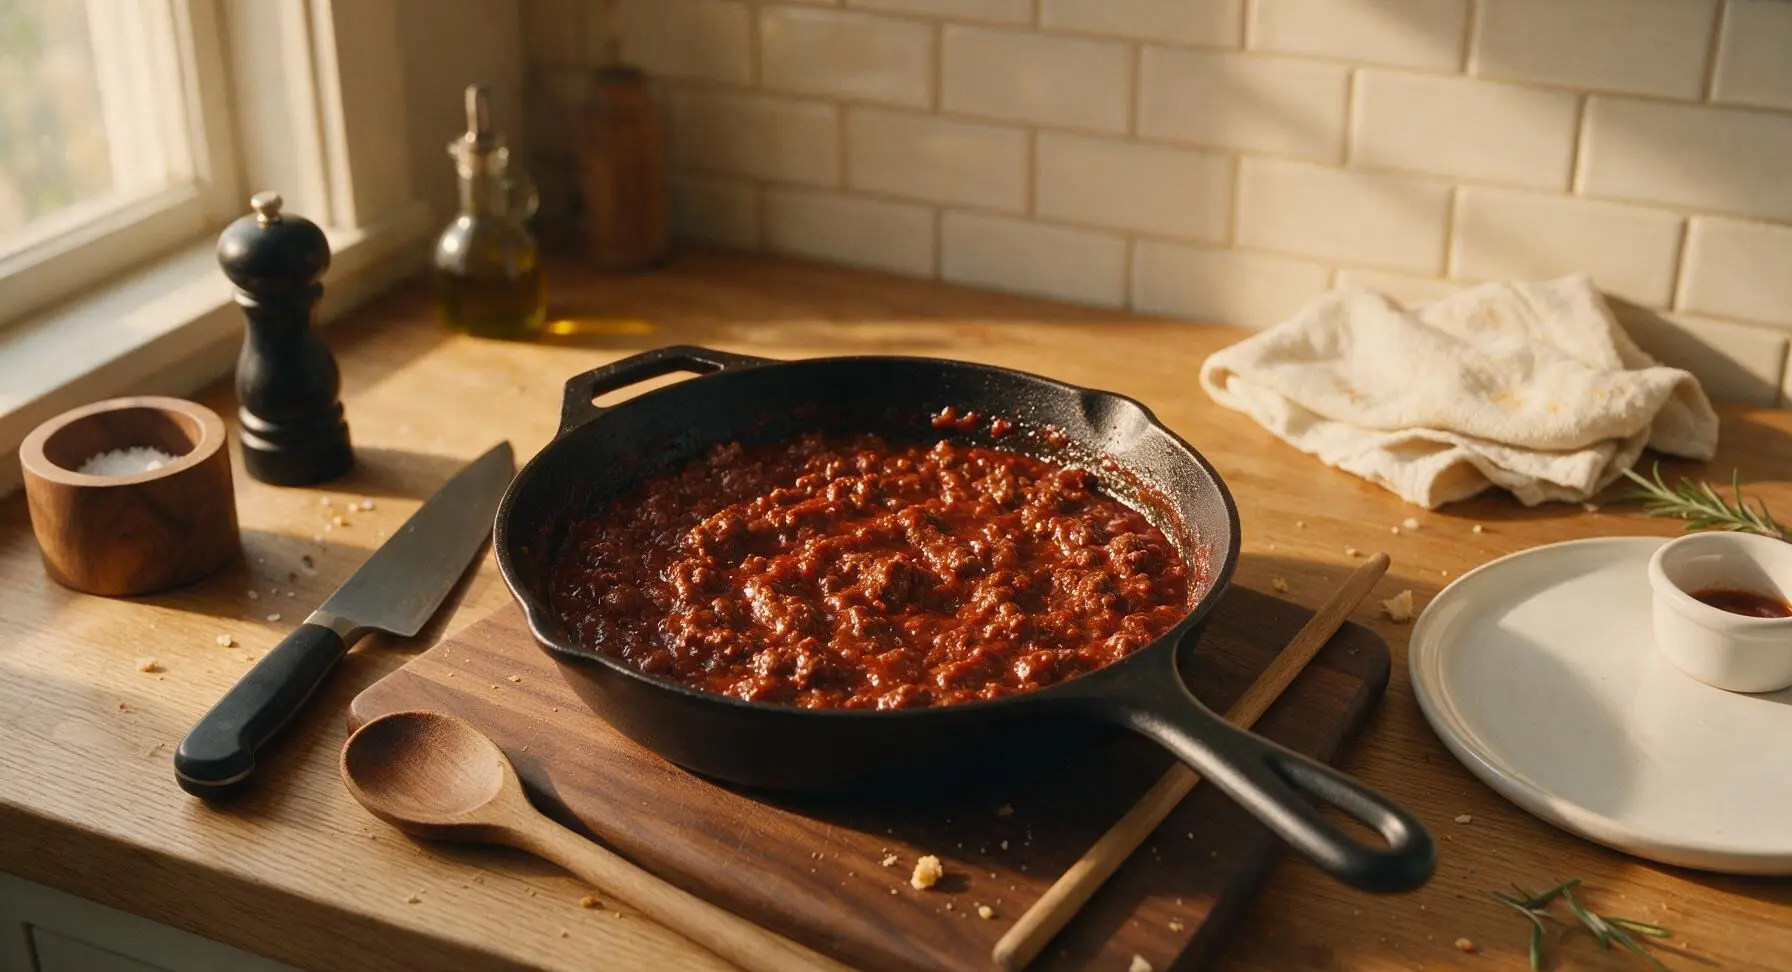
Step 3
step3:Season and Simmer Filling
Step 3
step3:Season and Simmer Filling
4

Fold in Rice and Beans

Turn off the induction cooktop and slide the skillet slightly off the burner to cool. Add 2 cups cooked long-grain white rice and 1.5 cups rinsed, drained black beans to the pan. Stir gently with the silicone spatula until all ingredients are evenly distributed into a uniform filling. Let the filling cool completely to room temperature (approximately 20 minutes) before assembly to prevent soggy tortillas.
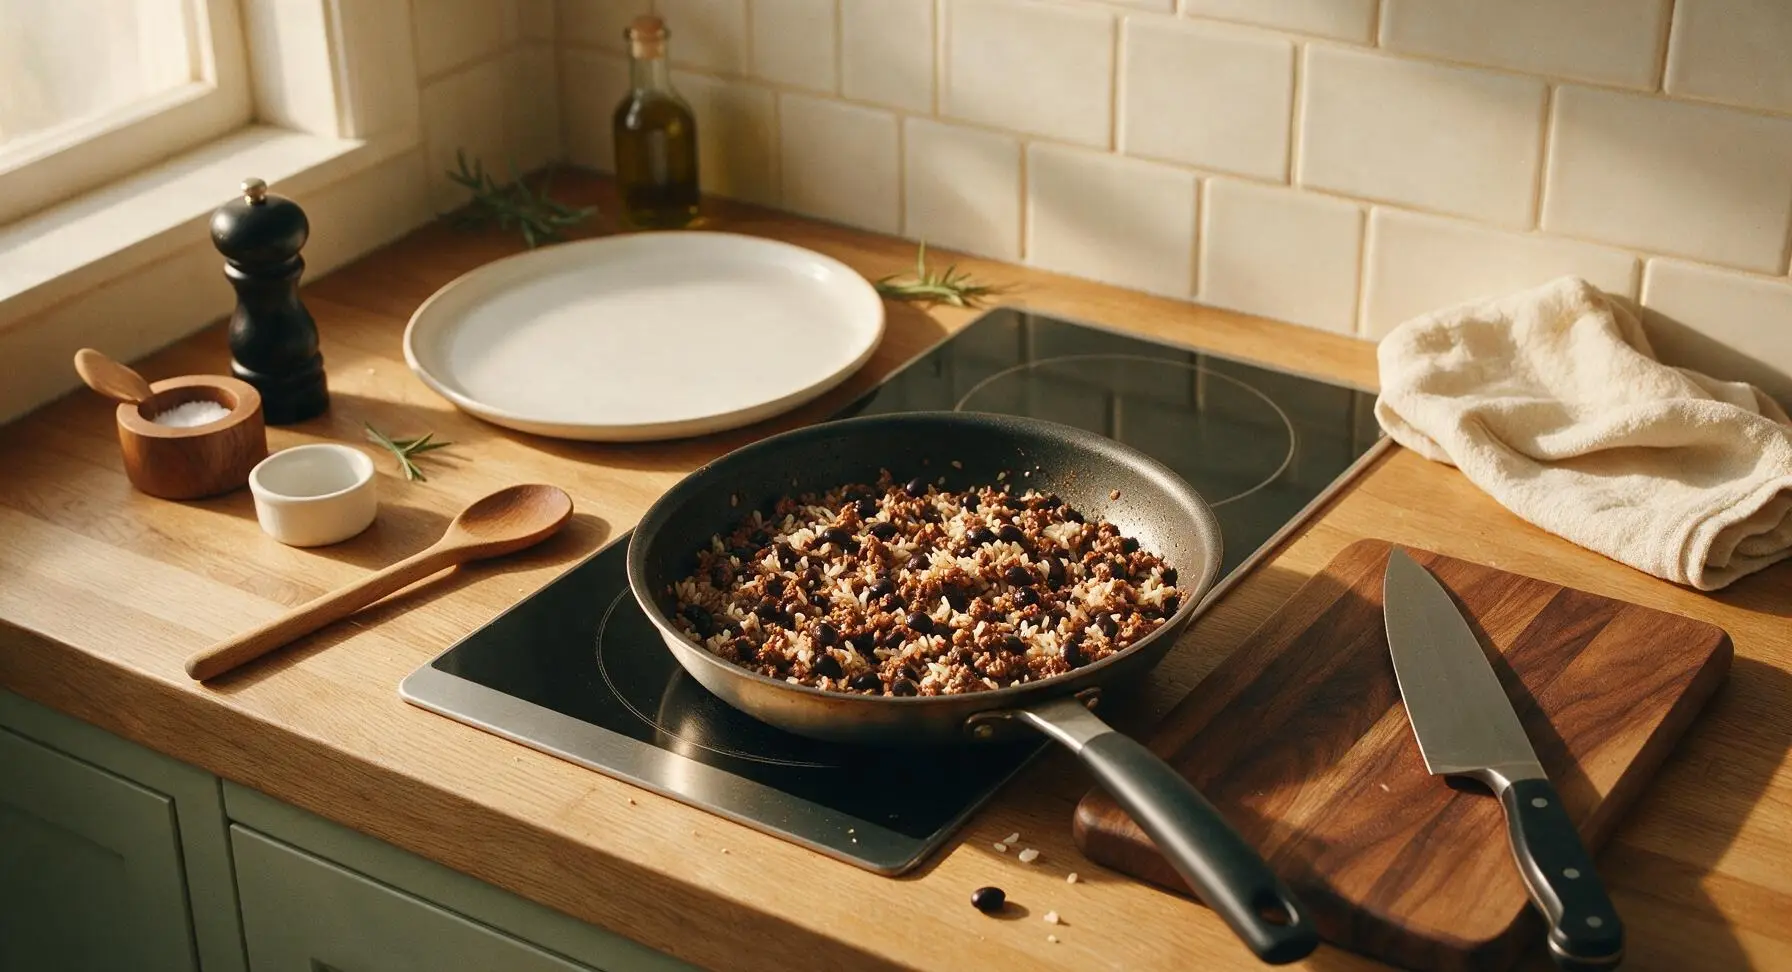
Step 4
step4:Fold in Rice and Beans
5

Fill and Roll Burritos

Lay one 10-inch flour tortilla flat on the acacia wood cutting board. Scoop a scant 1/2 cup of the cooled filling into a tight horizontal line across the lower third of the tortilla, then top with 2 tablespoons of shredded sharp cheddar cheese. Fold the left and right edges of the tortilla 1 inch inward over the filling, then roll tightly from the bottom edge up to form a compact, seam-side-down burrito with no filling peeking out of the ends. Repeat with all remaining tortillas, filling, and cheese.
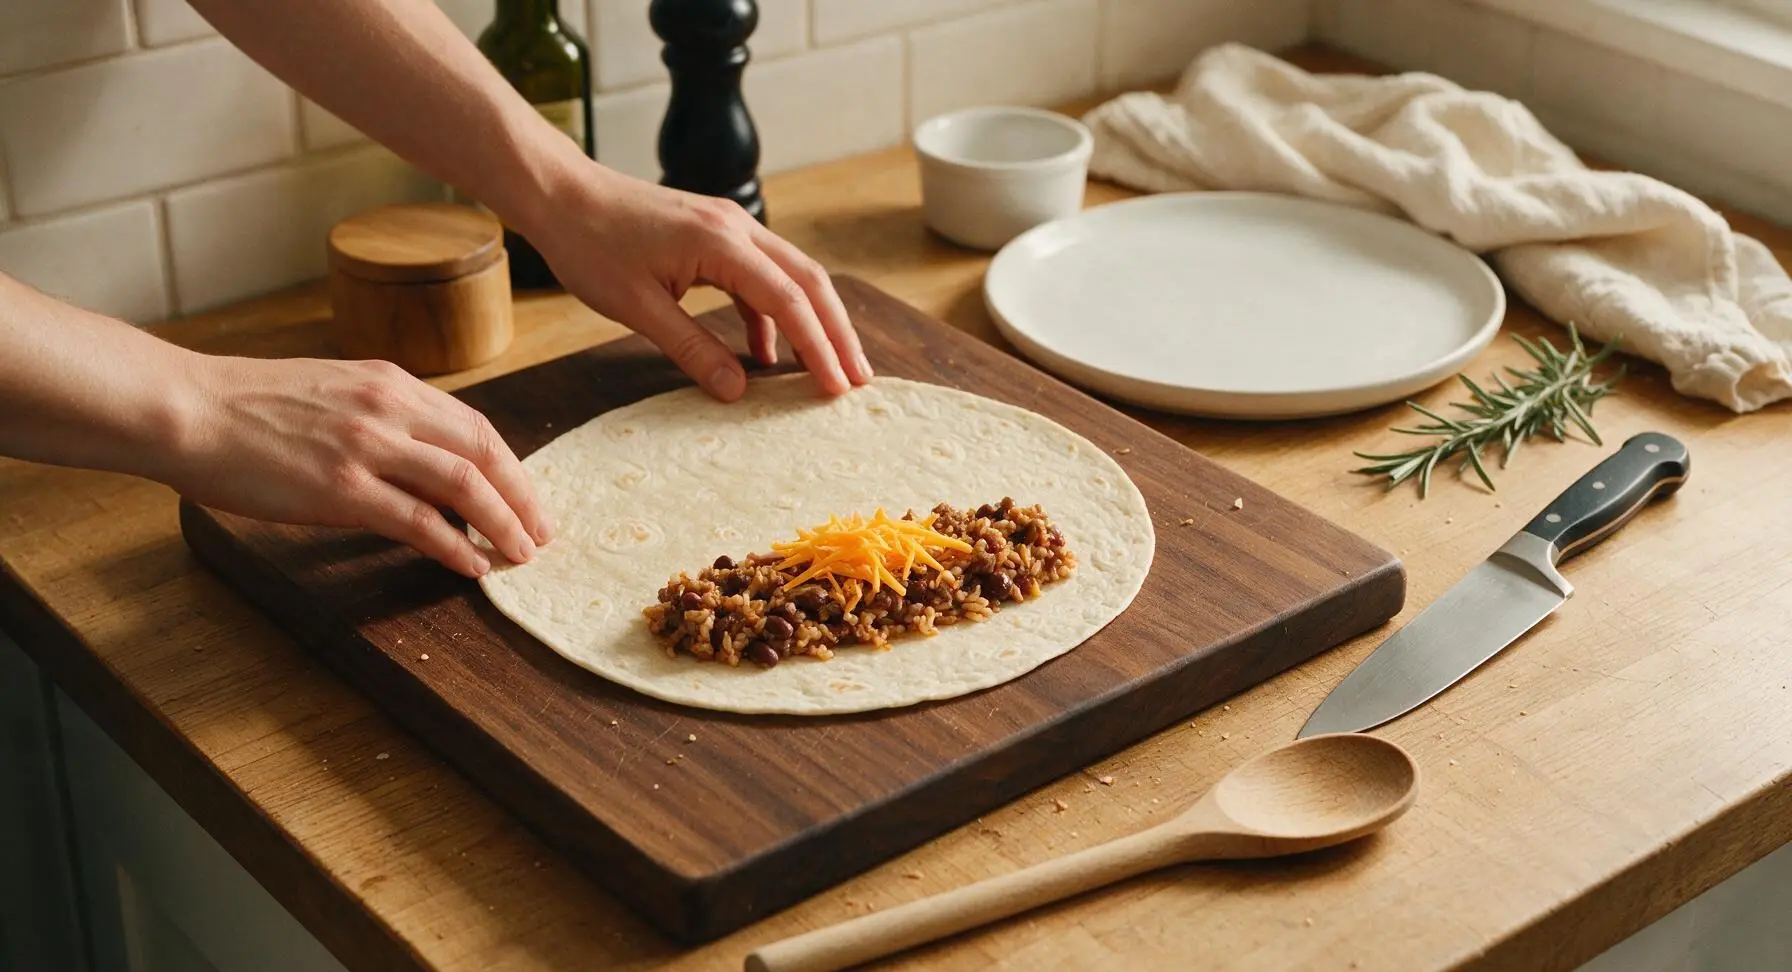
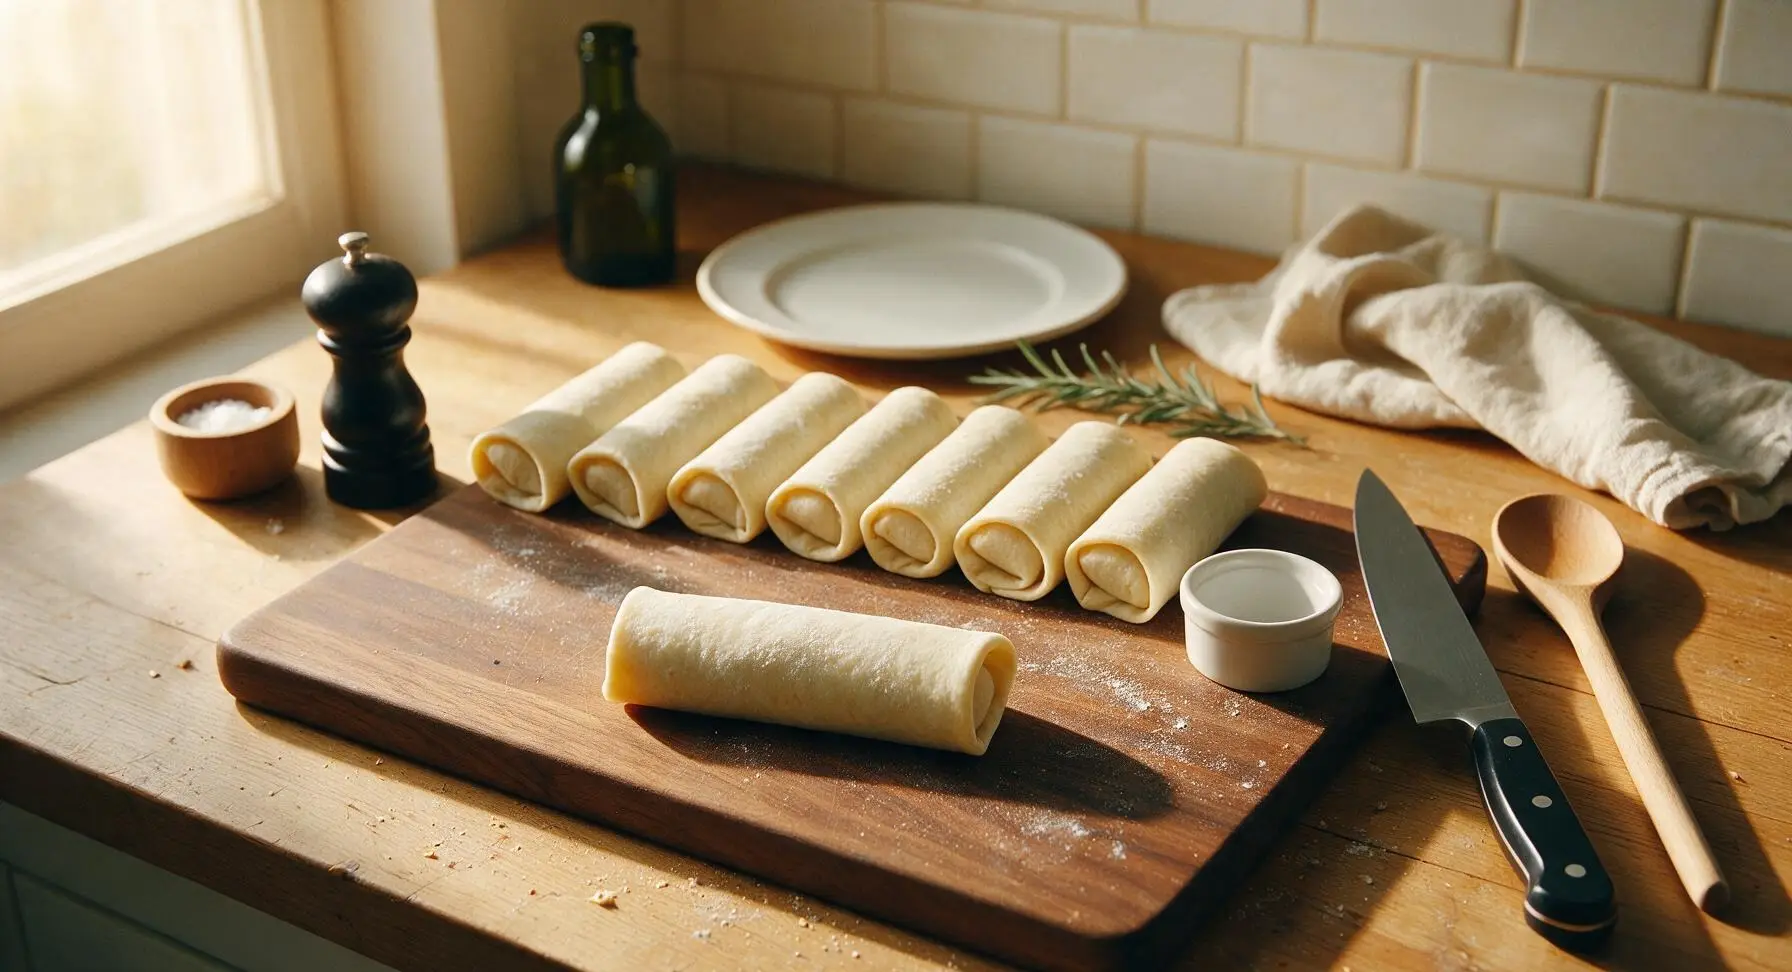
Step 5
step5:Fill and Roll Burritos
Step 5
step5:Fill and Roll Burritos
6

Wrap for Freezer Storage

Tear 8 6x6 inch squares of parchment paper from the fixed roll at the back of the counter. Wrap each rolled burrito tightly in a single parchment square, twisting the open ends slightly to create a sealed package that prevents freezer burn. Place all wrapped burritos into the reusable silicone freezer bags, press out all excess air before sealing, then lay the bags flat in the freezer for up to 3 months.
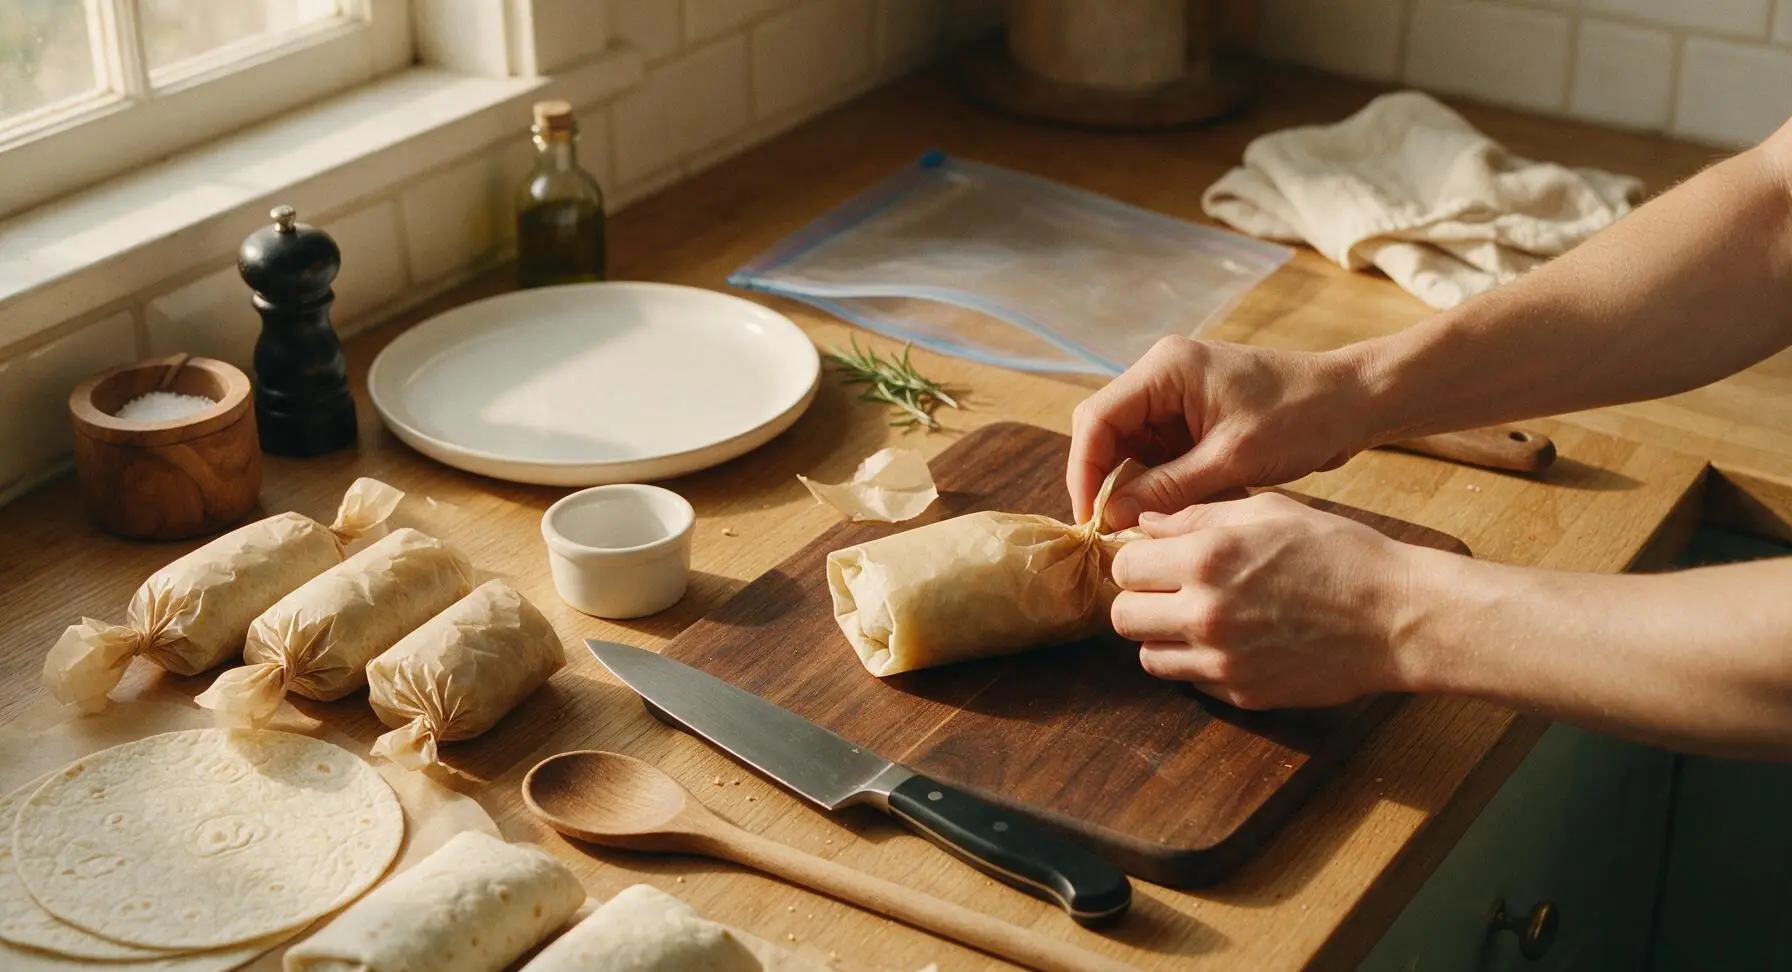
Step 6
step6:Wrap for Freezer Storage
7

Reheat to Crispy Finish

When ready to serve, remove one burrito from the freezer and discard the parchment wrapping. Reheat in a 400°F oven for 18 minutes, flipping halfway through, or microwave for 2 minutes then pan-fry in the dry skillet for 1 minute per side to crisp the tortilla, until the internal temperature reaches 165°F and the cheese is fully melted. Top with sour cream, salsa, or cilantro as desired after reheating.
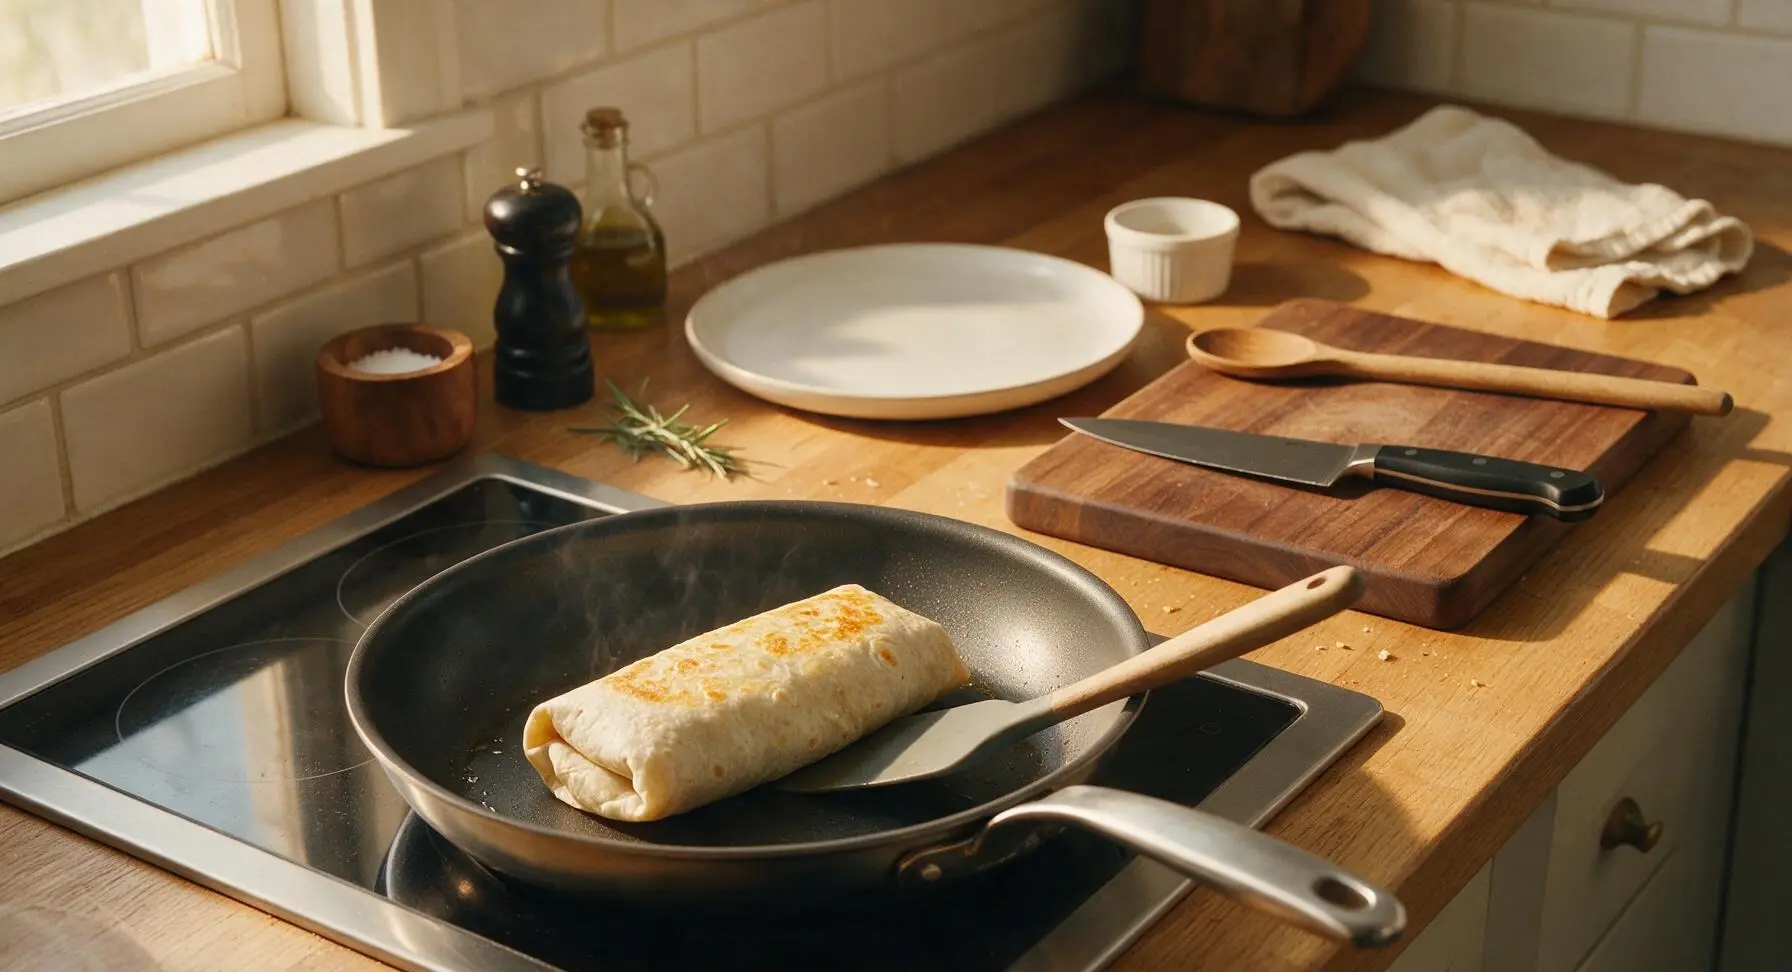
Step 7
step7:Reheat to Crispy Finish

Tips

1.Always let the cooked filling cool completely to room temperature before assembling burritos: warm filling creates condensation inside the rolled tortilla, which leads to soggy, mushy texture after freezing and uneven reheating.
2.Skip adding high-moisture ingredients like fresh salsa, sour cream, shredded lettuce, or diced raw tomato inside the burritos before freezing: these ingredients break down and become watery or mushy when frozen and thawed. Add them as fresh toppings after reheating instead for best texture.
3.Freeze the parchment-wrapped burritos in a single flat layer on a baking sheet for 2 hours before transferring them to the freezer bags for long-term storage: this prevents the burritos from freezing together in a solid block, so you can grab one at a time without prying them apart.


✨ You May Also Like

Main Course
🍜 United Kingdom

A showstopping classic of tender seared beef, savory mushroom duxelles, and crisp prosciutto wrapped in flaky golden puff pastry, baked to juicy perfection.

⏱️ 2 hours 1Main Course ★ 4.7
Main Course
🍜 India

Tender charred marinated chicken simmered in a rich, spiced creamy tomato sauce, this iconic Anglo-Indian curry pairs perfectly with basmati rice or warm naan.

⏱️ 50 minuteMain Course ★ 4.6
Main Course
🍜 Thailand

Classic tangy, sweet, and savory Thai stir-fried rice noodles with shrimp, tofu, and crunchy garnishes, balancing all five core Thai flavor profiles.

⏱️ 30 minuteMain Course ★ 4.5
Main Course
🍜 United Kingdom

Crispy golden beer-battered cod and fluffy double-fried chips, served with tangy tartar sauce and malt vinegar: the timeless, beloved British pub comfort classic.

⏱️ 45 minuteMain Course ★ 4.7
Main Course
🍜 Mexico

Smoky, chile-marinated pork tacos with caramelized pineapple, fresh cilantro, and lime: a beloved classic Mexican street food perfect for casual summer gatherings.

⏱️ 1 hour 45Main Course ★ 4.8
Main Course
🍜 United States

Crunchy Fritos corn chips layered with savory beef chili and melted cheddar, topped with cool, zesty fixings for a beloved, cozy Tex-Mex comfort food.

⏱️ 35 minuteMain Course ★ 4.8

diy frozen burritos:Frequently Asked Questions

1.How long will these DIY freezer burritos stay at peak quality in the freezer? ▾
When wrapped tightly to squeeze out all excess air—first in plastic wrap, then sealed in a labeled freezer bag—they’ll stay delicious for up to 3 months. They’re technically safe to eat longer, but tortillas may develop freezer burn and fillings can turn mushy or lose their savoriness past that 3-month window.
2.Do I need to thaw frozen burritos before reheating them? ▾
No thawing required—that’s part of their grab-and-go convenience! For a crispy tortilla, unwrap the plastic, rewrap loosely in a damp paper towel, microwave for 2 minutes, then crisp the outside in a hot skillet for 1 minute per side. Thawing first leads to limp, soggy tortillas that fall apart easily.
3.Can I swap the 90/10 lean ground beef for a different protein? ▾
Absolutely, that’s the best part of these customizable burritos! Just stick to lean protein options to avoid soggy tortillas: extra-lean ground turkey, shredded seasoned chicken, or sautéed plant-based crumbles all work great. Skip extra-fatty ground beef, as rendered grease will seep into tortillas during freezing.
4.Why does the recipe call for 90/10 lean ground beef instead of a fattier blend? ▾
Fattier blends like 80/20 release lots of excess grease as they cook, even if you drain them thoroughly. That residual grease will seep into flour tortillas during freezing, leaving you with soggy, greasy burritos instead of the crisp, sturdy texture you want. 90/10 has just enough fat for great flavor without extra moisture.
5.Can I use whole-wheat tortillas instead of 10-inch white flour tortillas? ▾
You can, but stick to the 10-inch burrito size no matter the tortilla type—smaller tortillas won’t seal properly, and filling will leak out during reheating. Note that whole-wheat tortillas can turn a bit chewier after freezing, so add a thin layer of refried beans as a moisture barrier if you go that route.
6.How do I keep tortillas from cracking when I roll the burritos? ▾
Cold tortillas crack super easily when rolled, so warm them first! Stack tortillas on a plate, cover with a damp paper towel, and microwave for 30 to 45 seconds until soft and pliable before adding filling. Don’t overstuff them—about ½ cup of total filling per burrito makes for a tight, leak-free roll.
7.Do I need to pre-cook the rice and beans before adding them to the filling? ▾
Yes, always use fully cooked, cooled long-grain white rice, and rinse and drain canned black beans really well before adding them. Warm or hot filling creates condensation inside wrapped burritos as they freeze, leading to soggy tortillas, so let all cooked fillings cool completely before assembling.
8.Can I add extra veggies like diced peppers or onions to the filling? ▾
You can, just cook and drain them really well first! Raw veggies release tons of excess water as they freeze and thaw, which will make your burritos soggy. Sauté peppers, onions, or corn until soft, then pat dry with a paper towel to remove excess moisture before mixing into your filling.
9.What’s the best wrapping method to prevent freezer burn? ▾
Start by folding the tortilla sides in over the filling, then roll tightly from the bottom up to seal. Wrap each individual burrito tightly in plastic wrap, pressing out every bit of trapped air as you go, then tuck them into a labeled zip-top freezer bag, squeezing out all remaining air before sealing.
10.Can I reheat these burritos in the oven instead of the microwave? ▾
Definitely! Preheat your oven to 350°F, unwrap the frozen burrito, wrap it loosely in aluminum foil, and bake for 35 to 40 minutes until the filling hits 165°F internally. Unwrap the foil for the last 5 minutes of baking to let the tortilla crisp up for that perfect slightly crunchy exterior.
11.Will the shredded sharp cheddar melt well after being frozen? ▾
Shredded sharp cheddar holds up perfectly in the freezer and melts beautifully when reheated, which is why it’s such a reliable pick for these burritos. Just tuck the cheese in the center of the filling instead of right against the tortilla, so it melts evenly instead of oozing out and causing sogginess.
12.How do I stop filling from leaking out while burritos reheat? ▾
The two biggest causes of leaky burritos are overstuffing and loose rolling. Stick to ½ cup total of filling per 10-inch tortilla, fold the side edges in firmly before rolling, and place burritos seam-side down when you reheat them, no matter which method you use. The seam will seal as cheese melts.
13.Are these freezer burritos safe to pack for work or school lunches? ▾
Absolutely—they’re ideal for grab-and-go meals! If you grab a frozen burrito straight from the freezer in the morning, it will stay cold in an insulated lunch bag for 3 to 4 hours. Reheat it in a microwave for 2 to 3 minutes until it hits 165°F internally for a safe, hot, satisfying midday meal.

Comments (11)

1 week ago

OMG these are a total game changer for my busy weekday mornings! I made a batch on Sunday with ground turkey, black beans, corn, and a little shredded cheddar, and my kids loved them so much they grab one on their way out to school every day. 15 minute prep time is no joke, I was done before my coffee even got cold. Only note is I double wrapped mine in foil so they don’t get freezer burn!

5 days ago

Wait, do you reheat them straight from frozen or thaw first? I tried making freezer burritos once and they came out all soggy in the microwave 😩

3 days ago

Great question! We recommend reheating straight from frozen—unwrap the foil, wrap in a damp paper towel, and microwave for 2-3 minutes, flipping halfway. Crisping them up for 1 minute in a skillet after microwaving gets rid of any sogginess too!

3 days ago

As someone who survives on a $50/week grocery budget and doesn’t have a ton of time to cook between classes, these are PERFECT. I used refried beans, rice, leftover taco meat from taco night, and a dollop of hot sauce in each. Way cheaper than buying the frozen ones at the grocery store that taste like cardboard.

2 days ago

Pro tip: add a spoonful of pickled jalapeños to each before freezing, it takes them to the next level!

2 days ago

Love that hack! Pickled jalapeños hold up so well in the freezer and add such a bright kick. So glad these are working out for your college budget!

2 weeks ago

I brought a platter of these (cooked fresh, not frozen, obviously) to my neighborhood potluck last weekend and everyone was begging for the recipe! The filling is so customizable, I even made a vegan batch for the plant-based folks in our group with lentils and dairy-free cheese. SO good.

1 week ago

So fun to hear these worked for a potluck! The customizable filling is one of our favorite parts too—so easy to accommodate every diet. The vegan lentil version sounds amazing!

2 days ago

I was fully convinced freezer burritos would never taste as good as fresh takeout, but my partner convinced me to try this recipe and I stand corrected. We did a breakfast version with scrambled eggs, sausage, hash browns, and cheese, and they’re better than the fast food breakfast burritos I used to stop for on my commute. Wild.

yesterday

The breakfast version is chef’s kiss! I add a little salsa verde to mine when I reheat and it’s unreal.

yesterday

The breakfast variation is such a fan favorite! So glad you gave these a shot even if you were skeptical at first—we’ve had so many people tell us they ditched their fast food runs for these too.

yesterday

First time ever doing meal prep for the week and this recipe was so easy even I couldn’t mess it up! I was worried the tortillas would crack when I rolled them but letting them sit out on the counter for 10 minutes first (saw that tip in the recipe notes) made it totally foolproof. Already planning to make a second batch this Sunday.

yesterday

Yay, so proud of you for diving into meal prep! Warming the tortillas slightly before rolling really does prevent cracking, we’re glad that tip worked for you. Mix up the fillings next time for variety!

5 days ago

Made these for a backcountry camping trip last week and they were perfect! We vacuum sealed them after freezing and they stayed cold in our cooler for 3 days, then we just heated them up over the camp stove. No messy prep at the campsite, just hot, filling burritos after a long hike. Will be making these for every trip now!

30 minutes ago

These are so tasty, but I ran into a little issue—all the cheese oozed out when I reheated them and made a mess in my microwave. Did I wrap them too loose? Flavor is 10/10 though, even with the cheese mess my roommate and I ate the whole batch in 3 days.

5 minutes ago

I had that happen the first time too! Make sure you tuck the ends in really tight before rolling, like you’re wrapping a present. I also put a plate under them when I microwave just in case now lol

just now

So sorry about the cheese mess! The tuck trick @MessyCookToo mentioned works perfectly—you want to fold the sides in first before rolling up from the bottom to keep all that cheesy goodness locked in. We’re glad the flavor still hit even with the mishap!

2 hours ago

I swapped the regular flour tortillas for gluten-free cassava flour tortillas and these worked amazingly! I was worried GF tortillas would get weird and crumbly in the freezer but they held up perfect after reheating. My whole family (even the non-GF members) loved them for taco night this week.

30 minutes ago

Thanks for sharing that GF swap! Cassava tortillas are such a great option, we’re so glad they held up in the freezer for you. We’ll add that tip to the recipe notes for other GF folks!

just now

These are perfect for my 12 hour shifts. I keep a stack in the break room freezer at work, and 3 minutes in the microwave and I’ve got a hot, filling lunch that doesn’t cost me $15 at the food truck by the job site. Saved me so much money already this month. I add extra hot sauce and a handful of tortilla chips on the side, chef’s kiss.

2 days ago

I used leftover pulled pork from last weekend’s BBQ to make these instead of ground beef and OH MY GOD. Game. Changer. The sweet smoky pork pairs so good with the rice and beans, I don’t think I’ll ever use regular taco meat again. Who knew leftover repurposing could taste this good?

yesterday

Oh that pulled pork idea is genius! I have a ton of leftover brisket in my fridge from this weekend, I’m totally stealing that for my next batch.

5 minutes ago

My partner and I do ‘burrito Sunday’ every week where we make a big batch of these to get us through the work week, and this recipe is our new go-to base. We switch up the fillings every week—last week we did buffalo chicken and ranch, this week we’re doing carnitas. It’s so easy to tweak, and we haven’t gotten bored yet. 10/10, would recommend to anyone who hates cooking after a long work day.



