
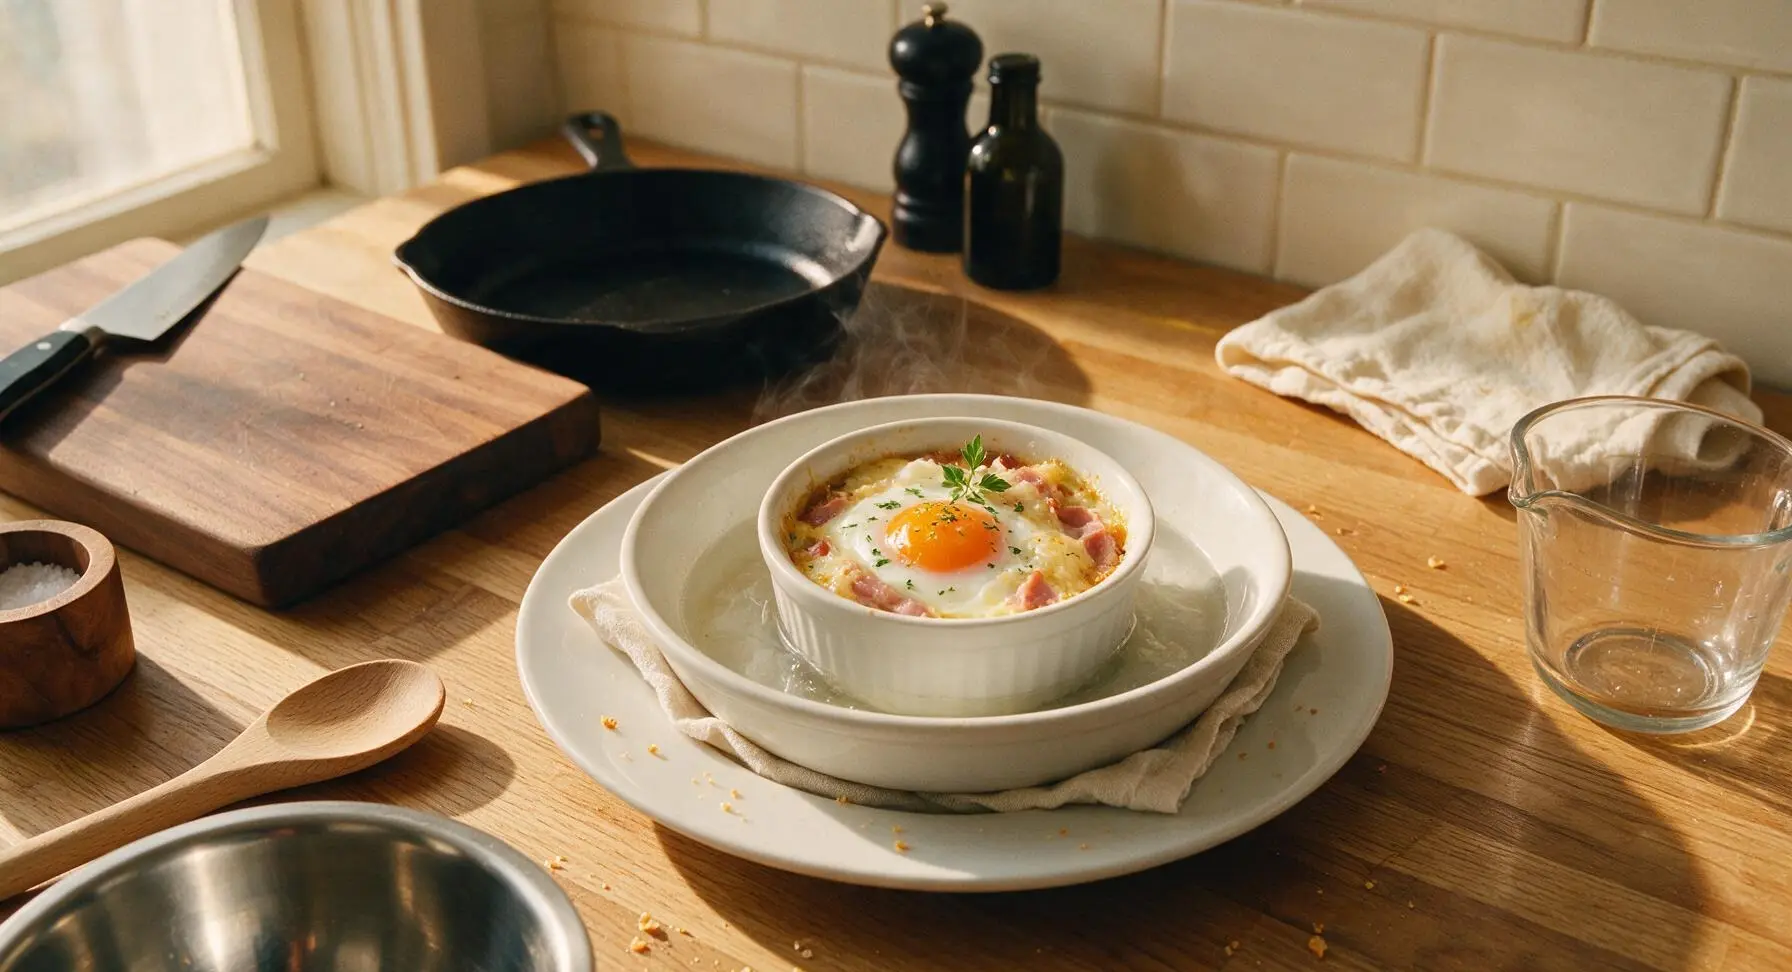
Eggs en Cocotte

title 1
Eggs en Cocotte
⏱️ cook time 12 minutes
🍽️ servings 2
⚡ Difficulty easy

intro

Silky, custardy baked eggs nestled with savory ham and nutty gruyere, cooked gently in a water bath for perfect runny yolks—classic French bistro comfort made effortless at home.

Ingredients
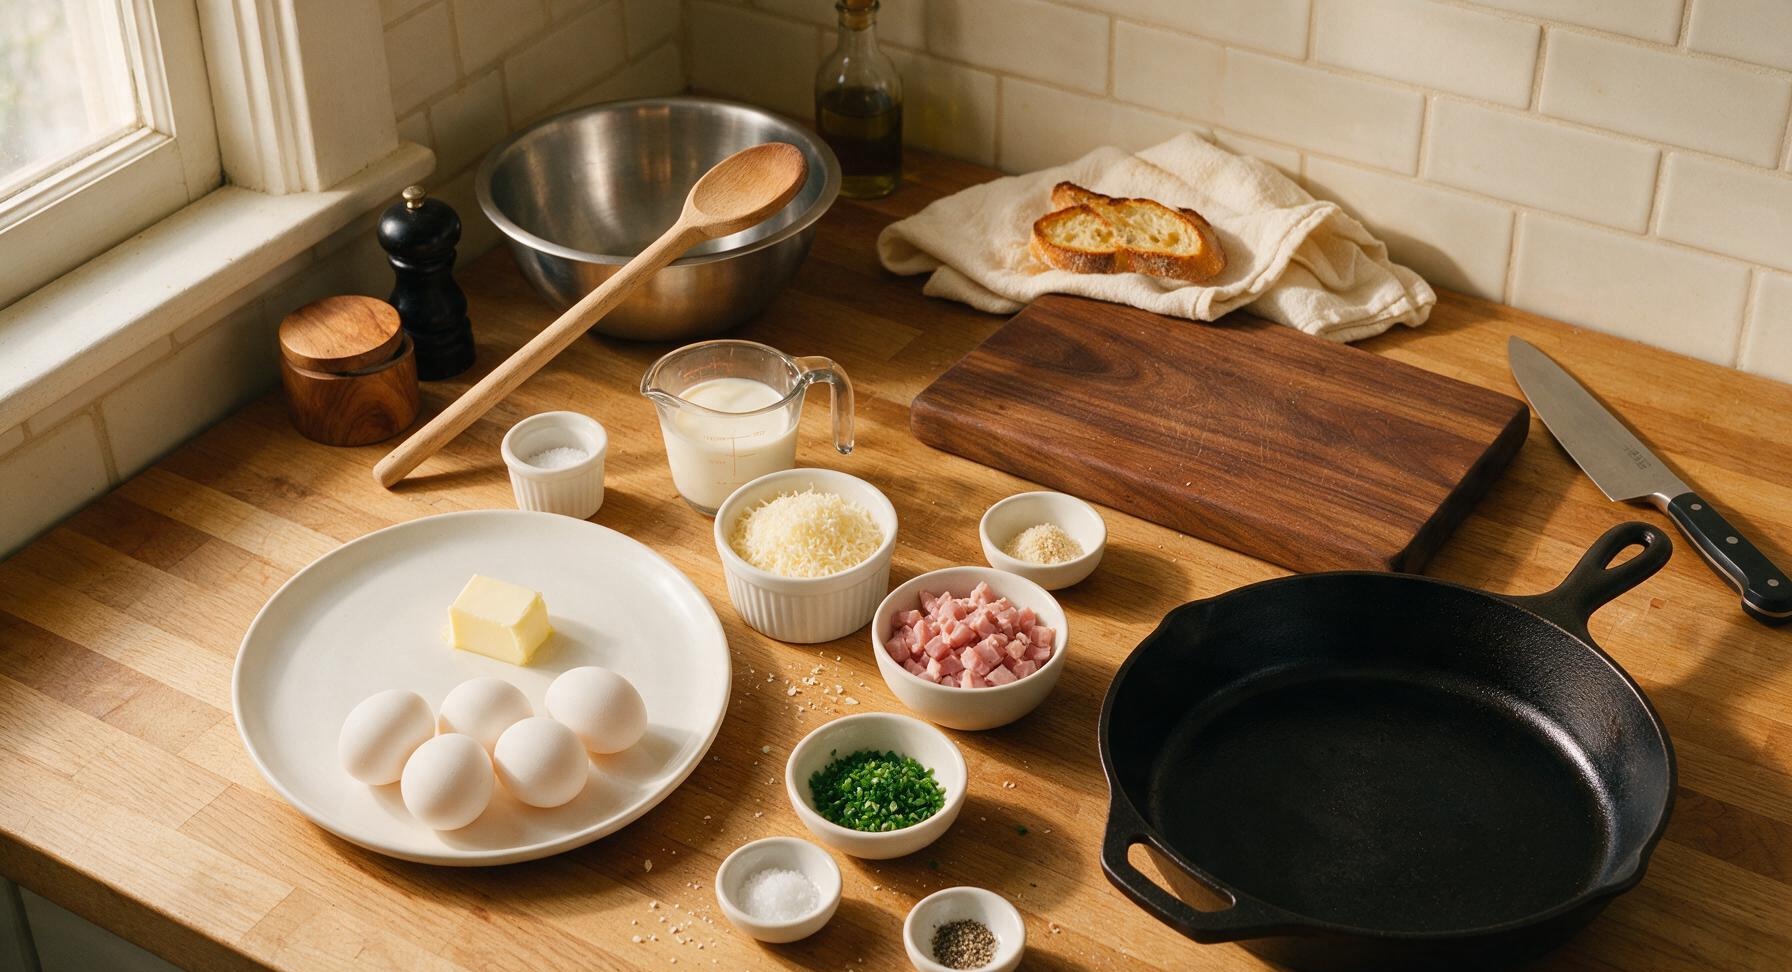
Unsalted butter (for greasing) 1 tbsp
Large eggs 4
Heavy cream 1/4 cup (60ml)
Gruyere cheese, finely grated 1/4 cup (30g)
Cooked ham, finely diced 1/4 cup (35g)
Fresh chives, finely chopped 2 tbsp (5g)
Kosher salt 1/4 tsp
Freshly ground black pepper 1/8 tsp
Freshly grated nutmeg 1 pinch
Crusty baguette, thinly sliced and toasted 2 slices

Steps

1

Prep Ramekins and Oven

Preheat your oven to 375°F (190°C). Use the softened unsalted butter to generously grease the inside of the two 10cm matte off-white stoneware ramekins, coating the bottom and 1cm up the sides fully to prevent eggs from sticking. Fill the 1L brushed stainless steel saucepan with 500ml water and bring to a gentle simmer on the stovetop to use for the bain-marie water bath.
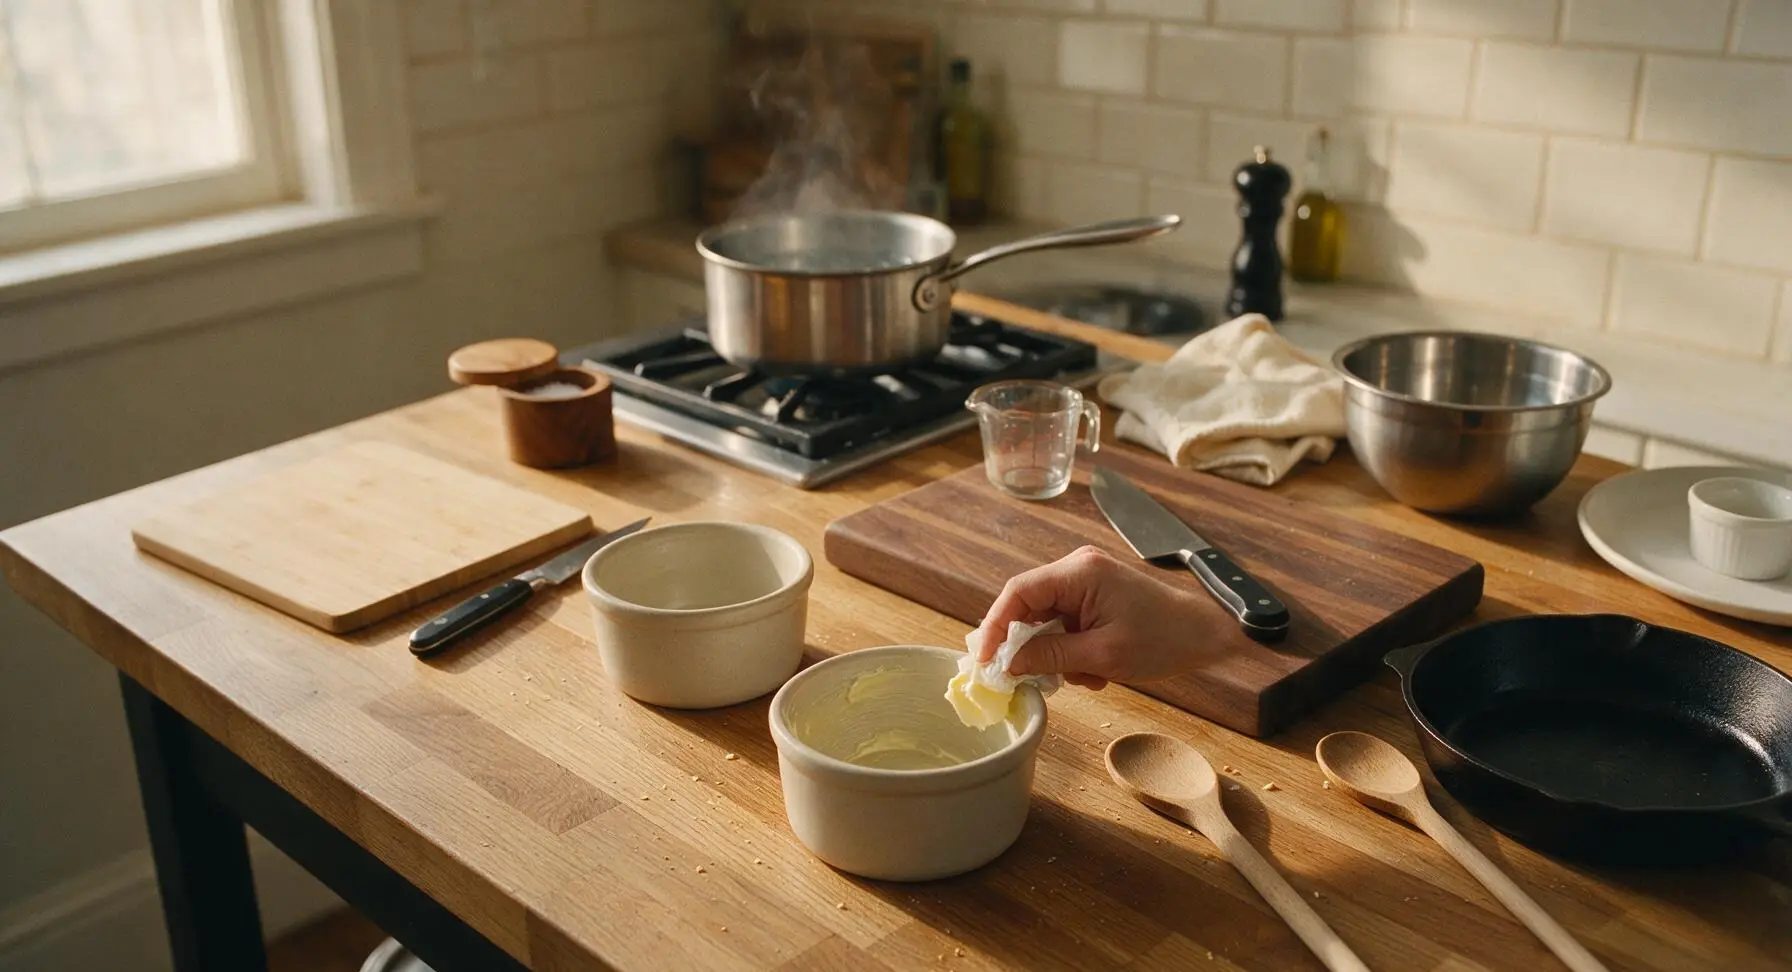
Step 1
step1:Prep Ramekins and Oven
2

Layer Base Ingredients

Divide the diced cooked ham evenly between the two greased ramekins, spreading it in a thin, even layer across the bottom. Top the ham with half of the grated gruyere (2 tbsp total), then pour 1 tablespoon of heavy cream into each ramekin over the ham and cheese. Add a tiny pinch of freshly grated nutmeg to each ramekin to add warm, depthful flavor that pairs perfectly with eggs.
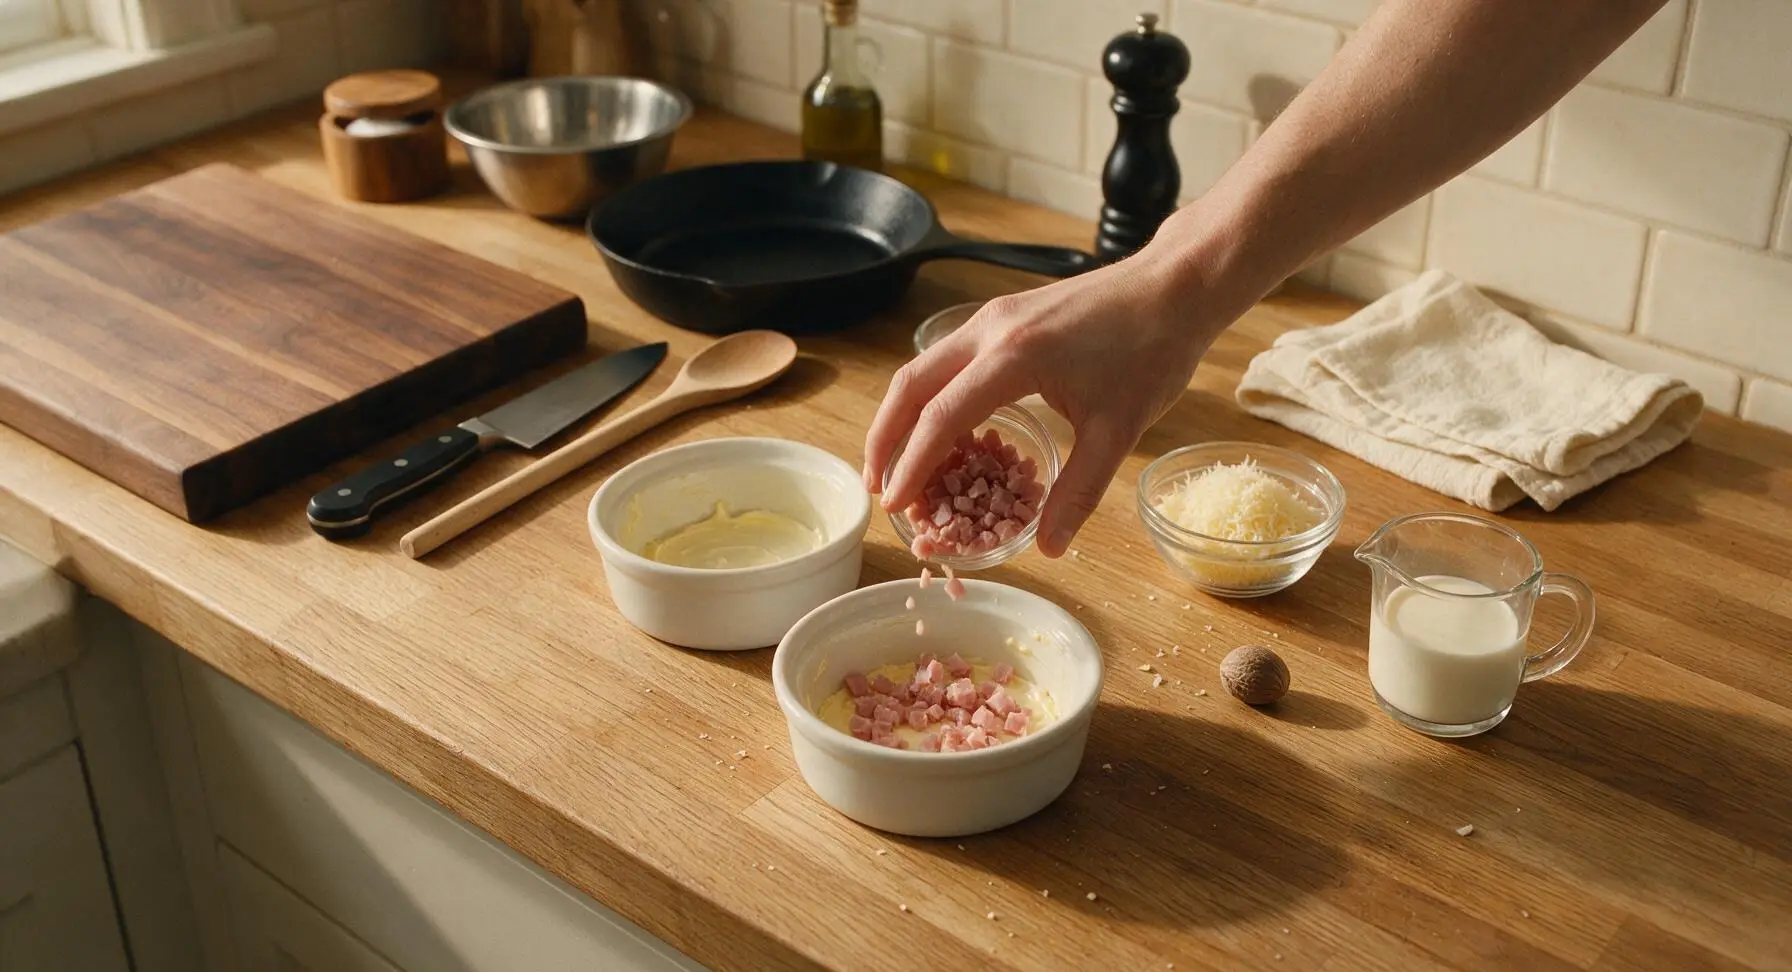
Step 2
step2:Layer Base Ingredients
3

Add Eggs Carefully

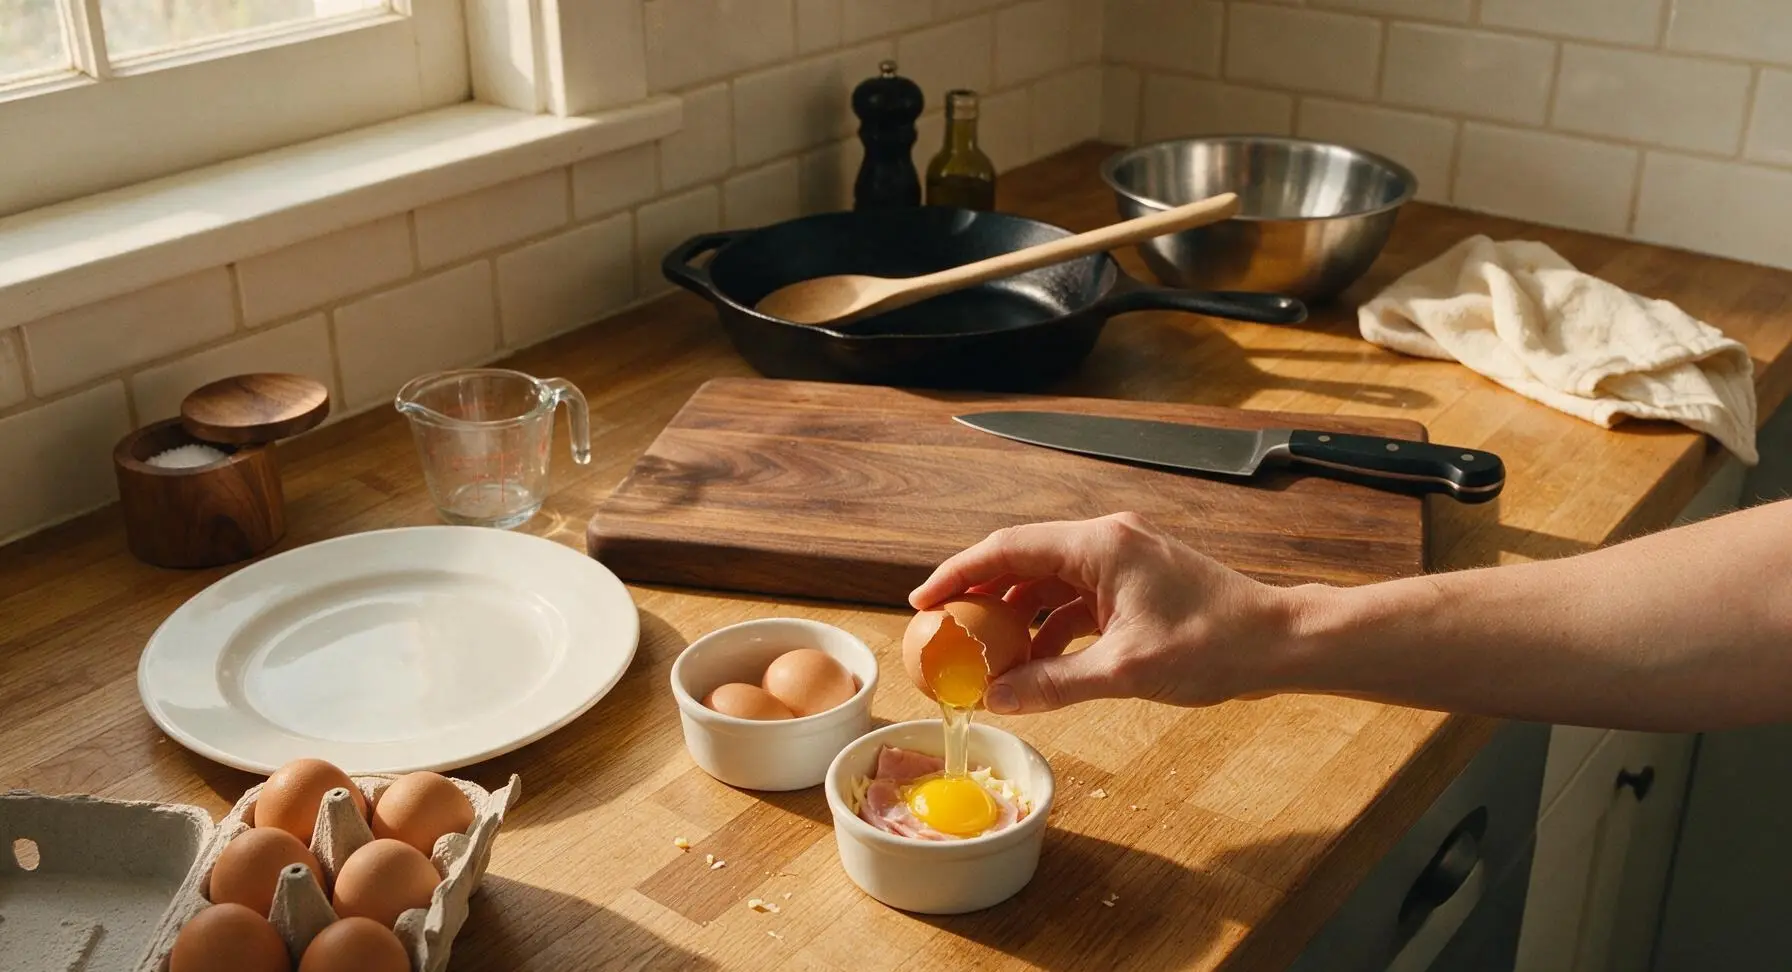
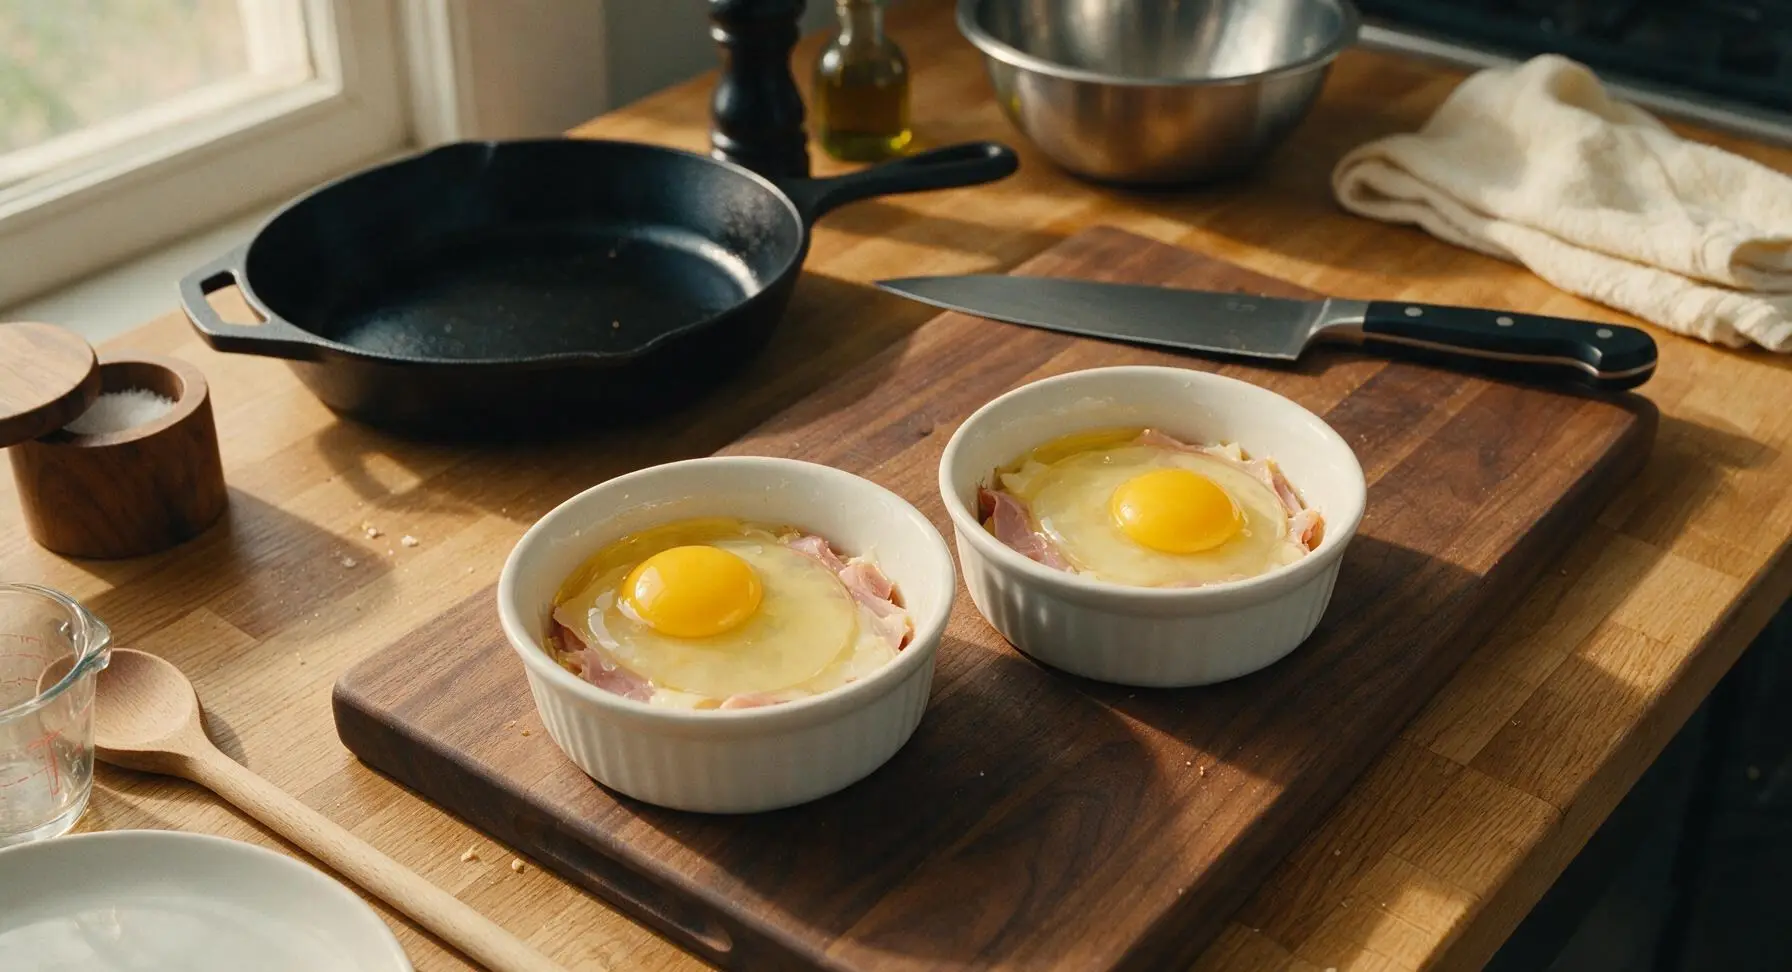
Crack 2 large eggs into each ramekin, taking extreme care not to break the delicate yolks. To avoid shell fragments in your final dish, crack each egg one at a time into a small empty dish first, then slide the intact egg gently into the ramekin on top of the ham and cheese base. The yolks should sit centered in each ramekin for even cooking.
Step 3
step3:Add Eggs Carefully
Step 3
step3:Add Eggs Carefully
4

Season and Top Eggs

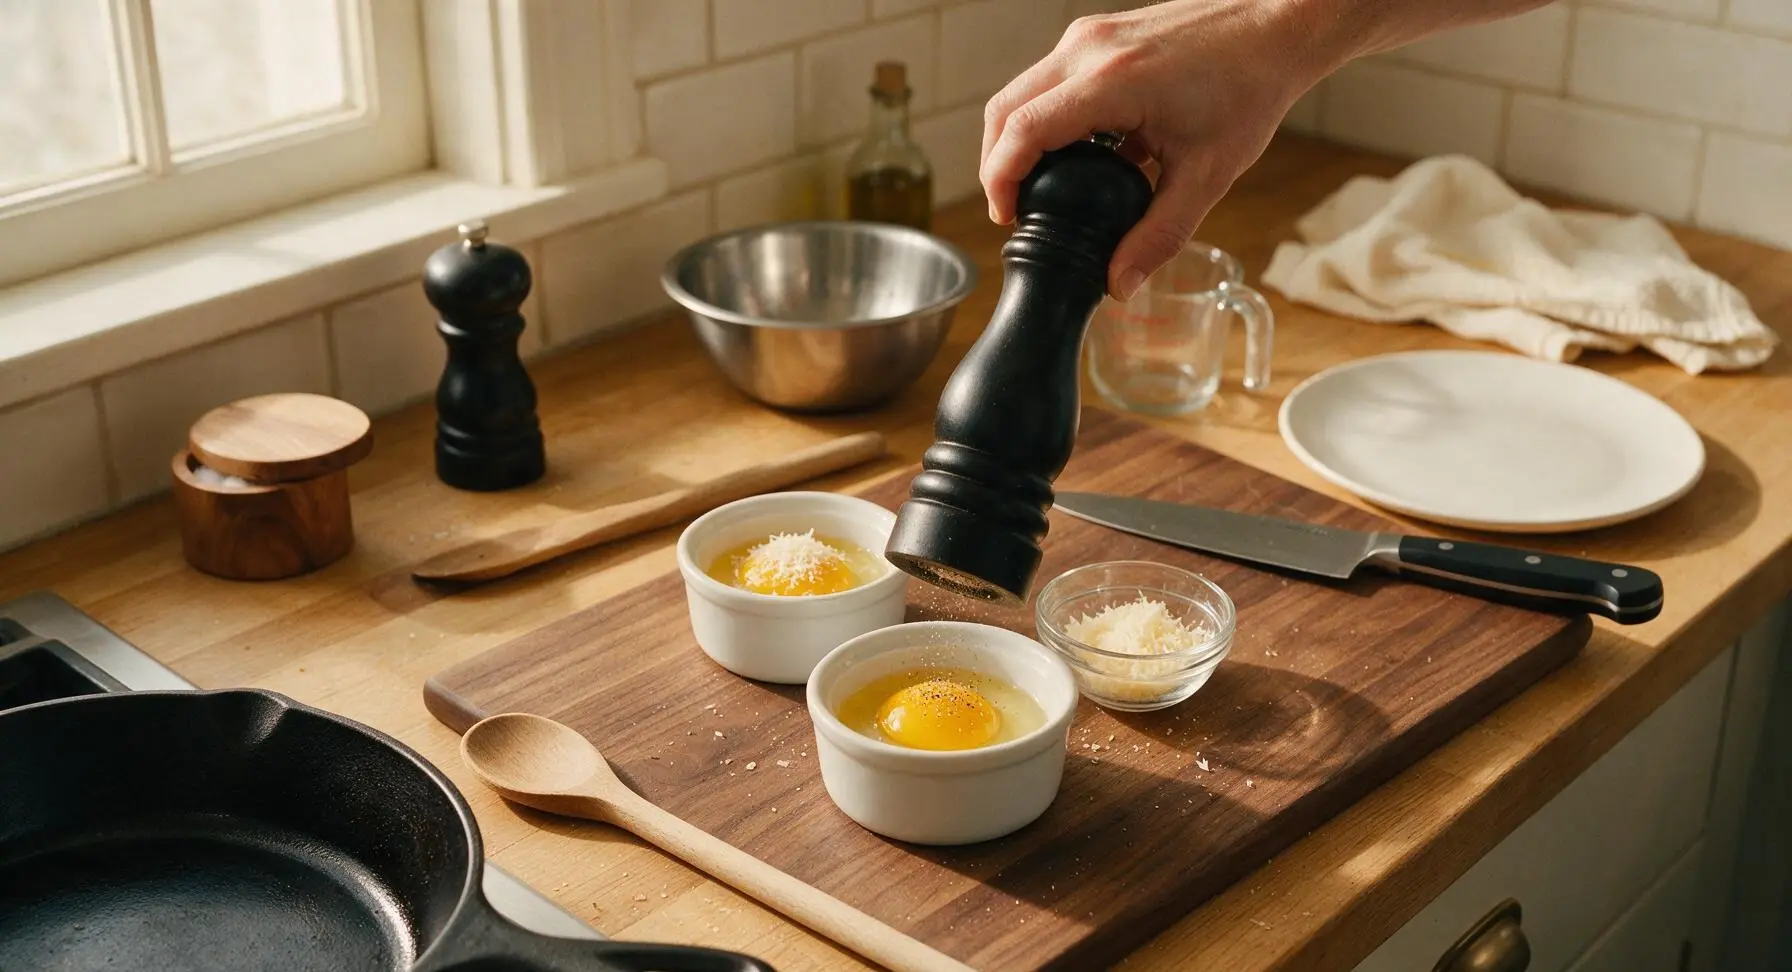
Sprinkle the remaining 2 tablespoons of grated gruyere evenly over the top of the eggs in each ramekin. Season each ramekin with 1/8 teaspoon kosher salt and a light twist of fresh black pepper, then pour the remaining 1 tablespoon of heavy cream over the top of each ramekin. The top layer of cream prevents the egg surface from drying out and forming a tough skin as it bakes.
Step 4
step4:Season and Top Eggs
5

Set Up Water Bath

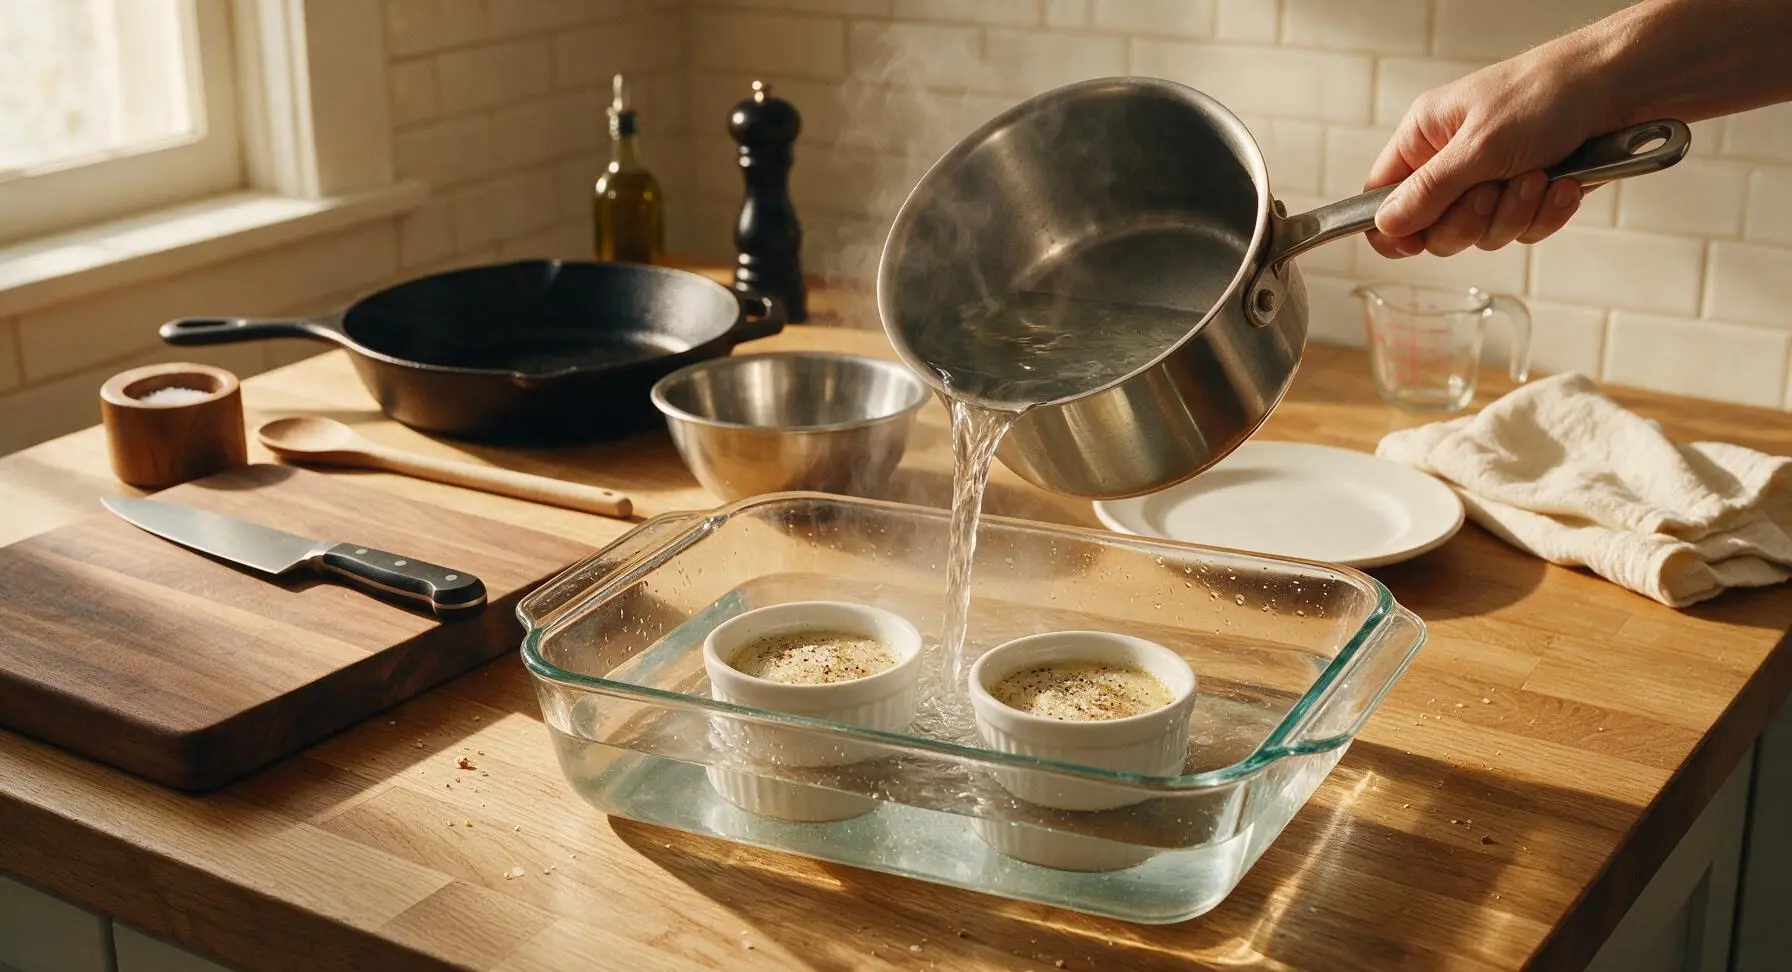
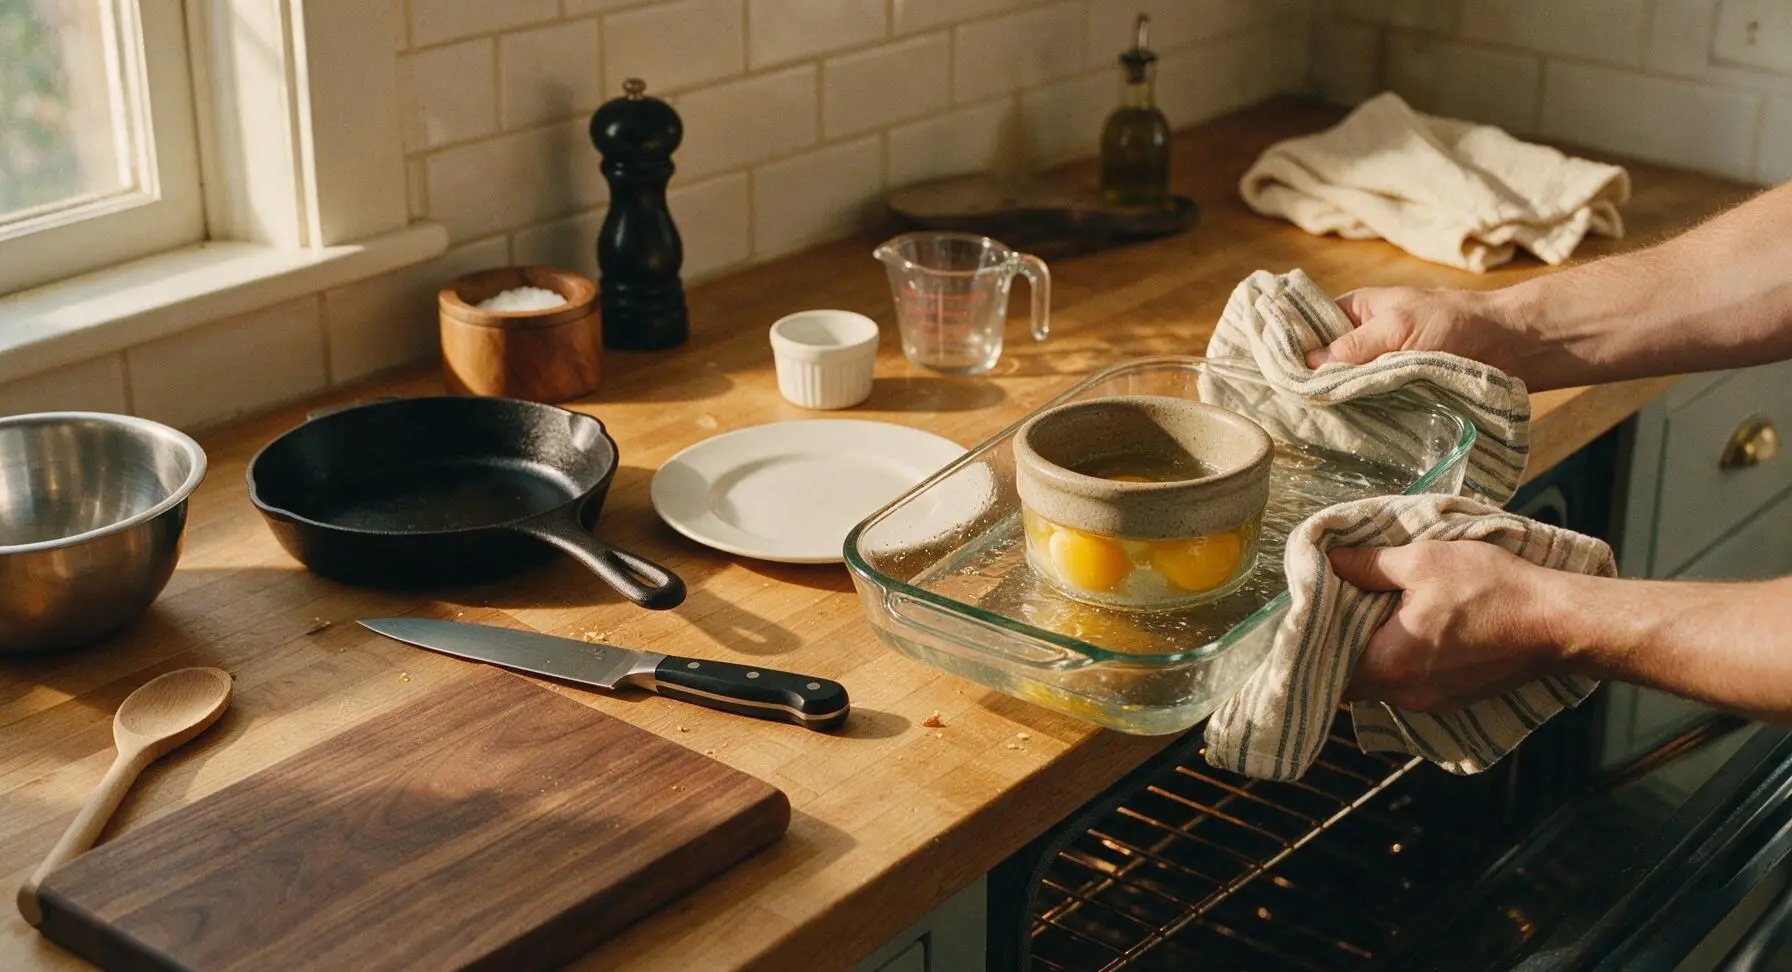
Place the filled ramekins into the medium rectangular clear borosilicate glass baking dish. Carefully pour the simmering water from the stainless steel saucepan into the baking dish until the water level reaches exactly halfway up the sides of the ramekins. Pour slowly to avoid splashing hot water into the egg mixture, which will cause lumpy, watery eggs.
Step 5
step5:Set Up Water Bath
6

Bake Eggs Gently

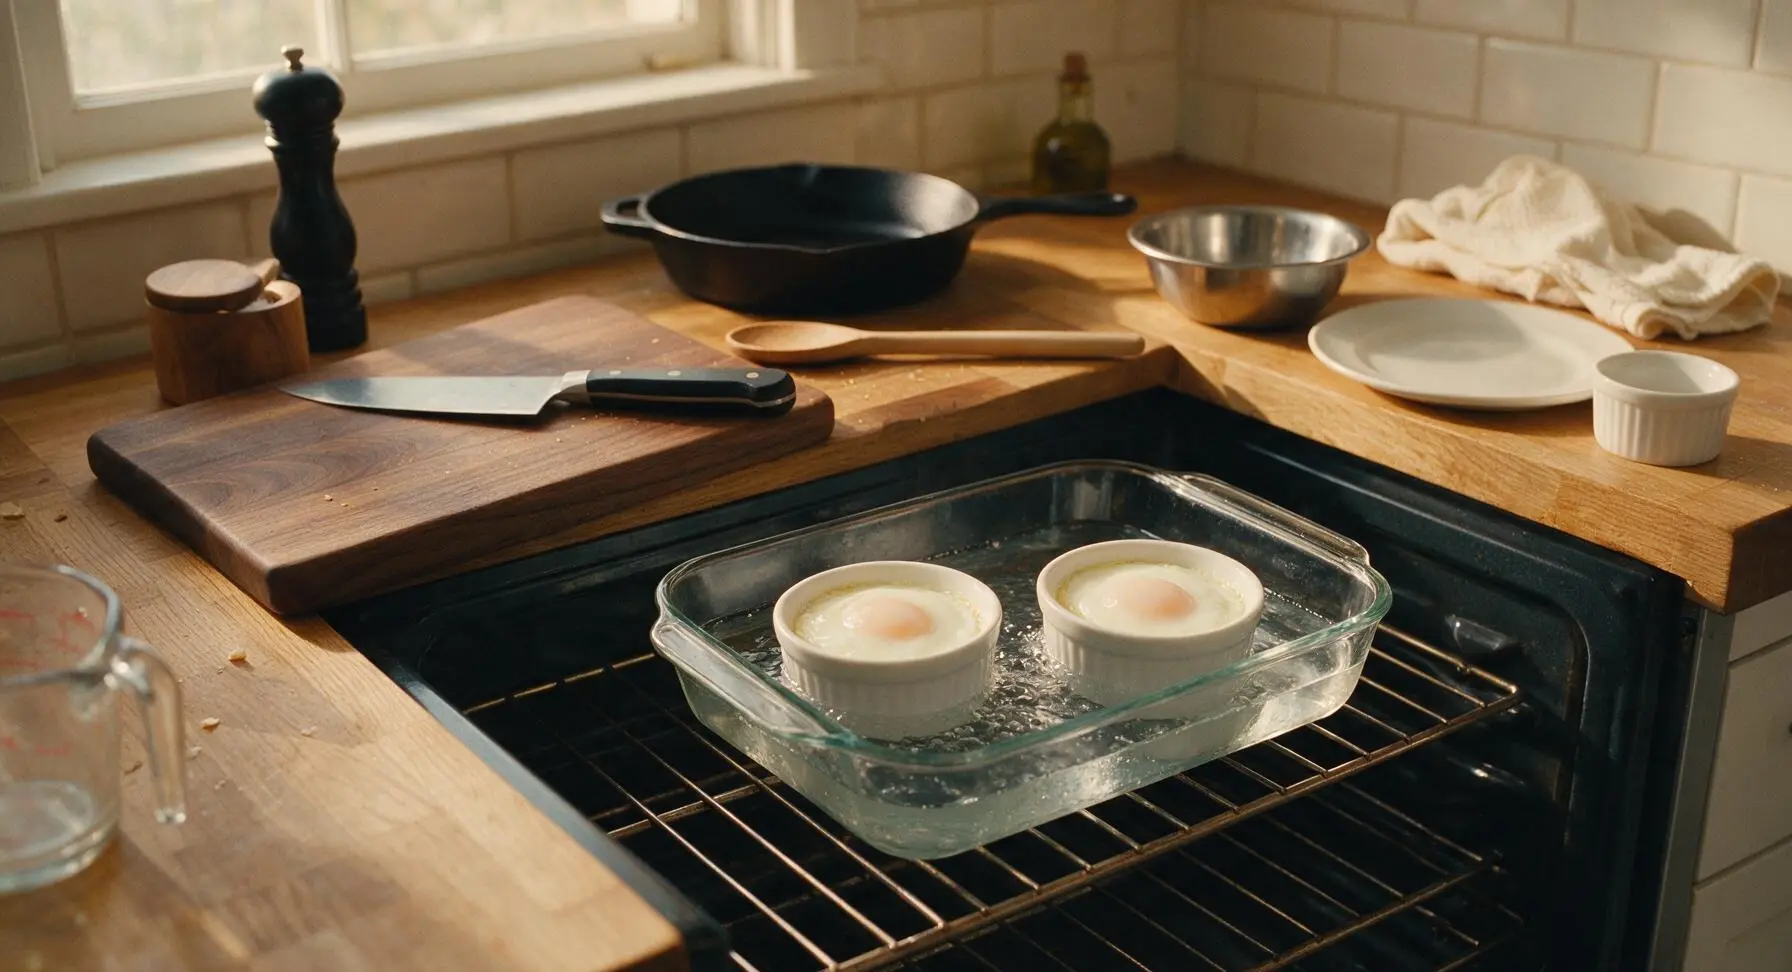
Carefully transfer the glass baking dish with ramekins to the middle rack of the preheated 375°F (190°C) oven. Bake for 10–12 minutes, checking for doneness at the 10 minute mark: the egg whites should be fully opaque and just set, with a slight wobble in the very center indicating the yolk remains soft and runny. If whites are still translucent near the yolk, bake for 1–2 minutes more, watching closely to avoid overcooking.
Step 6
step6:Bake Eggs Gently
Step 6
step6:Bake Eggs Gently
7

Rest and Garnish

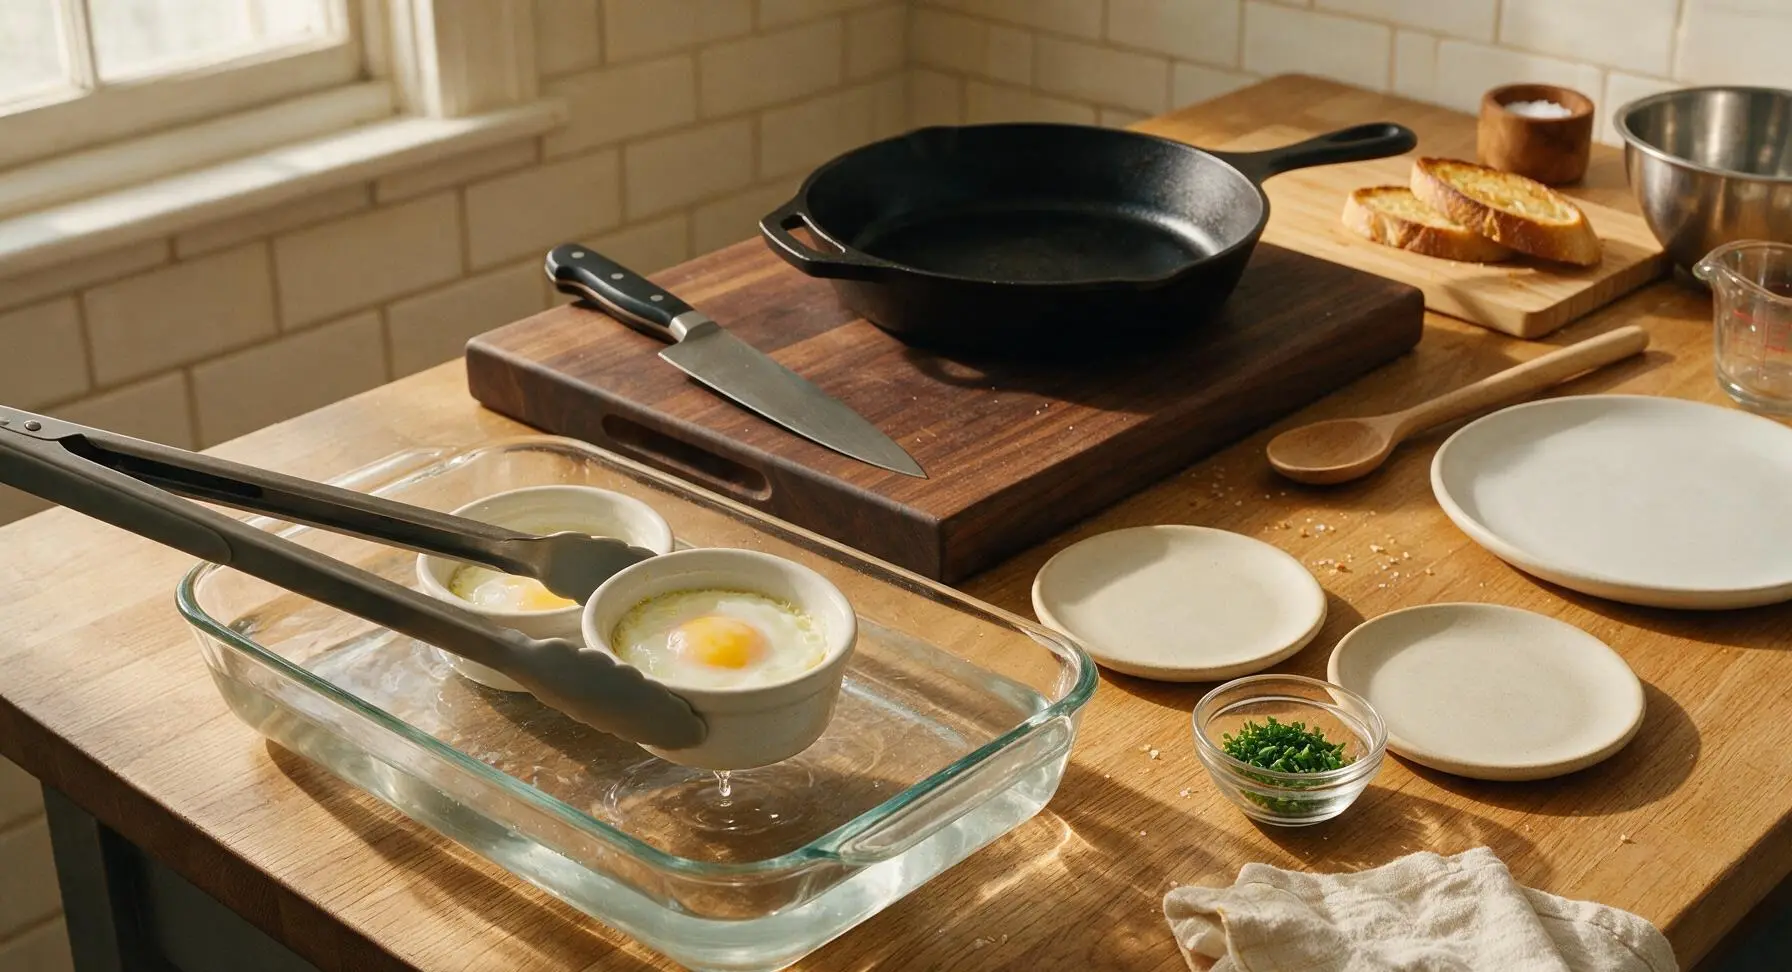
Use the silicone-tipped stainless steel tongs to carefully lift the hot ramekins out of the water bath, transferring each to the center of a matte cream ceramic side plate. Let the eggs rest for 1 minute to finish setting from residual heat, then sprinkle the top of each ramekin with finely chopped fresh chives. Serve immediately with toasted baguette slices for dipping into the runny yolk.
Step 7
step7:Rest and Garnish

Tips

1.Always use a bain-marie (hot water bath) for baking Eggs en Cocotte: the moist, uniform indirect heat prevents egg whites from curdling or turning rubbery around the ramekin edges, which happens quickly when eggs are exposed to direct dry oven heat.
2.Start checking doneness at the 10-minute bake mark: eggs retain heat and continue to cook for 1–2 minutes after being removed from the oven (carryover cooking), so pulling them when whites are just set will ensure perfectly dippable runny yolks instead of hard, chalky centers.
3.If adding vegetable mix-ins like mushrooms, spinach, or tomatoes, cook them fully and pat completely dry before layering in the ramekin base: excess water from raw vegetables will seep into the eggs as they bake, creating a watery, separated texture instead of the signature silky custard.


✨ You May Also Like

Breakfast
🍜 United States

Crisp-edged, fluffy lard griddle cakes are a nostalgic homestyle staple, with rich savoriness from rendered lard, perfect topped with maple syrup or savory gravy.

⏱️ 25 minuteBreakfast ★ 4.8
Breakfast
🍜 United States

Flaky, buttery homemade buttermilk biscuits smothered in creamy, peppery pork sausage gravy: a beloved, hearty Southern American comfort food classic.

⏱️ 35 minuteBreakfast ★ 4.8
Breakfast
🍜 United States

Golden, custardy brioche stuffed with sweet cream cheese and fresh berries, pan-fried to crisp perfection. An indulgent, cozy breakfast perfect for slow weekend mornings.

⏱️ 30 minuteBreakfast ★ 4.7
Breakfast
🍜 United States

Flaky, buttery Southern-style biscuits stuffed with savory salty country ham, a portable, satisfying classic perfect for casual on-the-go meals.

⏱️ 25 minuteBreakfast ★ 4.8
Breakfast
🍜 United States

Iconic puffy baked pancake popularized in Seattle, with crisp golden edges and soft custardy center, served warm with classic sweet toppings.

⏱️ 35 minuteBreakfast ★ 4.6
Breakfast
🍜 United States

Fluffy, golden pancakes studded with juicy peak-summer mixed berries, drizzled with maple syrup for a bright, comforting, crowd-pleasing family breakfast.

⏱️ 25 minuteBreakfast ★ 4.7

Eggs en Cocotte:Frequently Asked Questions

1.Why is a water bath required for baking eggs en cocotte? ▾
A water bath (or bain-marie) delivers gentle, evenly distributed, humid heat that stops eggs from cooking too quickly, developing rubbery edges, or curdling. It’s non-negotiable for that classic silky, custardy white texture and perfectly runny, not tough or chalky, yolk you expect from great French bistro versions.
2.What size ramekins do I need for this recipe? ▾
Stick to 6-ounce (¾ cup) standard ceramic ramekins for best results. This size leaves just enough room for the cream, ham, cheese, and egg to cook evenly without overflowing as it sets, and fits perfectly in a standard baking dish for your water bath without crowding.
3.Can I substitute the heavy cream for a lighter option? ▾
You can swap heavy cream for half-and-half if you want a lighter bite, but avoid skim or low-fat milk—those have too high a water content and will make the eggs watery instead of rich and custardy. For a dairy-free swap, use full-fat canned coconut cream, noting it will add a subtle coconut flavor.
4.How do I know when the eggs en cocotte are perfectly done? ▾
Pull them from the oven when the egg whites are just barely set around the edges, with a slight jiggle in the very center right over the yolk. The residual heat will finish setting the whites as they rest for 2 minutes, leaving you with a perfectly runny, dippable yolk instead of an overcooked hard center.
5.Can I leave out the ham for a vegetarian version? ▾
Absolutely! Skip the ham and swap in sautéed, well-drained spinach, caramelized shallots, roasted mushrooms, or diced sun-dried tomatoes for a vegetarian take. Just make sure any veggie add-ins are patted fully dry so excess water doesn’t make your eggs watery or dilute the rich, creamy texture.
6.Is pre-shredded gruyere okay to use instead of grating my own? ▾
I recommend finely grating your own gruyere fresh for the best melt and flavor. Pre-shredded cheese is coated in anti-caking agents like potato starch that keep it from melting smoothly into the cream, and can leave your baked eggs with a slightly grainy, uneven texture instead of that luxe, nutty, gooey layer.
7.Do I need to cover the ramekins while they bake? ▾
Yes, loosely cover the entire baking dish (not each individual ramekin) with a sheet of aluminum foil for the first 8 minutes of baking. This traps just enough steam to set the top of the eggs evenly without drying them out, then remove the foil for the last 2-3 minutes to let the cheese bubble slightly.
8.Why did my eggs come out rubbery instead of silky? ▾
Rubbery eggs almost always come from two common mistakes: skipping the water bath so eggs are exposed to harsh, direct oven heat, or overcooking them. Remember, eggs keep cooking for a minute or two after you pull them from the oven, so err on the side of a little jiggle in the center when you check for doneness.
9.Can I prep these eggs en cocotte ahead of time for brunch? ▾
You can prep the ramekins 24 hours in advance by greasing them, adding the diced ham, grated gruyere, and a splash of cream to the bottom, then covering and chilling them. Crack the eggs in right before baking to avoid the yolks breaking or developing a tough film on top for best results.
10.What should I serve with classic eggs en cocotte? ▾
The classic pairing is thin, crusty toasted baguette slices or buttery toast soldiers for dipping into the runny yolk. You can also serve them alongside a simple green salad with a light vinaigrette, crispy bacon, or fresh fruit to round out a cozy, bistro-style brunch spread.
11.Can I use a different cheese if I don’t have gruyere? ▾
Absolutely! Gruyere adds that signature nutty, melty flavor, but you can swap it for finely grated Swiss, Emmental, fontina, or even a sharp white cheddar if that’s what you have on hand. Avoid crumbly cheeses like feta or goat cheese as your main cheese, since they won’t melt into the cream the same way.
12.What oven temperature works best for this recipe? ▾
Set your oven to 375°F (190°C) for the most consistent results. This temperature is hot enough to set eggs gently in the water bath without cooking them too fast, and lets the gruyere melt into a gooey, slightly bubbly top layer without browning too quickly before the eggs finish cooking.
13.My yolks were fully hard instead of runny—what went wrong? ▾
Hard, fully set yolks mean you left the eggs in the oven 2-3 minutes too long, or your water bath water wasn’t hot enough when you put the dish in. Start checking doneness at the 10-minute mark, and pull them as soon as the outer whites are set, since carryover cooking will firm up whites without hardening the yolk.
14.Can I make this recipe for a large crowd? ▾
Absolutely! This recipe scales really easily—just grab extra 6-ounce ramekins and a larger roasting pan to fit them all for the water bath. Since they bake hands-off in the oven, you can make up to 12 servings at a time without extra work, which makes it perfect for big holiday brunches or weekend guest meals.
15.Do I really need to butter the ramekins before adding ingredients? ▾
Yes, take 10 seconds to generously butter the inside of each ramekin before adding your ingredients, just as the recipe instructs. The thin butter layer prevents egg whites and melted cheese from sticking to the ceramic as they bake, so every silky, cheesy bite slides right out instead of getting left stuck to the ramekin walls.

Comments (5)

2 hours ago

OMG this was such a hit at our Sunday family brunch! I added a tiny sprinkle of shredded gruyere on top before baking and my kids gobbled theirs up in 2 minutes flat. So creamy, perfectly set yolks, way easier than I thought it would be for a fancy French egg dish! Total game changer for weekend mornings when I don’t want to stand over the stove flipping pancakes.

30 minutes ago

Wait the gruyere add-in sounds chef’s kiss! Did you add a splash of heavy cream at the bottom of the ramekin like the recipe says? I’m making this for my book club potluck next weekend and want to make sure it turns out perfect!

5 minutes ago

So glad your family loved this! The gruyere addition is such a classic twist, great call. A quick tip for your book club: you can prep the ramekins with cream and seasonings the night before, just crack the eggs in right before baking to save time!

3 days ago

Super solid easy recipe! I made these as part of my weekly meal prep, stored them in glass ramekins, and reheated them for quick weekday breakfasts. Only reason it’s not 5 stars is that my first batch came out a little overcooked because my oven runs hot—took them out at 10 minutes instead of 12 and they were perfect the second time. Great base recipe to tweak with different toppings.

2 days ago

Thanks for the honest feedback! Oven temperature variation is so common—great call adjusting the cook time for your hotter oven. If you’re reheating for meal prep, 20 seconds in the microwave on 50% power keeps the yolk nice and runny instead of rubbery!

1 week ago

I was so intimidated to make French baked eggs after a bad restaurant experience where they were totally rubbery, but this recipe was foolproof! 12 minutes exactly in my oven, runny golden yolk, I served it with buttery toasted baguette slices for dipping and my partner said it was better than the version we had on our Paris trip last year. SO good, will be making this every other weekend from now on.

5 minutes ago

Wait this is literally the easiest fancy meal I’ve ever made in my dorm oven? I didn’t even have ramekins so I used small mason jars and it worked perfectly! I put a little bit of ham and chives in mine, ate it with a side of hash browns. 10/10, no notes, I’m telling everyone on my floor about this recipe.

just now

Wait mason jars are such a smart hack! I’ve been putting off making this because I thought I needed fancy bakeware, this is a game changer. Did you put the lids on when you baked them or leave them open?

2 days ago

Finally a fancy egg recipe that’s naturally gluten free without any weird swaps! I made these for my mom’s birthday breakfast, added a little smoked salmon and dill to each ramekin, and she asked for the recipe before she even finished eating. Cook time was spot on for my oven, no adjustments needed. Will absolutely be adding this to my regular rotation.

yesterday

The smoked salmon and dill combo sounds incredible! Do you think that would work with plant-based cream for a dairy free version? My daughter is lactose intolerant and I’ve been looking for fun brunch recipes she can eat too.

2 hours ago

The smoked salmon and dill addition sounds amazing! Full fat unsweetened oat cream works beautifully as a dairy free swap here, so you won’t lose that rich, creamy texture. We’re so glad you and your mom enjoyed the recipe!



