
Eggs en Cocotte Scrambled Eggs

title 1
Eggs en Cocotte Scrambled Eggs
⏱️ cook time 12 minutes
🍽️ servings 4
⚡ Difficulty easy

intro

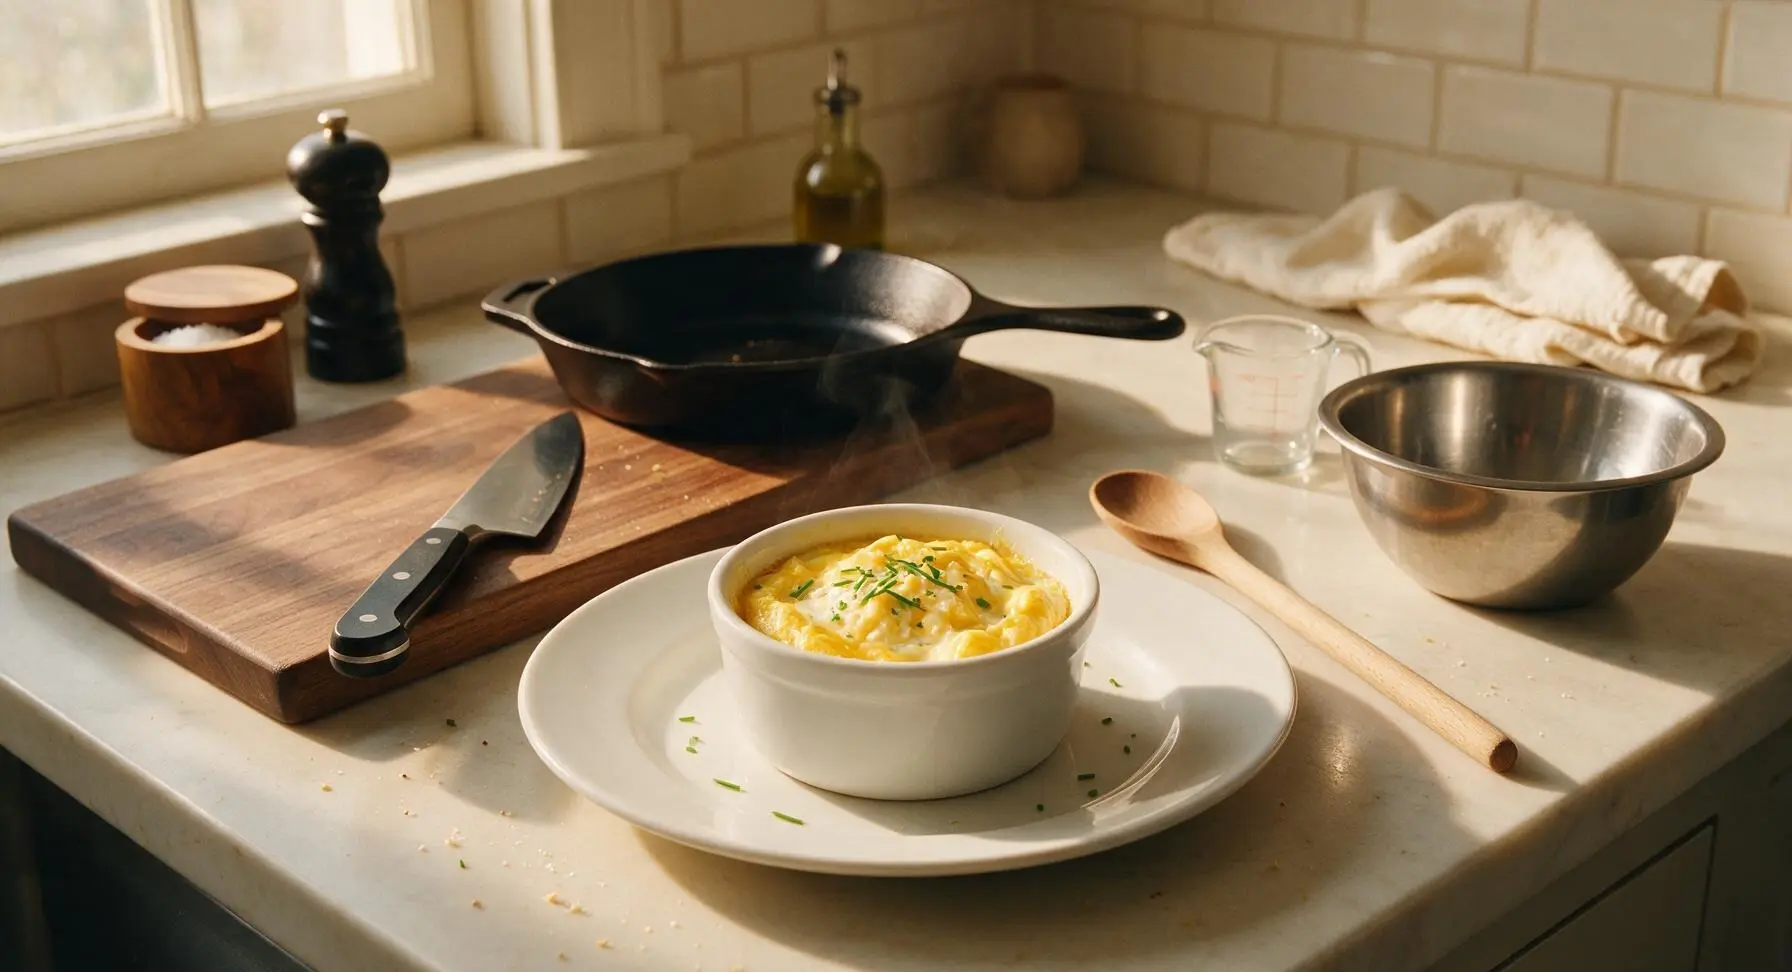
Silky, custardy soft scrambled eggs baked in individual ceramic ramekins, enriched with cream and nutty Gruyère, finished with fresh chives for a gentle, luxe breakfast treat.

Ingredients
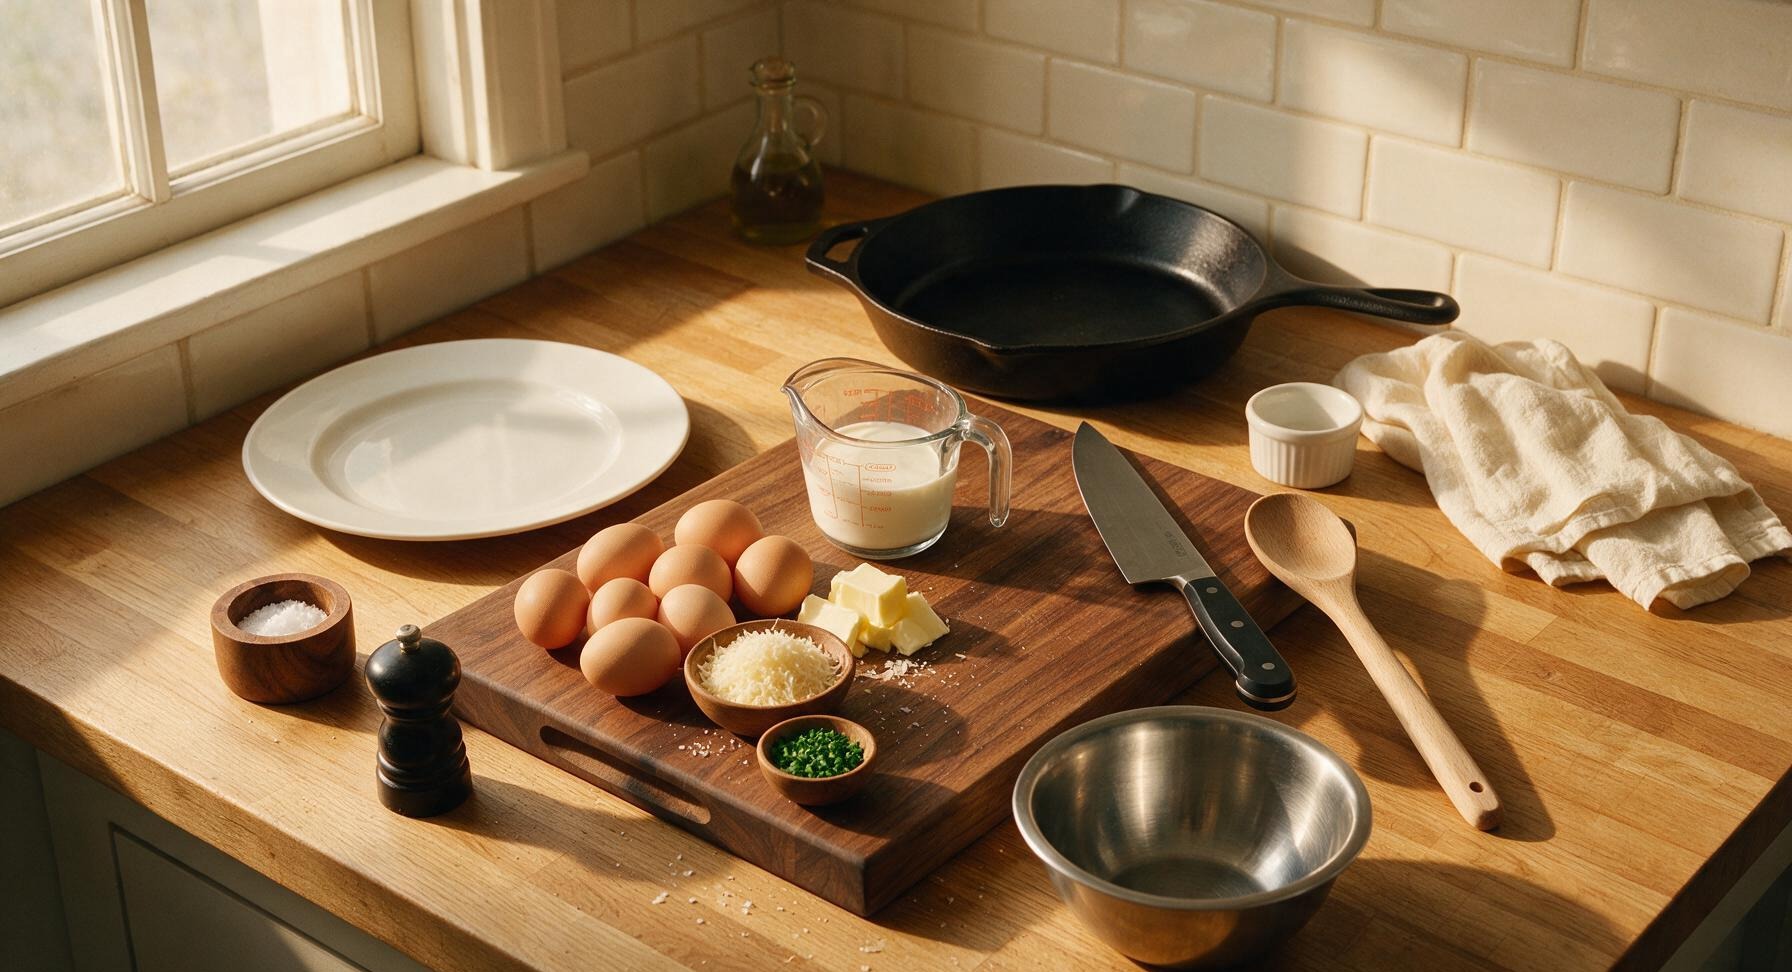
Large eggs 8 whole
Heavy whipping cream 1/2 cup (120ml)
Unsalted butter 2 tbsp (30g), divided
Gruyère cheese, finely grated 1/4 cup (25g)
Fresh chives 2 tbsp (6g), finely chopped
Kosher salt 1/2 tsp
Freshly ground black pepper 1/4 tsp, plus extra for serving

Steps

1

Preheat Oven, Butter Ramekins

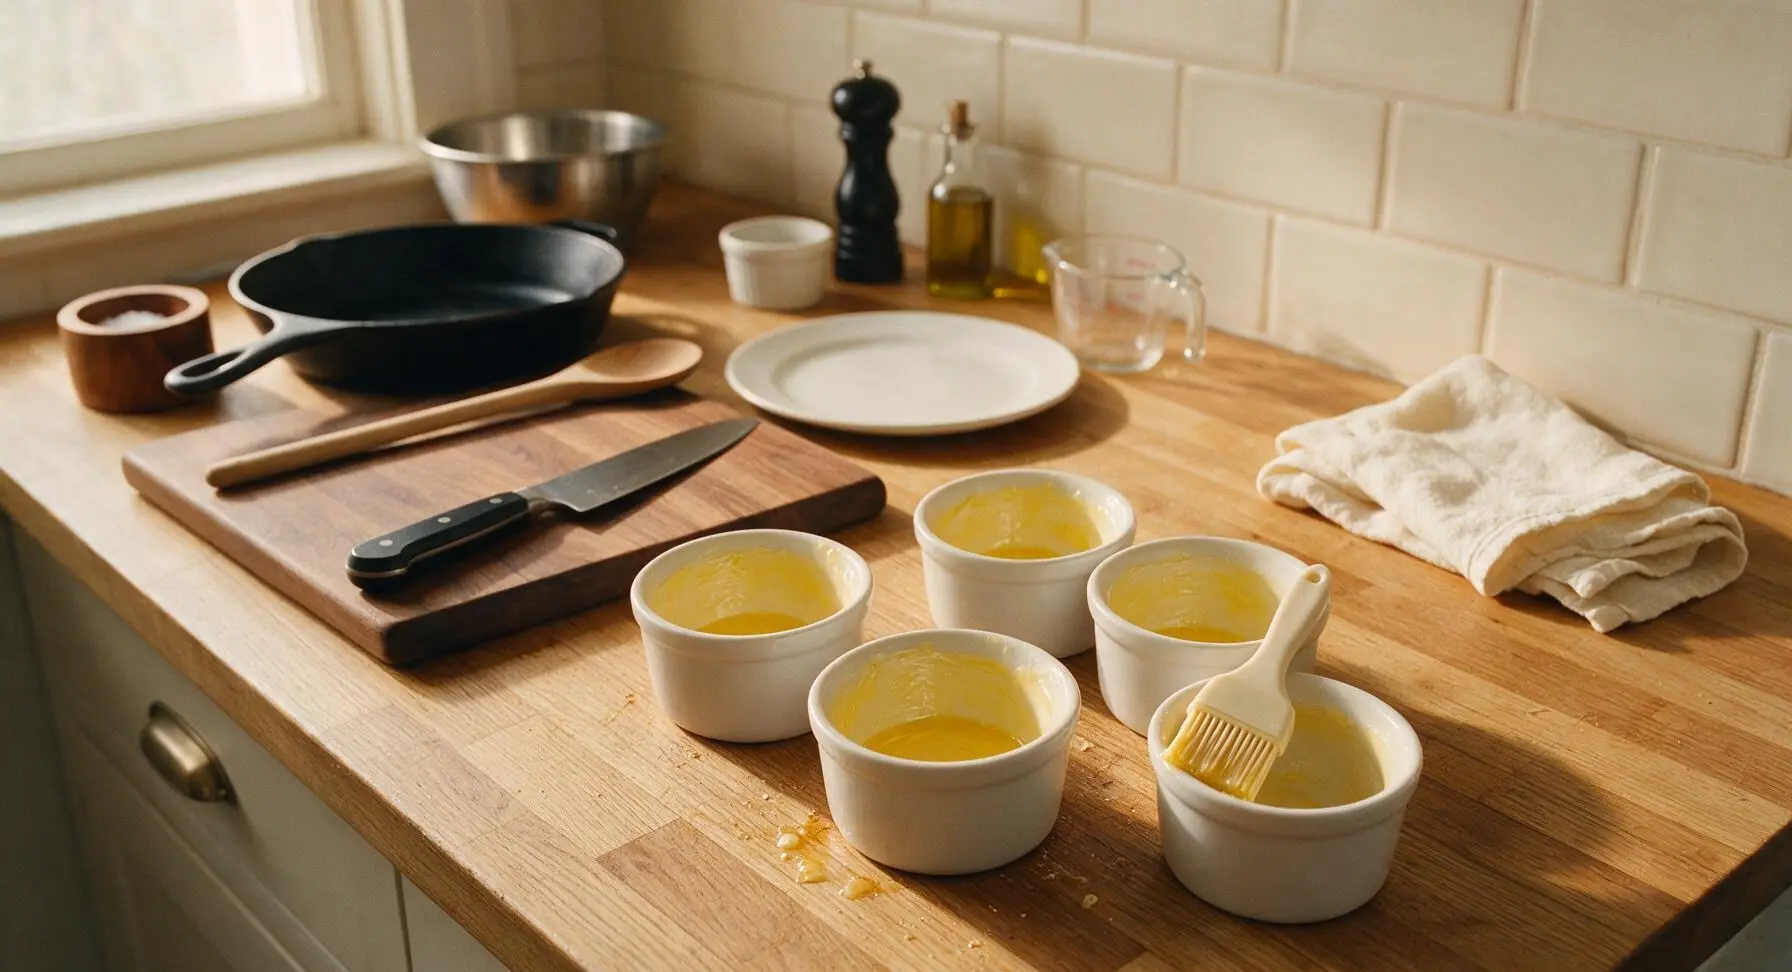
Preheat your oven to 375°F (190°C). Melt 1 tablespoon of the unsalted butter, then use the small silicone pastry brush to coat the entire interior surface of each of the 4 matte white ceramic ramekins with the melted butter, making sure to cover the bottom and 1cm up the sides to prevent sticking. Set the buttered ramekins in a loose cluster on the counter while you prep the egg mixture.
Step 1
step1:Preheat Oven, Butter Ramekins
2

Chop Fresh Chives

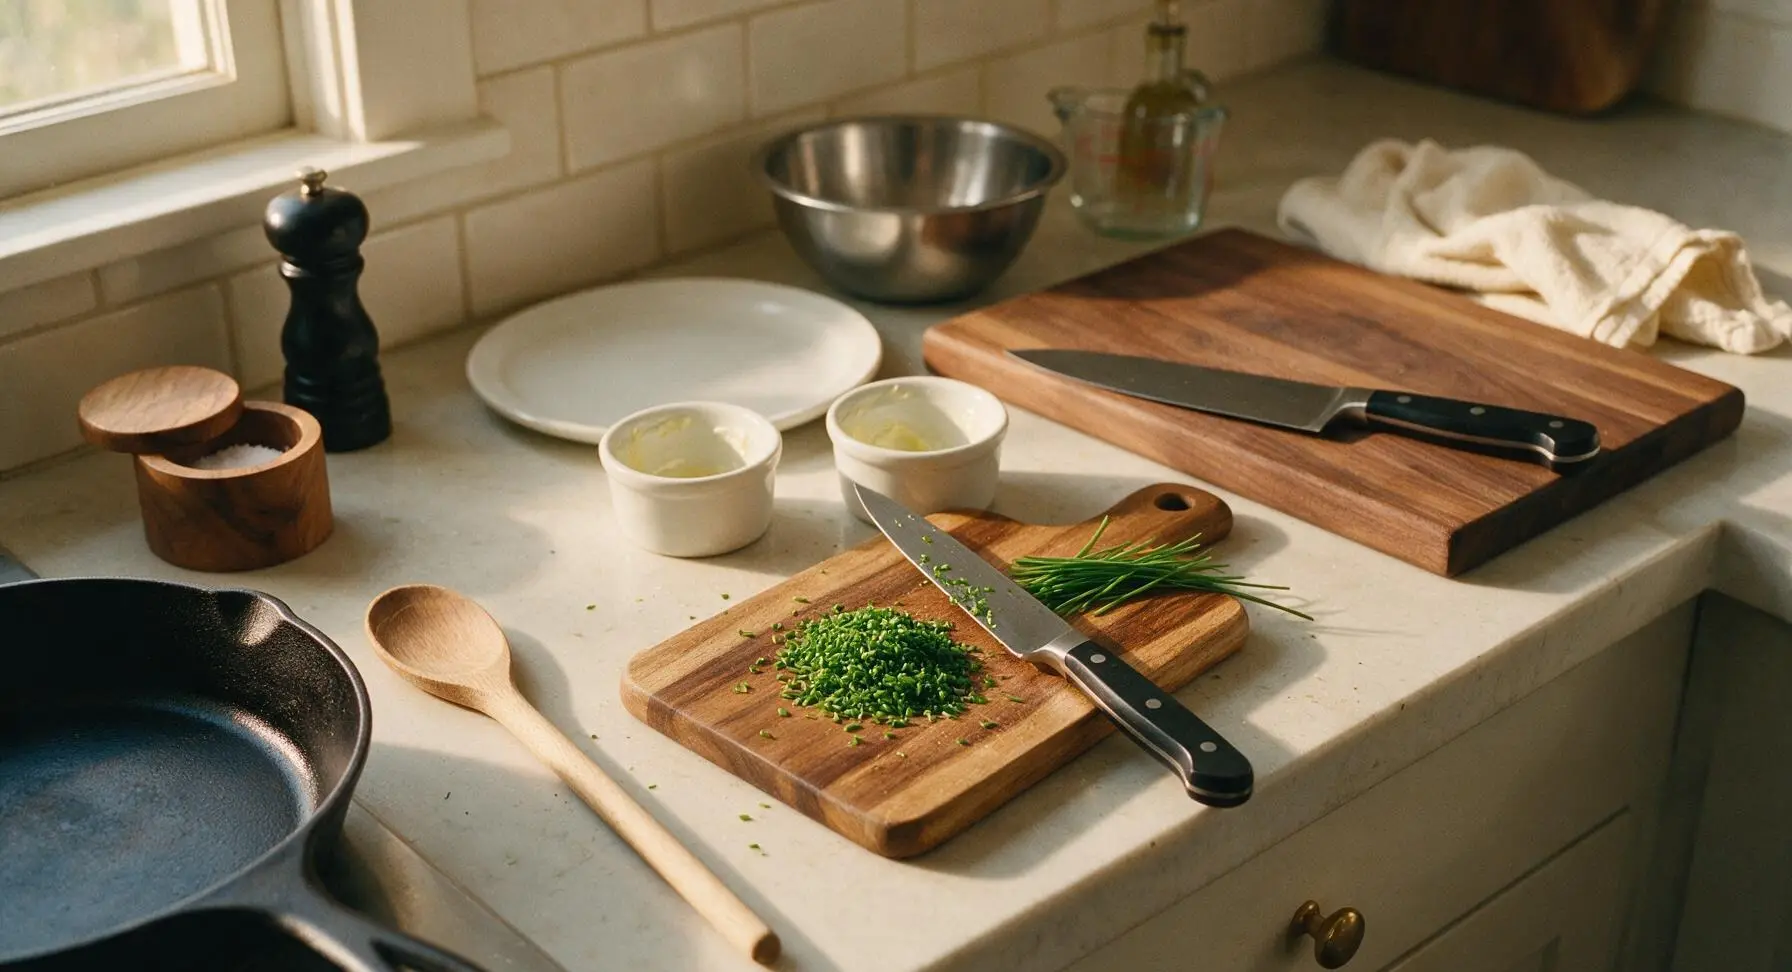
Gather the fresh chives, rinse and pat dry with a corner of the fixed linen towel. Place the chives on the small acacia wood cutting board, and use the paring knife to chop them into fine 2mm pieces, setting aside 1 teaspoon of whole chive tips for garnish if desired. Avoid bruising the chives by using a sharp, smooth cutting motion rather than sawing.
Step 2
step2:Chop Fresh Chives
3

Whisk Egg Base

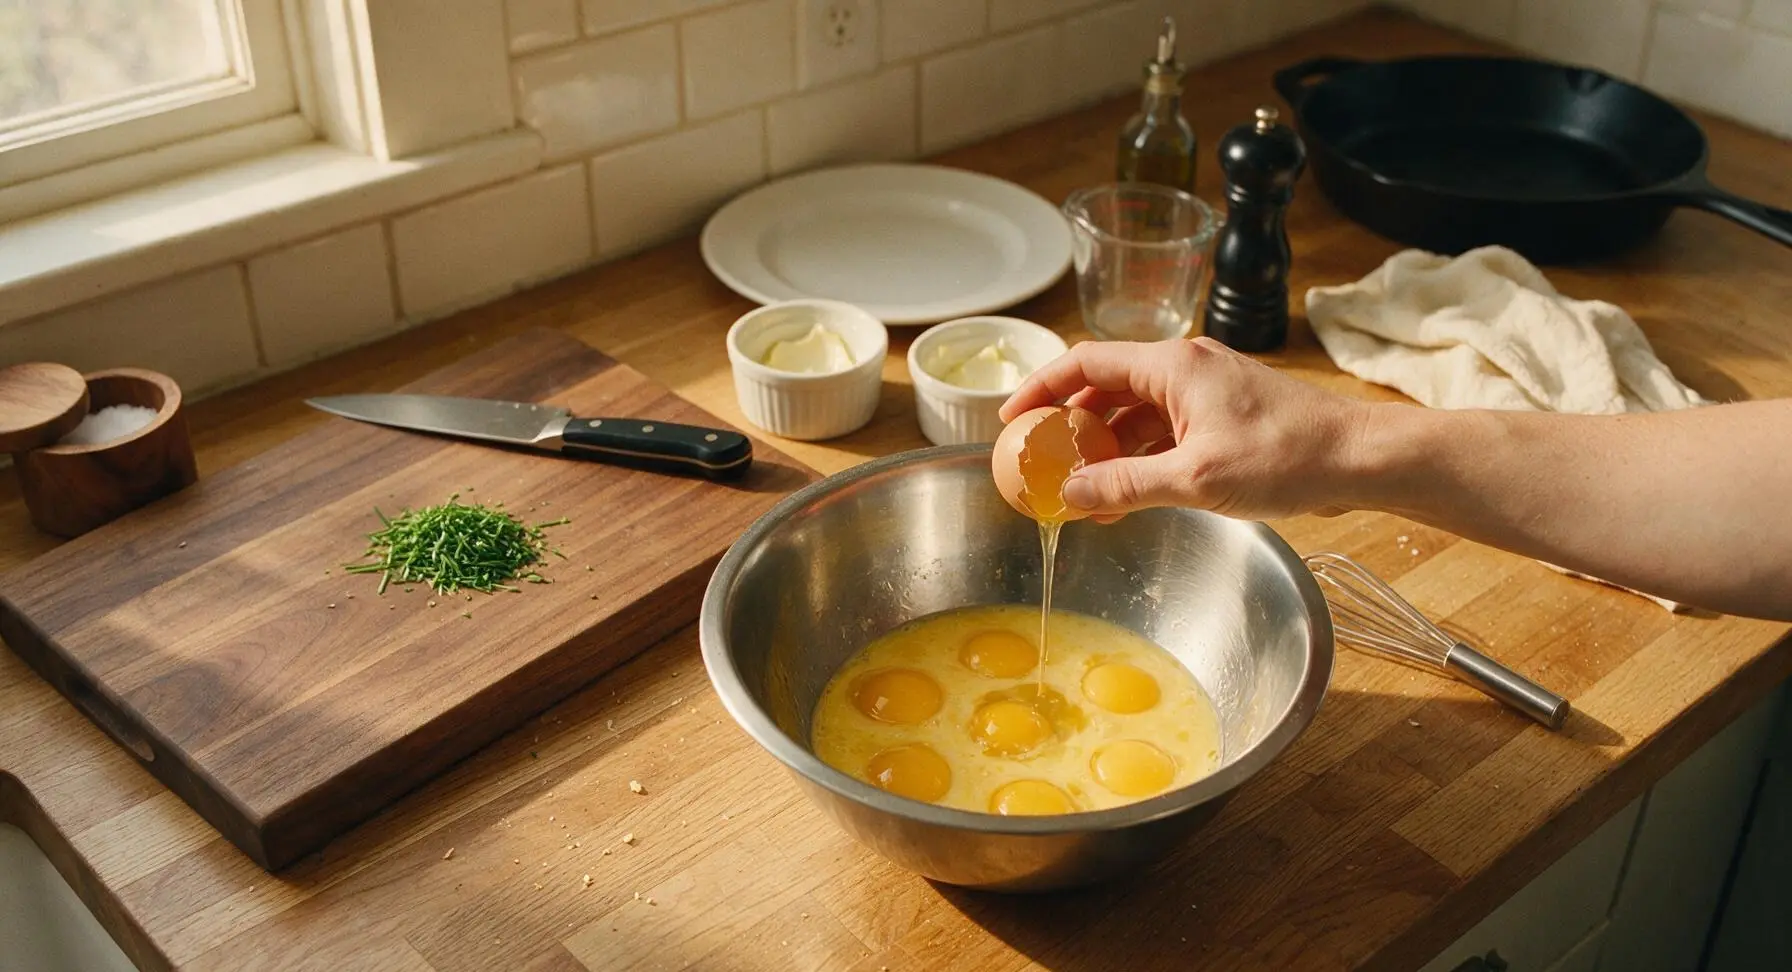
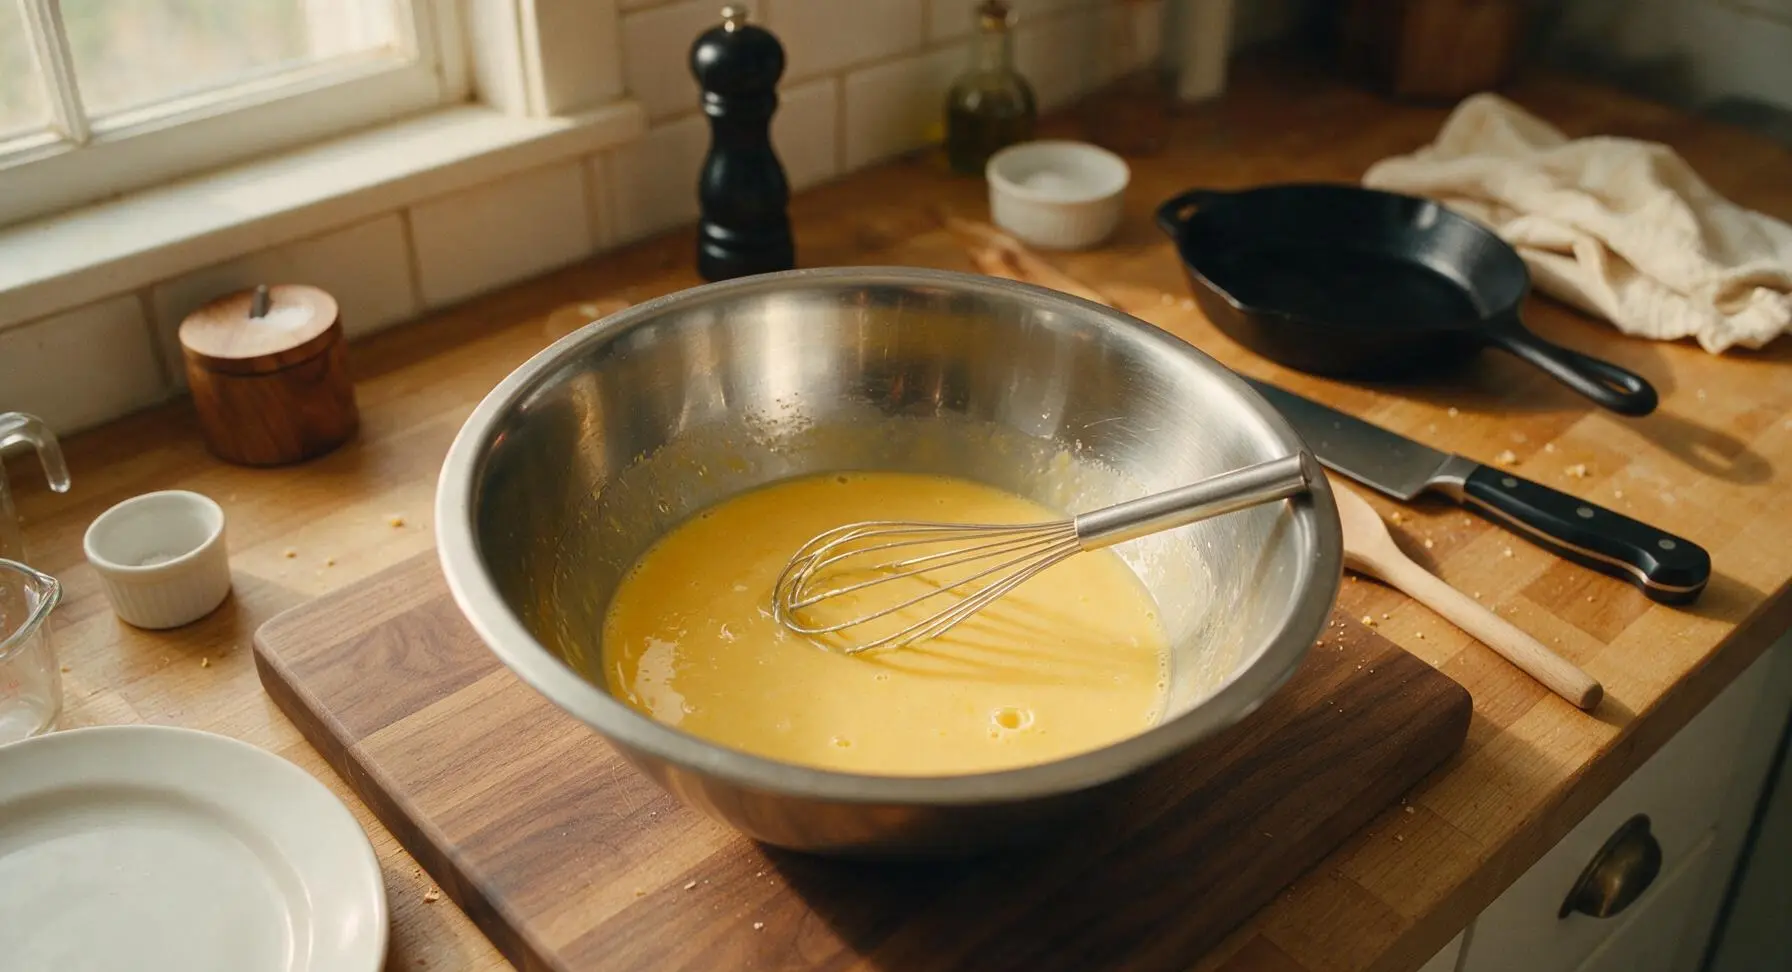
Crack all 8 large eggs into the medium stainless steel mixing bowl. Add the 1/2 cup heavy cream, 1/2 tsp kosher salt, and 1/4 tsp black pepper. Use the small stainless steel whisk to combine the ingredients slowly, mixing just until the yolks and whites are fully incorporated — do not over-whisk, as this will incorporate too much air and cause the eggs to become spongy when baked. The mixture should be a uniform pale yellow with no visible streaks of egg white.
Step 3
step3:Whisk Egg Base
Step 3
step3:Whisk Egg Base
4

Assemble Water Bath

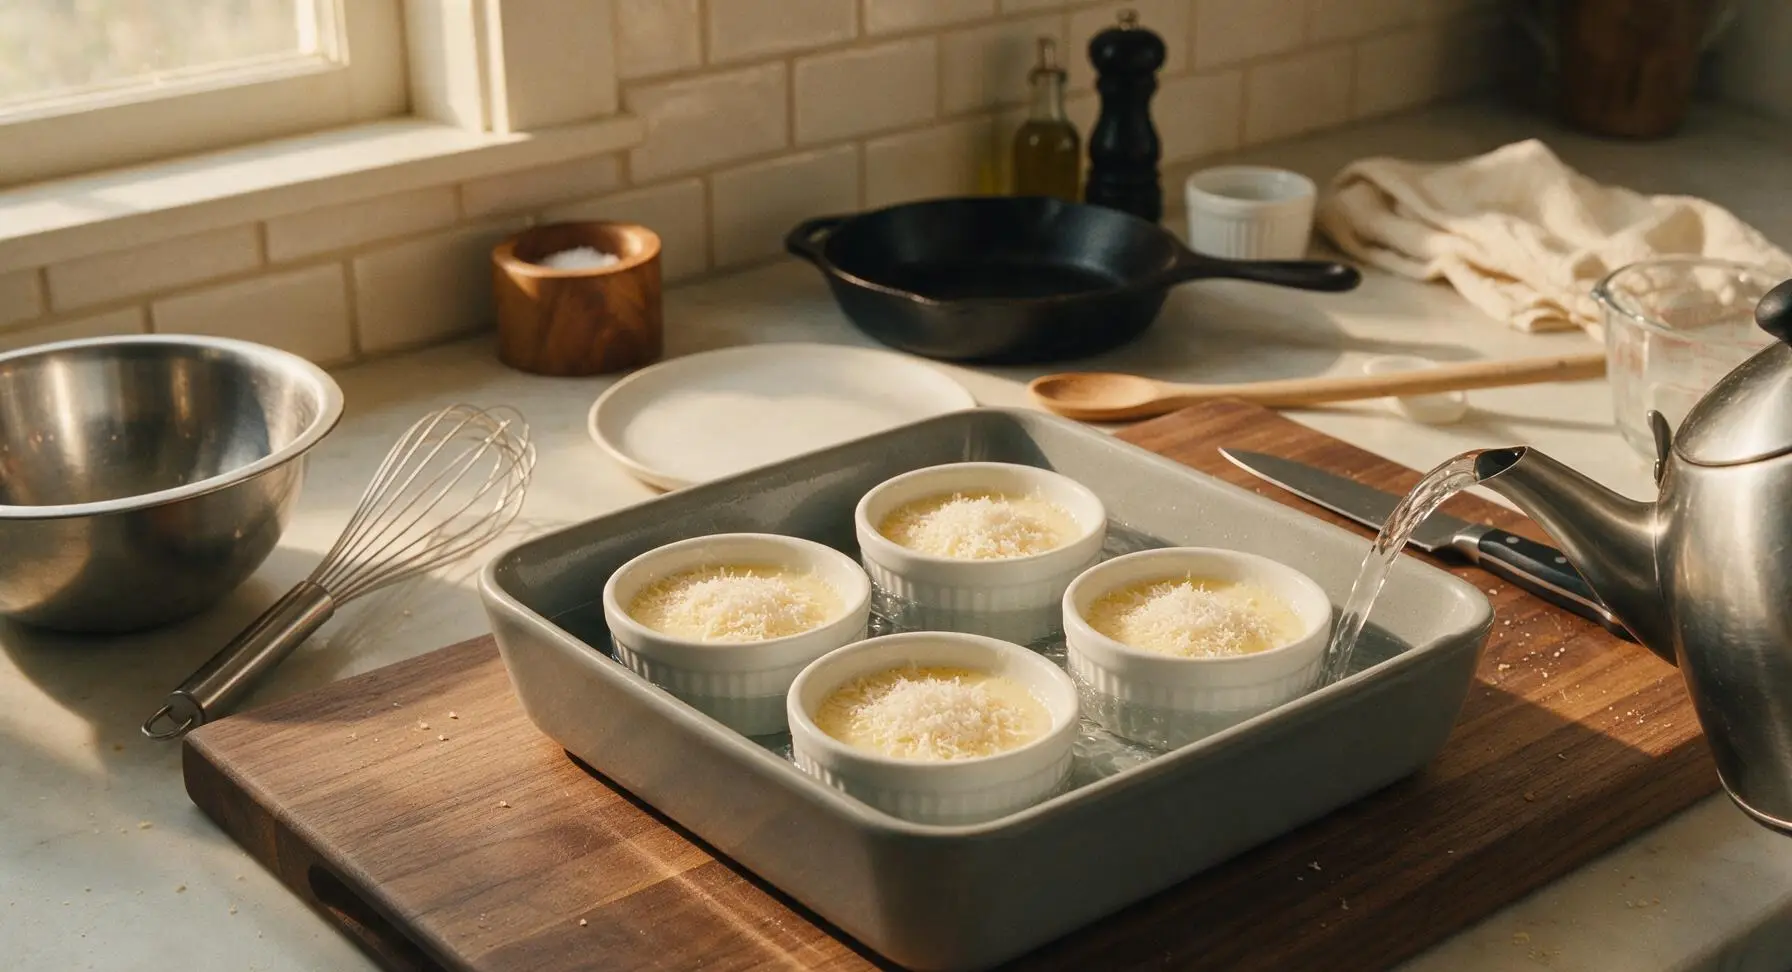
Divide the whisked egg mixture evenly between the 4 buttered ramekins, pouring slowly to avoid splashing. Sprinkle half of the grated Gruyère cheese evenly over the top of the egg mixture in each ramekin. Arrange the filled ramekins inside the matte dove grey square ceramic baking dish, leaving 2cm of space between each ramekin for even heat flow. Use the stainless steel kettle to pour hot (not boiling) water into the baking dish until the water reaches halfway up the sides of the ramekins, taking care not to splash any water into the egg mixture.
Step 4
step4:Assemble Water Bath
5

Bake Until Partially Set

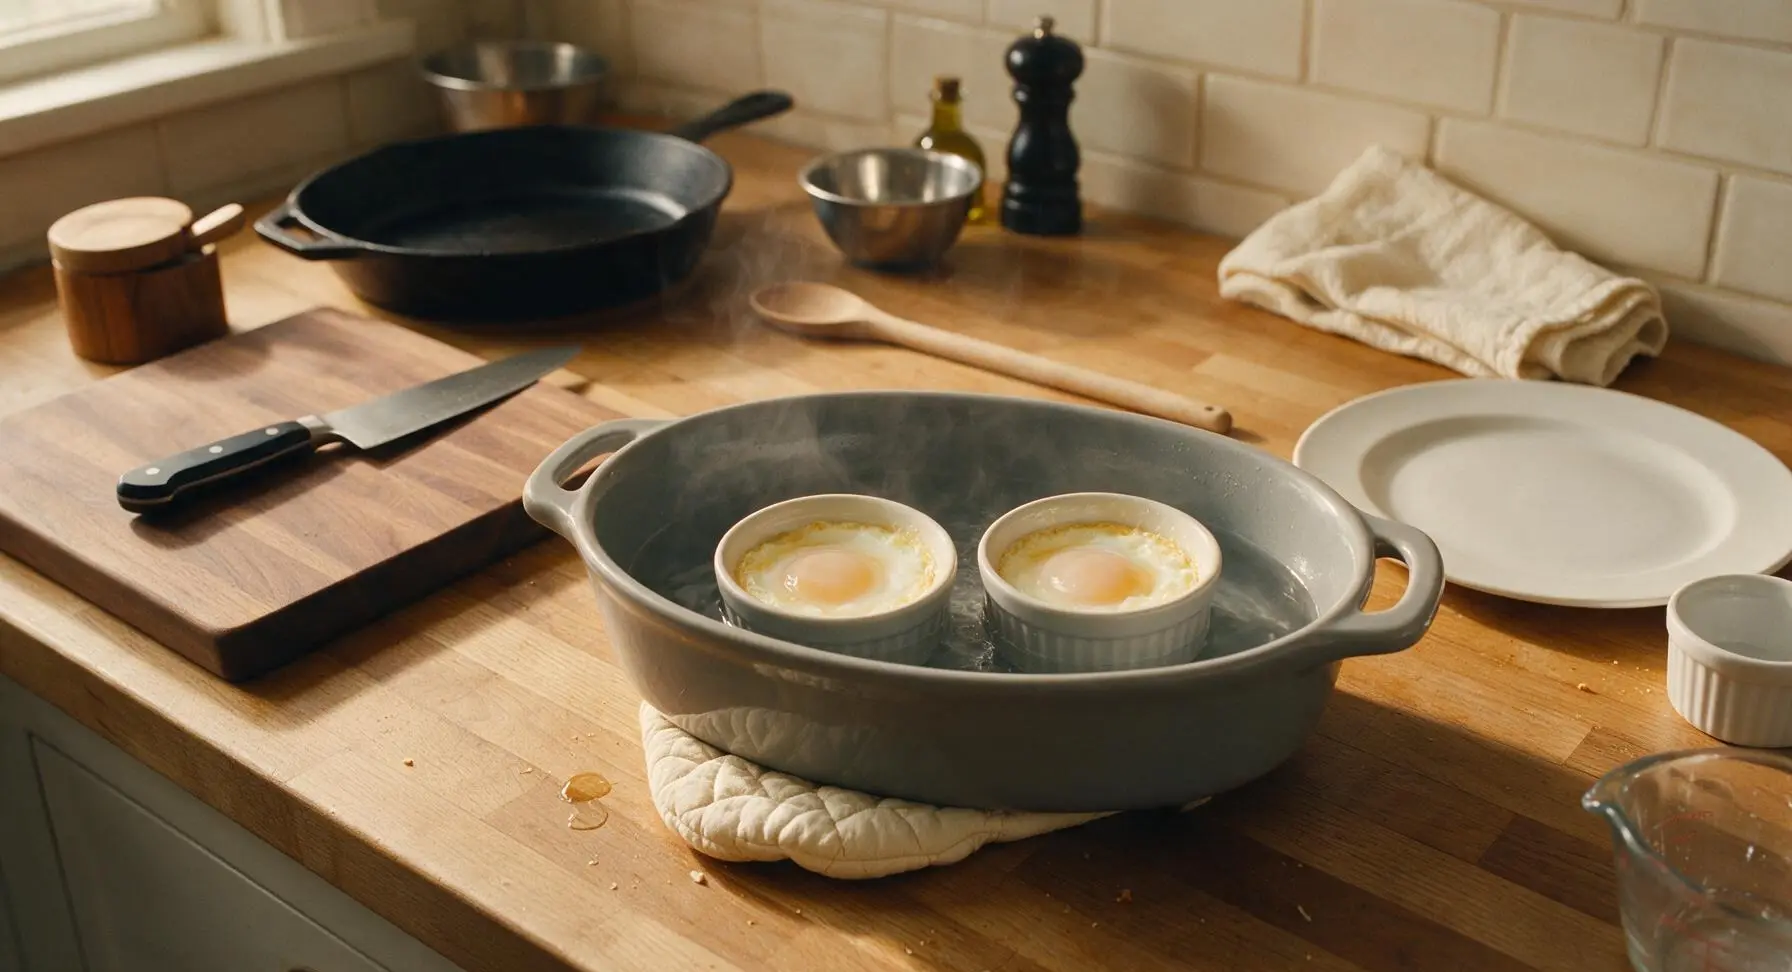
Carefully transfer the baking dish with the water bath and ramekins to the preheated 375°F (190°C) oven. Bake for 7 minutes, then use the quilted oven mitts to pull the dish out and set it back on the counter. The eggs should have opaque, softly set edges but a very liquid, jiggly center when the dish is gently shaken. Do not bake longer than 7 minutes for this first stage, as the eggs will overcook quickly.
Step 5
step5:Bake Until Partially Set
6

Stir, Finish Baking

Use the small stainless steel demitasse spoon to gently stir the partially set eggs in each ramekin, scraping the soft set curds from the edge into the liquid center to create soft, uneven scrambled curds. Sprinkle the remaining half of the Gruyère cheese over the top of each ramekin. Return the baking dish to the oven and bake for an additional 4-5 minutes, until the eggs are just set with a soft, custardy, slightly wobbly center — they will continue to cook for 1-2 minutes after being removed from the oven via carryover cooking.
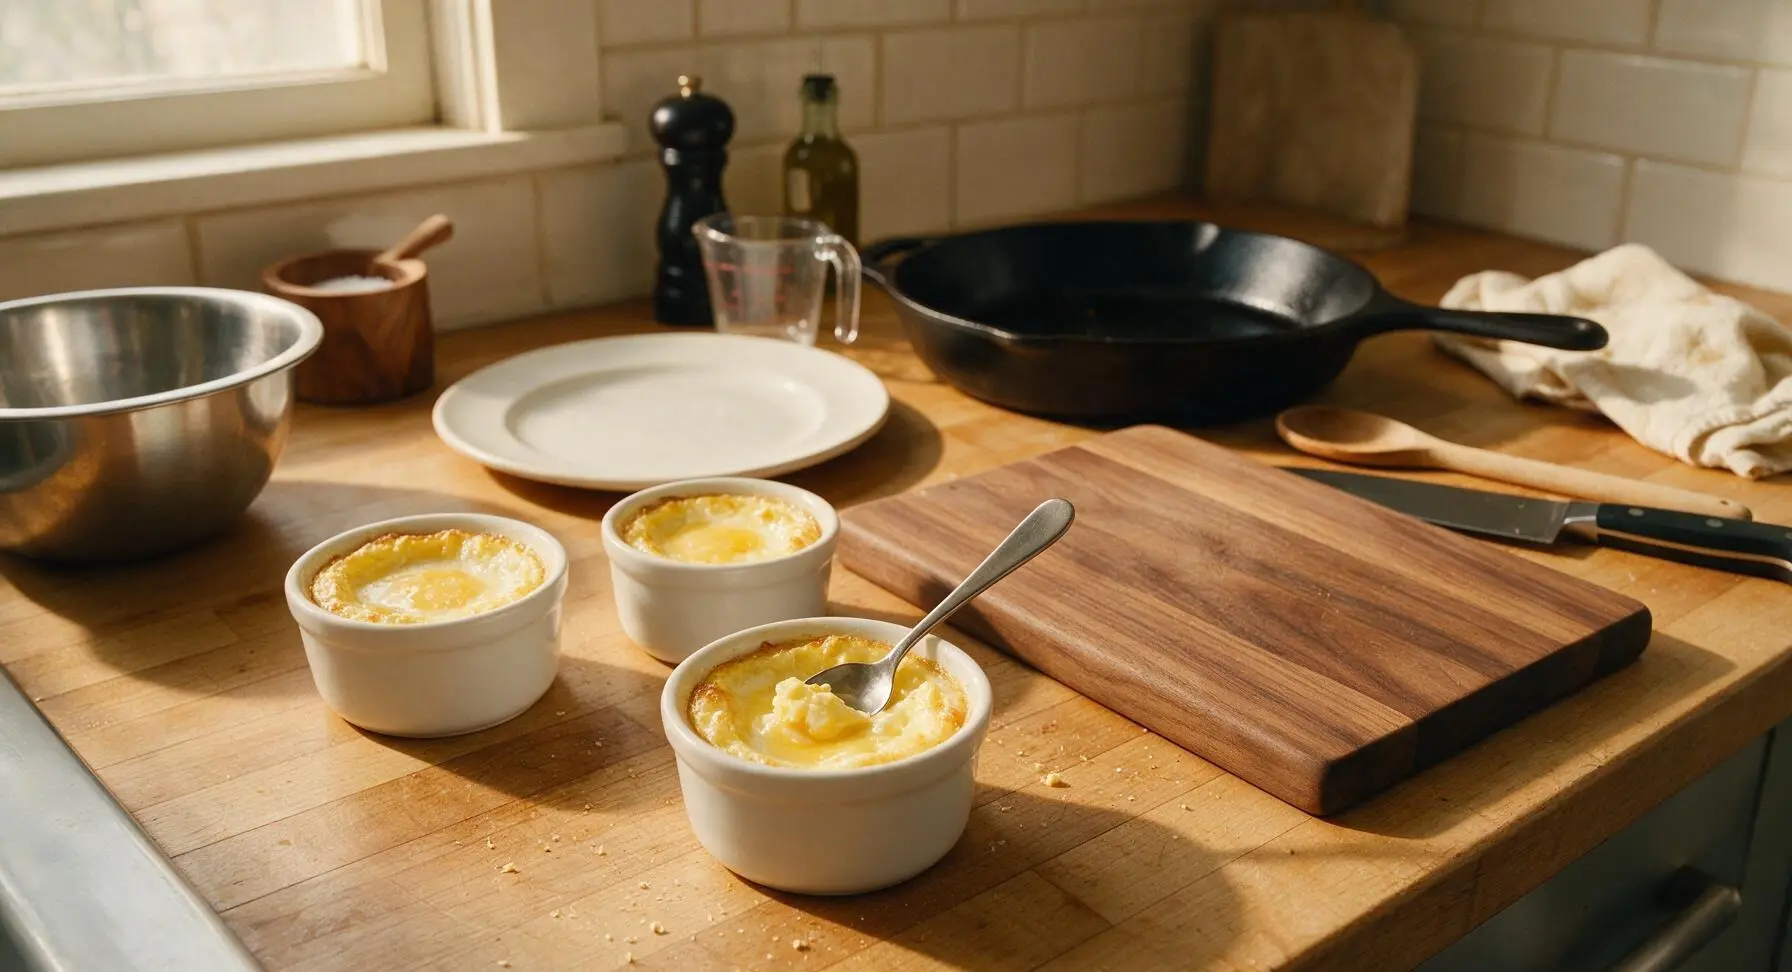
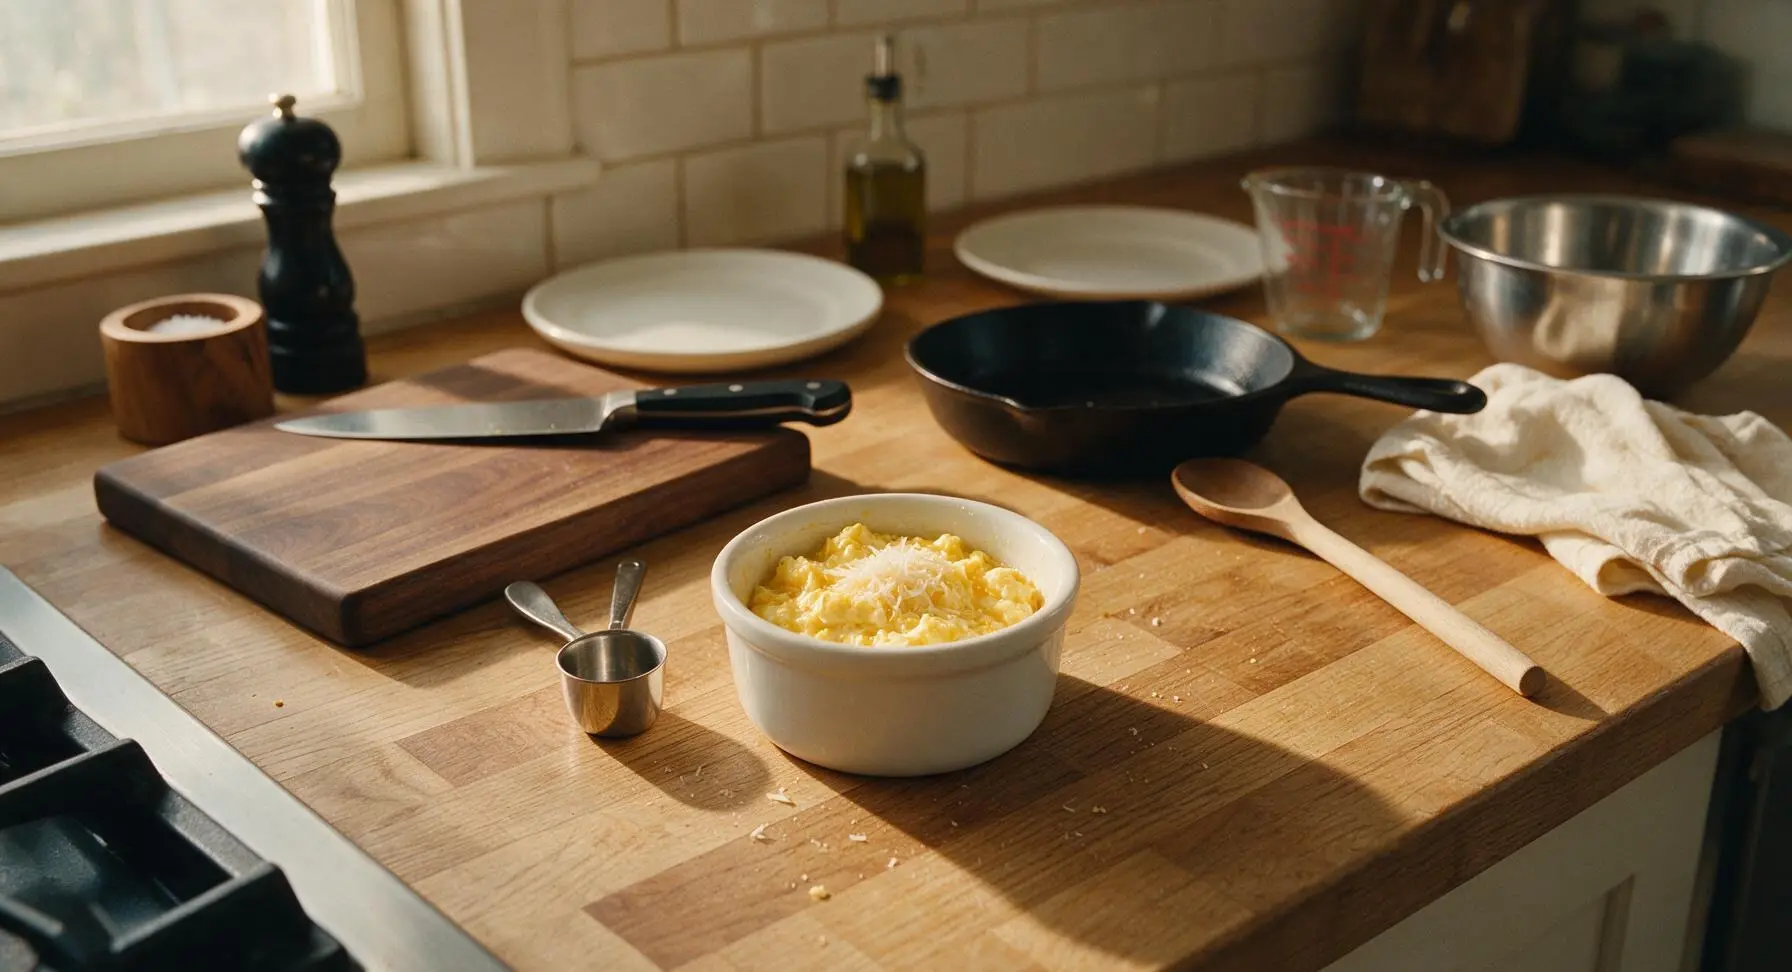
Step 6
step6:Stir, Finish Baking
Step 6
step6:Stir, Finish Baking
7

Rest, Garnish, Serve

Use the oven mitts to remove the baking dish from the oven once the eggs are just set. Carefully lift each ramekin out of the hot water bath, wiping any water droplets from the ramekin base with the corner of the linen towel. Set each ramekin on a matte off-white ceramic side plate. Top each ramekin with a small 1/4 tbsp pat of the remaining unsalted butter, a sprinkle of finely chopped chives, and a light crack of extra black pepper. Let rest for 2 minutes before serving, so the eggs set to the perfect creamy consistency.
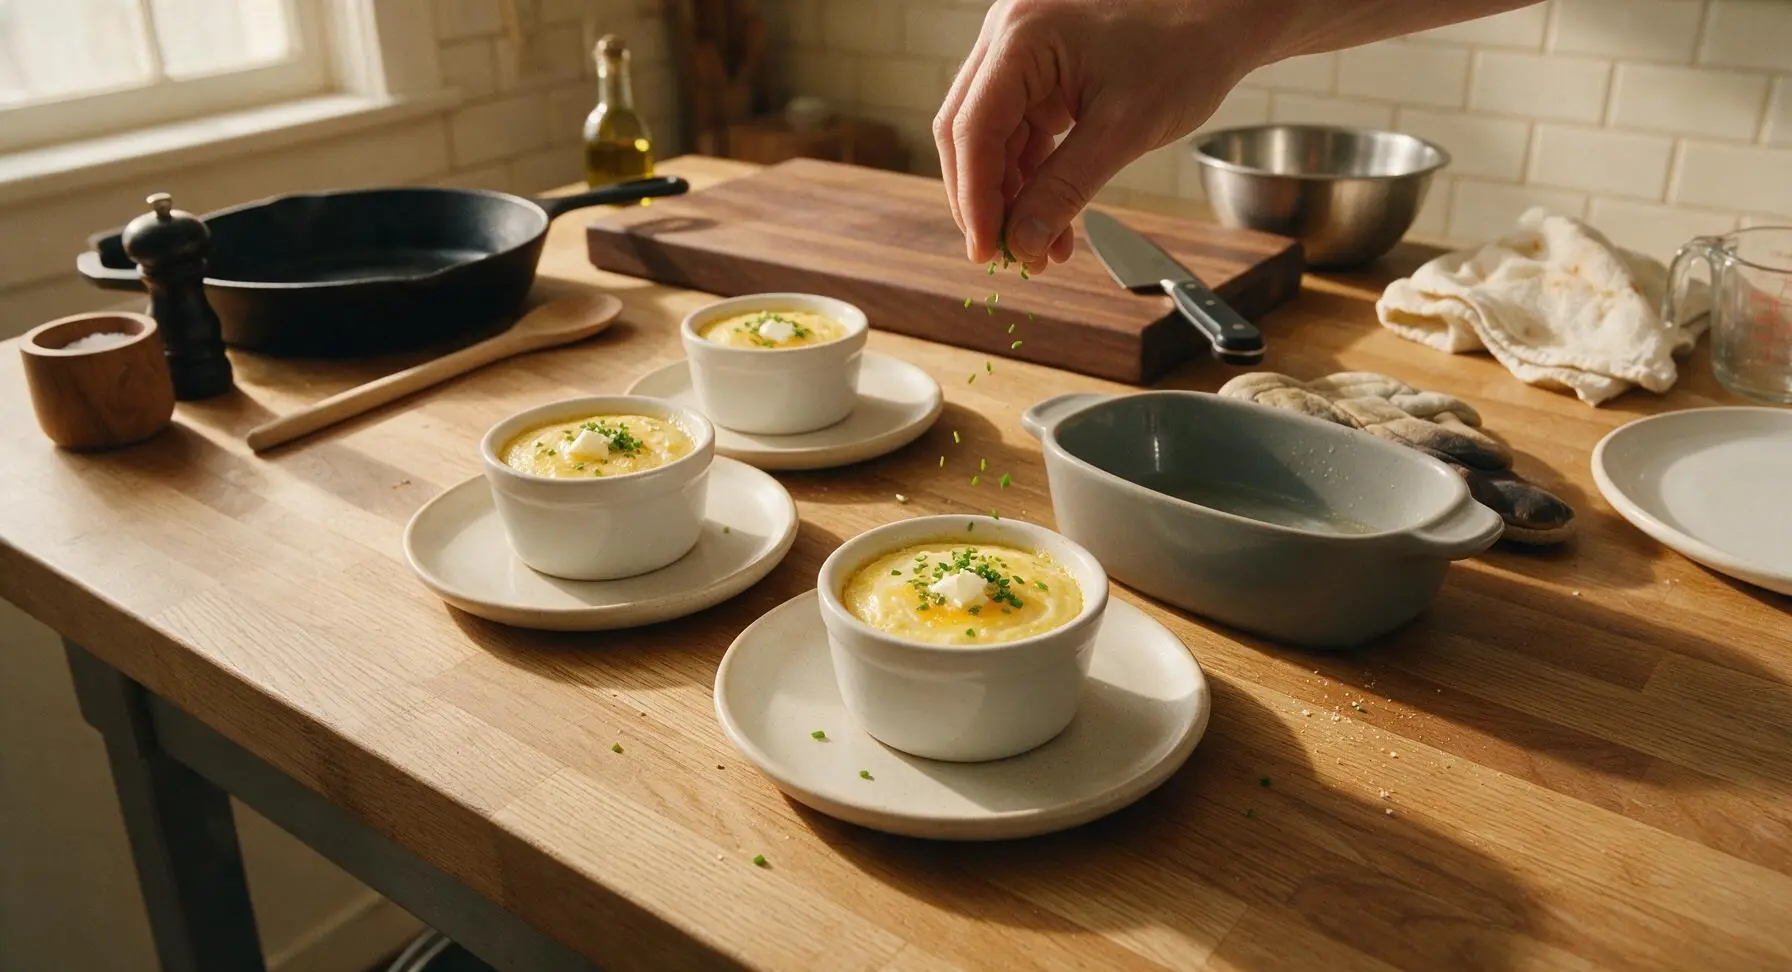
Step 7
step7:Rest, Garnish, Serve

Tips

1.Avoid over-whisking the egg mixture: too much trapped air creates light, spongy curds instead of the dense, velvety custard texture that defines eggs en cocotte. Whisk just until no streaks of egg white remain, stopping before the surface becomes frothy.
2.Use hot (not boiling) water for the bain-marie: boiling water cooks the egg edges too rapidly, leading to rubbery, overcooked curds before the center sets. Water at 160°F (70°C, hot to the touch but not bubbling) creates gentle, even heat for silky, uniform curds.
3.Pull the eggs from the oven when the center is still slightly wobbly: residual heat from the hot ceramic ramekins will continue to cook the eggs for 1-2 minutes after removal (carryover cooking). Waiting until the center is fully set will result in dry, crumbly eggs by the time they reach the table.


✨ You May Also Like

Breakfast
🍜 United States

Crisp-edged, fluffy lard griddle cakes are a nostalgic homestyle staple, with rich savoriness from rendered lard, perfect topped with maple syrup or savory gravy.

⏱️ 25 minuteBreakfast ★ 4.8
Breakfast
🍜 United States

Flaky, buttery homemade buttermilk biscuits smothered in creamy, peppery pork sausage gravy: a beloved, hearty Southern American comfort food classic.

⏱️ 35 minuteBreakfast ★ 4.8
Breakfast
🍜 United States

Golden, custardy brioche stuffed with sweet cream cheese and fresh berries, pan-fried to crisp perfection. An indulgent, cozy breakfast perfect for slow weekend mornings.

⏱️ 30 minuteBreakfast ★ 4.7
Breakfast
🍜 United States

Flaky, buttery Southern-style biscuits stuffed with savory salty country ham, a portable, satisfying classic perfect for casual on-the-go meals.

⏱️ 25 minuteBreakfast ★ 4.8
Breakfast
🍜 United States

Iconic puffy baked pancake popularized in Seattle, with crisp golden edges and soft custardy center, served warm with classic sweet toppings.

⏱️ 35 minuteBreakfast ★ 4.6
Breakfast
🍜 United States

Fluffy, golden pancakes studded with juicy peak-summer mixed berries, drizzled with maple syrup for a bright, comforting, crowd-pleasing family breakfast.

⏱️ 25 minuteBreakfast ★ 4.7

Eggs en Cocotte Scrambled Eggs:Frequently Asked Questions

1.What sets Eggs en Cocotte scrambled eggs apart from regular stovetop scrambled eggs? ▾
Unlike stovetop scrambles stirred over direct high heat, these bake gently in individual ramekins for an ultra-silky, custardy, spoonable texture instead of firm, fluffy curds. The low, even oven heat lets the cream and Gruyère melt uniformly, so every bite is rich and smooth without the dry, rubbery risk of stovetop cooking.
2.What size ramekins work best for this recipe? ▾
Stick to 6-ounce standard ceramic ramekins for perfect results. This size holds 2 large eggs plus the cream, cheese, and butter fillings without overflowing as the eggs set, and heats evenly to cook the eggs through without overcooking the edges before the center is done. Avoid smaller 4-ounce ramekins, as they’ll cause messy bubbling over.
3.Do I need to use a water bath (bain-marie) when baking these? ▾
Yes, a simple water bath is non-negotiable for that signature silky texture. Set your filled ramekins in a high-sided baking pan, then pour hot tap water halfway up the ramekin sides before baking. This buffers direct oven heat, keeping egg temperature low and consistent so you get custardy eggs instead of tough, curdled ones.
4.Can I substitute the Gruyère cheese if I don’t have it on hand? ▾
Absolutely, if you don’t have Gruyère, reach for another nutty, low-moisture melting cheese. Finely grated Swiss, Emmental, or even mild white cheddar work beautifully. Skip very stringy cheeses like low-moisture mozzarella or super crumbly cheeses like feta, as they won’t melt into that smooth, evenly rich texture we’re going for.
5.How do I know when the eggs are perfectly done baking? ▾
Pull them from the oven when the edges are just set, and the center has a soft, jiggly wobble—like very loose Jell-O—when you nudge the ramekin. They’ll keep cooking for 2 to 3 minutes from residual heat as they rest, so pulling them early prevents overcooking. If the center is fully firm when you take them out, they’ll end up dry and rubbery by serving.
6.Can I make these ahead of time for a weekend brunch crowd? ▾
These are best served right after resting, but you can do 90% of the prep ahead to cut down on day-of work. Grate your cheese, chop your chives, and butter your ramekins the night before, then crack eggs and measure cream right before baking. I don’t recommend baking them fully ahead, as reheating turns silky eggs grainy and tough.
7.Is there a dairy-free swap that works for this recipe? ▾
Yes, you can make a great dairy-free version with a few easy swaps. Use unsalted vegan butter for greasing ramekins, swap heavy cream for full-fat oat cream (it has the closest rich, thick consistency), and use a well-melting vegan Gruyère-style cheese. Skip thin plant milks like almond or skim oat milk, as they’ll make eggs watery and bland.
8.Why did my eggs turn out rubbery and watery at the same time? ▾
That almost always comes from two common mistakes: baking at too high a temperature, or skipping the water bath. High heat causes egg proteins to seize up and squeeze out moisture, leading to that weird rubbery, weepy texture. Stick to 325°F oven temp, use the hot water bath, and pull them when the center is still wobbly to avoid this issue.
9.Can I add mix-ins like bacon, spinach, or mushrooms to these eggs? ▾
Definitely, just cook and fully drain any wet or fatty mix-ins first to avoid making the eggs watery. Crisp bacon, sautéed spinach squeezed dry, or caramelized mushrooms all work beautifully—add a tablespoon of cooled, prepped mix-in to the bottom of each buttered ramekin before adding egg and cream. Skip raw veggies, as they’ll release water as they bake.
10.Do I need to whisk the eggs before pouring them into the ramekins? ▾
For this specific scrambled-style en cocotte, give the eggs a very gentle, light whisk with the heavy cream just until yolks and whites are combined—don’t whip them until frothy. Over-whisking adds too much air, which can make eggs puff up then collapse and turn spongy as they bake, instead of staying dense and silky.
11.What oven temperature should I use for the best results? ▾
Set your conventional oven to 325°F (300°F if you’re using a convection oven) for even, gentle cooking. Higher temps cook edges too fast before the center sets, leading to tough, overcooked outer layers and a raw middle, while temps too low make eggs take forever to set and turn watery. This temp hits the sweet spot for custardy eggs every time.
12.Can I use half-and-half instead of heavy whipping cream? ▾
You can, but know the texture will be a little less luxe and rich. Heavy cream’s higher fat content creates that velvety, melt-in-your-mouth consistency that makes this dish feel special. If you use half-and-half, cut back by about a teaspoon per ramekin to avoid a watery set, and don’t swap in regular milk, as it’s too low-fat for the right texture.
13.Why do my eggs stick to the inside of the ramekins? ▾
That’s almost always from skipping the butter coating step. Take a minute to rub the entire inside of each ramekin with softened unsalted butter, all the way up to the rim, before adding your ingredients. The butter creates a nonstick barrier and adds subtle rich flavor, so eggs slide right out easily if you unmold them, or lift cleanly with a spoon.
14.How long do these take to bake, exactly? ▾
In a 325°F oven with a proper water bath, they’ll take 12 to 15 minutes total, depending on your oven and how set you like them. Start checking at the 12-minute mark, because oven temperatures can vary pretty widely. Don’t set a timer and walk away—those last 2 minutes are the difference between perfect silky eggs and overcooked, tough ones.
15.Can I freeze these baked eggs for quick weekday breakfasts? ▾
I don’t recommend freezing these, unfortunately. The high moisture content in the eggs and cream means they’ll develop a grainy, watery texture when frozen and thawed, and the cheese will separate as it reheats. They’re really designed to be made fresh, with minimal prep, so they’re not a great candidate for long-term freezer storage.
16.Do I have to add chives, or can I use other fresh herbs? ▾
Chives add a mild, oniony bright kick that cuts through the rich cream and cheese, but you can absolutely swap them for other soft fresh herbs. Finely chopped tarragon, flat-leaf parsley, or even a tiny bit of chopped dill work beautifully. Just skip tough, woody herbs like rosemary or raw thyme sprigs, as they’ll be too harsh and fibrous in the soft eggs.
17.Should I cover the ramekins with foil while baking? ▾
You don’t have to, but covering them loosely with a sheet of foil for the first 8 minutes of baking helps prevent a tough skin from forming on the top of the eggs, and keeps the top from browning too fast. If you like a little golden, lightly browned top, leave the foil off for the last 4 to 5 minutes of baking for a subtle toasty note.
18.How many eggs per ramekin is the right serving size? ▾
Stick to 2 large eggs per 6-ounce ramekin for a perfect single serving. That amount, paired with 1 tablespoon of heavy cream, 1 tablespoon of grated Gruyère, and a small pat of butter, is filling enough for a light breakfast when served with toast, without being overly heavy. Using 3 eggs per ramekin leads to overflow and uneven cooking.
19.What should I serve with these eggs to make a full, balanced meal? ▾
These rich, custardy eggs pair perfectly with crisp, simple sides to cut through the creaminess. Serve them with buttery toasted sourdough soldiers for dipping, a small side of lightly dressed arugula, or a few slices of crisp pan-fried prosciutto. Skip heavy, rich sides like creamy hash browns, as they’ll make the whole meal feel overly dense and heavy.

Comments (4)

30 minutes ago

OMG these Eggs en Cocotte Scrambled Eggs are a total game changer for my weekend brunch rotation! I’ve been making sad, dry pan-scrambled eggs for years and this 12 minute recipe is so easy, even I couldn’t mess it up. My picky 7 year old asked for seconds, which basically never happens on a Saturday morning. Served ours with buttery sourdough toast and fresh strawberries, absolute chef’s kiss.

5 minutes ago

Totally agree about the kid approval! My two toddlers gobbled theirs up too — I added a little sprinkle of shredded sharp cheddar on top before baking and it was *chef’s kiss*.

just now

So happy you and your kiddo loved the recipe! That cheddar sprinkle tip from MidwestMomBakes is such a great hack — a little crumbled crispy bacon or fresh chives works beautifully too if you want to mix up the flavors for brunch.

yesterday

Really solid recipe! Super easy to pull off on a busy weekday morning before my commute, and the cook time was exactly 12 minutes like advertised. Only knock is I added salt and pepper after baking instead of mixing it in first, so the seasoning was a little uneven. Will definitely be adding this to my weekly meal prep rotation though, way less cleanup than scrambling eggs in a pan!

2 hours ago

Great note about seasoning upfront! You can absolutely whisk a pinch of salt, pepper, and even a tiny splash of heavy cream into the eggs before pouring them into the ramekins for extra creamy, evenly flavored results. So glad this is fitting into your busy morning meal prep routine!

3 days ago

Made these for my monthly potluck brunch with the girls last weekend and everyone was blowing up my texts asking for the recipe! They look so fancy and elegant but require literally zero effort, I felt like a professional chef pulling the ramekins out of the oven. Topped each with a little sprig of fresh chives from my windowsill garden and they were SO good. 10/10 will make again for our next girls’ night potluck!

1 week ago

Was looking for a quick, high-protein breakfast to make before early morning hikes and this is perfect! No messy egg-crusted pan to scrub after, just toss the ramekins in the dishwasher and hit the trail. I added a dollop of roasted salsa on top after cooking and it hit every single time. Easy, fast, tasty — can’t ask for more out of a breakfast recipe.

5 days ago

The roasted salsa addition is genius! I usually top mine with a dash of hot sauce but salsa sounds way more flavorful, gonna have to try that this weekend before my trail run!



