
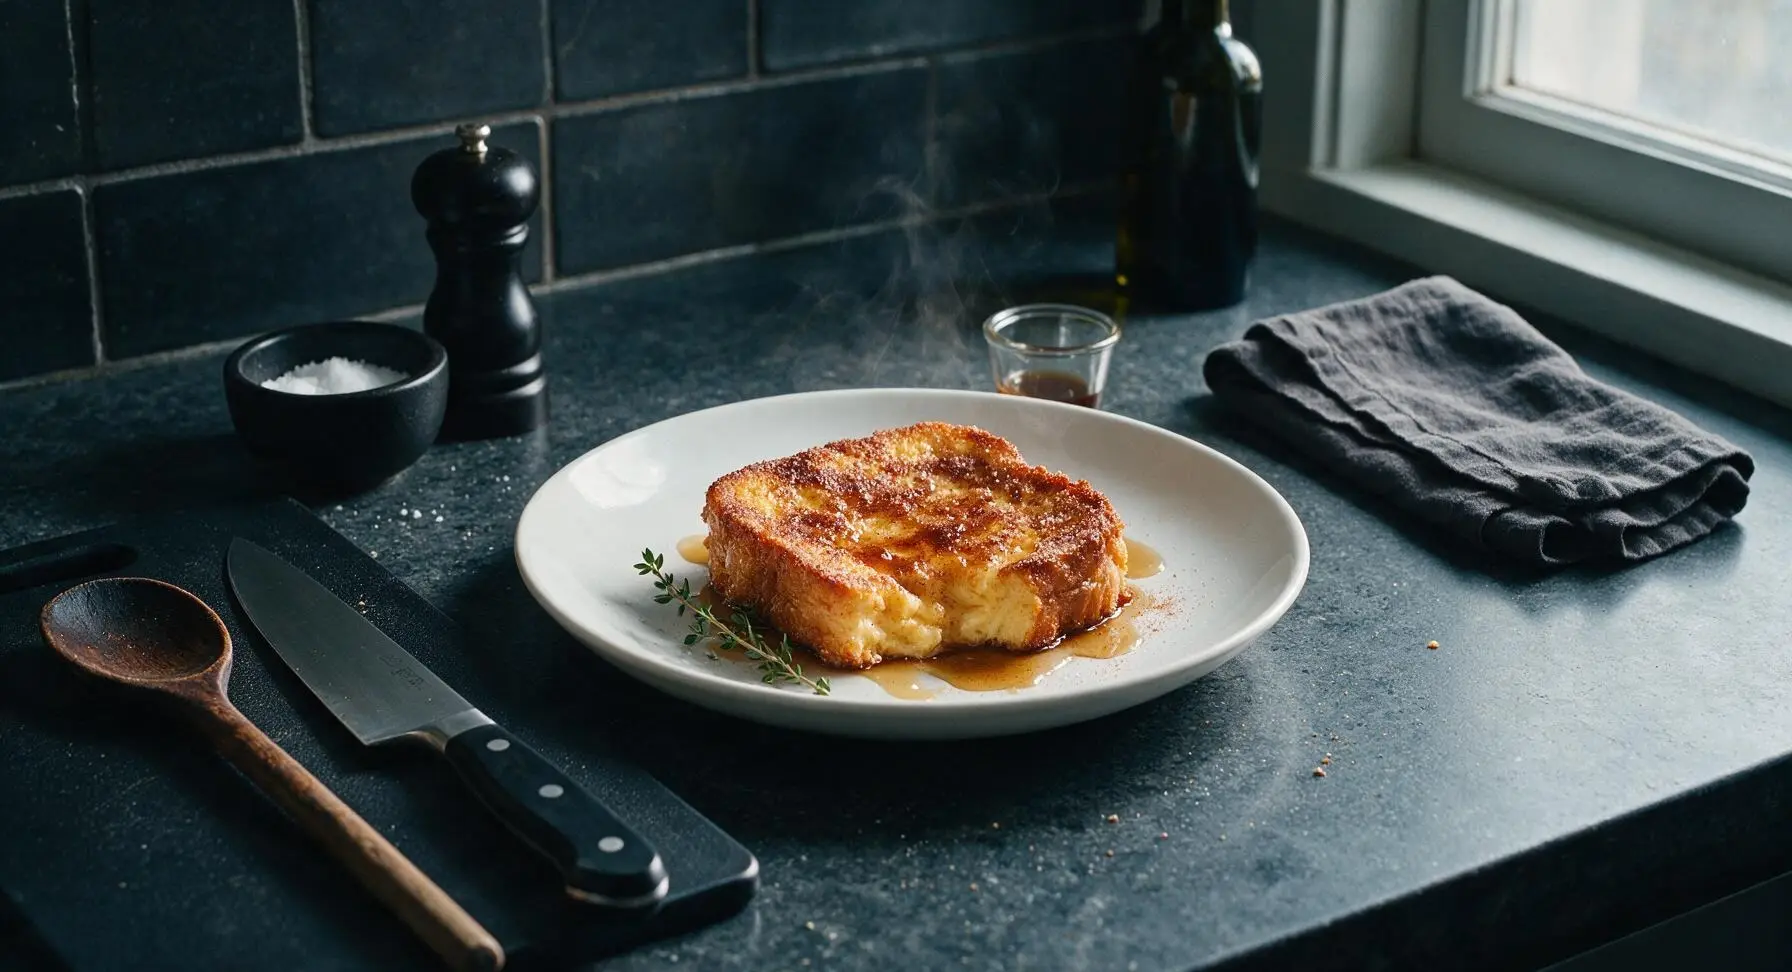
fried french toast

title 1
fried french toast
⏱️ cook time 12 minutes
🍽️ servings 4
⚡ Difficulty easy

intro

Crispy golden fried French toast with a lush custardy center, dusted with cinnamon sugar and drizzled with warm maple syrup—classic comfort food ready in 20 minutes.

Ingredients
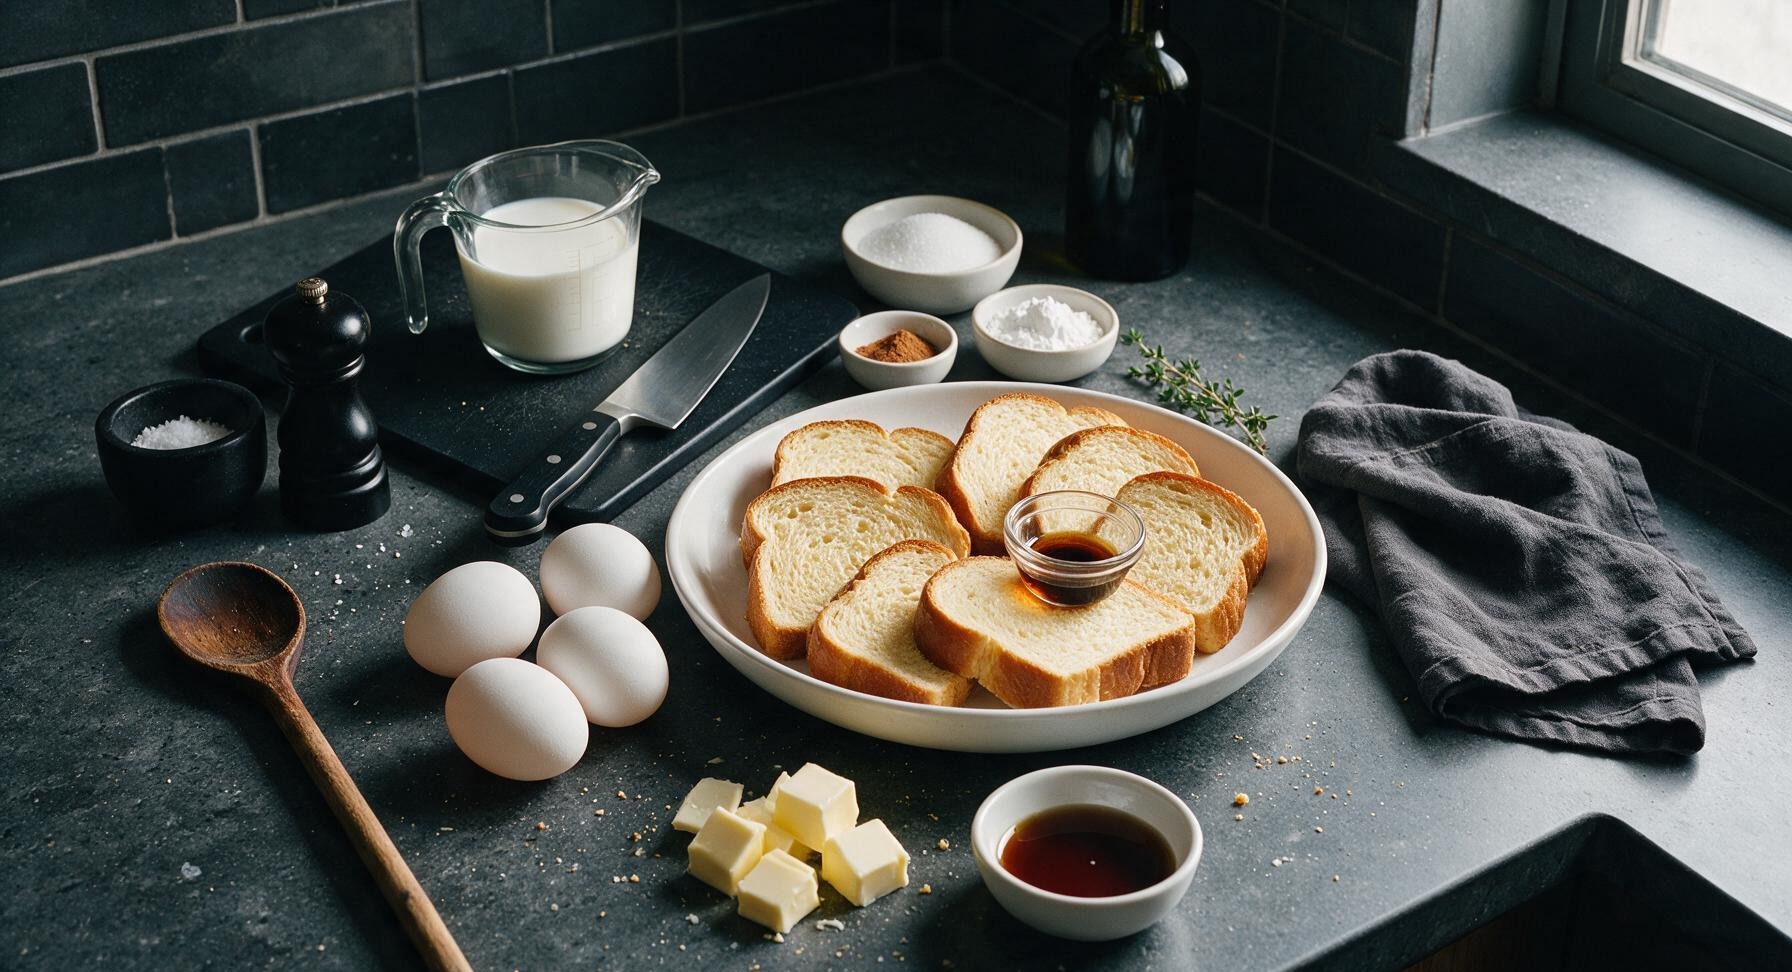
Thick-cut brioche bread 8 slices (1.5-inch thick, approx 400g total)
Large eggs 4
Whole milk 3/4 cup (180ml)
Granulated sugar 2 tablespoons
Ground cinnamon 1 teaspoon
Pure vanilla extract 1 teaspoon
Unsalted butter 4 tablespoons (60g)
Flaky sea salt 1/4 teaspoon
Pure maple syrup 1/2 cup (120ml, for serving)
Powdered sugar 1 tablespoon (optional, for dusting)

Steps

1

Prep Brioche Slices

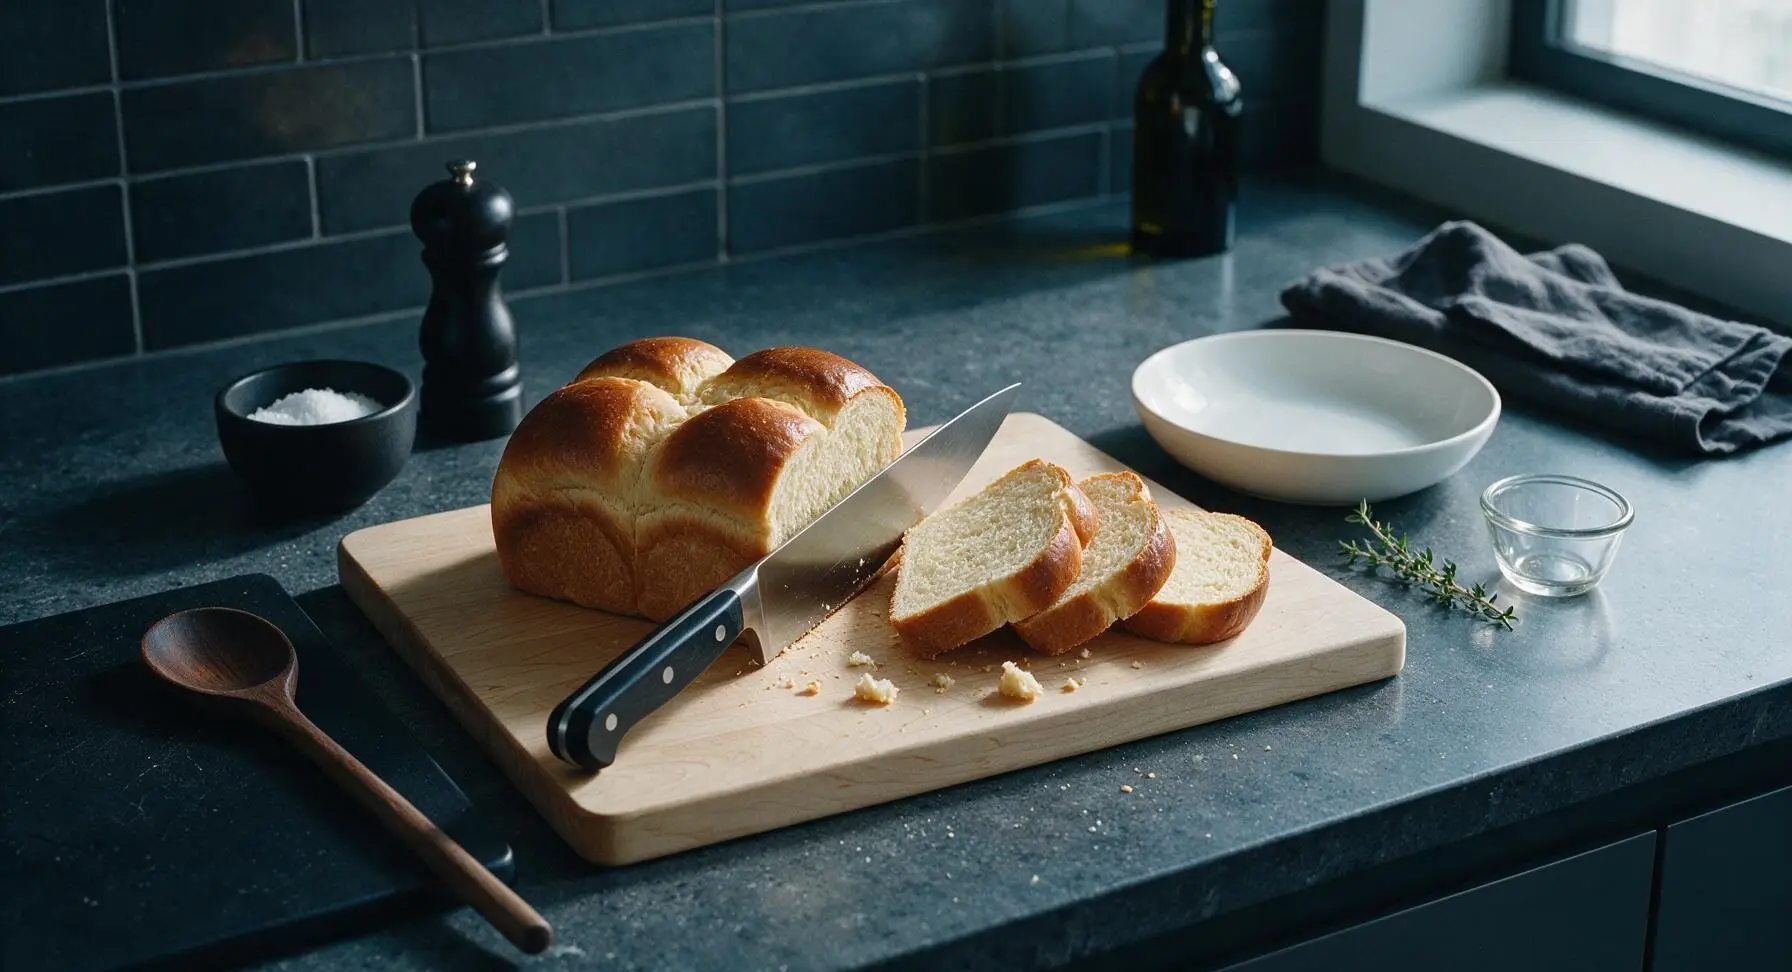
If using unsliced brioche, cut 8 even slices 1.5 inches thick with the chef knife. Arrange slices in a single layer on the maple cutting board and leave them to air-dry for 10 minutes at room temperature. The surface of the bread should feel slightly dry to the touch, not soft and pillowy fresh—this helps the custard cling without creating a soggy center. Do not toast the bread, as this will create a dry, tough final texture.
Step 1
step1:Prep Brioche Slices
2

Whisk Custard Mixture

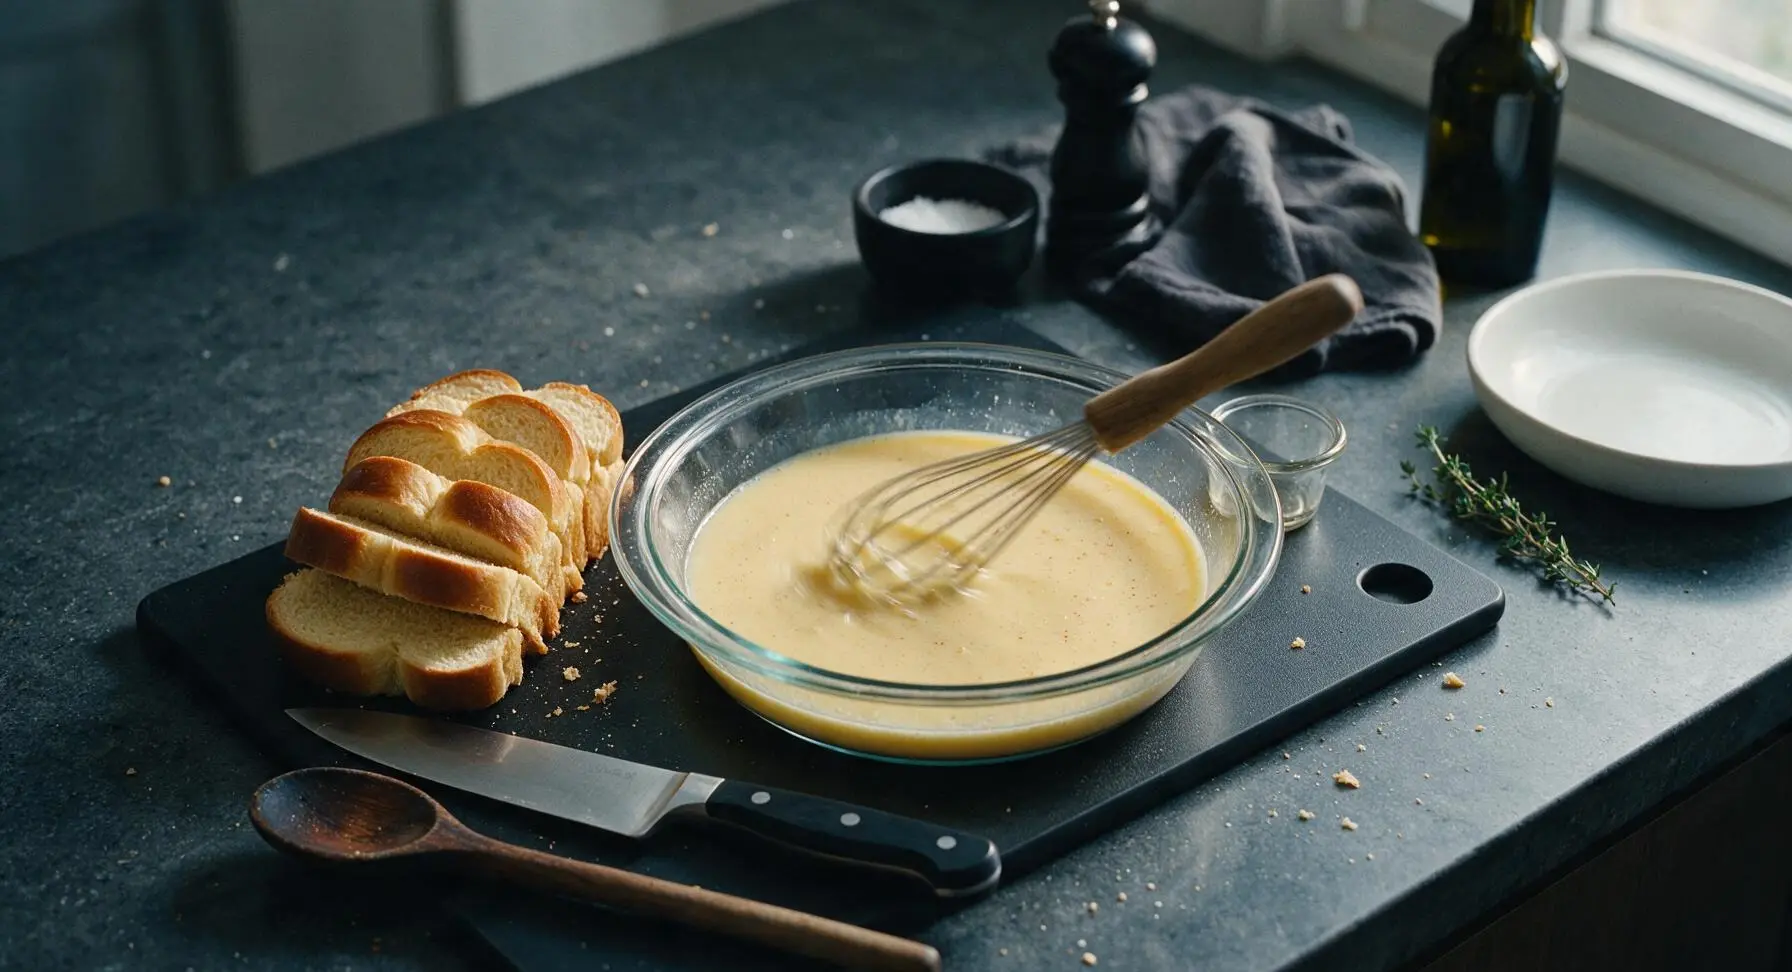
Crack all 4 large eggs into the clear glass pie dish placed in the center of the cutting board. Add 3/4 cup whole milk, 2 tablespoons granulated sugar, 1 teaspoon ground cinnamon, 1 teaspoon pure vanilla extract, and 1/4 teaspoon flaky sea salt. Use the stainless steel wire whisk to beat the mixture for 45-60 seconds until fully smooth, with no visible streaks of egg white, and a uniform pale yellow color. Avoid over-whisking to prevent large bubbles that will leave uneven, splotchy coating on the toast.
Step 2
step2:Whisk Custard Mixture
3

Preheat Cooking Skillet

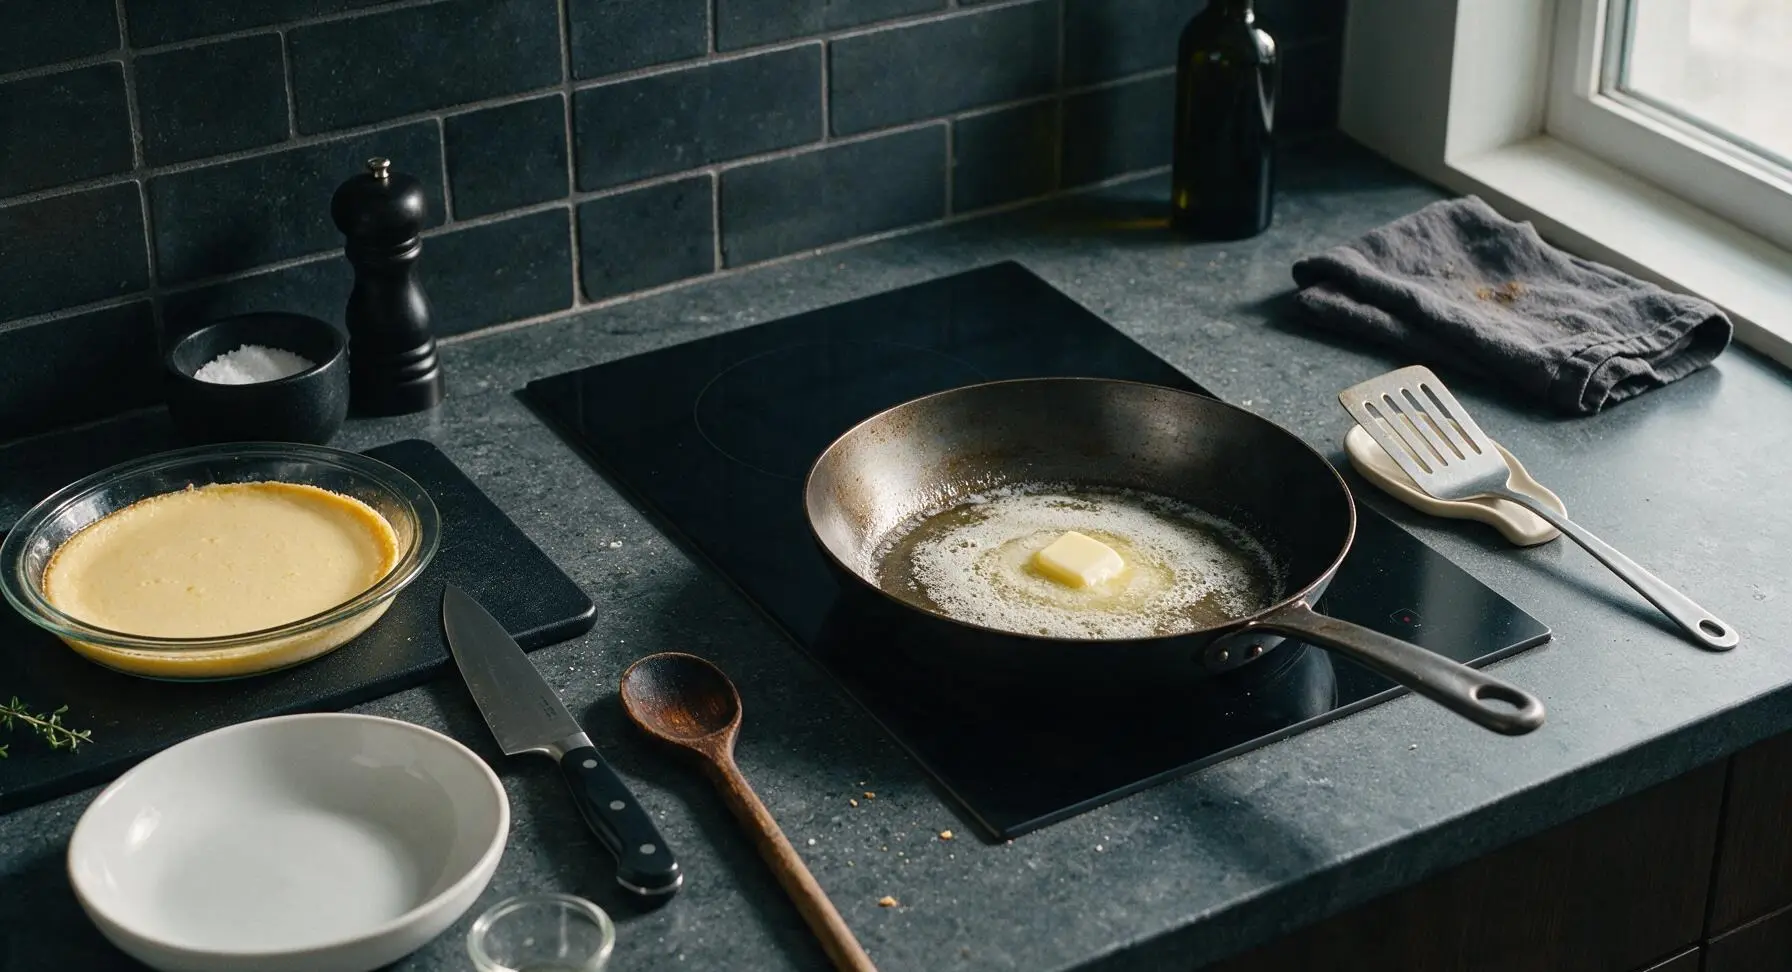
Place the 12-inch seasoned carbon steel skillet on the flush-mounted matte black induction stovetop. Heat the pan over medium heat (350°F / 175°C) for 3 minutes, then add 1 tablespoon of unsalted butter. Wait for the butter to melt and form a thin, foamy layer across the pan, with no dark brown specks—this signals the pan is at the correct temperature to fry without burning the butter.
Step 3
step3:Preheat Cooking Skillet
4

Coat Bread in Custard

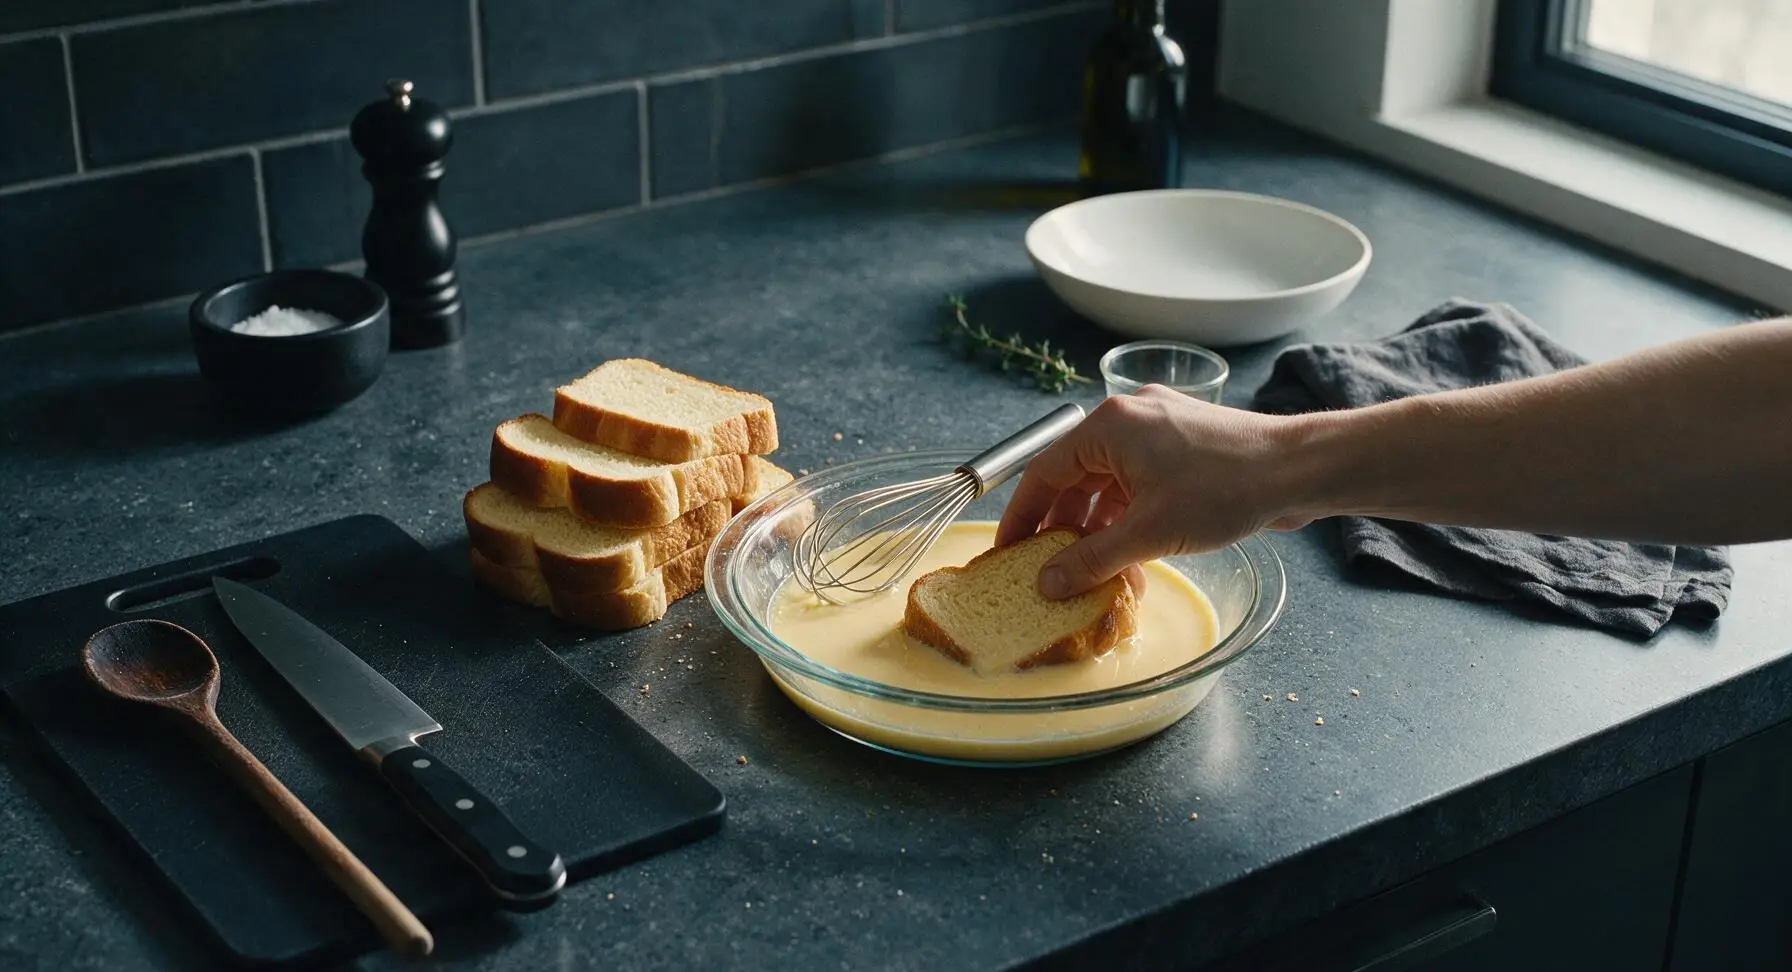
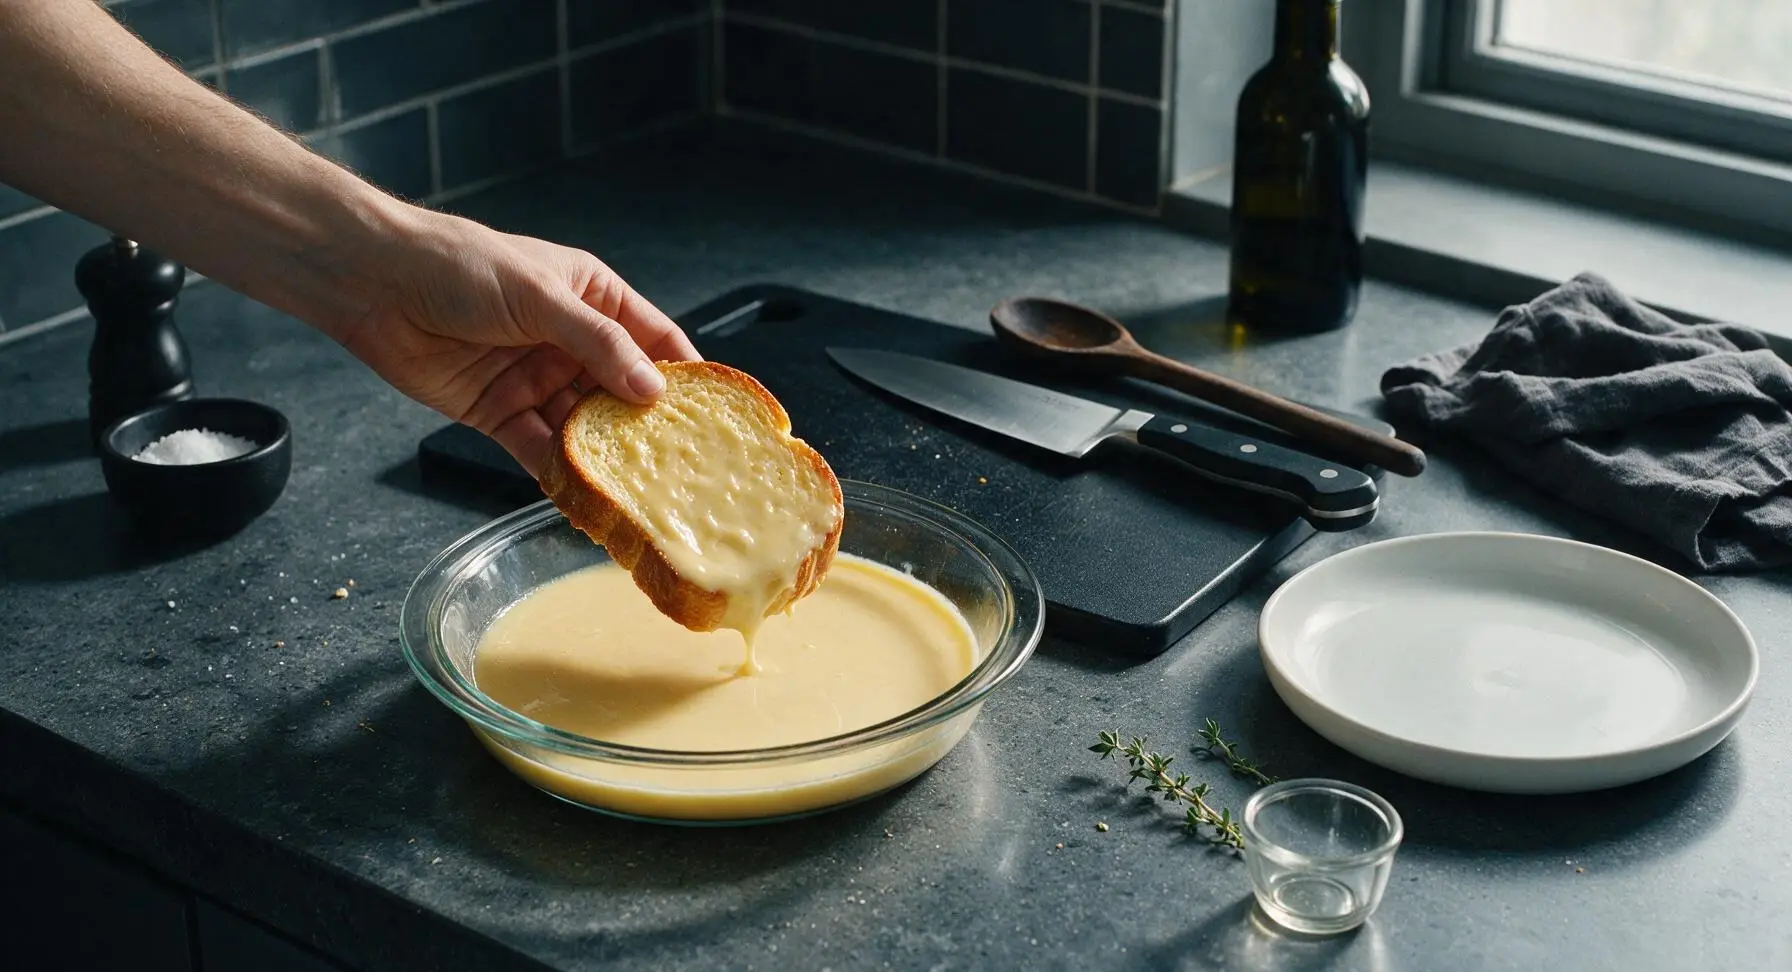
Working one slice at a time, place a brioche slice into the custard mixture. Let it soak for 20 seconds on the first side, then flip to soak the second side for another 20 seconds. The bread should feel heavy when lifted, fully saturated but not so soft that it tears when picked up. Do not soak more than 2 slices at a time, as over-soaking leads to a mushy, uncooked custard center.
Step 4
step4:Coat Bread in Custard
Step 4
step4:Coat Bread in Custard
5

Fry Until Golden Crisp

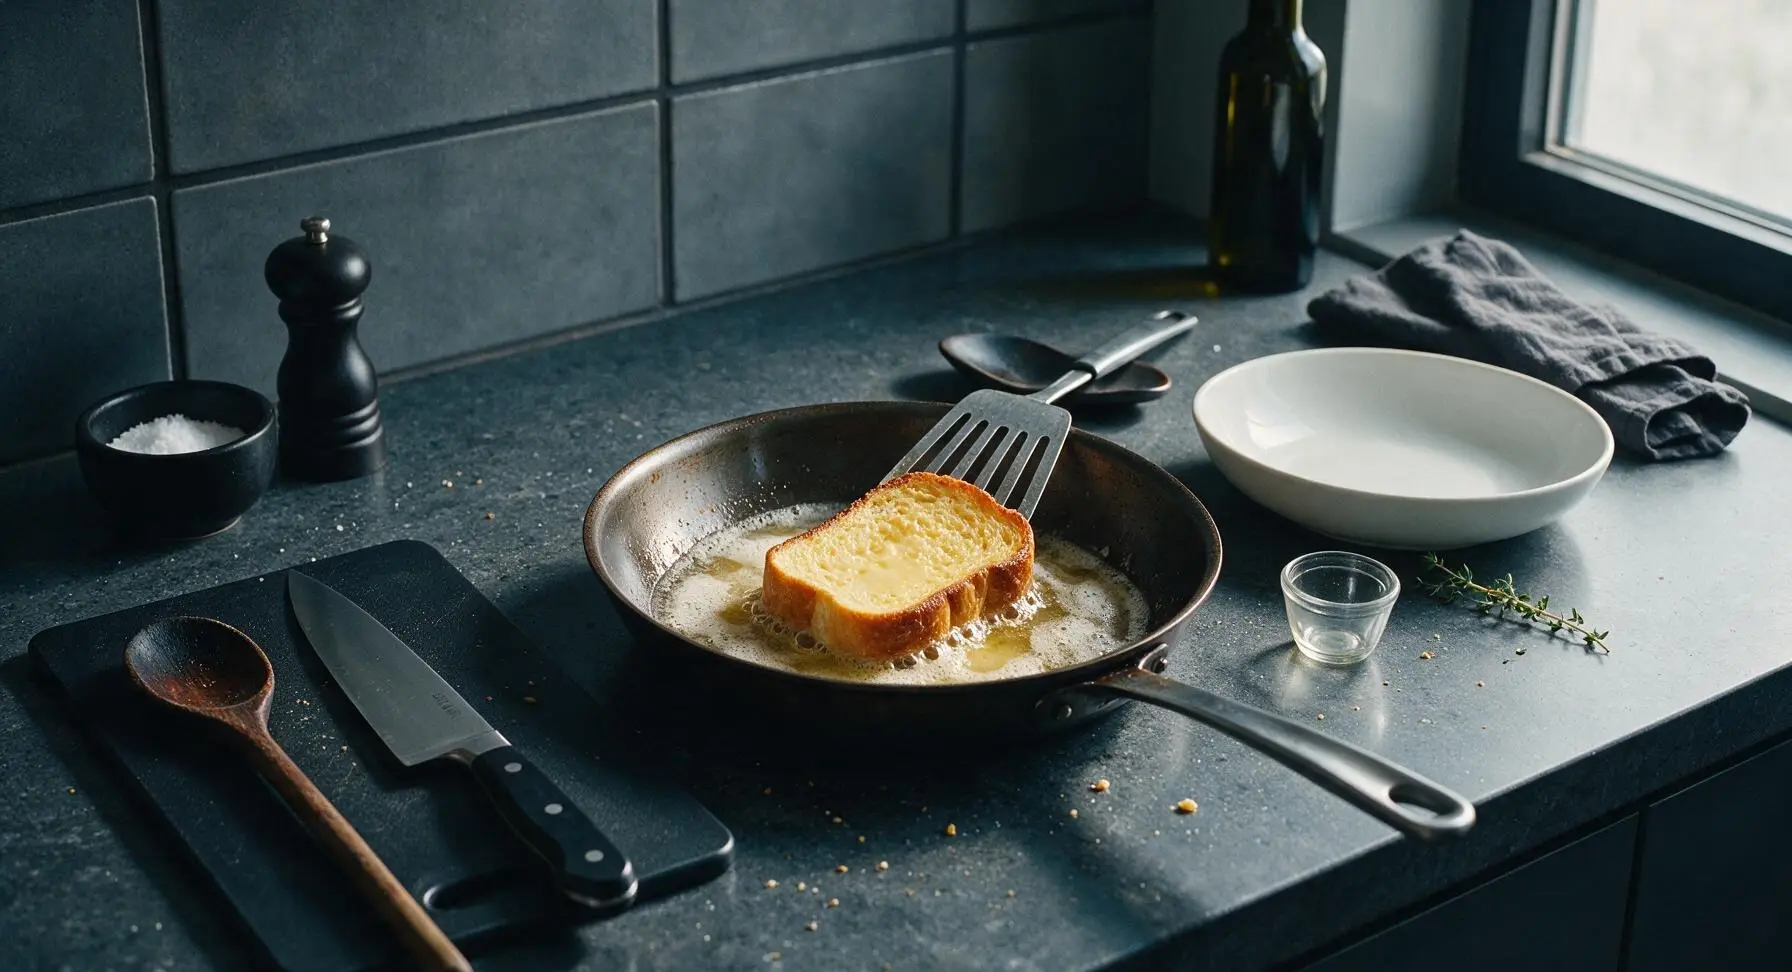
Lift the custard-soaked brioche from the dish, hold it above the pie dish for 2 seconds to let excess custard drip off, then place it gently into the preheated buttered skillet. Cook 2-3 slices per batch (do not overcrowd the pan) for 3-4 minutes on the first side, until the bottom is deep even golden brown and crispy around the edges. Use the slotted metal spatula to flip the slices, then cook for another 2-3 minutes on the second side. Add 1 more tablespoon of butter between batches to prevent sticking and maintain a crisp crust.
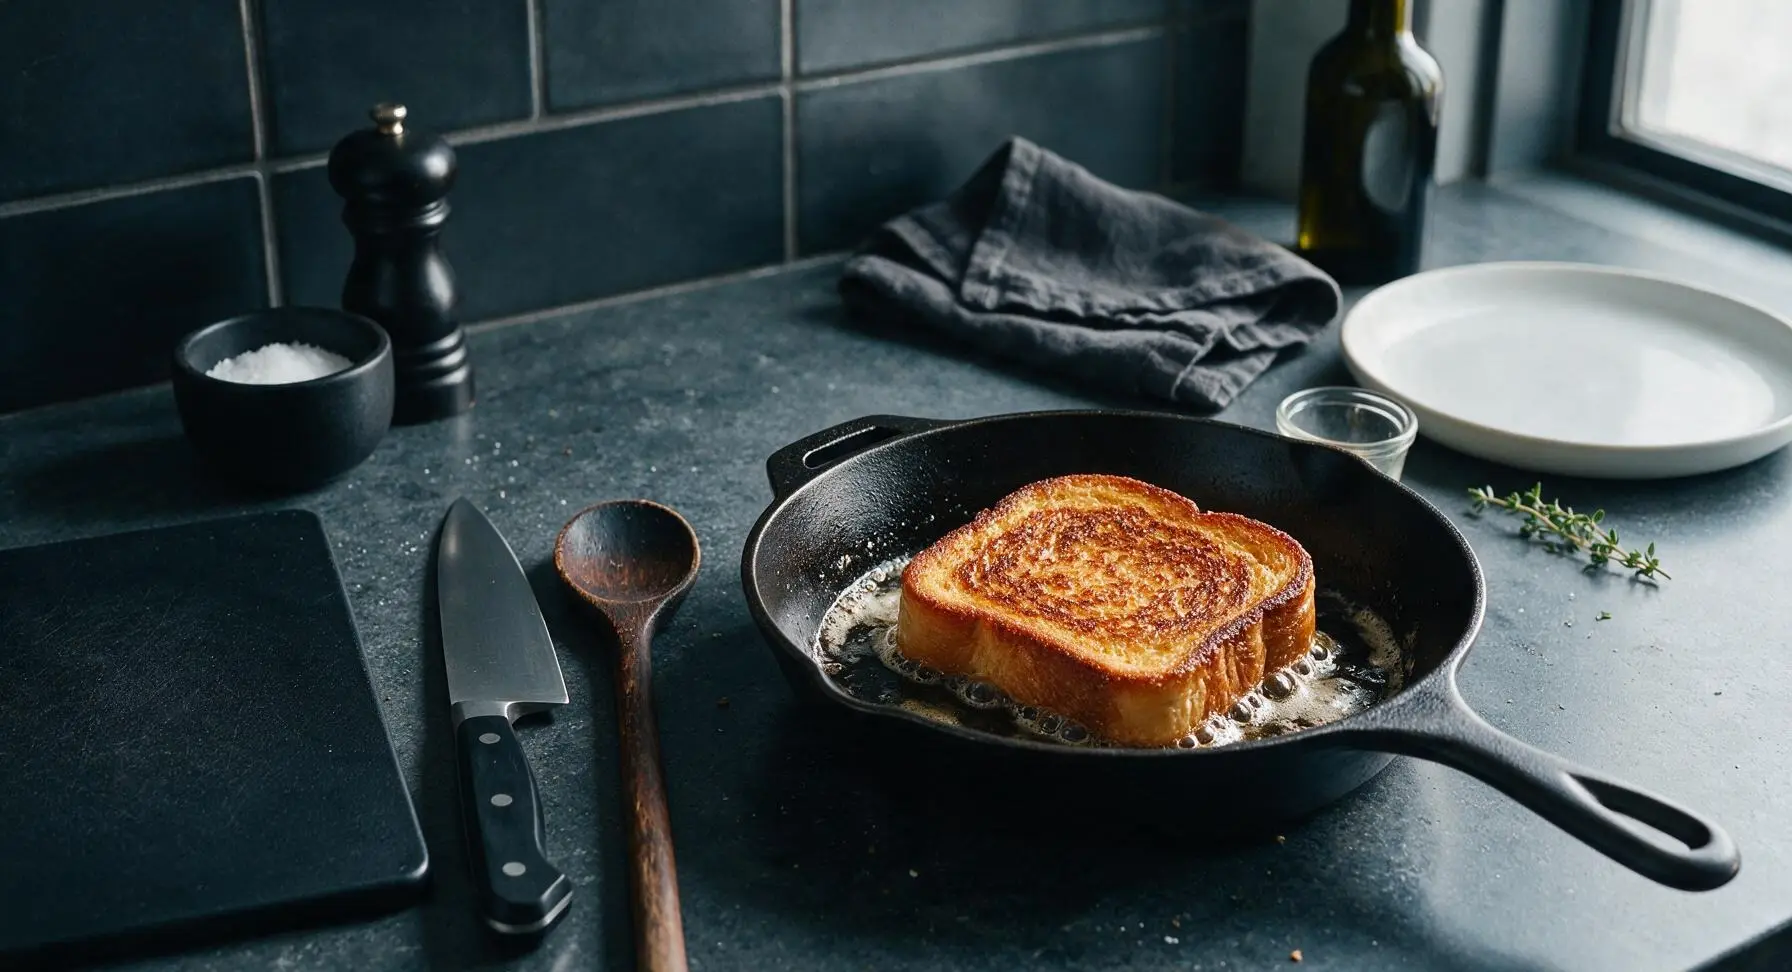
Step 5
step5:Fry Until Golden Crisp
Step 5
step5:Fry Until Golden Crisp
6

Drain Excess Butter

Once both sides are golden and crispy, use the slotted metal spatula to lift the cooked French toast from the skillet. Hold the slice above the pan for 2 seconds to let excess butter drip off, then transfer it to the chrome wire cooling rack set over the aluminum baking sheet. Do not stack slices on the rack—leave 1/2 inch of space between them to let air circulate, and rest for 1 minute while cooking remaining batches to keep the crust crisp.
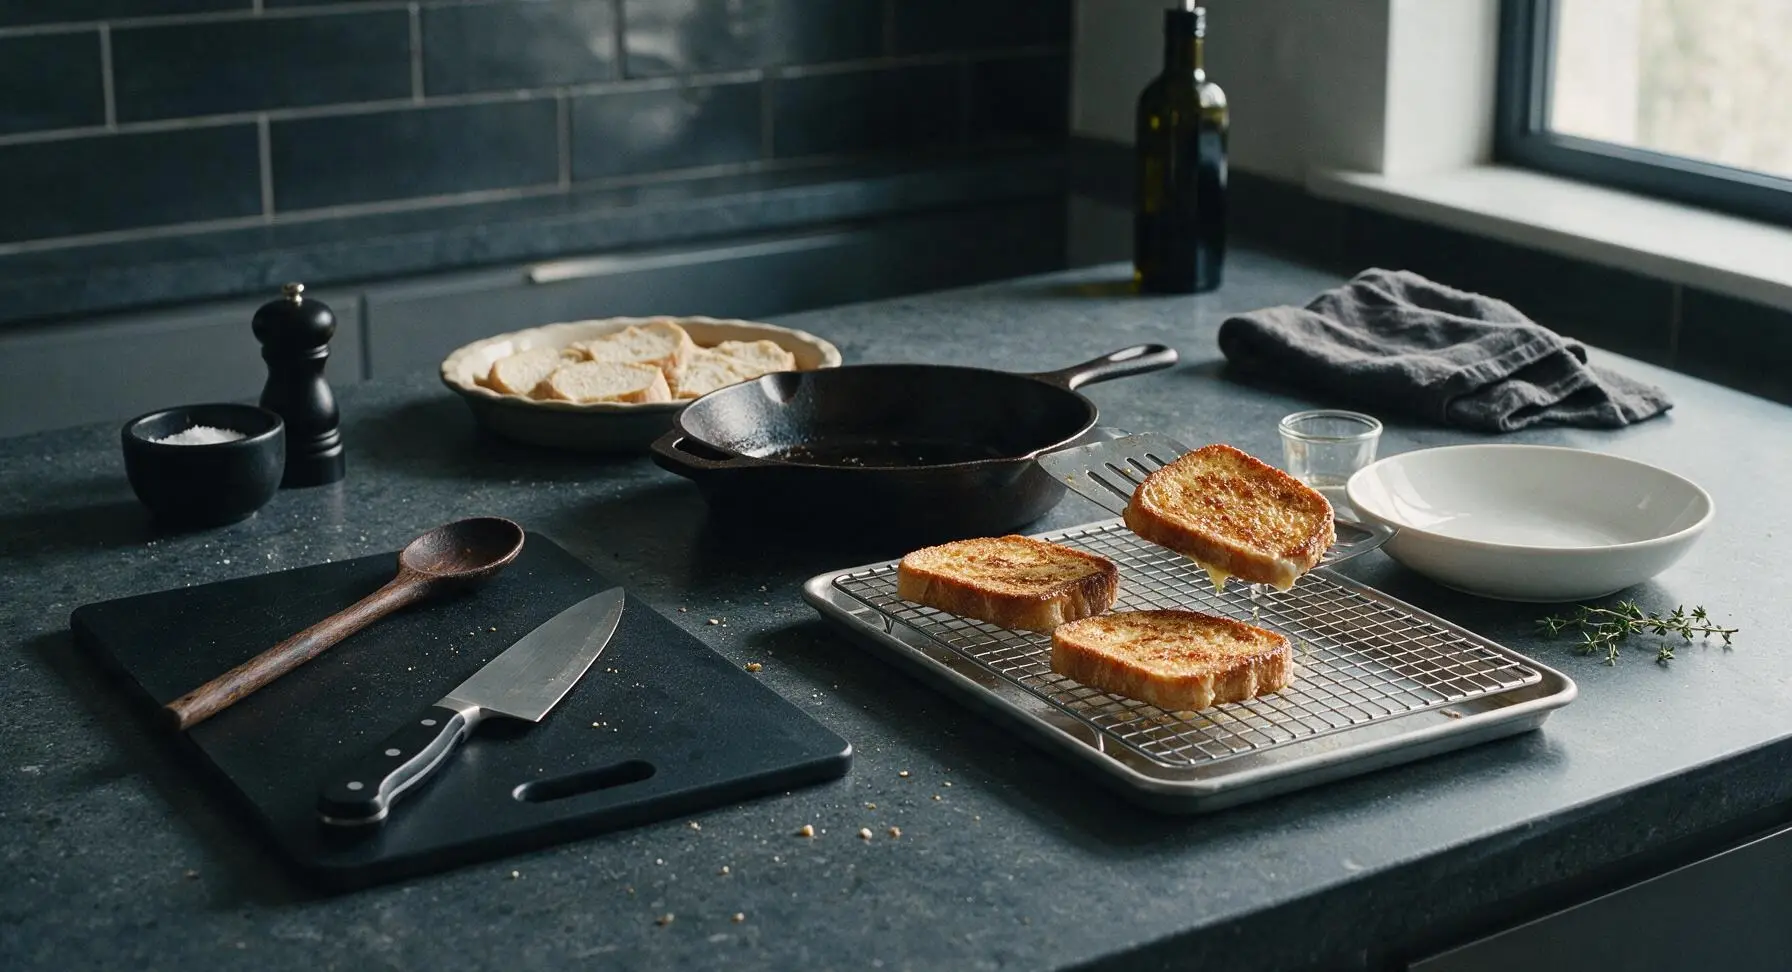
Step 6
step6:Drain Excess Butter
7

Plate and Garnish Toast

Stack 2 slices of cooked French toast per serving on the primary matte cream ceramic dinner plate. Top each stack with a 1-tablespoon pat of salted butter, a light dusting of mixed cinnamon sugar, and optional powdered sugar. Drizzle 2 tablespoons of warm pure maple syrup over the top, and serve immediately while hot, before the crispy crust softens.
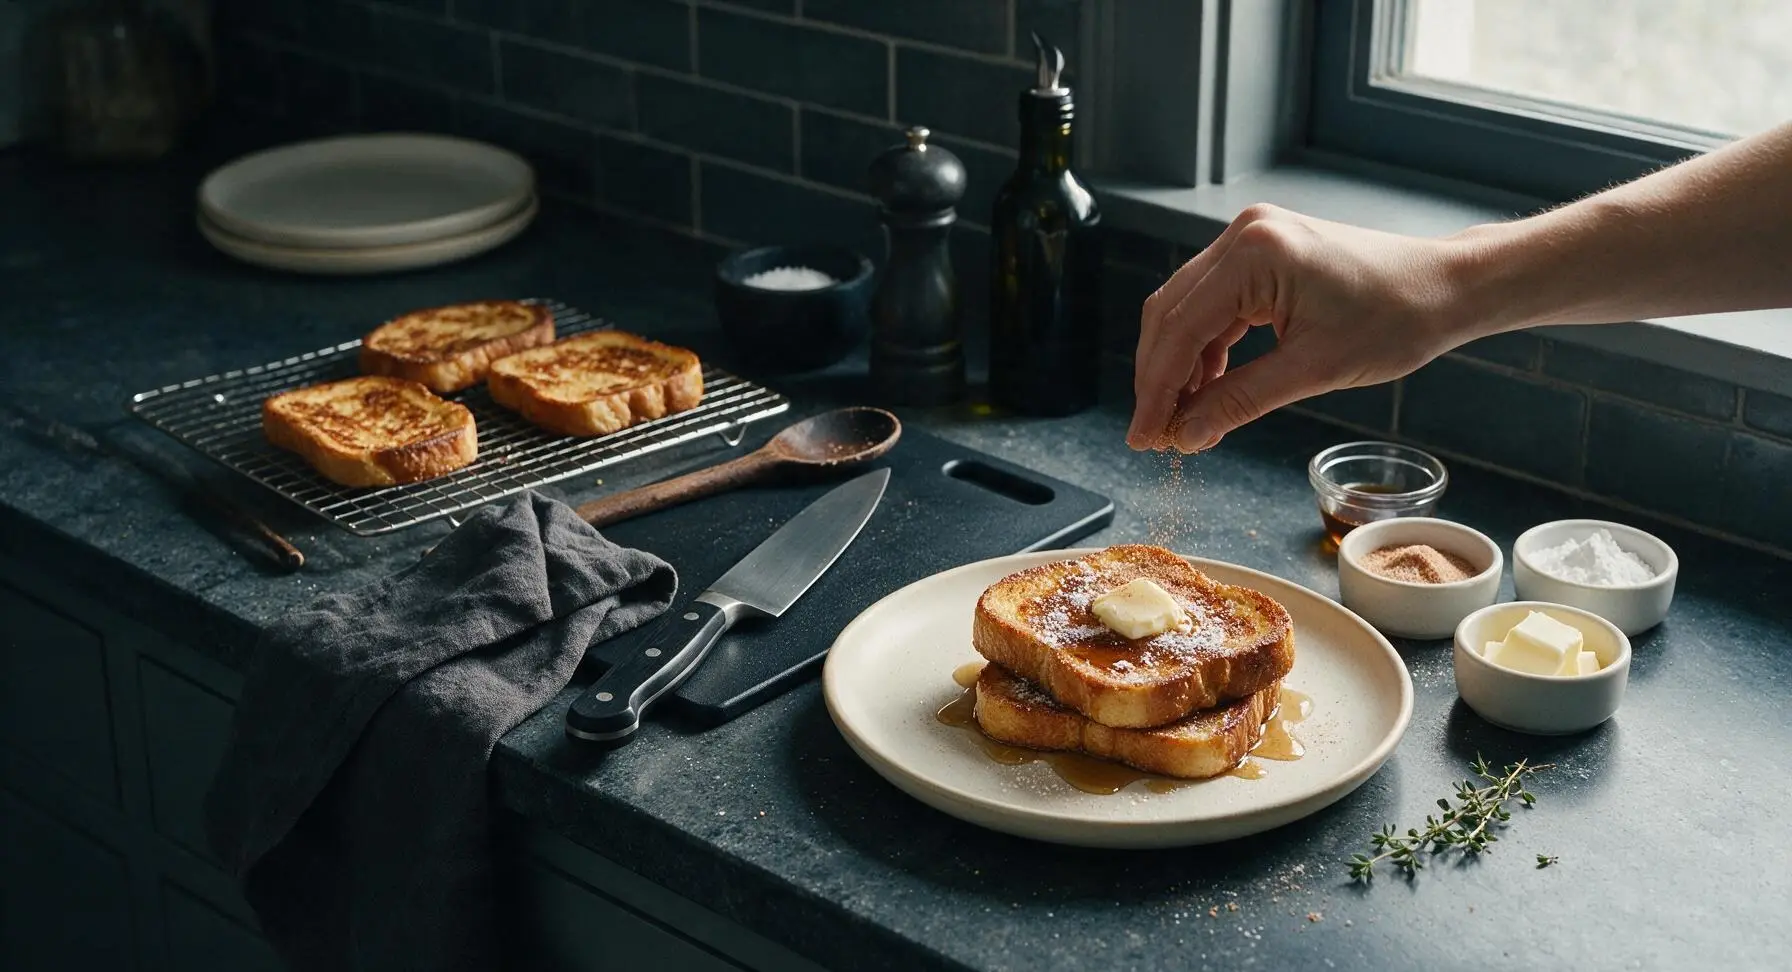
Step 7
step7:Plate and Garnish Toast

Tips

1.Use 1.5-inch thick slightly dry brioche for best results: fresh, soft bread absorbs too much custard and turns soggy in the center, while bread air-dried for 10 minutes holds custard evenly for a crisp outside and set, creamy center. Avoid thin sandwich bread, which falls apart easily when soaked.
2.Keep the pan temperature at steady medium heat (350°F): too high heat will burn the outside before the custard in the center cooks, while too low heat will make the toast absorb excess butter and turn greasy. Adjust heat as needed if butter starts to brown before toast is golden.
3.Rest cooked toast on a wire rack instead of a plate: placing hot toast directly on a solid plate traps steam, which softens the crispy crust in 1-2 minutes. Letting toast rest on a rack for 1 minute allows excess butter to drip off and air to circulate, preserving crunch until serving.


✨ You May Also Like

Breakfast
🍜 United States

Crisp-edged, fluffy lard griddle cakes are a nostalgic homestyle staple, with rich savoriness from rendered lard, perfect topped with maple syrup or savory gravy.

⏱️ 25 minuteBreakfast ★ 4.8
Breakfast
🍜 United States

Flaky, buttery homemade buttermilk biscuits smothered in creamy, peppery pork sausage gravy: a beloved, hearty Southern American comfort food classic.

⏱️ 35 minuteBreakfast ★ 4.8
Breakfast
🍜 United States

Golden, custardy brioche stuffed with sweet cream cheese and fresh berries, pan-fried to crisp perfection. An indulgent, cozy breakfast perfect for slow weekend mornings.

⏱️ 30 minuteBreakfast ★ 4.7
Breakfast
🍜 United States

Flaky, buttery Southern-style biscuits stuffed with savory salty country ham, a portable, satisfying classic perfect for casual on-the-go meals.

⏱️ 25 minuteBreakfast ★ 4.8
Breakfast
🍜 United States

Iconic puffy baked pancake popularized in Seattle, with crisp golden edges and soft custardy center, served warm with classic sweet toppings.

⏱️ 35 minuteBreakfast ★ 4.6
Breakfast
🍜 United States

Fluffy, golden pancakes studded with juicy peak-summer mixed berries, drizzled with maple syrup for a bright, comforting, crowd-pleasing family breakfast.

⏱️ 25 minuteBreakfast ★ 4.7

fried french toast:Frequently Asked Questions

1.Why does my French toast turn out soggy instead of crispy? ▾
That almost always comes down to thin bread, over-soaking slices, or too-low pan heat. Stick to 1-inch thick brioche, dip each slice just 10–15 seconds per side in custard, and heat your pan to medium (350°F) so the exterior sears fast instead of soaking up excess grease and turning mushy.
2.Can I use a different type of bread if I don’t have brioche? ▾
You absolutely can, though brioche delivers that signature buttery, lush center we love. Great swaps are thick-cut challah, Texas toast, or day-old sourdough if you prefer a subtle tangy note. Just skip thin, soft sandwich bread—it will turn soggy fast no matter how carefully you cook it.
3.How thick should I cut my brioche slices for the best texture? ▾
Aim for 1 to 1.5-inch thick slices, that’s the exact sweet spot. Thinner slices won’t hold enough custard to get that creamy middle without falling apart, while slices thicker than 1.5 inches may not cook all the way through before the exterior gets overly dark and crusty.
4.Do I have to use whole milk, or can I swap in lower-fat or plant-based milk? ▾
Whole milk gives the richest, creamiest custard center, but you can swap in 2% dairy milk if that’s what you have on hand. Barista-blend oat milk works well too, but skip skim milk or thin, watery almond milk—they make custard watery and won’t give that lush, velvety bite.
5.What type of pan works best to get an evenly crispy crust? ▾
A heavy-bottomed cast iron skillet or quality non-stick frying pan works best here. Cast iron holds heat ultra-evenly for consistent golden browning, while a good non-stick pan makes flipping easy and reduces sticking. Avoid thin, lightweight pans that develop hot spots that burn patches of your toast.
6.How long should I soak each bread slice in the egg custard? ▾
Stick to 10 to 15 seconds per side for thick brioche slices. You want the bread surface to absorb custard without letting it soak all the way through the core—any longer, and the bread gets waterlogged, turning soggy instead of hitting that perfect crispy-outside, custardy-inside balance.
7.What heat setting should I use to cook the toast evenly without burning it? ▾
Medium heat (around 350°F, if you use an infrared thermometer) is ideal. If the pan is too hot, the outside will burn before the center custard sets; if it’s too low, the bread absorbs extra grease and turns soggy. Test with a drop of custard—it should sizzle immediately on contact.
8.Can I make this French toast ahead for weekend brunch or busy mornings? ▾
It’s best served fresh out of the pan for maximum crispness, and since the whole recipe comes together in 20 minutes, it’s easy to make even on rushed mornings. You can prep the custard the night before, and keep cooked slices warm on a 200°F oven rack for 30 minutes—don’t stack them, or they’ll turn soggy.
9.Why does my cinnamon sugar clump instead of coating the toast evenly? ▾
That usually happens if you dust the sugar on too late, when the toast surface is no longer hot and slightly buttery. As soon as you pull each slice from the pan, dust it with pre-mixed cinnamon sugar while the surface glistens—residual heat melts the sugar just enough to stick evenly without clumping.
10.How do I tell when the French toast is fully cooked through the center? ▾
It’s done when the exterior is deep golden and crispy on both sides, and the center feels set (not jiggly) when you gently press the top with a spatula. For extra certainty, use a quick-read thermometer: the internal temperature should hit 160°F to confirm the egg custard is fully safe to eat.
11.Can I stir extra flavorings into the custard mix? ▾
Absolutely! A tiny splash of vanilla extract, pinch of nutmeg, grating of fresh orange zest, or tablespoon of cooled browned butter adds amazing depth. Just don’t add too much extra liquid, or you’ll thin the custard out and end up with soggy, less flavorful toast.
12.What toppings work well besides cinnamon sugar and maple syrup? ▾
The classic combo of cinnamon sugar and warm maple syrup is hard to beat, but you can top slices with fresh berries, a dollop of whipped cream or mascarpone, a drizzle of salted caramel, or a sprinkle of toasted pecans. Skip heavy, watery toppings like runny compote that make the crispy crust turn soggy fast.

Comments (7)

2 hours ago

OMG this crispy french toast is a GAME CHANGER for Saturday morning breakfast! My kids usually turn their noses up at regular french toast because it gets too soggy, but they demolished a whole batch in 10 minutes flat. The crunch on the outside is unreal, I added a little extra cinnamon per my family’s preference and it was chef’s kiss. So easy to throw together too, didn’t even need to pull out the oven!

30 minutes ago

So glad your kids loved it, Sarah! Adding extra cinnamon is such a great call – I love mixing in a tiny pinch of nutmeg too for extra warmth next time you make it!

yesterday

Made this for meal prep this week and wow, it holds up way better than I expected! I was worried pan-fried would get soggy in the fridge but the crispy coating stays crunchy even after a quick reheat in the toaster oven. 12 minute cook time is no joke, I knocked out 6 slices before my coffee even finished brewing. 10/10, will be making this every Sunday from now on.

2 hours ago

Wait you reheat it in the toaster oven? I’ve been microwaving my leftover french toast and it turns mushy, gonna try that trick tomorrow!

30 minutes ago

Great to hear it works for meal prep, Jake! The toaster oven reheat is definitely the move to keep that crisp – microwaves tend to steam the bread and kill the crunch, so that trick Mia is trying will make a huge difference!

3 days ago

Took this to a neighborhood potluck last weekend and people were asking me for the recipe before I even set the platter down! I served it with a side of warm maple syrup and fresh berry compote, and every single slice was gone in minutes. Way easier than the baked french toast casserole I usually make, too, no waiting for it to soak overnight.

5 days ago

Pretty solid recipe! The crisp factor is 10/10, though my first batch burned a little because my stovetop runs hotter than most. Turned the heat down to medium-low for the rest and they came out perfect. Next time I’ll add a little vanilla extract to the egg wash, felt like it was missing a tiny bit of that classic french toast flavor for my taste.

3 days ago

Thanks for the honest feedback, Ty! Stovetop heat can vary so much between models, so turning it down for hot burners is such a smart tip. Adding a teaspoon of vanilla to the egg wash is a fantastic addition – I do that half the time when I’m craving that extra cozy flavor!

1 week ago

SO good. I made this for my girlfriend’s birthday brunch and she said it’s better than the fancy french toast we get at our go-to downtown spot. Used thick-cut brioche and a little crushed cornflake in the coating for extra crunch, paired it with salted butter and bourbon maple syrup. Zero regrets, already have the ingredients to make it again this weekend.

2 weeks ago

As a dad who burns 90% of the breakfasts I try to make, this recipe was foolproof! 12 minute cook time is no lie, steps are super simple, and even my teenager who only eats takeout said it was ‘actually not bad.’ High praise coming from that kid, let me tell you. Skipped the powdered sugar because none of us like super sweet stuff, and it was still amazing.

1 week ago

Ha, I feel that about the teenager praise! My grandson called my batch ‘fire’ last weekend and I had to ask him what that meant, turns out it’s a good thing 😂

2 days ago

Wait this is so easy to make in my tiny dorm kitchen? I don’t have an oven, just a cheap electric skillet, and these came out perfectly crispy on the first try. Used regular sandwich bread because that’s all I had at the dorm, no fancy brioche needed, and it still slapped. Saved me from eating another sad dining hall breakfast, thank you!!

yesterday

Wait no way, I’m in a dorm too and I thought my electric skillet was only good for grilled cheese! Gonna pick up eggs and bread tomorrow to make this, sick of dining hall pancakes that taste like cardboard.

2 hours ago

Love that this works for dorm cooking! Regular sandwich bread works totally great – you don’t need fancy bakery bread to get that perfect crispy exterior. Enjoy your breakfast upgrade, and hope your skillet serves up lots of great french toast for you and your roommates!



