
frozen burritos with enchilada sauce

title 1
frozen burritos with enchilada sauce
⏱️ cook time 25 minutes
🍽️ servings 4
⚡ Difficulty easy

intro

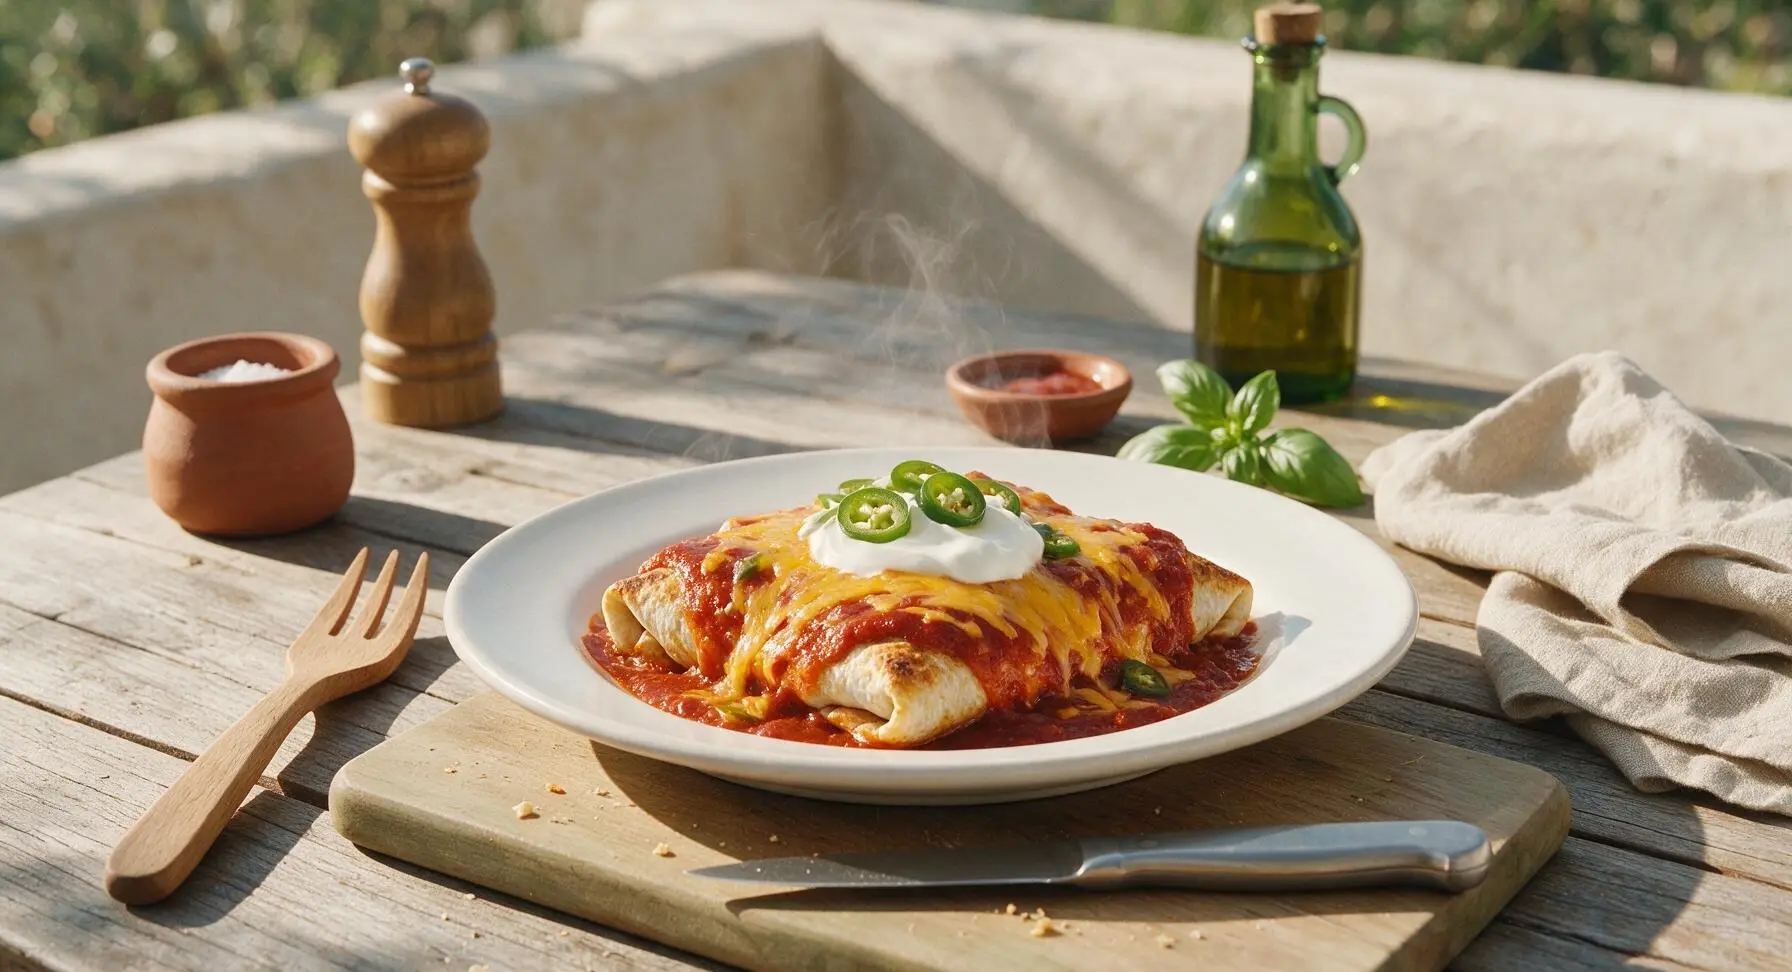
Crisp-edged frozen burritos smothered in tangy red enchilada sauce and melted cheddar, topped with cool sour cream and bright jalapeños—cozy, no-fuss comfort ready in 35 minutes.

Ingredients
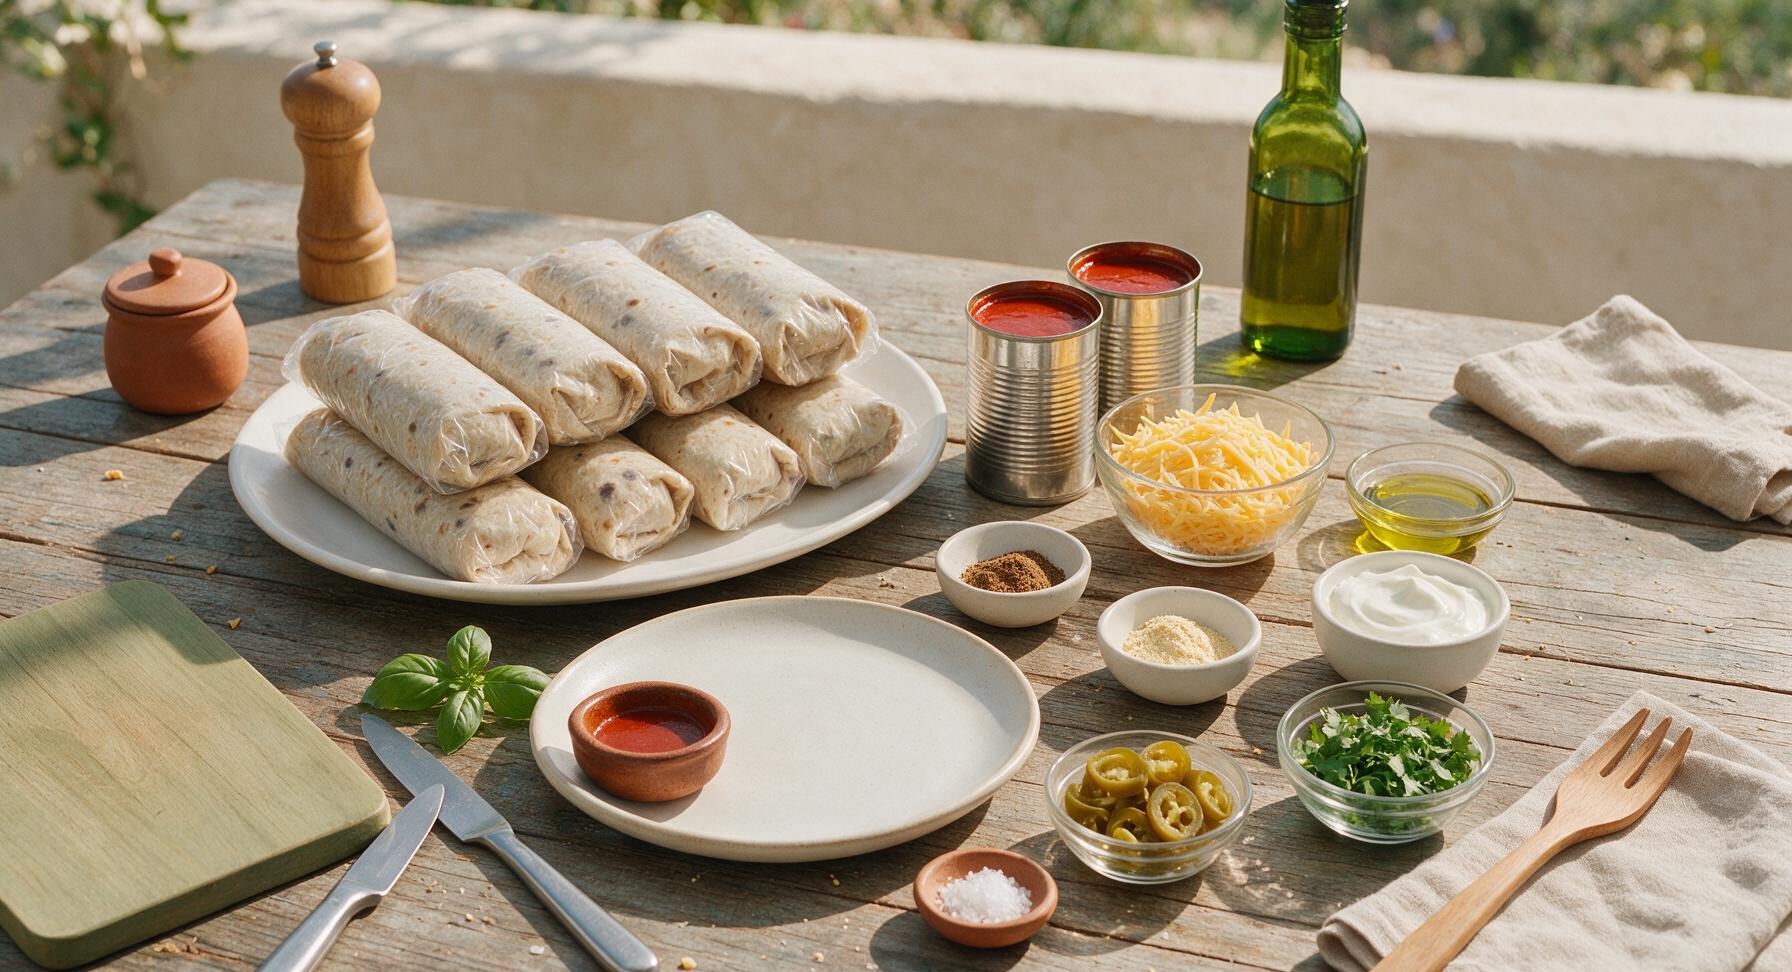
Frozen bean and cheese burritos 8 count (1.8kg total, 225g each)
Mild red enchilada sauce 2 cans (796ml/28oz total)
Shredded sharp cheddar cheese 1.5 cups (170g)
Extra-virgin olive oil 1 teaspoon (5ml)
Ground cumin 1 teaspoon (2g)
Garlic powder 1/2 teaspoon (1.5g)
Full-fat sour cream 1/2 cup (113g)
Pickled jalapeño slices, drained 1/4 cup (40g)
Fresh cilantro, chopped 1/4 cup (4g)
Flaky sea salt 1/4 teaspoon (1g)

Steps

1

Preheat and Prep Dish

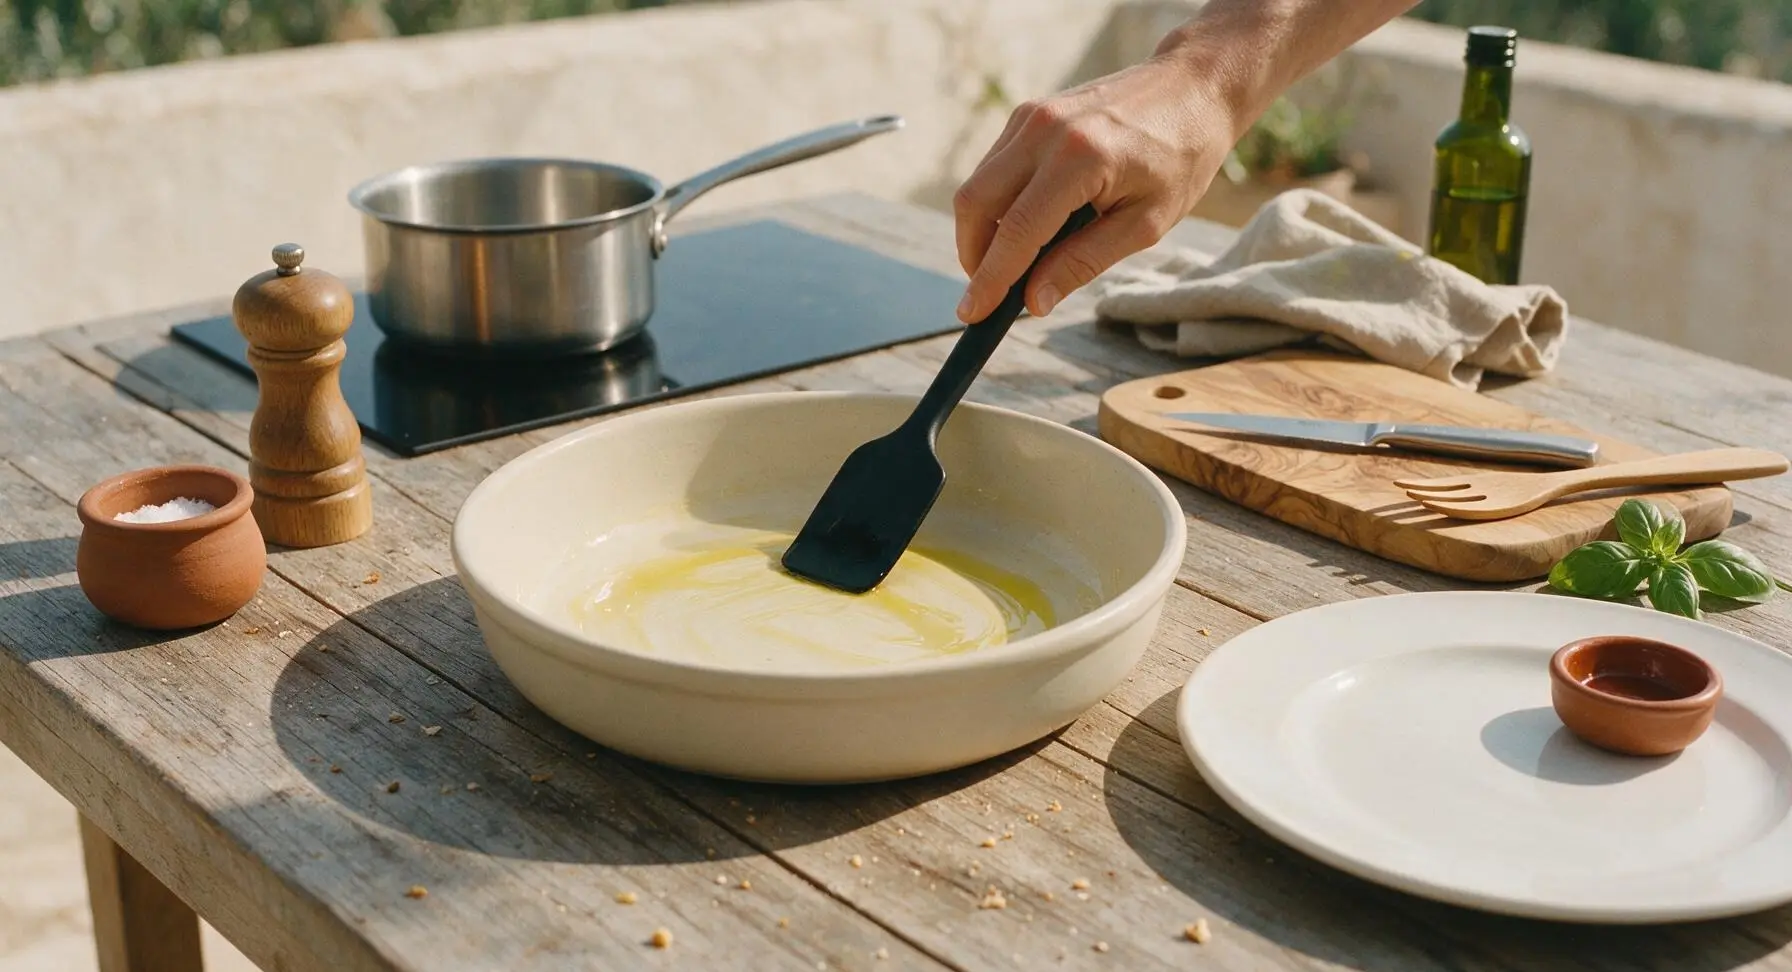
Adjust oven rack to middle position, preheat oven to 400°F (200°C). Use the matte black silicone spatula to spread 1 teaspoon of olive oil evenly across the interior bottom and sides of the cream ceramic baking dish, preventing burritos from sticking as they cook. The dish should have a thin, even sheen of oil with no pooled spots.
Step 1
step1:Preheat and Prep Dish
2

Warm Enchilada Sauce

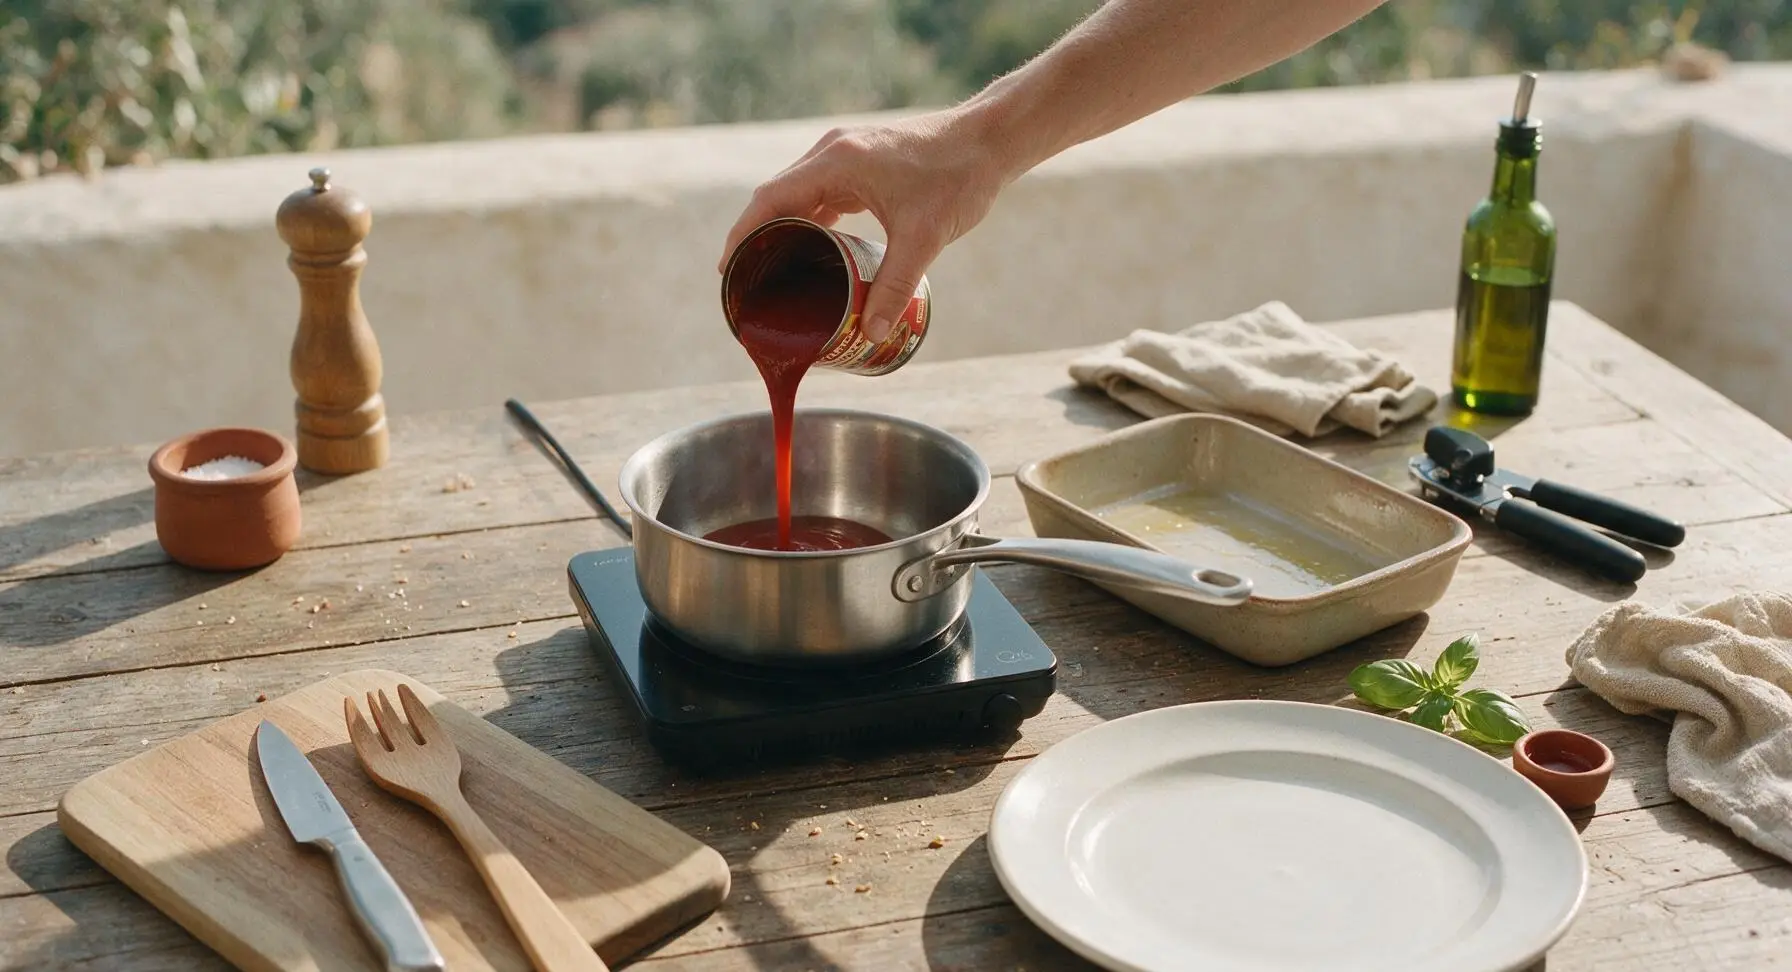
Open both cans of red enchilada sauce using the matte black can opener, pour sauce into the stainless steel saucepan. Stir in 1 teaspoon ground cumin and 1/2 teaspoon garlic powder with the silicone spatula. Warm over medium-low heat on the induction burner for 5 minutes, stirring occasionally, until the sauce simmers gently around the edges and releases a warm, spicy aroma. Do not bring to a rolling boil, as this will thicken the sauce too much before baking.
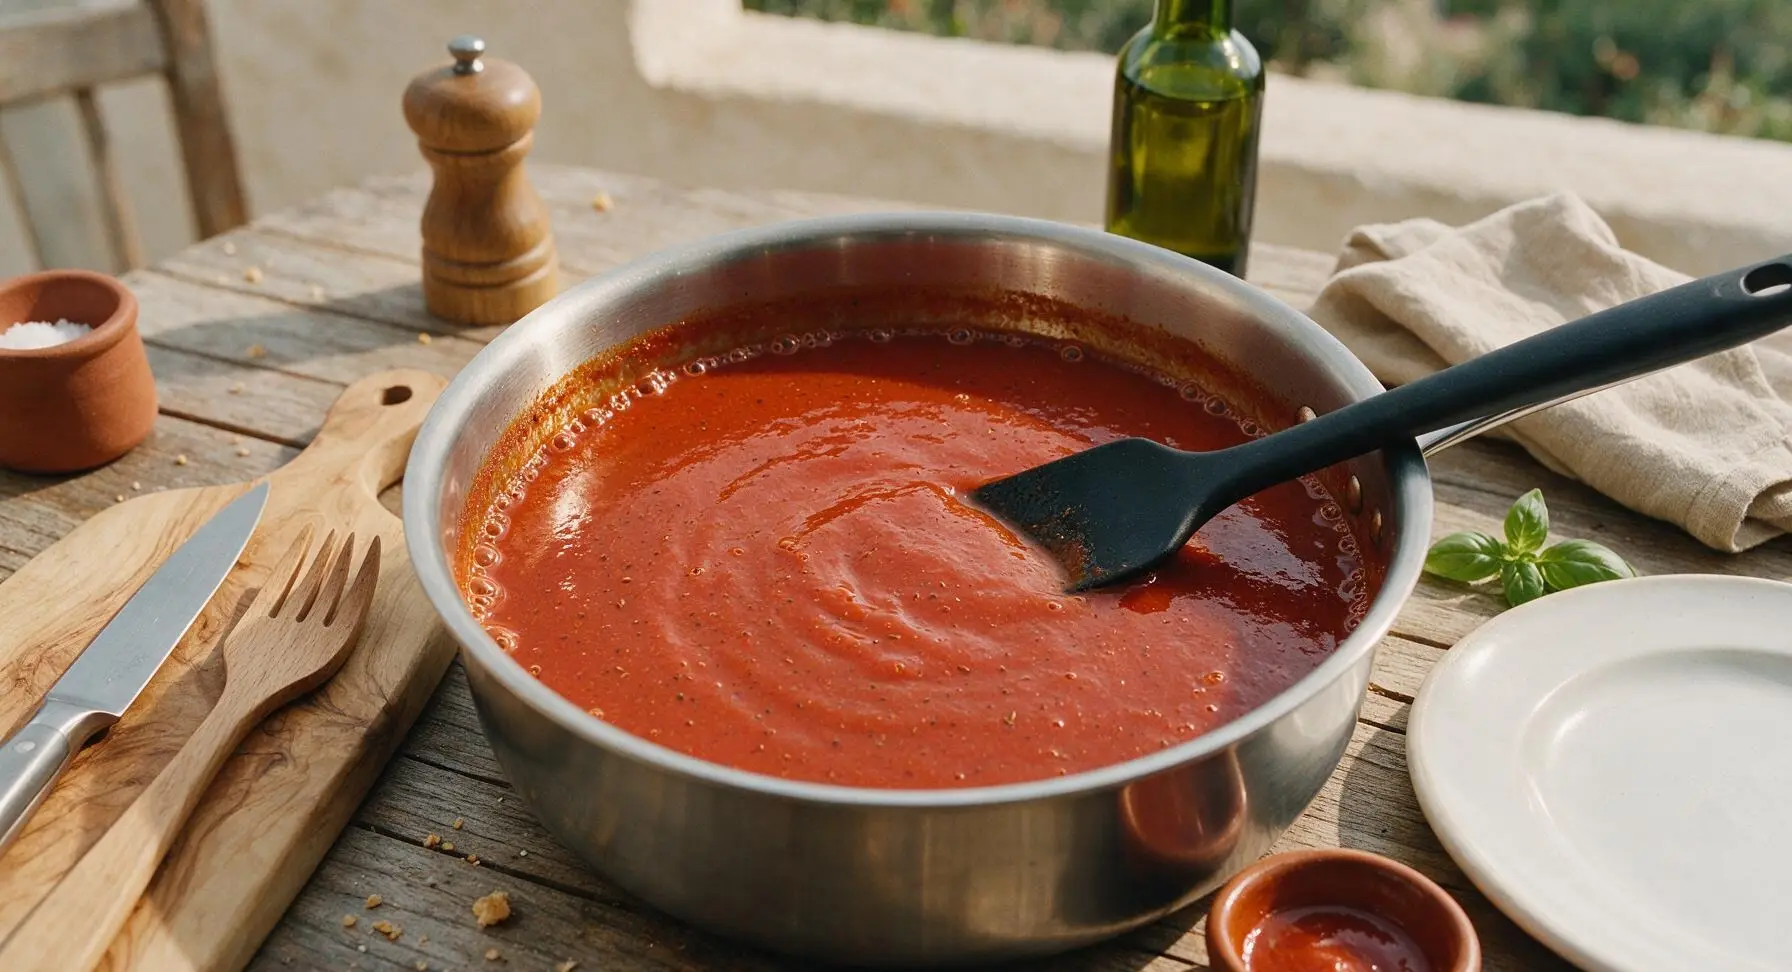
Step 2
step2:Warm Enchilada Sauce
Step 2
step2:Warm Enchilada Sauce
3

Arrange Frozen Burritos

Unwrap all 8 frozen burritos (do not thaw first), place them in a single even layer in the oiled ceramic baking dish. Leave 1/4 inch of space between each burrito to allow hot oven air to circulate, ensuring crisp tortilla edges rather than soggy, steamed burritos.
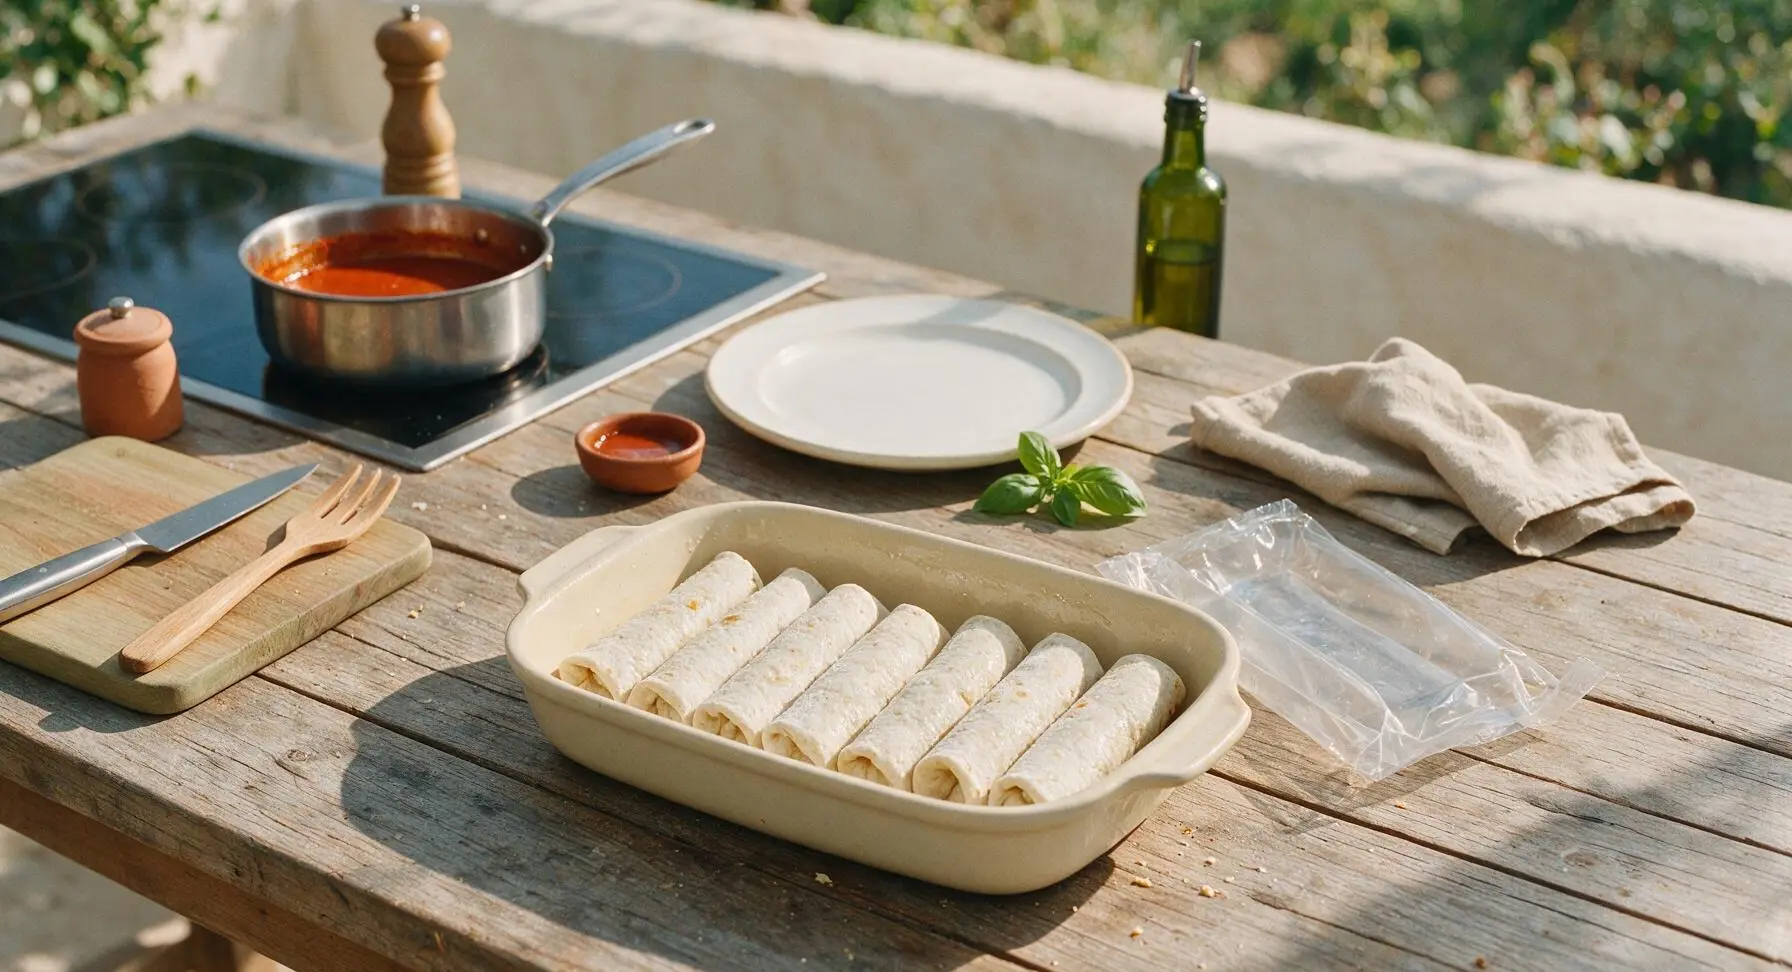
Step 3
step3:Arrange Frozen Burritos
4

Pour Sauce Over Burritos

Pour all of the warm, seasoned enchilada sauce evenly over the arranged frozen burritos. Use the silicone spatula to spread sauce so every burrito is fully coated, with no dry tortilla spots exposed. About 1/4 inch of sauce should pool at the bottom of the baking dish.
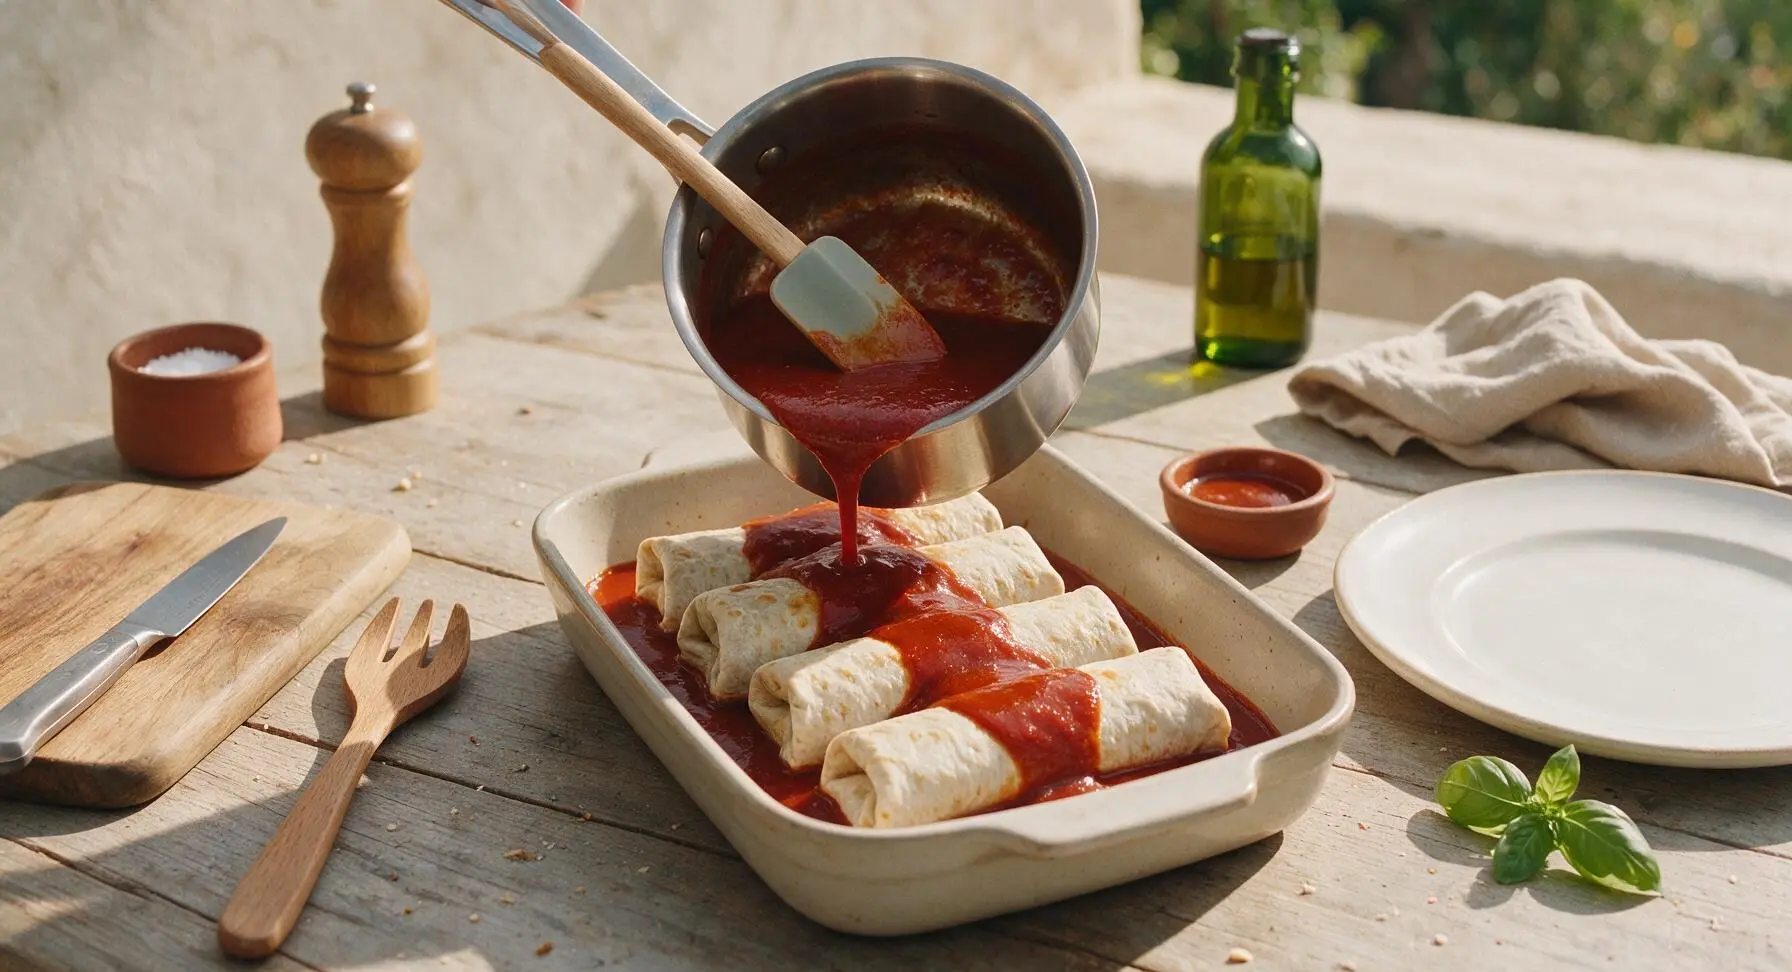
Step 4
step4:Pour Sauce Over Burritos
5

Top with Shredded Cheese

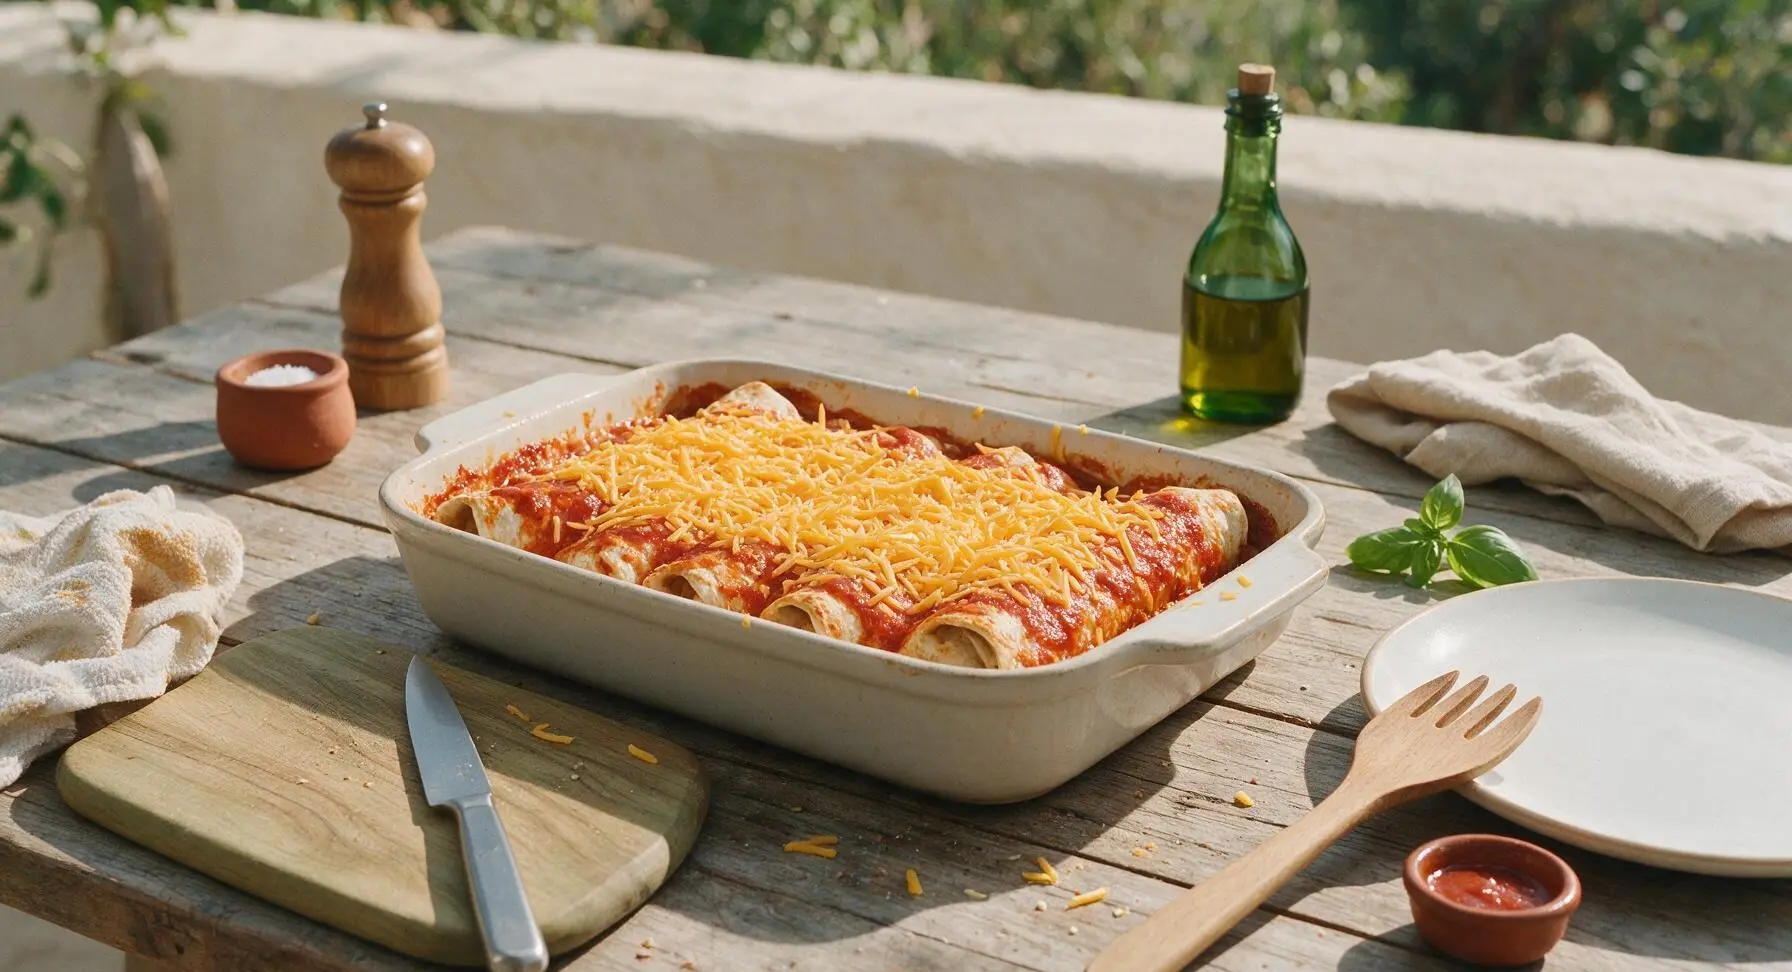
Sprinkle 1.5 cups of shredded sharp cheddar cheese evenly over the sauced burritos, covering the sauce in a loose, even layer. Leave a few small gaps where sauce peeks through to create crispy, caramelized cheese spots as it bakes. Do not press cheese down firmly, as this creates a dense, tough cheese layer instead of a light, melty topping.
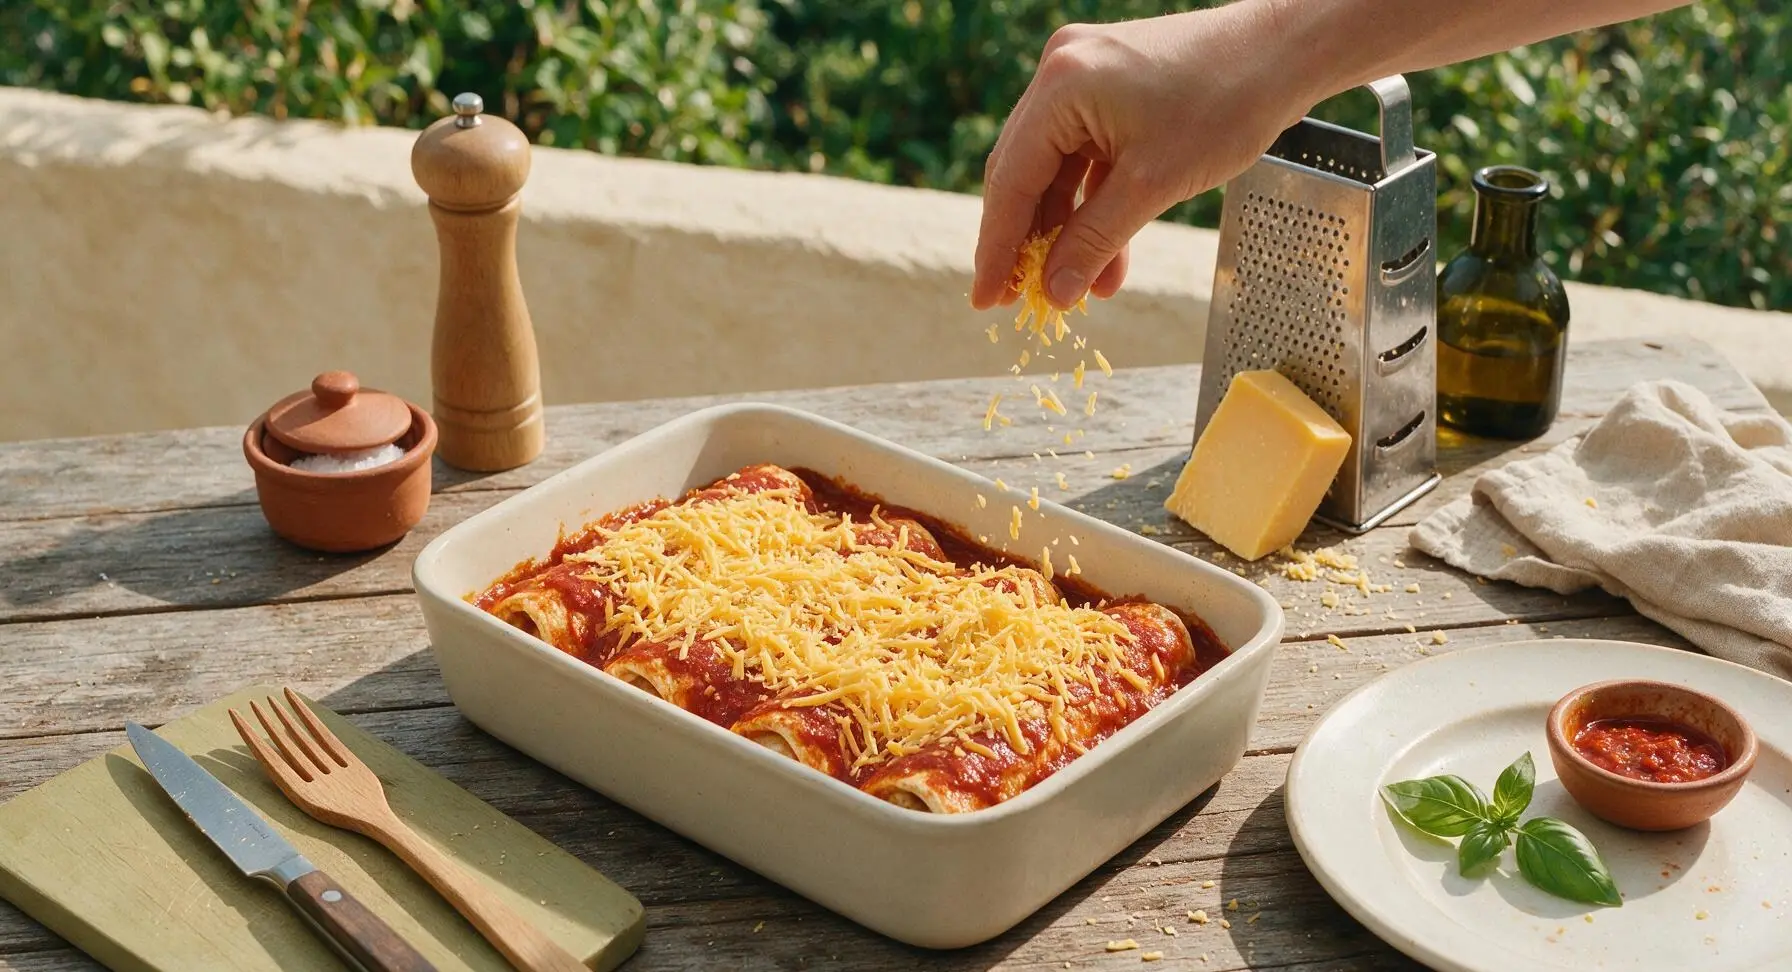
Step 5
step5:Top with Shredded Cheese
6

Bake Until Bubbly

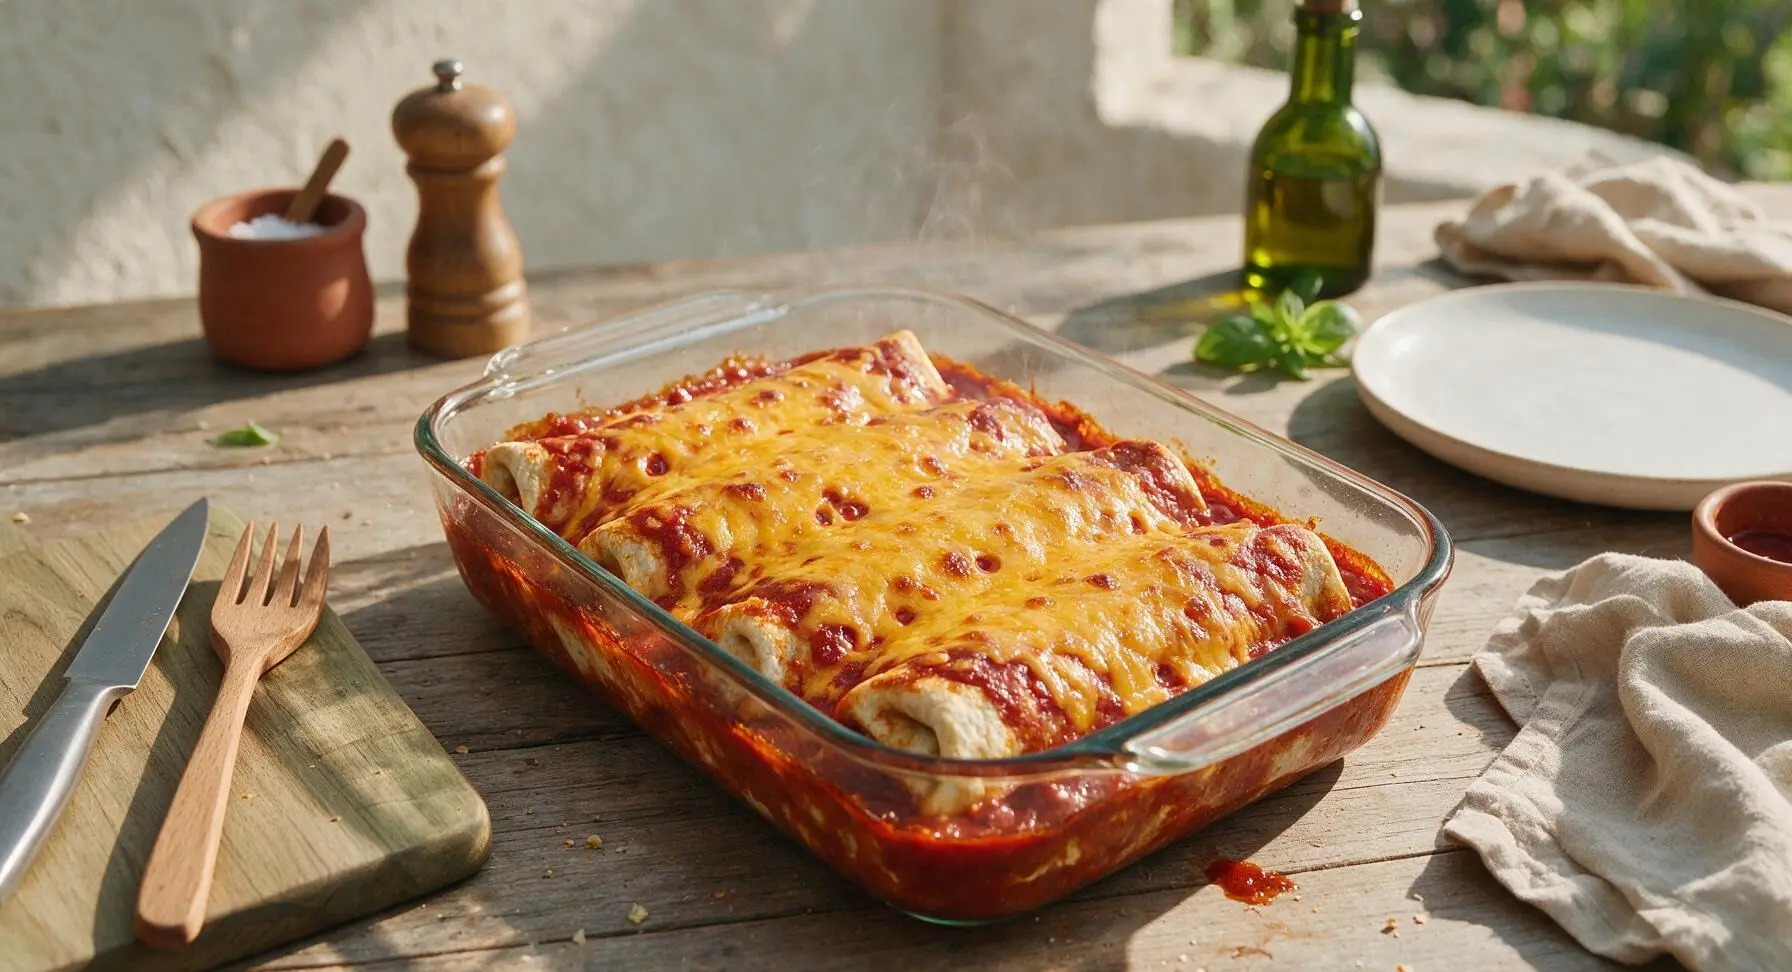
Carefully transfer the assembled baking dish to the middle rack of the preheated 400°F (200°C) oven. Bake for 25 minutes, until the cheddar cheese is fully melted with scattered golden crispy spots, the red enchilada sauce bubbles vigorously around the dish edges, and burrito centers reach 165°F (74°C) on a food thermometer. Remove from oven, transfer back to the center counter, and let rest 5 minutes to allow sauce to set before serving.
Step 6
step6:Bake Until Bubbly
Step 6
step6:Bake Until Bubbly
7

Plate and Garnish

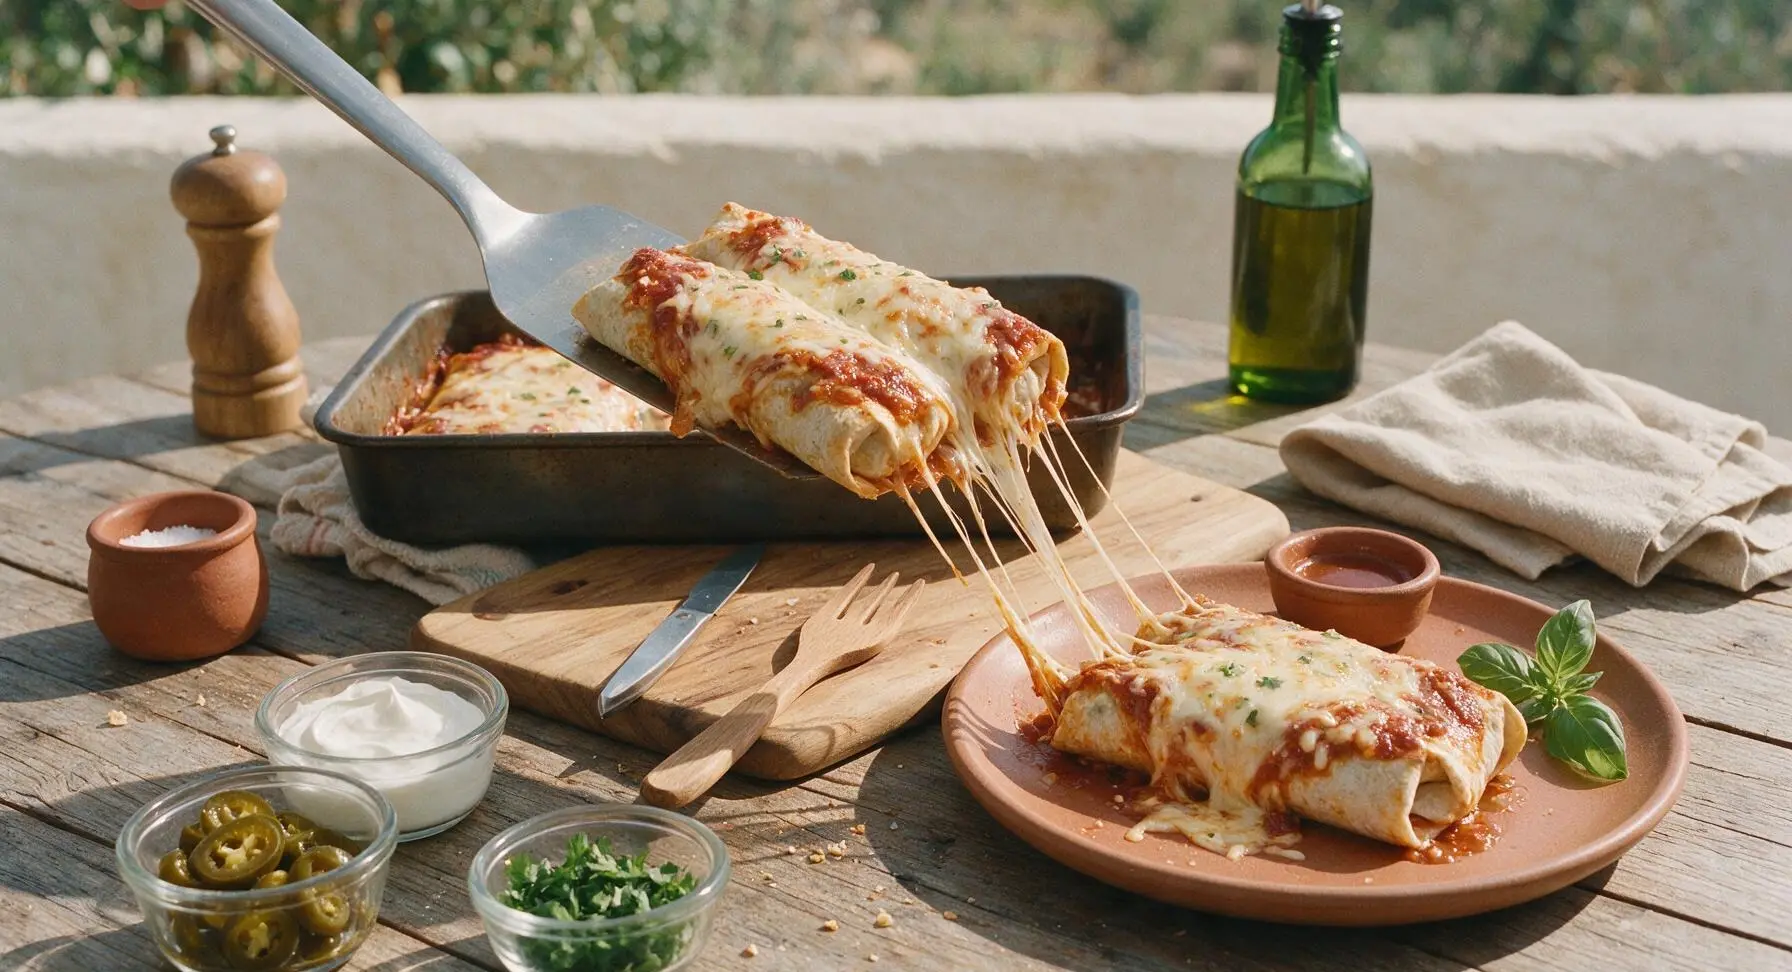
Use a wide spatula to transfer two sauced, cheese-covered burritos to the matte terracotta dinner plate. Top with a 2-tablespoon dollop of sour cream placed slightly off-center, 4-5 thin pickled jalapeño slices arranged to one side, a light sprinkle of freshly chopped cilantro across the cheese, and a tiny pinch of flaky sea salt over the sour cream to brighten flavors. Serve immediately while cheese is stretchy and sauce is hot.
Step 7
step7:Plate and Garnish

Tips

1.Skip thawing your frozen burritos before baking: Cooking directly from frozen keeps flour tortillas sturdy enough to hold up to heavy enchilada sauce, preventing soggy, falling-apart burritos that turn mushy as they bake.
2.Warm canned enchilada sauce on the stovetop with spices before pouring: Cold sauce straight from the can will drop your oven temperature and add 5-7 minutes of cook time, while pre-warmed sauce helps cheese melt evenly and melds with cumin and garlic for deeper flavor.
3.Let baked burritos rest for a full 5 minutes after removing from the oven: This allows the hot, thin enchilada sauce to thicken slightly so it clings to burritos instead of running across your plate, and lets the molten cheese set just enough to avoid sliding off when served.


✨ You May Also Like

Main Course
🍜 United Kingdom

A showstopping classic of tender seared beef, savory mushroom duxelles, and crisp prosciutto wrapped in flaky golden puff pastry, baked to juicy perfection.

⏱️ 2 hours 1Main Course ★ 4.7
Main Course
🍜 India

Tender charred marinated chicken simmered in a rich, spiced creamy tomato sauce, this iconic Anglo-Indian curry pairs perfectly with basmati rice or warm naan.

⏱️ 50 minuteMain Course ★ 4.6
Main Course
🍜 Thailand

Classic tangy, sweet, and savory Thai stir-fried rice noodles with shrimp, tofu, and crunchy garnishes, balancing all five core Thai flavor profiles.

⏱️ 30 minuteMain Course ★ 4.5
Main Course
🍜 United Kingdom

Crispy golden beer-battered cod and fluffy double-fried chips, served with tangy tartar sauce and malt vinegar: the timeless, beloved British pub comfort classic.

⏱️ 45 minuteMain Course ★ 4.7
Main Course
🍜 Mexico

Smoky, chile-marinated pork tacos with caramelized pineapple, fresh cilantro, and lime: a beloved classic Mexican street food perfect for casual summer gatherings.

⏱️ 1 hour 45Main Course ★ 4.8
Main Course
🍜 United States

Crunchy Fritos corn chips layered with savory beef chili and melted cheddar, topped with cool, zesty fixings for a beloved, cozy Tex-Mex comfort food.

⏱️ 35 minuteMain Course ★ 4.8

frozen burritos with enchilada sauce:Frequently Asked Questions

1.Do I need to thaw my frozen burritos before making this recipe? ▾
Nope, no thawing required—that’s part of the low-fuss magic! Keep burritos fully frozen to get that perfect crisp, golden tortilla edge instead of soggy, mushy wrappers. Thawing causes filling to leak out early and tortillas to go soft, so pull them straight from the freezer right as you preheat the oven.
2.Can I use a different flavor of frozen burrito instead of bean and cheese? ▾
Absolutely! Beef, chicken, veggie, or even breakfast-style frozen burritos work perfectly here. Just stick to standard-sized (around 5-ounce) burritos so they cook evenly in the 35-minute bake time, and note that spicy filling varieties will add an extra kick to the final dish.
3.Why do you brush the burritos with olive oil before baking? ▾
That quick olive oil brush is the secret to getting that craveable crisp, crunchy tortilla edge instead of a soft, steamed wrapper. It also helps the ground cumin stick to the burrito surface, toasting as it bakes to add warm, earthy depth that cuts through rich sauce and cheese.
4.Can I use hot red enchilada sauce instead of mild? ▾
Of course! Swap mild for hot red enchilada sauce if you love extra heat, or mix half mild and half hot for a medium spice level that’s not overwhelming. Just avoid thin, watery store-bought sauce if you can—thicker, restaurant-style sauce clings better without making burritos soggy.
5.What if I don’t have sharp cheddar cheese on hand? ▾
Sharp cheddar adds that bold, tangy bite that pairs so well with tangy enchilada sauce, but you can swap it for a shredded Mexican cheese blend, Monterey Jack, or pepper Jack for extra heat. Shred your own from a block if possible—pre-shredded cheese has anti-caking agents that make it melt less smoothly.
6.How do I keep the burritos from getting soggy under the sauce? ▾
Two easy tricks: First, bake the oiled, cumin-dusted burritos uncovered for 15 minutes before adding any sauce or cheese, so the tortillas crisp up first. Second, don’t douse burritos in sauce—pour it evenly over the top, letting a little pool around pan edges, instead of submerging them fully.
7.What temperature should I set my oven to for this recipe? ▾
Preheat your oven to 400°F, which is hot enough to crisp tortilla edges quickly, melt cheese perfectly, and heat frozen burrito filling all the way through without drying it out. A lower temp leads to soft, steamed burritos, while higher heat can burn cheese and tortilla edges before filling is fully hot.
8.Can I add extra toppings besides sour cream and jalapeños? ▾
Definitely! Top the finished dish with diced fresh tomato, chopped cilantro, sliced avocado, a squeeze of lime juice, pickled red onions, or a dollop of guacamole if you’d like. Wait to add cold, fresh toppings until right after you pull the pan out, so they stay bright and crisp instead of wilting.
9.Is the ground cumin really necessary, or can I skip it? ▾
Don’t skip it! That light sprinkle of ground cumin toasts on the oiled tortilla as it bakes, adding a warm, nutty, earthy layer that makes the dish taste like you simmered sauce all day, instead of using a quick store-bought shortcut. It’s a tiny addition with a huge flavor payoff.
10.How do I know when the smothered burritos are fully cooked? ▾
You’ll know they’re done when the cheese is fully melted and bubbly around the edges, tortilla edges are deep golden and crisp, and the internal temperature of the burrito filling hits 165°F on an instant-read thermometer. That usually takes right around 35 minutes total in a 400°F oven, no foil needed.
11.Can I make this recipe in an air fryer instead of the oven? ▾
You sure can! Air fry the oiled, cumin-dusted frozen burritos at 380°F for 12 minutes, flipping halfway, then top with sauce and cheese and air fry for 3 more minutes until cheese melts. Tortillas will get extra crispy this way; just work in batches if your air fryer basket is small.
12.What size baking dish works best for this recipe? ▾
A 9x13-inch glass or ceramic baking dish is ideal, as it fits 4 standard-sized frozen burritos in a single layer with a little space between them for air to circulate. That air gap is what helps tortilla edges crisp up, instead of steaming when burritos are squished too close together in a smaller dish.
13.Can I make this dish ahead of time for meal prep? ▾
It’s best baked fresh right before serving for the crispiest texture, but you can arrange oiled, seasoned burritos in the baking dish and keep them frozen (no sauce or cheese) for up to 3 days ahead. When ready to eat, bake as directed, adding sauce and cheese after the first 15 minutes of cook time.
14.Why does my cheese turn out grainy instead of smooth and melty? ▾
Grainy melted cheese almost always comes from using pre-shredded cheese coated in potato starch or anti-caking additives, or baking it at too high a temperature for too long. Shred your own sharp cheddar from a block, and only add it for the last 15 minutes of bake time for perfect, gooey melt.
15.Can I use homemade red enchilada sauce instead of store-bought? ▾
Homemade red enchilada sauce works beautifully here, and will give the dish an even brighter, fresher tangy flavor. Just make sure your homemade sauce is fully cooled before pouring it over burritos, and aim for a thick, pourable consistency—thin, runny sauce will make tortillas soggy.
16.How should I store and reheat leftover smothered burritos? ▾
Let leftovers cool completely, then transfer them to an airtight container and refrigerate for up to 3 days. Reheat individual portions in the oven at 375°F for 10 to 12 minutes, or in the air fryer at 350°F for 6 to 8 minutes, to bring back crisp edges instead of microwaving, which makes them soggy.
17.Can I make this recipe dairy-free? ▾
You can easily make this dairy-free with a few simple swaps: use dairy-free frozen bean and rice burritos, swap sharp cheddar for a meltable dairy-free shredded cheese blend, and use dairy-free sour cream for topping. Most store-bought red enchilada sauce is already dairy-free, but always double-check labels.

Comments (4)

2 days ago

OMG this is such a weeknight game changer! I keep a giant bag of frozen beef and bean burritos in the deep freeze for busy soccer practice nights, and I never thought to smother them like this. Took literally 25 minutes start to finish, my kids devoured every bite and asked for seconds. I topped ours with a little shredded lettuce and sour cream on the side, SO good. Will be adding this to our regular dinner rotation for sure!

yesterday

Same! I always have frozen burritos stocked for last minute meals, can’t believe I never thought to smother them with enchilada sauce instead of just microwaving them. Did you use store bought red sauce or homemade? I have a jar of the medium heat stuff in my pantry I’ve been trying to use up!

yesterday

So glad this is landing for busy weeknight folks! Store-bought enchilada sauce works perfectly here – no need to make it from scratch to get that great flavor, which is part of why this recipe is so quick and easy. Medium heat is a great call if your family likes a little kick!

3 days ago

Made this for a last minute neighborhood potluck last weekend when I realized I forgot to thaw the chicken I was gonna use for tacos. Grabbed a bag of frozen burritos from the corner store, used a jar of red enchilada sauce (no shame), dumped some shredded Mexican blend cheese on top and baked it. People were asking me for the recipe all night! Total lifesaver.

2 days ago

Love that this saved your potluck! It’s the perfect low-fuss crowd pleaser – no one has to know you pulled it together last minute with frozen burritos, we won’t tell 😉

2 hours ago

Bro this is so easy even I can’t mess it up. I only have a tiny toaster oven in my off-campus apartment and it turned out perfect. I added a handful of crushed tortilla chips on top for extra crunch, solid 10/10. Only reason it’s not a full 5 is I grabbed mild enchilada sauce by mistake and it needed a little extra heat, that’s on me though. Way better than eating plain microwaved burritos for the third night in a row lmao.

30 minutes ago

Pro tip: stir a little diced canned chipotle in adobo into the sauce next time! Total game changer for heat level, no need to buy a whole new jar of hot sauce.

1 week ago

Made a big pan of these for my Sunday meal prep this week, portioned them out into containers with a side of Mexican rice and street corn. They reheat so well in the microwave at work! I was worried the tortillas would get mushy after a few days in the fridge but they held up great. Perfect easy lunch option that doesn’t feel like a sad desk salad.



