
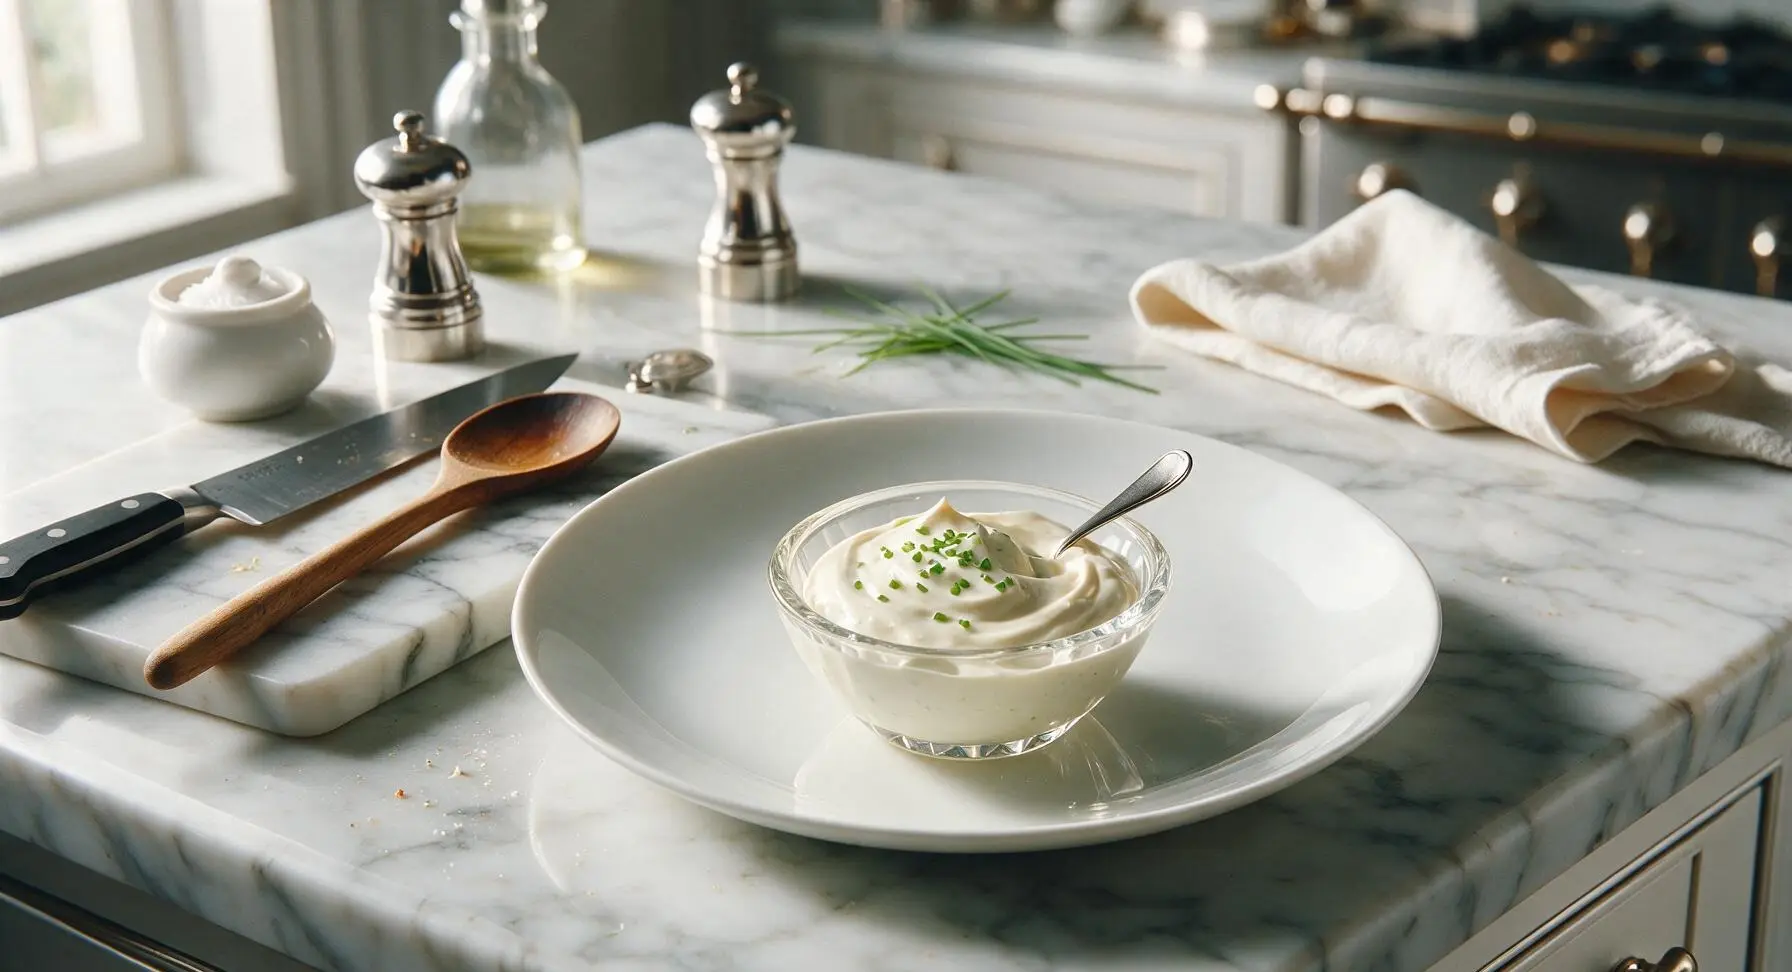
garlic aioli sauce

title 1
garlic aioli sauce
⏱️ cook time 0 minutes
🍽️ servings 8
⚡ Difficulty medium

intro

Silky, boldly garlicky homemade aioli is a luxuriously thick emulsified sauce, perfect for dipping grilled fare, fries, or fresh veggies at summer gatherings, with bright, rich flavor.

Ingredients
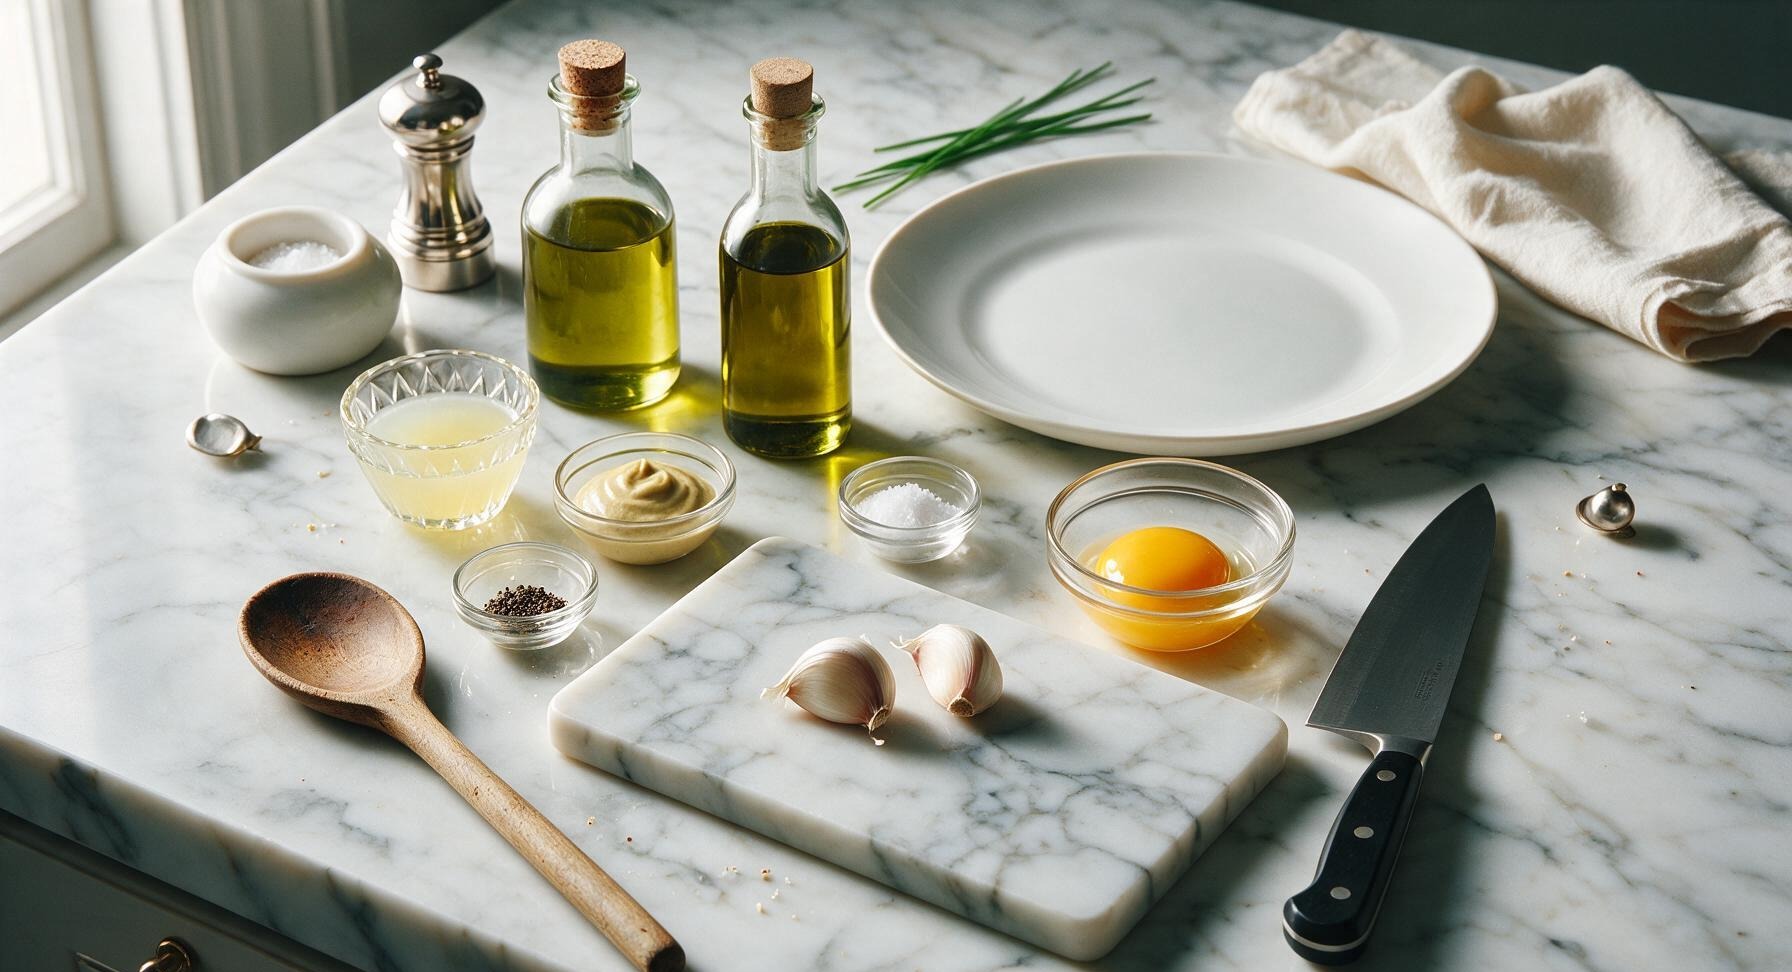
Garlic cloves 2 large (10g total)
Large egg yolk (room temperature) 1 (18g)
Fresh lemon juice 2 teaspoons (10ml)
Dijon mustard 1 teaspoon (5g)
Fine sea salt 1/4 teaspoon (1.5g)
Freshly ground black pepper 1/8 teaspoon (0.3g)
Neutral avocado oil 1/2 cup (120ml)
Extra-virgin olive oil 1/4 cup (60ml)

Steps

1

Prep Fresh Garlic

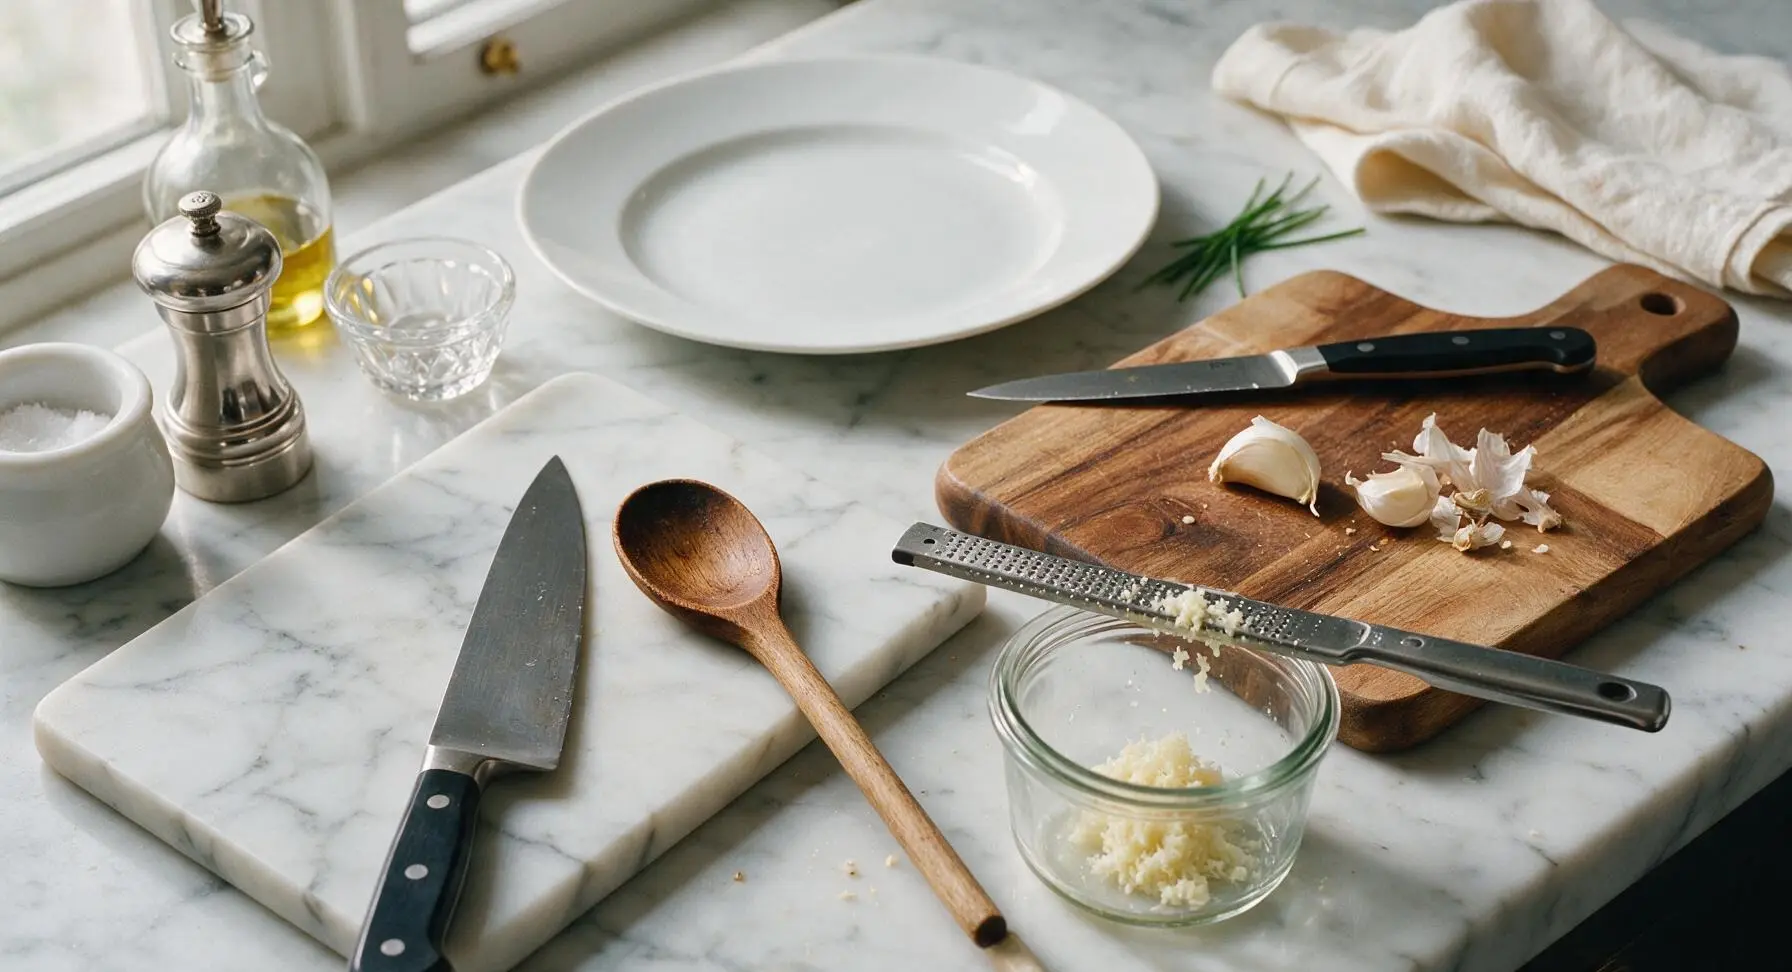
Place the 2 garlic cloves on the acacia wood cutting board. Use the 5-inch paring knife to trim off the hard woody root end of each clove, then peel away all papery outer skin. Grate the peeled cloves on the stainless steel microplane zester directly into the center of the clear glass mixing jar, discarding any tough, fibrous garlic bits that collect on the back of the zester. The resulting garlic paste should be completely smooth, with no large chunks that would break the emulsion or create harsh raw garlic bites in the finished sauce.
Step 1
step1:Prep Fresh Garlic
2

Combine Emulsion Base

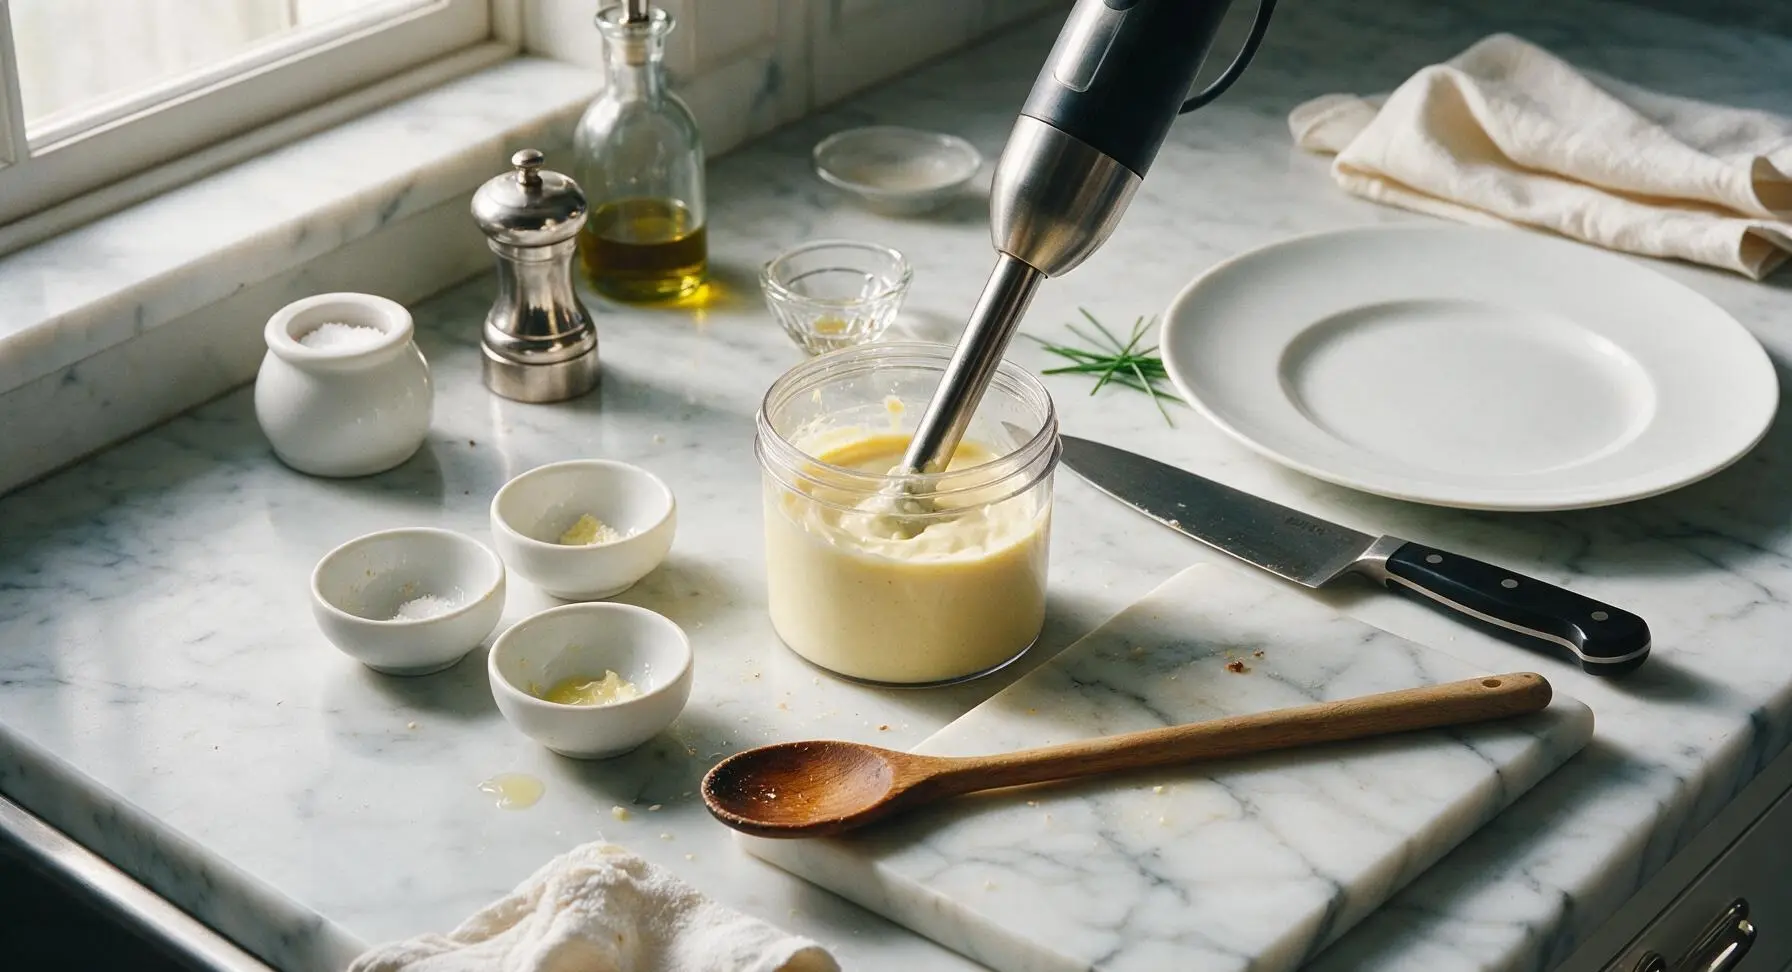
Add the room-temperature egg yolk, 1 teaspoon Dijon mustard, 2 teaspoons fresh lemon juice, 1/4 teaspoon fine sea salt, and 1/8 teaspoon freshly ground black pepper to the mixing jar with the grated garlic. Stir the mixture gently with the foot of the immersion blender until it forms a uniform, smooth pale yellow liquid, with no streaks of unblended mustard or egg yolk visible at the bottom of the jar.
Step 2
step2:Combine Emulsion Base
3

Begin Slow Emulsification

Press the immersion blender firmly all the way to the bottom of the mixing jar, so the blender foot covers the garlic and yolk base completely. Turn the blender to low speed, and pour the first 2 tablespoons of mixed oil in an extremely thin, slow stream directly over the blender shaft. Do not lift the blender from the jar bottom at this stage; a thick, pale, creamy emulsion will begin to form at the base of the jar within 10-15 seconds.
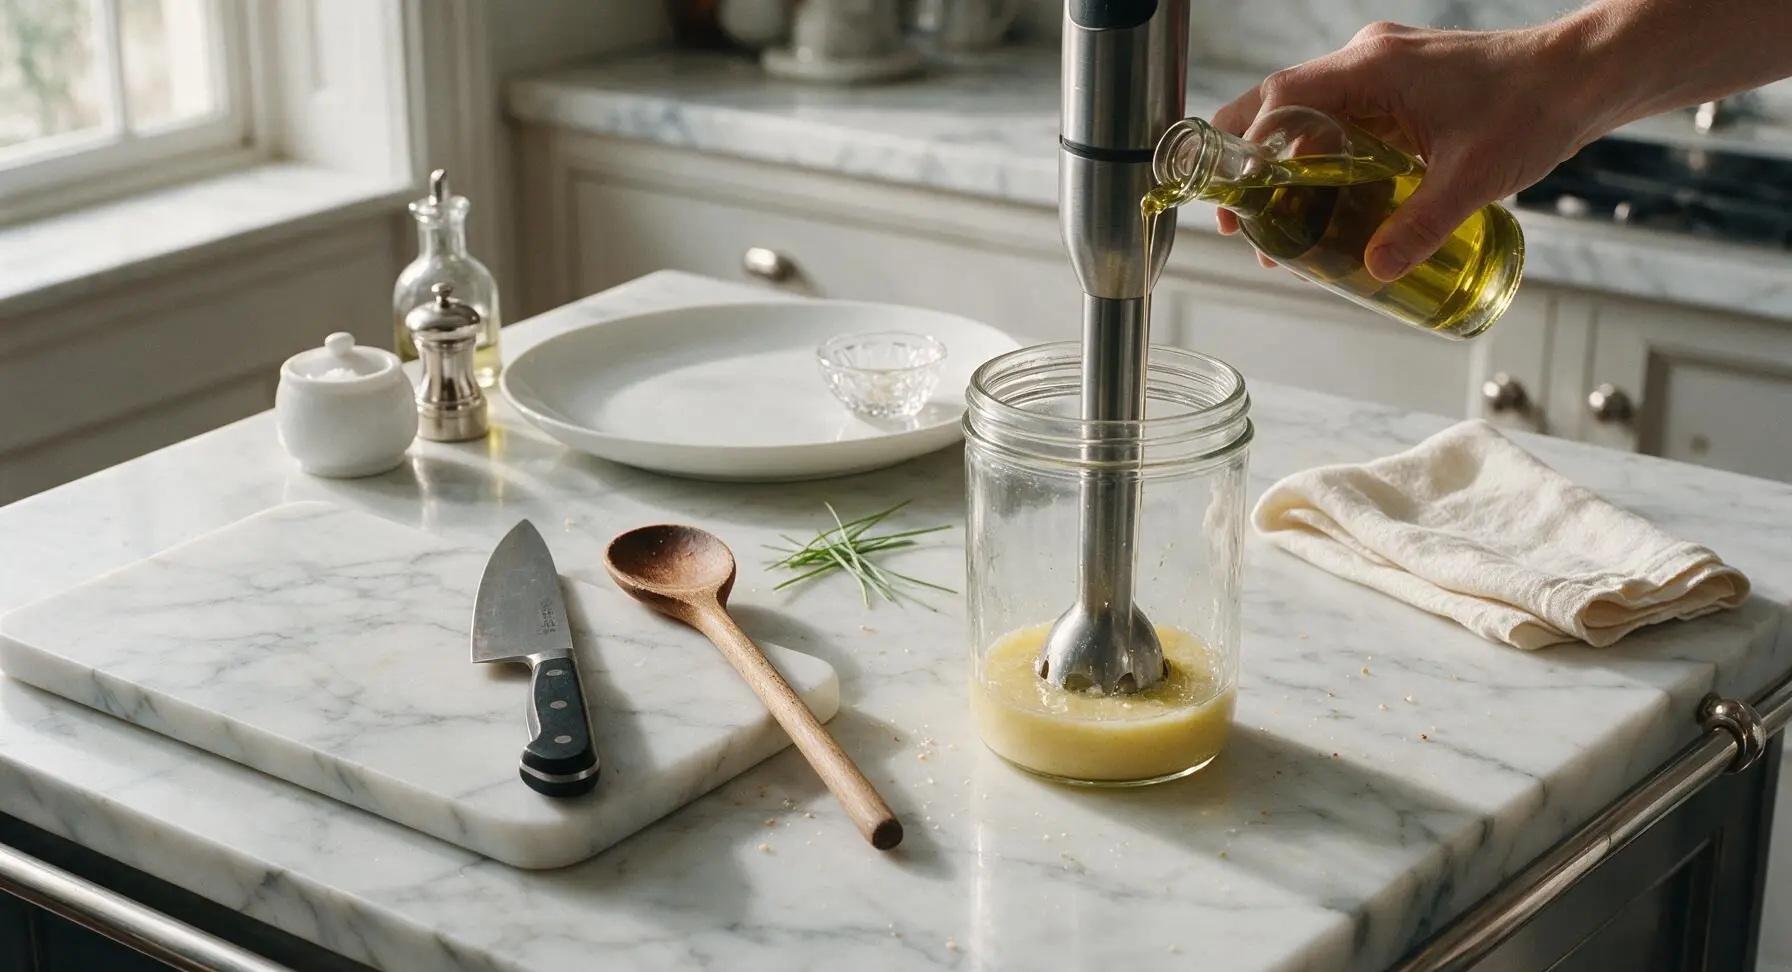
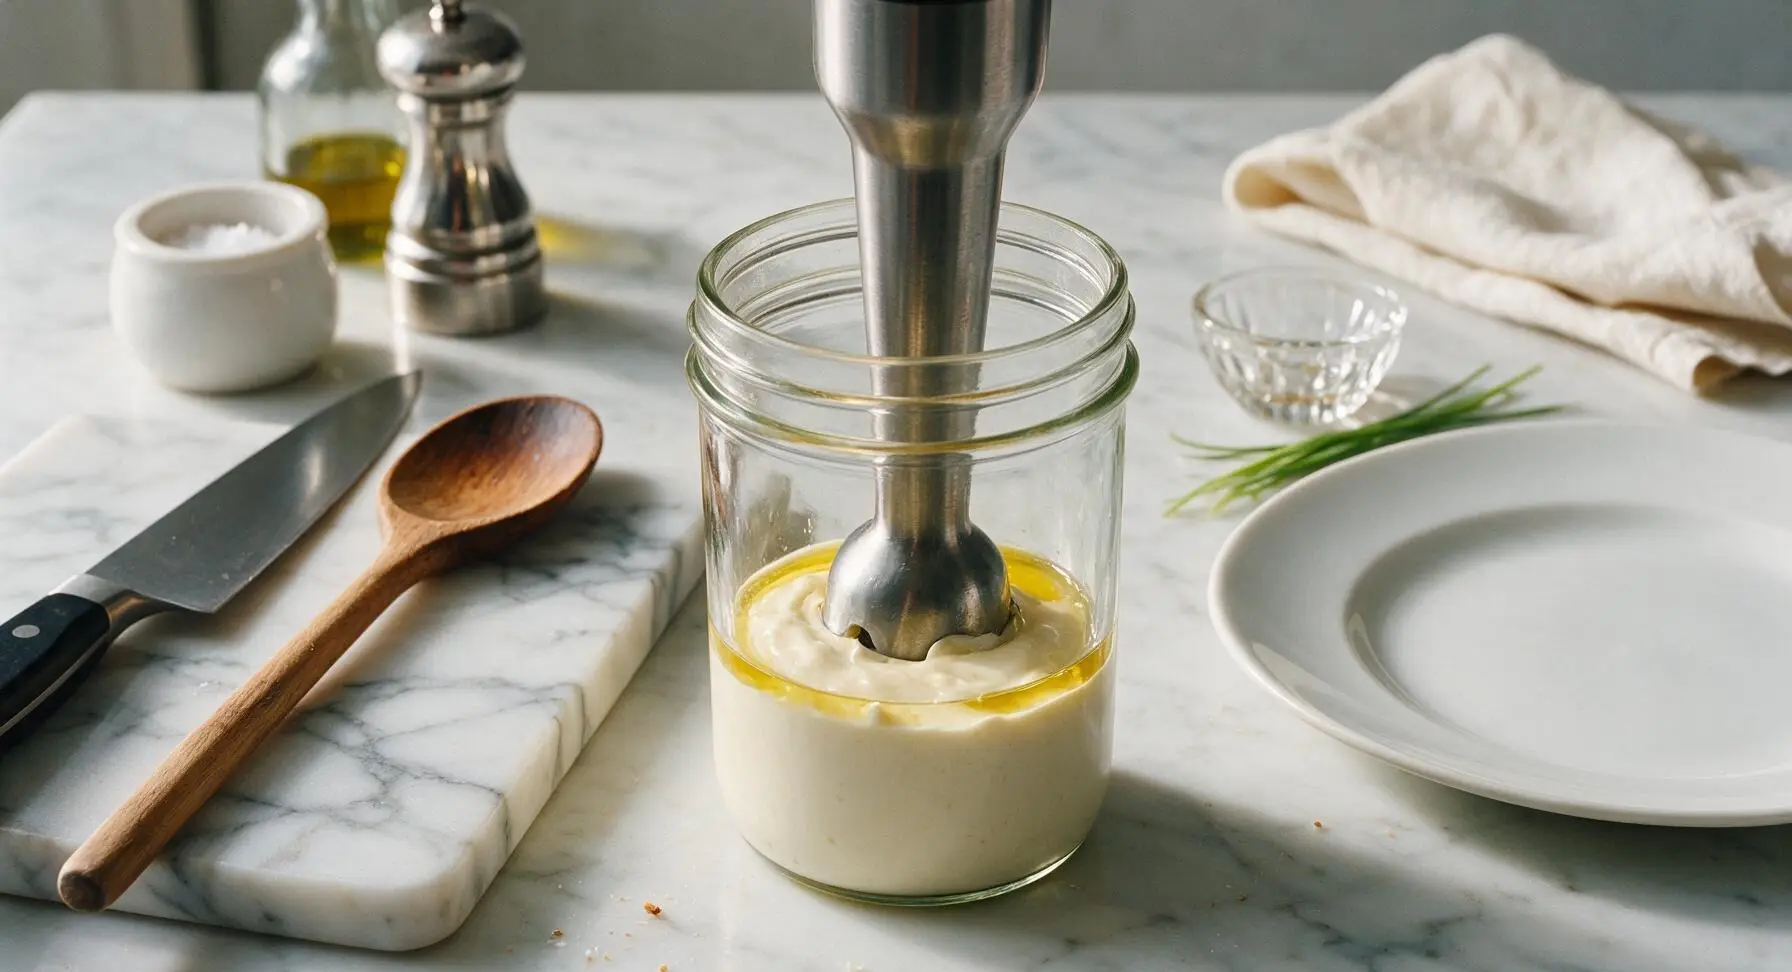
Step 3
step3:Begin Slow Emulsification
Step 3
step3:Begin Slow Emulsification
4

Incorporate Remaining Oil

Once the thick emulsion covers the entire bottom of the jar, slowly lift the immersion blender 1/2 inch at a time, moving it up and down gently to incorporate oil from the surface. Continue pouring the remaining 1/2 cup plus 2 tablespoons of oil in the same thin, steady stream, taking 3 full minutes to add all oil to avoid breaking the emulsion. When fully combined, the aioli will be thick, spreadable, and hold soft peaks when the blender is lifted from the jar.
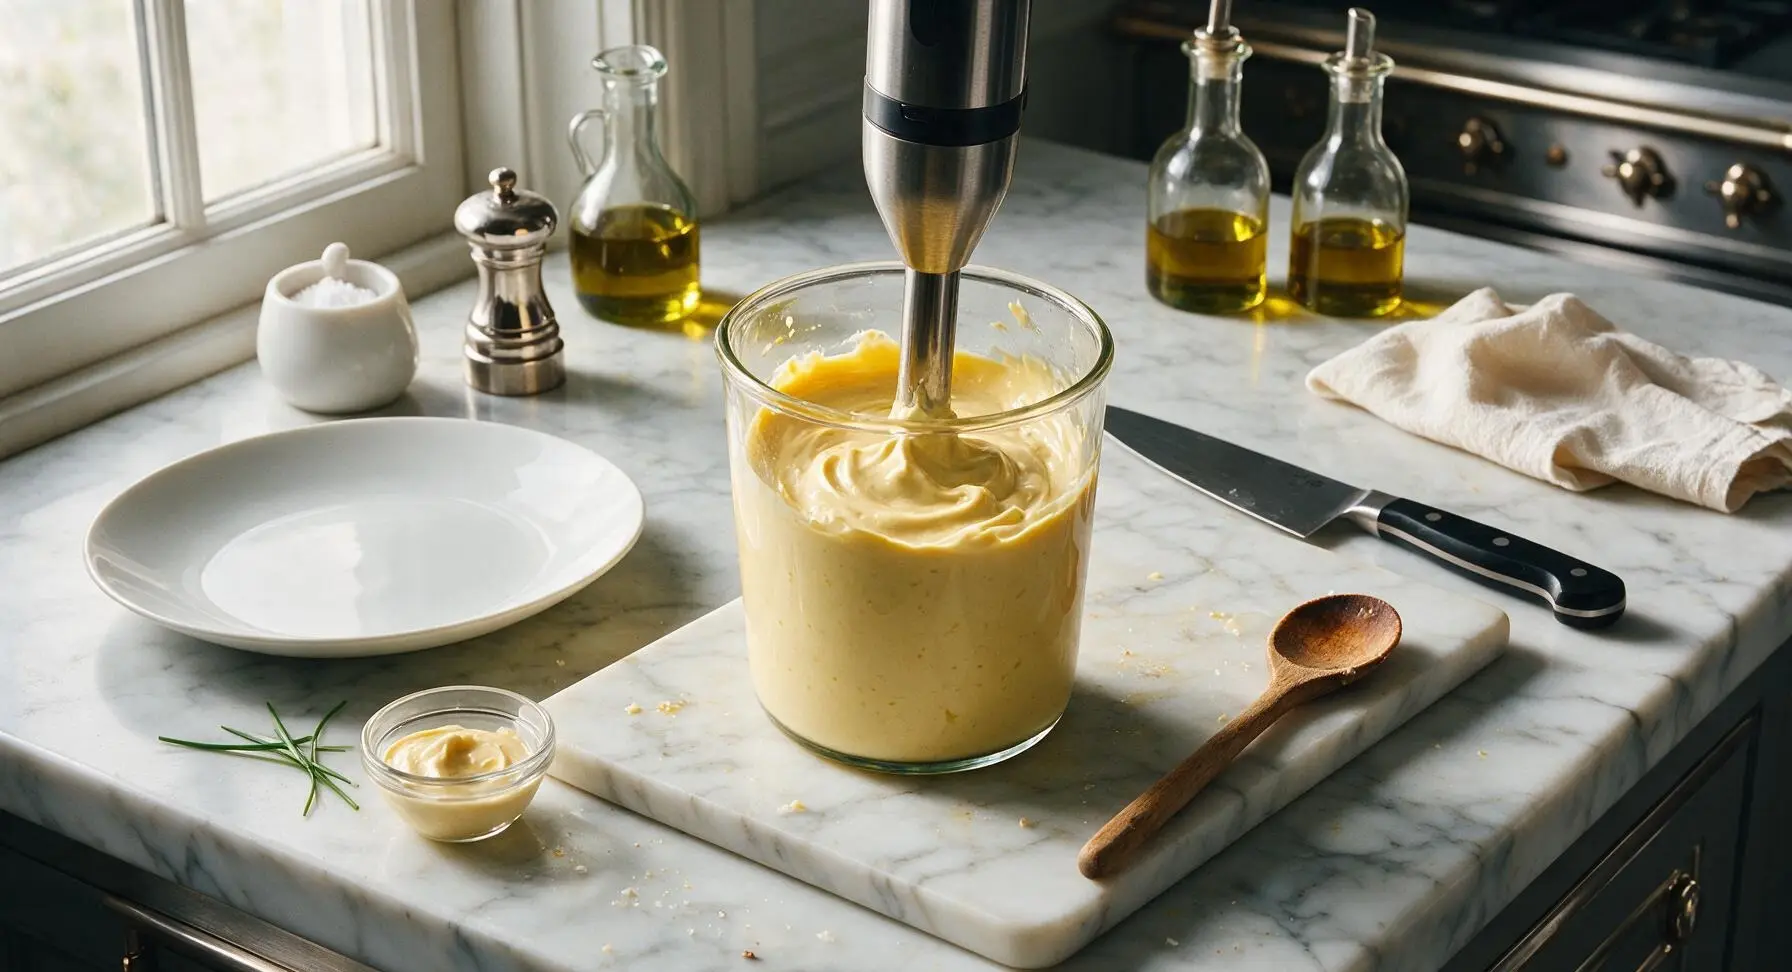
Step 4
step4:Incorporate Remaining Oil
5

Adjust Seasoning & Thickness

Lift a small spoonful of aioli to taste. Add an extra pinch of flaky sea salt or 1/4 teaspoon more lemon juice if the flavor tastes flat, blending for 2 seconds to combine. If the aioli is too thick to dip or spread easily, stir in 1/2 teaspoon of ice-cold water at a time until it reaches a consistency that thickly coats the back of a spoon without running off quickly.
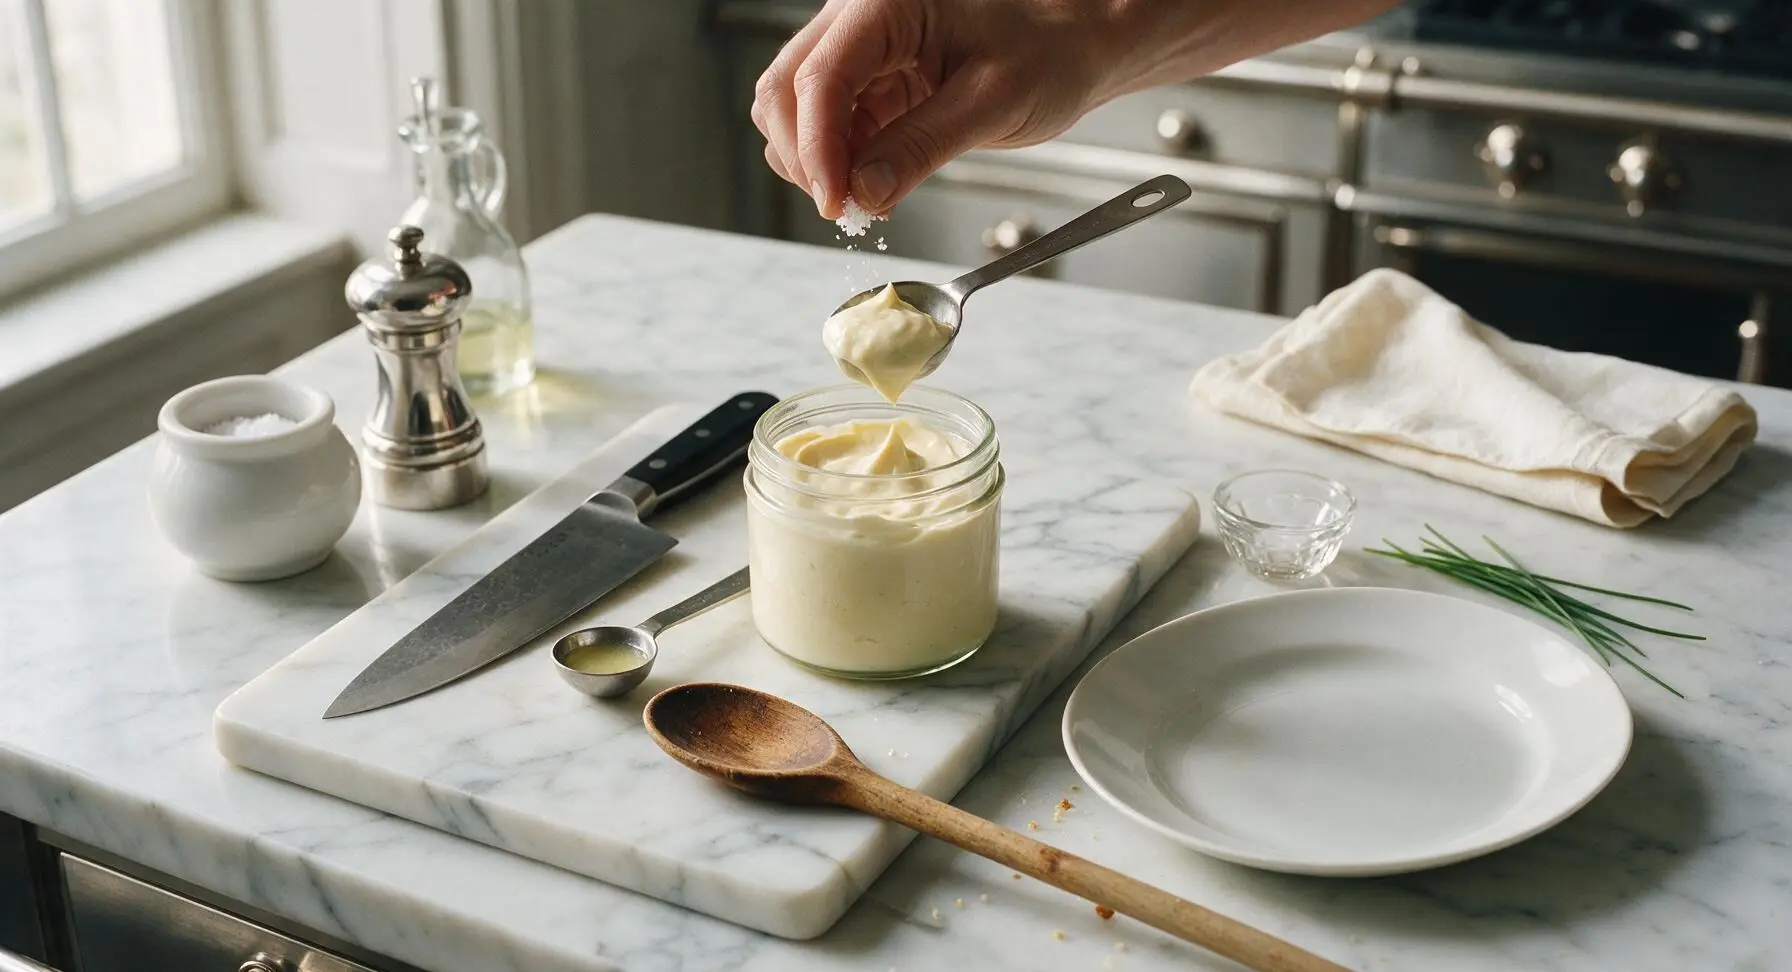
Step 5
step5:Adjust Seasoning & Thickness
6

Transfer and Rest

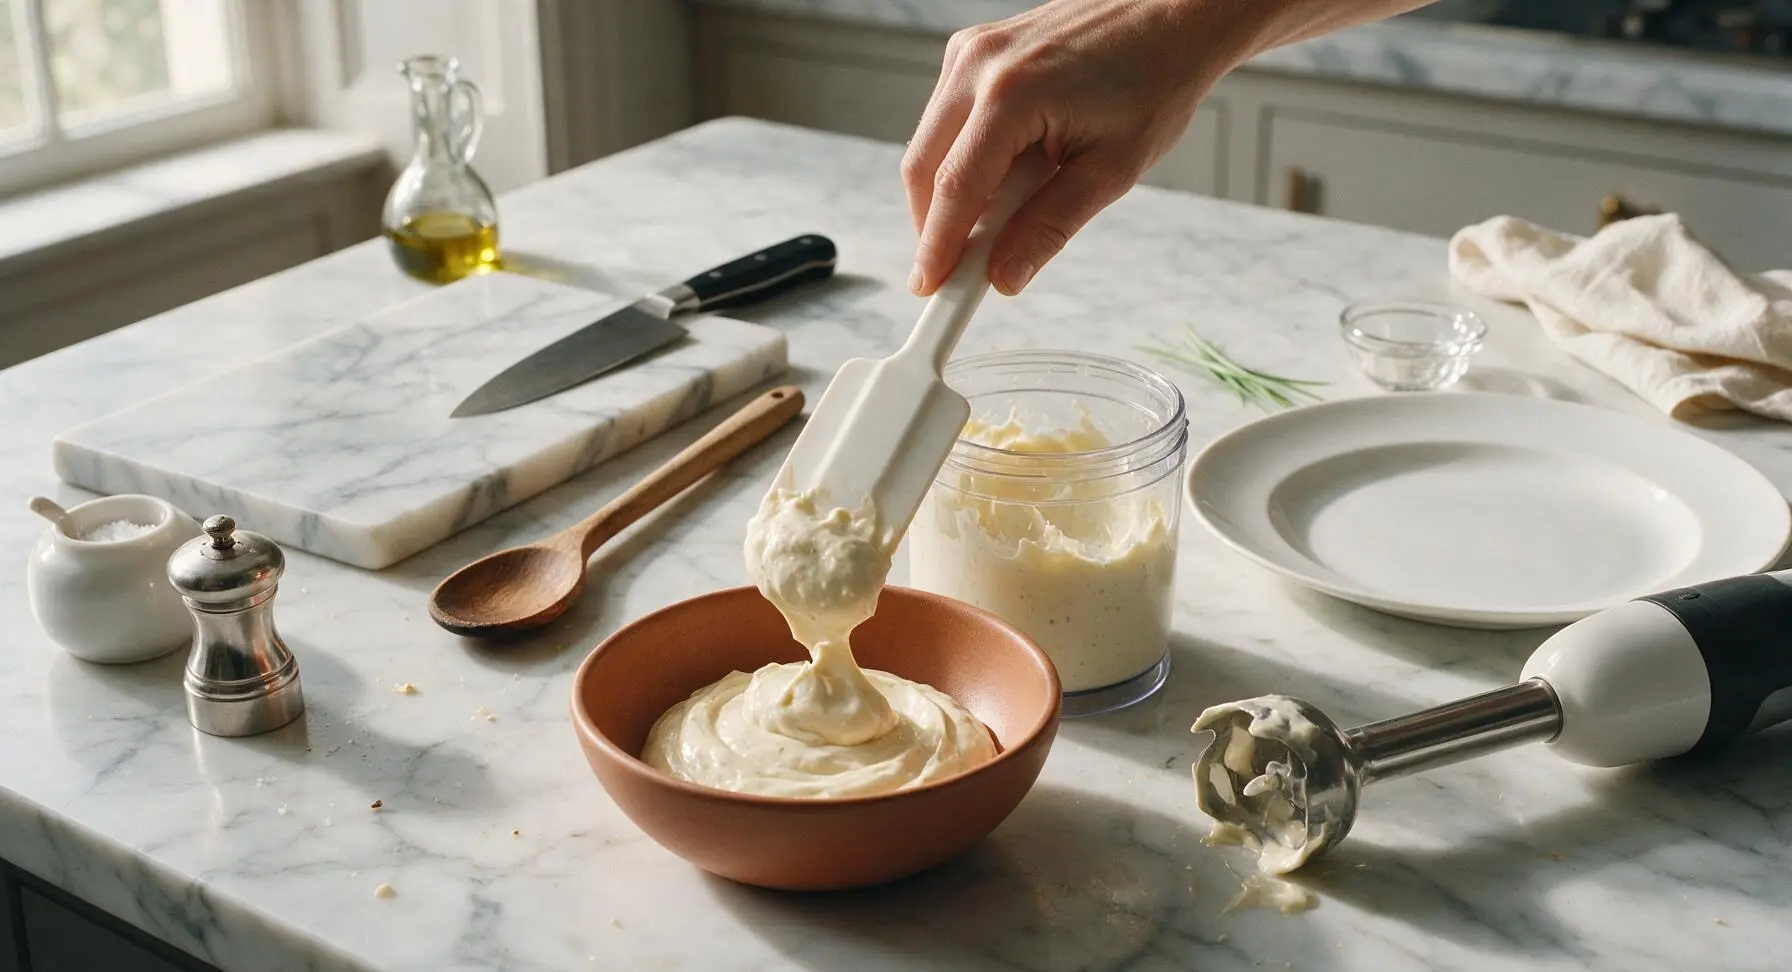
Use the silicone spatula to scrape every bit of finished aioli from the mixing jar into the matte terracotta serving bowl. Swirl the top of the aioli gently with the back of a spoon, then cover loosely and refrigerate for 10 minutes to let the sharp raw garlic flavor mellow and meld before serving.
Step 6
step6:Transfer and Rest

Tips

1.Always use a room-temperature egg yolk for this recipe: cold yolk tightens and is far more likely to cause a broken, separated emulsion, while room temperature yolk mixes smoothly with oil for a silky final texture. Pasteurized egg yolks work identically and are a safe choice for those avoiding raw unpasteurized eggs.
2.Add oil as slowly as possible at the start: the first 2 tablespoons of oil are the most critical for building a stable emulsion, and pouring too fast will cause the aioli to curdle. If breakage occurs, add 1 teaspoon of ice-cold water and blend on low for 10 seconds to rebind the sauce without needing to restart.
3.For a milder, sweeter garlic flavor, poach the peeled garlic cloves in simmering water for 3 minutes before grating, which removes the sharp, harsh raw garlic bite while retaining warm, aromatic garlic notes perfect for pairing with delicate seafood or roasted vegetables.


✨ You May Also Like

BBQ & Grilling
🍜 United States

Tender, melt-in-your-mouth beef brisket with a crisp, spiced bark, slow-smoked to deep smoky perfection, the iconic centerpiece of Texas backyard barbecue.

⏱️ 12 hours BBQ & Grilling ★ 4.4
BBQ & Grilling
🍜 Korea

Tender, sweet-savory marinated beef short ribs, a beloved Korean BBQ staple with caramelized, slightly charred edges and deep umami flavor, perfect for outdoor summer gatherings.

⏱️ 4 hours 2BBQ & Grilling ★ 4.8
BBQ & Grilling
🍜 United States

Juicy grilled beef patties topped with smoky homemade chili, melted cheddar, and tangy pickles on toasted brioche buns for a hearty, flavor-packed handheld meal.

⏱️ 40 minuteBBQ & Grilling ★ 4.7
BBQ & Grilling
🍜 United States

A sweet, smoky, tangy BBQ sauce brightened with peak-season dark cherries, ideal for glazing grilled ribs, chicken, pork, or summer roasted veggies.

⏱️ 35 minuteBBQ & Grilling ★ 4.7
BBQ & Grilling
🍜 United States

Rich, smoky, slightly sweet homemade bourbon BBQ sauce with deep caramel notes, ideal for glazing grilled ribs, chicken, and burgers at cookouts.

⏱️ 25 minuteBBQ & Grilling ★ 4.7
BBQ & Grilling
🍜 United States

Iconic Alabama-style BBQ featuring tender hickory-smoked chicken slathered in tangy creamy white sauce, a beloved regional Southern cookout staple.

⏱️ 3 hoursBBQ & Grilling ★ 5

garlic aioli sauce:Frequently Asked Questions

1.Why did my aioli separate and turn runny instead of holding a thick, silky texture? ▾
This almost always happens when you add oil too fast or use a cold egg yolk, which breaks the delicate emulsion. To fix it, add a fresh room-temperature egg yolk to a clean bowl, then slowly whisk in the broken aioli a tiny drizzle at a time until it thickens back to that luxe, spreadable consistency.
2.Is it safe to use raw egg yolk in this aioli for summer cookouts? ▾
It is if you take simple precautions! For zero food safety worry, use a pasteurized in-shell room-temperature egg yolk, which is heat-treated to kill harmful bacteria without cooking the yolk. It emulsifies exactly the same, so you won’t lose that classic rich, silky texture, and it’s safe for guests of all ages.
3.How do I mellow the garlic so it doesn’t taste too sharp or overpowering? ▾
If you don’t love the spicy bite of raw garlic, blanch peeled cloves in boiling water for 30 seconds before mashing them with fine sea salt, or roast them at 400°F for 10 minutes for a sweet, nutty garlic flavor. Both tweaks cut the harsh bite without losing that signature bold garlic profile aioli is known for.
4.Can I skip the Dijon mustard if I don’t have any on hand? ▾
I don’t recommend skipping it entirely! Dijon doesn’t just add a subtle tang—it acts as an emulsifier helper that makes it far easier to get a stable, thick aioli that won’t break. If you’re totally out, swap it for an equal amount of smooth unsweetened yellow mustard, though the final flavor will be a little less complex.
5.How long will homemade garlic aioli stay fresh in the refrigerator? ▾
Stored in a tightly sealed, clean glass jar, this aioli will stay fresh for up to 3 days when kept at a consistent 40°F or below. Don’t leave it out at summer gatherings for longer than 2 hours total, since it contains egg yolk, and give it a quick stir before serving if it separates slightly.
6.What are the best ways to serve this classic garlic aioli? ▾
This bold, garlicky sauce is incredibly versatile! It’s perfect for dipping crispy fries, grilled shrimp or chicken, and fresh veggie crudité at cookouts, but you can also slather it on burger buns, toss a dollop into potato salad, or serve it alongside fried seafood for an extra rich, bright flavor kick.
7.Can I make this aioli without fancy equipment like an immersion blender or food processor? ▾
You absolutely don’t need special gear! Grab a sturdy glass bowl and wire whisk, set the bowl on a folded kitchen towel to hold it steady, mash your garlic and salt into a smooth paste first, then whisk in the yolk, fresh lemon juice, and Dijon before drizzling oil extremely slowly as you whisk nonstop.

Comments (4)

2 days ago

OMG I was so excited to make this for our neighborhood potluck last weekend and my aioli came out totally runny? I followed the measurements exactly, used fresh garlic like it said, but it never thickened up. Did I do something wrong with the emulsification step? I was so sad because I wanted to dip my crispy sweet potato fries in it!

yesterday

Hi there! So sorry your aioli didn't thicken up - that almost always happens if you add the oil too fast instead of streaming it in super slowly while whisking nonstop! You can rescue a broken aioli by adding a teaspoon of room temperature water to a clean bowl, then slowly whisking the runny mixture into it a drop at a time until it emulsifies. Hope that helps for next time!

2 hours ago

I had this exact same issue my first try! The slow oil trick is no joke, I set my phone timer to make sure I took a full 3 minutes to pour the oil in last time and it came out perfectly thick, just like restaurant aioli. Don't give up on it!

2 hours ago

Game changer alert! I whipped this up last night to go with my weekly meal prep roasted veggies and grilled chicken, and it is SO good. I added a tiny pinch of smoked paprika like my grandma used to, and my roommate kept stealing bites straight out of the jar. Way better than the store bought stuff that's loaded with weird preservatives.

30 minutes ago

Love the smoked paprika addition! That's such a great twist to add a little warm, smoky depth - I'll have to test that variation for the site soon. So glad it worked for your meal prep!

yesterday

My kids loved it! I made this to go with our fish stick dinner last night and even my super picky 7 year old who refuses to eat anything 'saucy' was dipping every last bite. I used a little extra garlic because we are total garlic fiends in this house, and it was chef's kiss. Will absolutely be making this for our next family burger night too!

3 days ago

Wait, hold up - does classic aioli really not have any mustard in it? I feel like every aioli recipe I've tried before has a little dijon to help with emulsification, but I didn't see it in the ingredient list here. I made it last night with my immersion blender and it was great, but has anyone tried making this without a blender, just by hand with a whisk? My arm is already sore just thinking about it lol.

2 days ago

I made it by hand last week! It takes a solid 5-6 minutes of constant whisking but it totally works, I didn't have any mustard either and it still set up perfectly. Just make sure your egg is room temp, that makes the emulsification way easier from the start.



