
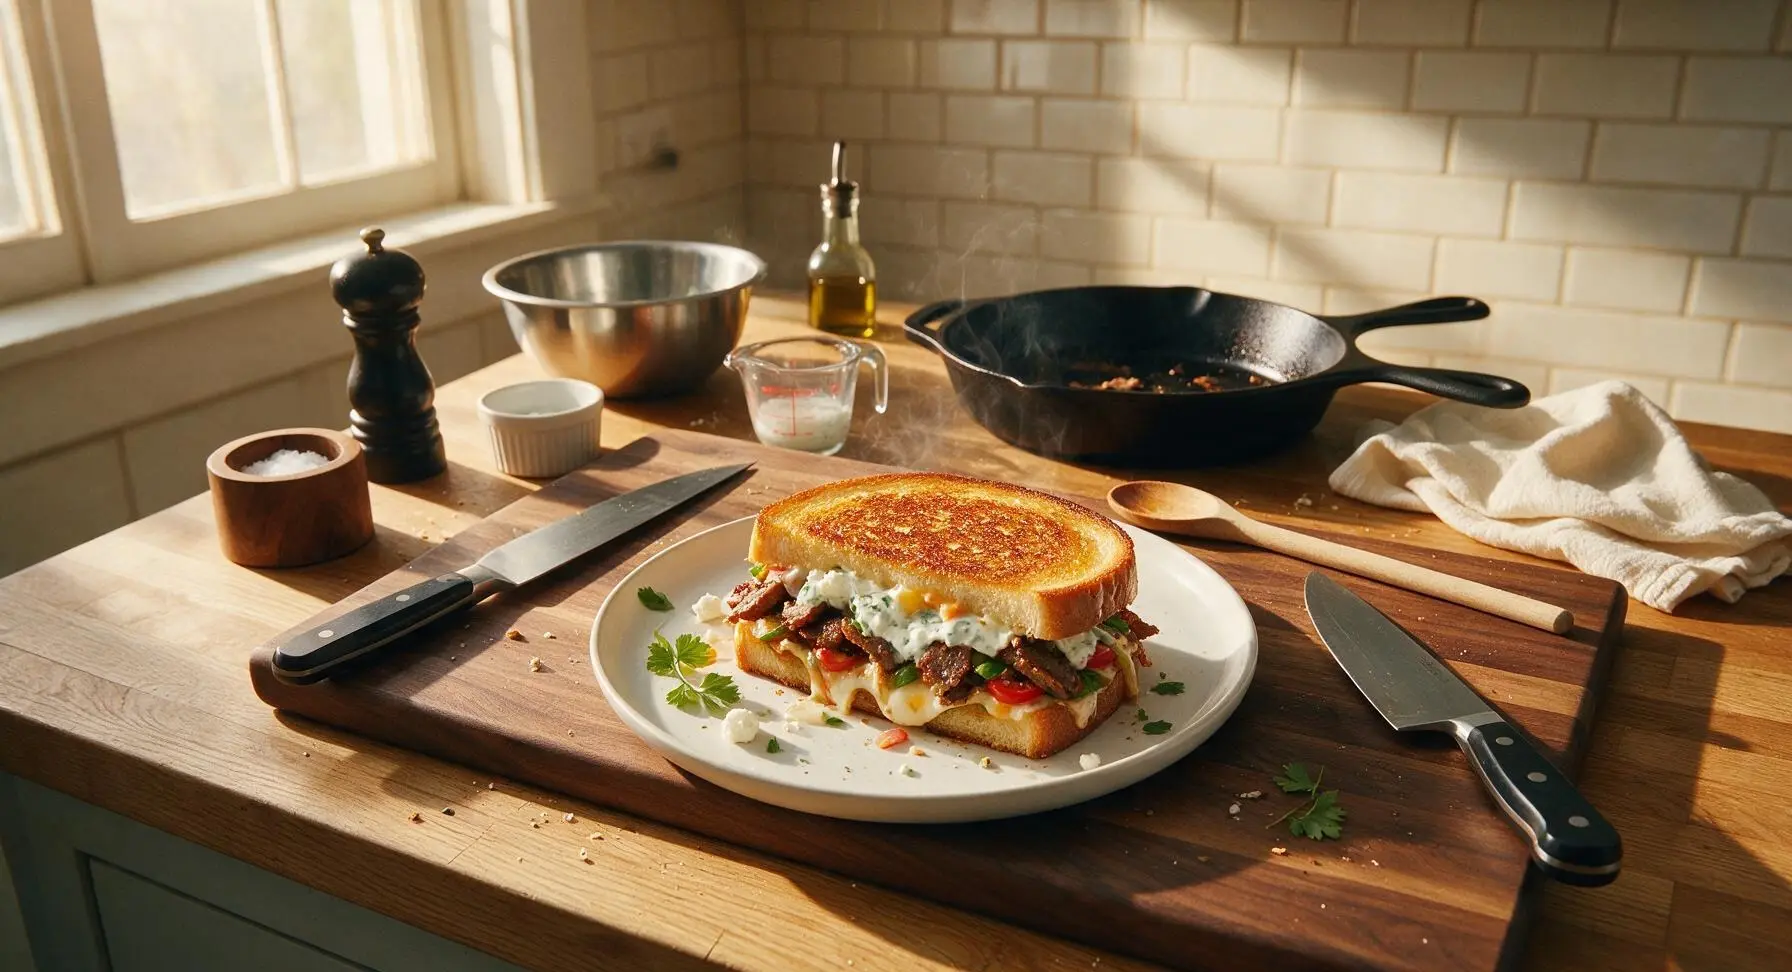
Gyro Grilled Cheese

title 1
Gyro Grilled Cheese
⏱️ cook time 16 minutes
🍽️ servings 4
⚡ Difficulty easy

intro

Crispy buttery grilled cheese loaded with spiced gyro meat, tangy tzatziki, melted feta and mozzarella, and bright veggies—all the classic gyro flavors in a cozy, toasty sandwich.

Ingredients
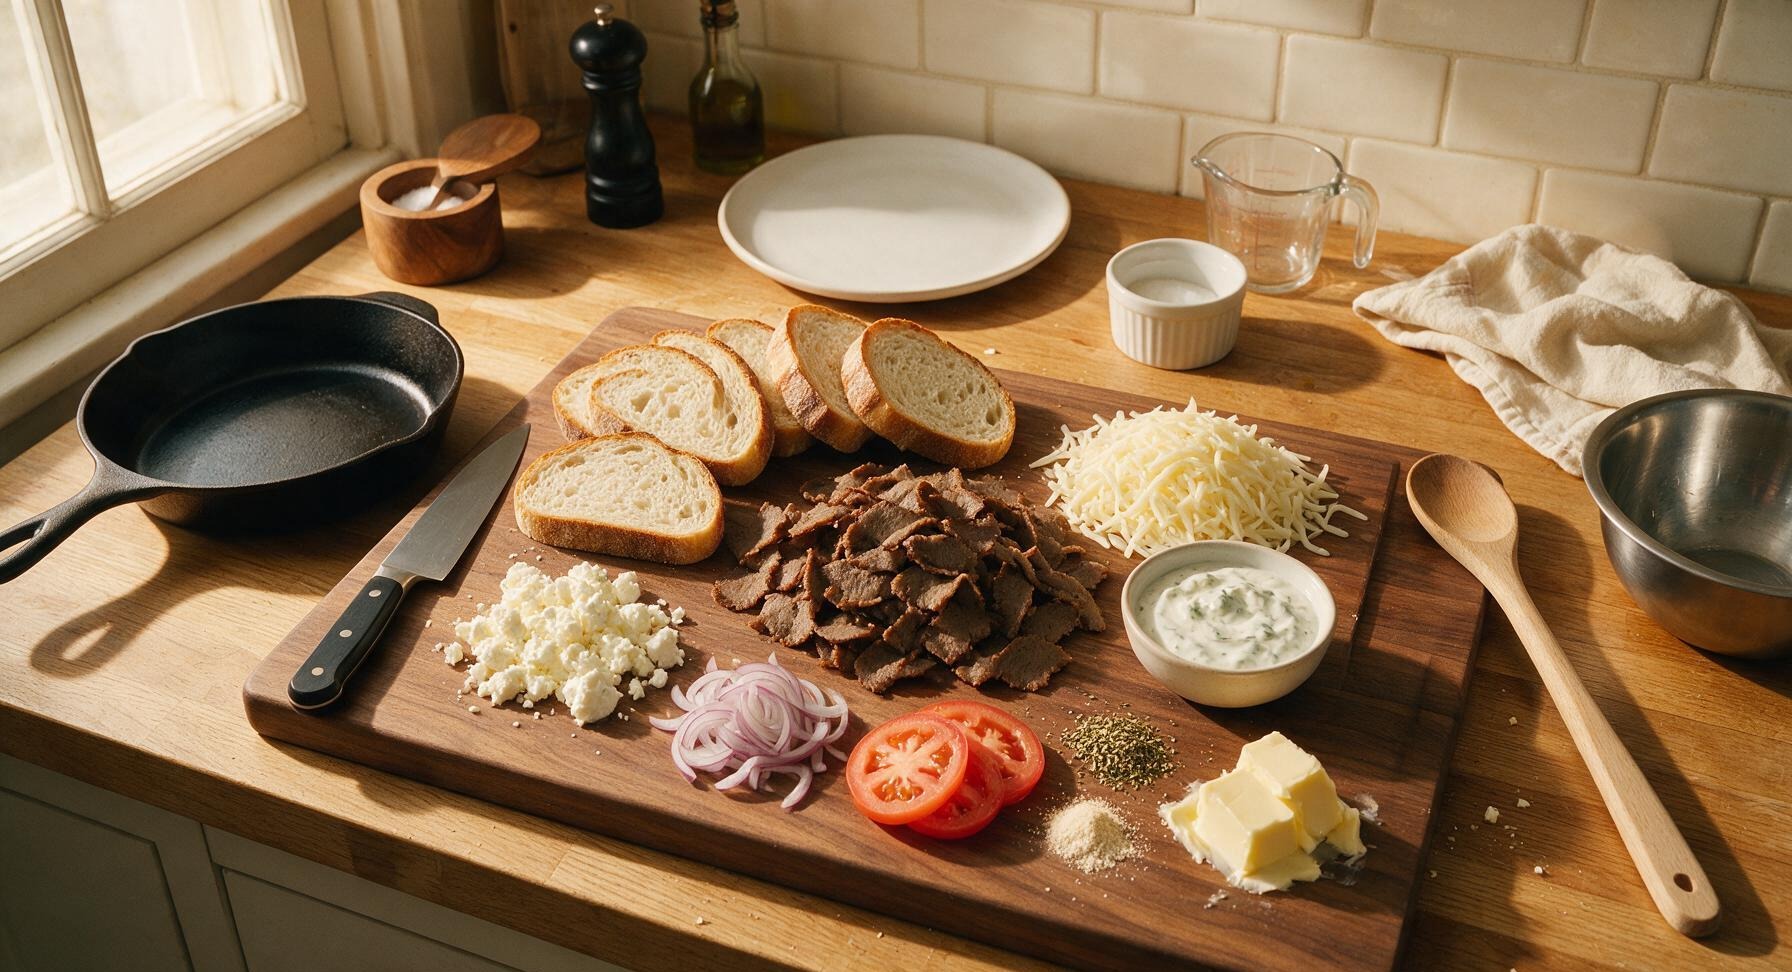
Thick-cut sourdough bread 8 slices (1.5cm thick)
Pre-cooked thinly sliced lamb/beef gyro meat 340g
Shredded low-moisture mozzarella cheese 170g
Crumbled feta cheese 113g
Plain tzatziki sauce 120g
Small red onion 60g (thinly sliced)
Roma tomato 1 medium (100g, thinly sliced)
Dried Greek oregano 1 tsp
Garlic powder 1/2 tsp
Unsalted butter, softened 56g

Steps

1

Prep Sandwich Vegetables

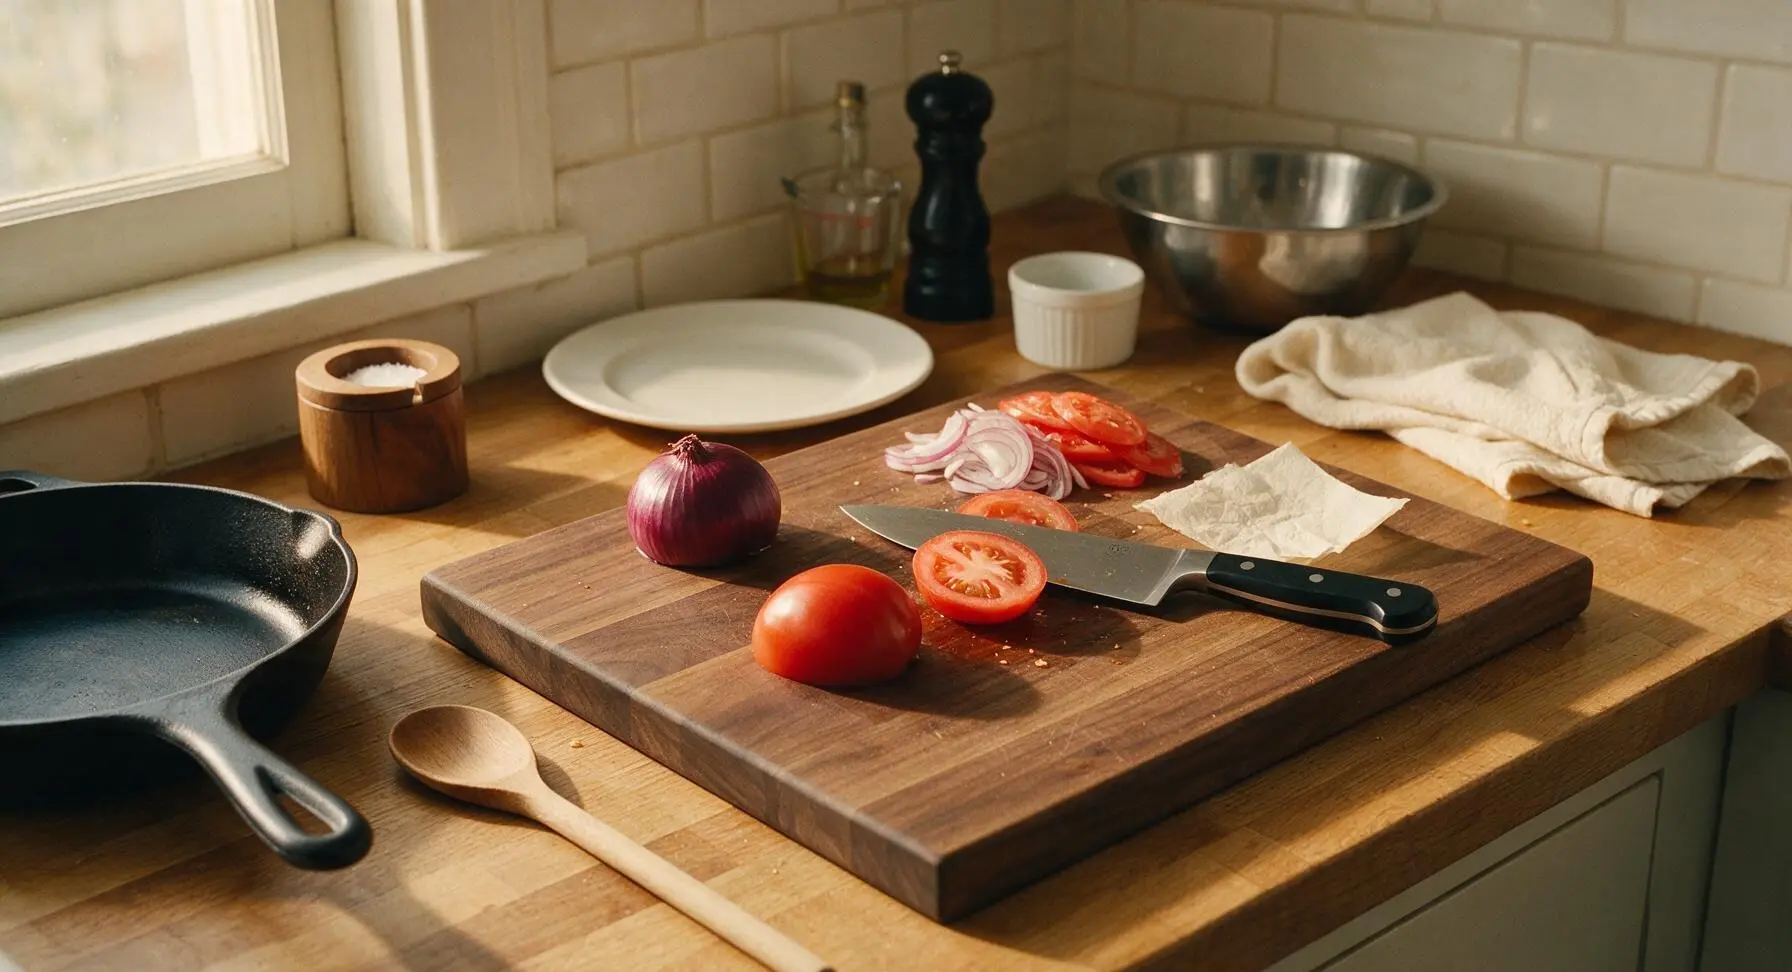
Place the red onion and Roma tomato on the acacia cutting board. Using the 8-inch chef’s knife, slice both into 3mm thick even slices, discarding the tomato core and onion root and stem ends. Set sliced veggies aside on a small corner of the board. Pat tomato slices lightly with an unbleached paper towel to remove excess juice that would cause soggy bread.
Step 1
step1:Prep Sandwich Vegetables
2

Toss Gyro With Spices

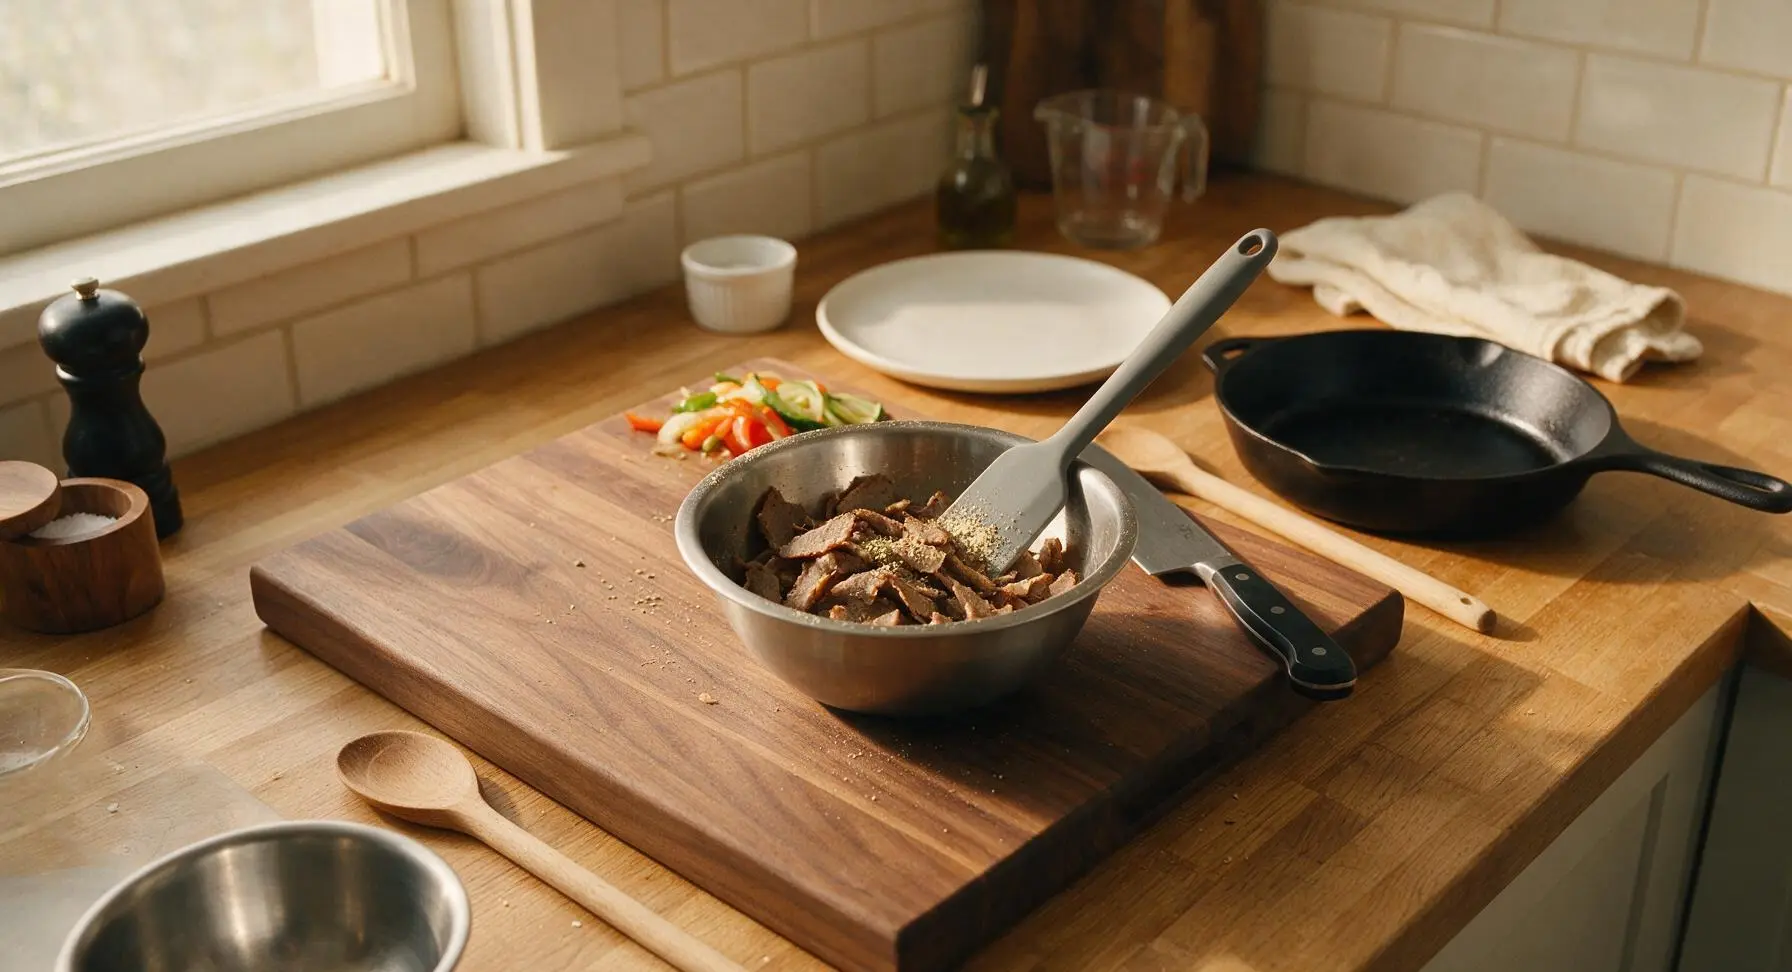
Place the pre-sliced gyro meat in the small brushed stainless steel mixing bowl. Add dried oregano and garlic powder, tossing gently with the silicone spatula to evenly coat every slice of meat. Break up any large clumps of stacked meat so slices are loose and evenly seasoned.
Step 2
step2:Toss Gyro With Spices
3

Butter Bread Slices

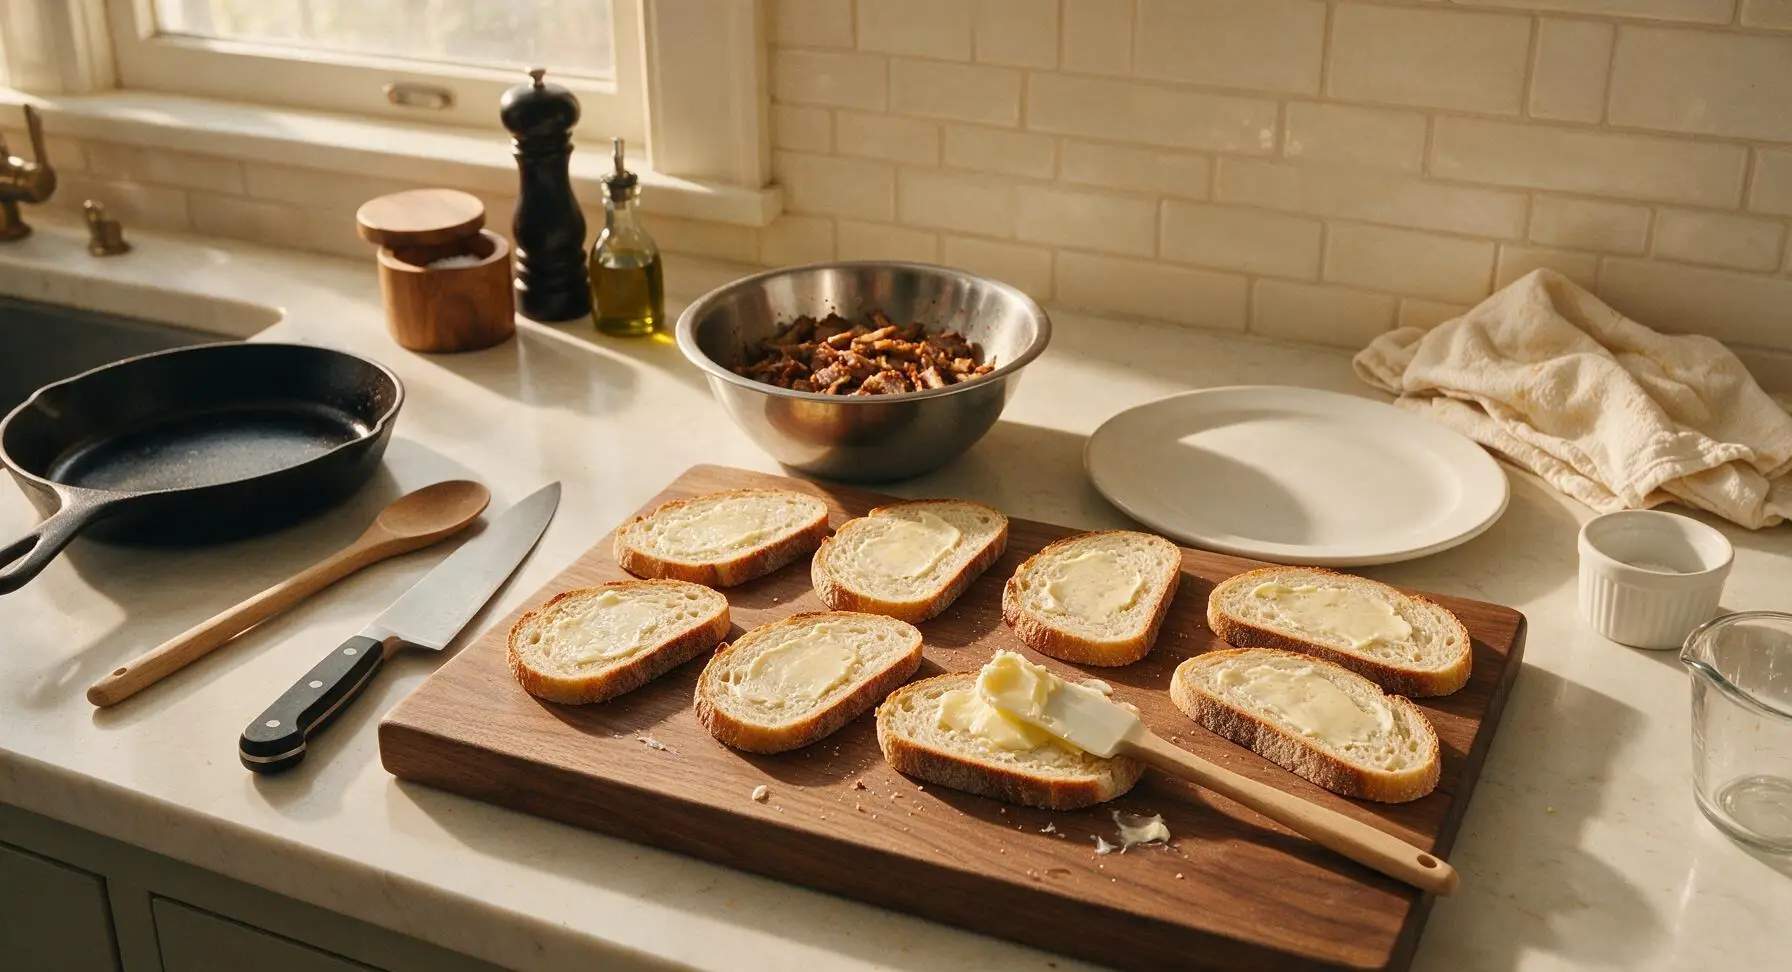
Lay all 8 sourdough slices flat on the acacia cutting board. Use the silicone spatula to spread 1 teaspoon of softened butter evenly across one entire side of each bread slice, making sure to cover all the way to the crust edges for even, crisp toasting. The buttered sides will face outward when the sandwiches are assembled.
Step 3
step3:Butter Bread Slices
4

Layer Sandwich Fillings

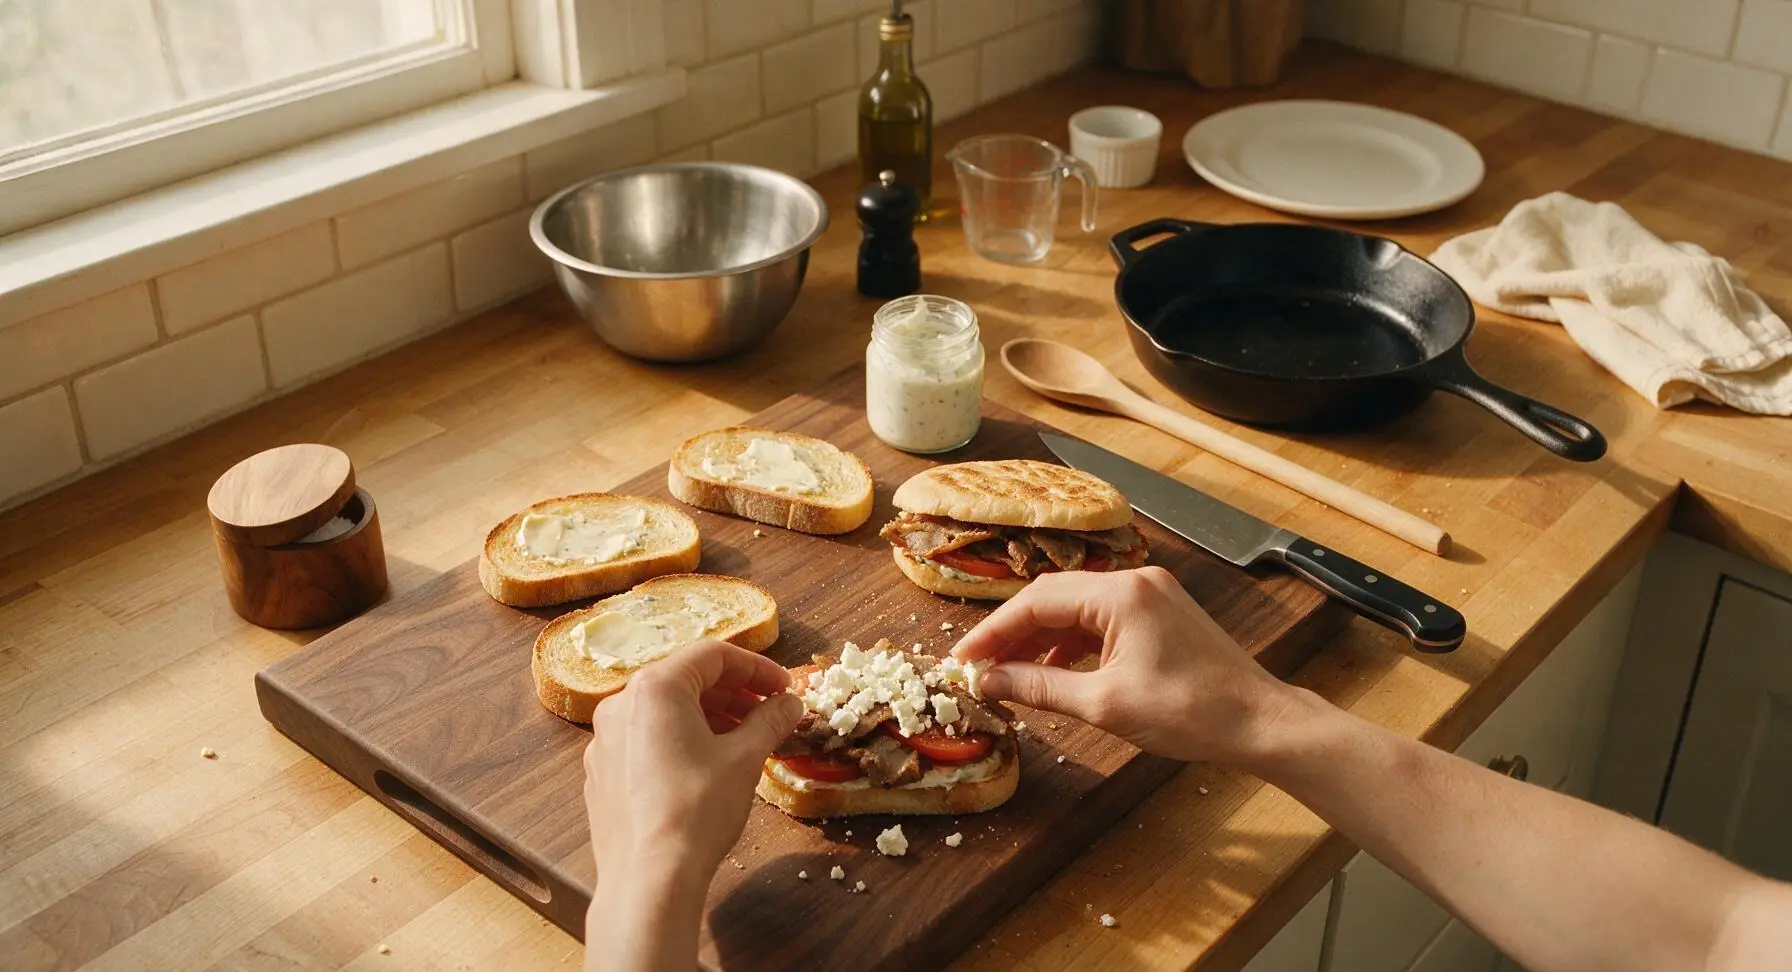
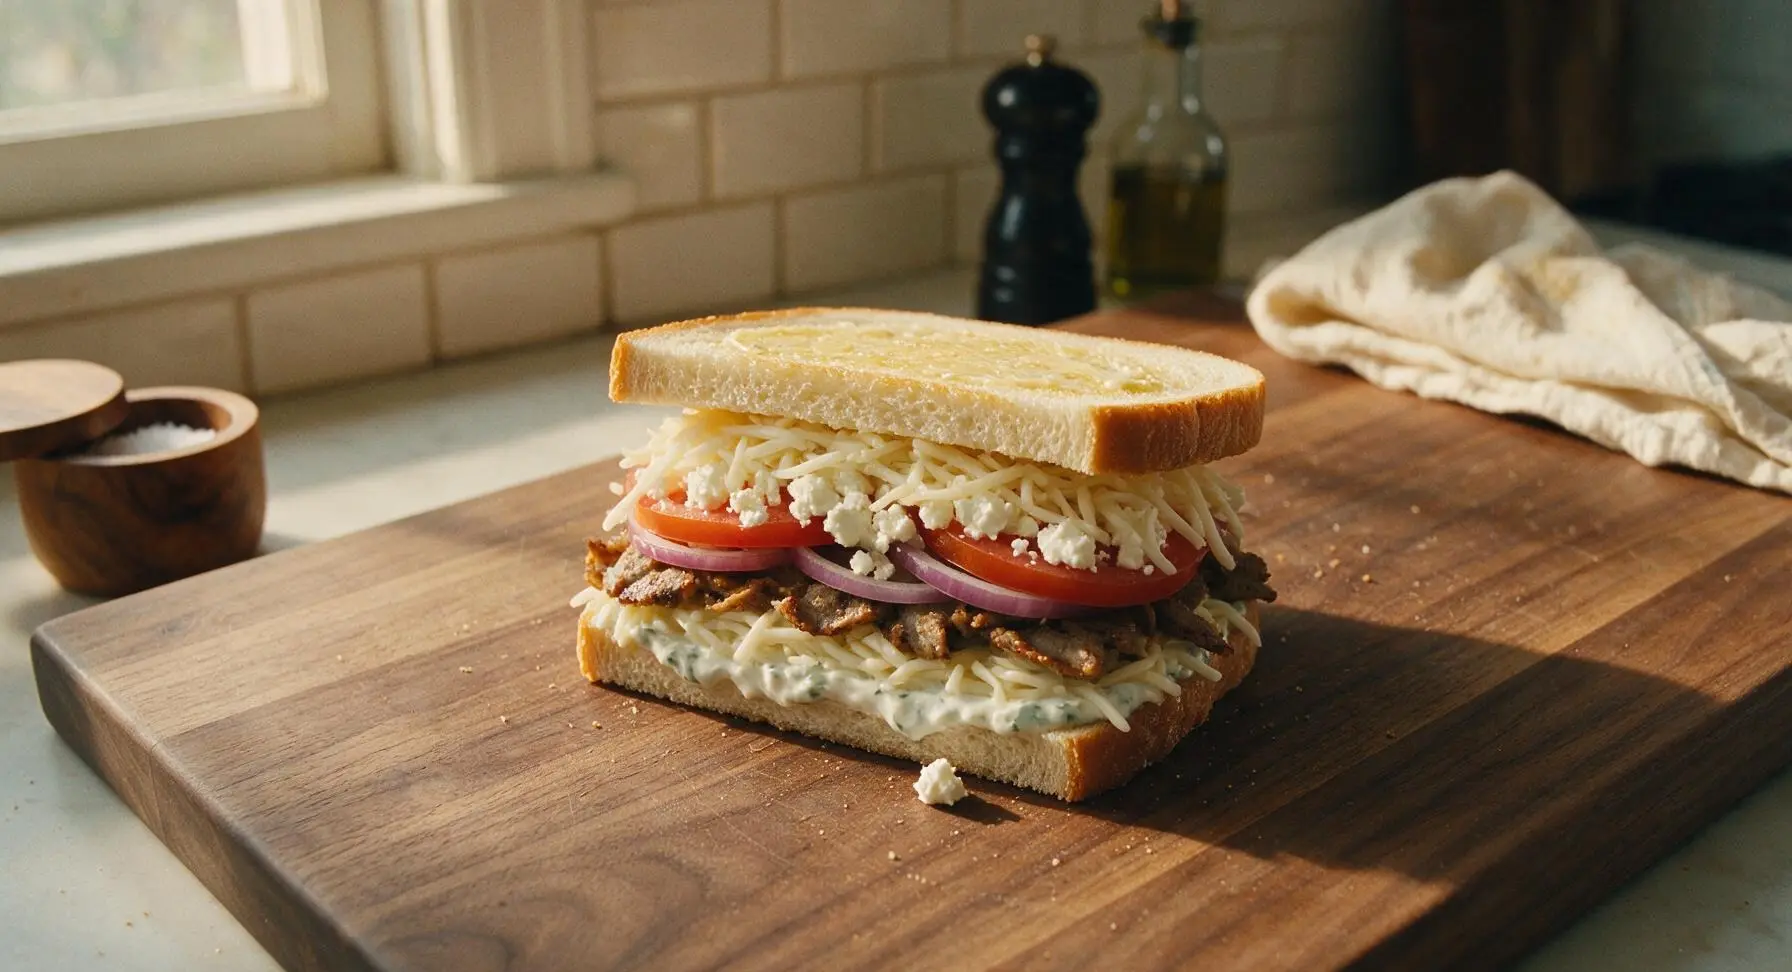
Flip 4 of the bread slices so the buttered side faces down on the cutting board. Build each sandwich in even layers spread to the edges in this order: 1 tablespoon tzatziki, 1/4 of the shredded mozzarella, 1/4 of the seasoned gyro meat, 3-4 slices of red onion and 2 slices of tomato, 1/4 of the crumbled feta, then the remaining 1/4 of mozzarella. Top with the second bread slice, buttered side facing up, pressing gently to compact the layers so the sandwich holds together while cooking.
Step 4
step4:Layer Sandwich Fillings
Step 4
step4:Layer Sandwich Fillings
5

Preheat Cooking Skillet

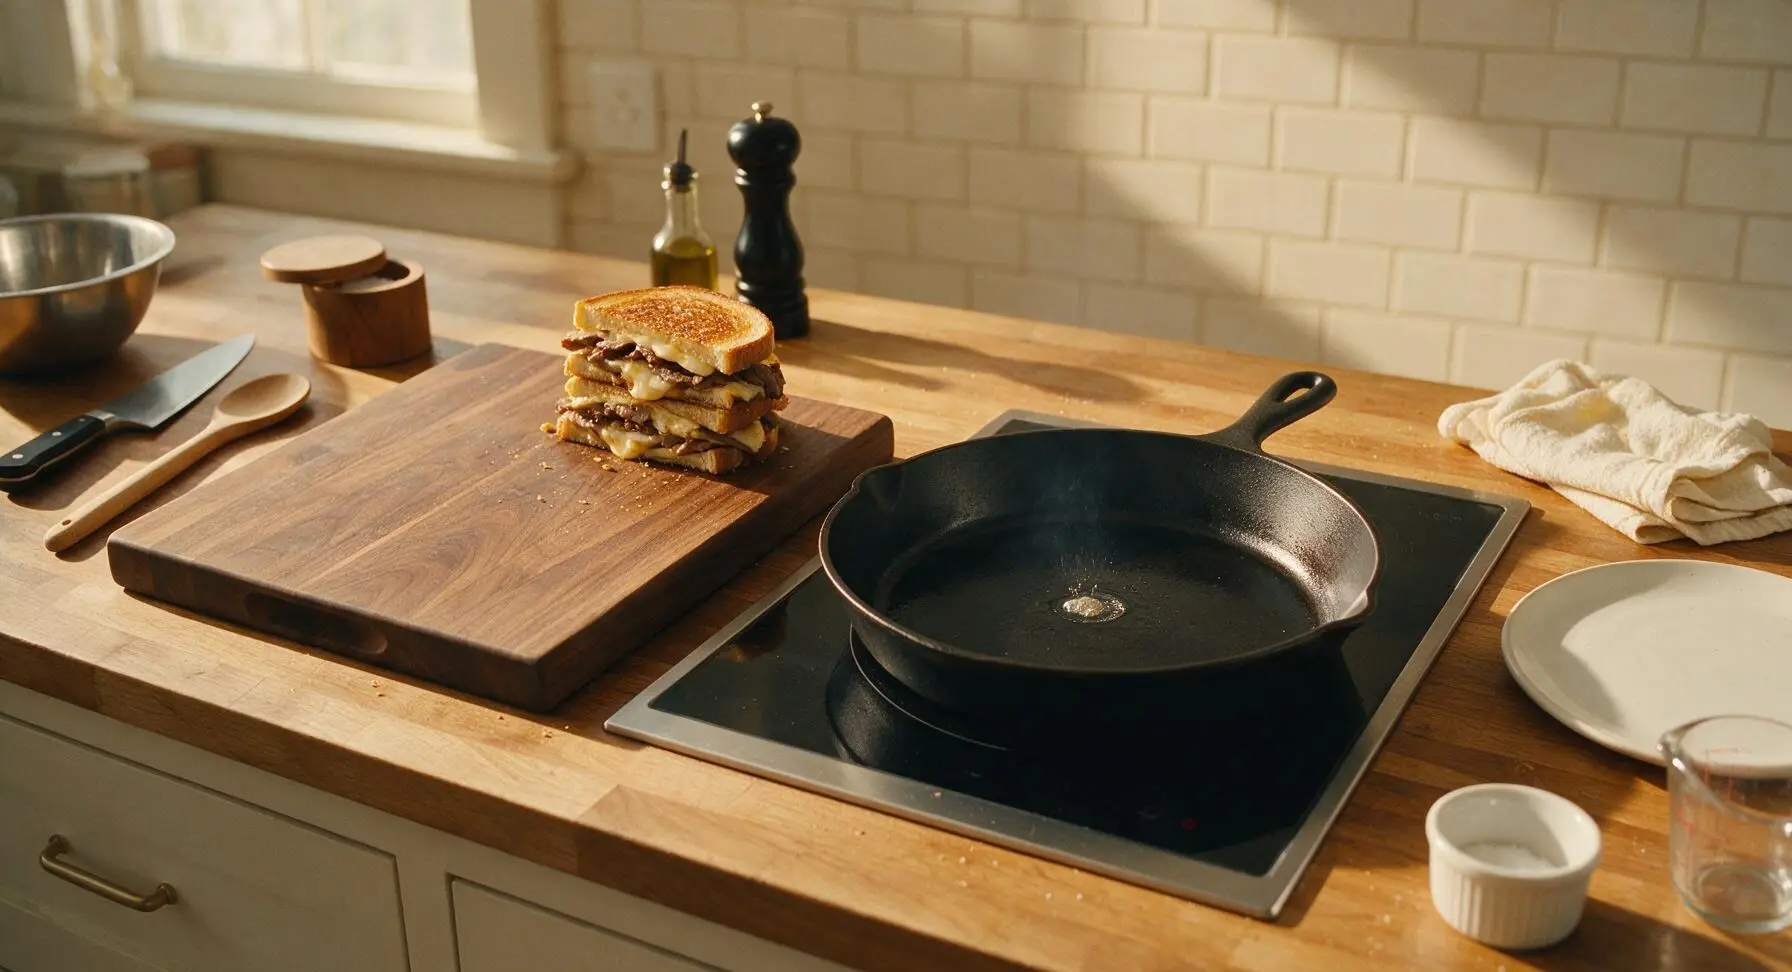
Place the 12-inch matte black carbon steel skillet on the flush-mounted induction cooktop over medium-low heat (325°F / 160°C). Let the pan preheat for 3 full minutes, until a drop of water flicked onto the surface dances across the pan and evaporates in 2-3 seconds. Do not use higher heat, as this will burn the bread before the cheese fully melts.
Step 5
step5:Preheat Cooking Skillet
6

Cook First Sandwich Side

Carefully place 2 sandwiches in the preheated skillet, leaving 2cm of space between them to allow even heat flow. Cook for 4-5 minutes, until the bottom bread slice is deep golden brown and crispy, and the cheese along the sandwich edges is just starting to bubble and melt. Do not press down on the sandwiches while cooking, as this will squeeze out filling and create flat, dry bread.
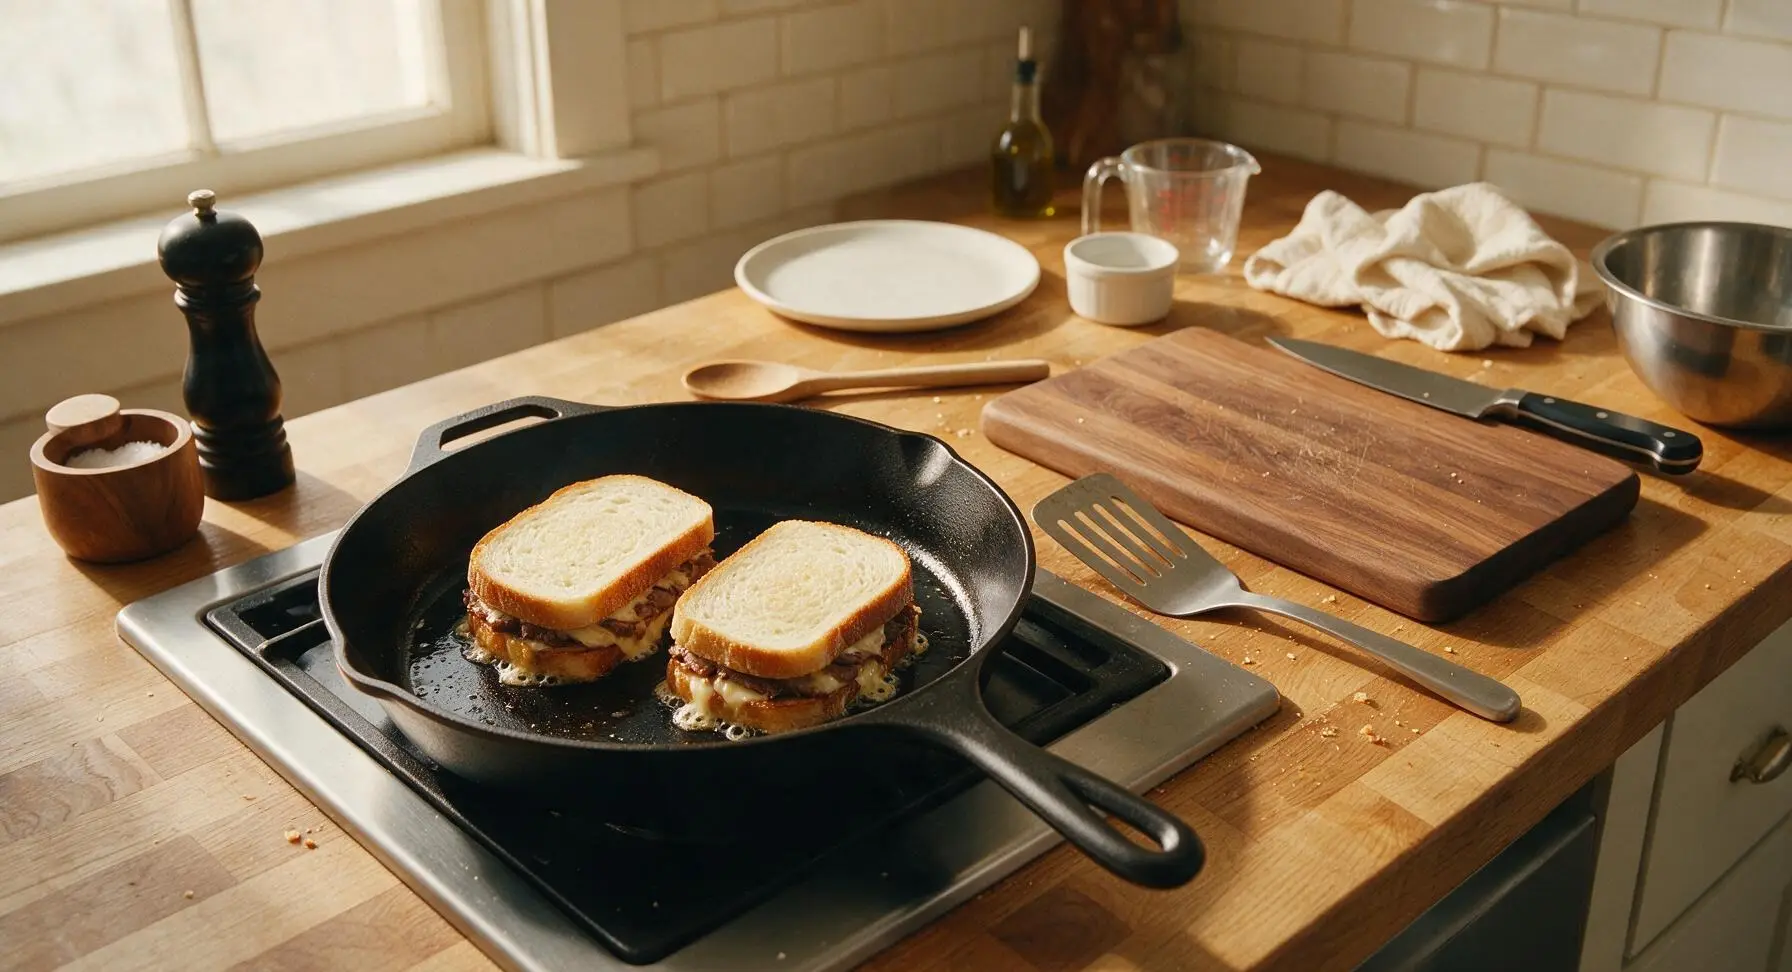
Step 6
step6:Cook First Sandwich Side
7

Flip And Cook Second Side

Slide the stainless steel turner fully under each sandwich to support the entire bottom layer and prevent filling from falling out, then flip gently. Cook the second side for another 3-4 minutes, until equally golden brown and crispy, and all cheese is fully melted and pulls into thin strings when you gently lift a corner of the bread. Transfer cooked sandwiches to the matte cream ceramic dinner plate, then repeat the cooking process with the remaining 2 sandwiches.
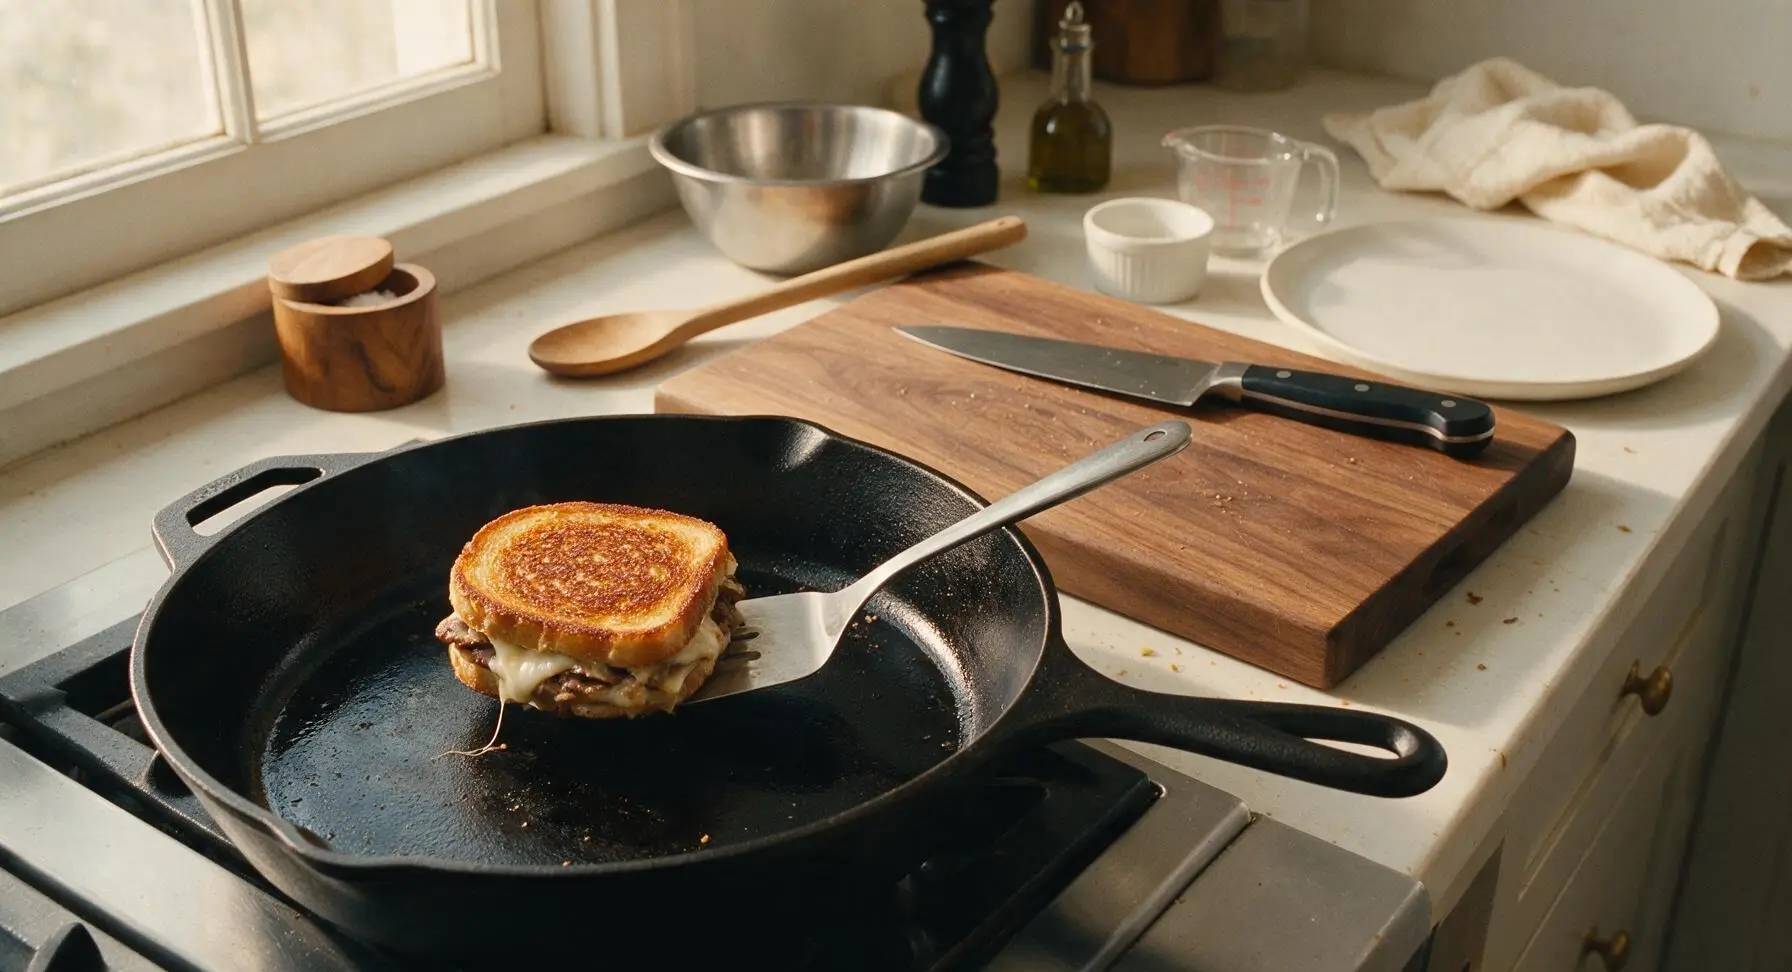

Step 7
step7:Flip And Cook Second Side
Step 7
step7:Flip And Cook Second Side
8

Rest Slice And Serve

Let all cooked sandwiches rest on the plate for 2 minutes to allow the cheese to set slightly, so it does not run out when cut. Slice each sandwich diagonally with the chef’s knife, arrange on the plate, and serve with extra tzatziki in the small white ramekin for dipping, sprinkled with a light pinch of extra oregano if desired.
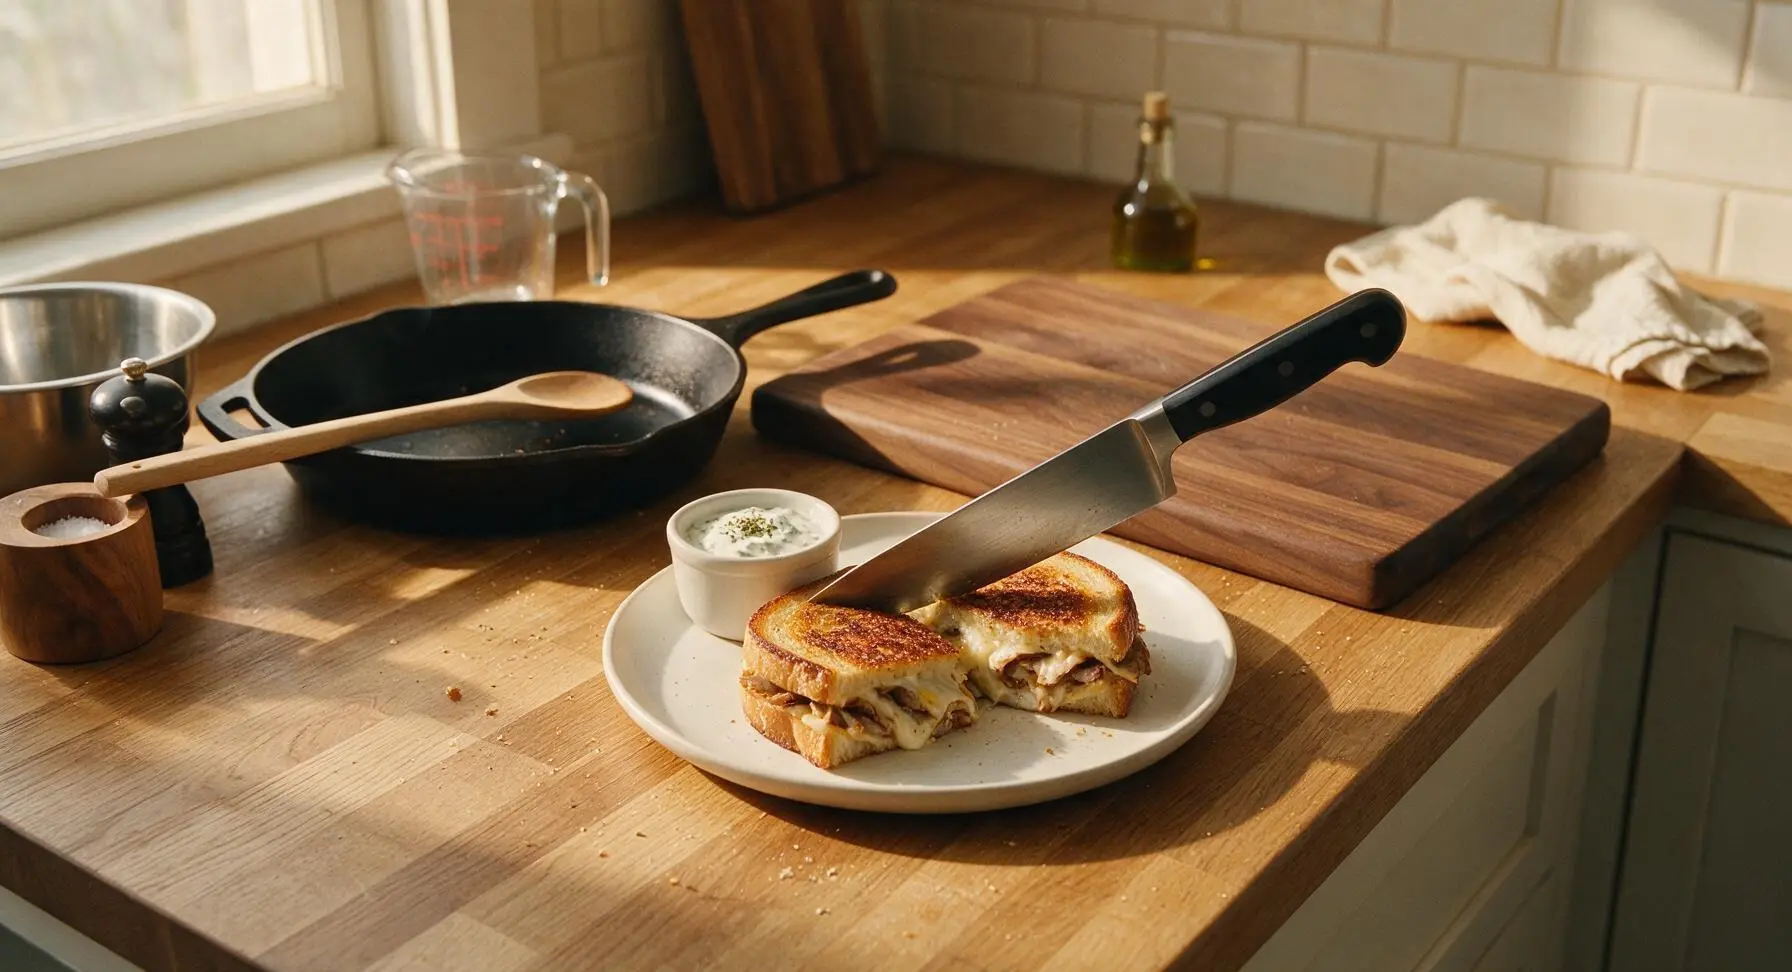
Step 8
step8:Rest Slice And Serve

Tips

1.Pat tomato slices dry thoroughly before adding them to sandwiches: excess tomato juice will soak through the bread layers and create a soggy, mushy crust instead of the crisp, buttery texture that makes grilled cheese great.
2.Keep cooking heat at medium-low: higher heat will quickly burn the butter and bread exterior before the cheese fully melts and the gyro meat warms all the way through, leading to a charred outside and cold, un-melted center.
3.Don’t skip the 2-minute rest after cooking: this short pause lets the melted cheese set slightly so it doesn’t gush out onto your plate with the first bite, and gives the flavors of gyro, feta, and tzatziki time to meld together.


✨ You May Also Like

Main Course
🍜 United Kingdom

A showstopping classic of tender seared beef, savory mushroom duxelles, and crisp prosciutto wrapped in flaky golden puff pastry, baked to juicy perfection.

⏱️ 2 hours 1Main Course ★ 4.7
Main Course
🍜 India

Tender charred marinated chicken simmered in a rich, spiced creamy tomato sauce, this iconic Anglo-Indian curry pairs perfectly with basmati rice or warm naan.

⏱️ 50 minuteMain Course ★ 4.6
Main Course
🍜 Thailand

Classic tangy, sweet, and savory Thai stir-fried rice noodles with shrimp, tofu, and crunchy garnishes, balancing all five core Thai flavor profiles.

⏱️ 30 minuteMain Course ★ 4.5
Main Course
🍜 United Kingdom

Crispy golden beer-battered cod and fluffy double-fried chips, served with tangy tartar sauce and malt vinegar: the timeless, beloved British pub comfort classic.

⏱️ 45 minuteMain Course ★ 4.7
Main Course
🍜 Mexico

Smoky, chile-marinated pork tacos with caramelized pineapple, fresh cilantro, and lime: a beloved classic Mexican street food perfect for casual summer gatherings.

⏱️ 1 hour 45Main Course ★ 4.8
Main Course
🍜 United States

Crunchy Fritos corn chips layered with savory beef chili and melted cheddar, topped with cool, zesty fixings for a beloved, cozy Tex-Mex comfort food.

⏱️ 35 minuteMain Course ★ 4.8

Gyro Grilled Cheese:Frequently Asked Questions

1.Can I use regular sandwich bread instead of thick-cut sourdough for this gyro grilled cheese? ▾
You absolutely can, but thick-cut sourdough is ideal here—its sturdy crumb and subtle tang stand up to juicy gyro meat, creamy tzatziki, and melted cheese without turning soggy mid-bite. If you use regular sandwich bread, pick a denser, thick-sliced variety, and give it a quick light toast before assembling to cut down on sogginess.
2.Do I have to use pre-cooked gyro meat, or can I use homemade gyro meat for this sandwich? ▾
Pre-cooked thinly sliced gyro meat is a huge time-saver, but homemade works beautifully too! If using homemade, make sure it’s sliced paper-thin and warmed fully before assembling so it doesn’t slow down cheese melt. Crisp the edges slightly in a dry pan first for that classic takeout gyro texture that pairs perfectly with crispy bread.
3.My tzatziki always makes grilled cheese soggy—how do I prevent that with this recipe? ▾
Great question! The key is to avoid spreading tzatziki directly against the inner bread surface. Instead, layer it between slices of cheese and gyro meat, so the cheese acts as a moisture barrier. Pat extra-watery tzatziki lightly with a paper towel first, and stick to 2 to 3 tablespoons per sandwich for plenty of flavor without sogginess.
4.Can I substitute the feta or low-moisture mozzarella with other cheeses? ▾
You can swap them, but stick to cheeses with good melt and complementary flavor! Low-moisture mozzarella gives that perfect stretchy melt without extra moisture, while feta adds briny, tangy depth. If you need a swap, use provolone for mozzarella, and soft goat cheese crumbles for feta—skip high-moisture fresh mozzarella, as it causes sogginess.
5.What veggies work best to add classic gyro flavor to this grilled cheese? ▾
Stick to classic gyro veggie toppings to keep flavors authentic! Thinly sliced red onion, firm seeded tomato slices, shredded crisp romaine, and thin cucumber slices work perfectly. Remember to seed tomatoes and pat all veggies dry before adding, so excess moisture doesn’t turn your crispy, buttery bread soggy as the sandwich cooks.
6.How do I get a perfectly crispy, buttery bread exterior without burning the cheese before it melts? ▾
Cook your sandwich low and slow over medium-low heat! Spread softened (not melted) butter evenly all the way to the edges of the outer bread slices, then cook 3-4 minutes per side, pressing gently with a spatula as it cooks. If bread browns too fast, turn heat down and cover the pan for 1 minute to trap heat and melt cheese evenly.
7.Can I make this gyro grilled cheese in an air fryer instead of on the stovetop? ▾
Absolutely! Assemble your sandwich as normal, butter the outer bread slices, then air fry at 370°F for 4 minutes, flip carefully, and air fry 3-4 more minutes until bread is crispy and cheese is fully melted. Keep a close eye on it during the last minute, as air fryer heat varies widely, to avoid burning the delicate bread edges.
8.Is there a way to make this gyro grilled cheese vegetarian? ▾
Definitely! Swap the pre-cooked lamb/beef gyro meat for plant-based gyro slices (most major grocery stores carry these now) or pan-crisped seitan tossed in classic gyro seasoning: oregano, garlic powder, cumin, black pepper, and a pinch of cinnamon. Keep all the cheese, tzatziki, and veggie fillings the same for that familiar, cozy gyro flavor.
9.How should I warm up pre-cooked gyro meat before adding it to the sandwich? ▾
It’s quick and easy! Heat the thin gyro slices in a dry skillet over medium heat for 1-2 minutes per side, just until edges get slightly crispy and the meat is warmed all the way through. You won’t need extra oil, since the meat has enough of its own fat. Skip the microwave, as that makes slices rubbery instead of crisp-edged.
10.Can I prep these gyro grilled cheeses ahead of time for meal prep or a party? ▾
I don’t recommend fully assembling them ahead of time, as tzatziki and veggie moisture will make the bread soggy after a few hours. Instead, prep all components ahead: crisp the gyro meat, shred cheeses, slice and pat veggies dry, and have bread ready to go. Assemble and cook fresh right before serving, which only takes 8-10 minutes per batch.
11.Why do you recommend low-moisture mozzarella instead of fresh mozzarella? ▾
Fresh mozzarella is packed with whey and extra moisture, which leaches out as the sandwich cooks, leaving you with soggy bread and a watery filling. Low-moisture mozzarella melts into that perfect stretchy, gooey texture without releasing extra liquid, and its mild, creamy flavor lets spiced gyro, tangy feta, and tzatziki shine.
12.What kind of tzatziki works best for this recipe—store-bought or homemade? ▾
Both work great, as long as you pick a thick, plain tzatziki! Skip runny, overly diluted store-bought versions, or strain thin tzatziki through a fine mesh sieve for 10 minutes to remove excess whey before using. Homemade tzatziki made with thick Greek yogurt, drained grated cucumber, garlic, and dill gives the brightest, tangiest flavor.
13.Can I add extra seasonings to bump up the classic gyro flavor? ▾
Absolutely! A light sprinkle of dried oregano, tiny pinch of ground cumin, and dash of garlic powder on the gyro meat as you warm it up will amp up that signature gyro seasoning. You can also add a tiny squeeze of fresh lemon juice to the tzatziki layer for bright zing, just don’t add too much liquid to avoid sogginess.
14.How do I keep crumbled feta from falling out of the sandwich as it cooks? ▾
Great question! Crumble your feta into small, even crumbles instead of leaving big chunks, and nestle it between mozzarella layers so the melting mozzarella acts like a glue to hold the feta in place. Don’t overstuff with feta—1/4 cup of crumbles per sandwich is enough for briny, tangy flavor in every bite without messy spills as you flip.
15.Can I adapt this recipe to be dairy-free or vegan? ▾
You can, with a few easy swaps! Use dairy-free shredded mozzarella-style cheese that melts well, swap regular feta for dairy-free feta crumbles, pick a dairy-free tzatziki made with thick coconut yogurt, and use plant-based gyro slices. Spread dairy-free butter or olive oil on the outer bread for crisping, then cook as normal for the same crispy, gooey result.
16.What sides pair best with this gyro grilled cheese? ▾
This rich, tangy sandwich pairs perfectly with light, crisp sides! Classic options include a simple side Greek salad with lemon vinaigrette, crispy seasoned oven fries, tangy pickled pepperoncini for an extra kick, or a cup of lemony chicken orzo soup. Skip heavy, creamy sides, as they’ll overpower the bright gyro flavors and make the meal feel too heavy.
17.Is it better to use butter or mayonnaise on the outside of the bread for crisping? ▾
Both work, but softened unsalted butter gives that classic rich, toasty flavor that pairs perfectly with gyro fillings. If you’re a mayo fan, you can use full-fat mayo for an extra crispy, golden crust—just know it adds a subtle tangy note to the bread exterior. Avoid light mayo or melted butter, as both cause uneven browning and soggy spots.
18.My gyro meat is really fatty—do I need to drain it before adding it to the sandwich? ▾
If your pre-cooked gyro meat releases a lot of excess grease as you crisp it in the pan, yes, pat it lightly with a paper towel before adding it to the sandwich. A little bit of gyro fat adds great, savory flavor, but too much excess grease will soak through bread and make your sandwich greasy instead of crisp, and can cause cheese to slide out as you bite.
19.Can I cook this gyro grilled cheese on a panini press instead of a regular skillet? ▾
A panini press works fantastically for this sandwich! Assemble as normal, butter the outer bread slices, and cook on a preheated press for 4-5 minutes until bread is crispy with deep grill marks and cheese is fully melted. You won’t need to flip it, since the press cooks both sides at once, which is great for making multiple sandwiches quickly for groups.
20.How do I cut and serve this sandwich to keep fillings from spilling out? ▾
Let the cooked sandwich rest for 1 minute after taking it off the heat—this lets the cheese set slightly so it doesn’t gush out when you cut it. Use a sharp serrated knife to cut it diagonally into two triangles, which is easier to hold and eat than straight square cuts. Serve with a small extra ramekin of tzatziki for dipping, if you want extra tang.

Comments (5)

2 days ago

OMG this gyro grilled cheese is a total game changer! I threw this together for a quick weeknight family dinner last night and my husband and two kids devoured it before I even got to make a second sandwich for myself. I used leftover gyro meat from our weekend takeout order and it worked perfectly. That 16 minute cook time is no joke, so easy even on a chaotic school night when we’re all running late to soccer practice.

yesterday

So glad this worked for your busy weeknight, Mia! Using leftover gyro meat is such a smart time-saving hack, I do that all the time at my house too. Next time try serving with a side of cold tzatziki for dipping, it adds the perfect bright tang!

3 days ago

Made this for my Sunday football watch party potluck this past weekend and people would NOT stop hounding me for the recipe. I swapped the regular provolone for smoked provolone and added a sprinkle of dried oregano on the buttered bread before grilling, *chef's kiss*. My only mistake is I should have made double the batch—every last bite was gone by halftime.

2 days ago

Wait that smoked provolone swap sounds insane! I’m making this for our office potluck next week—did you slice the gyro meat super thin or chop it up a little to make it easier to eat?

2 days ago

Love that smoked provolone tweak, Jake! For anyone making this for a crowd, you can cook these on a large electric griddle to knock out 4-5 sandwiches at once and save time. Super thin-sliced meat works best for even layers, no messy falling out when you take a bite!

1 week ago

Added this to my weekly meal prep rotation and I’m never going back! I pre-cooked a big batch of gyro meat and pre-sliced all the cheese on Sunday, so assembling and grilling these sandwiches for weekday lunches took literally 5 minutes each day. They reheat really well on a small panini press too, no soggy sad bread like most pre-made sandwiches. SO good, way better than the boring turkey and cheese I used to pack every single day.

yesterday

Full transparency, I was super skeptical about gyro meat in a grilled cheese—like, who mixes Greek food with classic American grilled cheese? But wow, this combo just works. I was worried the gyro spices would clash with the melty cheese but they complement each other perfectly. I added a few thin slices of red onion and a tiny drizzle of tzatziki inside the sandwich and it was next level. Only reason I’m not giving 5 stars is I wish the recipe noted how hot to keep the pan, I burned my first bread slice a little!

2 hours ago

So happy you gave the combo a chance, Tim! That red onion and tzatziki add-in is such a classic combo, I actually have that listed in the recipe variations section if you want to check out more fun tweaks. Great note on the pan heat—we recommend medium-low to get that crispy bread without burning, I’ll add a clearer note to the instructions to help other folks avoid that mishap!

5 days ago

As a broke college student with basically zero cooking skills, this recipe was so easy to pull off in my tiny dorm kitchen! I grabbed pre-sliced gyro meat from the grocery store deli, a loaf of sourdough, and a pack of provolone from the discount rack, and it still turned out incredible. My roommate stole half my sandwich right off my plate and is already begging me to make it again this weekend before our big study marathon.

3 days ago

Wait hold on, did you make this on a stovetop? I only have a mini George Foreman grill in my dorm (no stovetop access, rip) and I’m wondering if that’ll work instead of a regular pan!

2 days ago

This makes me so happy to hear—this recipe is perfect for new cooks and small kitchens! A George Foreman or mini panini press works absolutely great for this, just keep the heat at medium and check it after 3-4 minutes so the bread doesn’t burn. Hope you and your roommate love round two!



