
Honey Garlic Fried Chicken

title 1
Honey Garlic Fried Chicken
⏱️ cook time 20 minutes
🍽️ servings 4
⚡ Difficulty easy

intro

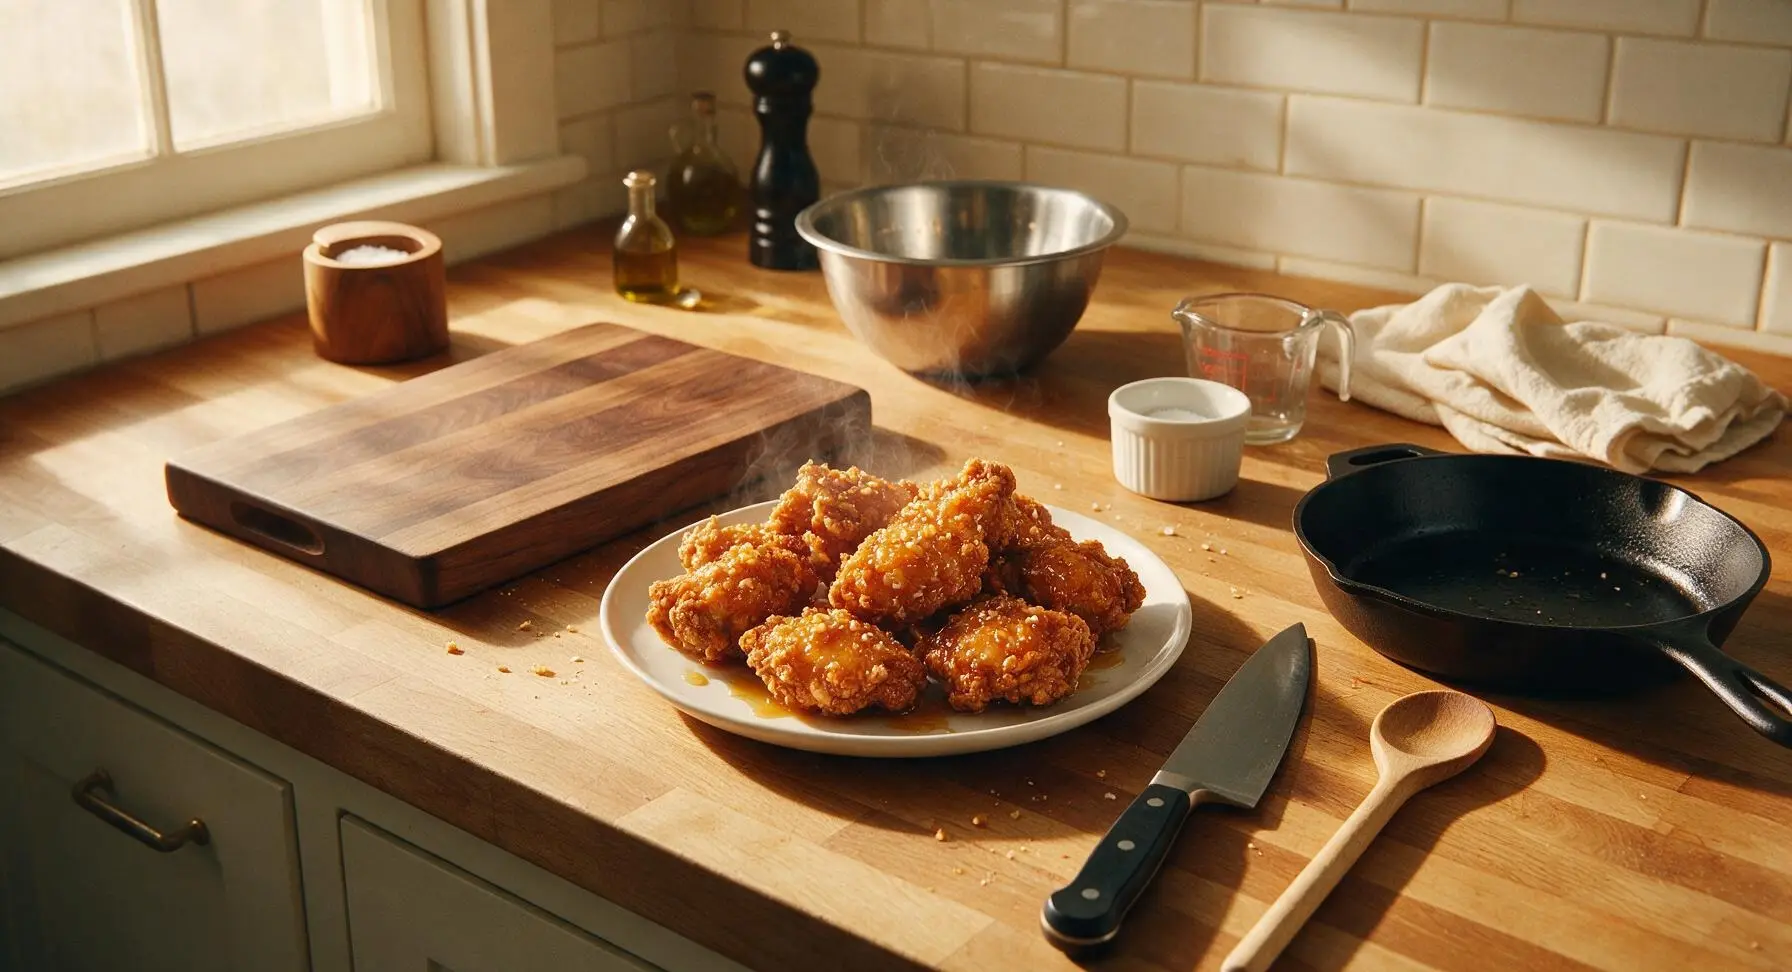
Crispy, juicy fried chicken tossed in a sticky, sweet-savory honey garlic glaze, delivering bold takeout-style flavor perfect for a fast, satisfying weeknight dinner at home.

Ingredients
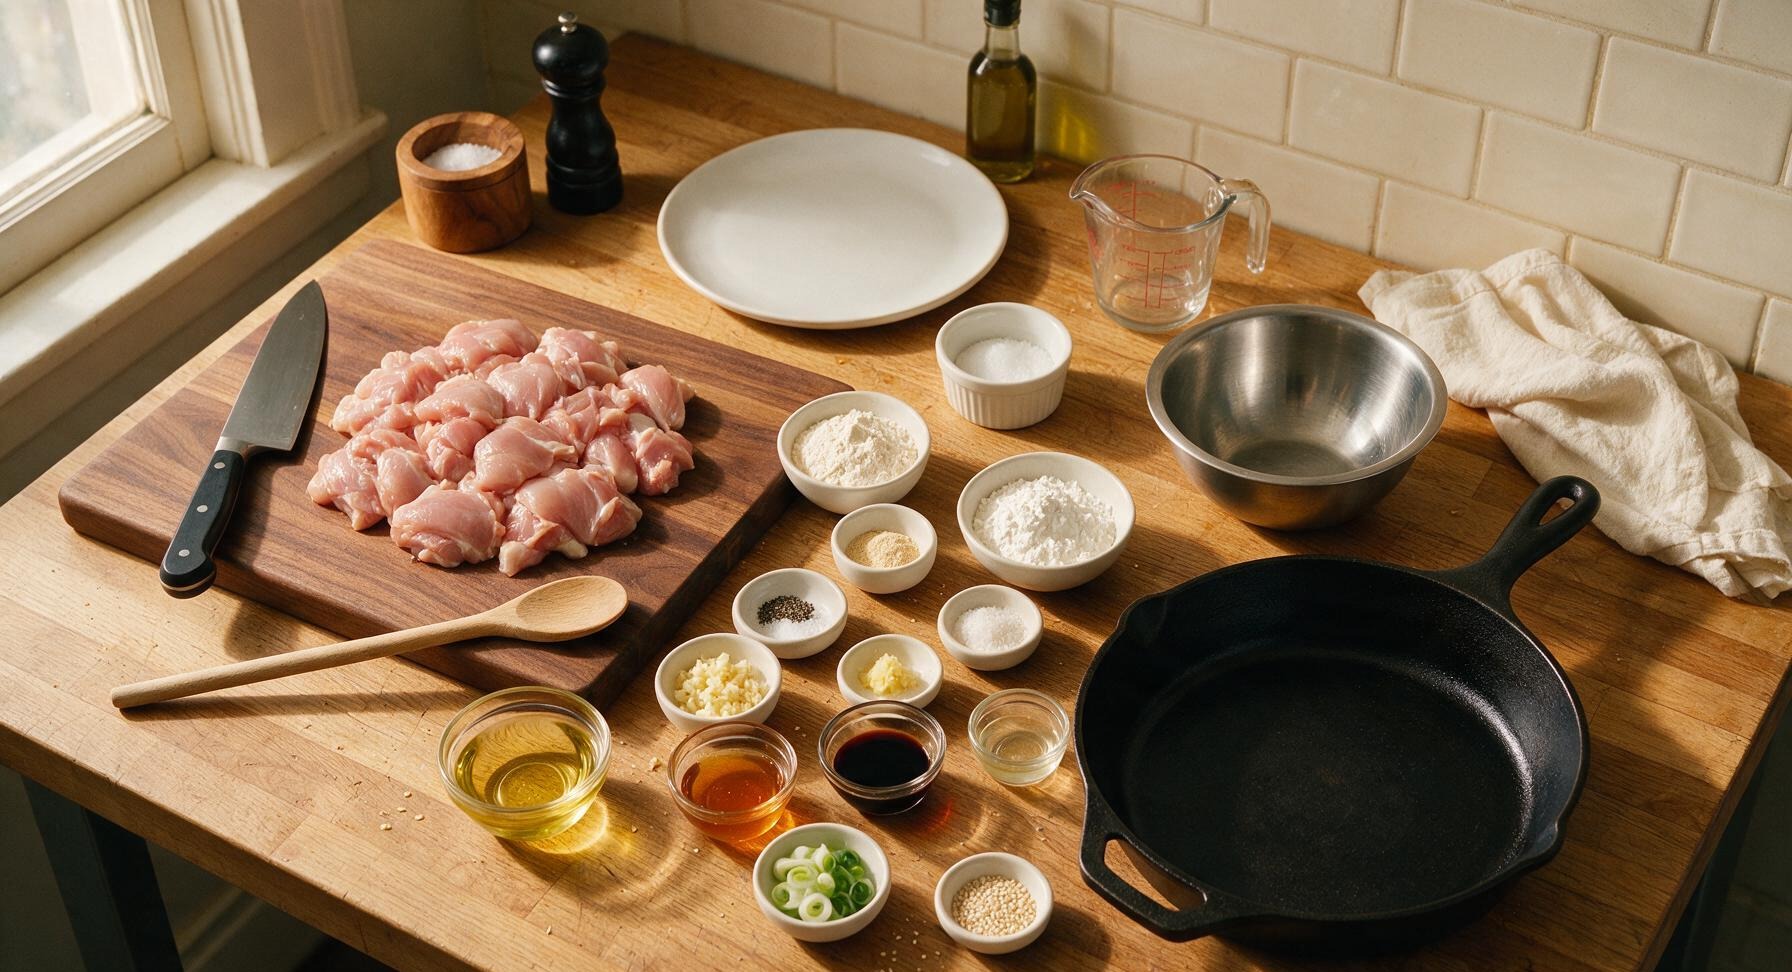
Boneless skinless chicken thighs 600g, cut into 5cm chunks
All-purpose flour 60g
Cornstarch 80g
Garlic powder 1 tsp
Kosher salt 1 tsp
Ground black pepper 1/2 tsp
Canola oil 500ml, for frying
Fresh garlic 8 cloves (3 tbsp), minced
Fresh ginger 1 tsp, finely grated
Raw honey 80ml
Low-sodium soy sauce 3 tbsp
Rice vinegar 1 tbsp
Scallions 2 stalks, thinly sliced (green parts reserved for garnish)
Toasted white sesame seeds 1 tsp, for garnish

Steps

1

Cut Chicken into Chunks

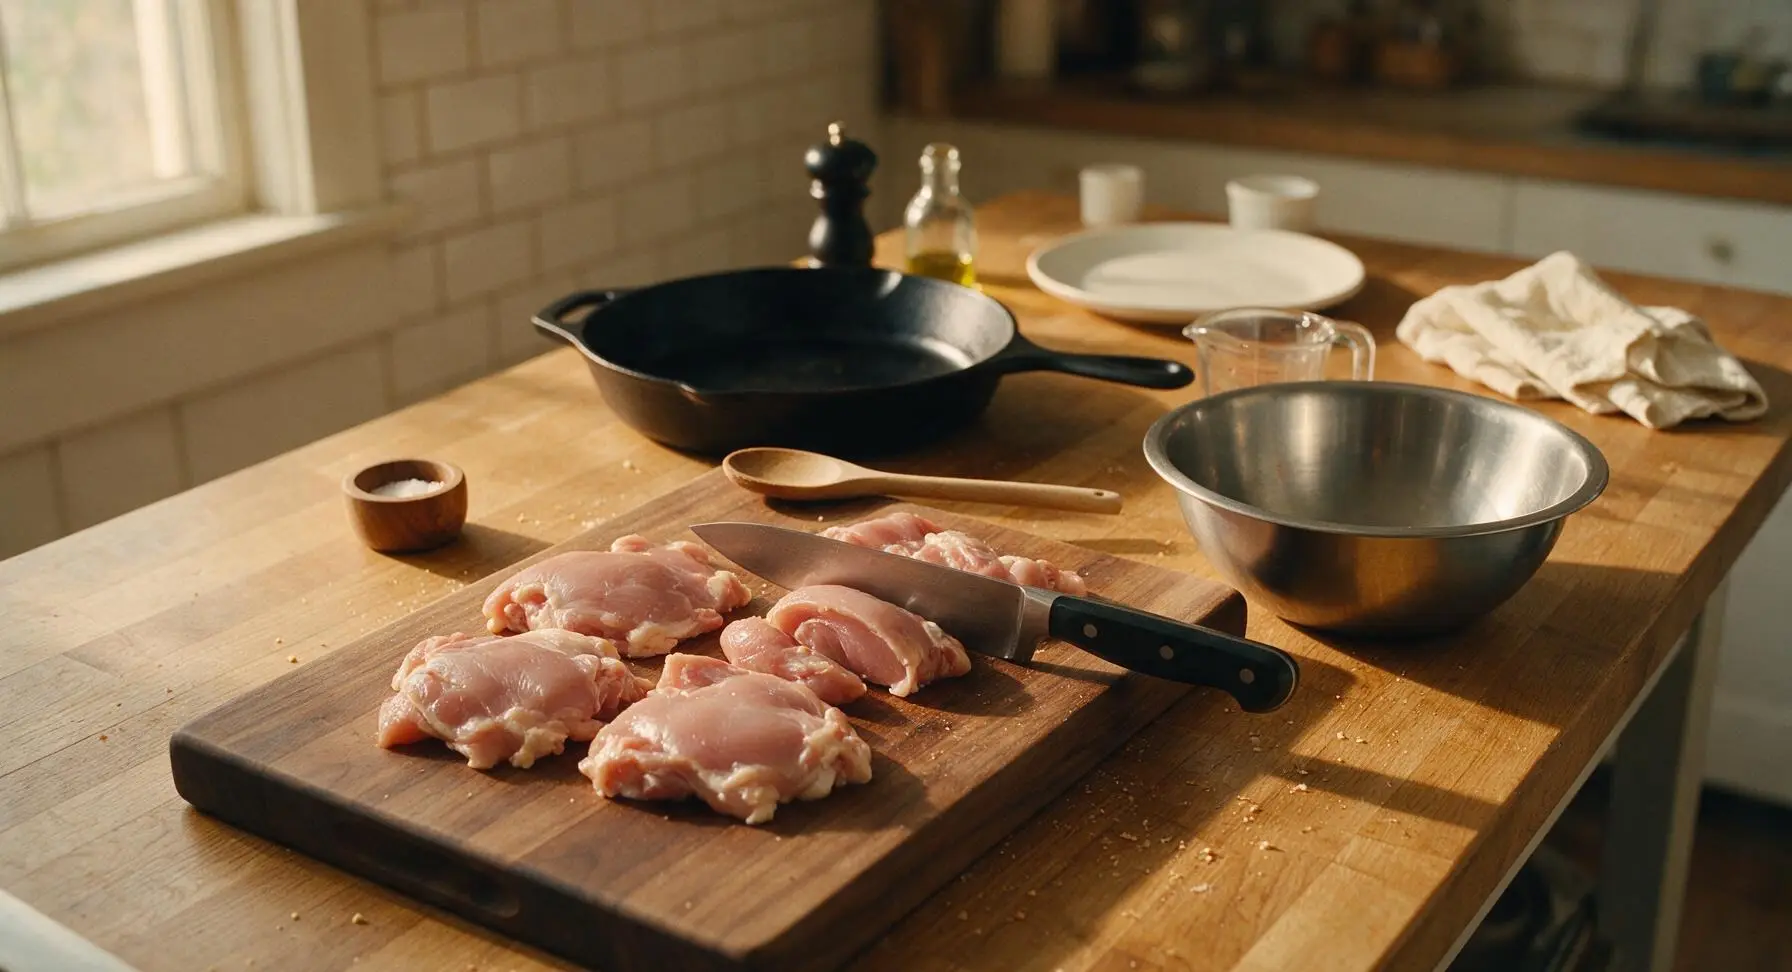
Place 600g boneless skinless chicken thighs on the large walnut cutting board. Use the 8-inch chef knife to trim any excess hard fat or silver skin from the thighs, then cut into uniform 5cm (2-inch) chunks. Uniform size ensures even cooking, so no pieces overcook on the outside while remaining raw in the center. Transfer cut chicken to the medium stainless steel mixing bowl when complete.
Step 1
step1:Cut Chicken into Chunks
2

Coat Chicken in Dredge

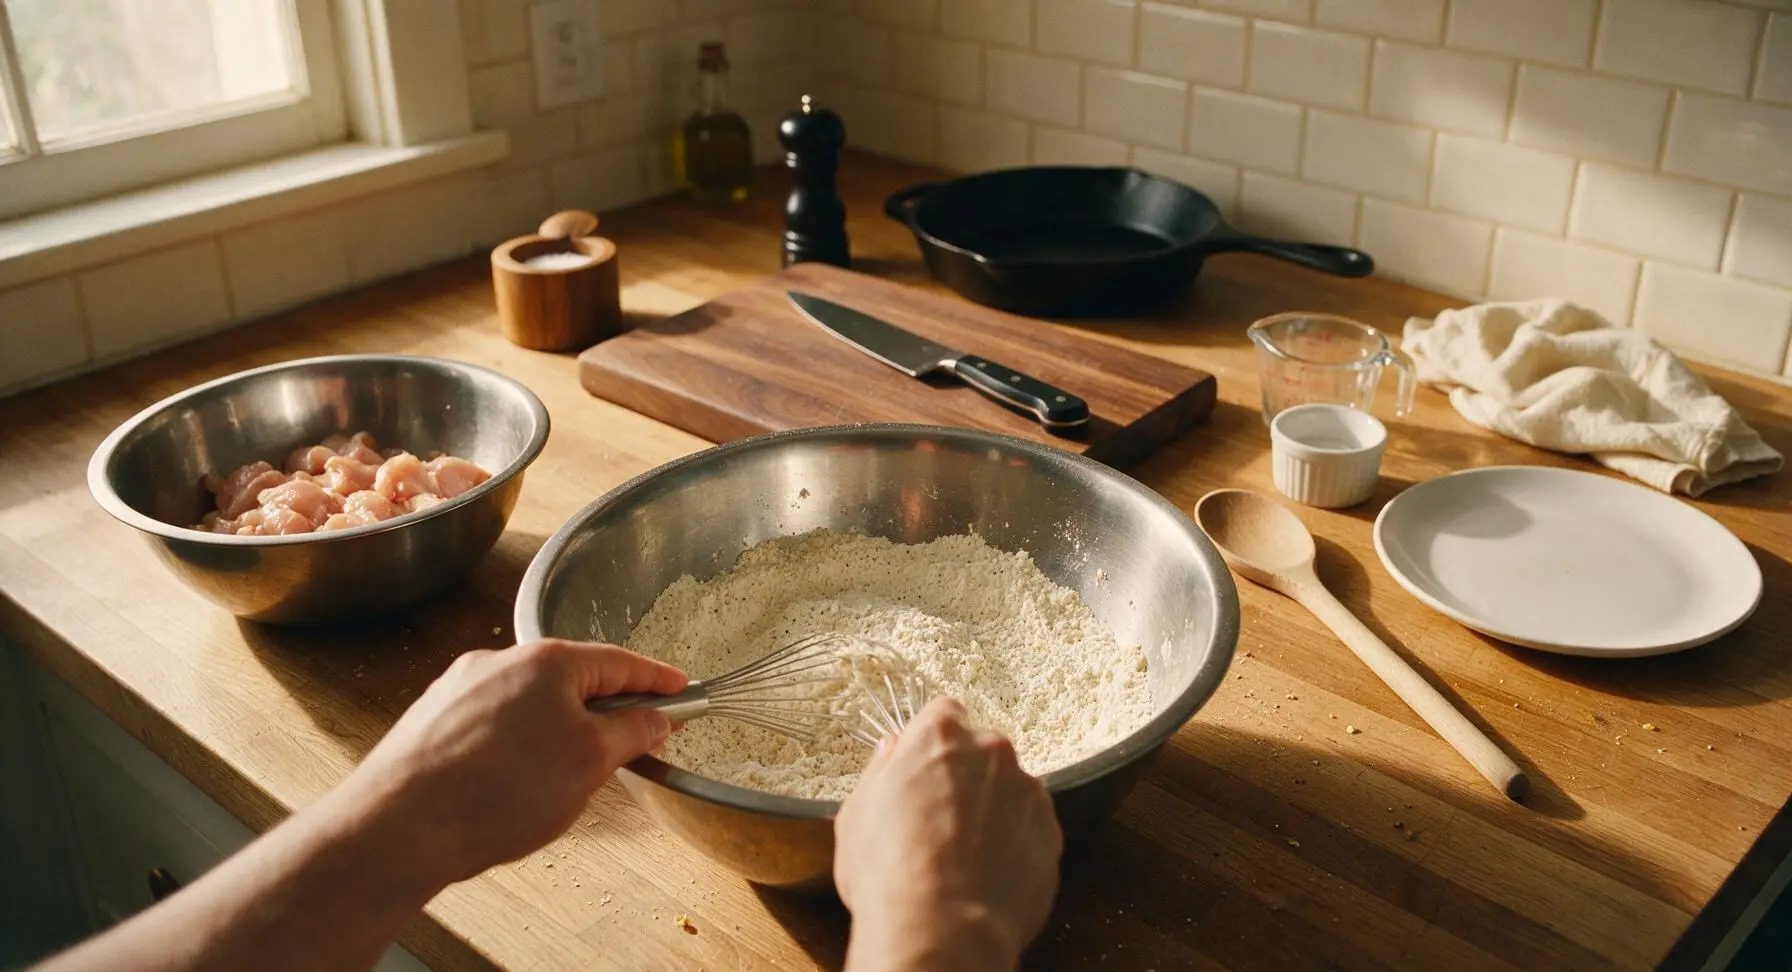
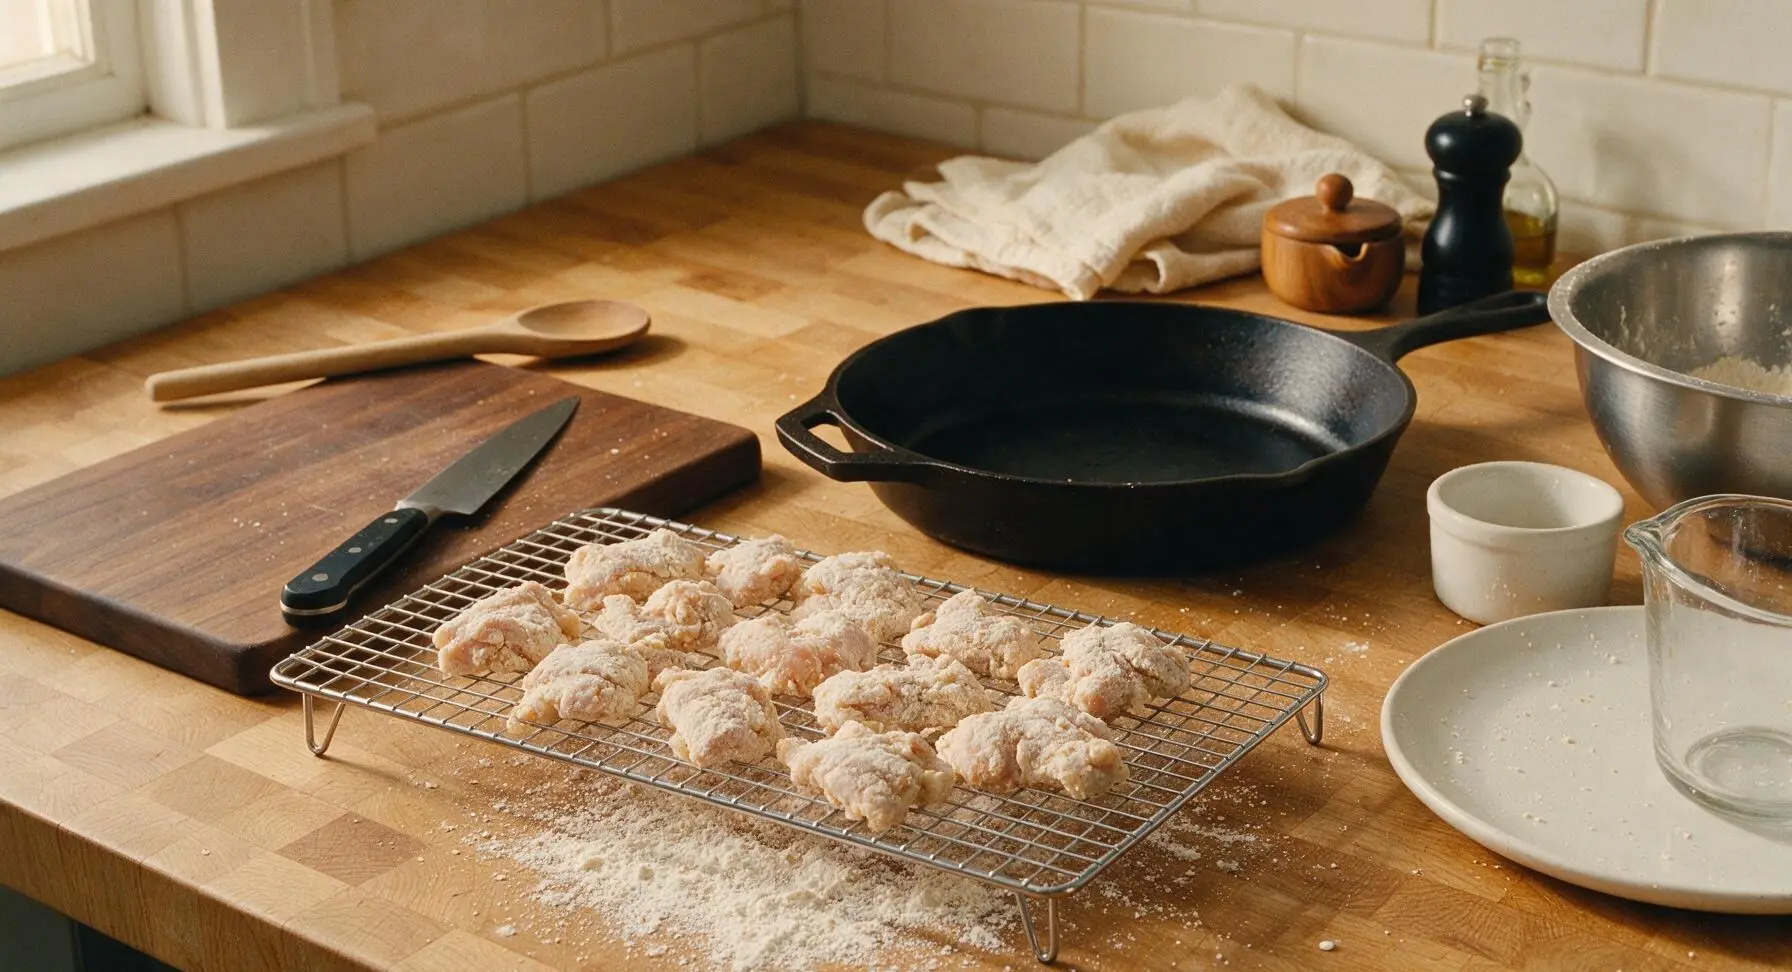
In the large stainless steel mixing bowl, whisk together 60g all-purpose flour, 80g cornstarch, 1 tsp garlic powder, 1 tsp kosher salt, and 1/2 tsp black pepper until fully combined, with no visible clumps of spice. Working in 3 batches, add the cut chicken chunks to the dredge mixture, tossing to coat every piece in a thin, even layer of the flour-cornstarch mix. Set coated chicken on the chrome wire cooling rack for 5 minutes to let the dredge adhere; this prevents the coating from sliding off during frying and creates a crispier crust.
Step 2
step2:Coat Chicken in Dredge
Step 2
step2:Coat Chicken in Dredge
3

Heat Oil for Frying

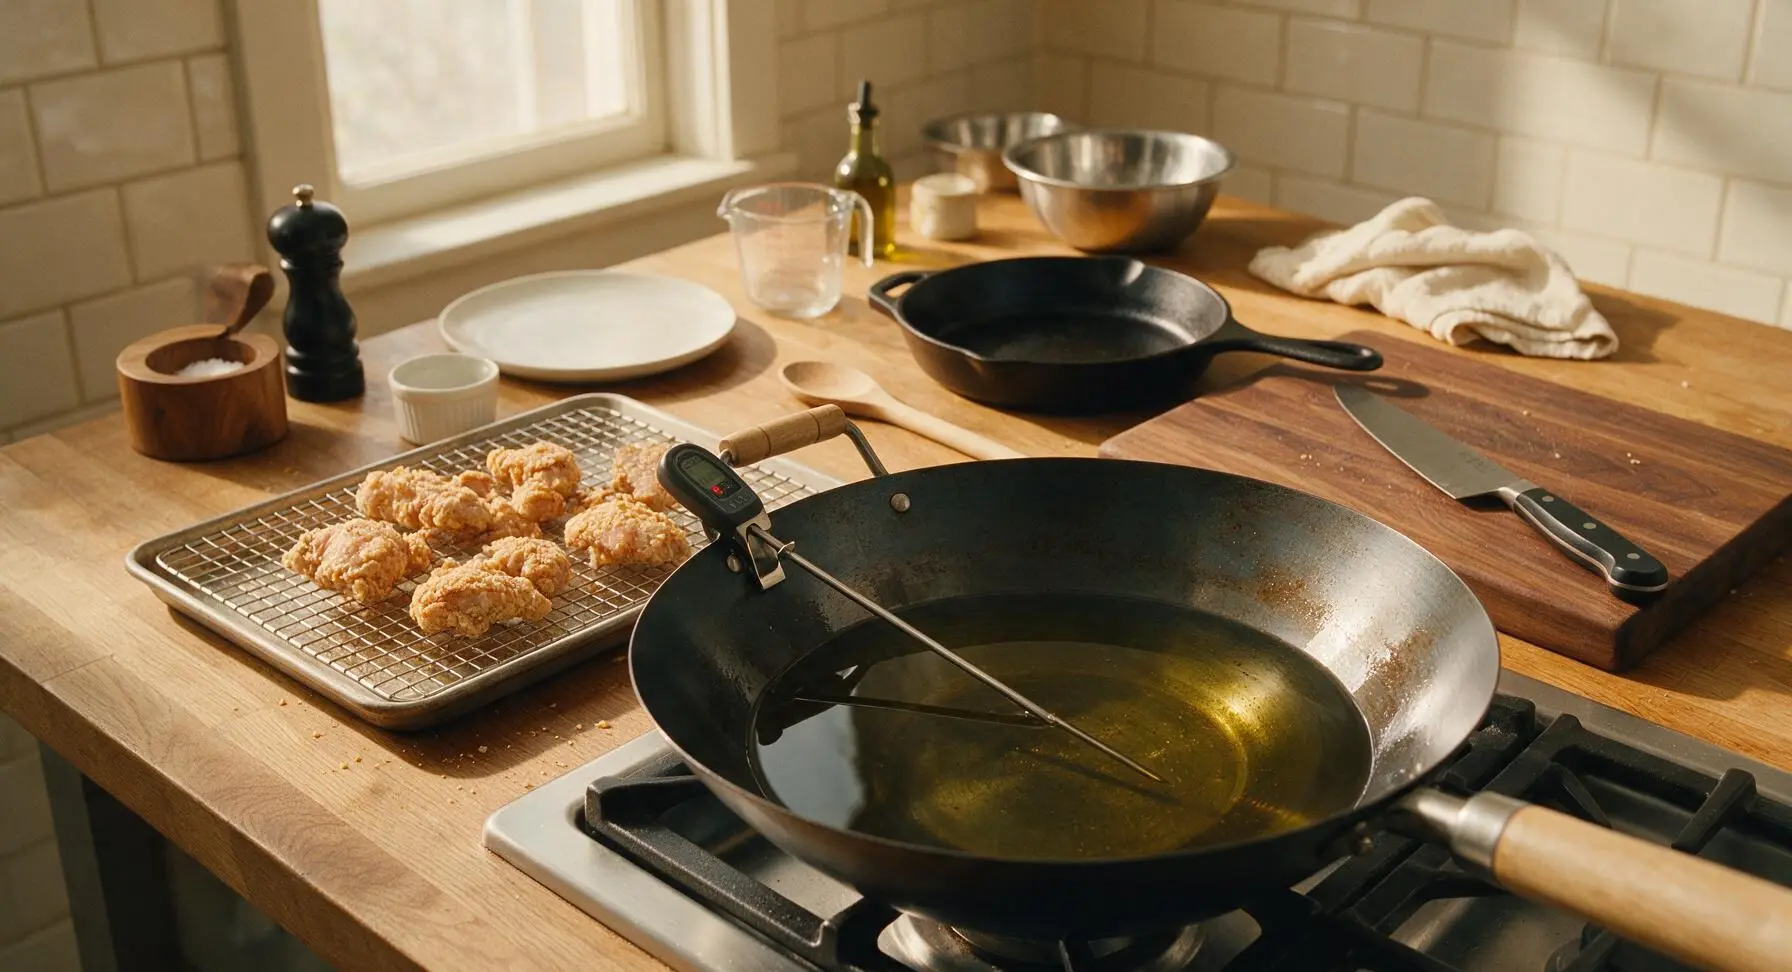
Pour 500ml canola oil into the 10-inch seasoned carbon steel wok set over the stovetop cutout on medium-high heat. Heat the oil to 175C (350F), checking temperature with the digital probe thermometer clipped to the wok edge. Do not let the oil reach smoking point; if temperature climbs above 185C (365F), reduce heat slightly to avoid burning the chicken crust before the interior cooks through.
Step 3
step3:Heat Oil for Frying
4

Fry Chicken Until Crisp

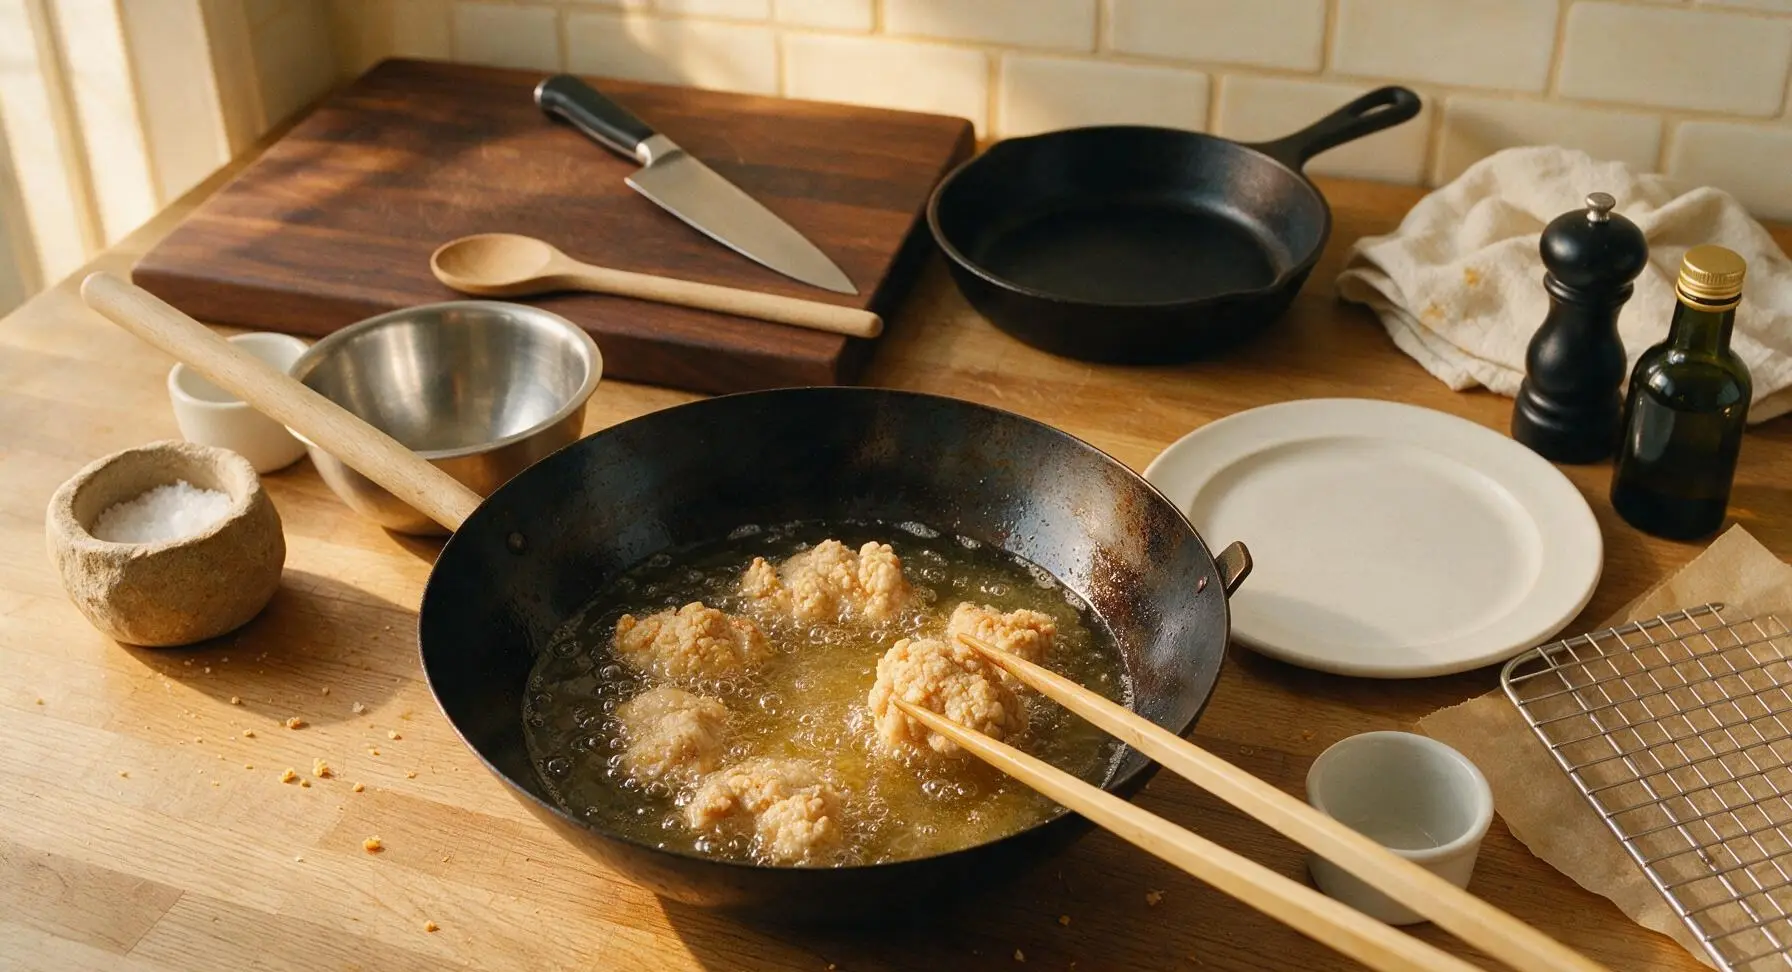
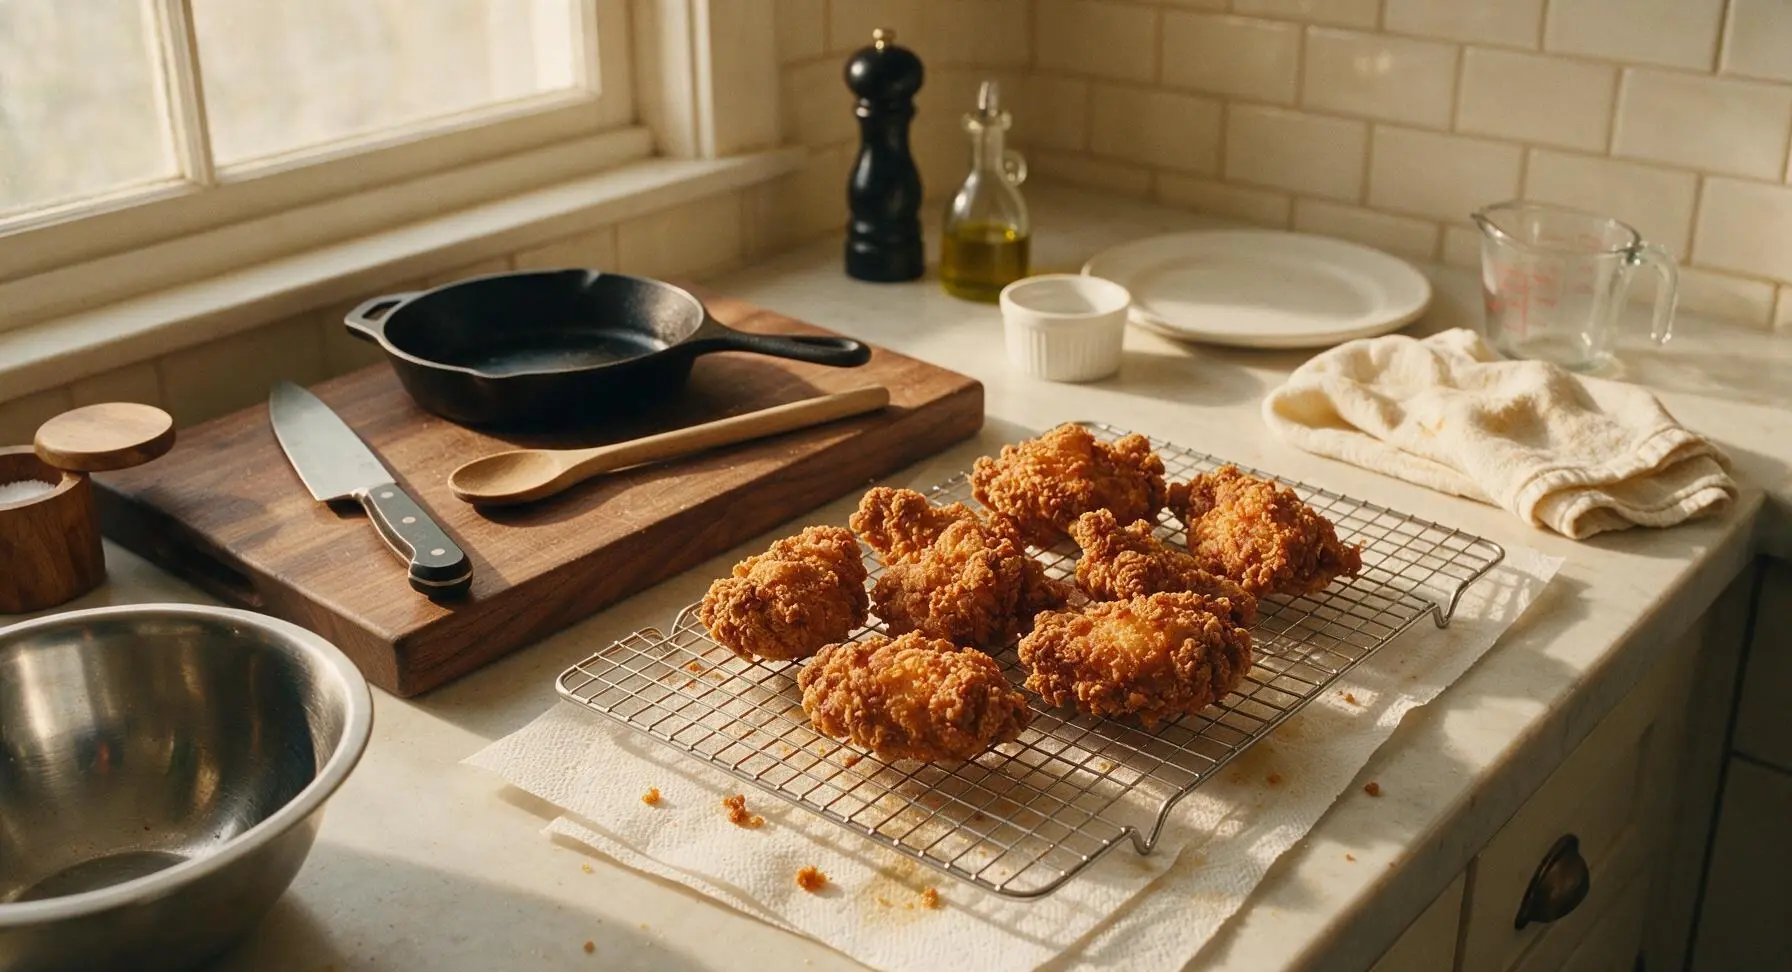
Use the long bamboo tongs to carefully lower 4-5 chicken chunks into the hot oil at a time, taking care not to splash hot oil. Do not overcrowd the wok, as this drops oil temperature and results in soggy, greasy chicken. Fry for 6-7 minutes total, turning pieces halfway with the tongs, until the crust is deep golden brown and craggy, and the internal temperature of the chicken reaches 74C (165F). Transfer fried chicken to the wire cooling rack set over a layer of unbleached paper towels to drain excess oil, and repeat with remaining chicken batches.
Step 4
step4:Fry Chicken Until Crisp
Step 4
step4:Fry Chicken Until Crisp
5

Make Honey Garlic Glaze

Carefully pour off all but 1 tablespoon of frying oil from the wok, reducing heat to medium-low. Add 3 tbsp minced garlic and 1 tsp grated ginger to the reserved oil, sautéing for 30 seconds until fragrant—do not let the garlic turn dark brown, as it will become bitter. Stir in 80ml raw honey, 3 tbsp low-sodium soy sauce, and 1 tbsp rice vinegar with the small silicone spatula, simmering for 2 minutes until the sauce thickens to a syrupy consistency that coats the back of the spatula.
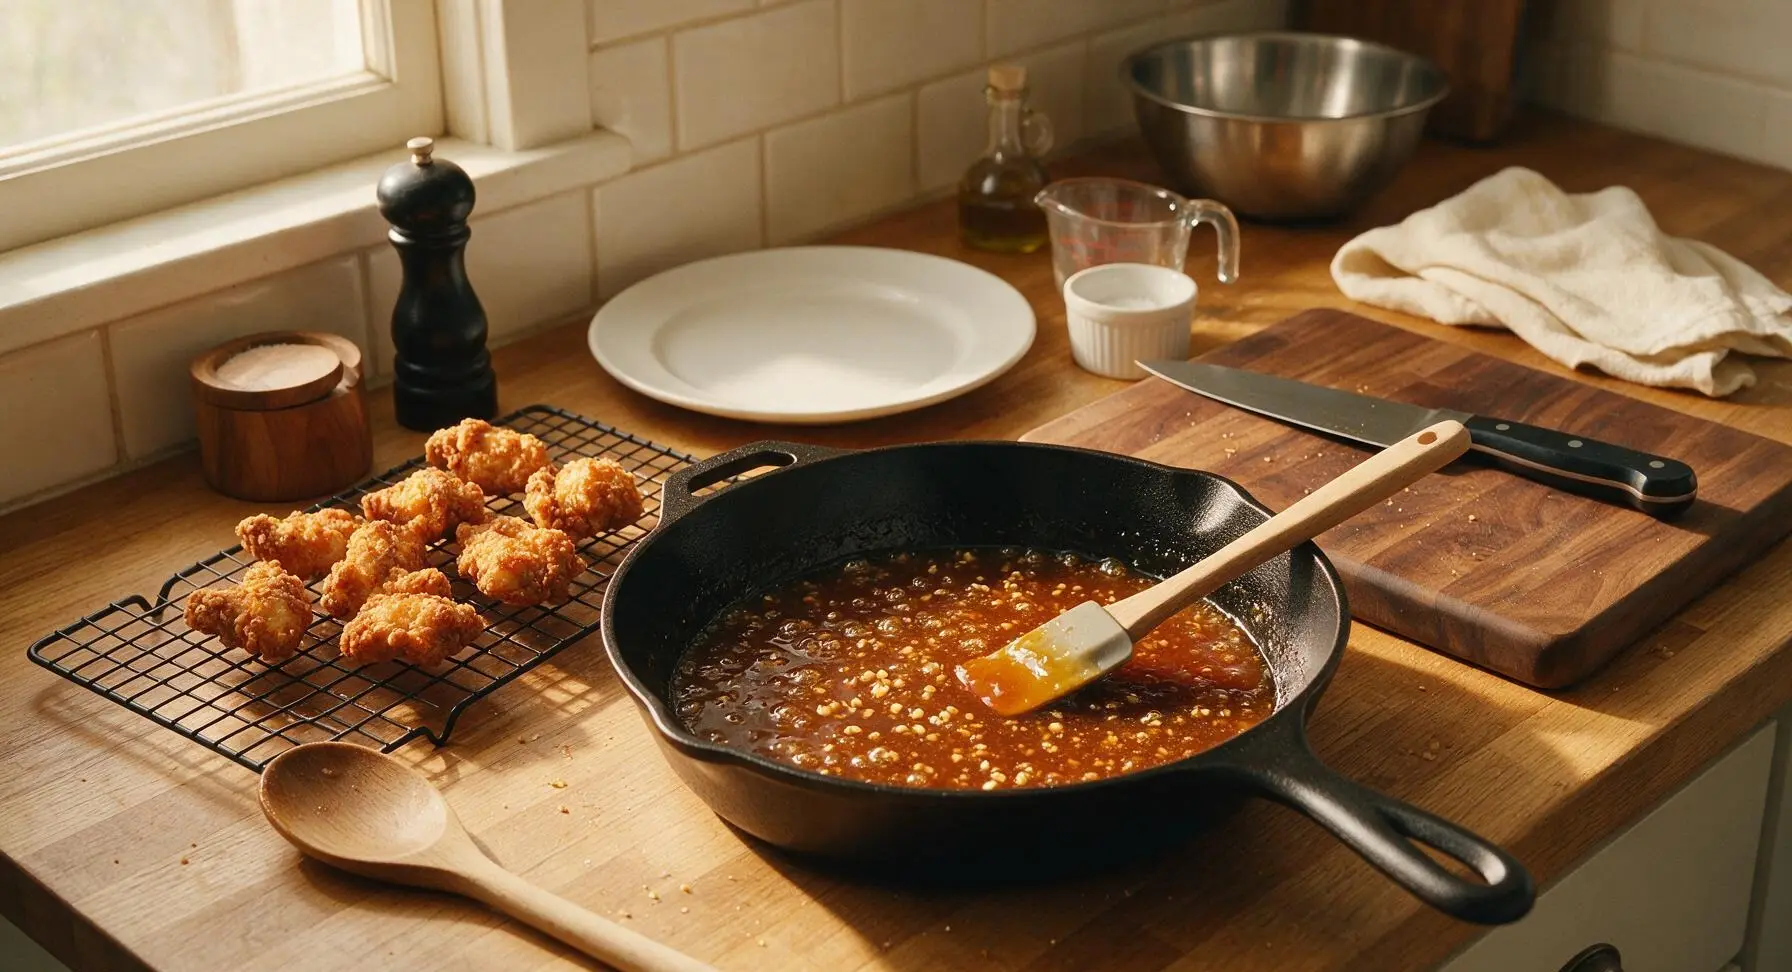
Step 5
step5:Make Honey Garlic Glaze
6

Toss Chicken in Glaze

Add all fried crispy chicken chunks back into the wok with the warm honey garlic glaze. Use the long bamboo tongs to toss the chicken gently for 1-2 minutes, until every piece is fully and evenly coated in the sticky glaze. Avoid tossing too vigorously, as this can knock the crispy crust off the chicken pieces.
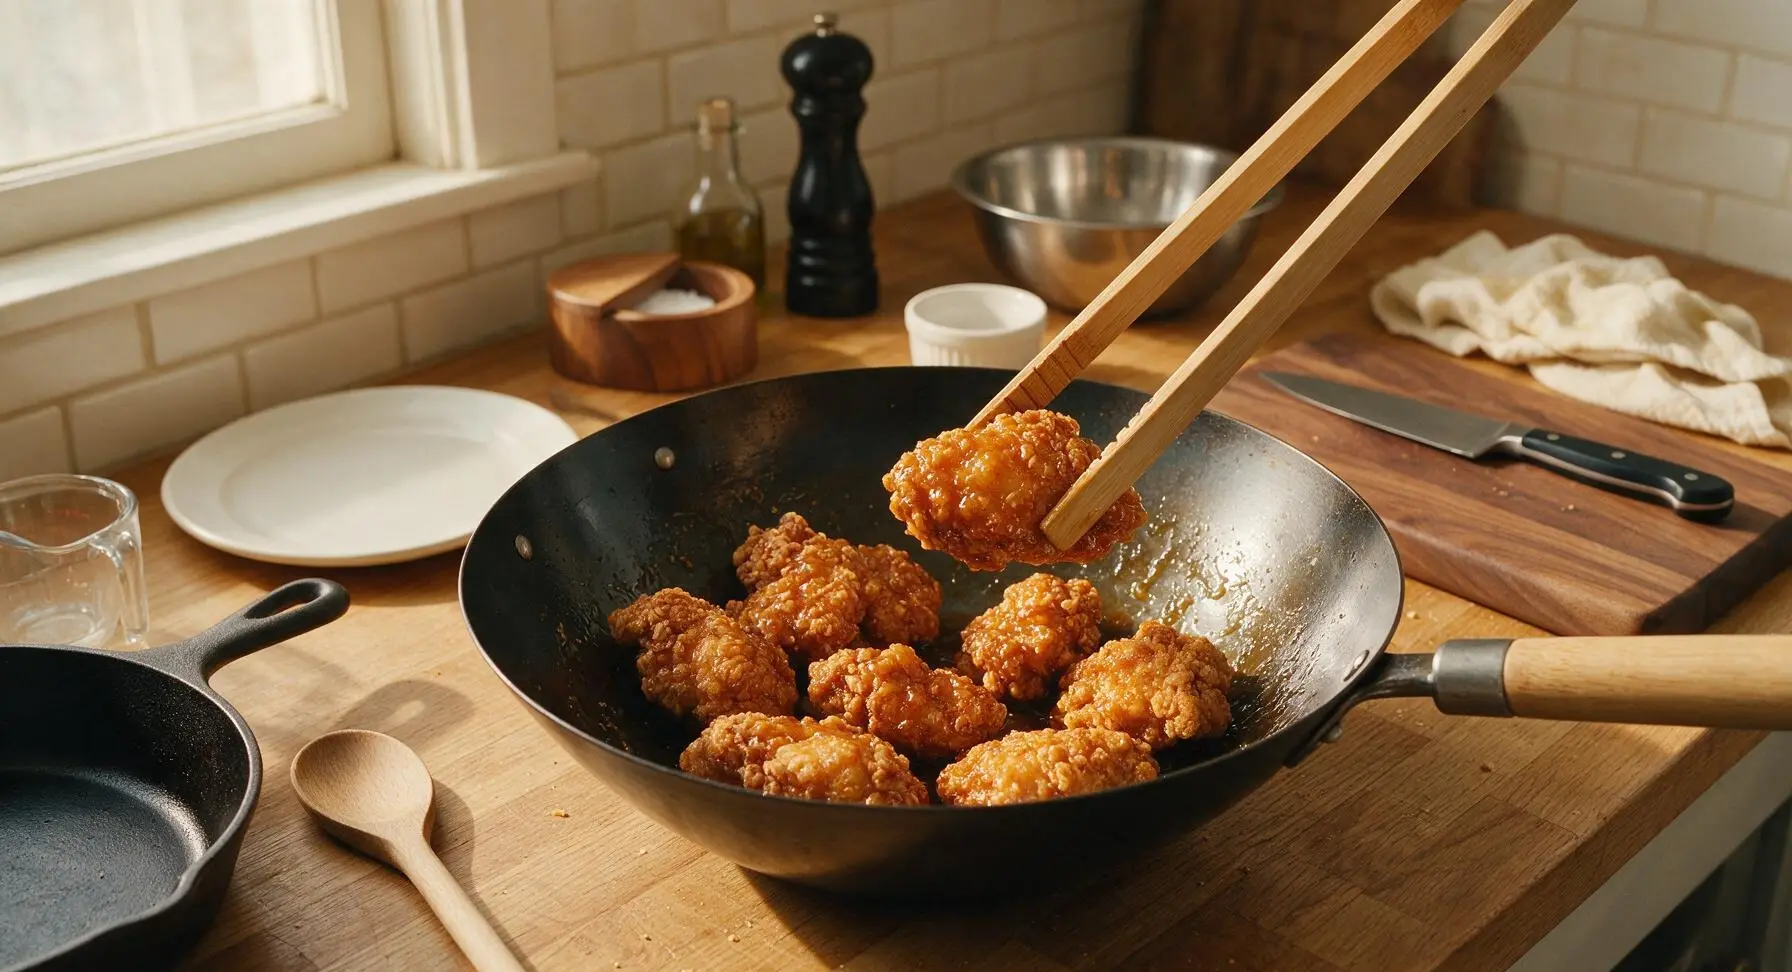
Step 6
step6:Toss Chicken in Glaze
7

Plate and Garnish Dish

Transfer the glaze-coated chicken to the matte off-white ceramic dinner plate, piling pieces loosely in the center. Sprinkle the top with thinly sliced scallion greens and 1 tsp toasted white sesame seeds from the small glass ramekin for garnish. Serve immediately, while the crust is still crisp and the glaze is warm.
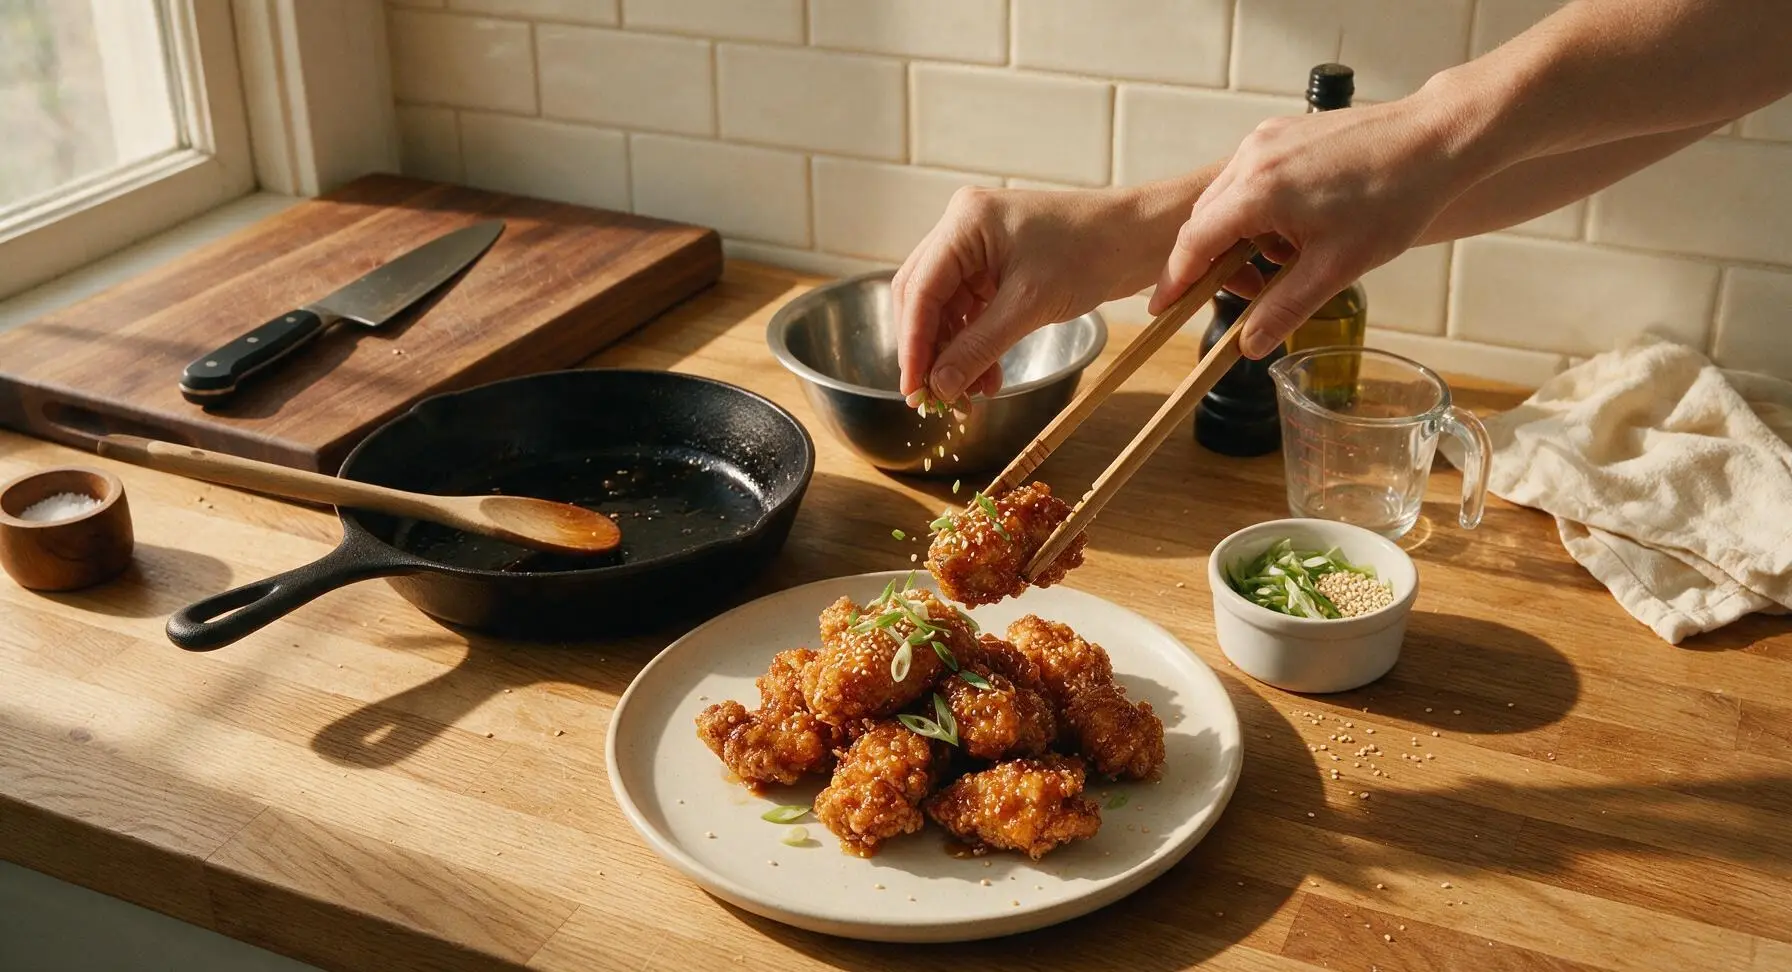
Step 7
step7:Plate and Garnish Dish

Tips

1.Let dredged chicken rest for 5 minutes before frying: This short rest allows the flour and cornstarch to hydrate and form a tight, adhesive bond to the chicken surface, preventing the coating from sliding off when it hits hot oil and creating an extra craggy, crisp crust that holds up to the sticky glaze.
2.Watch garlic closely when making the glaze: Minced garlic transitions from sweet, fragrant golden to bitter, burnt dark brown in as little as 15 seconds over medium heat, so have your pre-mixed honey-soy-vinegar mixture ready to pour as soon as you smell the sharp, warm garlic aroma to avoid off-flavors.
3.Toss chicken in glaze immediately before serving: The warm, sticky glaze will soften the crispy fried crust if left to sit for more than 5 minutes. For maximum crunch, toss the chicken, plate it, garnish, and serve right away.


✨ You May Also Like

Main Course
🍜 United Kingdom

A showstopping classic of tender seared beef, savory mushroom duxelles, and crisp prosciutto wrapped in flaky golden puff pastry, baked to juicy perfection.

⏱️ 2 hours 1Main Course ★ 4.7
Main Course
🍜 India

Tender charred marinated chicken simmered in a rich, spiced creamy tomato sauce, this iconic Anglo-Indian curry pairs perfectly with basmati rice or warm naan.

⏱️ 50 minuteMain Course ★ 4.6
Main Course
🍜 Thailand

Classic tangy, sweet, and savory Thai stir-fried rice noodles with shrimp, tofu, and crunchy garnishes, balancing all five core Thai flavor profiles.

⏱️ 30 minuteMain Course ★ 4.5
Main Course
🍜 United Kingdom

Crispy golden beer-battered cod and fluffy double-fried chips, served with tangy tartar sauce and malt vinegar: the timeless, beloved British pub comfort classic.

⏱️ 45 minuteMain Course ★ 4.7
Main Course
🍜 Mexico

Smoky, chile-marinated pork tacos with caramelized pineapple, fresh cilantro, and lime: a beloved classic Mexican street food perfect for casual summer gatherings.

⏱️ 1 hour 45Main Course ★ 4.8
Main Course
🍜 United States

Crunchy Fritos corn chips layered with savory beef chili and melted cheddar, topped with cool, zesty fixings for a beloved, cozy Tex-Mex comfort food.

⏱️ 35 minuteMain Course ★ 4.8

Honey Garlic Fried Chicken:Frequently Asked Questions

1.Why use boneless skinless chicken thighs instead of breasts for this recipe? ▾
Boneless skinless chicken thighs have a mild, rich fat content that stays perfectly juicy even through high-heat frying, eliminating the dry, stringy texture common with overcooked chicken breasts. They hold up beautifully when tossed in the sticky honey garlic glaze without falling apart, and cook quickly to keep this a fast weeknight-friendly meal.
2.What does the combination of all-purpose flour and cornstarch do for the fried coating? ▾
That balanced mix of all-purpose flour and cornstarch is the secret to that shatteringly crisp, takeout-style crust that doesn’t get soggy the second it hits the glaze. The flour builds a sturdy, well-seasoned base that sticks to the chicken, while cornstarch cuts down on gluten formation to keep the coating light, crunchy, and grease-free.
3.Can I prep this chicken ahead of time for weeknight meals? ▾
You can absolutely prep components ahead to cut down on weeknight cook time! Cut your chicken thighs into even, bite-sized pieces, mix your dry coating blend of flour, cornstarch, garlic powder, and kosher salt, and stir up your honey garlic glaze up to 2 days in advance, storing everything separately in airtight containers in the fridge. Don’t coat the chicken until right before frying to avoid a soggy crust.
4.Why does my fried coating fall off the chicken when I toss it in the glaze? ▾
This almost always happens for one of three easy-to-fix reasons: you didn’t pat the chicken completely dry before coating, you skipped letting coated chicken rest 5-10 minutes before frying to let the crust adhere, or your oil wasn’t hot enough when you added the chicken. Aim for 350°F oil to set the crust fast so it stays put during glaze tossing.
5.How much kosher salt should I use in the dry coating to avoid under-seasoned chicken? ▾
For 1.5 pounds of boneless skinless chicken thighs, use 1 teaspoon of Diamond Crystal kosher salt (or ½ teaspoon of fine sea salt) mixed directly into your flour and cornstarch blend, plus a light pinch on the chicken itself before coating. This layers seasoning so every bite of crust and chicken is flavorful, not bland, without being overly salty.
6.Can I make this honey garlic fried chicken without a dedicated deep fryer? ▾
You absolutely don’t need a countertop deep fryer for this recipe! Use a heavy-bottomed Dutch oven or cast iron skillet filled with 1.5 inches of neutral oil (like canola or vegetable), and clip a candy thermometer to the side to monitor temperature. It works just as well as a dedicated fryer, and makes for easy cleanup on busy weeknights.
7.How do I keep the chicken crispy after tossing it in the honey garlic glaze? ▾
The key to avoiding soggy glazed chicken is two-fold: first, make sure your glaze is thickened to a syrupy consistency so it coats rather than soaks into the crust, and second, toss the hot, freshly fried chicken in the glaze right before serving. Don’t let the chicken sit in the glaze for more than a minute or two before eating for the best crunch.
8.Can I bake this chicken instead of frying it for a lighter version? ▾
You can bake a lighter version, though you won’t get the exact same shatteringly crisp takeout texture. Toss coated chicken in a light spray of oil, arrange on a wire rack set over a baking sheet, and bake at 425°F for 20-25 minutes, flipping halfway, before tossing in the warm glaze. The wire rack keeps air circulating so the crust doesn’t get soggy on the bottom.
9.How do I get bold garlic flavor in the glaze without burning the garlic? ▾
For bold, sweet-savory garlic flavor without bitter burnt notes, sauté your minced fresh garlic in a small saucepan over medium-low heat for just 30 to 45 seconds until it smells fragrant, before stirring in your honey, soy sauce, and small cornstarch slurry to thicken. Garlic burns extremely fast, so don’t walk away once it hits the pan.
10.Can I use bone-in chicken cuts like wings or drumsticks instead of boneless thighs? ▾
You can absolutely swap in bone-in cuts like wings, drumsticks, or bone-in thighs if you prefer! Just adjust your frying time: bone-in cuts take 10-14 minutes to reach a safe 165°F internal temperature, compared to 5-7 minutes for bite-sized boneless thigh pieces, so adjust accordingly to avoid undercooked chicken.
11.How long do leftovers stay fresh, and what’s the best way to reheat them? ▾
Leftovers will stay fresh stored in an airtight container in the fridge for up to 3 days. For the best texture when reheating, spread pieces on a wire rack over a baking sheet and warm in a 400°F oven for 8-10 minutes until the crust re-crisps, instead of microwaving, which will make the coating soggy and rubbery.
12.Is there a simple gluten-free swap for the all-purpose flour in the coating? ▾
For a 100% gluten-free version, swap the all-purpose flour for a 1:1 gluten-free all-purpose baking blend, and double-check that your soy sauce (or swap for tamari) in the honey garlic glaze is also labeled gluten-free. Keep the cornstarch in the blend exactly as written, since it’s naturally gluten-free and helps keep the coating light and crisp.
13.Why do you use garlic powder in the dry coating instead of only fresh garlic in the glaze? ▾
Garlic powder in the dry coating builds layered, evenly distributed garlic flavor in every bite of the crispy crust, instead of only having garlic flavor on the surface from the glaze. Unlike fresh garlic, it won’t burn during high-heat frying, and it mixes seamlessly with the flour, cornstarch, and salt for even, consistent seasoning across every piece.
14.What oil temperature works best for frying this chicken without it turning out greasy? ▾
Hold your frying oil steady at 350°F for the perfect non-greasy, crisp crust. If the oil is too cool (below 325°F), the coating will absorb excess oil and turn soggy and heavy; if it’s too hot (above 375°F), the outside will burn before the chicken cooks through to a juicy, tender center. Let the oil recover temperature between batches too.
15.Can I add extra spice to this recipe for a little heat? ▾
Absolutely, this recipe is super customizable for a little kick! Add ¼ to ½ teaspoon of cayenne pepper, smoked paprika, or gochugaru to your dry flour and cornstarch coating, or stir a teaspoon of chili garlic sauce or sriracha into the honey garlic glaze for a warm, tingly heat that balances the sweet honey and savory garlic perfectly.
16.Do I need to brine the chicken thighs first to keep them juicy? ▾
You don’t need to do a long wet brine for this recipe, thanks to the natural fat content in boneless skinless chicken thighs that keeps them juicy during frying. If you have an extra 30 minutes, you can toss the cut chicken in ½ teaspoon of kosher salt before coating to let the salt penetrate a little, but it’s totally not required for a great end result.
17.Why is my honey garlic glaze too runny to stick to the chicken? ▾
A runny glaze means you haven’t cooked it long enough to thicken, or you skipped the tiny cornstarch slurry that helps it set. Let the glaze simmer for 2-3 minutes after mixing in your honey, garlic, and savory seasonings until it coats the back of a spoon, so it’s thick enough to cling to the fried chicken instead of dripping off onto the plate.
18.What quick sides pair best with this honey garlic fried chicken for a full weeknight meal? ▾
This sticky, savory-sweet chicken pairs perfectly with quick, simple sides that balance its bold, rich flavor. Serve it over steamed white rice, roasted broccoli, creamy coleslaw, or buttered corn on the cob for a fast, takeout-style meal that comes together in under 40 minutes total, no delivery wait required.

Comments (11)

2 days ago

OMG this honey garlic fried chicken was a total game changer for our weeknight family dinner! My three kids usually turn their noses up at anything that isn’t plain chicken nuggets, but they devoured every last piece and asked for seconds before I even sat down. The sauce is the perfect balance of sweet and garlicky, not too sticky or cloying, and the 20 minute cook time is no joke – I had it on the table faster than our usual Chinese takeout gets delivered. Already added the ingredients to my permanent grocery list!

yesterday

Same here! My picky 7 year old asked for thirds last night when I made this. I tossed in a little extra red pepper flakes for a tiny kick and it was chef’s kiss.

2 hours ago

So glad the whole family loved it! The red pepper flake add-in is such a great call – a little heat cuts the sweetness perfectly. Thanks for the tip!

5 days ago

Took this to my neighborhood potluck last weekend and people were hounding me for the recipe before I even finished my first piece. The crust stays crispy even when it’s tossed in the sauce, which I was worried about! I used boneless skinless thighs instead of breasts because I think they have more flavor, and it worked out perfectly. Only thing I’ll do different next time is double the batch – it was gone in 10 minutes flat.

3 days ago

Thighs are such a great swap, I do that half the time too! So stoked it was a potluck hit – doubling the batch is always the right call with this one, no regrets.

30 minutes ago

As someone who barely knows how to boil water without burning it, this recipe was so easy to follow! No fancy ingredients, no complicated steps, done in 20 minutes just like it says. I made it for my roommates and they thought I ordered takeout from that fancy Asian fusion place downtown. Total win for my limited cooking skills and even more limited student budget.

1 week ago

Wait, has anyone tried making this for meal prep? I’m wondering if the chicken gets soggy if I store it in the fridge for 3-4 days? The sauce sounds incredible but I don’t want to waste a whole batch if it turns mushy mid-week. Gave it 4 stars for now because I haven’t actually made it yet, just asking for tips!

5 days ago

I made a batch on Sunday for my work lunches and it held up great! I stored the sauce separately and tossed it with the reheated chicken when I was ready to eat, zero sogginess. Would 100% recommend for meal prep!

3 days ago

Great question! Lori’s tip of storing the sauce separate is spot on – if you toss it ahead of time the crust will soften, but keeping them separate means you get that perfect crispy bite even days later. Hope you love it when you make it!

2 hours ago

SO good. I’m a total garlic fiend so I added 4 extra cloves (don’t judge) and it was absolute perfection. The honey cuts the sharp garlic flavor so nicely, I didn’t even need a dipping sauce. My partner said it’s better than the honey garlic chicken we get at our local diner, which is high praise coming from him because he orders that every single time we go out.

30 minutes ago

Extra garlic is always the right call, no judgment here! I did the same thing when I made this last week, no regrets. That diner comparison is the ultimate compliment tbh.

yesterday

Made this for my dad’s birthday dinner last night since honey garlic is his favorite, and he said it’s the best fried chicken I’ve ever made. I added a splash of soy sauce to the glaze like my grandma used to do, and it gave it that little extra umami kick that made it feel extra special. Will definitely be pulling this recipe out for future family gatherings.

3 days ago

Quick tip for anyone who loves a little heat: add a teaspoon of sriracha to the honey garlic sauce! It gives it the best slow burn that doesn’t overpower the sweet honey and savory garlic flavors. I was worried it would be too much for my teen who hates spicy food, but even she thought it was tasty. Easy recipe, huge payoff, 10/10.

2 days ago

Love that sriracha hack! I’ve had a few people mention adding a little heat, and it’s such an easy way to customize the glaze to your taste. Thanks for sharing the tip – I’m definitely trying that on my next batch!

2 weeks ago

Wait, quick question – do I have to use a deep fryer for this? I only have a regular cast iron skillet at my apartment, no fancy frying equipment. I really want to make this this weekend but I don’t want to mess it up because I don’t have the right gear!

1 week ago

I made this in my cast iron last month with zero issues! Just use enough oil to come about halfway up the chicken pieces, and keep an eye on the temp with a cheap meat thermometer, it’ll turn out perfect. No deep fryer needed at all.

5 days ago

Sam is totally right! You absolutely don’t need a deep fryer for this – a heavy bottomed skillet like cast iron works perfectly, just be careful with the hot oil and turn the chicken halfway through cooking for even crispness. Hope it turns out amazing for you this weekend!

yesterday

Made these as an appetizer for our football watch party yesterday and they were gone before the first quarter ended. Cut the chicken into bite sized nugget pieces, tossed them in the sauce, and served them with toothpicks – easiest game day snack ever, and everyone was raving. Even my buddy who swears he doesn’t like sweet chicken went back for thirds. Will be on the game day menu for the rest of the season for sure.

1 week ago

So happy I found this recipe! I swapped the regular flour for gluten free all purpose flour to fit my dietary needs, and it came out just as crispy and delicious as the regular version sounds. The sauce is naturally gluten free if you use gluten free soy sauce (or tamari), so it’s super easy to adapt for people with gluten sensitivities. My whole family loved it, no one even noticed it was GF!

5 days ago

That’s such a helpful swap for folks who need gluten free options! I’m so glad it turned out crispy and delicious for you, and that the whole family enjoyed it. I’ll add a note about GF swaps in the recipe tips section for other readers – thanks so much for sharing!

5 minutes ago

Okay full transparency, I burned the first batch of chicken a little because I got distracted scrolling TikTok while it was frying, but even the slightly crispy (read: charred) pieces tasted amazing because the sauce is that good. The second batch I paid attention to and it was perfect. Definitely recommend not walking away from the stove, but even if you mess up a little it’s still tasty lmao.

just now

LMAO I did the exact same thing last week! Got pulled into a 10 minute TikTok rabbit hole and my first batch was way darker than it should have been, but the sauce covered a multitude of sins. So worth the minor smoke alarm incident tbh.



