
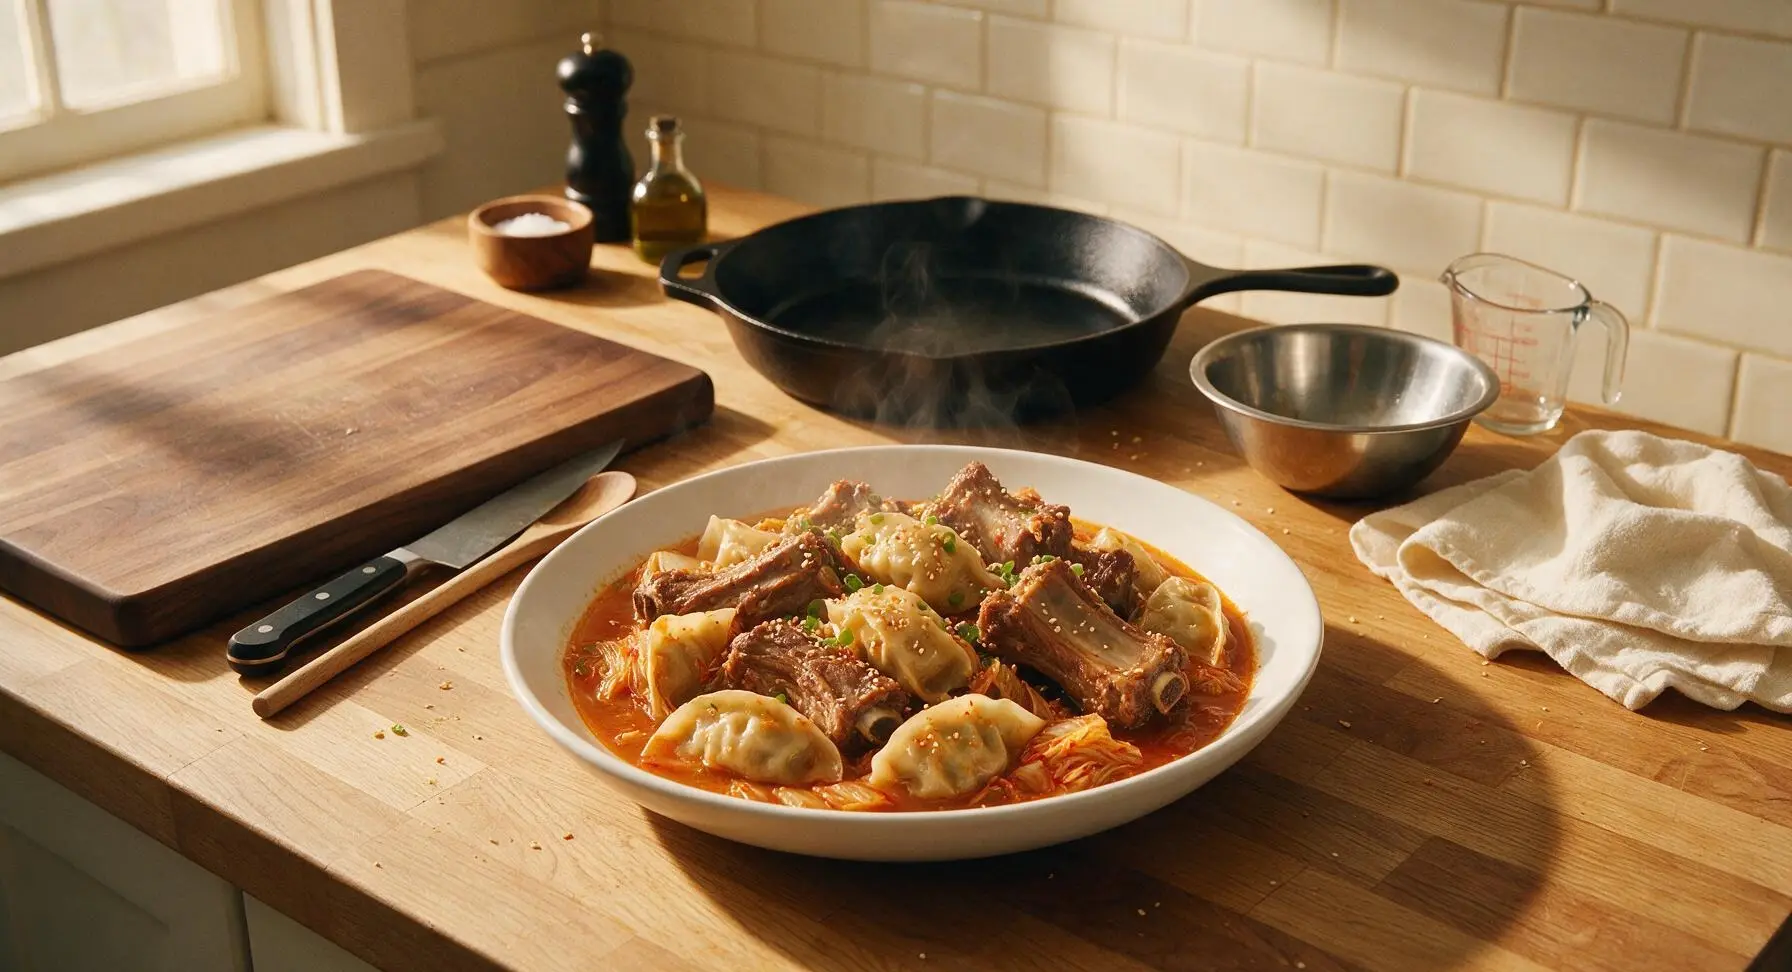
Kimchi Mandu Ribs

title 1
Kimchi Mandu Ribs
⏱️ cook time 1 hour 20 minutes
🍽️ servings 4
⚡ Difficulty medium

intro

Tender fall-off-the-bone pork ribs and chewy kimchi-stuffed mandu simmered in tangy, umami-rich fermented kimchi broth for a cozy, deeply satisfying Korean winter comfort food classic.

Ingredients
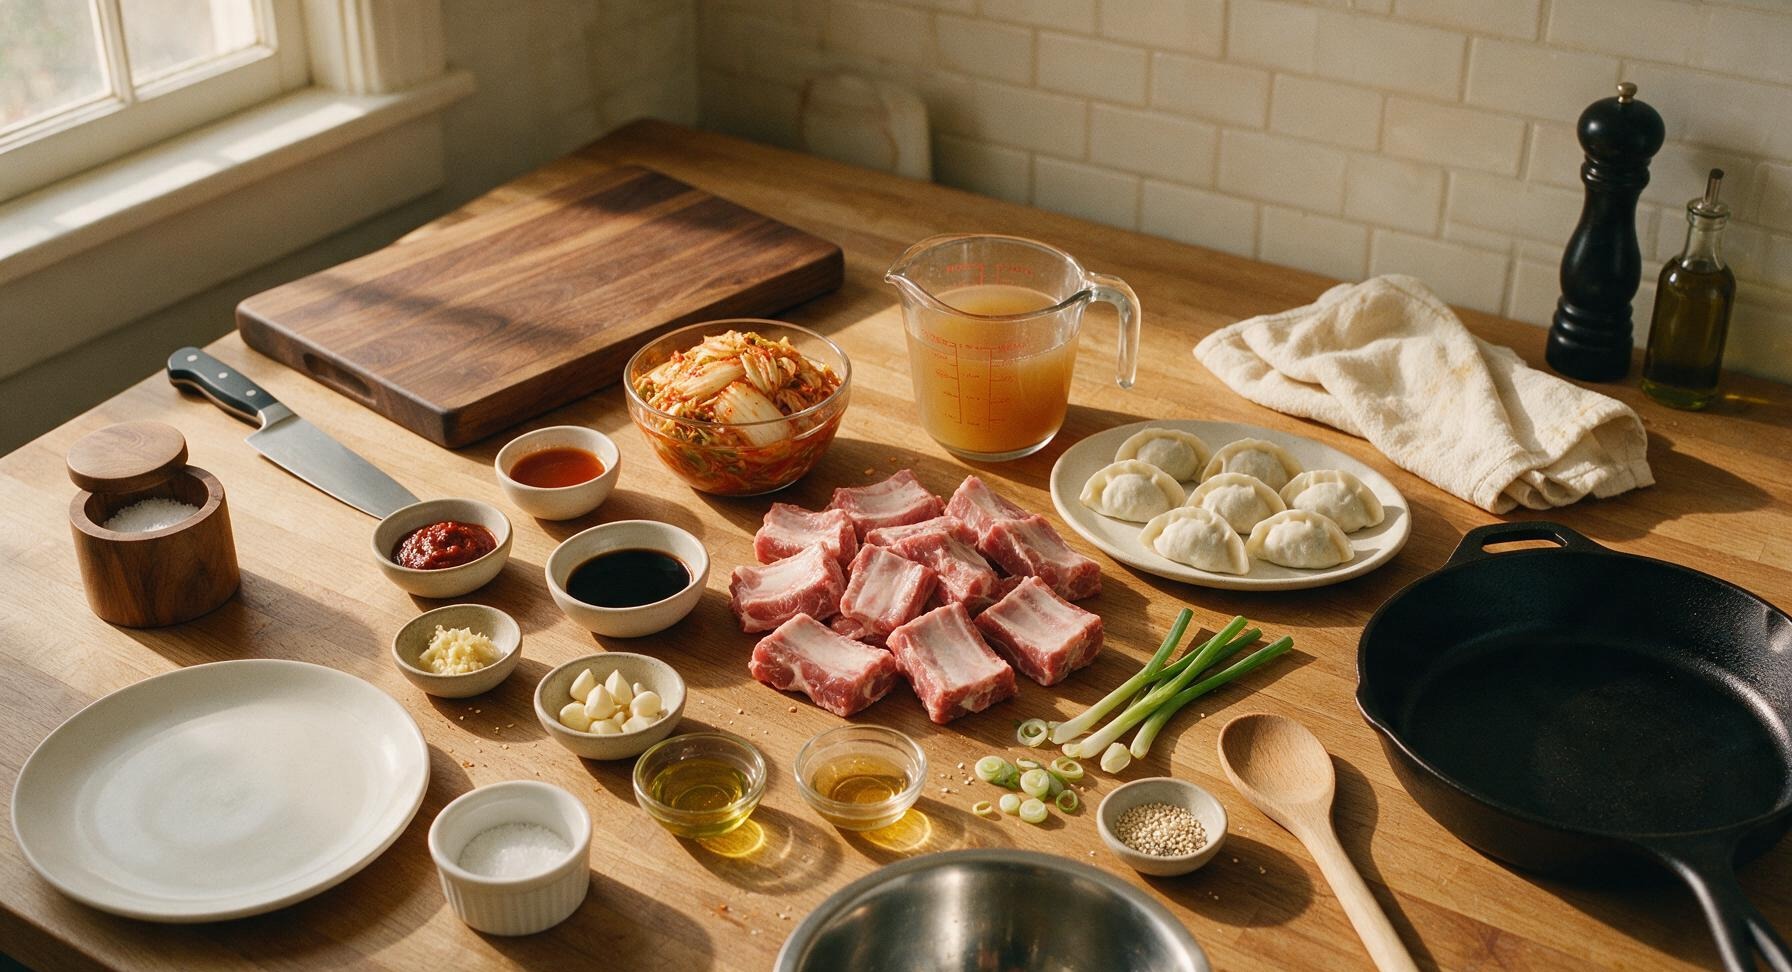
Pork spare ribs, cut into 5cm individual pieces 800g
Fermented napa cabbage kimchi (with 1/4 cup brine reserved) 2 cups
Frozen kimchi mandu (kimchi dumplings) 12 pieces
Low-sodium chicken broth 2 cups
Gochujang (Korean chili paste) 2 tbsp
Light soy sauce 2 tbsp
Garlic, minced 4 cloves
Fresh ginger, grated 1 tbsp
Neutral vegetable oil (for searing) 1 tbsp
Toasted sesame oil 1 tsp
Scallions, green parts thinly sliced for garnish 3 stalks
Toasted white sesame seeds 1 tsp
Coarse black pepper 1/2 tsp

Steps

1

Prep and Season Ribs

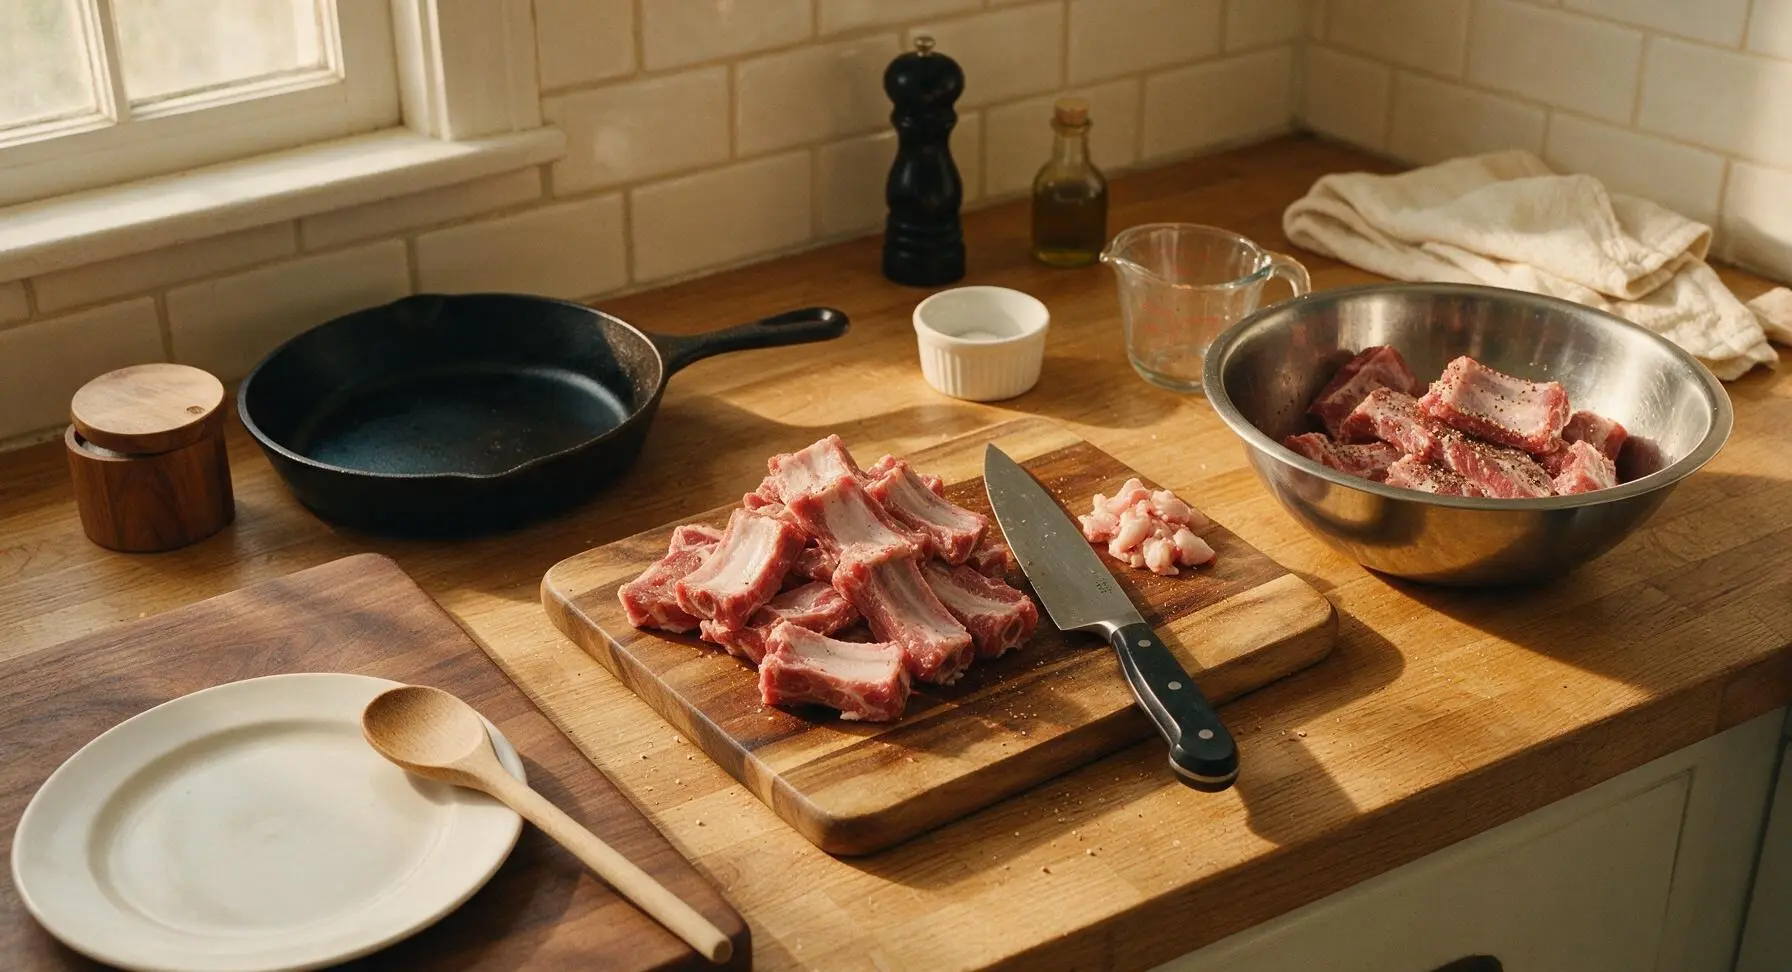
Pat the 800g pre-cut pork spare ribs completely dry with paper towels, then place them on the acacia wood cutting board. Use the 8-inch chef knife to trim any excess hard fat or tough silver skin from the rib surfaces. Transfer trimmed ribs to the medium stainless steel mixing bowl, add 1/2 tsp coarse black pepper, and toss to coat evenly. Let ribs rest 10 minutes at room temperature while you prep remaining ingredients.
Step 1
step1:Prep and Season Ribs
2

Sear Ribs Until Golden

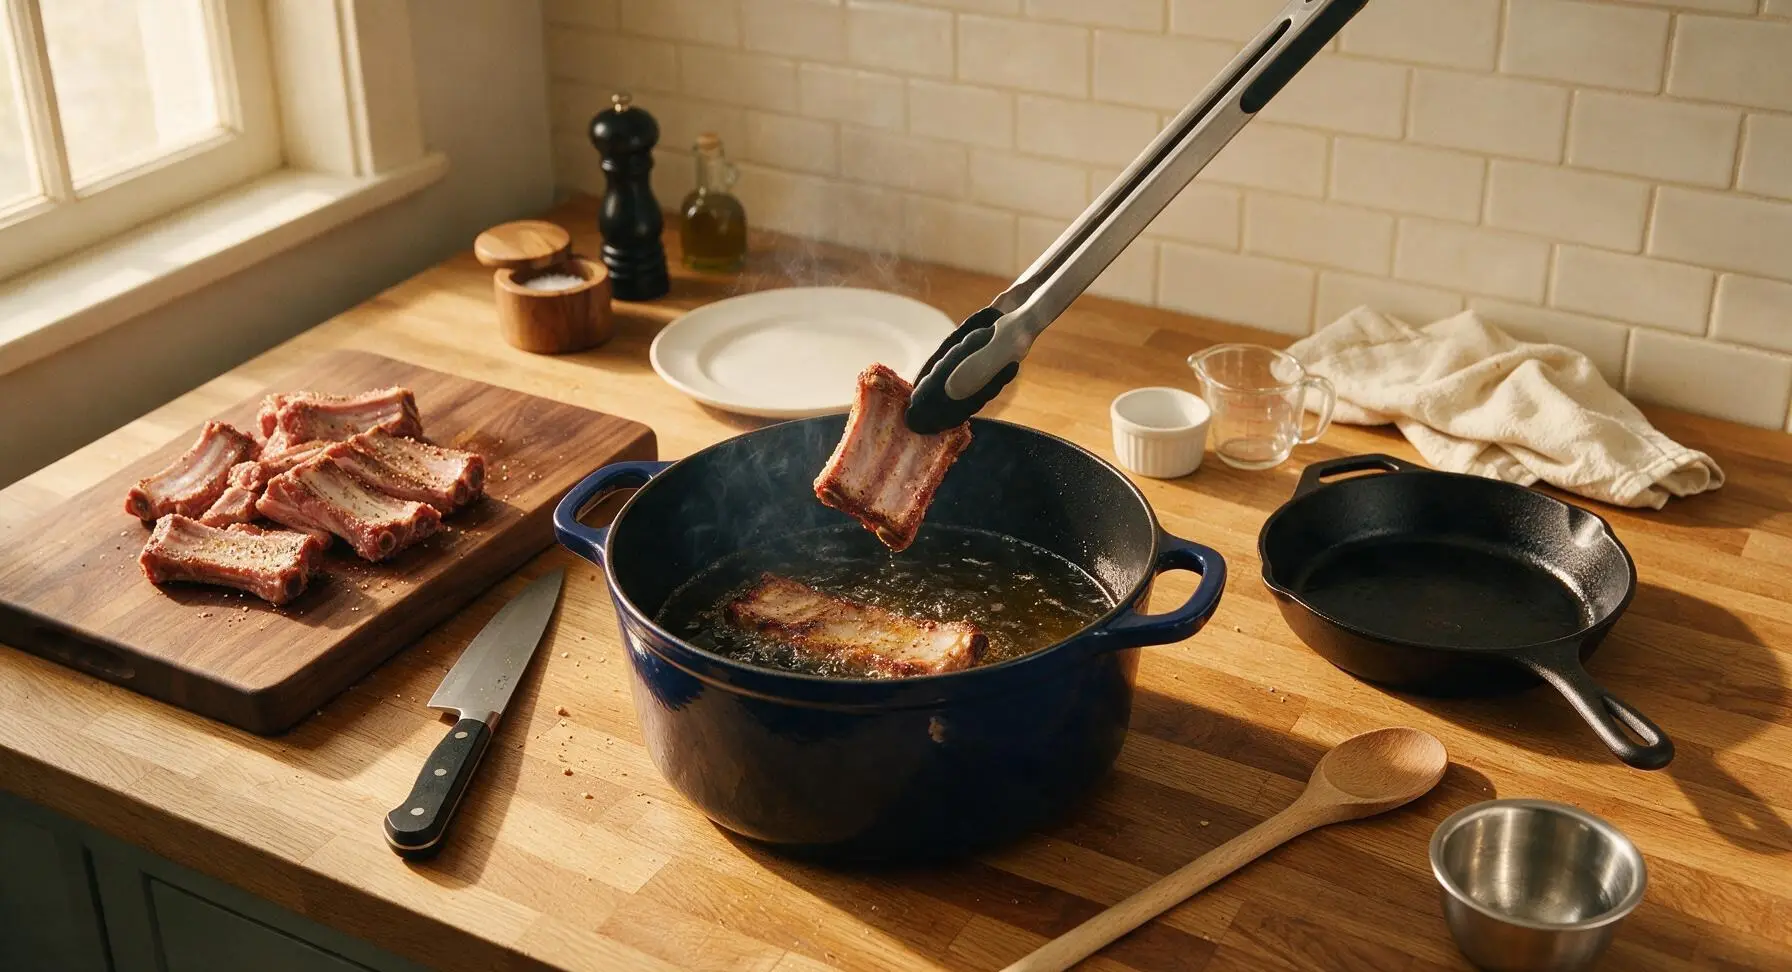
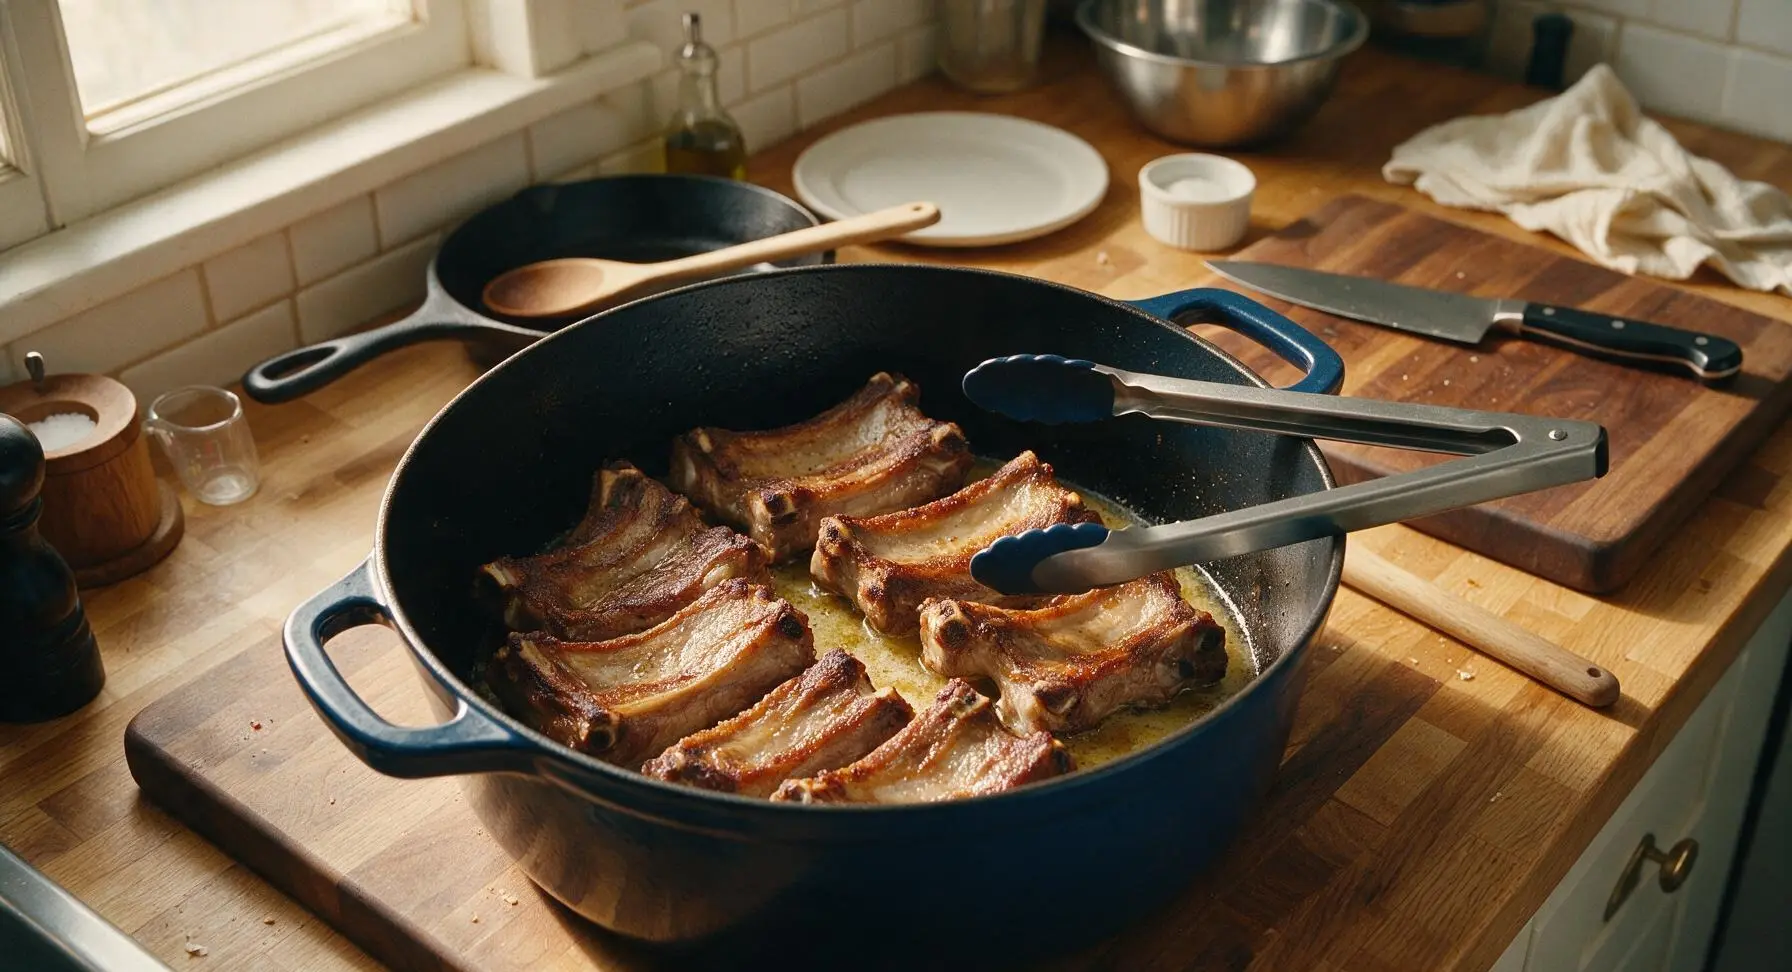
Heat 1 tbsp neutral vegetable oil in the deep indigo enameled Dutch oven over medium-high heat (175C/350F). Working in 2 batches to avoid crowding the pan, use the silicone-tipped stainless steel tongs to place ribs in a single layer in the pot. Sear 2-3 minutes per side, until deep golden brown on all outer surfaces. Transfer seared ribs to a clean temporary plate and set aside.
Step 2
step2:Sear Ribs Until Golden
Step 2
step2:Sear Ribs Until Golden
3

Saute Aromatics and Kimchi

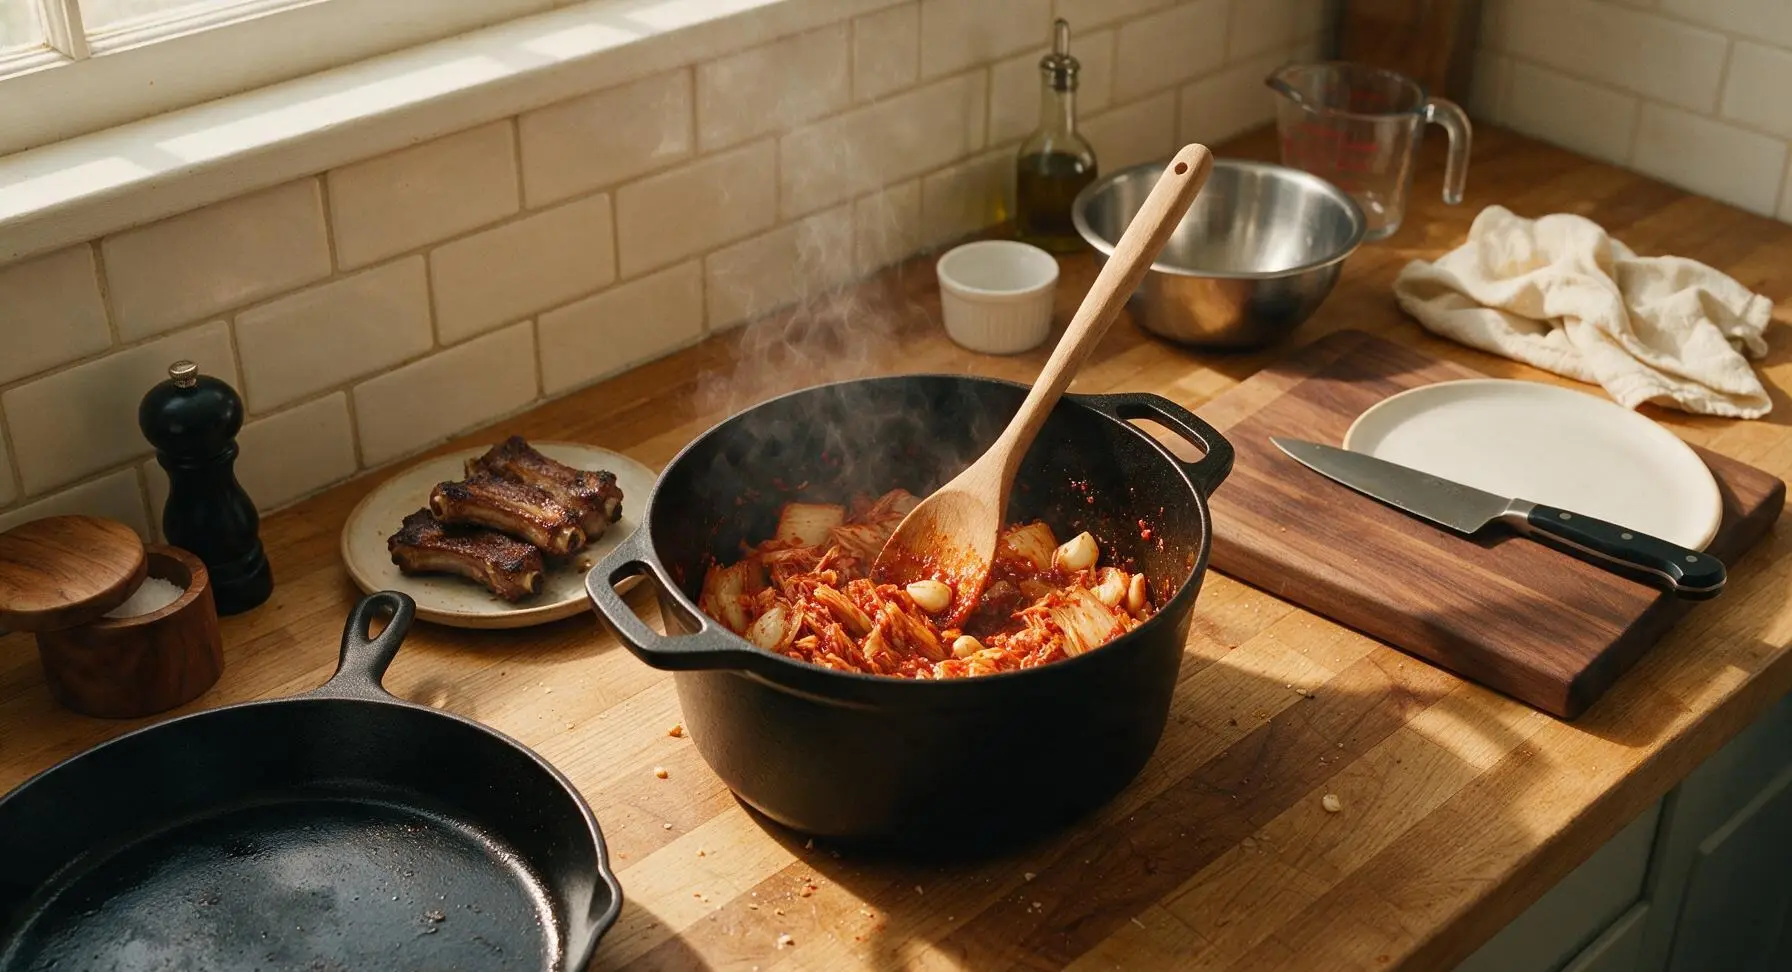
Reduce heat under the Dutch oven to medium (150C/300F). In the remaining rendered rib fat, add 4 cloves minced garlic, 1 tbsp grated ginger, and 2 tbsp gochujang. Stir constantly with the long beech wood spoon for 30 seconds until fragrant, then add 2 cups of chopped ripe kimchi (squeezed slightly to remove excess brine, brine reserved for later). Saute kimchi for 3 minutes, until it softens slightly and deepens to a rich rust red color.
Step 3
step3:Saute Aromatics and Kimchi
4

Simmer Ribs Until Tender

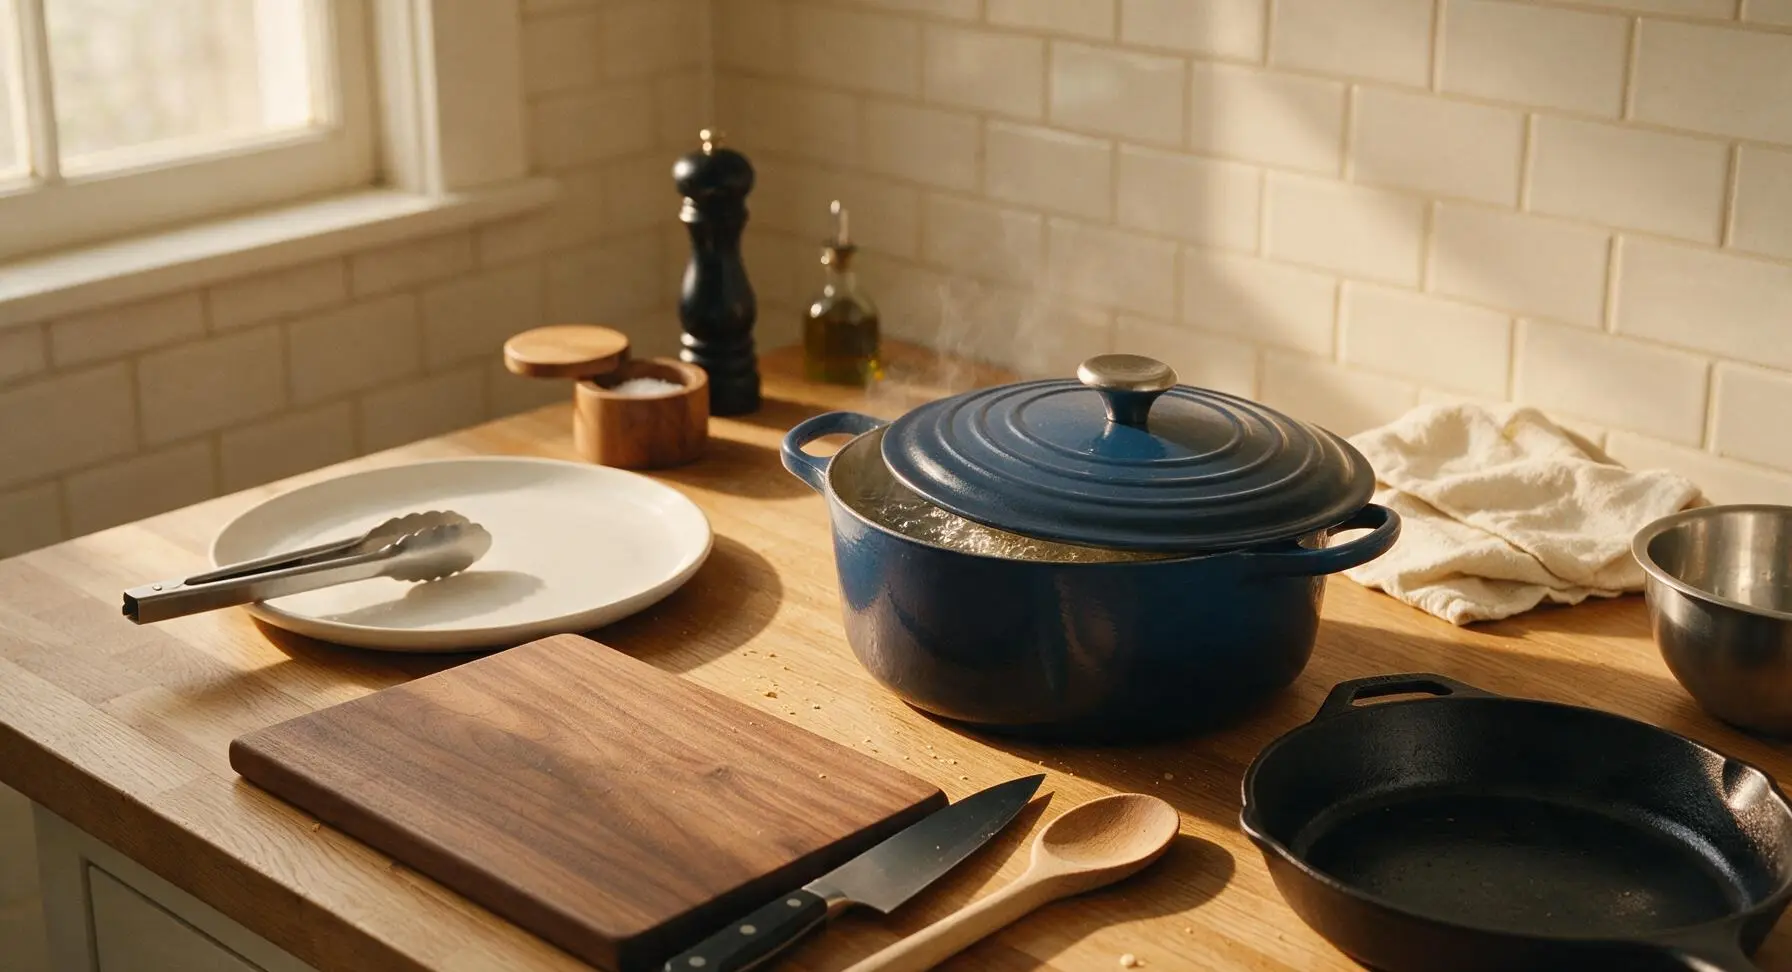
Return all seared ribs to the Dutch oven, nestling them into the sauteed kimchi mixture. Pour in 2 cups low-sodium chicken broth, 2 tbsp light soy sauce, and the reserved 1/4 cup kimchi brine. Bring liquid to a gentle boil, then reduce heat to low (95C/200F), cover with the matching indigo Dutch oven lid, and simmer for 1 full hour, until ribs are fork-tender and meat pulls easily from the bone. Skim any excess surface fat once at the 30-minute mark.
Step 4
step4:Simmer Ribs Until Tender
5

Add Mandu to Braise

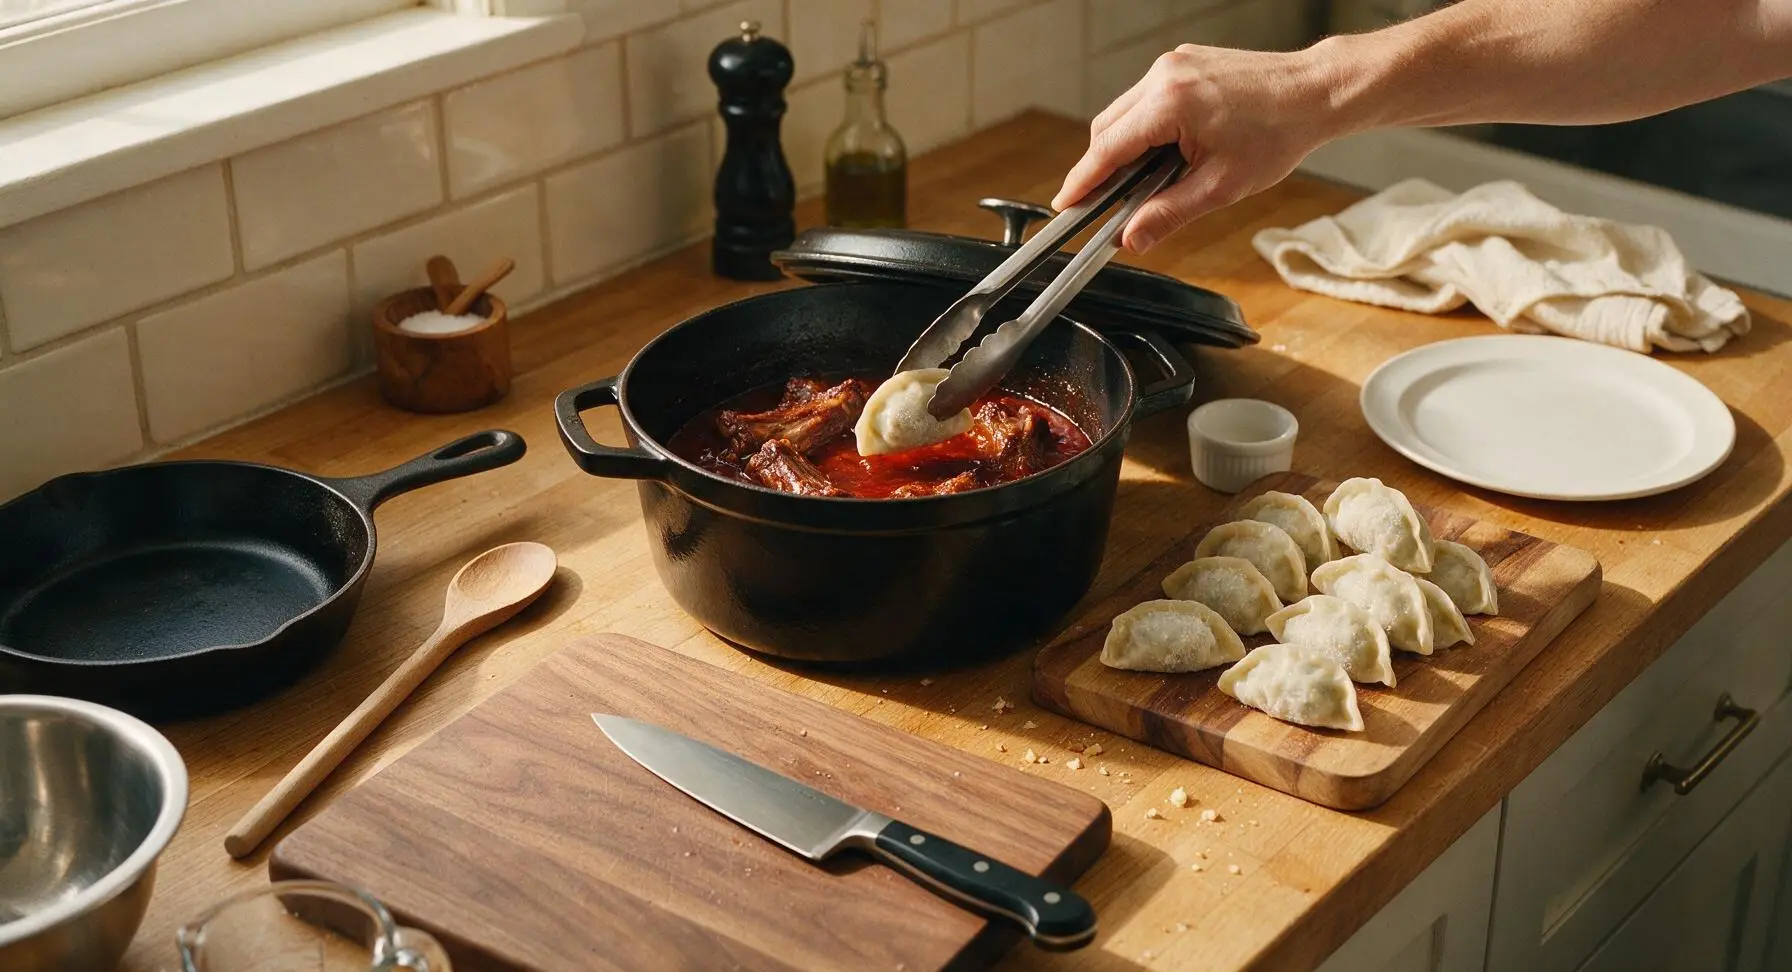
After 1 hour of simmering, lift the Dutch oven lid. Use the tongs to nestle the 12 frozen kimchi mandu into the braising liquid around the ribs, making sure each mandu is partially submerged. Do not stir aggressively, as this can tear the delicate dumpling skins. Return the lid to the pot and simmer for an additional 8 minutes, until mandu skins are translucent and tender, and the filling is fully heated through.
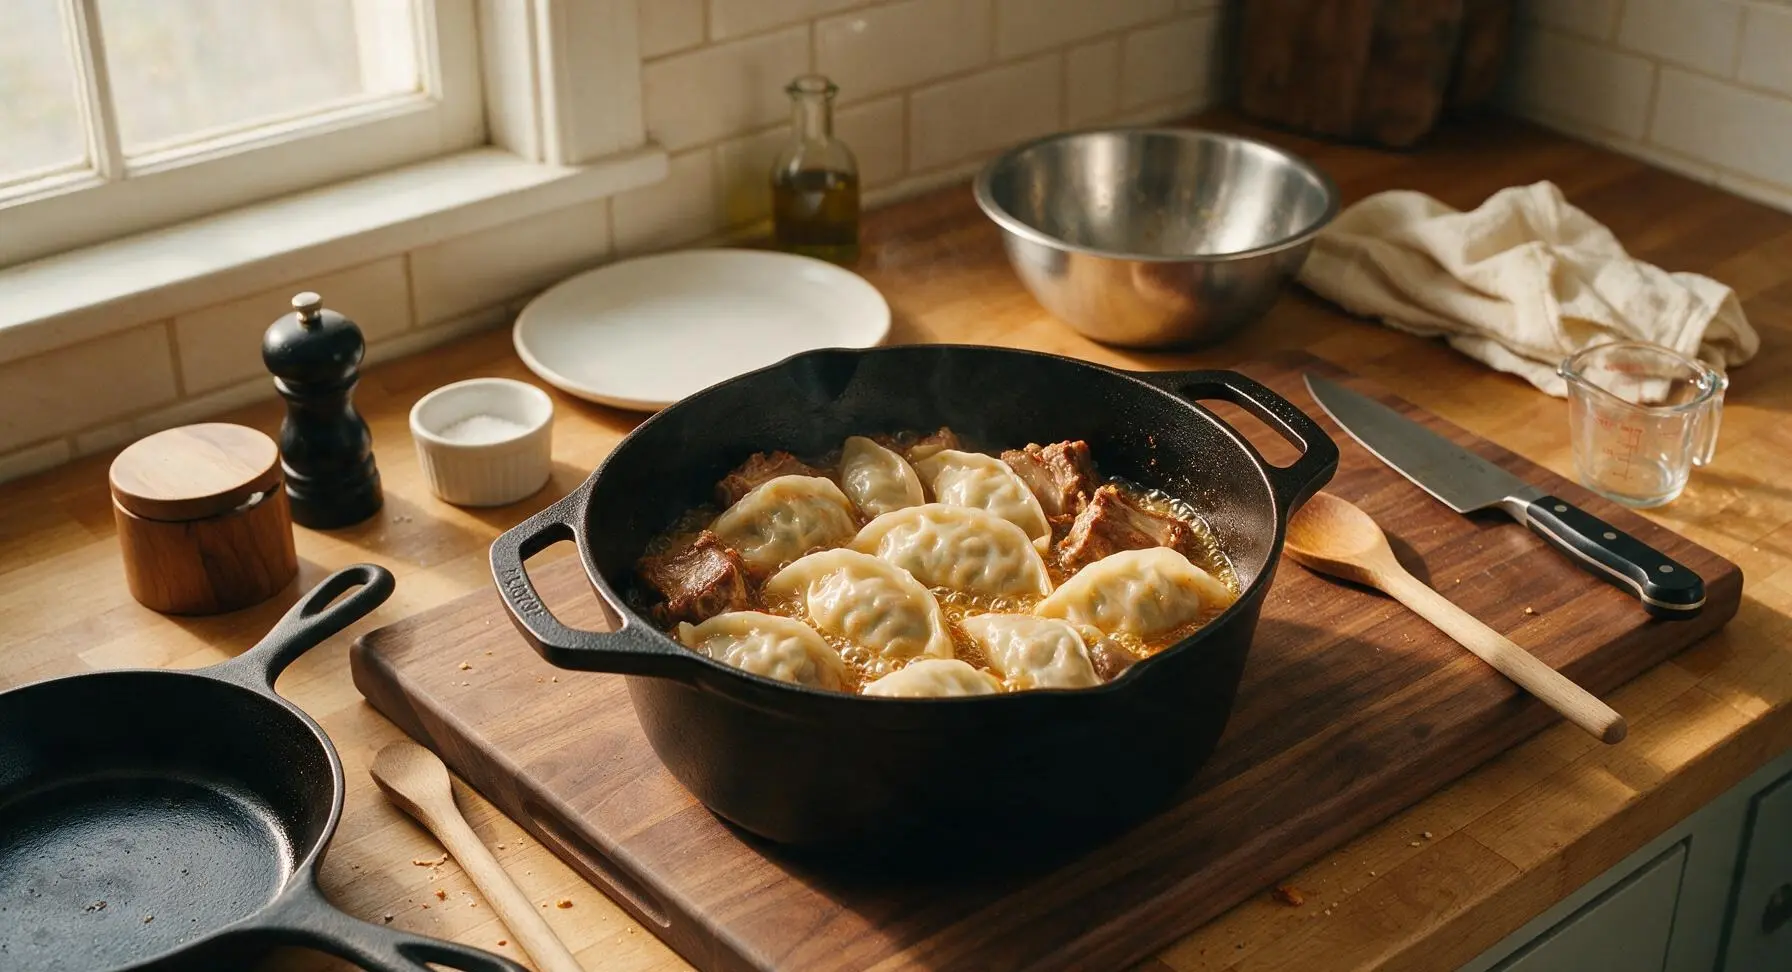
Step 5
step5:Add Mandu to Braise
Step 5
step5:Add Mandu to Braise
6

Adjust Final Seasoning

Taste the braising liquid, and add a small pinch of salt only if needed (kimchi brine is often high in sodium, so always taste first to avoid over-salting). Stir in 1 tsp toasted sesame oil, turning the ribs and mandu very gently with the beech wood spoon to coat everything in the glossy, slightly thickened broth.
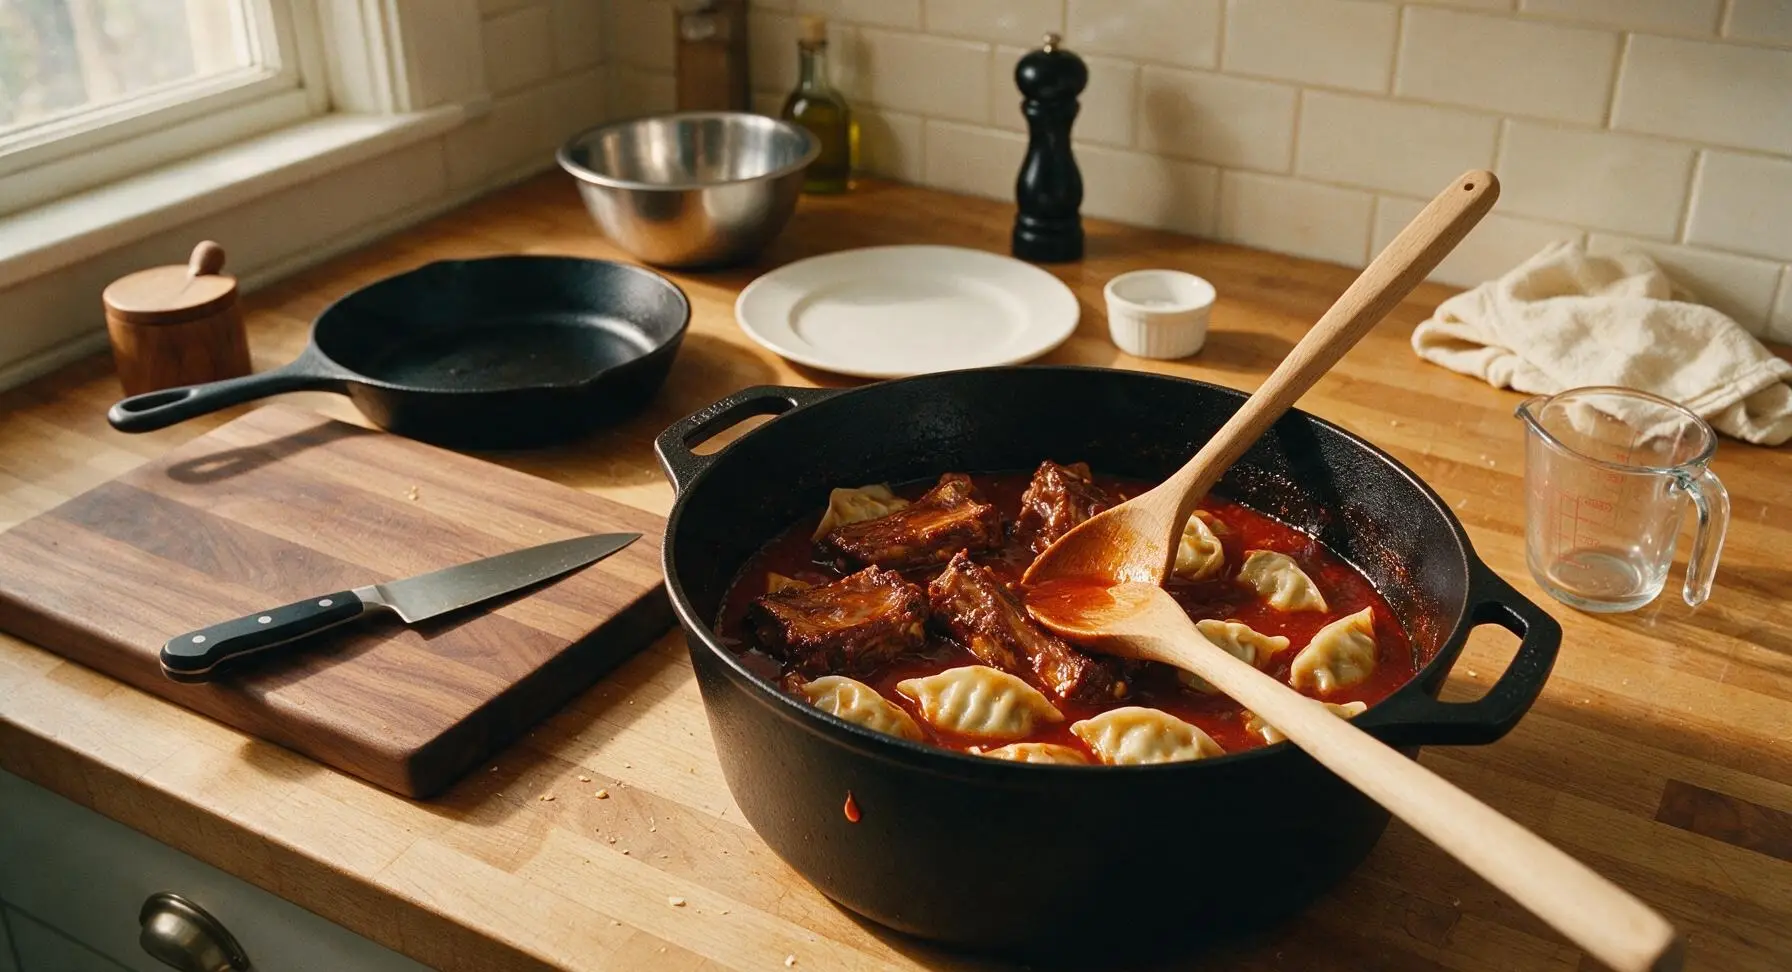
Step 6
step6:Adjust Final Seasoning
7

Plate and Garnish Dish

Turn off the heat. Use the tongs to transfer ribs and mandu to the large matte cream ceramic serving platter, spooning a generous amount of braised kimchi and broth over the top. Sprinkle evenly with thinly sliced scallion greens and 1 tsp toasted white sesame seeds for a bright, nutty finish.
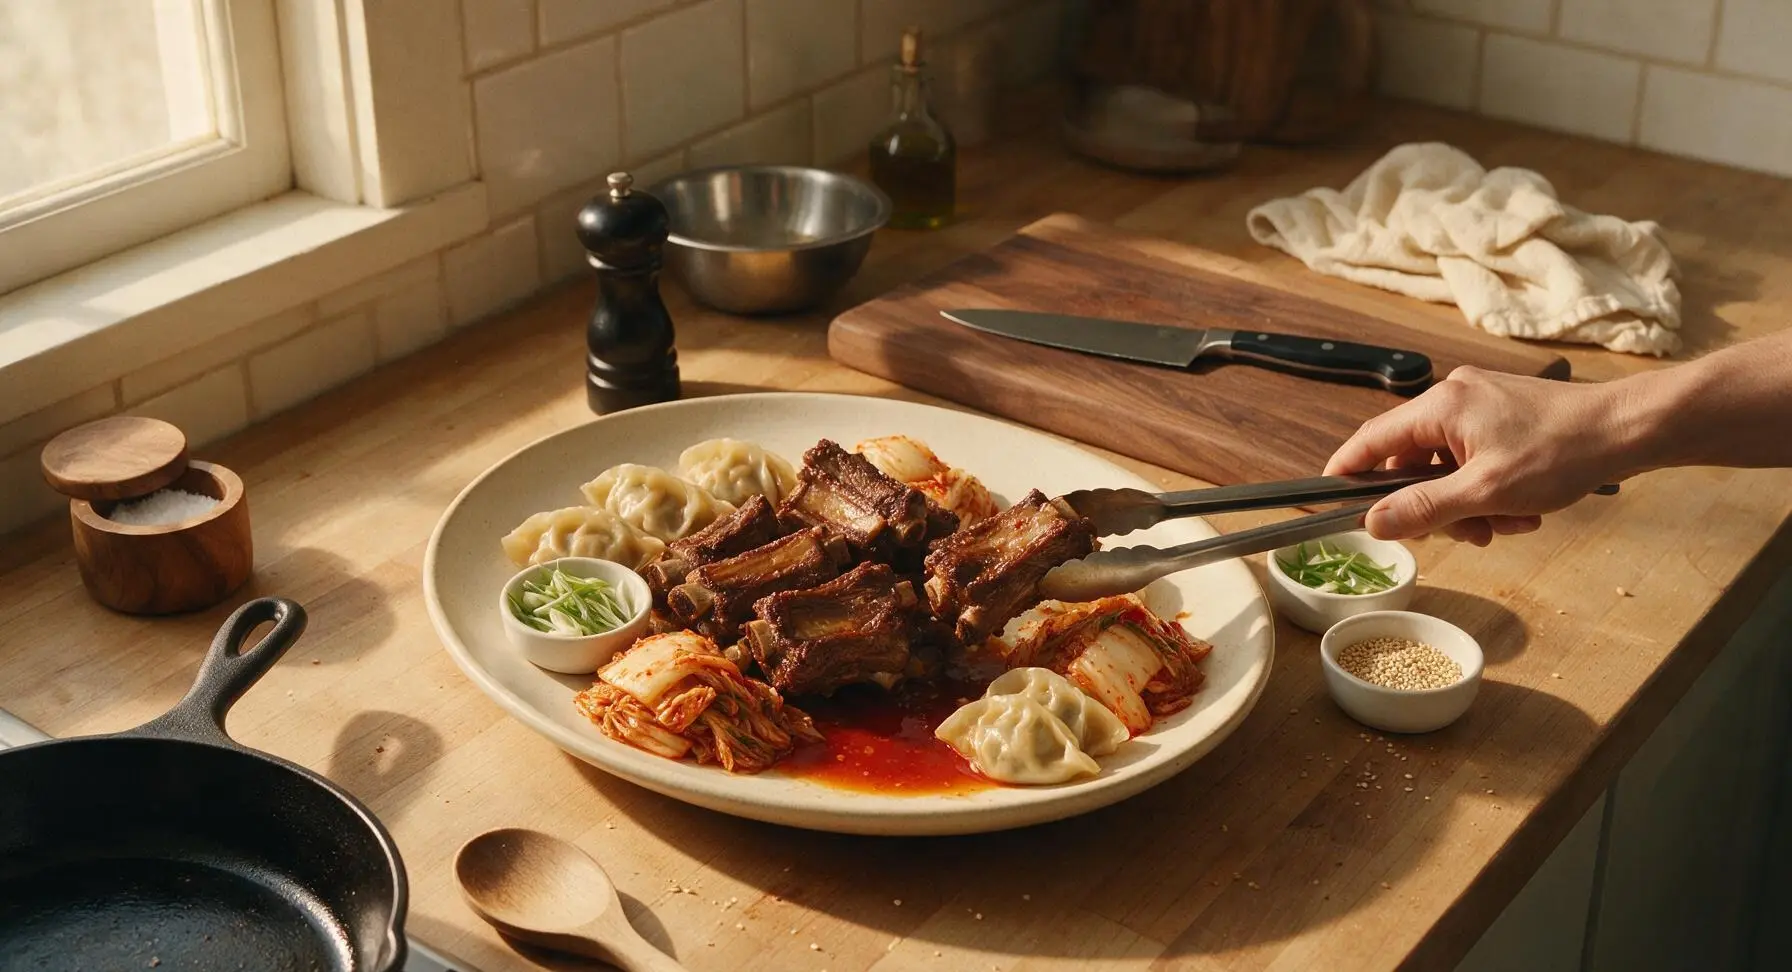
Step 7
step7:Plate and Garnish Dish

Tips

1.Use 2-4 week old well-fermented, slightly sour kimchi for the best flavor: fresh, newly made kimchi lacks the deep tangy umami that cuts through the rich fat of the pork ribs, resulting in a flat, one-note braise.
2.Add mandu straight from the freezer, do not thaw first: thawed mandu will stick together and tear easily when nestled into the broth, while frozen mandu hold their shape perfectly and cook through evenly in the 8-minute simmer time.
3.Keep the heat at a bare simmer after adding mandu: a rapid rolling boil will jostle the dumplings against the ribs and pot sides, tearing their delicate wheat skins and causing filling to leak out into the broth.


✨ You May Also Like

Main Course
🍜 United Kingdom

A showstopping classic of tender seared beef, savory mushroom duxelles, and crisp prosciutto wrapped in flaky golden puff pastry, baked to juicy perfection.

⏱️ 2 hours 1Main Course ★ 4.7
Main Course
🍜 India

Tender charred marinated chicken simmered in a rich, spiced creamy tomato sauce, this iconic Anglo-Indian curry pairs perfectly with basmati rice or warm naan.

⏱️ 50 minuteMain Course ★ 4.6
Main Course
🍜 Thailand

Classic tangy, sweet, and savory Thai stir-fried rice noodles with shrimp, tofu, and crunchy garnishes, balancing all five core Thai flavor profiles.

⏱️ 30 minuteMain Course ★ 4.5
Main Course
🍜 United Kingdom

Crispy golden beer-battered cod and fluffy double-fried chips, served with tangy tartar sauce and malt vinegar: the timeless, beloved British pub comfort classic.

⏱️ 45 minuteMain Course ★ 4.7
Main Course
🍜 Mexico

Smoky, chile-marinated pork tacos with caramelized pineapple, fresh cilantro, and lime: a beloved classic Mexican street food perfect for casual summer gatherings.

⏱️ 1 hour 45Main Course ★ 4.8
Main Course
🍜 United States

Crunchy Fritos corn chips layered with savory beef chili and melted cheddar, topped with cool, zesty fixings for a beloved, cozy Tex-Mex comfort food.

⏱️ 35 minuteMain Course ★ 4.8

Kimchi Mandu Ribs:Frequently Asked Questions

1.Can I use pre-cut pork spare ribs from the grocery store instead of cutting them myself? ▾
Absolutely! Most grocery store meat counters will cut spare ribs into 5cm (2-inch) individual pieces for free if you ask, which saves valuable prep time. Just double-check for any sharp loose bone fragments before cooking, and pat the ribs dry with paper towels to help build deep, savory flavor as they sear.
2.How ripe should my fermented napa cabbage kimchi be for this recipe? ▾
Opt for well-fermented, slightly sour kimchi that’s 2–4 weeks old for the deepest, tangiest flavor. Super fresh, crisp newly made kimchi won’t impart that rich, umami zing the broth needs. Be sure to reserve 1/4 cup of kimchi brine, as that adds bright, fermented depth you can’t get from kimchi alone.
3.Do I need to thaw frozen kimchi mandu before adding them to the pot? ▾
No, do not thaw your frozen kimchi mandu first! Adding them straight from the freezer prevents them from getting soggy or splitting open while simmering. Gently drop them into the bubbling broth during the last 10 minutes of cooking, and stir very carefully once to keep them from sticking to the pot bottom.
4.Can I make this dish with beef ribs instead of pork spare ribs? ▾
You can, but you’ll need to adjust cooking time accordingly. Bone-in beef short ribs cut into 5cm pieces take 1.5 times longer to reach fall-off-the-bone tenderness than pork spare ribs, so wait to add the mandu until the beef is nearly done to avoid turning dumplings mushy. Pork spare ribs still deliver the most classic, cozy flavor.
5.Why does the recipe call for low-sodium chicken broth instead of regular? ▾
Fermented kimchi, its reserved brine, and gochujang all carry quite a bit of natural sodium, so using low-sodium chicken broth lets you control the final salt level of the dish. If you only have regular broth on hand, skip adding extra salt at the start, and taste to adjust seasoning right at the end to avoid over-salting.
6.How do I get fall-off-the-bone tender ribs without making the mandu mushy? ▾
The trick is to simmer the ribs in the kimchi broth first, covered, for 45 to 50 minutes until they are almost tender, before you add the frozen mandu. If you add dumplings too early, they will absorb too much broth, break apart, and turn unpleasantly mushy long before the ribs finish cooking perfectly.
7.Can I use homemade kimchi mandu instead of store-bought frozen ones? ▾
Homemade kimchi mandu works beautifully here! Just freeze them for at least 2 hours before adding if they’re freshly made. Soft, uncooked fresh mandu wrappers split easily in hot broth, and a quick freeze firms the wrapper just enough to hold its signature chewy texture while simmering.
8.How spicy is this dish, and can I adjust the heat level? ▾
As written with the standard amount of gochujang, the dish has warm, noticeable but not overwhelming heat that pairs perfectly with tangy kimchi. To make it milder, cut the gochujang in half and swap in mild doenjang (Korean soybean paste) to keep umami depth; add extra gochujang or gochugaru for bolder heat.
9.What should I serve with Kimchi Mandu Ribs to make a full meal? ▾
This rich, hearty dish pairs perfectly with plain steamed short-grain white rice to soak up the tangy broth, plus a quick side of pickled daikon radish or lightly seasoned spinach to cut through the richness. You don’t need heavy extra sides—the ribs and mandu are already substantial enough to be the meal’s star.
10.Can I make this recipe in a slow cooker or Instant Pot? ▾
You sure can! For a slow cooker, cook the ribs, kimchi, brine, broth, and gochujang on low for 6 hours, then turn to high, add frozen mandu, and cook 10 more minutes. For an Instant Pot, pressure cook the rib base for 15 minutes, quick release, then add mandu and simmer on sauté mode for 10 minutes.
11.What should I do if my kimchi doesn’t have enough brine to reserve 1/4 cup? ▾
If your kimchi jar is low on brine, top up the missing amount with 1 tablespoon unseasoned rice vinegar mixed with 3 tablespoons water, plus a tiny pinch of salt to match the brine’s tang. Don’t skip this component entirely—the brine adds bright, fermented tang that keeps the rich broth from tasting flat or heavy.
12.Can I substitute regular pork or vegetable mandu if I can’t find kimchi mandu? ▾
You can, though you’ll lose a little of that layered kimchi flavor. If using plain pork or vegetable mandu, add an extra 1/2 cup of chopped fermented kimchi to the broth to amp up the signature tang, and check the dumpling package cook time to make sure you don’t overcook them once added to the pot.
13.How do I store leftovers, and how long will they keep? ▾
Store cooled leftovers in an airtight container in the fridge for up to 3 days. When reheating, warm gently on the stovetop over low heat, adding a splash of extra chicken broth if the broth has thickened up. Note that mandu will get softer the longer they sit, so they’re best eaten within 2 days for ideal chewy texture.
14.Do I need to sear the ribs before simmering them in the broth? ▾
Searing the ribs over medium-high heat for 2–3 minutes per side before adding broth and other base ingredients adds deep, caramelized savoriness that makes the finished dish taste much richer. If you’re short on time you can skip this step, but the broth will have a lighter, less complex flavor overall.
15.Is there a way to make this dish less greasy? ▾
After simmering the ribs until almost tender, use a large spoon to skim off the thick layer of rendered pork fat that floats to the top of the broth before adding your mandu. For extra lean results, parboil ribs for 5 minutes first, drain, and rinse off surface scum before searing to cut excess fat from the start.

Comments (8)

2 days ago

OMG y’all, I made these Kimchi Mandu Ribs for our Sunday family dinner last night and every single plate was licked clean! The kimchi adds the perfect tang that cuts through the rich rib meat, and the little mandu bits soaked up all that sauce? *Chef’s kiss* I was worried the medium difficulty would be too much for my casual weeknight cooking skill level but it was totally manageable, even with my 7 year old “helping” stir the sauce. Will 100% be making this for our next neighborhood potluck!

yesterday

Wait, quick question — did you use store-bought kimchi or homemade? I only have the jarred stuff from my local H Mart and I’m nervous it’ll be too sour for the sauce!

2 hours ago

So glad your family loved them, Liz! Jarred kimchi works perfectly here — if yours is extra sour, you can stir in a tiny pinch of brown sugar to balance the flavor right before adding the ribs. Hope it’s a total hit at the potluck!

3 days ago

Tried this last weekend, cook time was spot on at 1 hour 20 minutes — no guessing if the ribs were done, they were perfectly fall-off-the-bone tender. I did add an extra splash of low-sodium soy sauce because I love that salty umami kick, and served it with steamed rice and quick pickled cucumbers. SO good, my roommate stole three servings before I even got to sit down for dinner lol.

2 days ago

Love the extra soy sauce tweak! Steamed rice and quick pickled cucumbers sound like the ideal side to cut through the richness of the ribs — so glad you and your roommate enjoyed!

1 week ago

Game changer for my weekly meal prep! I made a big batch on Sunday, portioned it out with rice and roasted broccoli, and it held up perfectly all week in the fridge. The flavors actually got better each day as the kimchi melded with the rib sauce. My only note is to make sure you don’t add the mandu too early, mine got a little mushy the first time I tested the recipe but holding them until the last 25 minutes of cook time fixed it right up.

5 days ago

Idk if I messed something up but my ribs came out way tougher than I expected after the full 1 hour 20 minute cook time? I followed the recipe to a T, used baby back ribs like it said, let the kimchi simmer like instructed… might’ve just gotten a bad tough rack of ribs? Flavor was incredible though, that kimchi sauce is insane, I was licking it off the pan.

3 days ago

I had that happen the first time I made them too! Turns out my oven runs 25 degrees cold, so I cranked it up a little and added 15 minutes of covered cook time, and they were fall-apart perfect the second go around. Definitely grab an oven thermometer to check your temp!

2 days ago

So sorry to hear the ribs were tough, Stan! Oven temperature variation is such a common culprit, like Dave mentioned. If your oven runs cool, adding 10-15 minutes of covered cook time will make all the difference. So glad you loved the sauce though — hope you give it another try soon!

yesterday

My kids loved it!!! I was so worried the kimchi would be too spicy for my 6 and 9 year old, so I rinsed it a little under cold water before adding it to the sauce to mellow out the heat, and they both asked for seconds. Even my picky husband who “doesn’t like fusion food” went back for a third helping. 10/10, will be in our regular monthly dinner rotation.

2 hours ago

Rinsing the kimchi to cut the heat is such a smart hack! I’m making this for my sister who hates super spicy food next week when she visits, I’ll definitely be stealing that tip, thanks!

30 minutes ago

Solid recipe, the medium difficulty rating is totally fair — there’s a few steps with prepping the ribs and mixing the kimchi sauce but nothing crazy if you get your ingredients prepped first. I made mine in a Dutch oven instead of a regular baking dish and it worked like a charm, the heat distributed way more evenly. Wish I’d made a double batch because we demolished half of it before I even got a photo for my food Instagram.

5 minutes ago

Whoever thought to combine kimchi and mandu with ribs is a literal genius. I’ve made so many rib recipes over the years for game day gatherings and this one is top 3 for sure. The mandu get all crispy on the edges from baking in the rib fat? Insane. I used frozen pork and vegetable mandu from my local Asian market and it was perfect, no fancy homemade ingredients needed.

just now

So happy you loved the flavor combo, Tom! Those crispy edge mandu are honestly my favorite part of this recipe too — using frozen mandu from the local market works perfectly, no need to make them from scratch unless you want to!

2 hours ago

I’ve been hyped to make this recipe all week, it looks SO good! Quick question though — can I make this in a slow cooker instead of the oven? I don’t have a big enough baking dish for a full rack of ribs right now, and I don’t want to run to the store just for that. Already saved it to my dinner folder, can’t wait to dig in!

30 minutes ago

I did this last week! Cook the ribs on low for 6 hours in the kimchi sauce, then toss the mandu in the last 30 minutes so they don’t turn to total mush. Turned out amazing, ribs were so tender they fell right off the bone!

5 minutes ago

Great question, Amy! The slow cooker method works beautifully, just like the tip above — low for 6 hours, add mandu in the last 30 minutes. If you want a little sticky caramelization on the ribs, you can broil them for 2-3 minutes after slow cooking before serving. Enjoy!



