
Kimchi Ribs
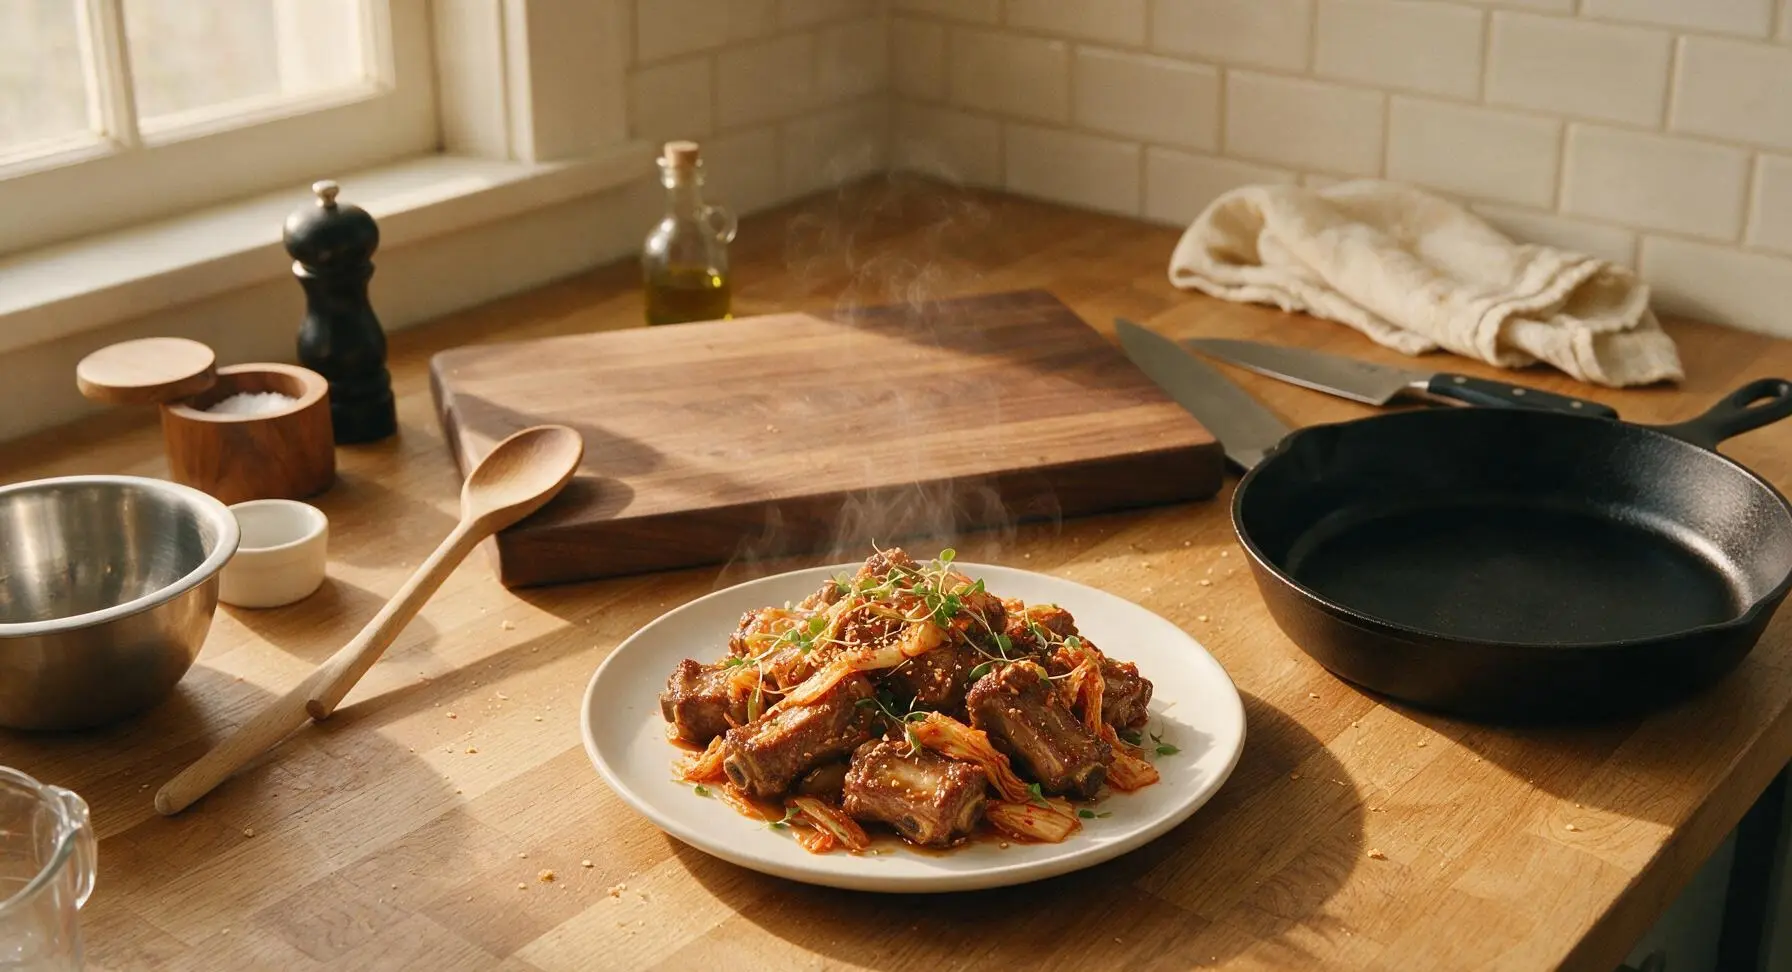
intro
Tender fall-off-the-bone pork ribs braised in tangy, umami-rich aged kimchi, coated in a glossy savory-sweet glaze that balances heat and brightness for cozy cold-weather meals.
Ingredients
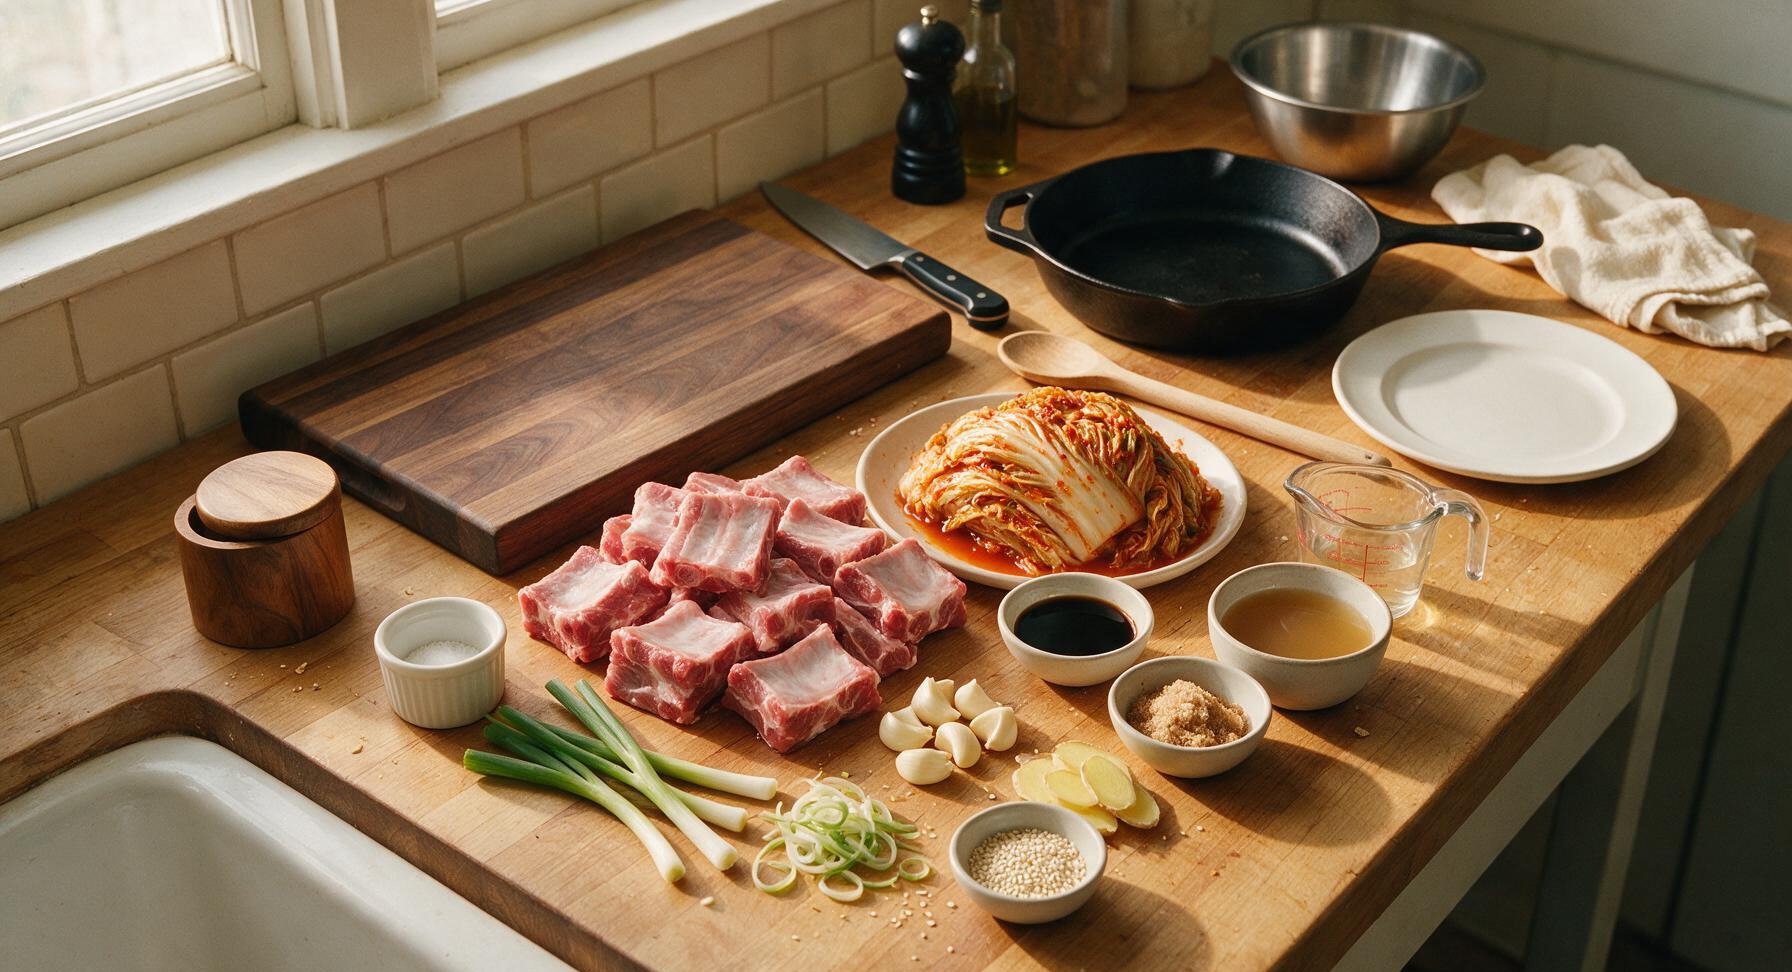
Steps
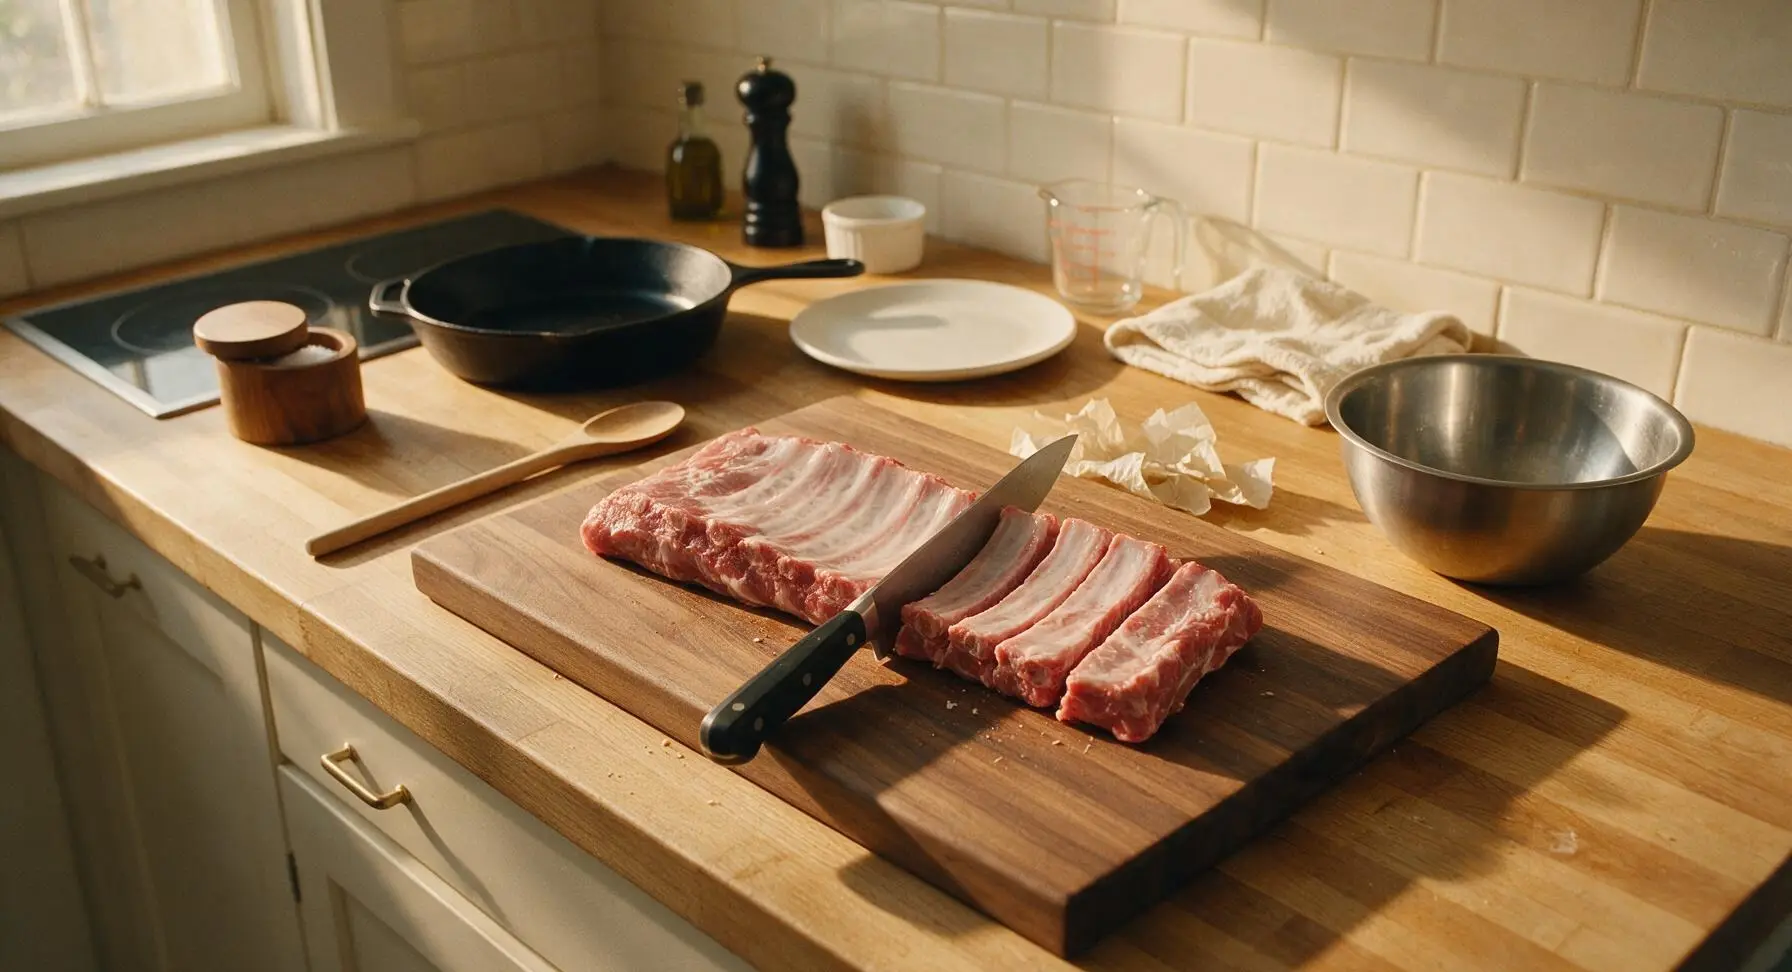
Prep the pork ribs
Place the pork back ribs on the maple cutting board. Use the chef knife to cut the rack into individual 5cm single-rib pieces, trimming any excess hard, loose fat (leave a 1/4cm layer of fat for flavor). Pat every rib piece completely dry on all sides with paper towels, then transfer to the stainless steel mixing bowl. Thoroughly drying the rib surface is critical to achieving a deep, golden sear later.
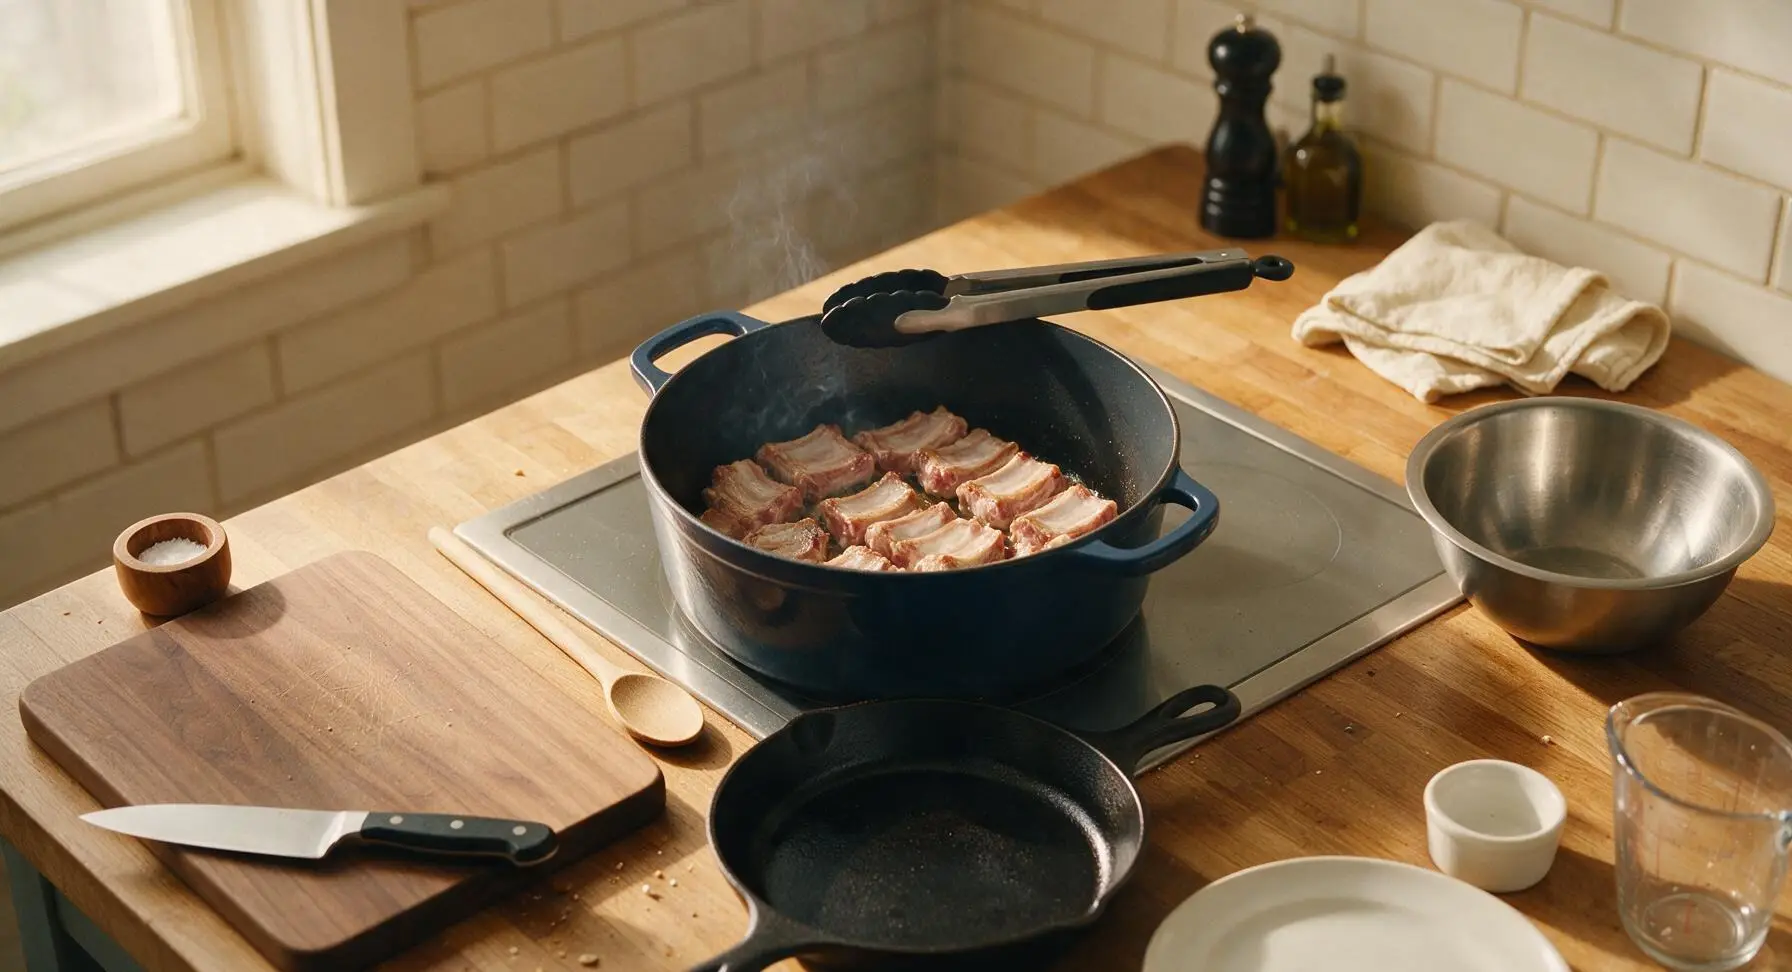
Sear ribs until golden
Set the navy enameled Dutch oven on the back left induction zone, heat to medium-high (180C/350F). Once hot, add dried rib pieces in a single layer, working in 2 batches to avoid crowding the pan. Use the silicone-tipped tongs to flip ribs every 2 minutes, searing all sides until deep golden brown, about 6-8 minutes total per batch. Transfer seared ribs back to the mixing bowl, leaving all rendered pork fat in the Dutch oven.
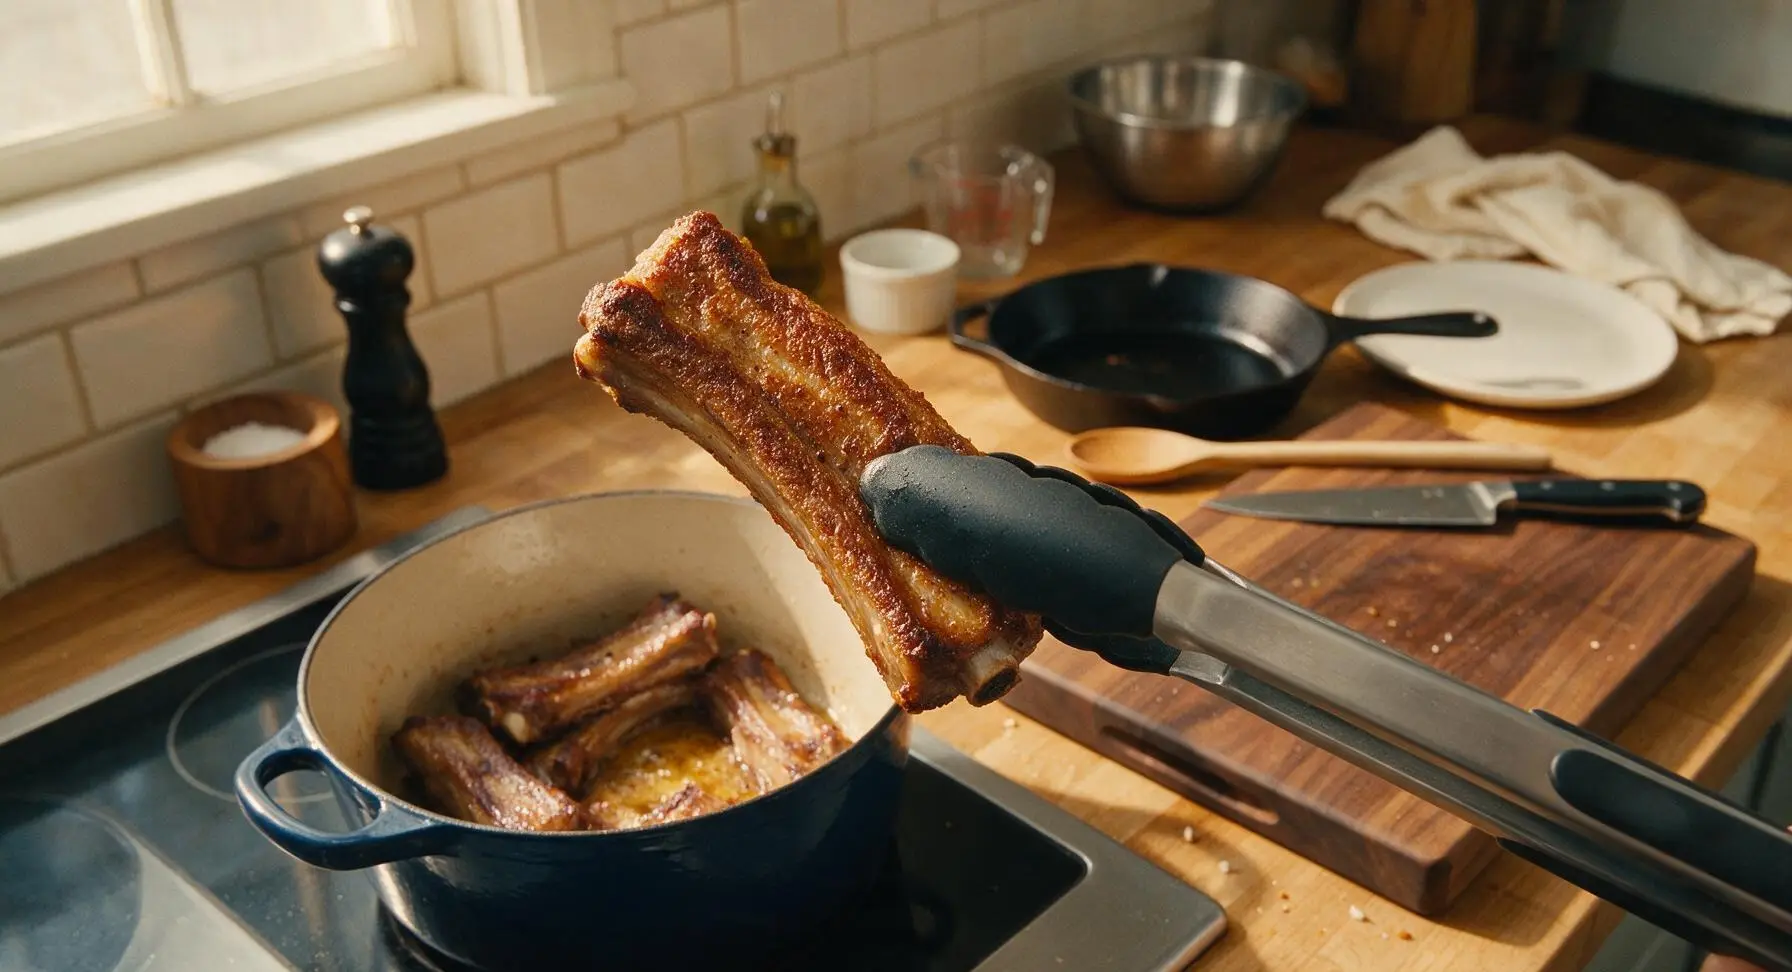
Saute kimchi and aromatics
Reduce heat under the Dutch oven to medium (150C/300F). Add crushed garlic, sliced ginger, and the 5cm-cut scallion lengths to the rendered pork fat, stirring with the beech wood spoon for 30 seconds until fragrant (do not let the garlic burn). Add the cut aged kimchi (reserve brine for later) to the pot, sauteing for 4-5 minutes until the kimchi softens slightly, deepens in red color, and releases its bright tangy aroma.
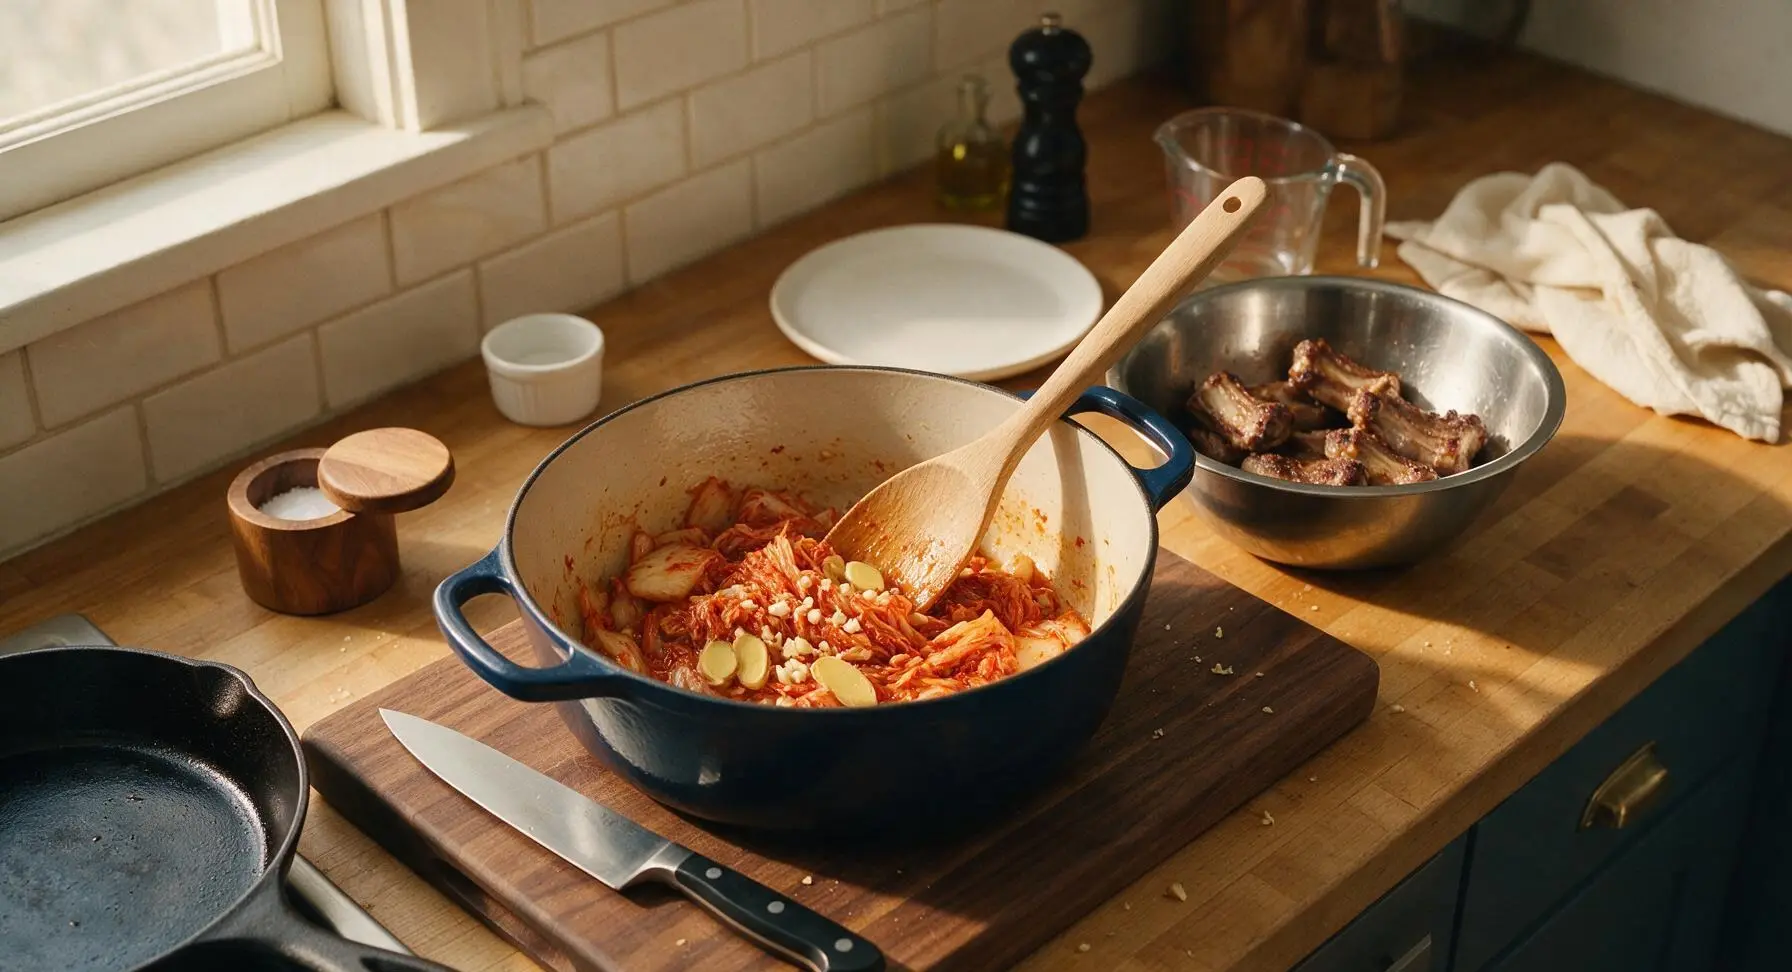
Add braising ingredients
Return the seared ribs to the Dutch oven, stirring gently to coat them in the sauteed kimchi and aromatic mixture. Pour in low-sodium soy sauce, light brown sugar, rice vinegar, reserved kimchi brine, and chicken stock. Stir with the wooden spoon to combine, ensuring the liquid comes 3/4 of the way up the ribs (add a 2-3 tbsp splash more stock if needed). Bring the liquid to a gentle simmer, with small bubbles breaking the surface every few seconds, not a rolling boil.
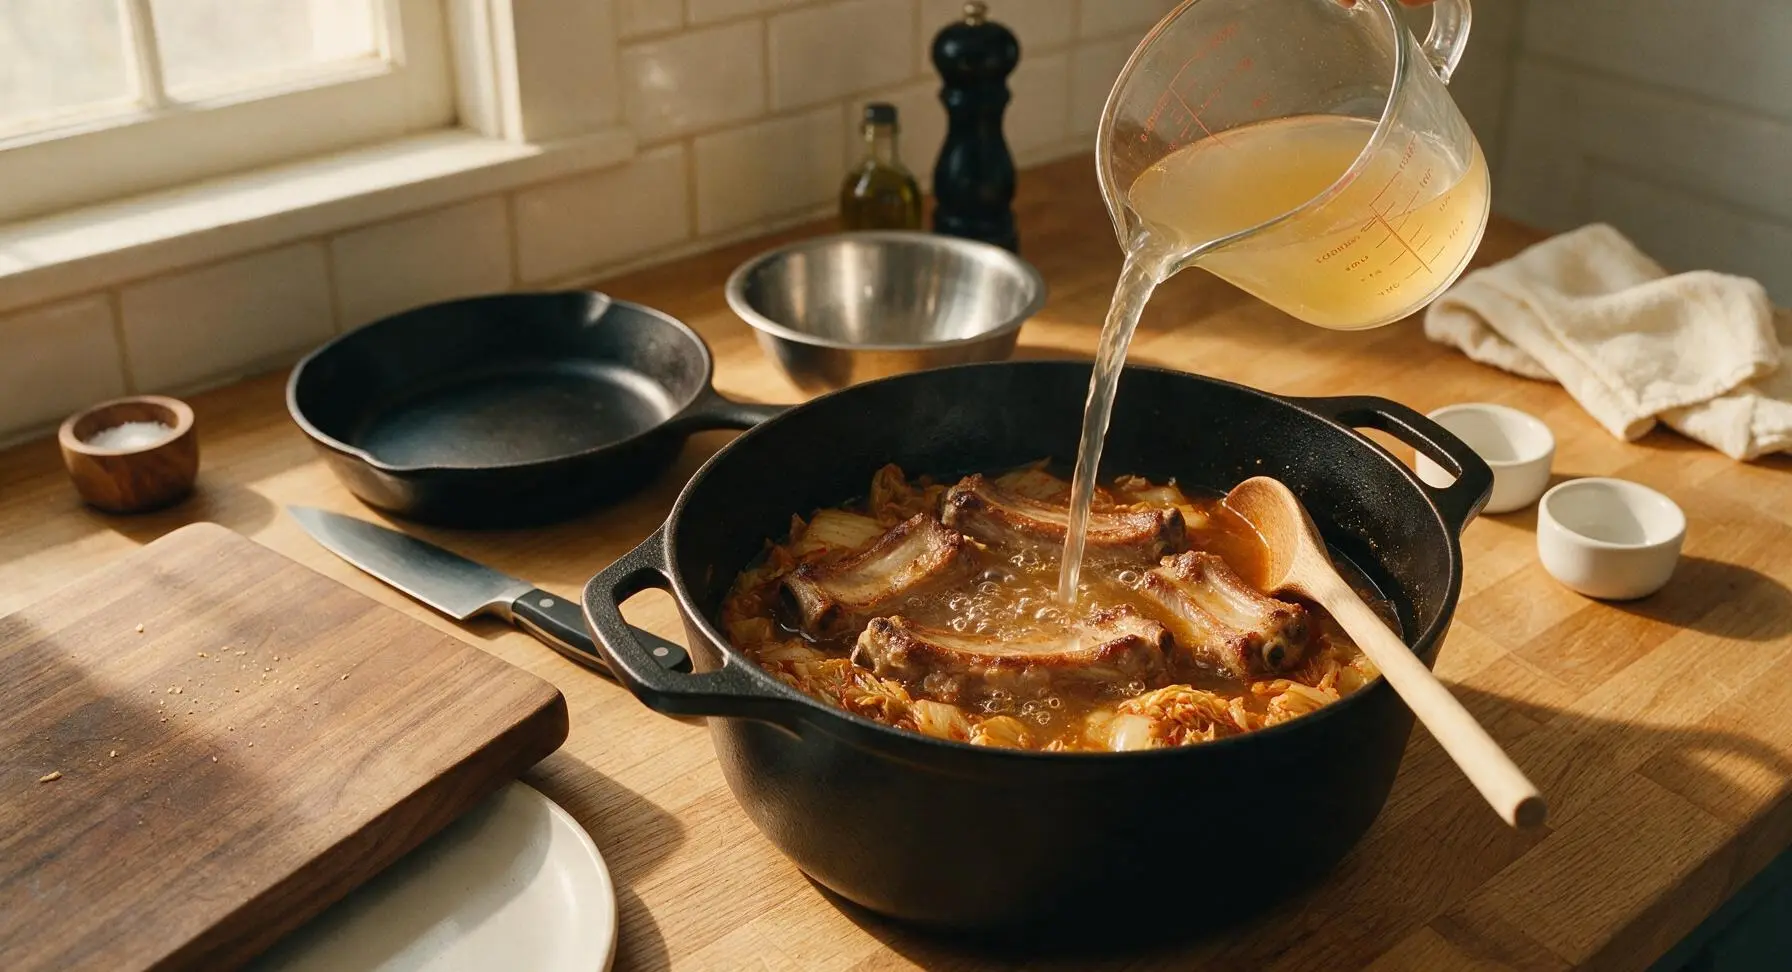
Braise until tender
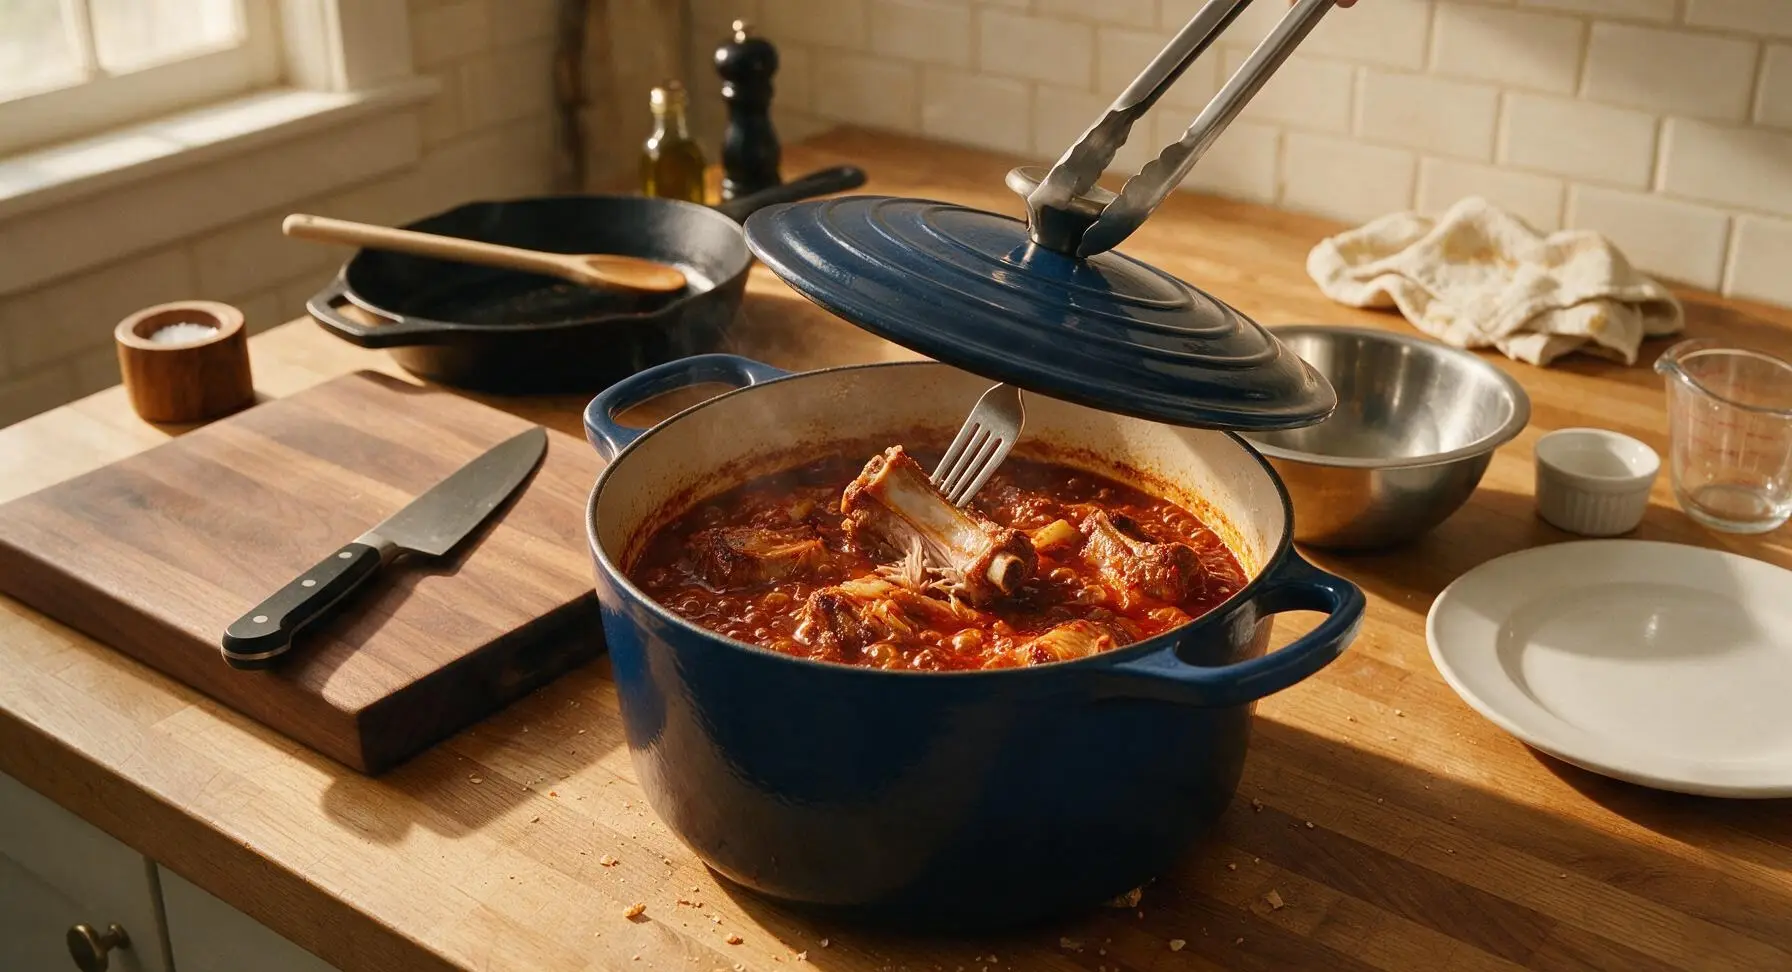
Cover the Dutch oven with its matching navy lid, reduce heat to low (110C/225F) to maintain a very gentle simmer. Let ribs braise for 60 minutes, avoiding frequent lid lifts that release heat. Check for doneness at 45 minutes: meat should pull easily from the bone when prodded with a fork, but not be so tender that it falls off the bone completely. Adjust heat down if the liquid is boiling rapidly.
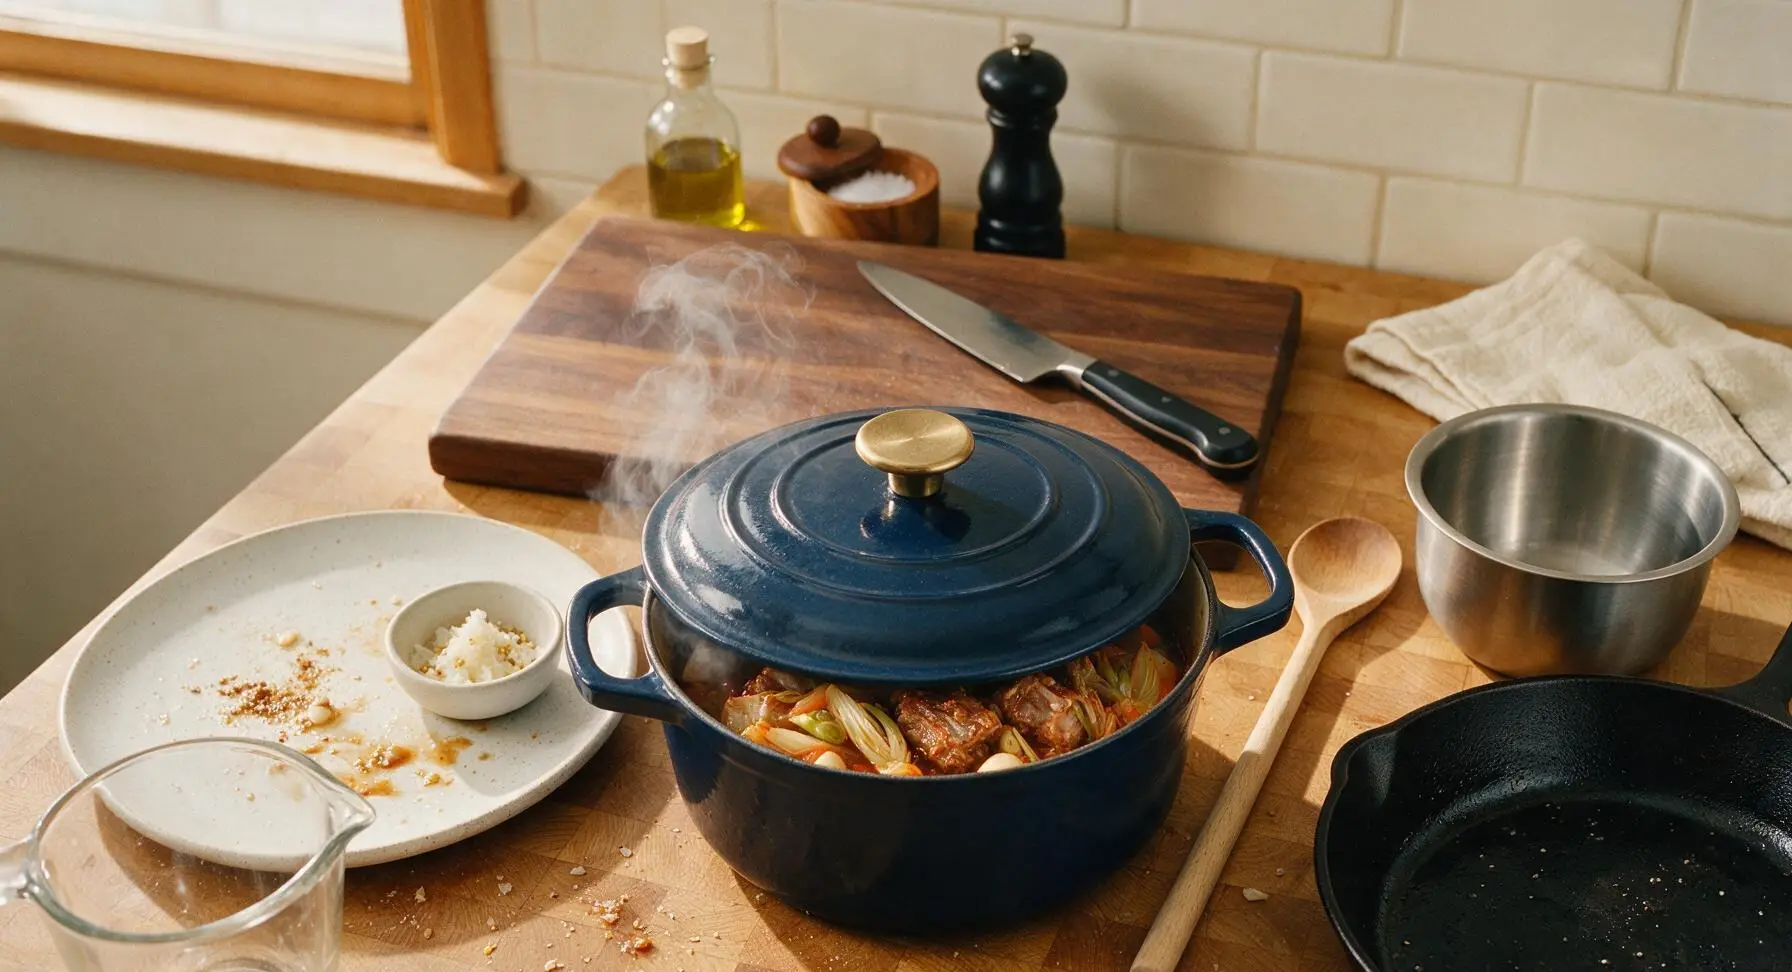
Reduce braising sauce
Remove the Dutch oven lid, setting it on a clear section of the counter, and increase heat to medium-low (130C/275F). Let the sauce simmer uncovered for 8-10 minutes, stirring occasionally with the wooden spoon, until it thickens to a glossy, syrupy consistency that coats the back of the spoon. Stir in toasted sesame oil, mixing evenly to combine. Taste and adjust: add a pinch more sugar if the kimchi is very sour, or a splash more vinegar if the sauce tastes too sweet.
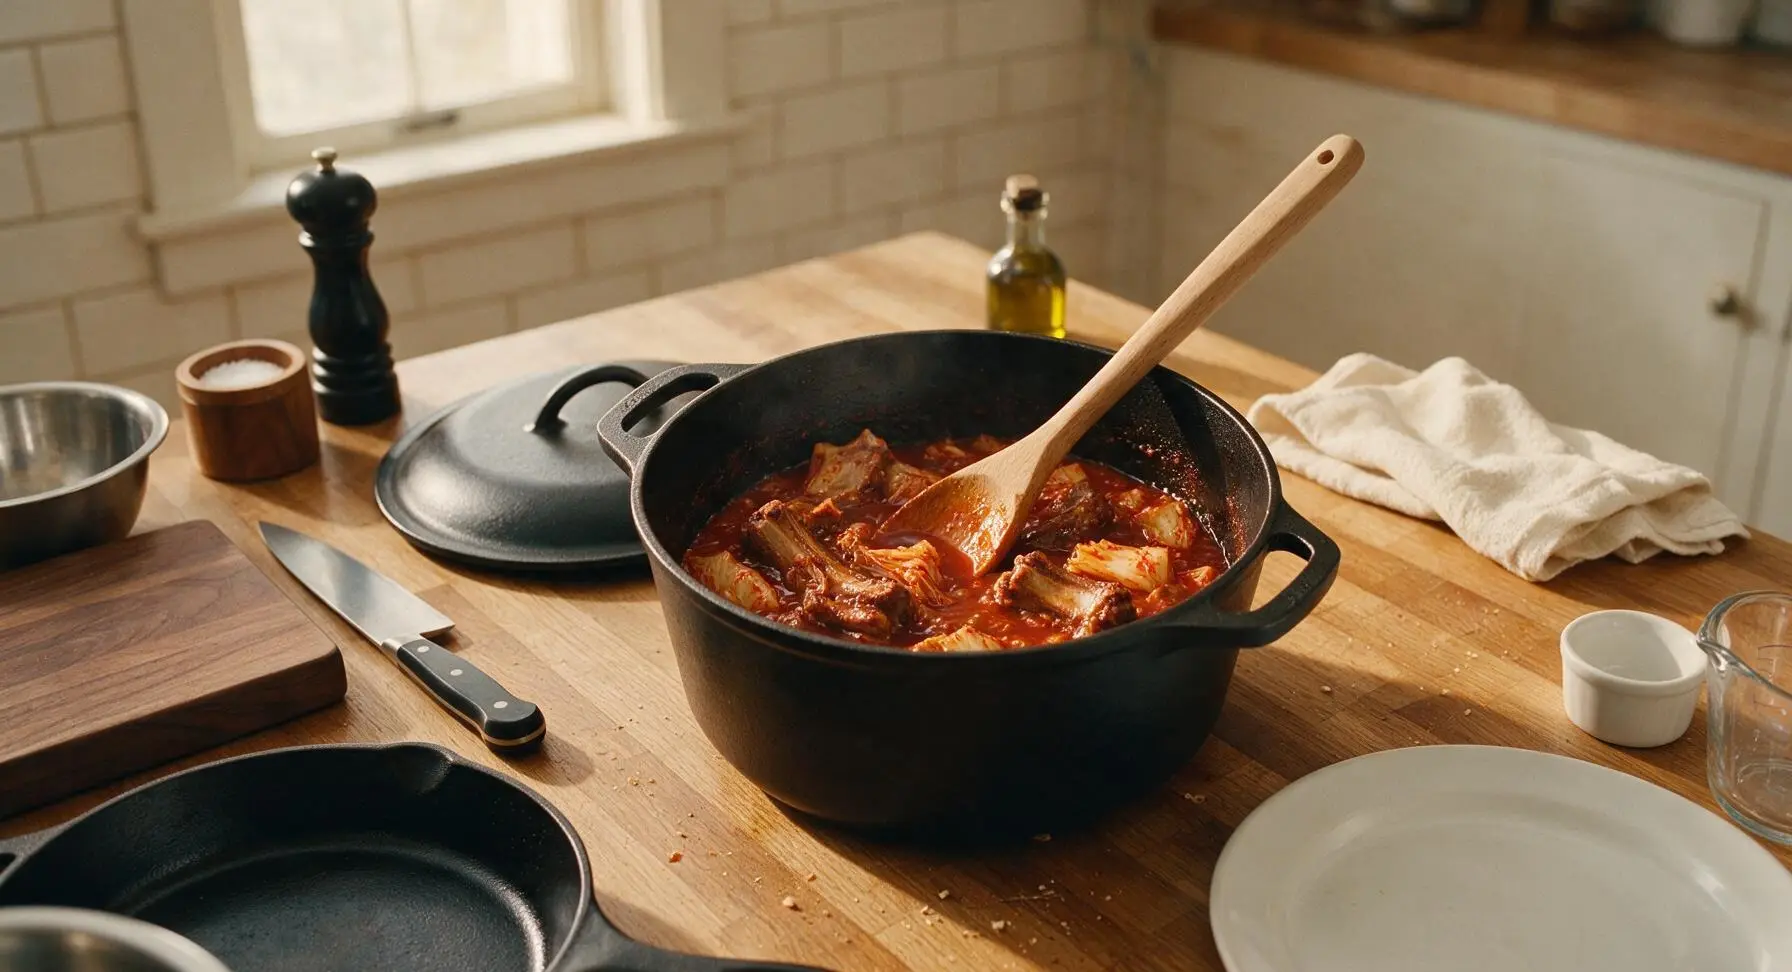
Plate and garnish ribs
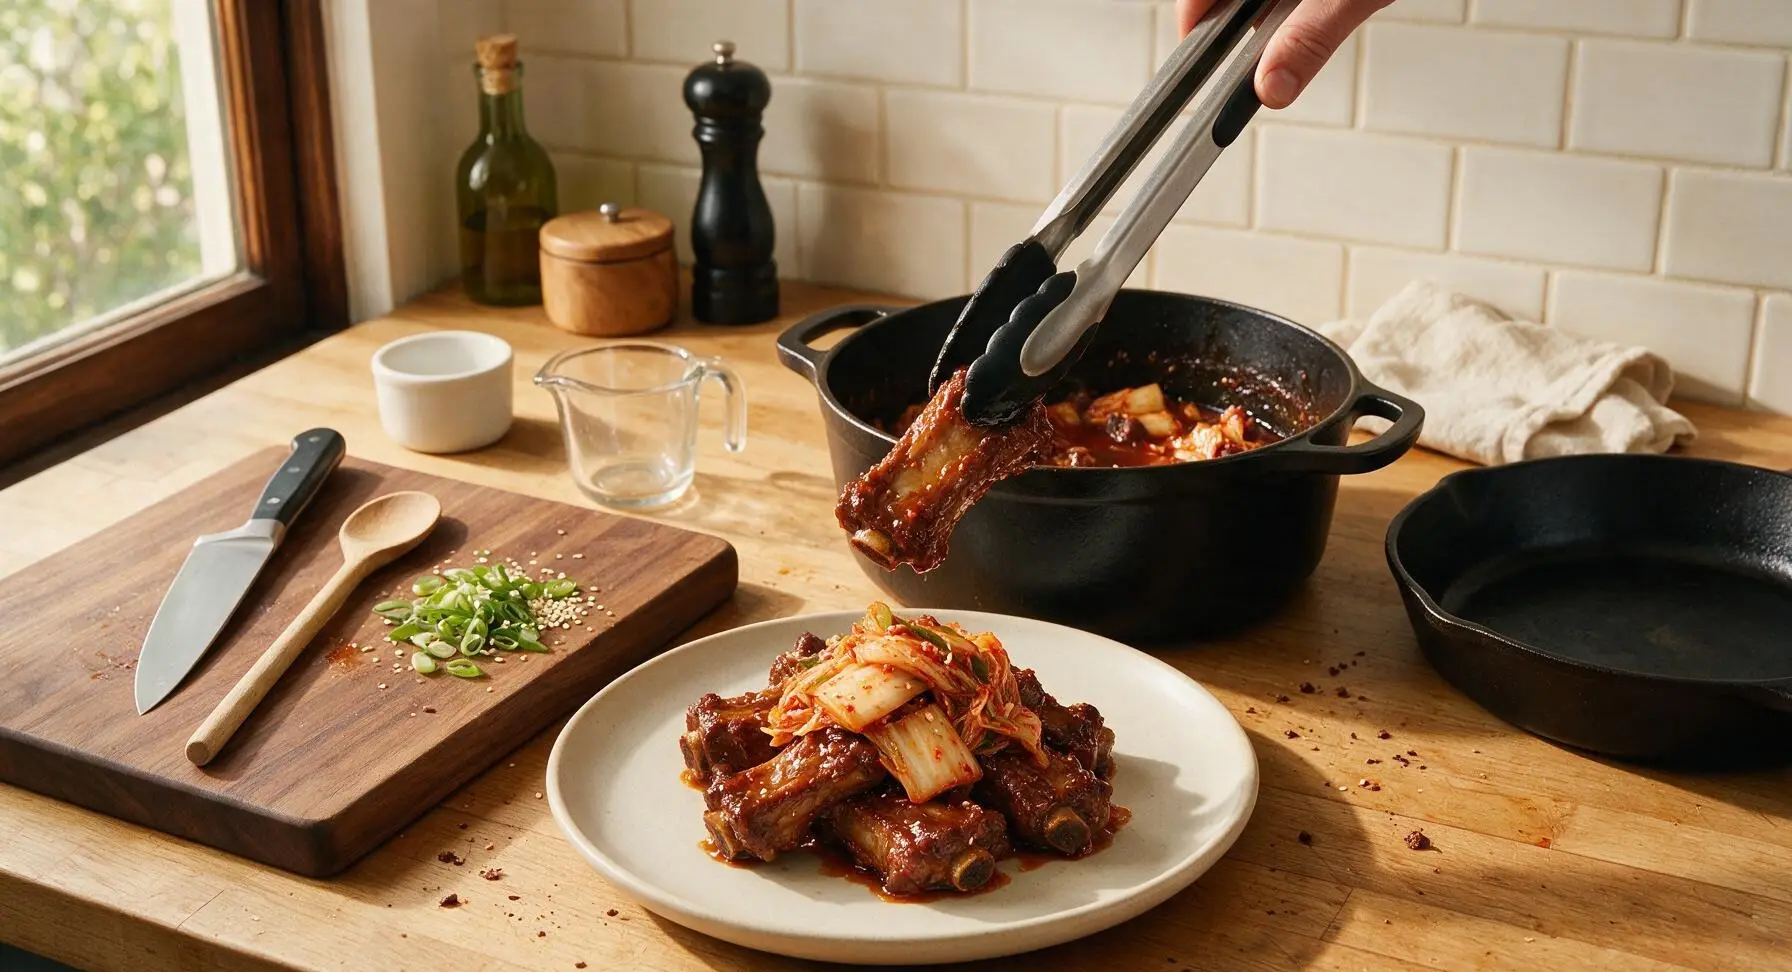
Use the tongs to transfer braised ribs and kimchi to the off-white stoneware dinner plate (now placed on the counter in front of the Dutch oven), piling them neatly in the center. Spoon 2-3 tablespoons of the thickened braising sauce over the top of the ribs. Garnish with thinly sliced scallion greens and a light sprinkle of toasted white sesame seeds. Serve immediately while hot, ideally with steamed white rice.
Tips
2.Do not boil the ribs rapidly during braising: a low, gentle simmer (small bubbles breaking the surface every 2-3 seconds) slowly breaks down rib connective tissue into juicy, tender meat, while a hard rolling boil will make meat tough and stringy.
3.Reserve the kimchi brine instead of draining it off: the brine is packed with umami and bright tang, and adds far more depth to the braising sauce than extra vinegar or salt alone, creating a more balanced, rounded flavor.






OMG these kimchi braised pork ribs were the star of our Sunday family dinner! I was worried the kimchi would be too tangy for my picky kids, but they both went back for seconds. The meat fell right off the bone, no joke. 10/10 will be making this for our next neighborhood potluck too!
Game changer. I’ve made standard braised ribs a million times but adding kimchi? Next level. I did add an extra splash of soy sauce because I like things a little saltier, and tossed in some rice cakes at the end like I do with my kimchi jjigae. *Chef’s kiss*
SO good, and this holds up amazing for meal prep! I made a big batch on Sunday, portioned it out with rice and roasted broccoli, and it tasted even better on Wednesday when the flavors had time to meld. The 1 hour 20 minute cook time is totally worth it for how many meals you get out of it.
Took this to a work potluck last week and people were literally hovering over the crockpot asking for the recipe. Only note: make a double batch. I thought 3 lbs of ribs would be enough for 12 people and it was GONE in 10 minutes. No leftovers for me, bummer.
Really solid recipe, medium difficulty is accurate—my only issue was that I wished it had a little more heat! I added a tablespoon of gochugaru halfway through cooking and it kicked it up perfectly for my taste. Will make again.
I swore I hated kimchi before trying this recipe. My partner is Korean and has been trying to get me to like it for years, and this tender, savory rib preparation finally did it. The tang cuts through the rich pork so well, I’m actually mad I waited so long to try this.
I’m usually a smoke-all-day rib purist, so I was skeptical about braising ribs with kimchi. Let me tell you—these absolutely slap. I did a quick 30 minute smoke on the ribs first before braising per the recipe, and the smoky kimchi combo was out of this world. My grill crew is still talking about it.
Wait, can I make this in a slow cooker? I don’t have a big Dutch oven at my apartment, and my stovetop is super janky. This looks too good to pass up but I don’t want to mess it up with my terrible kitchen setup lol
Made this last night with homemade kimchi from the local farmers market, and holy cow. The depth of flavor is unreal. I served it with pickled radishes and steamed rice, and my roommate said it’s better than the Korean restaurant down the street. High praise!
I made this for my grandson’s birthday dinner, since he’s obsessed with all things kimchi. He ate 4 ribs and asked me to make it for Thanksgiving this year! I added a little honey to cut the tang just a touch, since I prefer slightly sweeter braises, and it turned out perfect.
The medium difficulty rating is totally fair—there’s a decent amount of chopping and searing, but none of the steps are complicated! I was worried I’d mess up the braising liquid ratios but it was super forgiving. Even when I accidentally added a little too much rice vinegar, it still came out amazing.
Pro tip for anyone on a budget: I used pork spare ribs instead of the fancy baby back ribs the recipe calls for, and it was just as delicious! Saved me like $8 at the grocery store, and the longer braise made the spare ribs super tender. Don’t sleep on cheaper cuts for this!
Just made this for date night, and my partner said it’s the best thing I’ve ever cooked for them. We paired it with creamy mac and cheese (don’t judge, the kimchi tang and cheesy pasta were made for each other) and a cold lager. 10/10, will be a regular rotation meal.
I was worried the 1 hour 20 minute cook time would be too long for a weeknight, but most of that is hands-off braising time! I got a load of laundry done and helped my kid with homework while it simmered, and dinner was ready right when we were all hungry. No stress at all.
Minor hiccup when I made this: I didn’t brown the ribs long enough first, so they didn’t get that nice crispy crust before braising. They still tasted good, but I know they would’ve been way better if I’d taken the extra 10 minutes to get a good sear. Don’t skip the searing step, folks!
My kids loved it! I was nervous the kimchi would be too strong for them, but I used a younger, less fermented kimchi and they ate every bite. Even my super picky 7 year old asked for seconds, which never happens. This is going into the permanent dinner rotation for sure.