
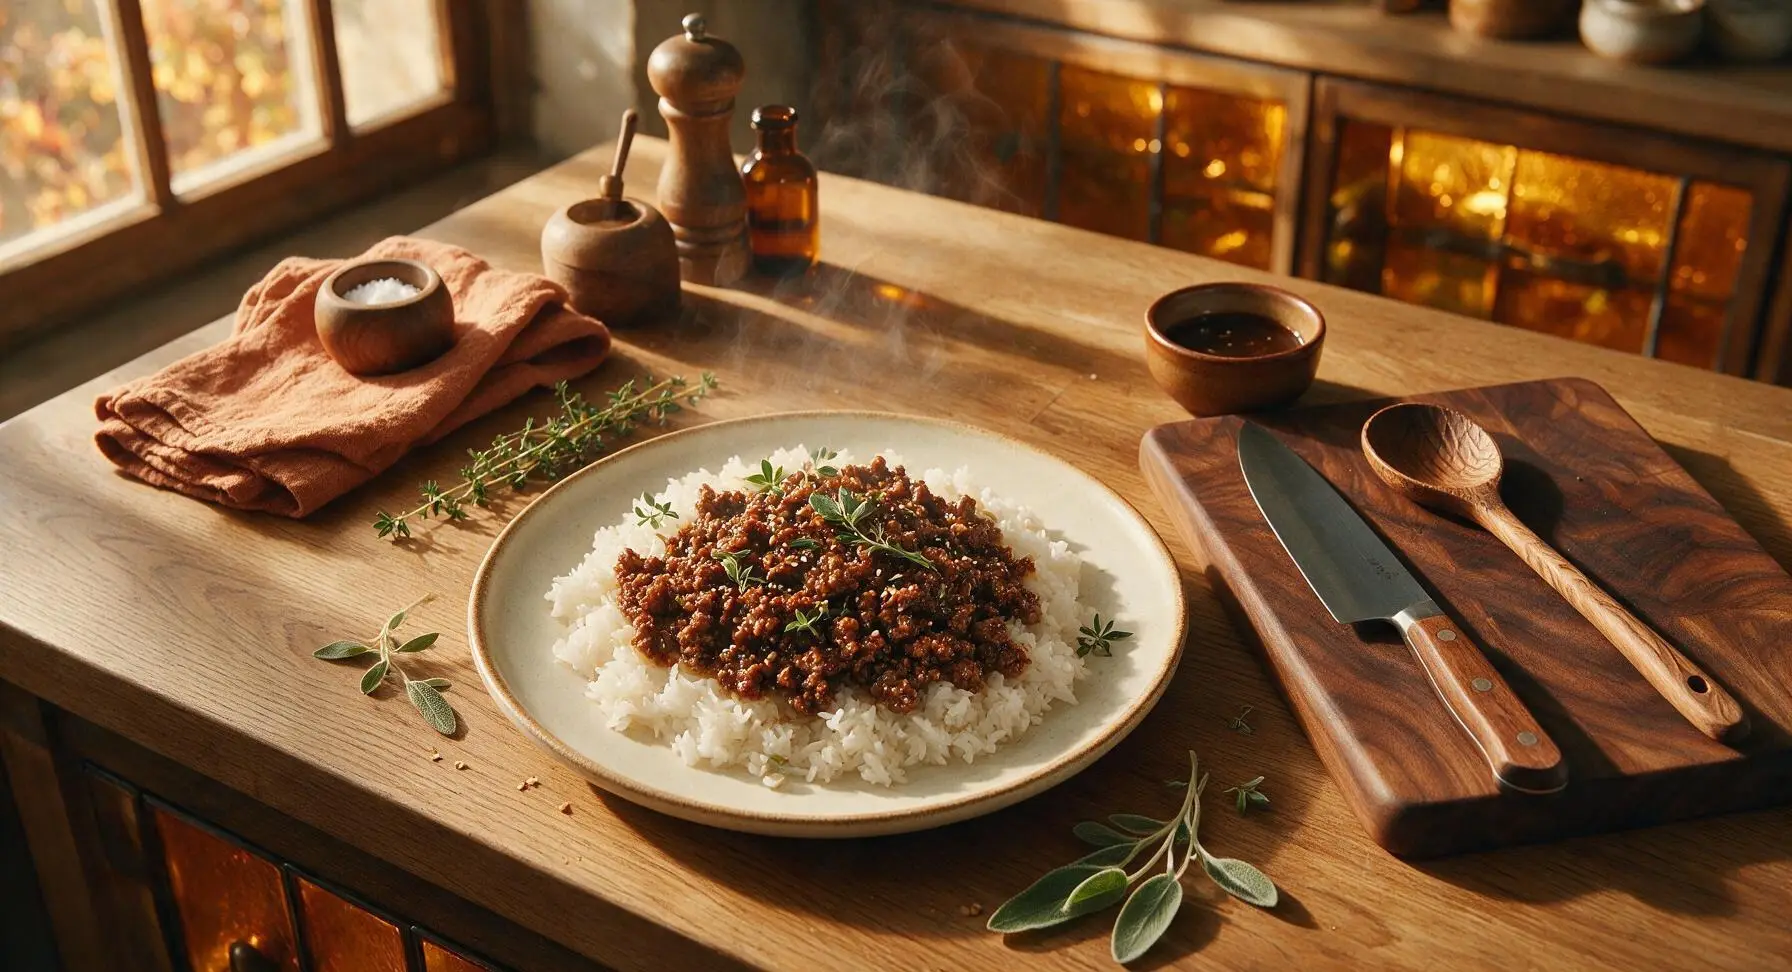
korean ground beef

title 1
korean ground beef
⏱️ cook time 15 minutes
🍽️ servings 4
⚡ Difficulty easy

intro

Sweet, savory, umami-packed Korean ground beef is coated in a glossy soy-garlic sesame glaze, perfect served over rice for a fast, satisfying weeknight meal.

Ingredients
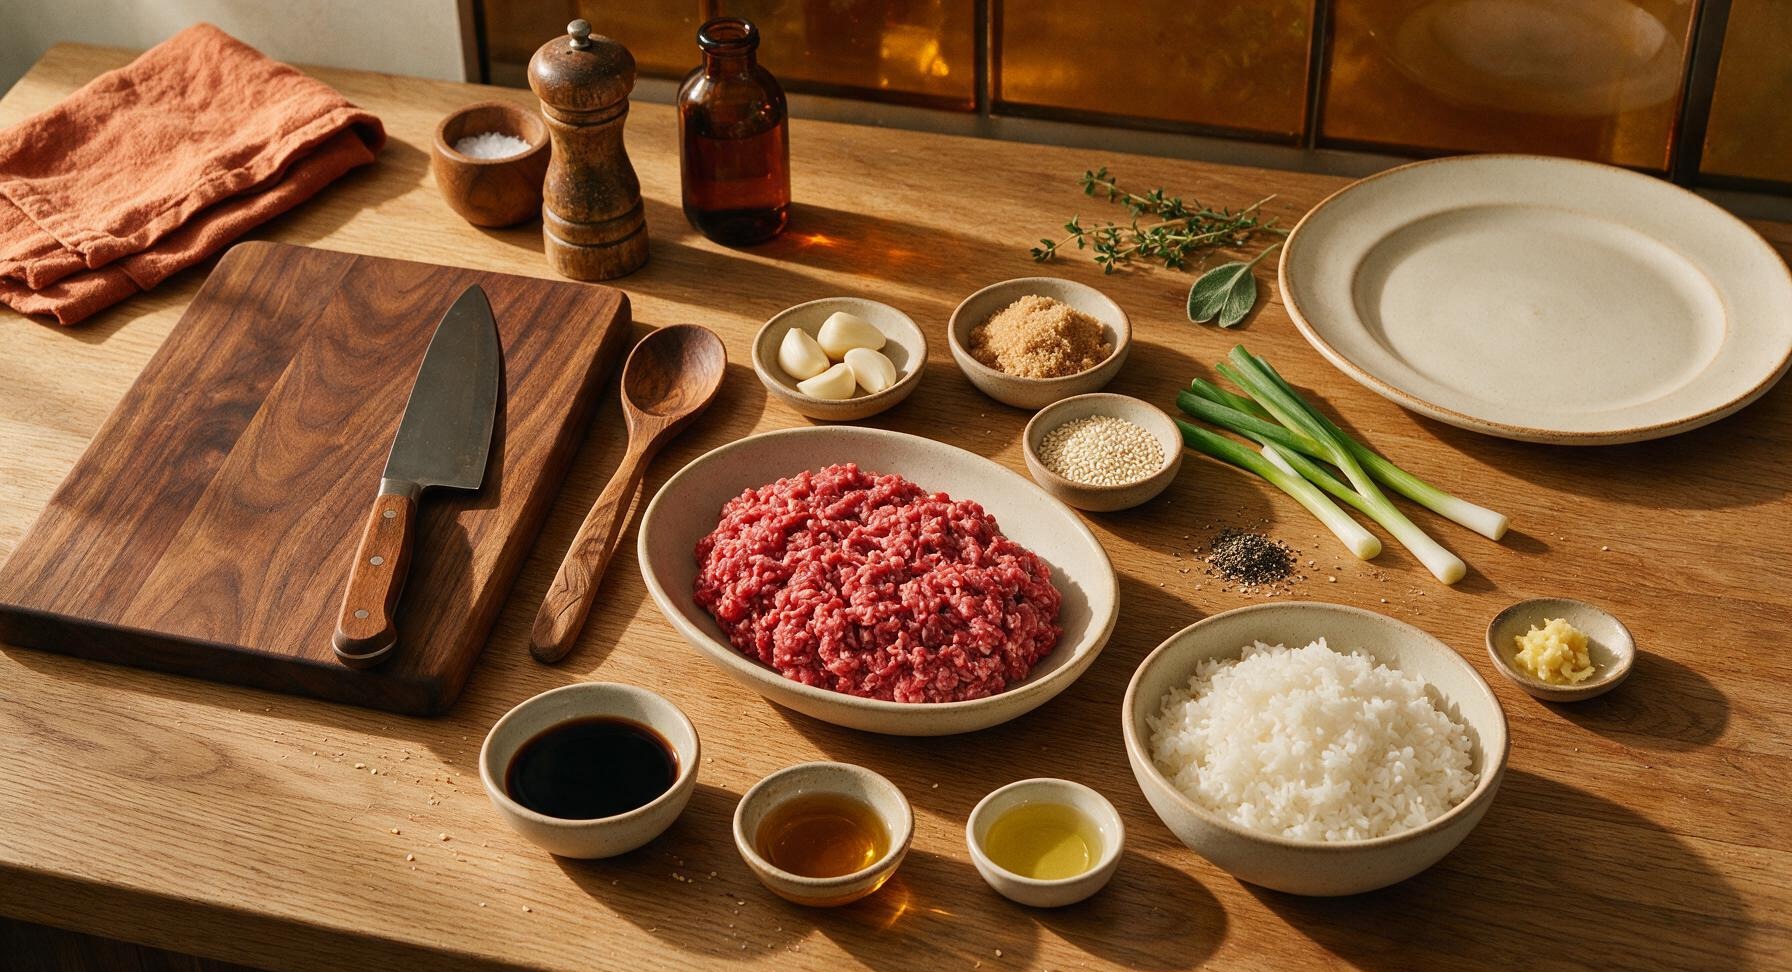
Lean ground beef (90/10) 500g
Low-sodium soy sauce 80ml (1/3 cup)
Packed light brown sugar 3 tbsp
Toasted sesame oil 1 tbsp
Fresh garlic 4 cloves
Fresh ginger 1 tsp (minced)
Green onions 3 stalks
Toasted white sesame seeds 1 tsp
Ground black pepper 1/4 tsp
Neutral canola oil 1 tsp
Steamed white short-grain rice 4 cups (cooked)

Steps

1

Prep Aromatics and Garnish

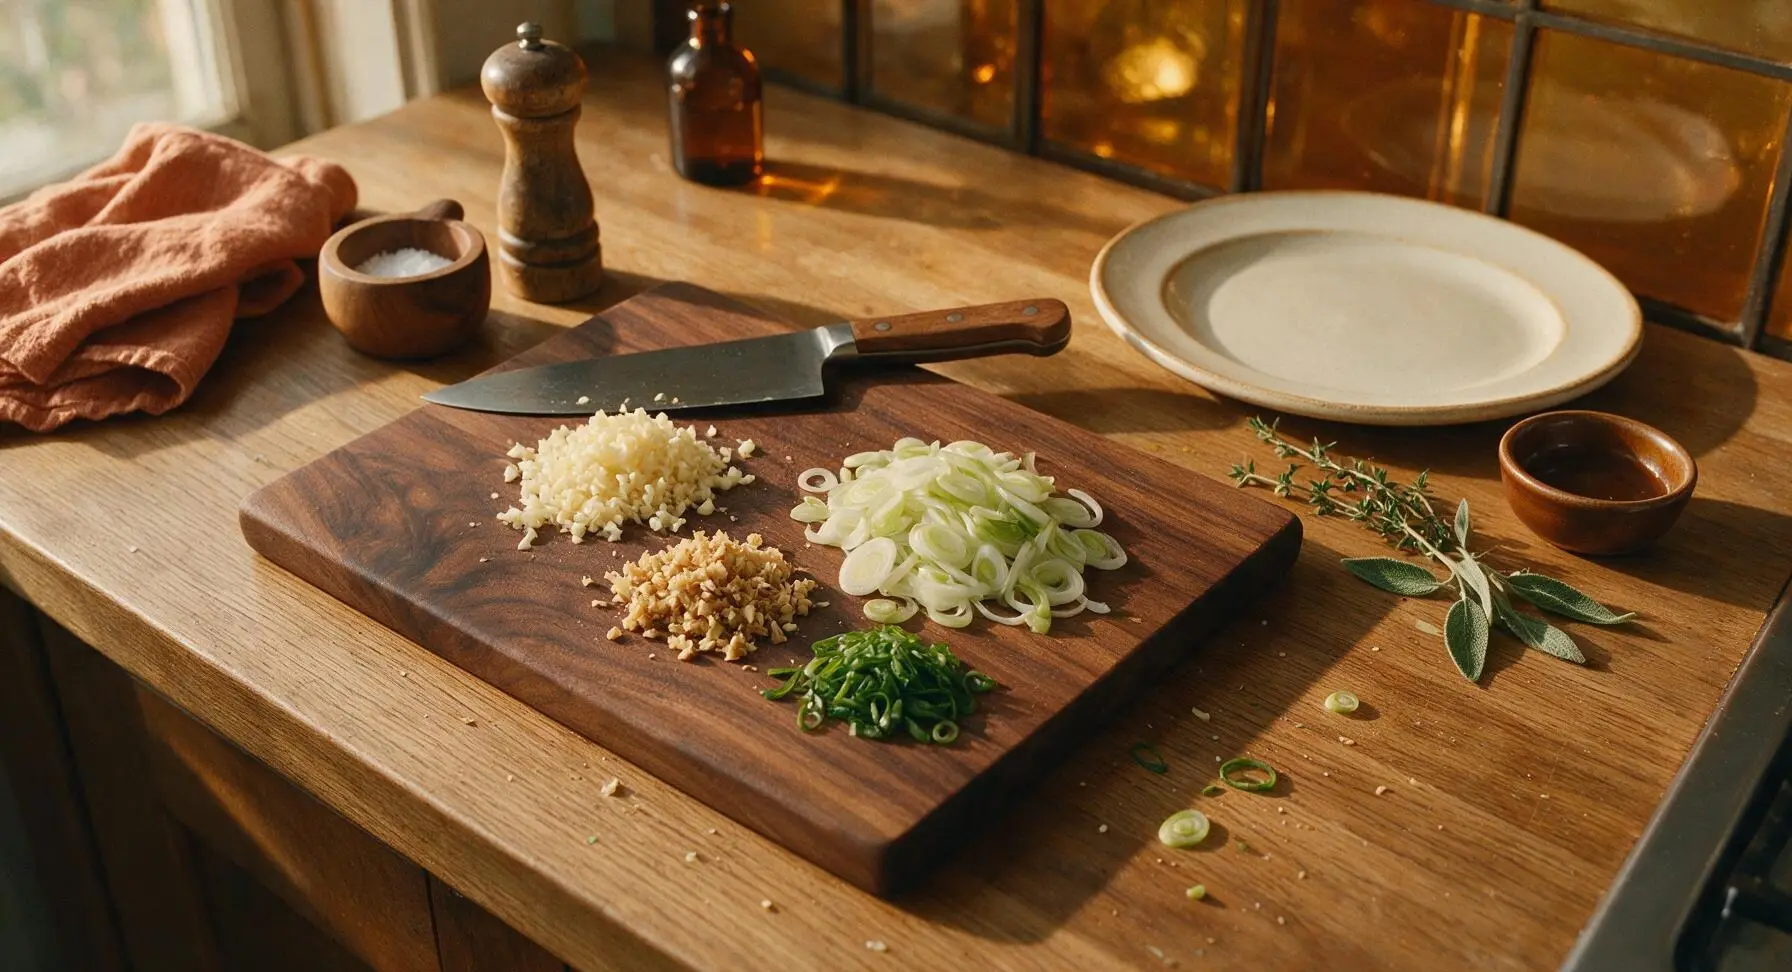
Place the acacia wood cutting board center-left on the counter. Use the 8-inch chef knife to finely mince the 4 garlic cloves, mince the 1 tsp fresh ginger until no large fibrous pieces remain, and slice the 3 green onions, separating the firm pale white/light green bottoms from the delicate dark green tops. Set the dark green sliced tops aside in a small pile for garnish. All prepped aromatics should be cut into uniform, small pieces to ensure even distribution in the beef, about 5 minutes of total prep time.
Step 1
step1:Prep Aromatics and Garnish
2

Whisk Savory Sauce Glaze

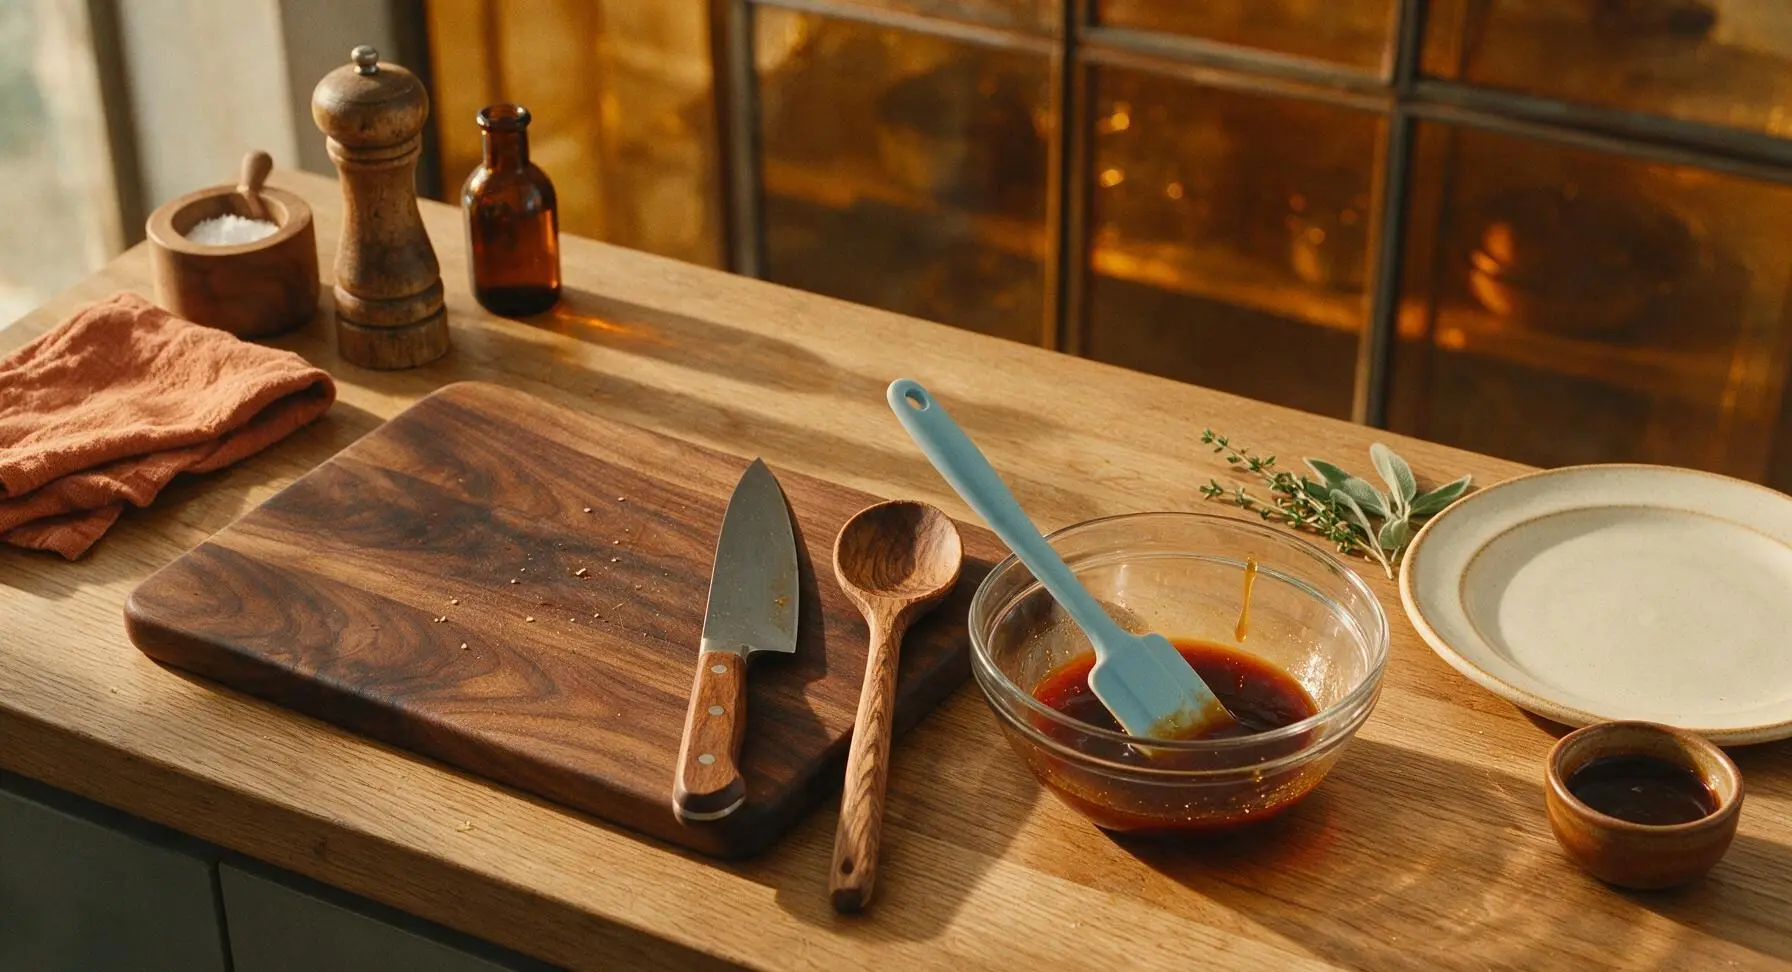
Place the 12cm clear glass mixing bowl to the right of the cutting board. Combine the 1/3 cup low-sodium soy sauce, 3 tablespoons packed light brown sugar, 1 tablespoon toasted sesame oil, 1/4 teaspoon ground black pepper, and the prepped minced garlic, ginger, and sliced green onion whites in the bowl. Stir with the light blue silicone spatula until the brown sugar is fully dissolved, with no gritty sugar granules left at the bottom of the bowl. The finished sauce will be a deep amber-brown color, glossy and slightly thin before reducing. Set the bowl aside.
Step 2
step2:Whisk Savory Sauce Glaze
3

Heat Skillet to Temperature

Place the 10-inch seasoned carbon steel skillet on the central black glass induction burner, add 1 teaspoon neutral canola oil, and heat over medium heat for 2 minutes. The oil is ready when it shimmers and moves easily across the pan surface when tilted; do not let the oil reach smoking point, as this will create a burnt, bitter flavor in the beef. Set the silicone spatula on the white ceramic spoon rest to the right of the burner.
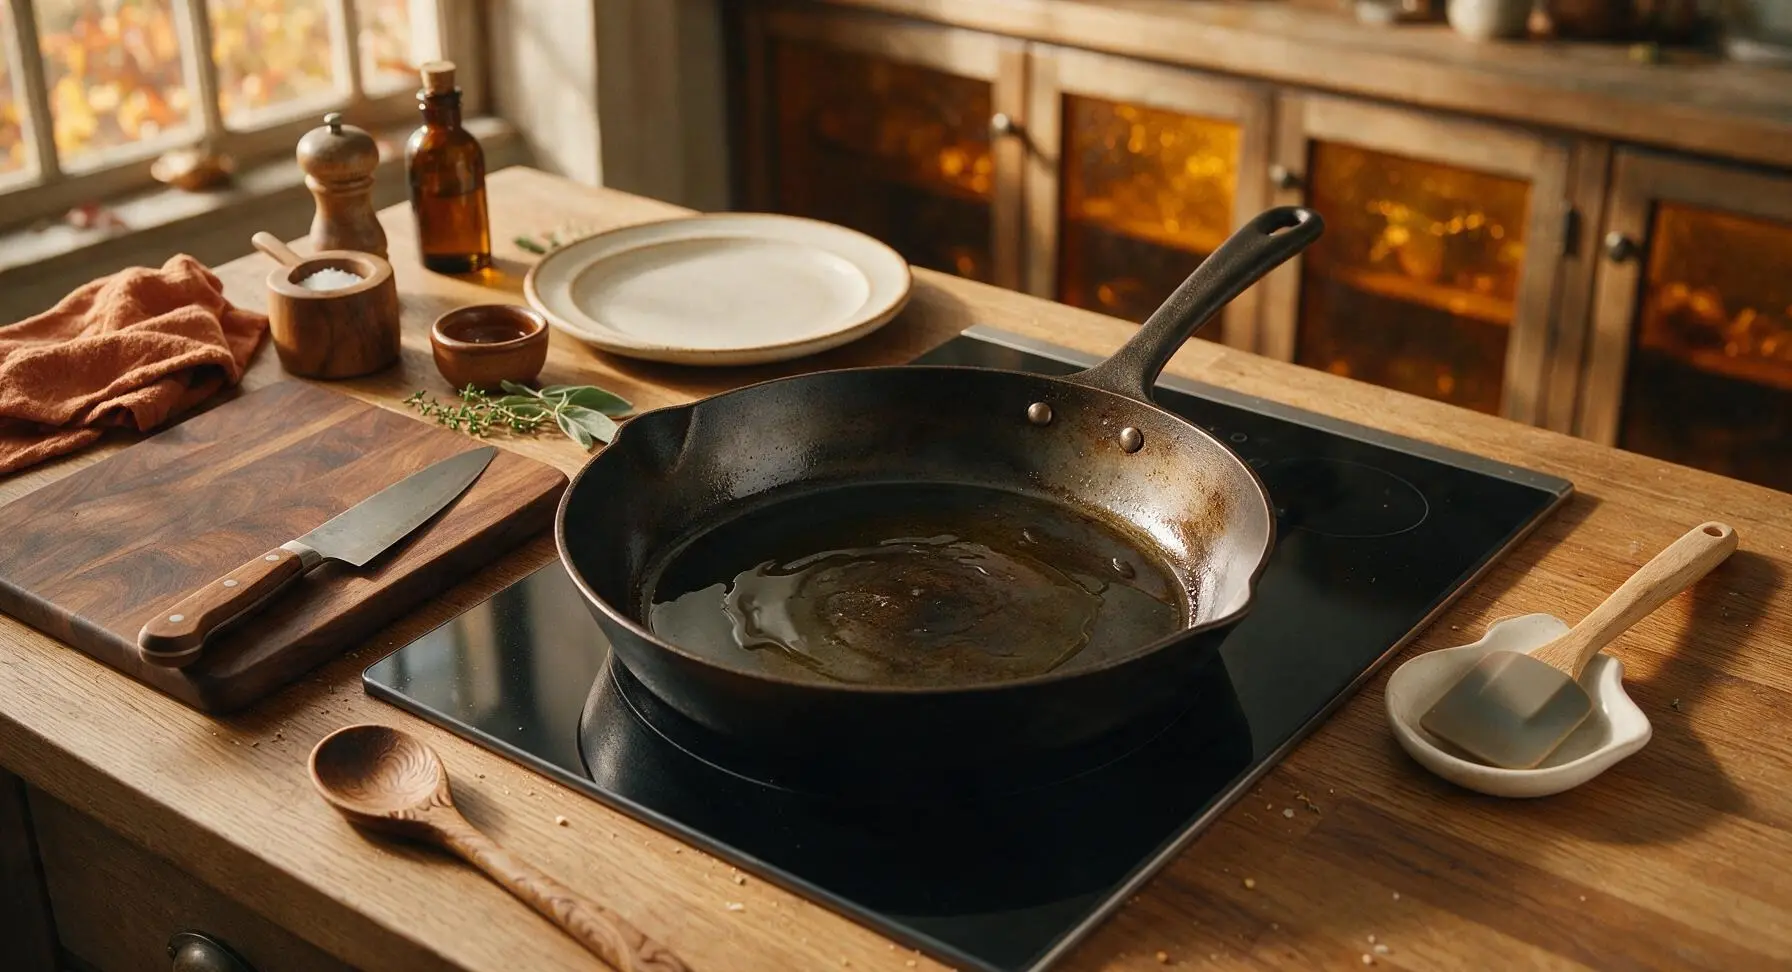
Step 3
step3:Heat Skillet to Temperature
4

Brown Ground Beef Evenly

Crumble the 500g lean ground beef into the heated skillet, breaking it apart into small, bite-sized crumbles with the silicone spatula as it cooks. Cook over medium heat for 5-6 minutes, stirring occasionally, until the beef is fully browned with no remaining pink spots, and any excess liquid released from the beef has fully evaporated. Avoid constant stirring, as this will prevent the beef crumbles from developing a slight golden crisp on their edges.
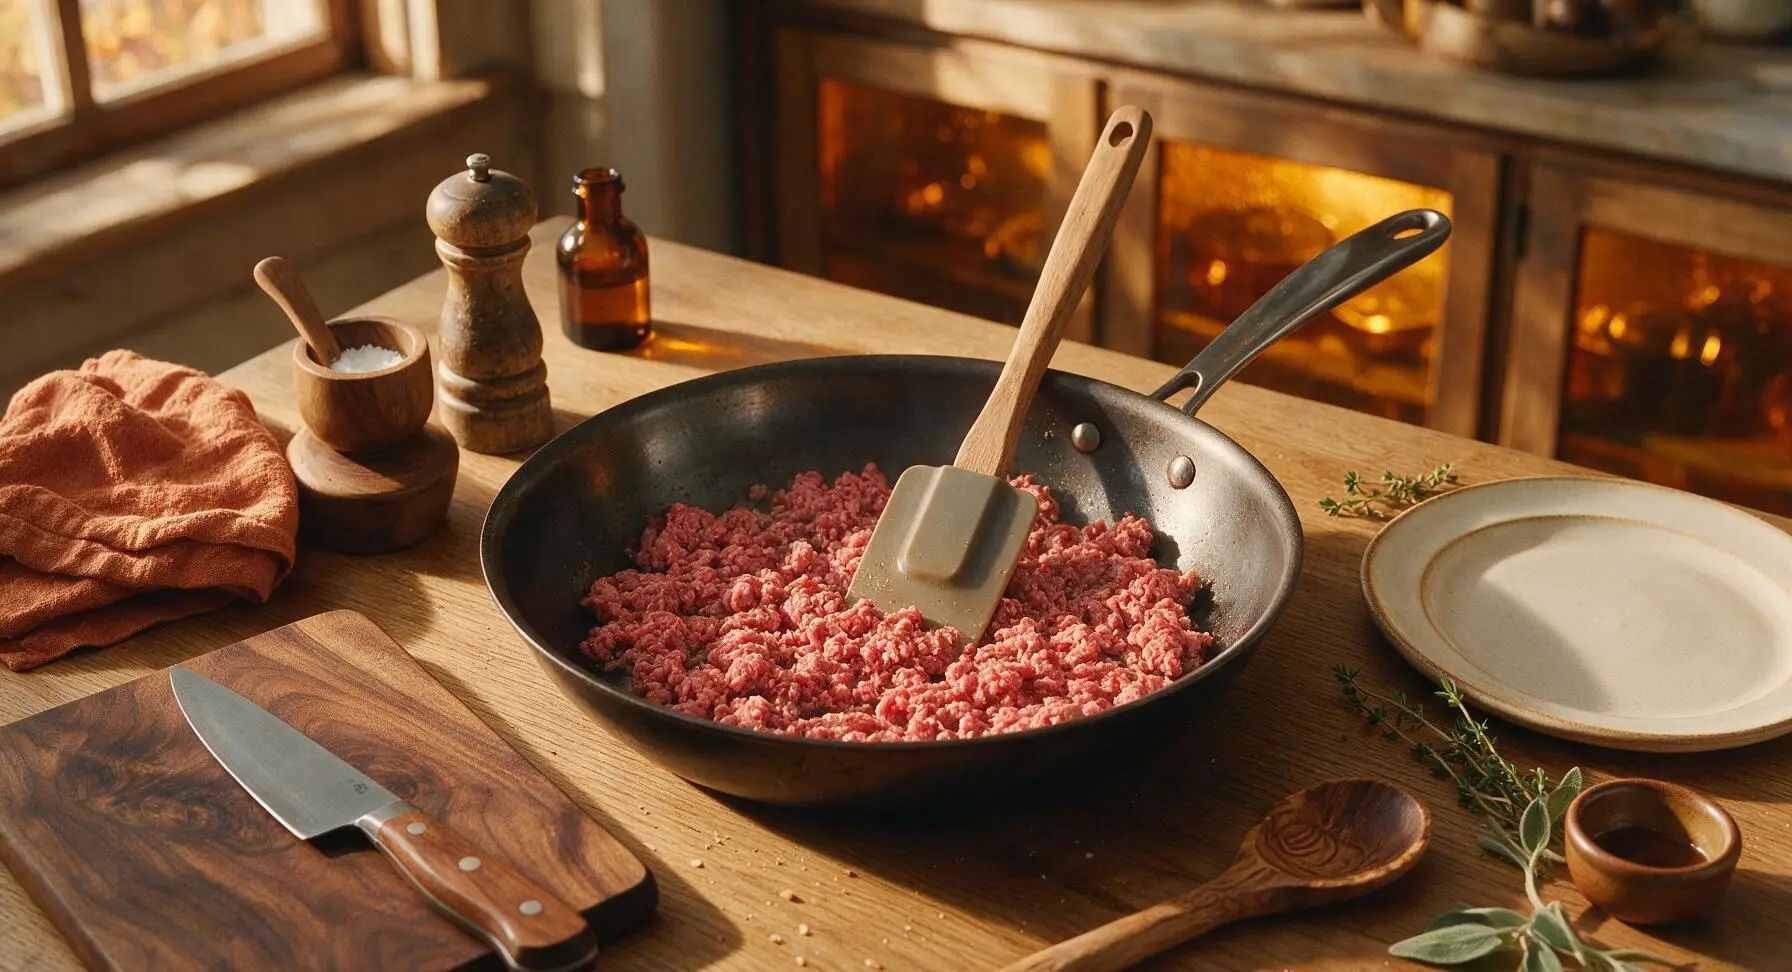
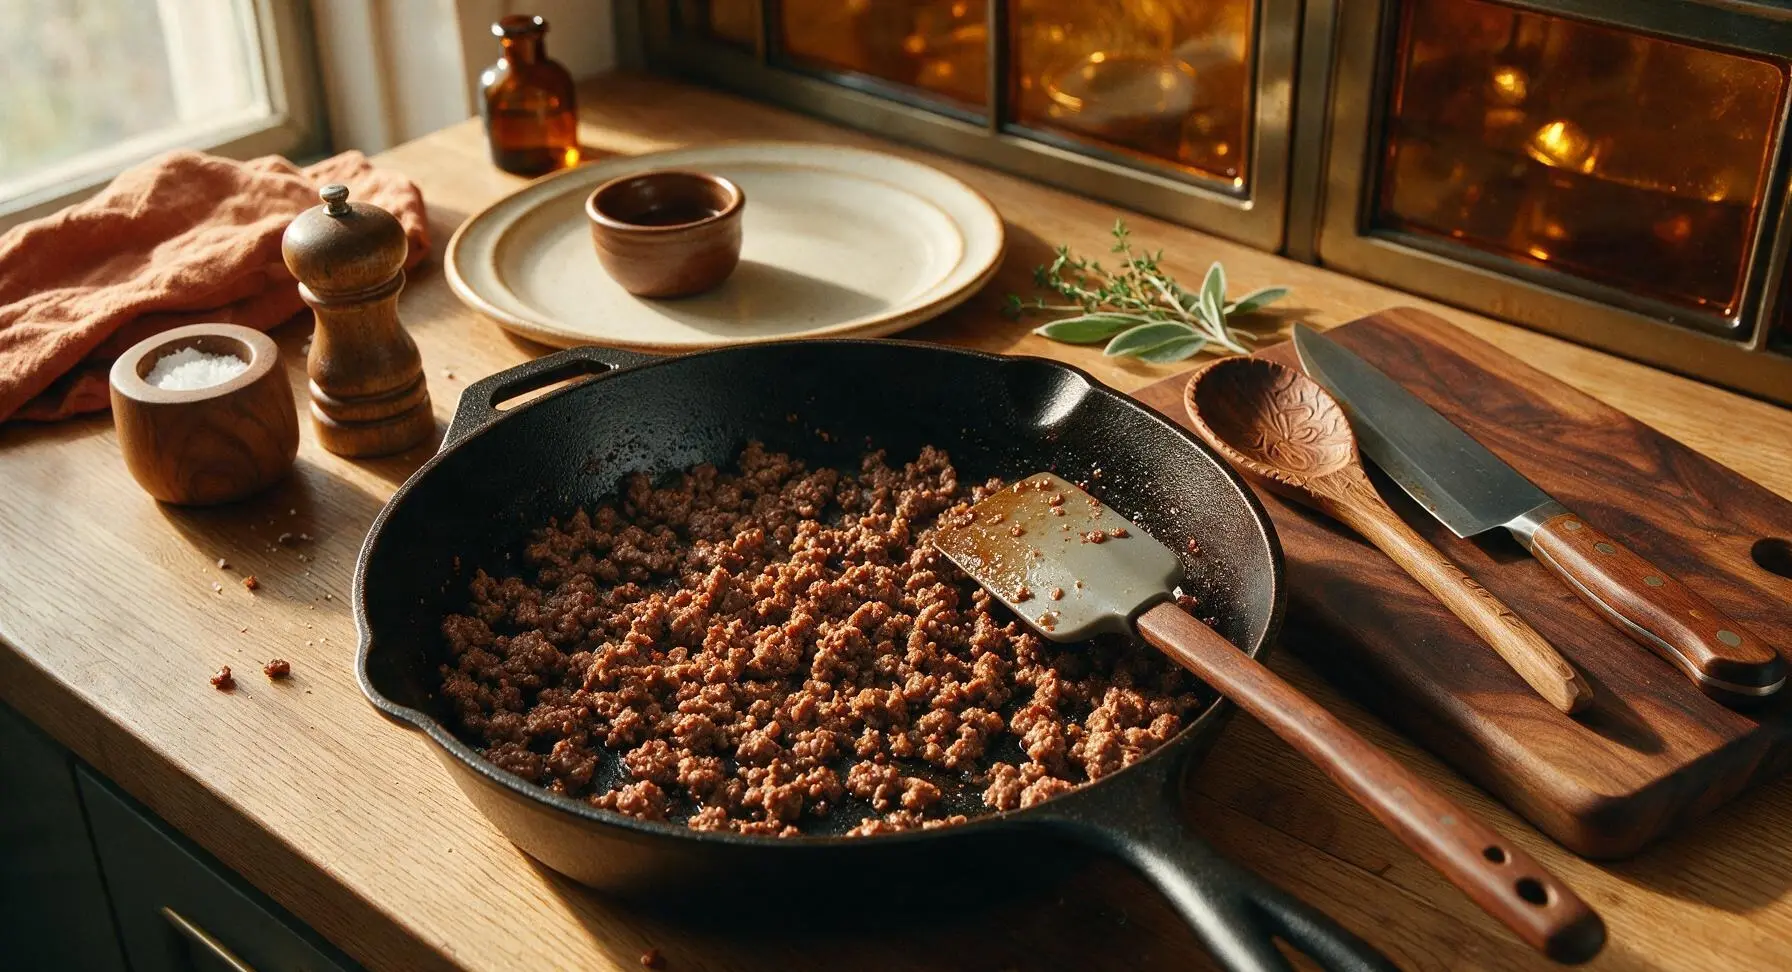
Step 4
step4:Brown Ground Beef Evenly
Step 4
step4:Brown Ground Beef Evenly
5

Toss Beef in Glaze

Pour the pre-mixed amber soy-sugar glaze over the browned beef in the skillet, stirring constantly with the silicone spatula to coat every crumble evenly. Reduce heat to medium-low, and simmer for 2-3 minutes, stirring occasionally, until the sauce thickens to a glossy, sticky coating that clings tightly to the beef crumbles, with no runny sauce pooling at the bottom of the pan.
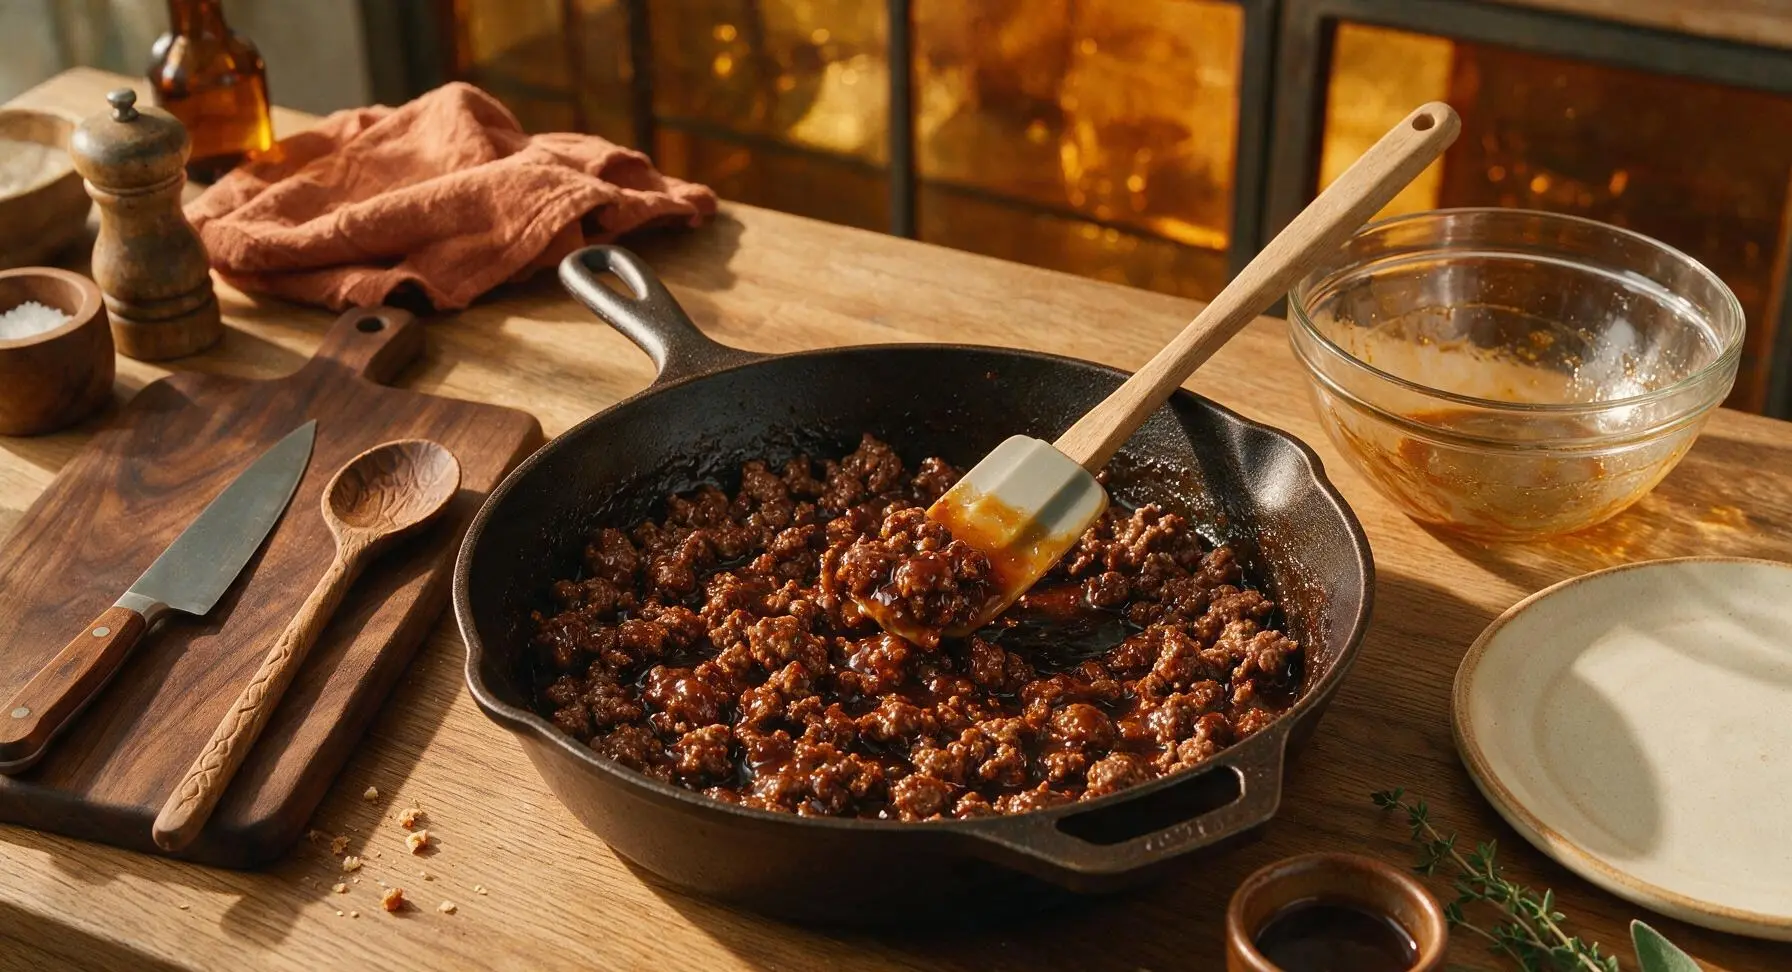
Step 5
step5:Toss Beef in Glaze
6

Adjust Final Seasoning

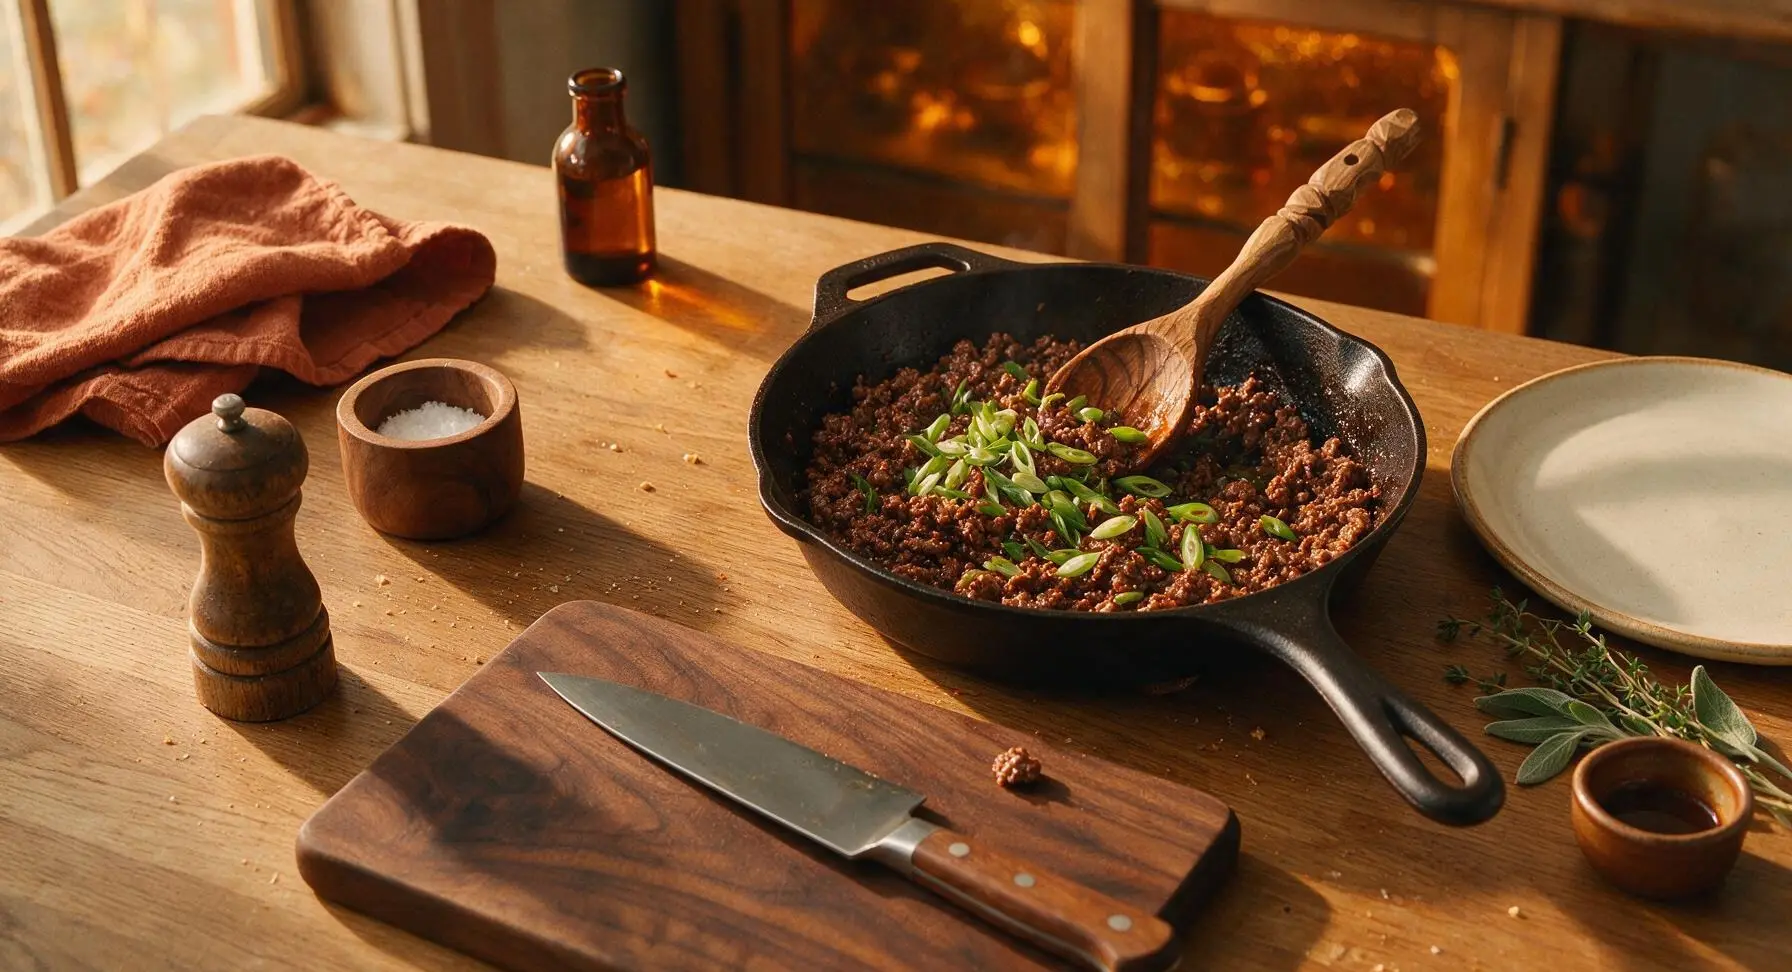
Taste a small crumble of beef to check seasoning, adding a pinch of extra black pepper if desired. Turn off the induction burner heat, then stir in half of the reserved sliced dark green onion tops, mixing evenly to distribute. Do not overcook the green onions at this stage, as they should retain a slight bright crunch and vivid green color.
Step 6
step6:Adjust Final Seasoning
7

Plate and Garnish Dish

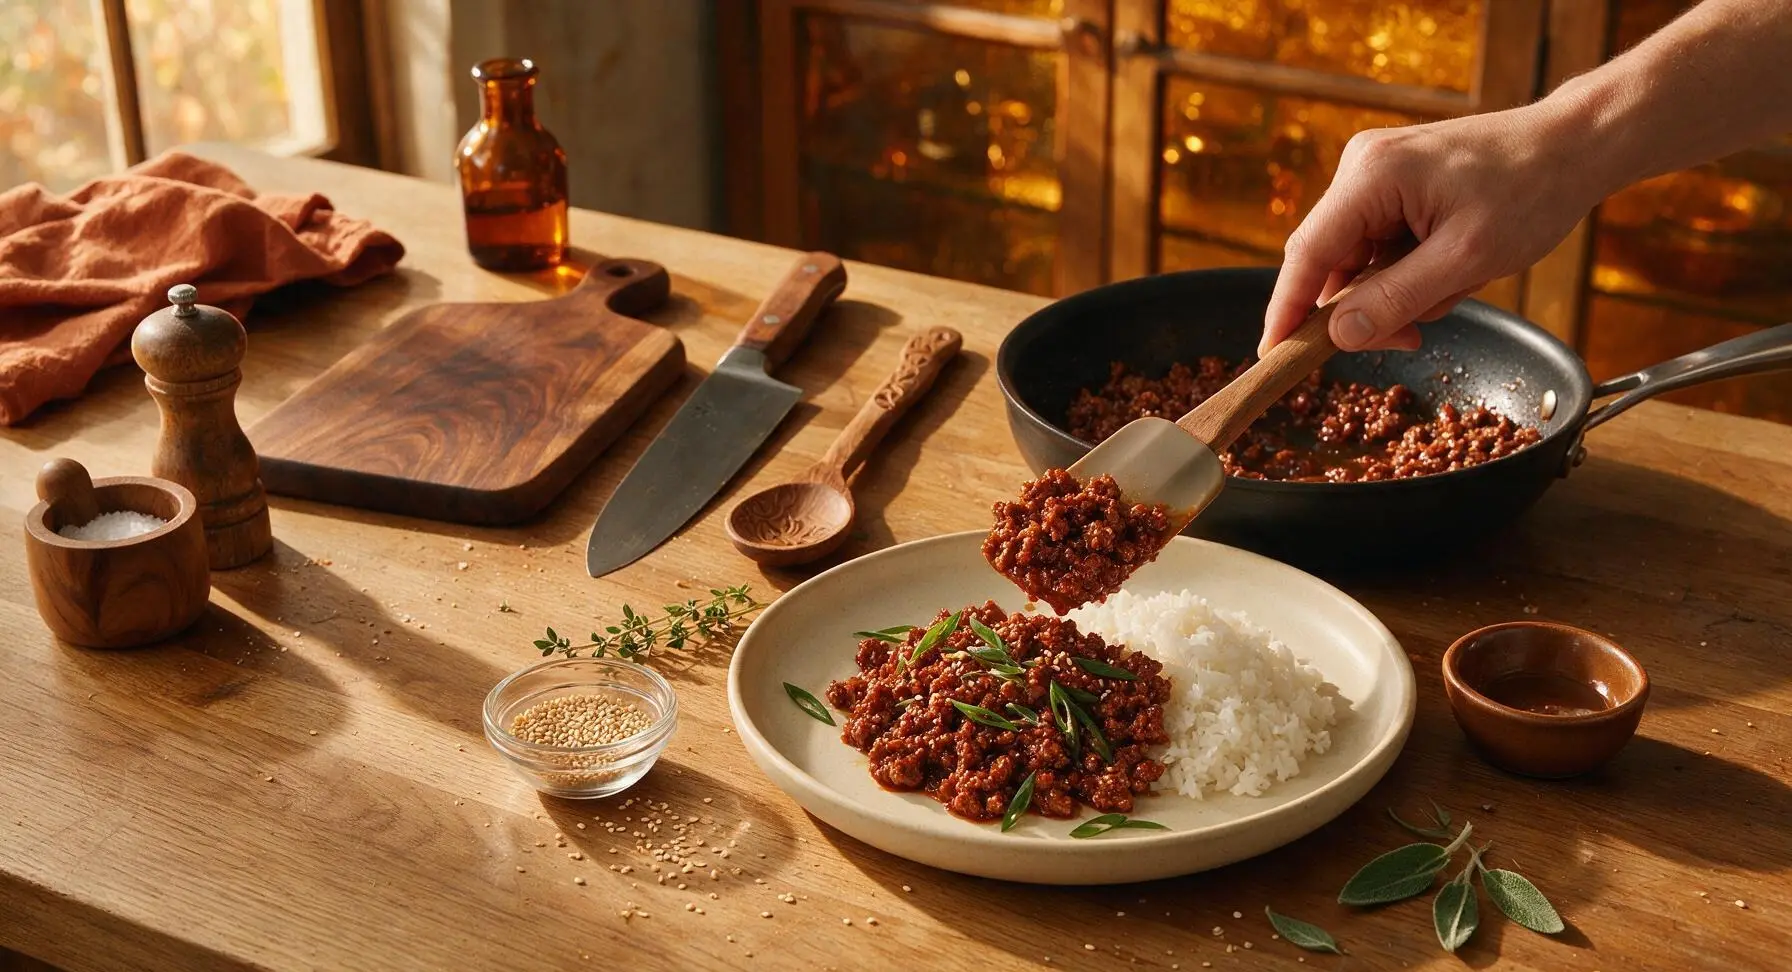
Scoop 1 cup of fluffy steamed white rice onto one side of the matte warm ivory ceramic coupe plate, then mound 1 heaping cup of the warm glazed beef in the center of the plate. Repeat for all 4 servings, then top each beef mound with the remaining sliced dark green onion tops and an even sprinkle of toasted white sesame seeds. Serve immediately while the beef is hot, with extra sesame seeds on the side if desired.
Step 7
step7:Plate and Garnish Dish

Tips

1.Opt for 90/10 lean ground beef instead of fattier blends to avoid a greasy final dish: excess rendered fat will make the glaze slide off the beef crumbles instead of forming a sticky, clinging coating. If you only have 80/20 ground beef on hand, carefully drain off all excess rendered fat from the skillet after browning before adding the sauce.
2.Don’t skip the 2-3 minute sauce simmer after adding the glaze to the beef: this short simmer allows the brown sugar to caramelize slightly and the sauce to reduce, creating that signature glossy, bulgogi-style coating instead of a thin, watery sauce that pools at the bottom of your plate.
3.Always separate green onion whites from dark green tops during prep: the firm, sharp white/light green parts cook with the sauce to mellow their oniony bite, while the delicate dark green tops are added at the end to retain bright color and fresh, mild flavor without turning slimy or dull from overcooking.


✨ You May Also Like

Main Course
🍜 United Kingdom

A showstopping classic of tender seared beef, savory mushroom duxelles, and crisp prosciutto wrapped in flaky golden puff pastry, baked to juicy perfection.

⏱️ 2 hours 1Main Course ★ 4.7
Main Course
🍜 India

Tender charred marinated chicken simmered in a rich, spiced creamy tomato sauce, this iconic Anglo-Indian curry pairs perfectly with basmati rice or warm naan.

⏱️ 50 minuteMain Course ★ 4.6
Main Course
🍜 Thailand

Classic tangy, sweet, and savory Thai stir-fried rice noodles with shrimp, tofu, and crunchy garnishes, balancing all five core Thai flavor profiles.

⏱️ 30 minuteMain Course ★ 4.5
Main Course
🍜 United Kingdom

Crispy golden beer-battered cod and fluffy double-fried chips, served with tangy tartar sauce and malt vinegar: the timeless, beloved British pub comfort classic.

⏱️ 45 minuteMain Course ★ 4.7
Main Course
🍜 Mexico

Smoky, chile-marinated pork tacos with caramelized pineapple, fresh cilantro, and lime: a beloved classic Mexican street food perfect for casual summer gatherings.

⏱️ 1 hour 45Main Course ★ 4.8
Main Course
🍜 United States

Crunchy Fritos corn chips layered with savory beef chili and melted cheddar, topped with cool, zesty fixings for a beloved, cozy Tex-Mex comfort food.

⏱️ 35 minuteMain Course ★ 4.8

korean ground beef:Frequently Asked Questions

1.Can I use a higher-fat ground beef instead of the recommended 90/10 lean blend? ▾
You absolutely can, but take one key extra step: after browning higher-fat blends like 80/20, drain all excess rendered grease completely before adding your glaze. Skip adding extra cooking oil when browning fattier beef too—this prevents the final dish from feeling greasy, and helps the glossy soy-garlic sesame coating stick evenly to every crumble.
2.What’s a good substitute if I only have regular soy sauce, not low-sodium? ▾
If all you have is regular full-sodium soy sauce, cut the measured amount by 1/3 and top it off with plain water to match the required liquid volume. Hold off on adding any extra salt at any point, and taste the glaze before tossing it with the beef—you can stir in a tiny extra pinch of brown sugar if the flavor feels too sharp or salty.
3.How do I stop the ground beef from clumping into large, tough chunks while cooking? ▾
Great question! Start breaking the beef apart with a stiff wooden spatula as soon as it hits the hot pan, and keep crumbling and stirring every 30 seconds as it browns. For extra even, bite-sized crumbles, gently mash the partially cooked beef with a potato masher in the pan—this creates uniform pieces that catch every bit of the sweet-savory glaze instead of forming dense chunks.
4.Does this Korean ground beef work well for weekly meal prep? ▾
It’s perfect for meal prep, actually! Let the fully cooked beef cool completely, then store it in a sealed airtight container for up to 4 days in the fridge, or up to 3 months in the freezer. Reheat gently in the microwave or on the stovetop with a tiny splash of water to loosen the glaze, and top with fresh sesame seeds right before serving over rice.
5.Why did my glaze turn out runny instead of glossy, and how can I fix it? ▾
Runny glaze almost always comes from either skipping the simmer step after adding the sauce, or leaving too much excess grease in the pan with the beef. Let the sauce bubble for 2 to 3 minutes over medium heat, stirring constantly, until it thickens enough to coat the back of a spoon. For a quick fix, stir in a tiny slurry of 1/4 teaspoon cornstarch mixed with 1 teaspoon cold water.

Comments (12)

just now

OMG this Korean ground beef is a total weeknight game changer! 15 minute cook time is no joke, I threw it together after getting home from soccer practice with the kids and they both begged for seconds. Served it over jasmine rice with a side of steamed broccoli, zero complaints. Will be adding this to our regular rotation for sure!

3 days ago

So good and so cheap to make! I’m on a super tight meal plan this semester and a pound of ground beef plus a few pantry staples made enough for 4 meals for me. I added a little extra gochujang because I love spice, *chef’s kiss*. Only thing I messed up was forgetting to buy sesame seeds for garnish, didn’t even matter.

2 days ago

So glad this worked for your college budget! Extra gochujang is always a great call if you love heat – you can also top with sliced green onions if you don’t have sesame seeds on hand for that extra pop of flavor.

1 week ago

Brought this to our neighborhood potluck last weekend and people were hovering over the dish the whole time! Only reason I’m not giving 5 stars is I wish it had a little more depth of flavor – next time I’ll add a tiny bit of minced ginger like my mom used to. Still got so many people asking for the recipe!

5 days ago

I added a teaspoon of grated ginger and a splash of rice vinegar when I made it last night, total game changer! Definitely try that next time.

3 days ago

Great tip from Mike! Fresh ginger is a fantastic add-in if you have it – it adds a bright, warm note that pairs perfectly with the soy and brown sugar glaze. So happy this was a potluck hit!

yesterday

I’ve been looking for a high-protein, low-effort meal to add to my weekly meal prep and this checks every box. I swapped the brown sugar for a low-calorie brown sugar substitute and served it over cauliflower rice, and it still tastes absolutely indulgent. 10/10, will make every Sunday from now on.

30 minutes ago

Tasted good but was way too sweet for my taste? I followed the recipe exactly but the brown sugar overpowered the savory and spicy notes for me. Maybe I just prefer more savory Korean food, idk. Might cut the sugar in half next time I try it.

10 minutes ago

I had the same issue the first time I made it! I cut the brown sugar by 2/3 and added an extra tablespoon of soy sauce and a pinch of red pepper flakes, now it’s perfect for my taste buds.

2 weeks ago

My 7 year old is the pickiest eater on the planet and she ate THREE servings of this tonight. I was shocked! She usually turns her nose up at anything that isn’t chicken nuggets or mac and cheese. Thank you for this recipe, you’ve saved so many weeknight dinners for our family.

1 week ago

Same here! My 10 year old won’t touch anything ‘Asian inspired’ usually but he devoured this and asked if we can have it every Friday. Kids are so weird lol.

5 days ago

This makes our day to hear! Winning over picky eaters is the highest praise a recipe can get, honestly. So glad this worked for your family dinner nights!

5 days ago

I’ve been making a similar version of this for 40 years and this recipe is spot on! The ratio of soy to sugar to sesame oil is perfect, no adjustments needed. I like to toss in a handful of shredded carrots and frozen peas at the end to add some veggies, makes it a full one-pan meal. Fantastic, easy recipe for cooks of any skill level.

2 days ago

Loved the flavor! Only problem I had was my ground beef got a little too mushy? I think I didn’t drain the fat well enough after browning it? It was still tasty but the texture was off for me. Any tips for next time?

yesterday

Great question! Draining all excess fat after browning the beef is key to getting the right texture, and make sure you break the beef up into really small crumbles as it cooks so the glaze coats every piece evenly. If you want a little extra crisp, you can let the beef cook for 2-3 minutes after adding the sauce to let it caramelize a bit!

5 minutes ago

Wait can I freeze this after making it? I do big batch meal prep every two weeks and I’m wondering if this holds up in the freezer, or if it’s better to just keep it in the fridge for the week.

2 minutes ago

I froze a batch last month and it was totally fine! Just let it thaw in the fridge overnight and reheat it in a pan with a tiny splash of water to loosen the sauce back up. Tasted just as good as fresh.

1 minute ago

Joe is exactly right! This freezes really well for up to 3 months in an airtight container. It also keeps in the fridge for 4-5 days if you don’t want to freeze it, perfect for quick lunches!

3 days ago

Made this for my partner who is obsessed with Korean food and he said it tastes just like the bulgogi we get at our favorite local spot, except way cheaper and faster to make. We ate it wrapped in lettuce leaves with a little kimchi on the side, such a fun easy date night meal. 10/10, will be making again soon.

2 days ago

Lettuce wraps with kimchi is such a good serving idea! I’ve only ever had this over rice, I’m definitely trying that for my next date night in with my boyfriend.

2 hours ago

First time ever cooking something that isn’t microwave mac and cheese and this actually turned out edible??? Wild. I was scared I’d burn it or mess up the sauce but the steps were so easy to follow. Only issue was I didn’t have low-sodium soy sauce so it was a little saltier than I expected, but that’s my bad.

1 hour ago

Pro tip for next time: if you only have regular soy sauce, just cut it with a tiny bit of water and add a pinch more brown sugar to balance the salt out! I’ve done that a million times when I ran out of low-sodium.

30 minutes ago

We’ve all been there with first cooking attempts – so proud of you for giving it a go! The tip from HomeCook101 is perfect for regular soy sauce, you can also look for low-sodium soy sauce at the grocery store next time to cut down on salt without adjusting the other ingredients. Great job on your first cook!

1 week ago

Made this over our camp stove last weekend on a camping trip and it was perfect! No fancy equipment needed, just one pan, minimal ingredients, and it was hot and filling after a long day of hiking. We ate it straight out of the pan with tortilla chips because we forgot bowls, no regrets.

5 days ago

This is such a fun use for the recipe! I love that you made it camping – one-pan meals are perfect for camp trips since cleanup is so easy. Adding tortilla chips for serving sounds genius, I’ll have to try that next time I’m out hiking!



