
parmesan chicken air fryer
intro
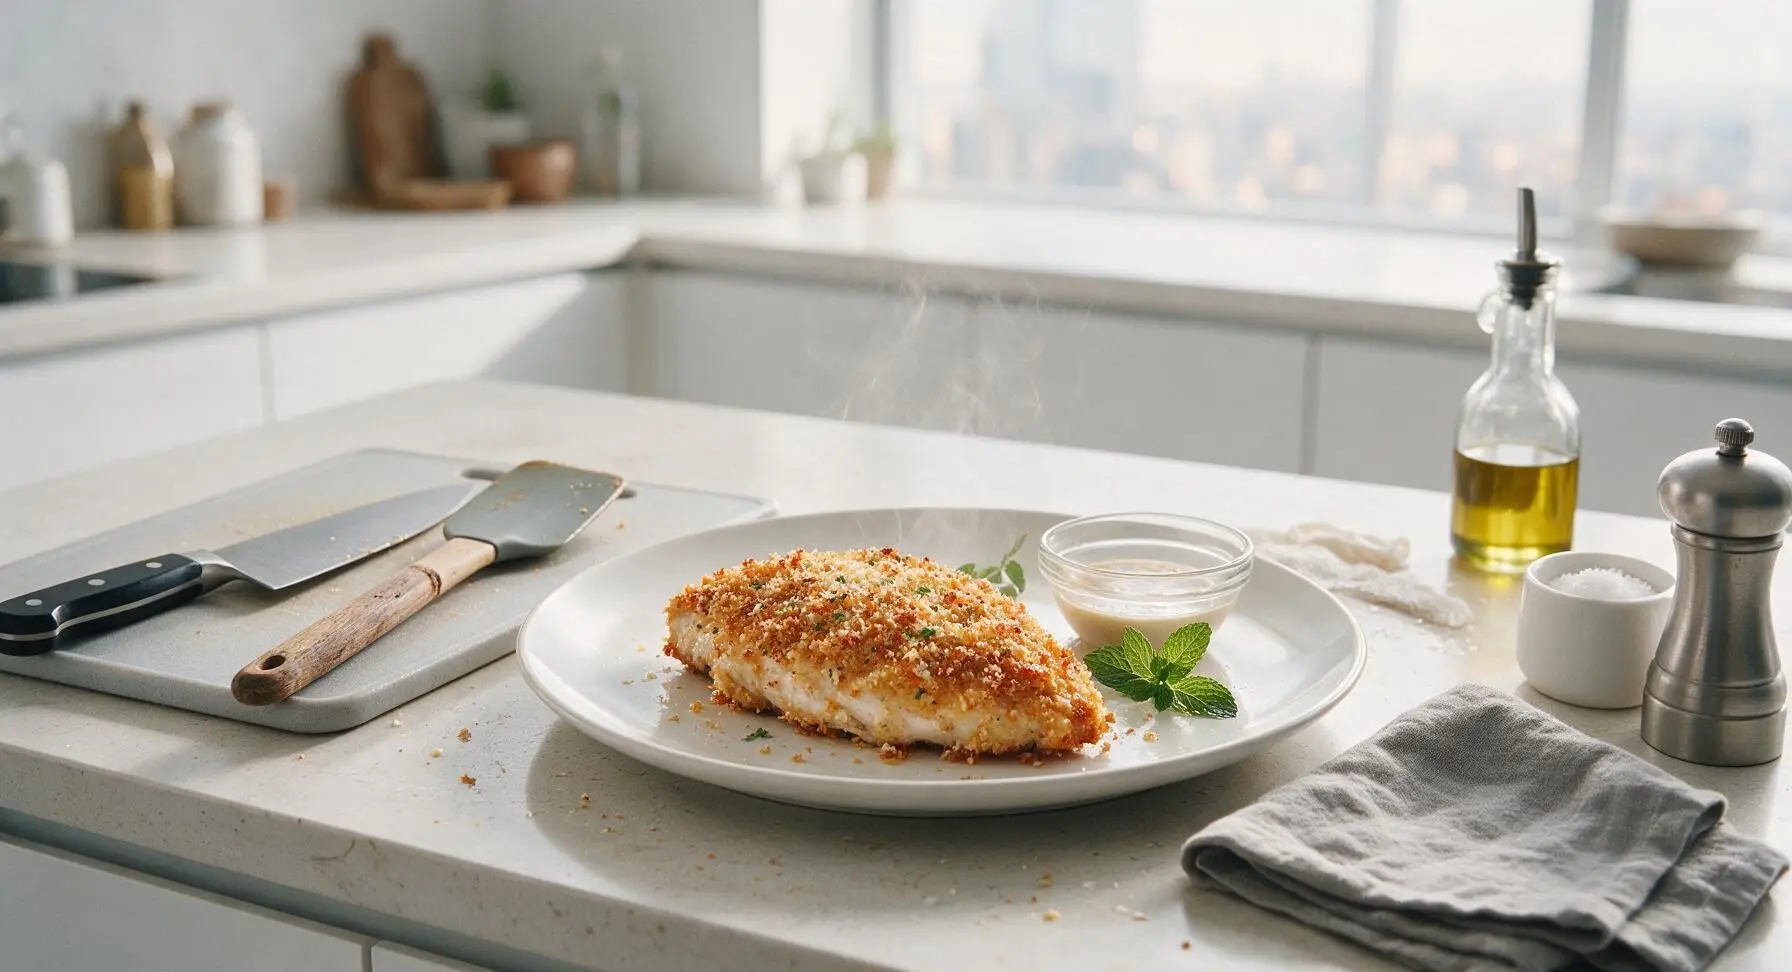
Crispy, golden parmesan-panko crusted chicken made fast in the air fryer—juicy and tender inside, no messy deep frying, perfect for low-fuss, satisfying weeknight dinners.
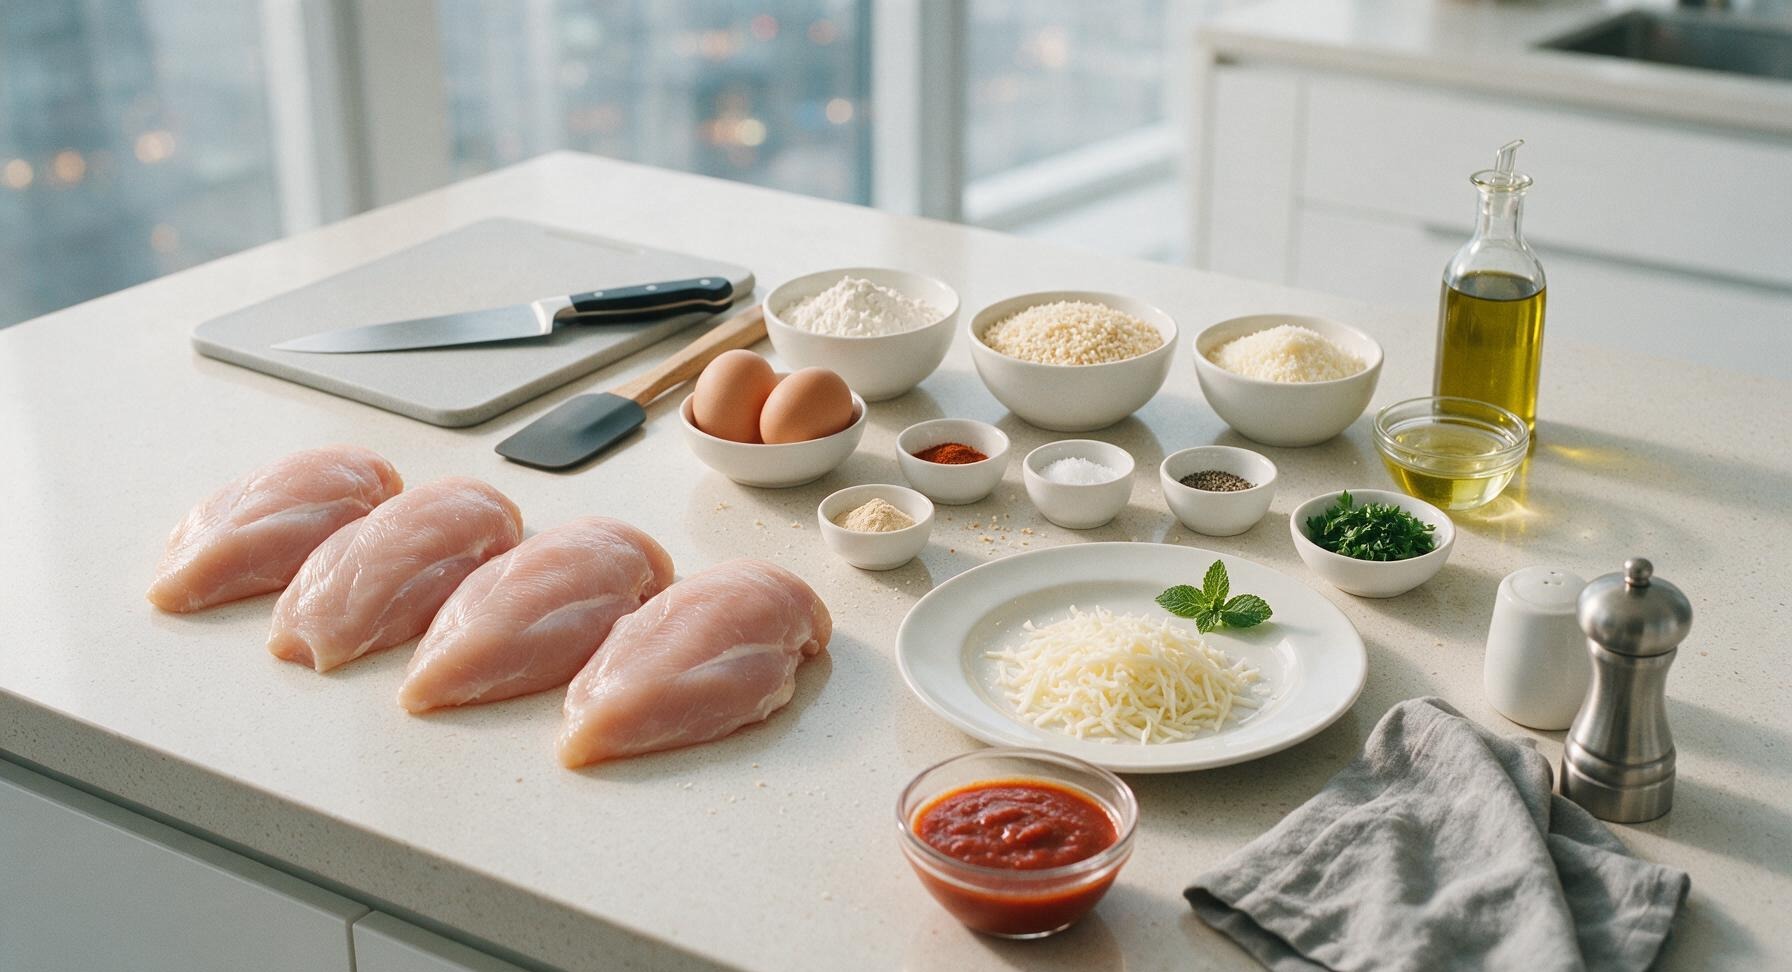
Ingredients
Steps
Pound Chicken Cutlets
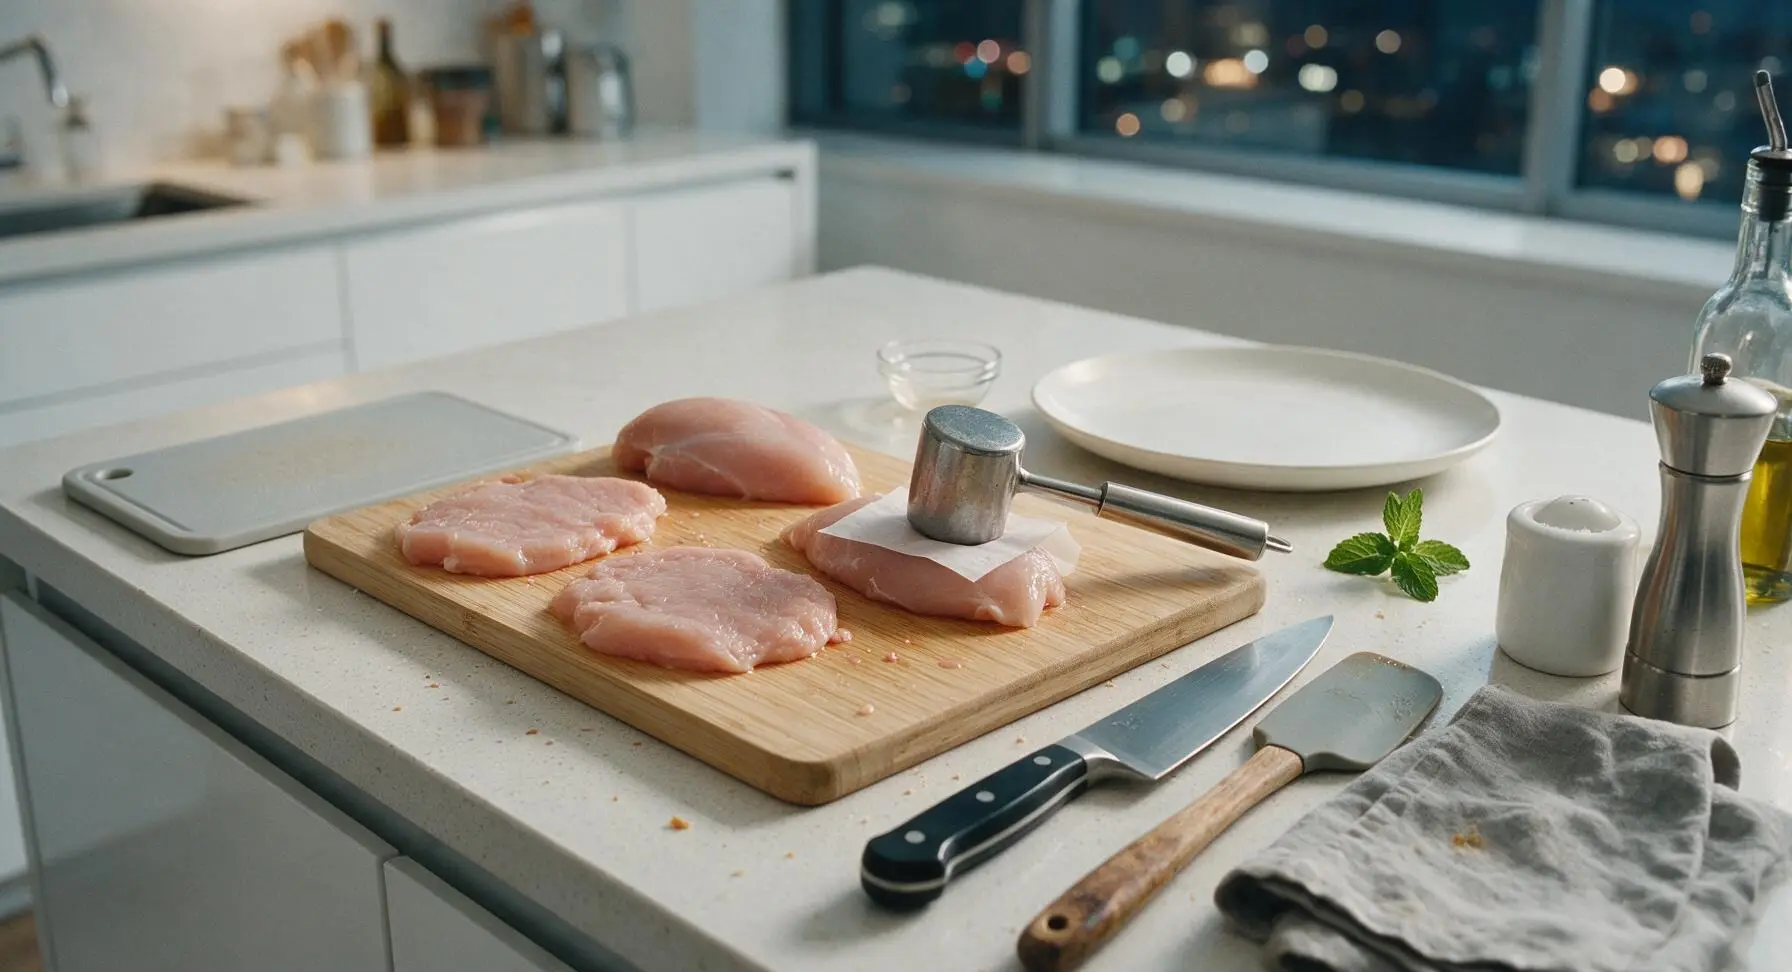
Place the 4 chicken breasts on the light bamboo cutting board. Cover each with a small square of parchment paper to prevent splatter, then use the stainless steel meat pounder to pound each breast to an even ½-inch thickness. Season both sides lightly with ½ tsp of the kosher salt and ¼ tsp black pepper. Even thickness ensures no undercooked thick spots or overcooked thin, dry edges.
Arrange Breading Station
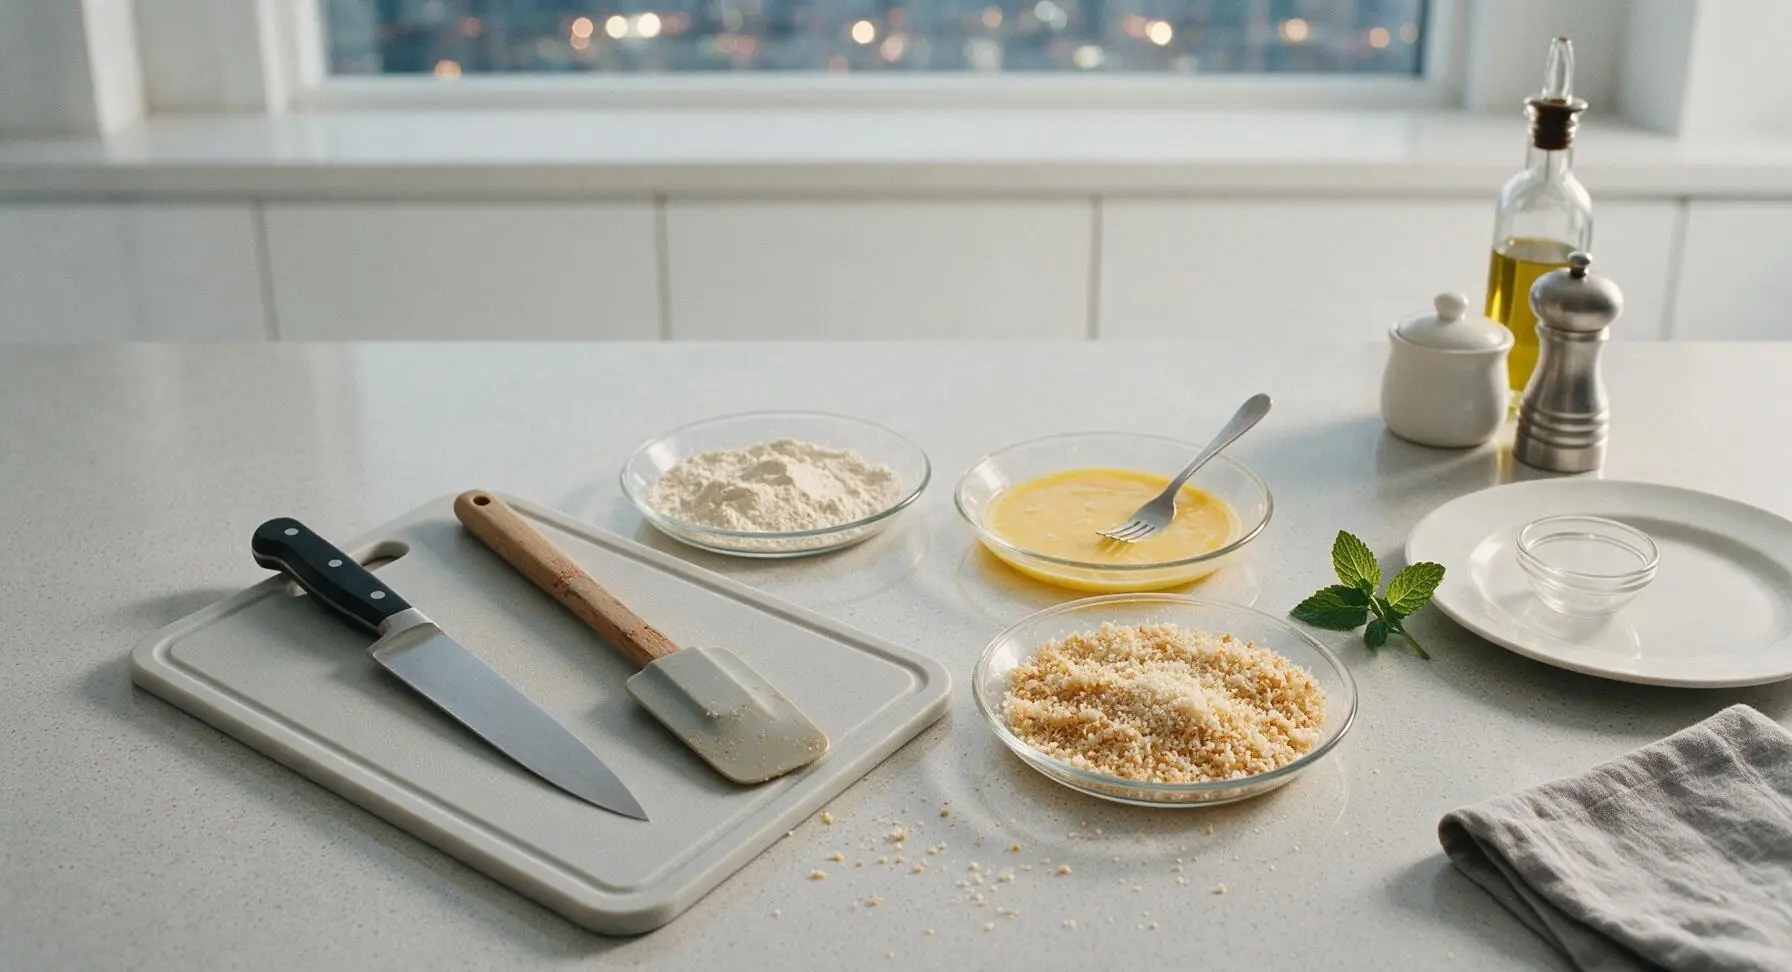
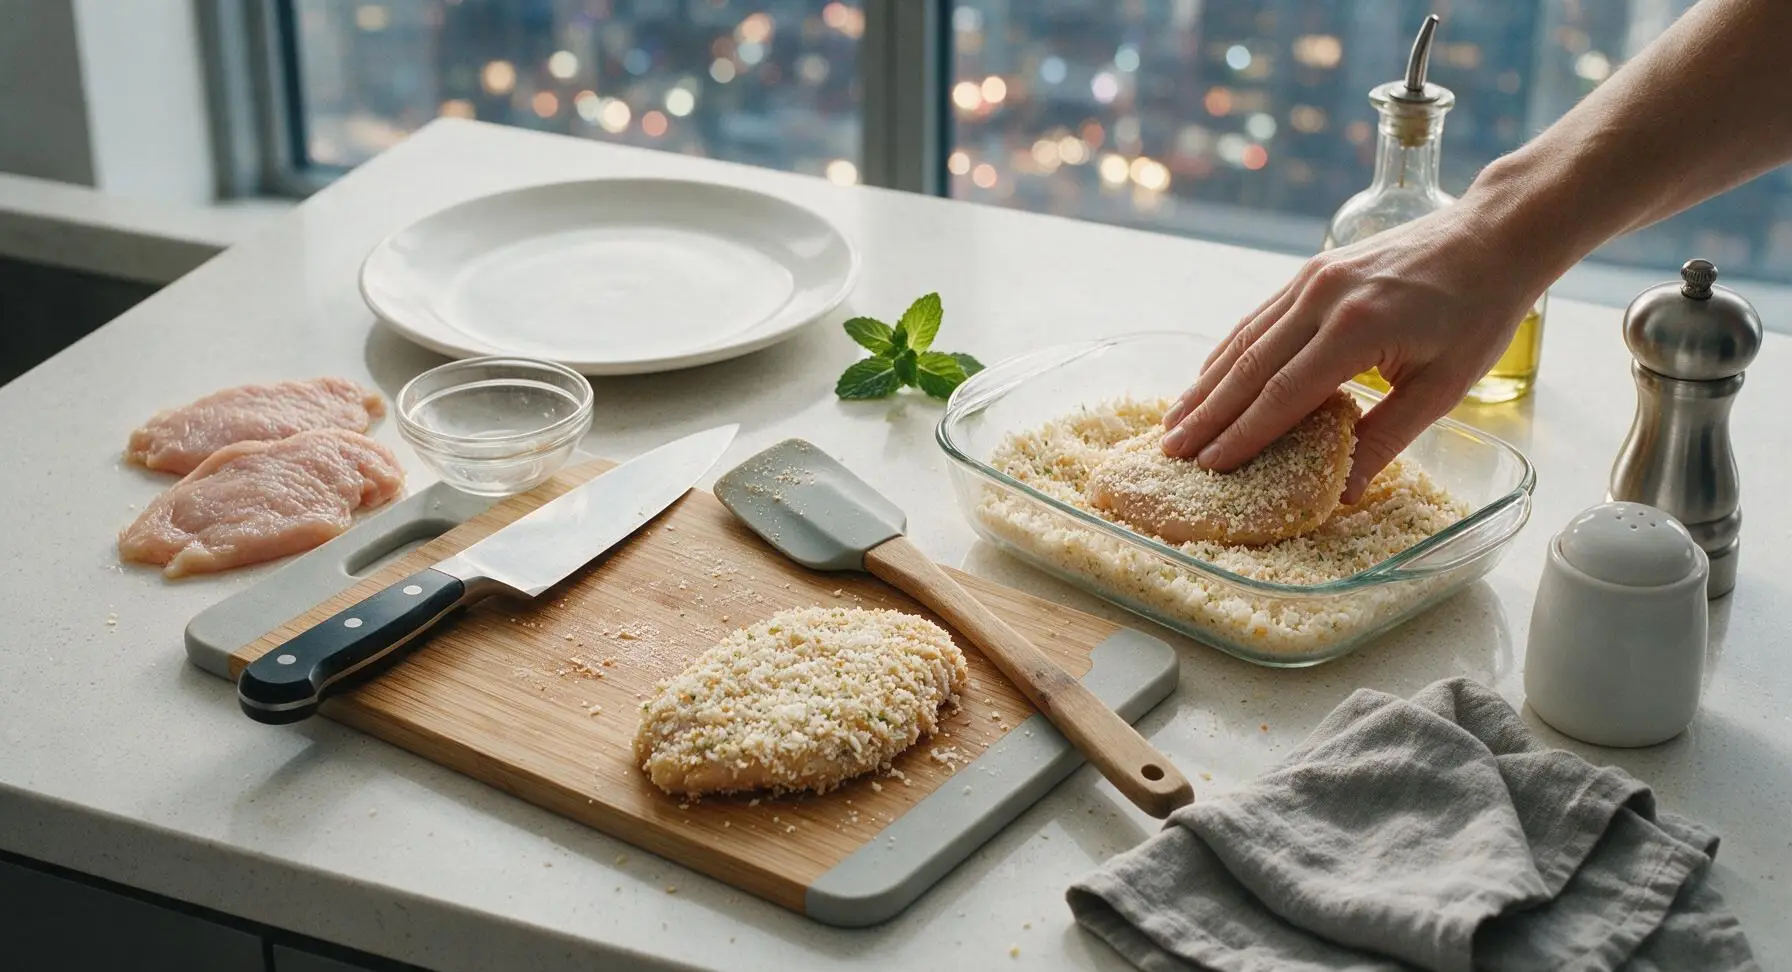
Set the three shallow clear glass dishes in a row next to the cutting board. Place the all-purpose flour in the first dish, mixed with the remaining ½ tsp salt, ¼ tsp pepper, garlic powder, and smoked paprika. Crack the two eggs into the second dish and whisk lightly with a fork until fully blended, with no streaks of unincorporated egg white remaining. Mix the panko breadcrumbs and finely grated parmesan cheese in the third dish, stirring until evenly combined.
Coat Chicken Evenly
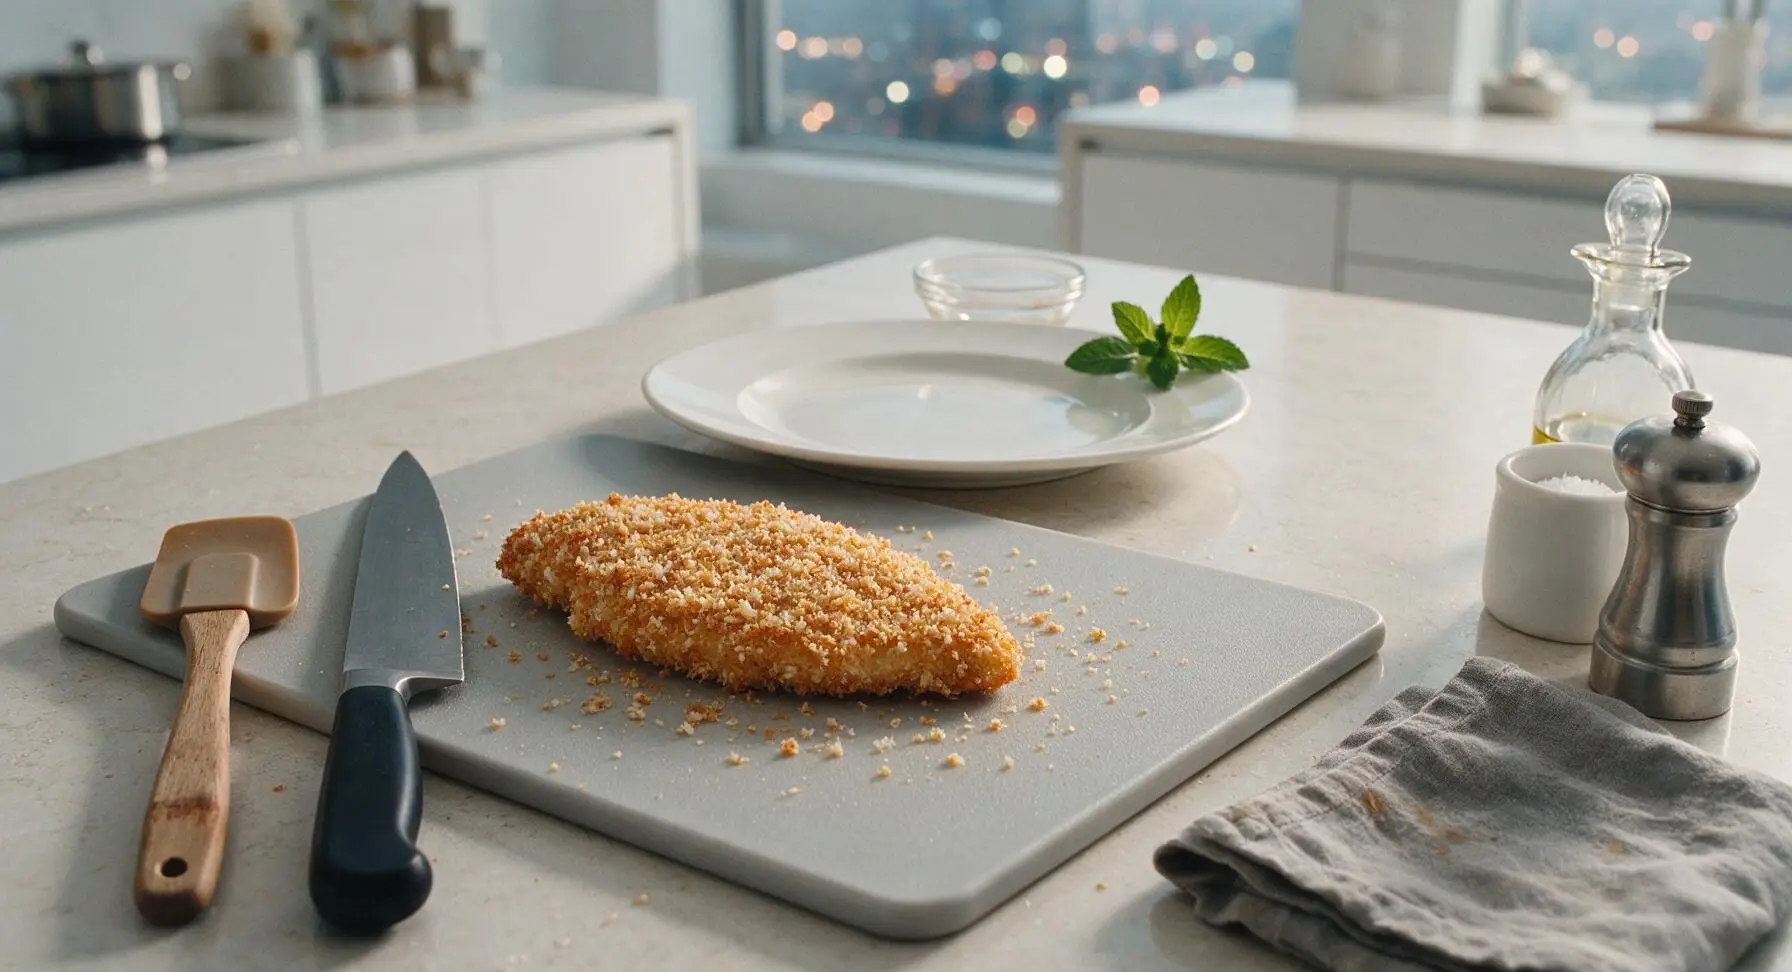
Working one cutlet at a time, dredge each pounded chicken breast first in the seasoned flour, shaking off all excess so only a thin, even dusting remains. Next, dip the floured cutlet fully into the beaten egg, letting excess egg drip off for 2 seconds. Finally, press the cutlet firmly into the panko-parmesan mix, coating both sides completely and pressing the crumbs to adhere so no bare chicken spots show. Set breaded cutlets on a clean corner of the cutting board while you coat the remaining cutlets.
Preheat Air Fryer
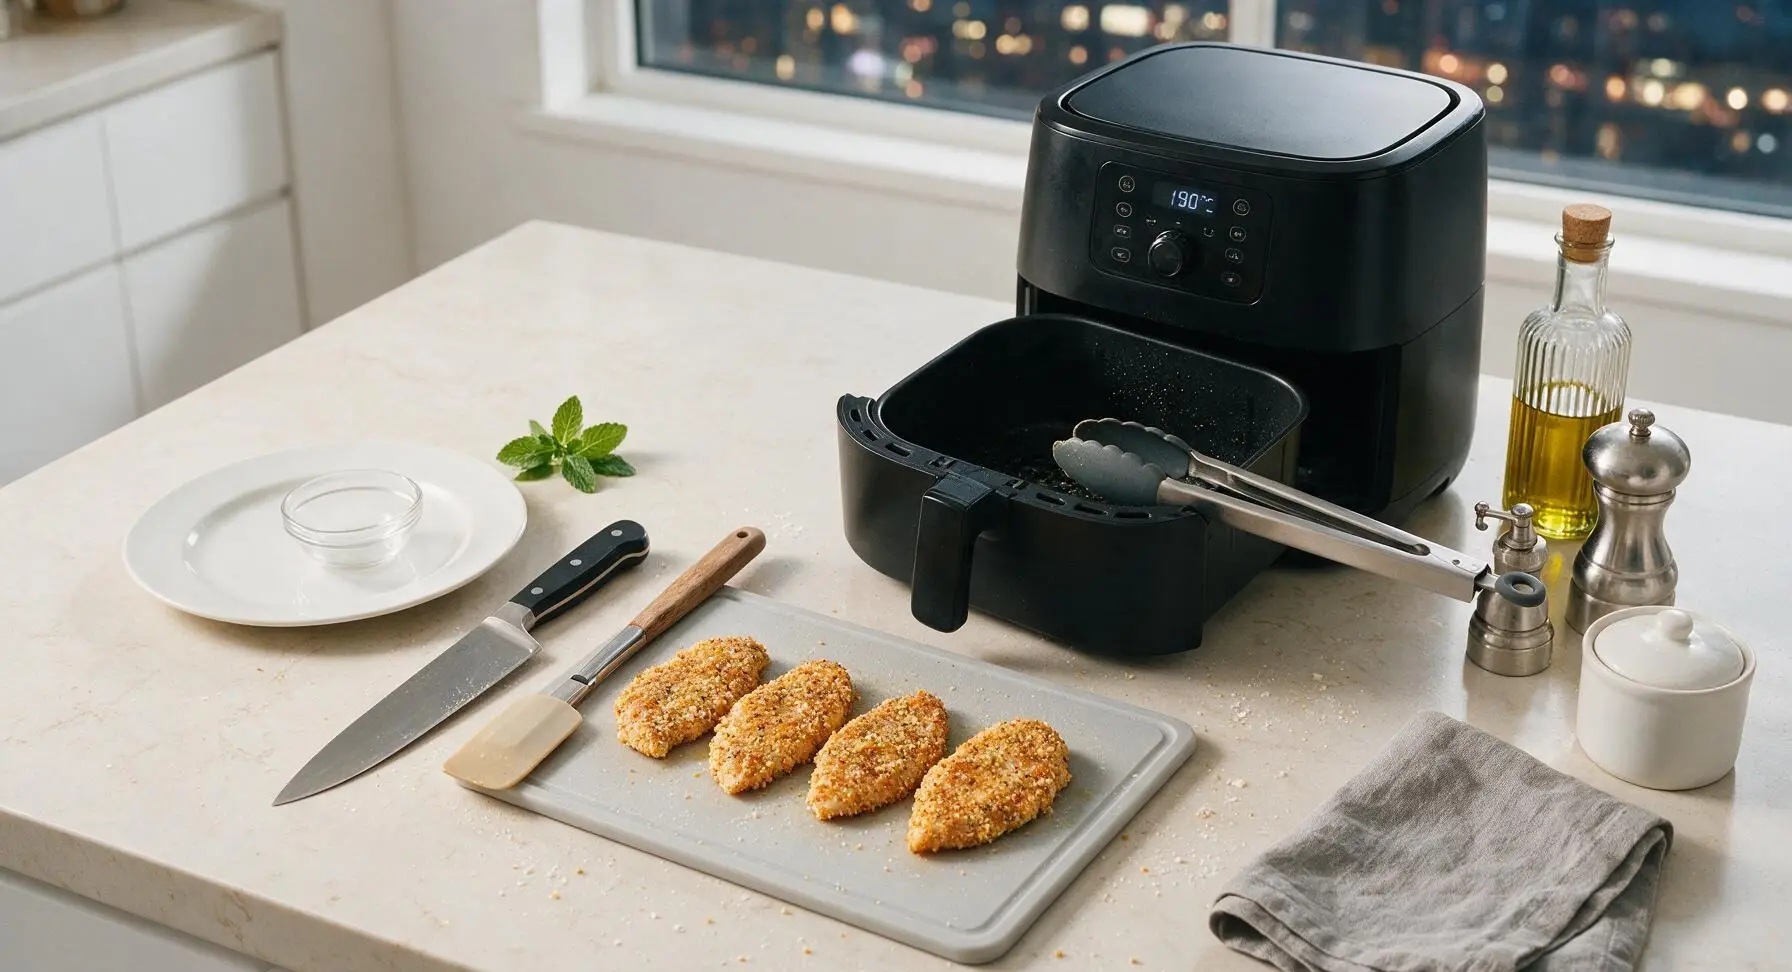
Pull the basket out of the matte black air fryer at the back right of the counter. Lightly spray the basket with olive oil cooking spray to prevent sticking. Preheat the air fryer to 375°F (190°C) for 3 minutes. Lightly spritz the top of each breaded chicken cutlet with olive oil spray to help the crust crisp and turn deep golden during cooking.
Cook First Chicken Side
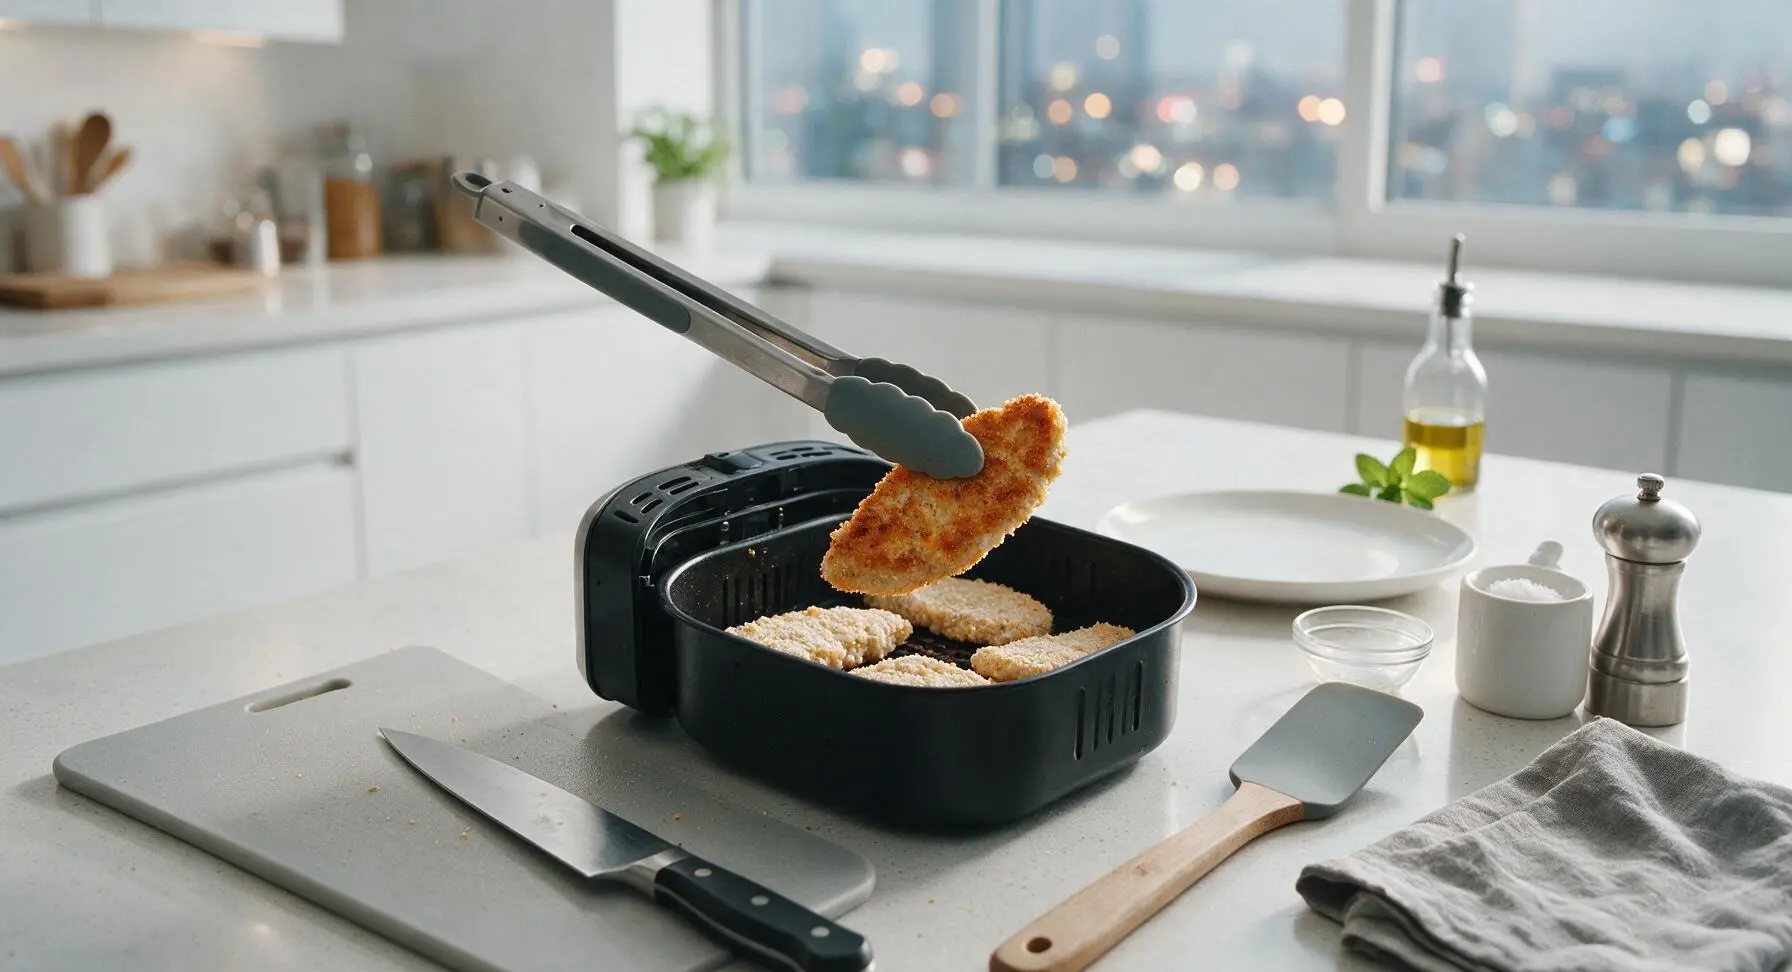
Use the silicone-tipped tongs to place the breaded cutlets in a single layer in the air fryer basket, leaving ½ inch of space between each cutlet for proper air flow (cook in two batches if your air fryer basket is too small to fit all four without crowding). Cook at 375°F (190°C) for 6 minutes. Do not move or flip the cutlets during this time to let the crust set fully and prevent crumbs from falling off.
Flip and Finish Cooking
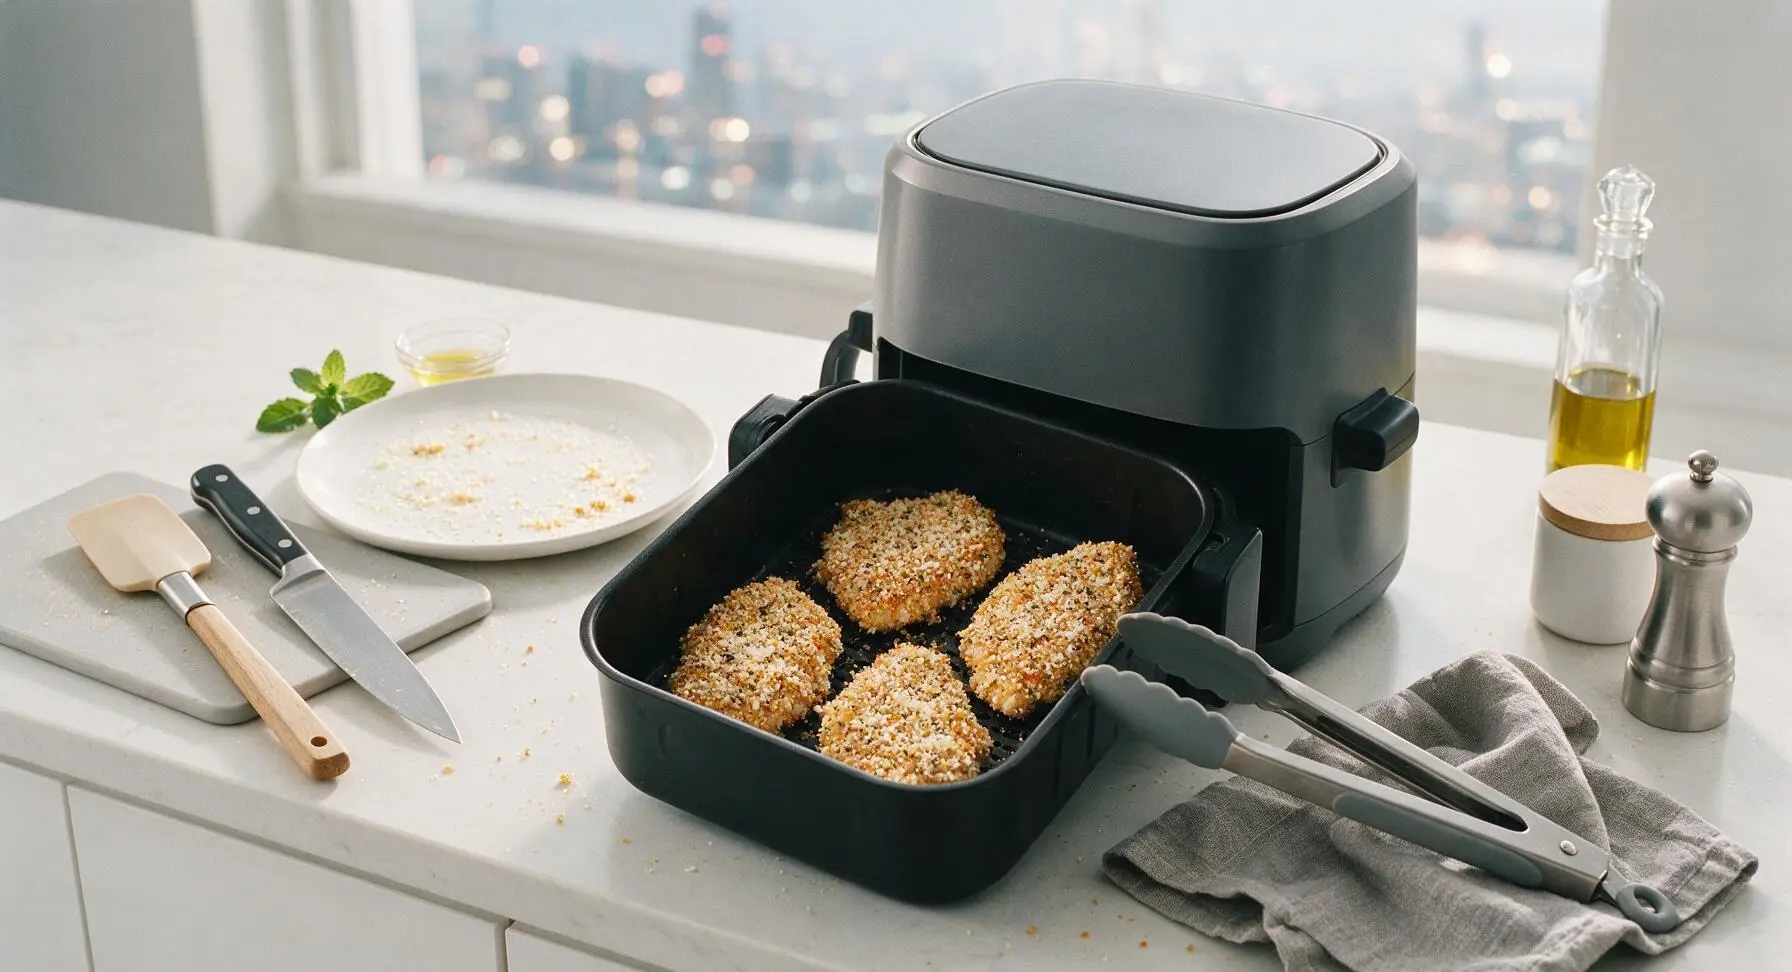
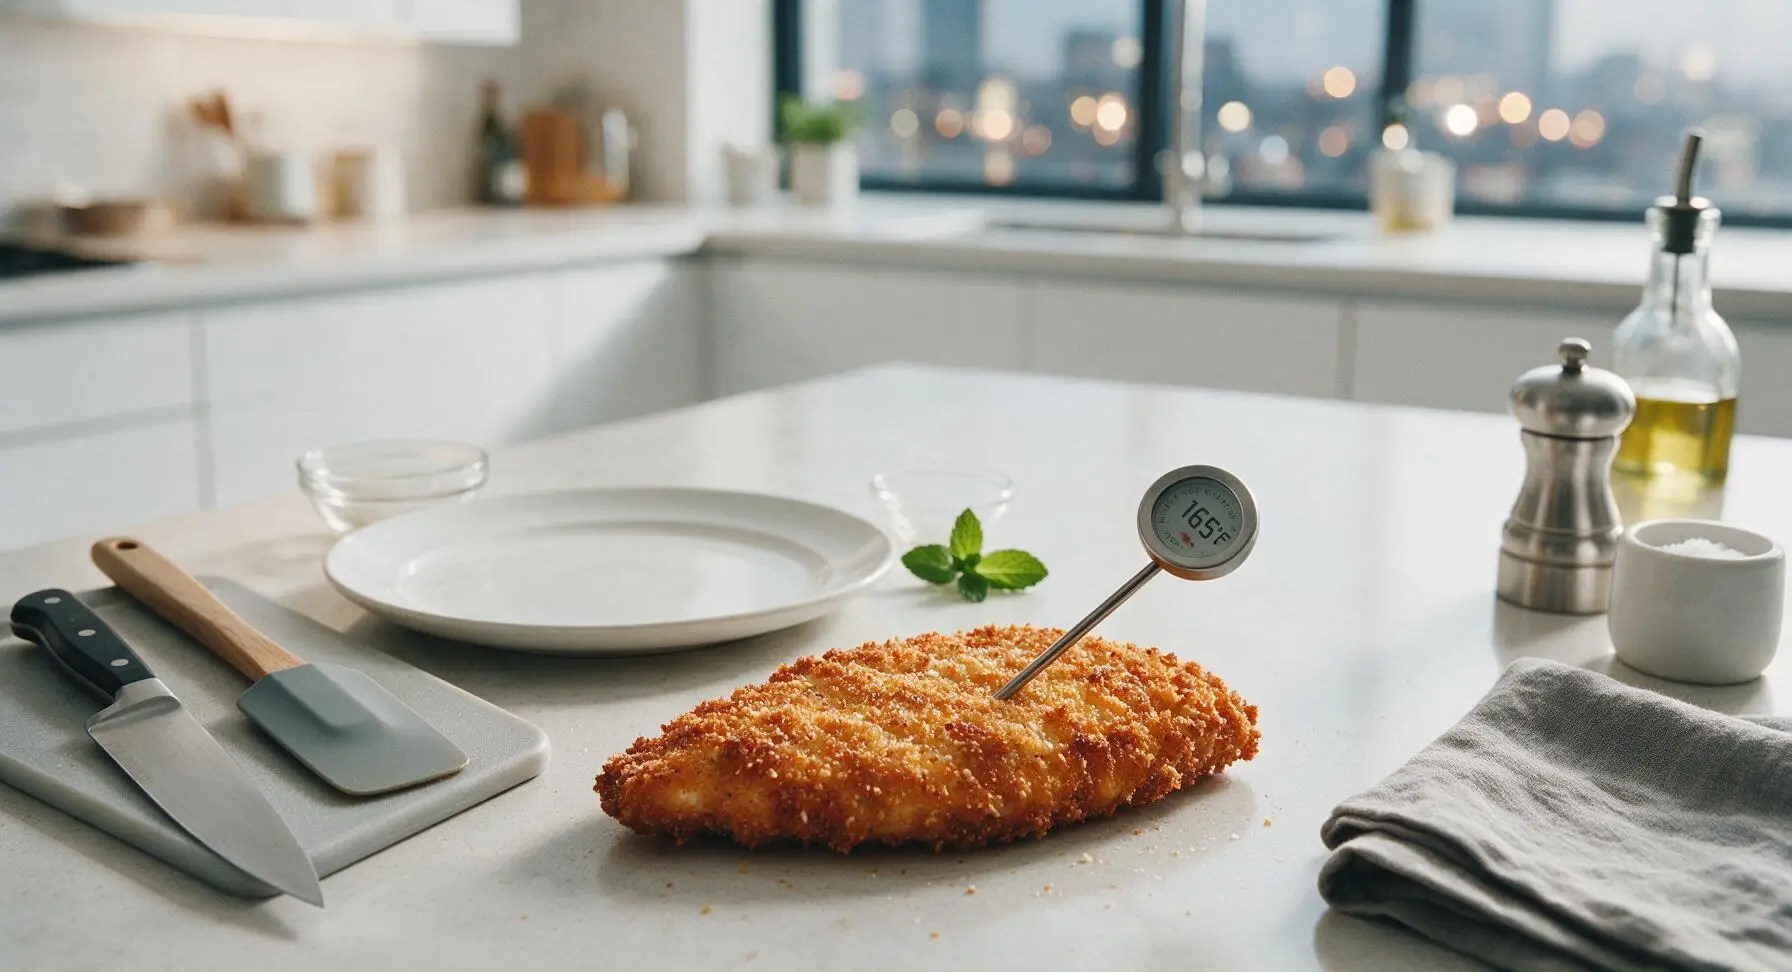
After 6 minutes, pull the air fryer basket out carefully. Use the tongs to flip each cutlet gently. Lightly spritz the second side of the cutlets with olive oil spray. Cook for another 5 minutes at 375°F (190°C), until the crust is deep golden brown and crispy, and the internal temperature of the chicken reaches 165°F (74°C) when checked with the instant-read thermometer.
Melt Cheese Topping
Once the chicken reaches 165°F, sprinkle 1 tablespoon of shredded mozzarella evenly over the top of each cutlet. Return the basket to the air fryer and cook for 1 final minute, just until the mozzarella is fully melted and bubbly; do not cook longer than 90 seconds to avoid overcooking and drying out the chicken.
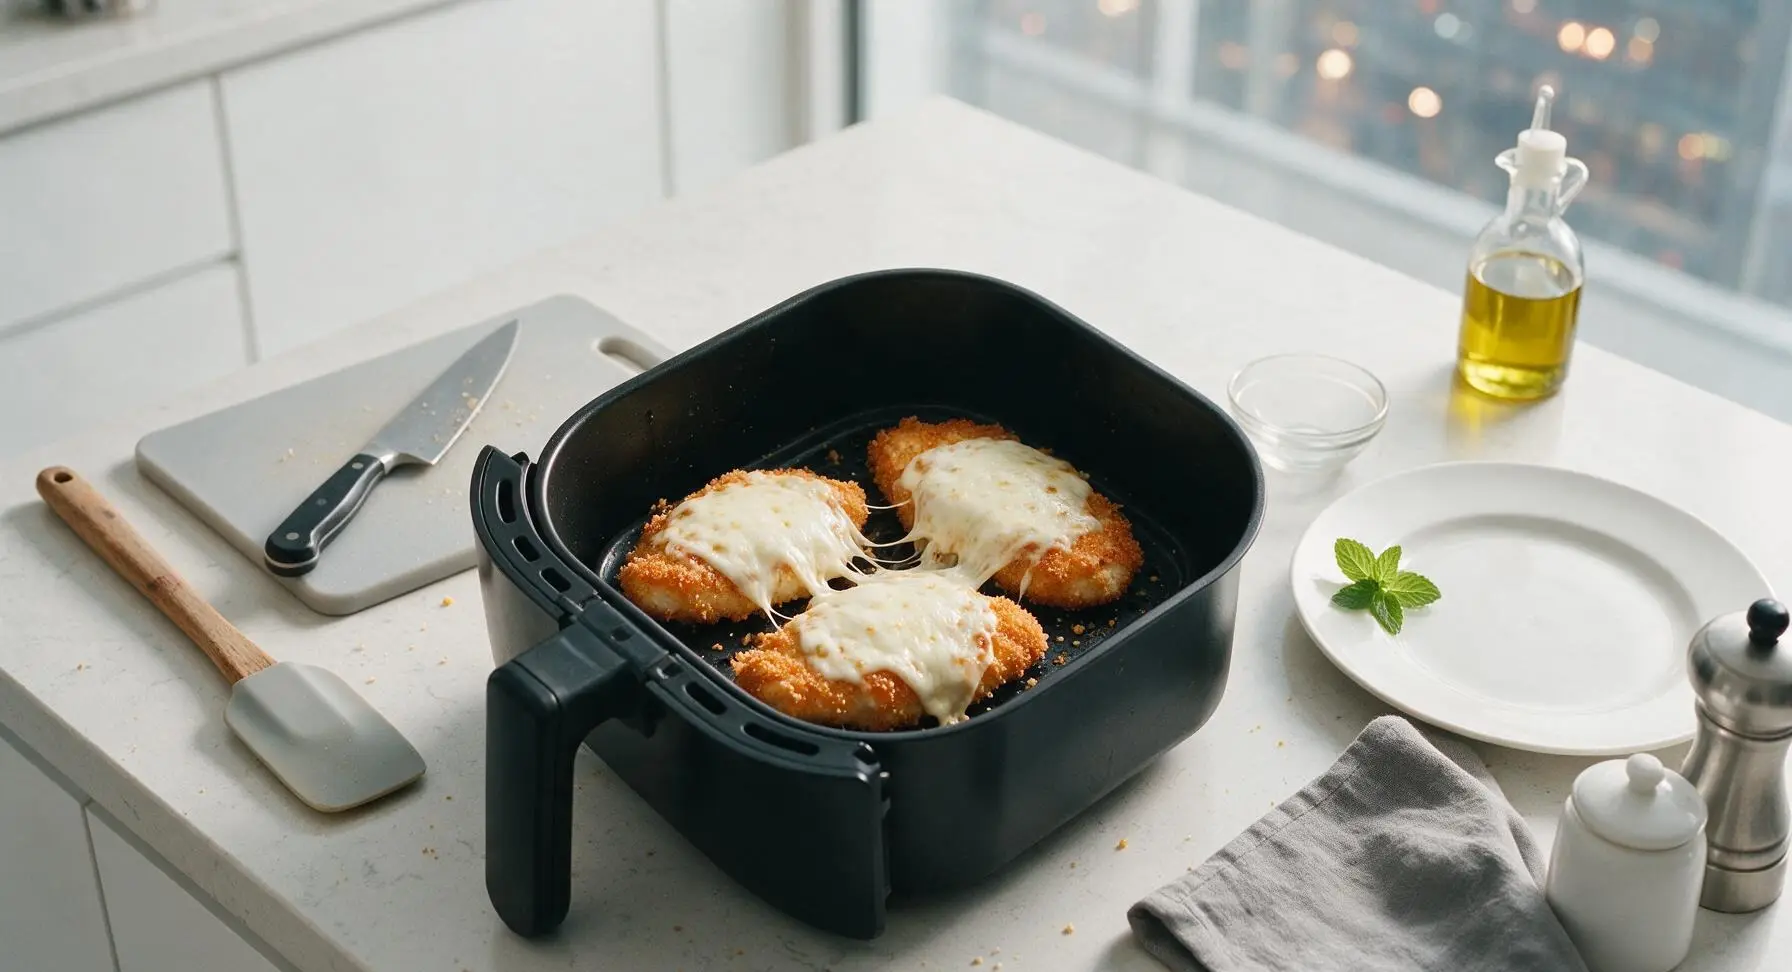
Plate and Garnish
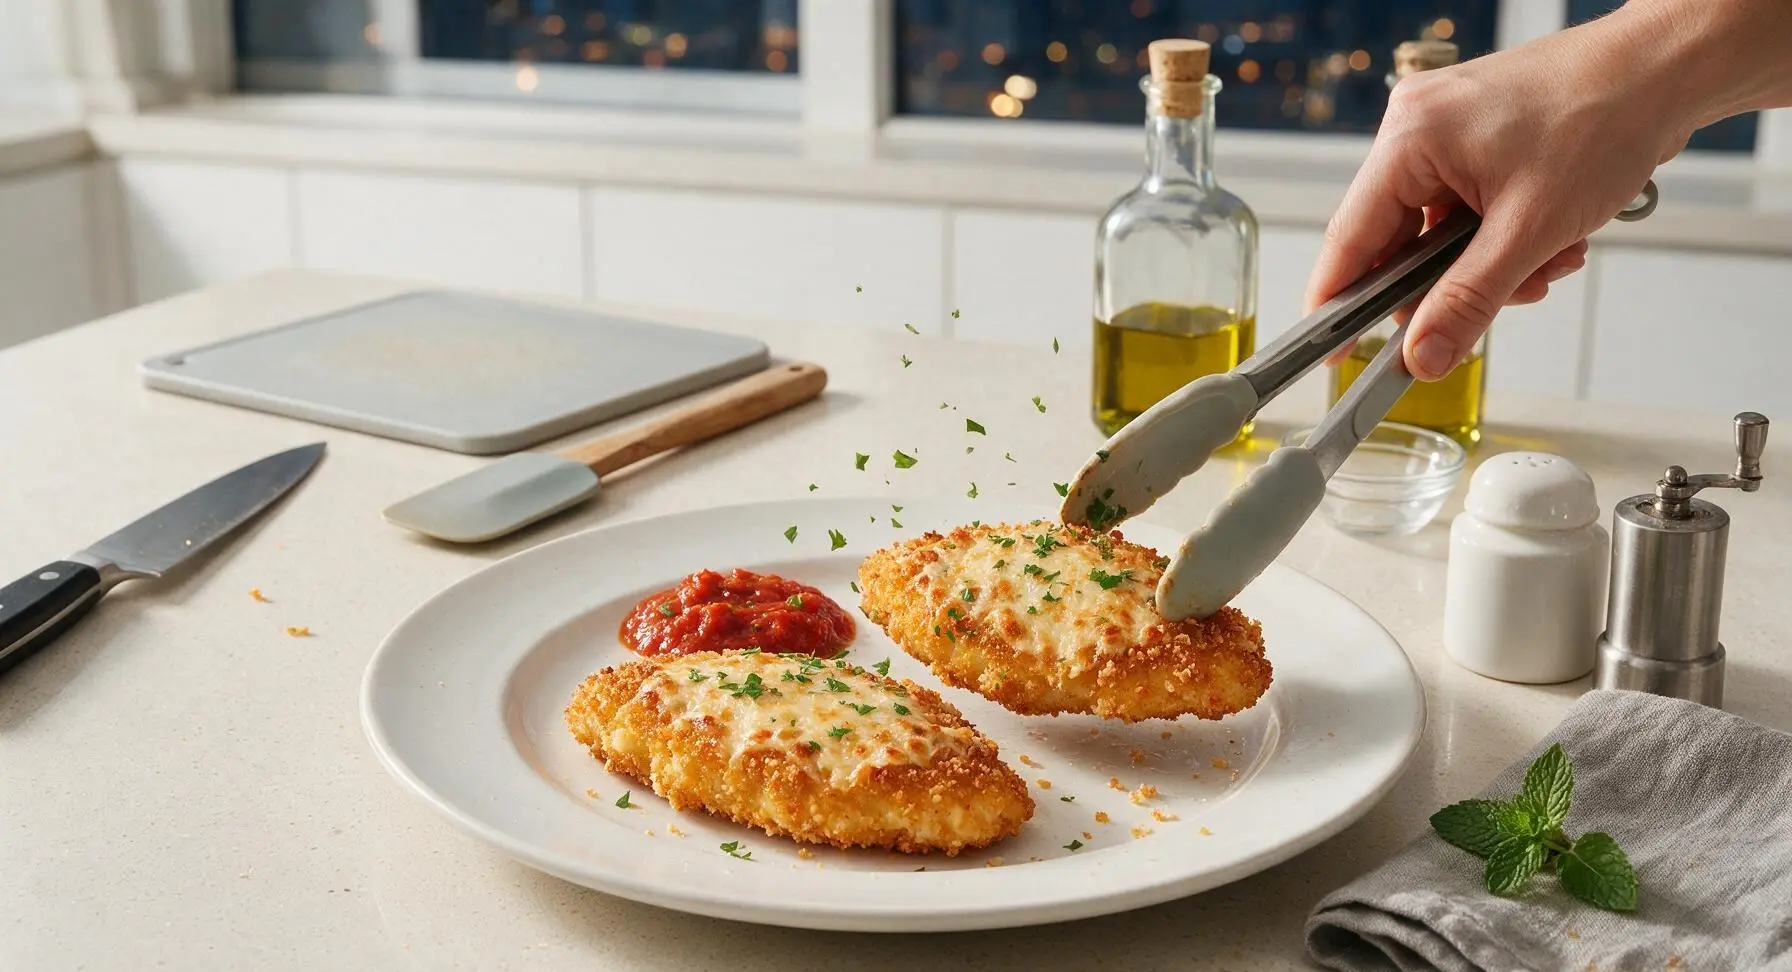
Use the tongs to transfer the cooked cutlets to the 27cm matte white ceramic dinner plate. Spoon 1 tablespoon of warmed marinara sauce alongside each cutlet (do not pour sauce directly on the crust to keep it crispy). Garnish with chopped fresh flat-leaf parsley, and serve immediately.
Tips
2.Never crowd the air fryer basket: hot air needs to circulate around every side of the cutlet to create a crisp crust. If cutlets overlap or touch, the breading will steam instead of crisp, leading to soggy spots. Cook in two batches if needed, keeping finished cutlets warm on a wire rack set over a baking sheet while the second batch cooks.
3.Serve marinara on the side rather than pouring it over the chicken: even a small amount of sauce spooned directly onto the crispy crust will soften the panko-parmesan coating within minutes, ruining the crunch. Serving sauce on the side lets diners dip as desired while preserving the crisp texture of the chicken.






OMG this was SO good! I made it for family dinner last night and both my picky boys asked for seconds! 12 minute cook time is a total game changer for busy weeknights, no more standing over a hot pan frying chicken for 30 minutes. I served it with roasted broccoli and pasta, everyone cleaned their plates.
Brought this to our neighborhood potluck last weekend and people were hounding me for the recipe all night! The parmesan crust gets so perfectly crispy in the air fryer, no soggy breading at all. I added a little extra garlic powder to the coating and it was chef’s kiss. 10/10, will make again.
As someone who just got their first air fryer last week, this was the perfect easy recipe to test it out! I was worried I’d mess it up but it came out perfectly juicy on the inside and crispy on the outside. No dry chicken here! Already added it to my weekly rotation.
Has anyone tried this with gluten free breadcrumbs? I’m gluten intolerant and have been craving crispy parmesan chicken forever, but don’t want to waste ingredients if it doesn’t turn out right!
Game changer! I used to spend forever frying chicken parm on the stove and making a huge mess with oil splatters everywhere. This was zero mess, cooked in 12 minutes flat, and tasted even better than the stovetop version. My 7 year old said it’s ‘better than the restaurant’ which is the highest possible praise in our house.
Made a big batch of this for my weekly meal prep and it held up amazing all week! I portioned it out with roasted veggies and quinoa, and it reheated perfectly in the air fryer in 2 minutes. So much better than sad takeout lunches at the office. Will be making this every other week for sure.
Wait a second—this is so much better than the baked parmesan chicken I used to make! The crust doesn’t get soggy at all, and the chicken stays so juicy. I sprinkled a little extra parmesan on top the last minute of cooking and it got all melty and crispy, *chefs kiss*. So easy too, I didn’t even have to pound the chicken super thin, it cooked perfectly in 12 minutes.
Super easy recipe, but my first batch came out a little less crispy than I wanted. Any tips? I think I might have overcrowded the air fryer basket, oops.
As a college student with a tiny dorm air fryer and minimal cooking skills, this was a WIN! Ingredients were super simple, no fancy equipment needed, and it tasted like a real home cooked meal instead of the microwave ramen I usually eat. Even my roommate stole a bite and said it was amazing. 10/10, will be making this every week.