
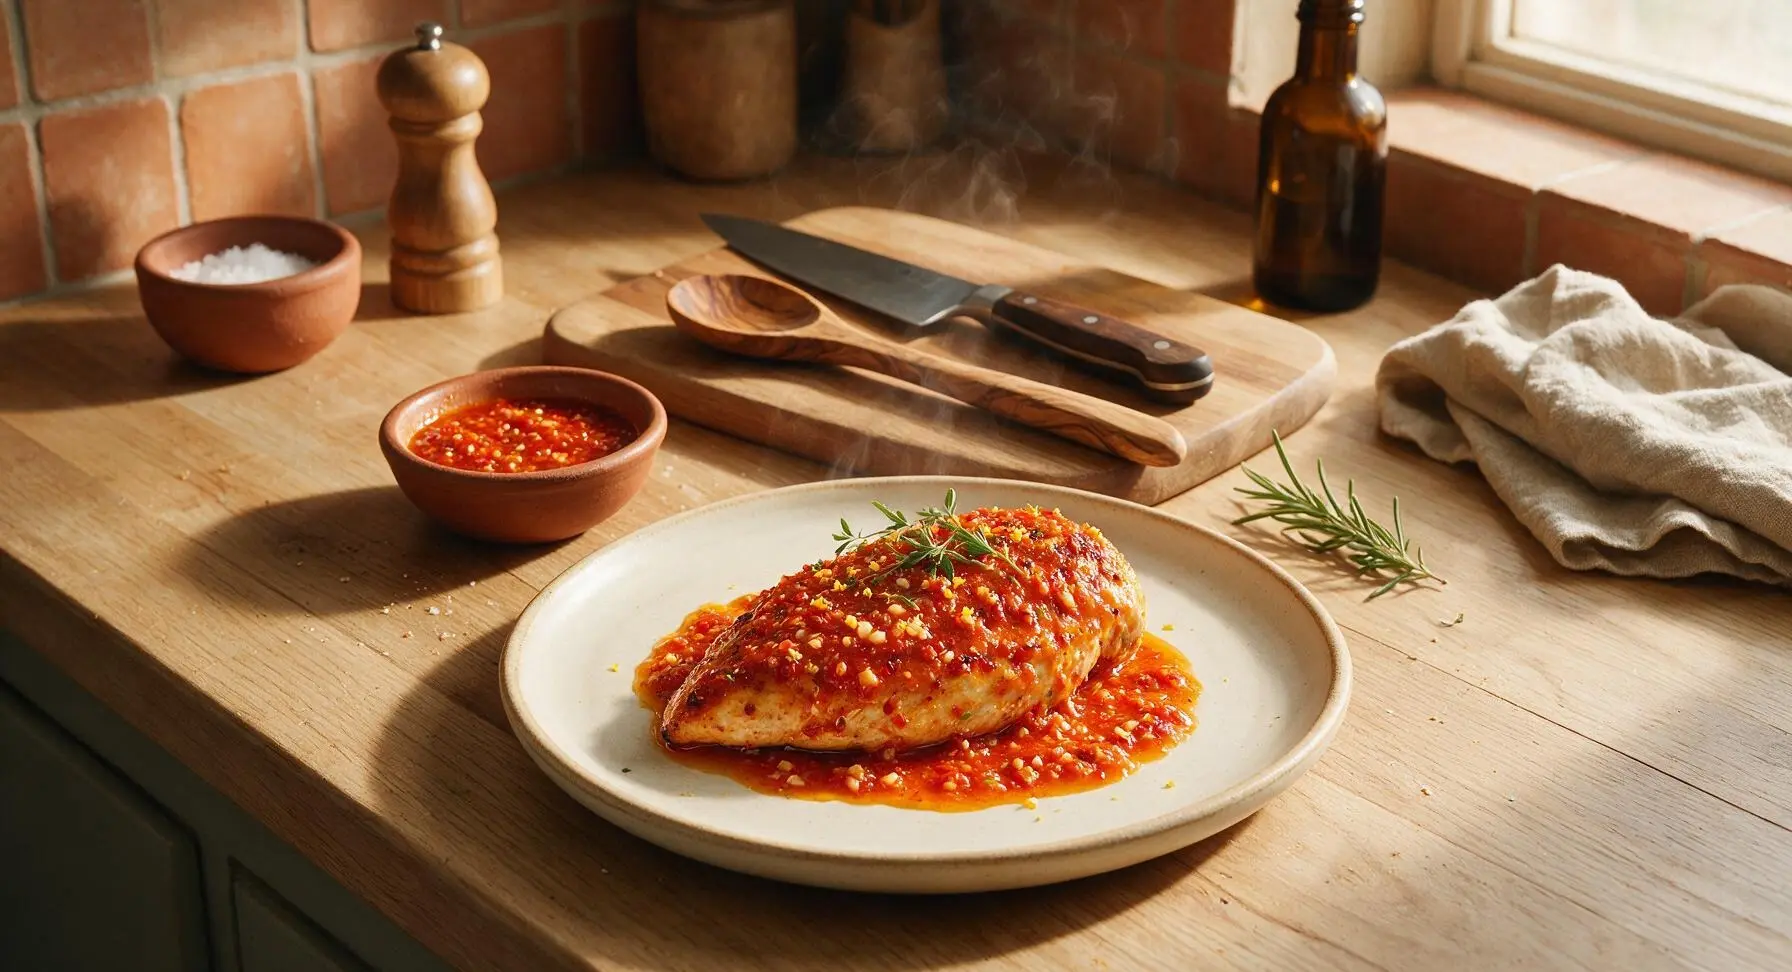
peri peri sauce

title 1
peri peri sauce
⏱️ cook time 8 minutes
🍽️ servings 12
⚡ Difficulty easy

intro

Bright, fiery, tangy peri peri sauce is the iconic grilled chicken condiment, packed with chile heat, citrus zing, and garlicky depth to elevate every summer BBQ bite.

Ingredients
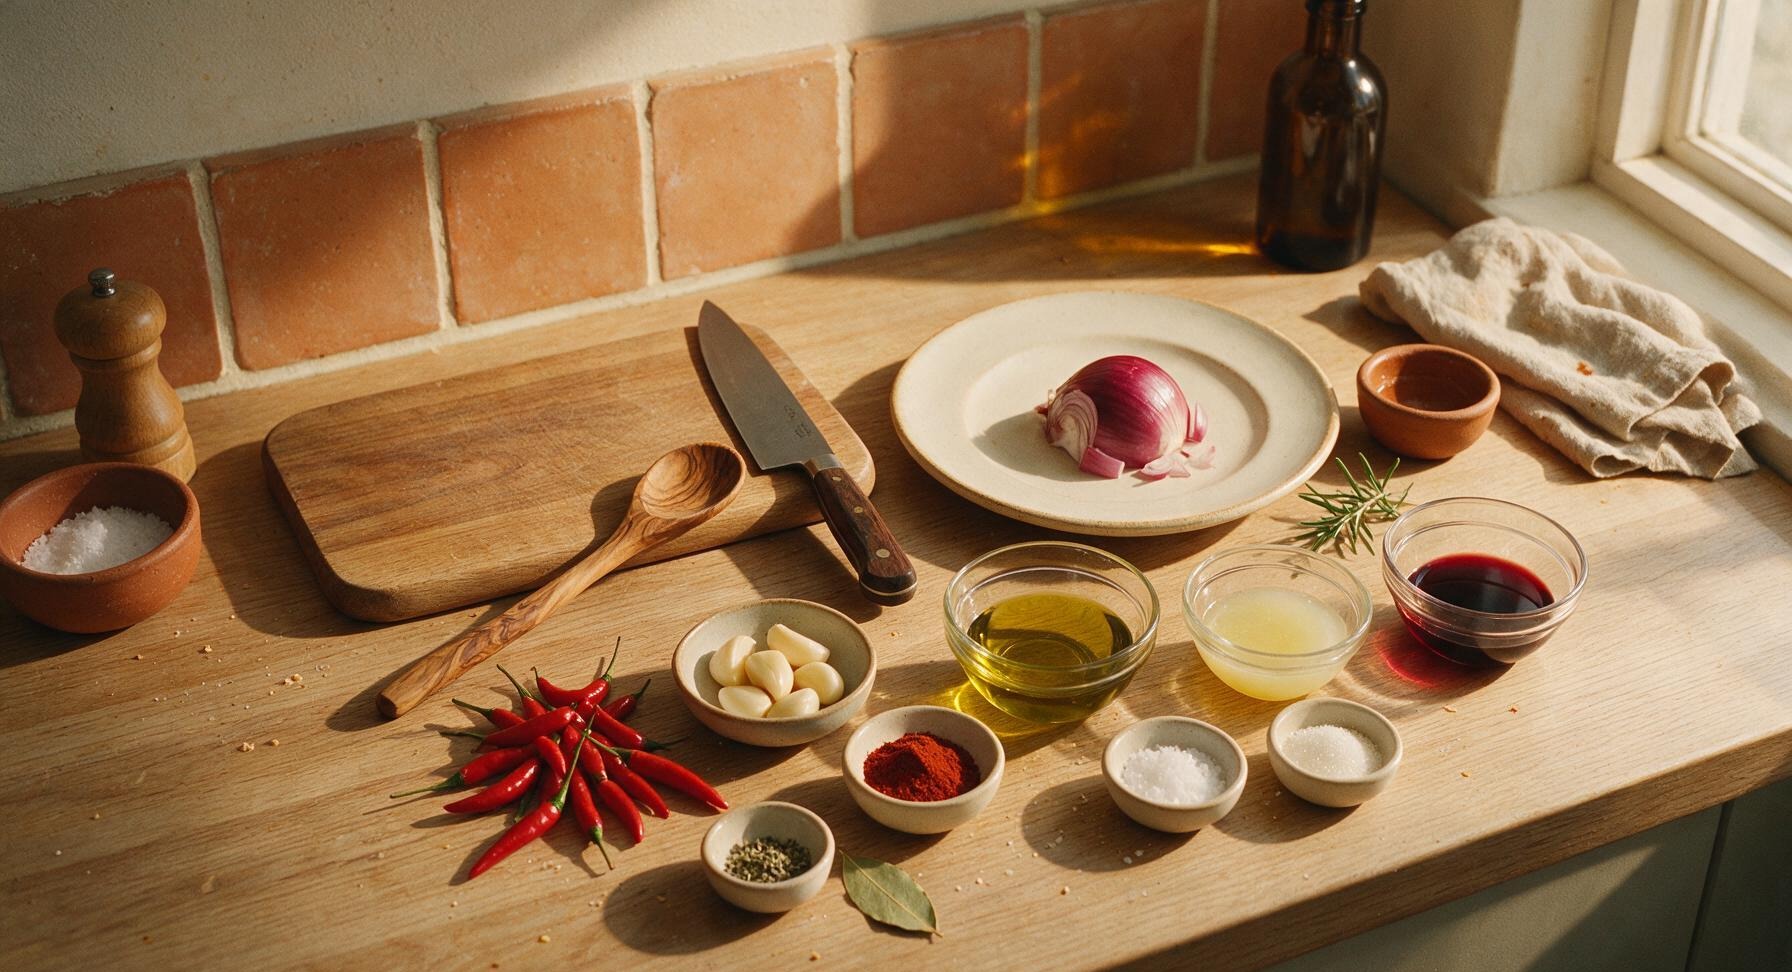
Fresh red bird's eye chilis 100g (approx 12 medium, stems trimmed)
Garlic cloves 6 (20g, peeled)
Small red onion 1 (120g, peeled, roughly chopped)
Smoked paprika 1 tbsp
Dried oregano 1 tsp
Fresh lemon juice 3 tbsp (from 1 large lemon)
Red wine vinegar 2 tbsp
Extra-virgin olive oil 1/3 cup (80ml)
Kosher salt 1 tsp
Granulated sugar 1 tsp
Bay leaf 1 whole

Steps

1

Prep Chili Aromatics

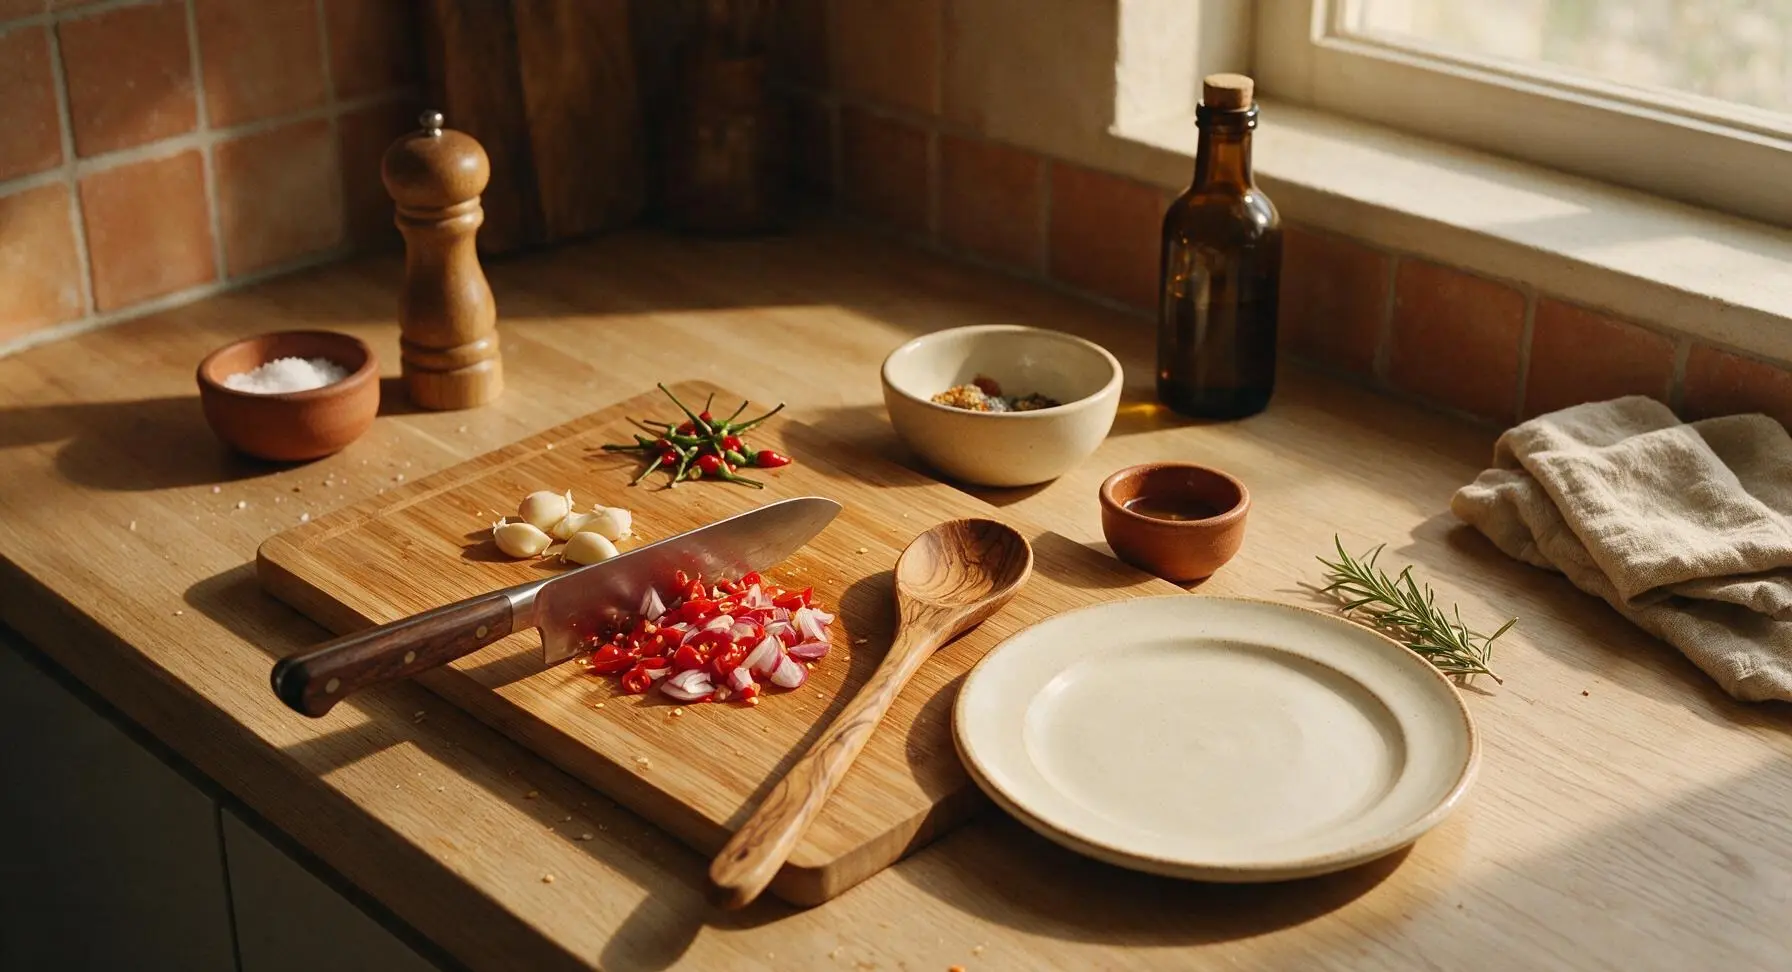
Place the whole stem-on bird's eye chilis, unpeeled garlic cloves, and whole red onion from the ingredient layout onto the bamboo cutting board. Using the chef's knife, trim and discard the chili stems, peel the garlic cloves, then chop all ingredients into rough 1cm pieces. Uniform fine dicing is not required, as the mixture will be blended later. Leave all chili seeds and membranes for traditional spicy peri peri, or remove half the seeds for a milder finished sauce. The chopped pieces should be small enough to easily transfer to the blender.
Step 1
step1:Prep Chili Aromatics
2

Load Blender Ingredients

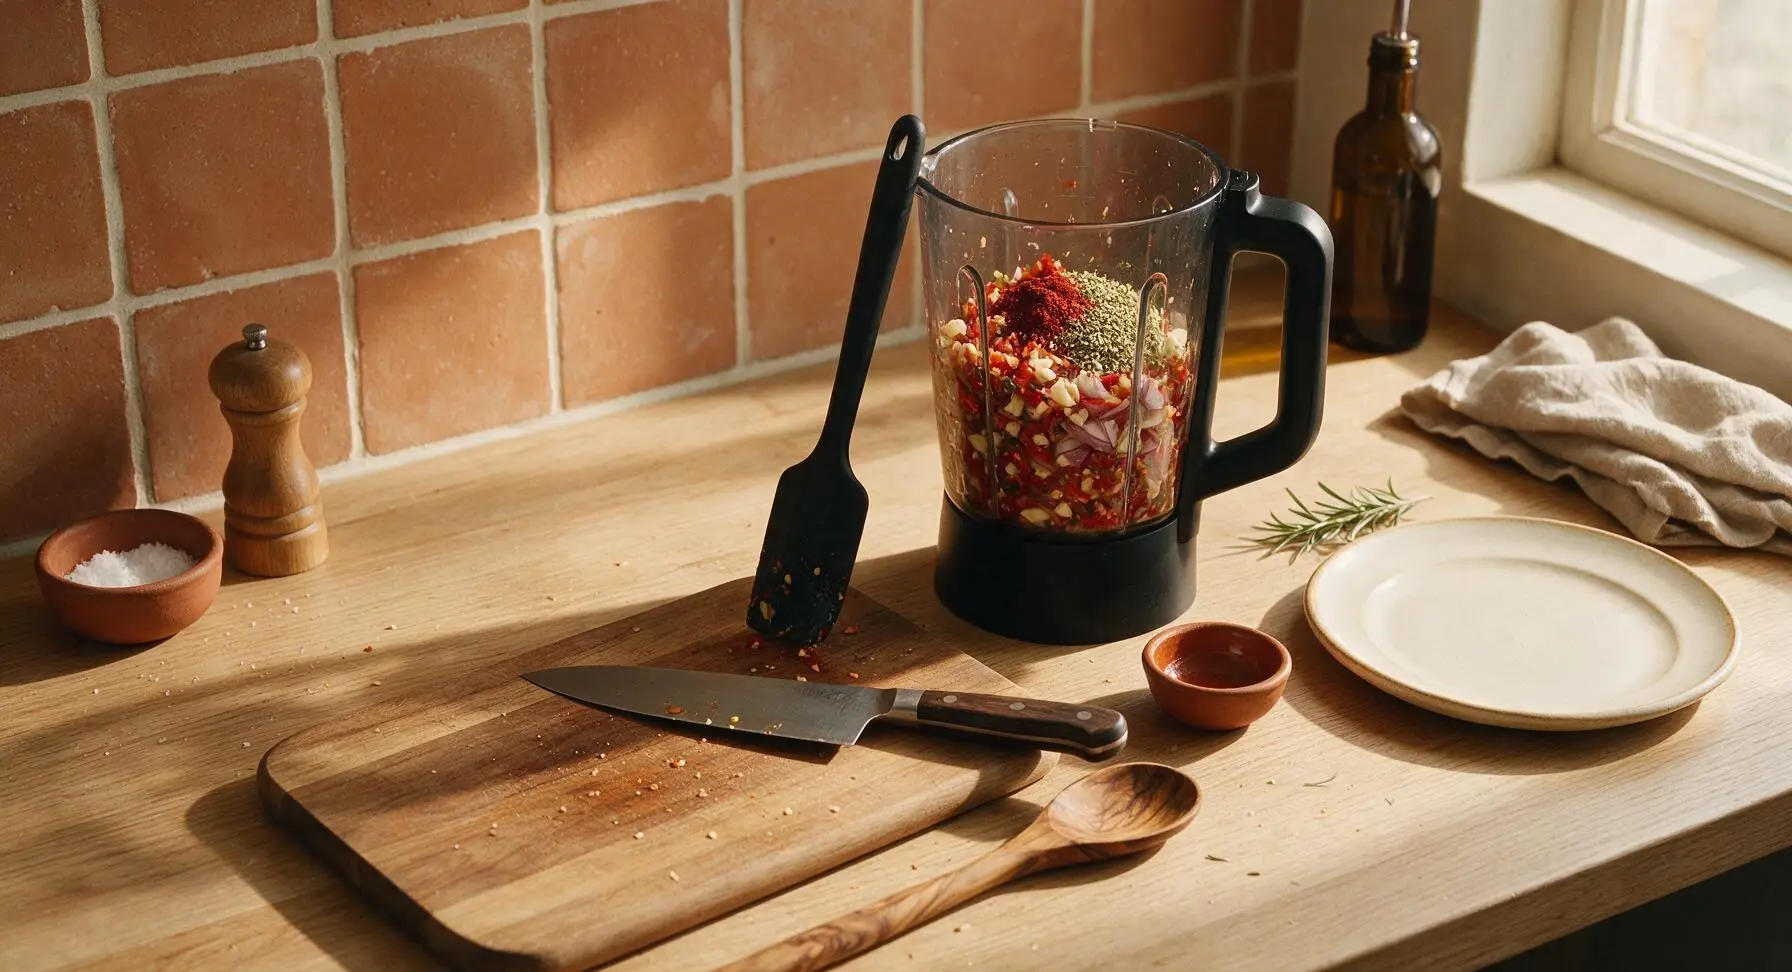
Retrieve the matte black blender jar from below the counter and place it in its fixed position 10cm right of counter center. Transfer the chopped chilis, garlic, and red onion to the jar using the silicone spatula to scrape every bit from the cutting board. Add the smoked paprika, dried oregano, lemon juice, red wine vinegar, salt, and sugar to the jar. Do not add the olive oil or bay leaf at this stage. Secure the blender lid tightly.
Step 2
step2:Load Blender Ingredients
3

Blend to Coarse Paste

Hold the blender lid down with the folded cream kitchen towel to prevent hot splatters, then blend the ingredients on high speed for 30 seconds. Stop the blender, scrape down the jar sides with the silicone spatula, then blend for another 30 seconds until the mixture forms a thick, coarse red paste with no large chunks of onion or chili remaining, about 1 minute total blending time. Avoid over-blending to a completely smooth puree at this stage.
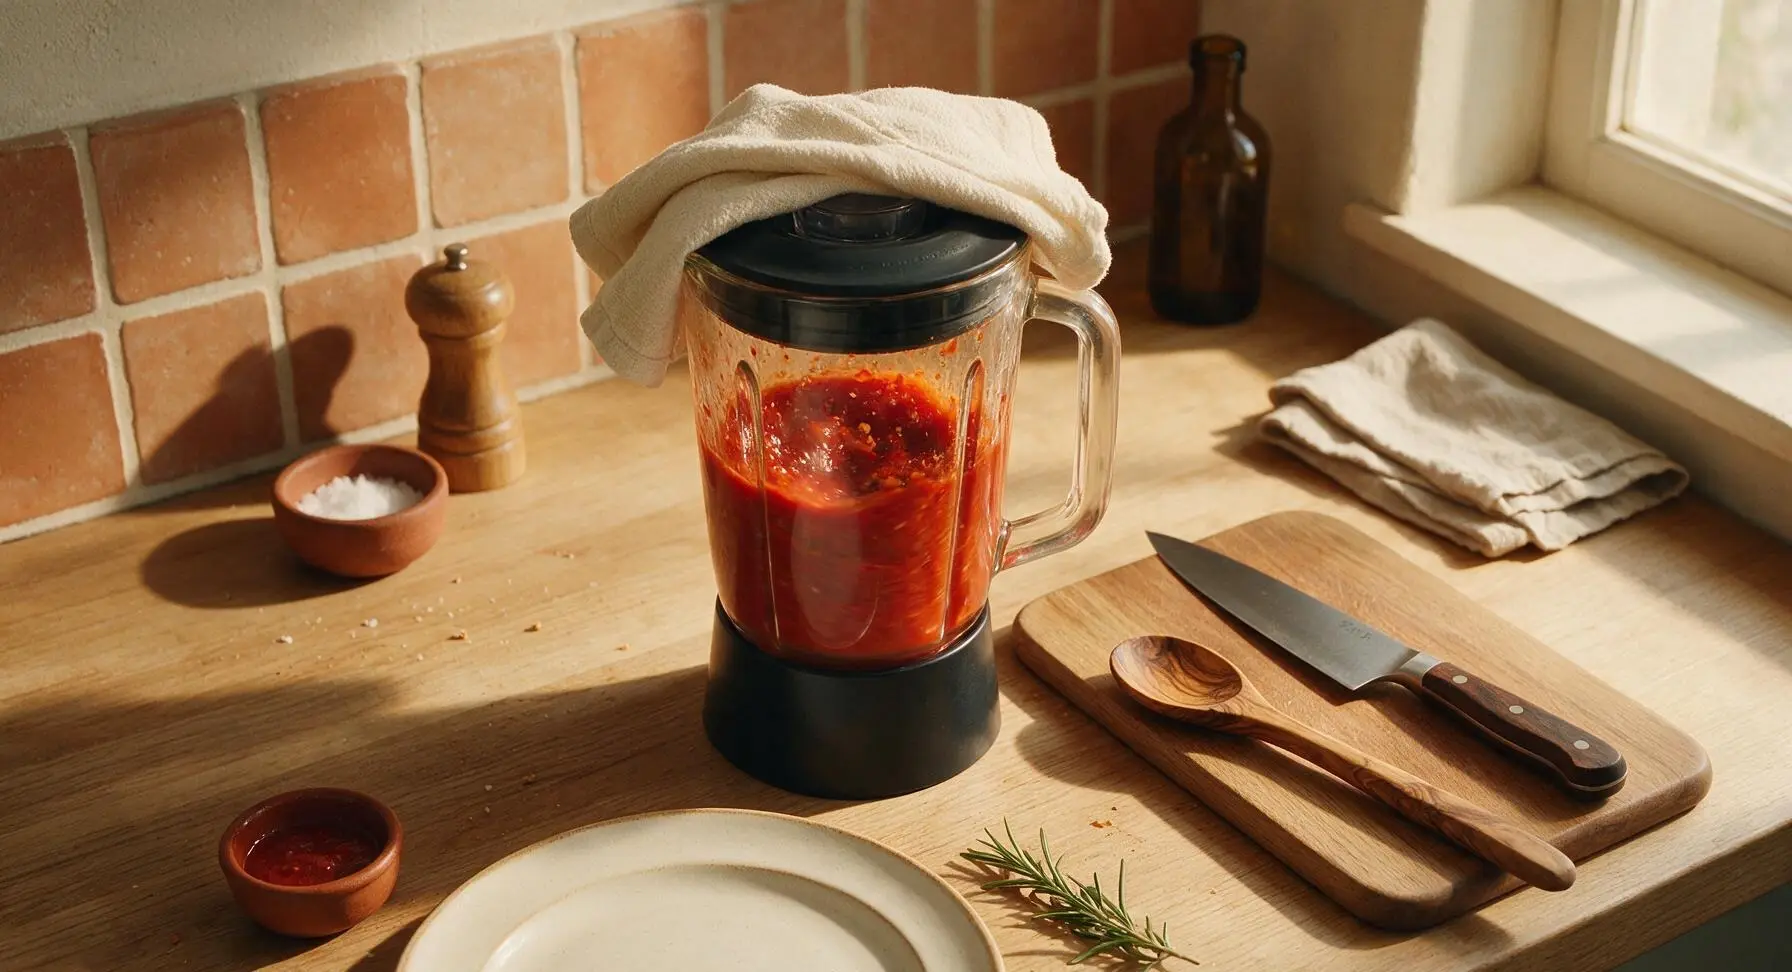
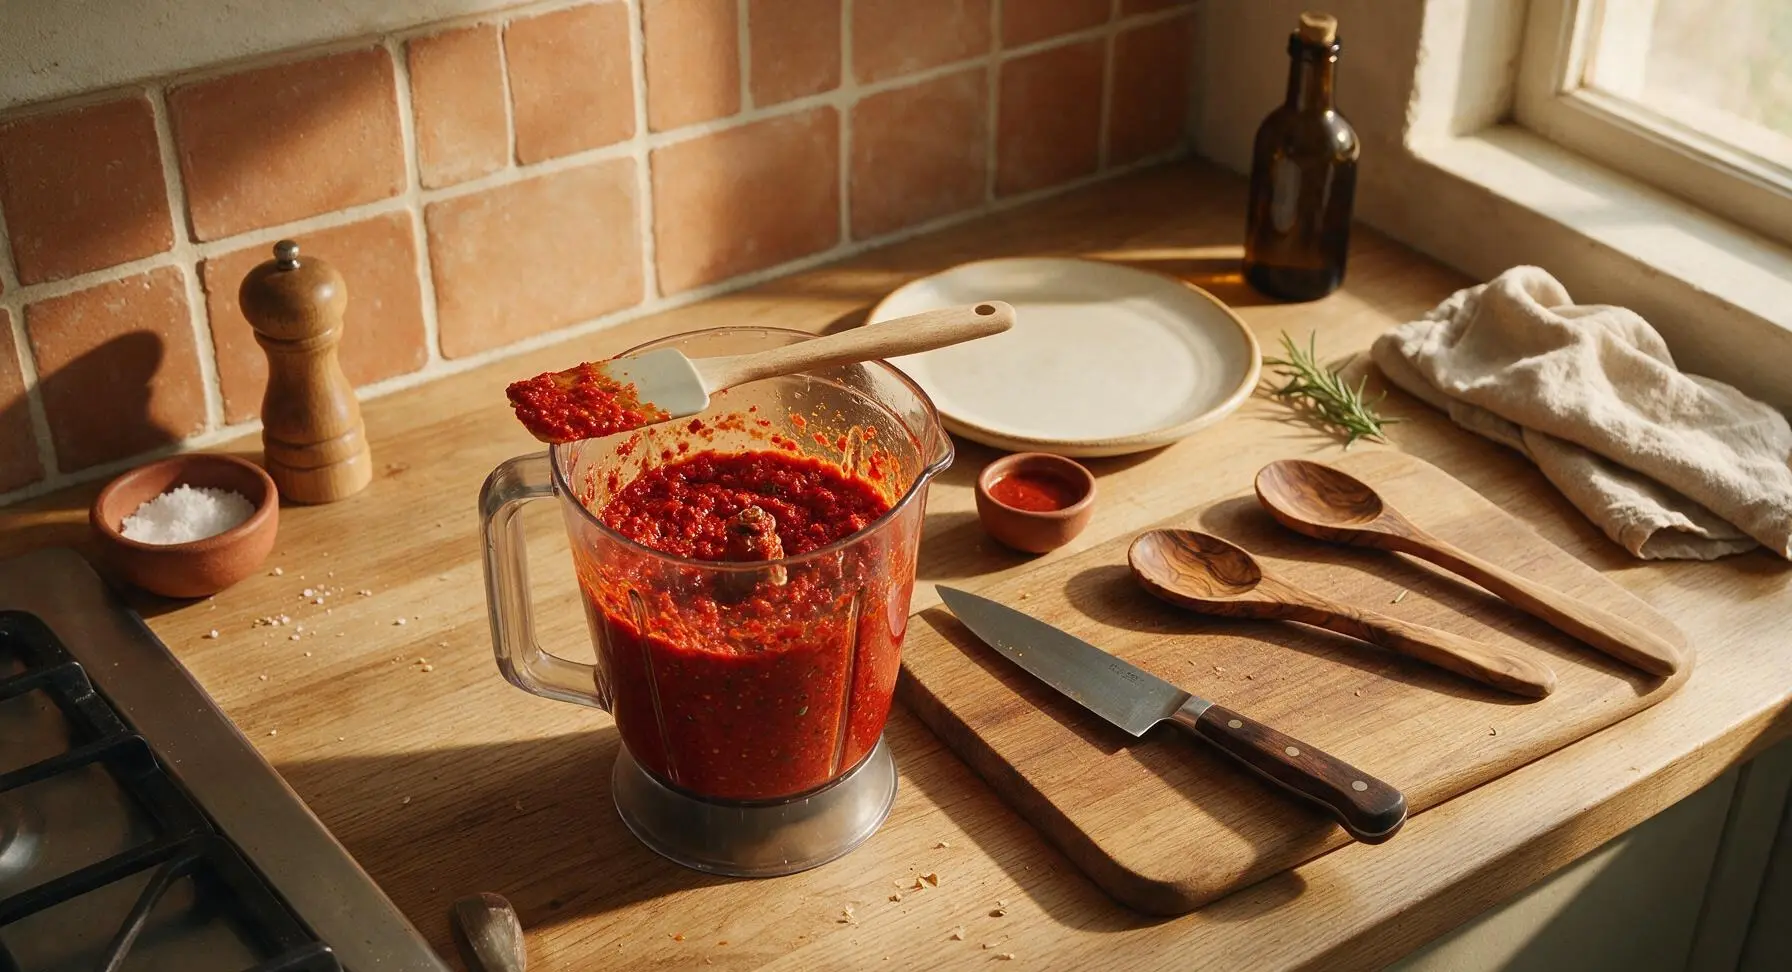
Step 3
step3:Blend to Coarse Paste
Step 3
step3:Blend to Coarse Paste
4

Simmer Sauce Base

Move the 1L stainless steel saucepan from its rear right storage spot to the stovetop heating zone over medium-low heat (325°F / 160°C). Pour the coarse chili paste from the blender into the pan, add the whole bay leaf, and bring to a gentle simmer. Cook for 5 minutes, stirring occasionally with the silicone spatula, until the sharp raw garlic and onion aroma fades and is replaced by a rich, fragrant roasted chili scent. Do not let the paste boil rapidly, as high heat will scorch the chilis and create bitter flavor.
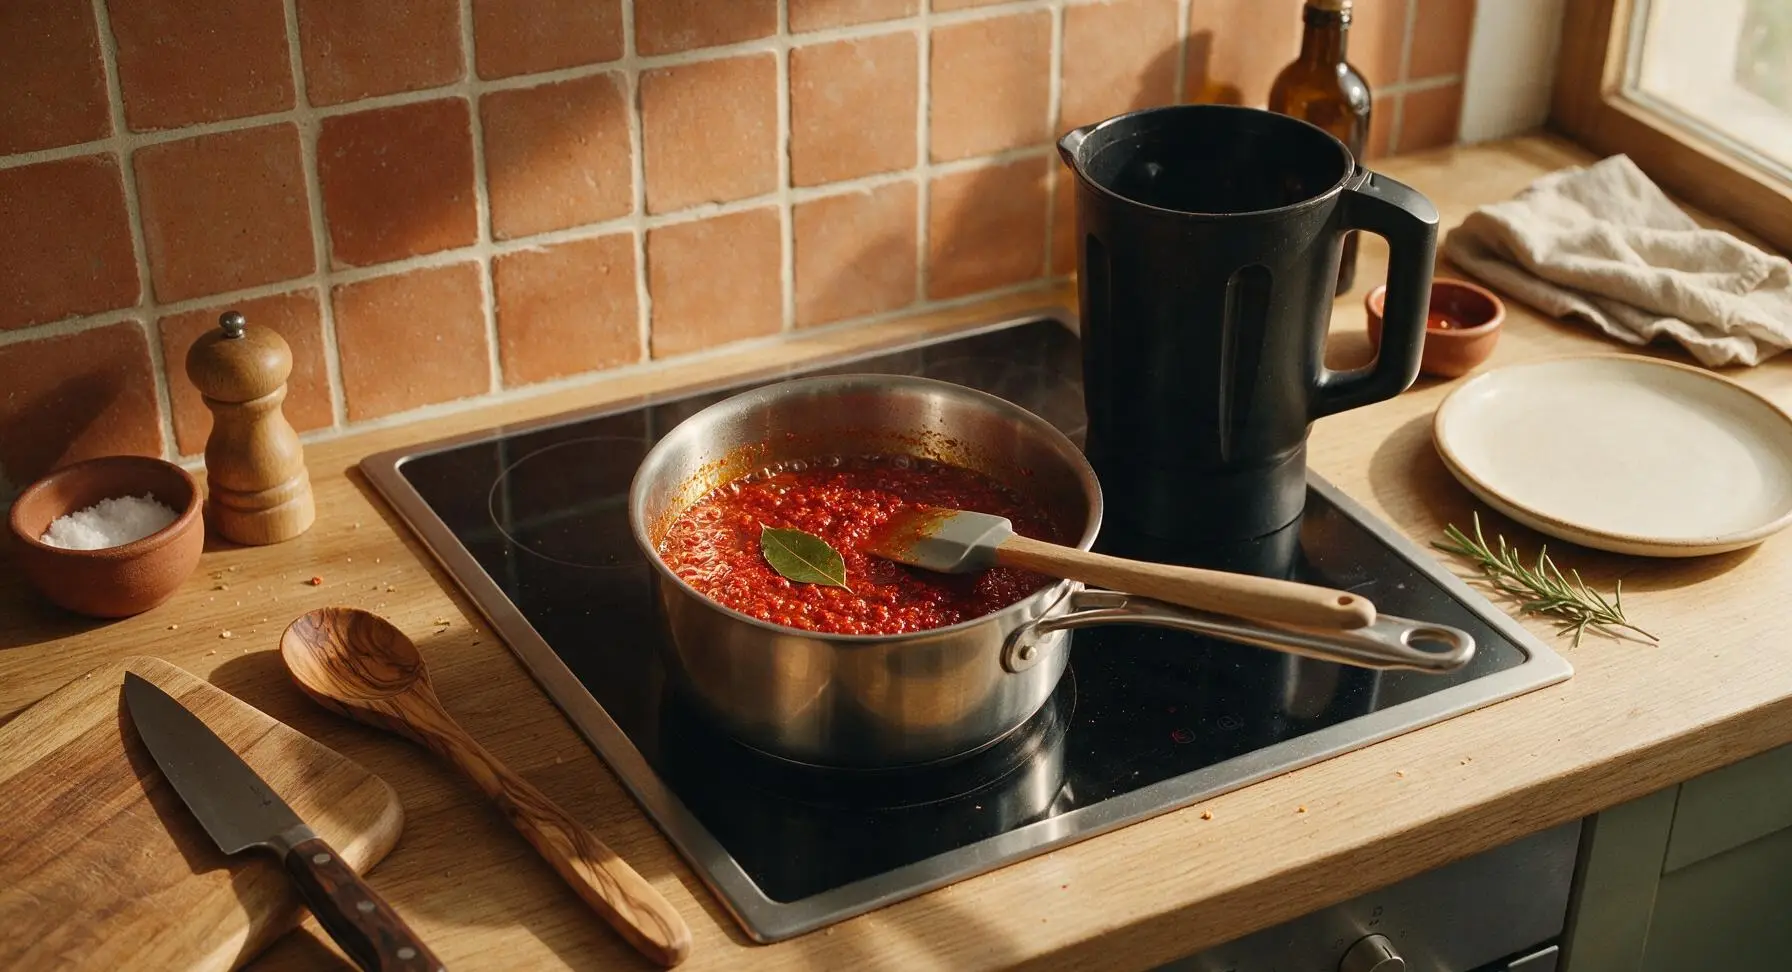
Step 4
step4:Simmer Sauce Base
5

Emulsify With Olive Oil

Reduce stovetop heat to low (250°F / 120°C). Use the silicone spatula to fish out and discard the bay leaf from the pan. While stirring constantly in slow circular motions, slowly drizzle the extra-virgin olive oil into the warm chili base in a thin, steady stream. Continue stirring for 1 full minute after all oil is added, until the sauce is smooth, glossy, and fully emulsified with no separated oil pools visible on the surface.
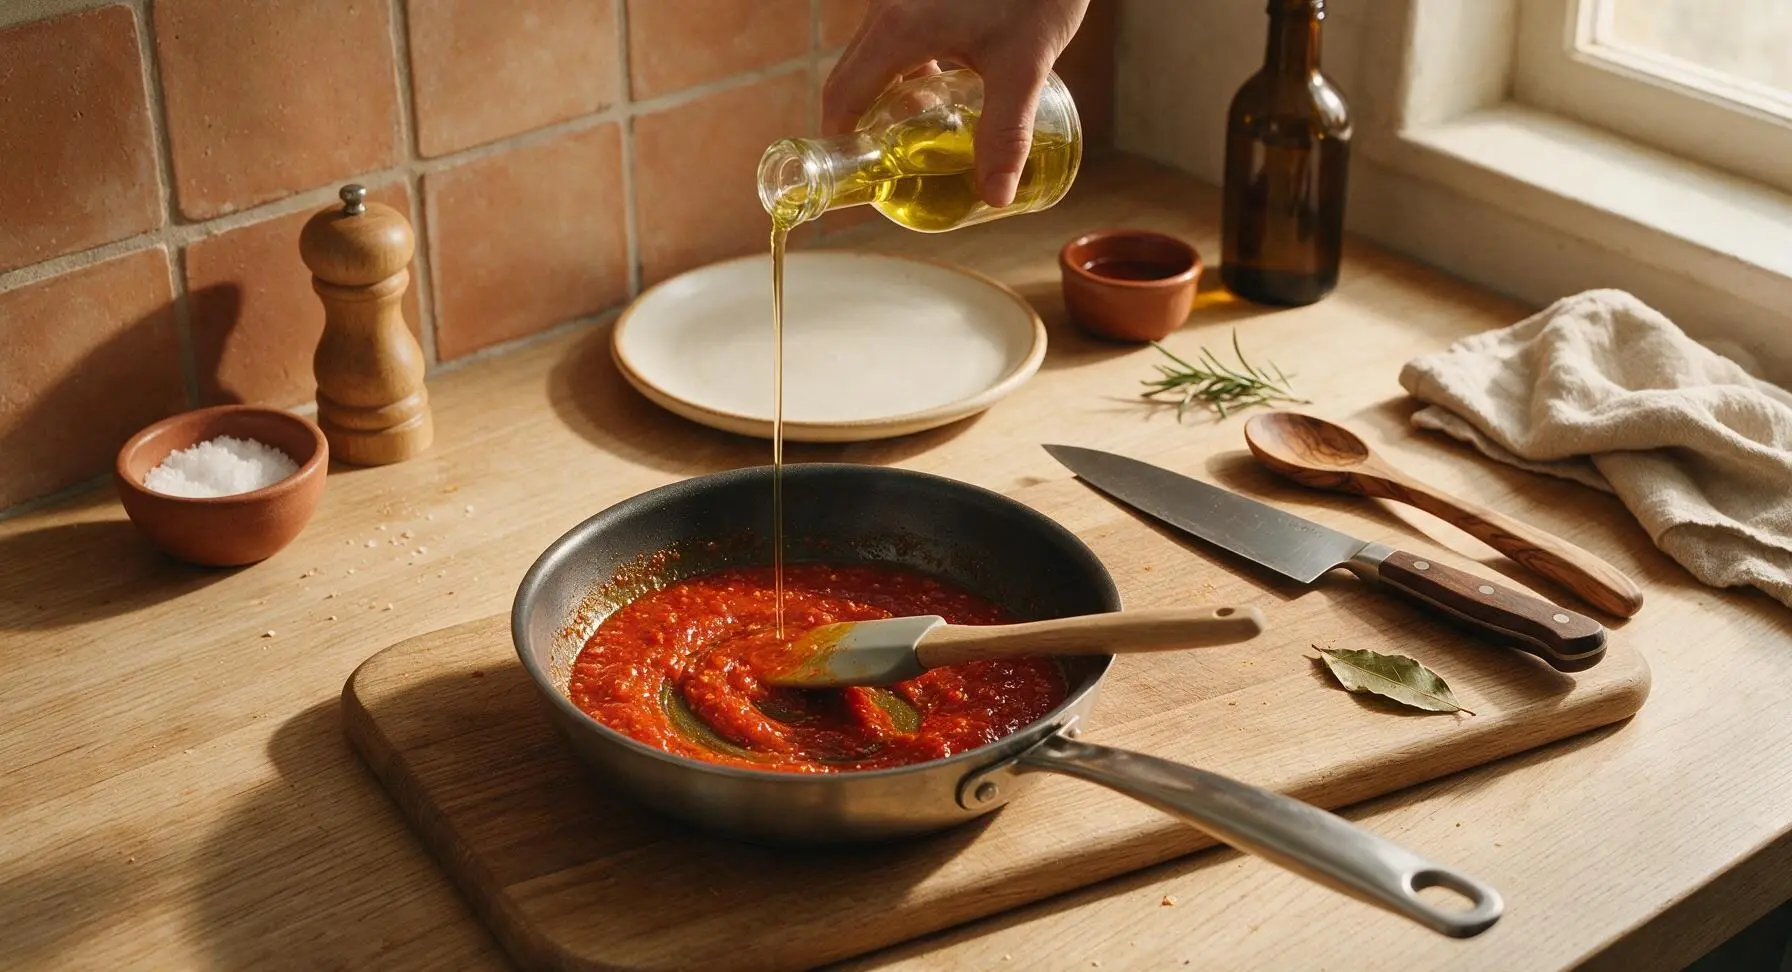
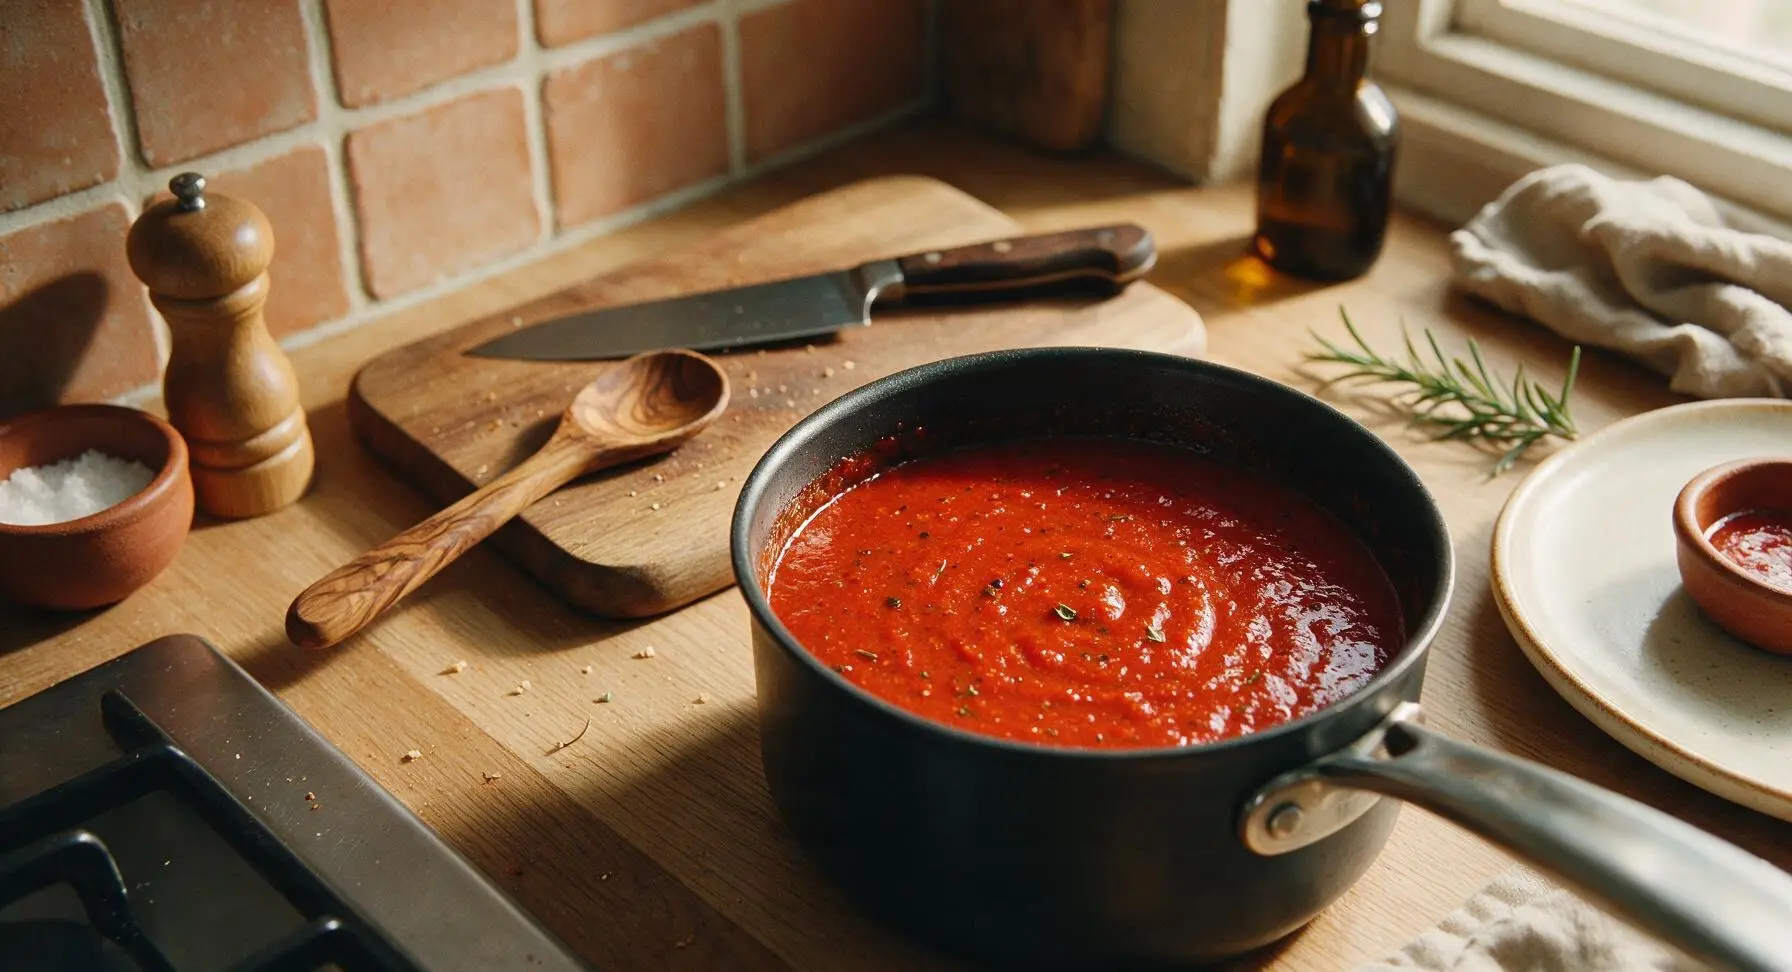
Step 5
step5:Emulsify With Olive Oil
Step 5
step5:Emulsify With Olive Oil
6

Cool and Adjust Seasoning

Remove the saucepan from heat and move it back to its fixed rear right counter position to cool to room temperature, about 20 minutes. Taste a small dollop of the cooled sauce, and add an extra pinch of salt or squeeze of lemon juice if needed to balance heat, acid, and savoriness. Properly balanced peri peri should taste bright, tangy, garlicky, and pleasantly spicy, with a subtle smoky background note from the paprika.
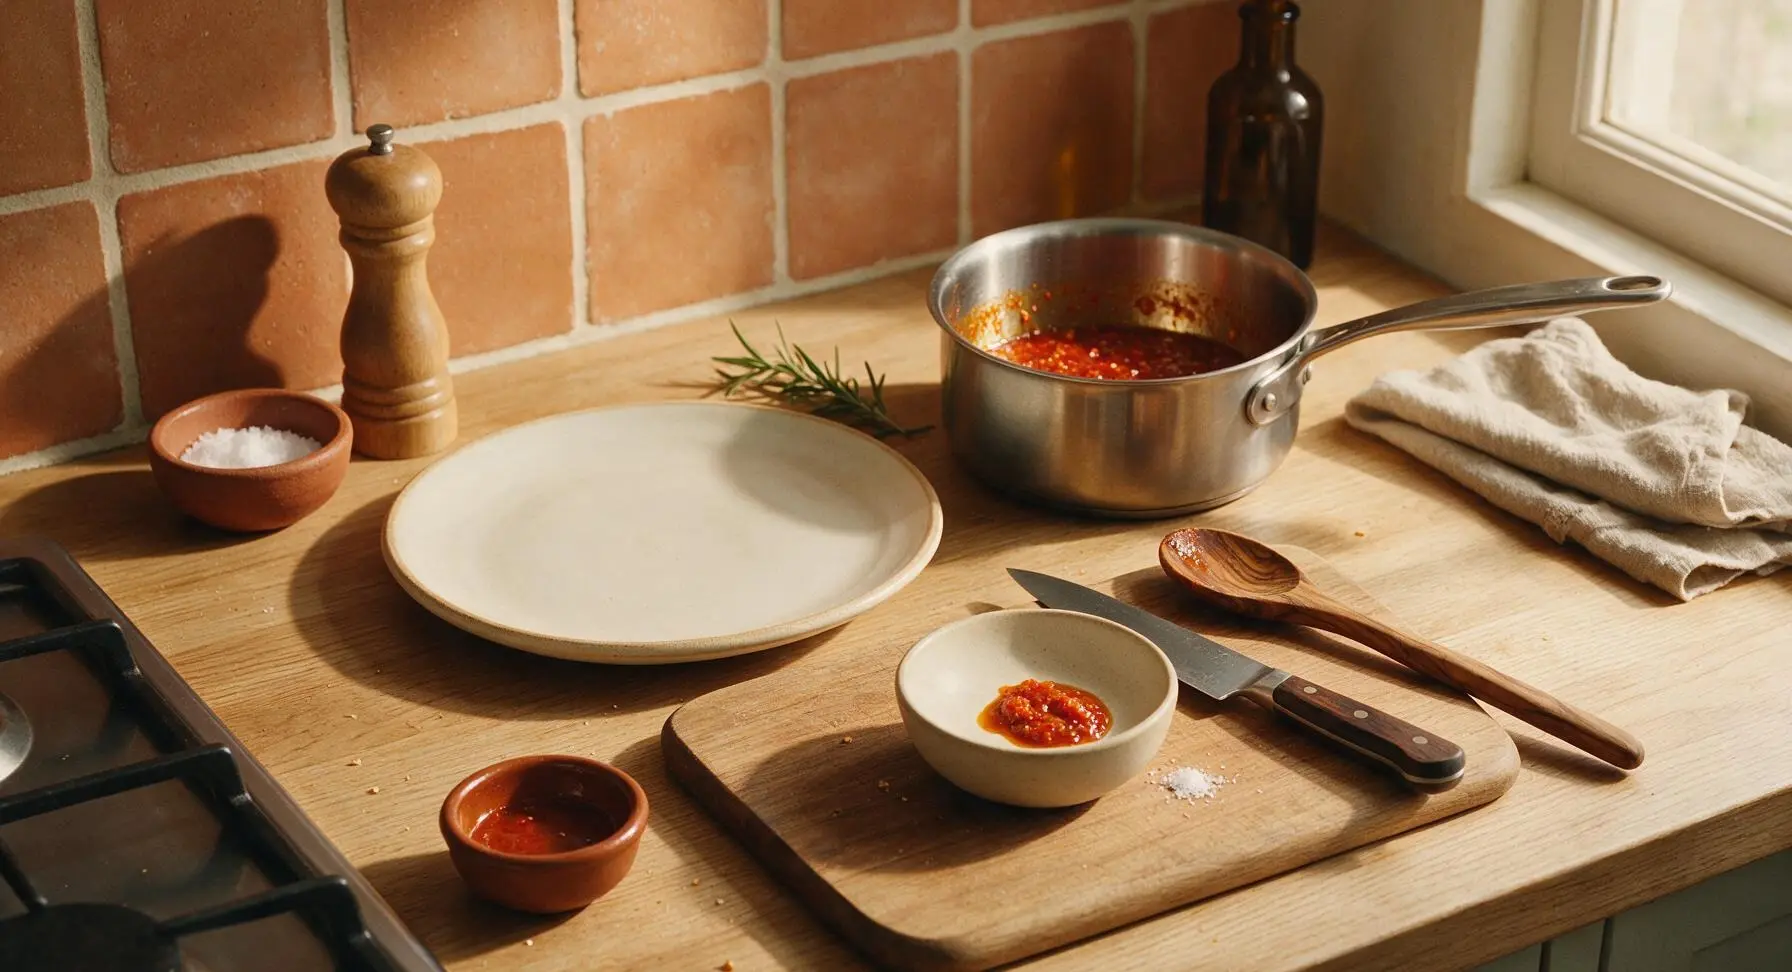
Step 6
step6:Cool and Adjust Seasoning
7

Transfer to Storage Jar

Use the silicone spatula to scrape every bit of cooled peri peri sauce from the saucepan into the clear fluted glass sauce jar. Wipe any drips from the outside of the jar, then set the lid loosely on top until ready to serve or store. The sauce can be used immediately, or sealed tightly and refrigerated for up to 2 weeks.
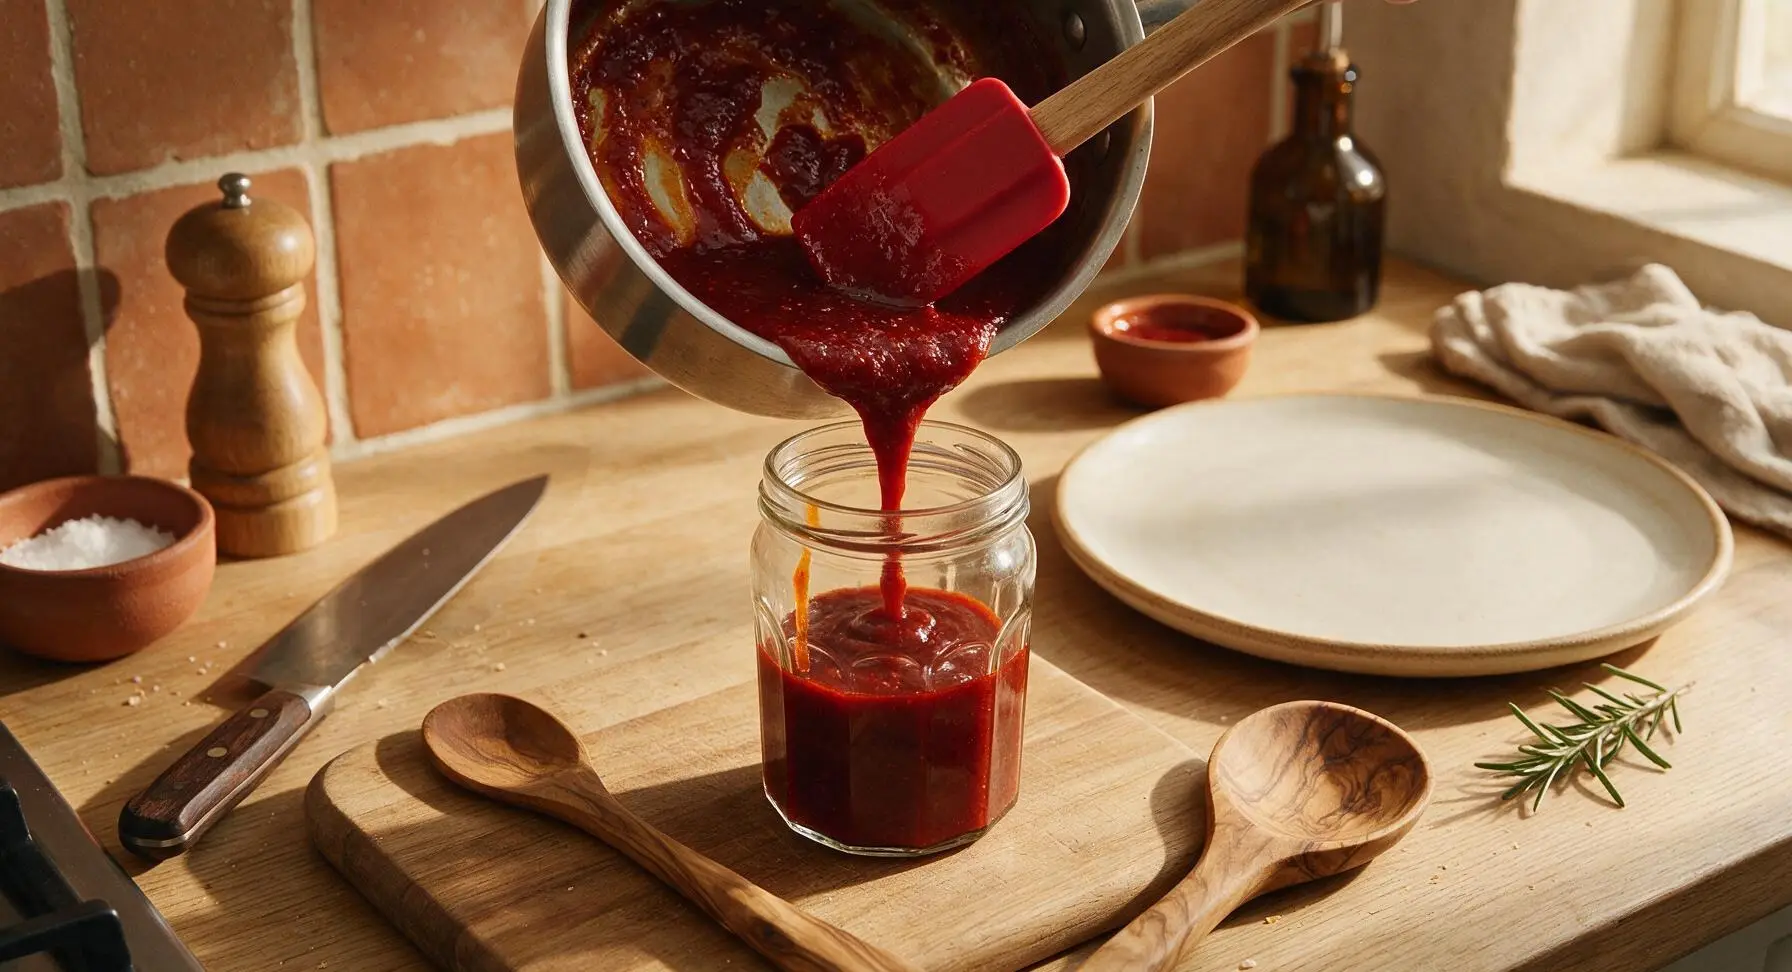
Step 7
step7:Transfer to Storage Jar

Tips

1.Adjust chili heat to your preference before blending: leave all seeds and membranes for authentic extra-spicy peri peri, or remove 50% of the seeds for a mild, family-friendly sauce. The seeds add earthy depth, not just heat, so avoid removing all of them to prevent flat flavor.
2.Never let the sauce boil rapidly while simmering: high heat will scorch the garlic and chilis, creating a bitter, acrid taste that cannot be fixed. Keep heat low enough that only tiny, gentle bubbles break the paste surface.
3.For the best, most balanced flavor, let the sealed sauce rest in the refrigerator for 24 hours before using: the sharp raw garlic edge will mellow, and the citrus, smoky paprika, and chili flavors will infuse evenly for a rounder, more complex taste than fresh-made sauce.


✨ You May Also Like

BBQ & Grilling
🍜 United States

Tender, melt-in-your-mouth beef brisket with a crisp, spiced bark, slow-smoked to deep smoky perfection, the iconic centerpiece of Texas backyard barbecue.

⏱️ 12 hours BBQ & Grilling ★ 4.4
BBQ & Grilling
🍜 Korea

Tender, sweet-savory marinated beef short ribs, a beloved Korean BBQ staple with caramelized, slightly charred edges and deep umami flavor, perfect for outdoor summer gatherings.

⏱️ 4 hours 2BBQ & Grilling ★ 4.8
BBQ & Grilling
🍜 United States

Juicy grilled beef patties topped with smoky homemade chili, melted cheddar, and tangy pickles on toasted brioche buns for a hearty, flavor-packed handheld meal.

⏱️ 40 minuteBBQ & Grilling ★ 4.7
BBQ & Grilling
🍜 United States

A sweet, smoky, tangy BBQ sauce brightened with peak-season dark cherries, ideal for glazing grilled ribs, chicken, pork, or summer roasted veggies.

⏱️ 35 minuteBBQ & Grilling ★ 4.7
BBQ & Grilling
🍜 United States

Rich, smoky, slightly sweet homemade bourbon BBQ sauce with deep caramel notes, ideal for glazing grilled ribs, chicken, and burgers at cookouts.

⏱️ 25 minuteBBQ & Grilling ★ 4.7
BBQ & Grilling
🍜 United States

Iconic Alabama-style BBQ featuring tender hickory-smoked chicken slathered in tangy creamy white sauce, a beloved regional Southern cookout staple.

⏱️ 3 hoursBBQ & Grilling ★ 5

peri peri sauce:Frequently Asked Questions

1.How can I adjust the heat level of this peri peri sauce so it works for my whole family, including people who don’t love super spicy food? ▾
It’s super easy to tweak the heat! Start by seeding and removing the white inner membranes from your bird’s eye chilis—those hold most of the capsaicin that creates burn. Swap half the chilis for milder red Fresno chilis if you want even less kick, and add an extra splash of lemon juice or pinch of sugar to mellow remaining sharp heat as you taste test while blending.
2.How long will homemade peri peri sauce stay fresh, and what’s the best way to store it? ▾
Stored in a tightly sealed, sterilized glass jar, this sauce will keep for 2 to 3 weeks in the fridge, since citrus acid and salt act as natural preservatives. For longer storage, freeze it in ice cube trays for up to 3 months—just pop out a pre-portioned cube and thaw it in the fridge overnight whenever you need a quick flavor boost for grilled meats or veggies.
3.I can’t find fresh red bird’s eye chilis at my regular grocery store—what’s a good substitute? ▾
If bird’s eye chilis are hard to track down, swap them for an equal amount of fresh red serrano chilis, plus an optional 1/4 teaspoon of cayenne pepper if you want to match their signature fiery kick. Skip swapping in mild bell peppers, as they won’t deliver that bright, sharp heat that makes peri peri sauce stand out, and always taste as you blend to adjust the flavor.
4.Do I need to cook this peri peri sauce before using it, or is it safe to eat right after blending? ▾
You absolutely don’t have to cook it to eat it safely—all the raw ingredients (chilis, garlic, onion, citrus, dried spices like smoked paprika and oregano) are totally food-safe straight out of the blender. That said, a quick 2 to 3 minute simmer over low heat will mellow the sharp raw onion bite and help the spices meld for a rounder, deeper flavor if that’s your preference; just cool it fully before jarring.
5.My last batch of peri peri sauce tasted slightly bitter—what went wrong, and how can I fix it? ▾
Bitter flavor almost always comes from over-blending the tough white pith from chilis, or using garlic that has started to grow green sprouts. To rescue a bitter batch, stir in a teaspoon of white sugar or honey, an extra squeeze of fresh lemon, and a tiny pinch of salt to balance the off-flavor. Next time, trim excess pith from chilis and snip sprout ends off garlic before blending for a smooth, bright taste.

Comments (9)

2 days ago

OMG this peri peri sauce is a total game changer! I whipped it up last night for our family grilled chicken dinner and even my super picky 7 year old asked for extra on his rice. Cook time was so quick, I didn’t even break a sweat on a busy weeknight. Already prepped a double batch to keep in the fridge for meal prep this week!

yesterday

So glad it was a hit with your kiddo, Sara! The double batch for meal prep is such a smart call—this sauce stays good in the fridge for up to 2 weeks, so you’ve got quick flavor for all your meals.

2 hours ago

Wait it lasts 2 weeks? Game on, I was worried I’d have to make a fresh batch every few days! I’m making this for our neighborhood potluck this weekend.

3 days ago

SO good! I used this on my roasted veggie bowls all week and coworkers kept asking what I put on them to make them taste so good. Super easy to throw together, no fancy equipment needed. Will be my go-to hot sauce from now on.

5 days ago

Loved the flavor but I accidentally used way too much bird’s eye chili the first time—whoa, was it spicy! My lips were tingling for 10 minutes lol. Next time I’ll cut the chilis in half like the note says, oops. Still tasted amazing though, just not for my weak spice tolerance.

3 days ago

Oh no, sorry about the extra spice kick! For a milder version, you can also seed the chilis completely before blending, that cuts the heat way down without losing that bright peri peri flavor. Hope the next batch is perfect for your taste!

1 week ago

As someone who basically lives off frozen chicken tenders and ramen, this sauce made my meals feel like restaurant quality for real. Took me like 10 minutes total (I’m slow at chopping garlic) and cost way less than the bottled peri peri at the grocery store. 10/10.

5 days ago

Right?! The bottled stuff is like $7 a bottle where I live, this costs pennies to make and tastes way fresher.

3 days ago

Love that this works for college meal budgets! It’s such an easy way to upgrade simple pantry and freezer staples without spending a ton.

1 week ago

Brought a jar of this to our church potluck last Sunday and people were practically licking the bowl! I served it with grilled shrimp skewers and it was the first dish gone. Multiple people asked for the recipe, so I sent them all straight here. Chef’s kiss!

2 weeks ago

Wait, has anyone tried adding a splash of smoked paprika to this? I did that last batch and it added such a nice deep, smoky note that paired so well with burgers. Curious if other people have done little twists on it!

1 week ago

Oh that’s genius! I added a little roasted red pepper last time I made it and it was so creamy and delicious, I’ll have to try the smoked paprika trick next.

yesterday

My kids loved it! I was worried it would be too spicy for them, so I used only 2 chilis instead of 4 and mixed a little mayo into a side of it for dipping, and they ate every last bite of their chicken nuggets. Finally a sauce that doesn’t have a ton of weird preservatives that they actually enjoy!

2 hours ago

The mayo dipper idea is brilliant! My kids are the same way, they love creamy dips so I’m definitely stealing that hack for next week.

30 minutes ago

Love that kid-friendly modification! Mixing in a little mayo or Greek yogurt to mellow the heat is such a great tip for families, thanks for sharing that hack with everyone.

30 minutes ago

I go through hot sauce like it’s water, so I was skeptical a homemade version could stand up to my go-to store bought brands, but wow. This has the perfect balance of tang, heat, and garlic, I’m never buying bottled peri peri again. So easy to tweak the heat level too, I added an extra scotch bonnet for more kick and it was chef’s kiss.

2 hours ago

Made this for my husband’s birthday cookout this weekend to go with grilled chicken thighs and everyone raved. I even blended a little extra olive oil in to make it a bit thinner for basting on the grill, and it worked perfectly. No more store bought sauce for us!

5 minutes ago

The basting trick is genius! Thinning it with a little extra olive oil makes it perfect for brushing on grilled meats and veggies while they cook, I’m so glad it was a hit at the birthday cookout!



