
raclette cheese
intro
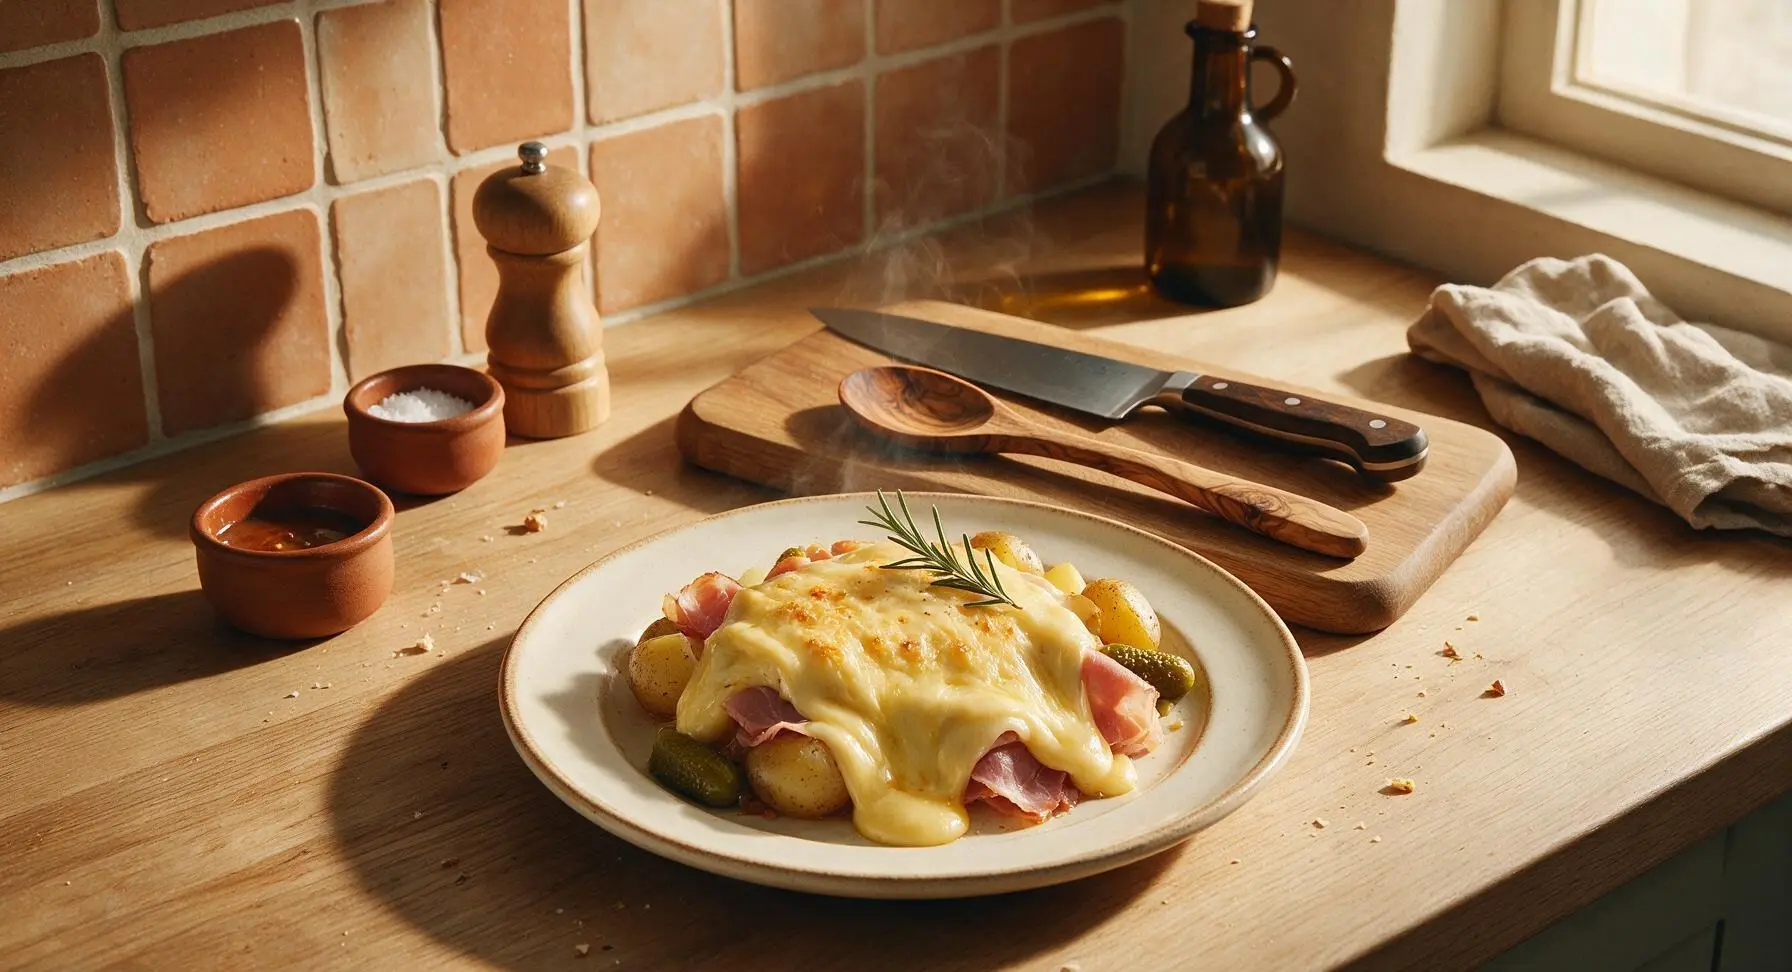
Gooey, nutty melted raclette draped over tender potatoes, cured ham, and tangy pickles—this cozy, shareable winter meal brings warm, convivial joy to every family table.
Ingredients
Steps
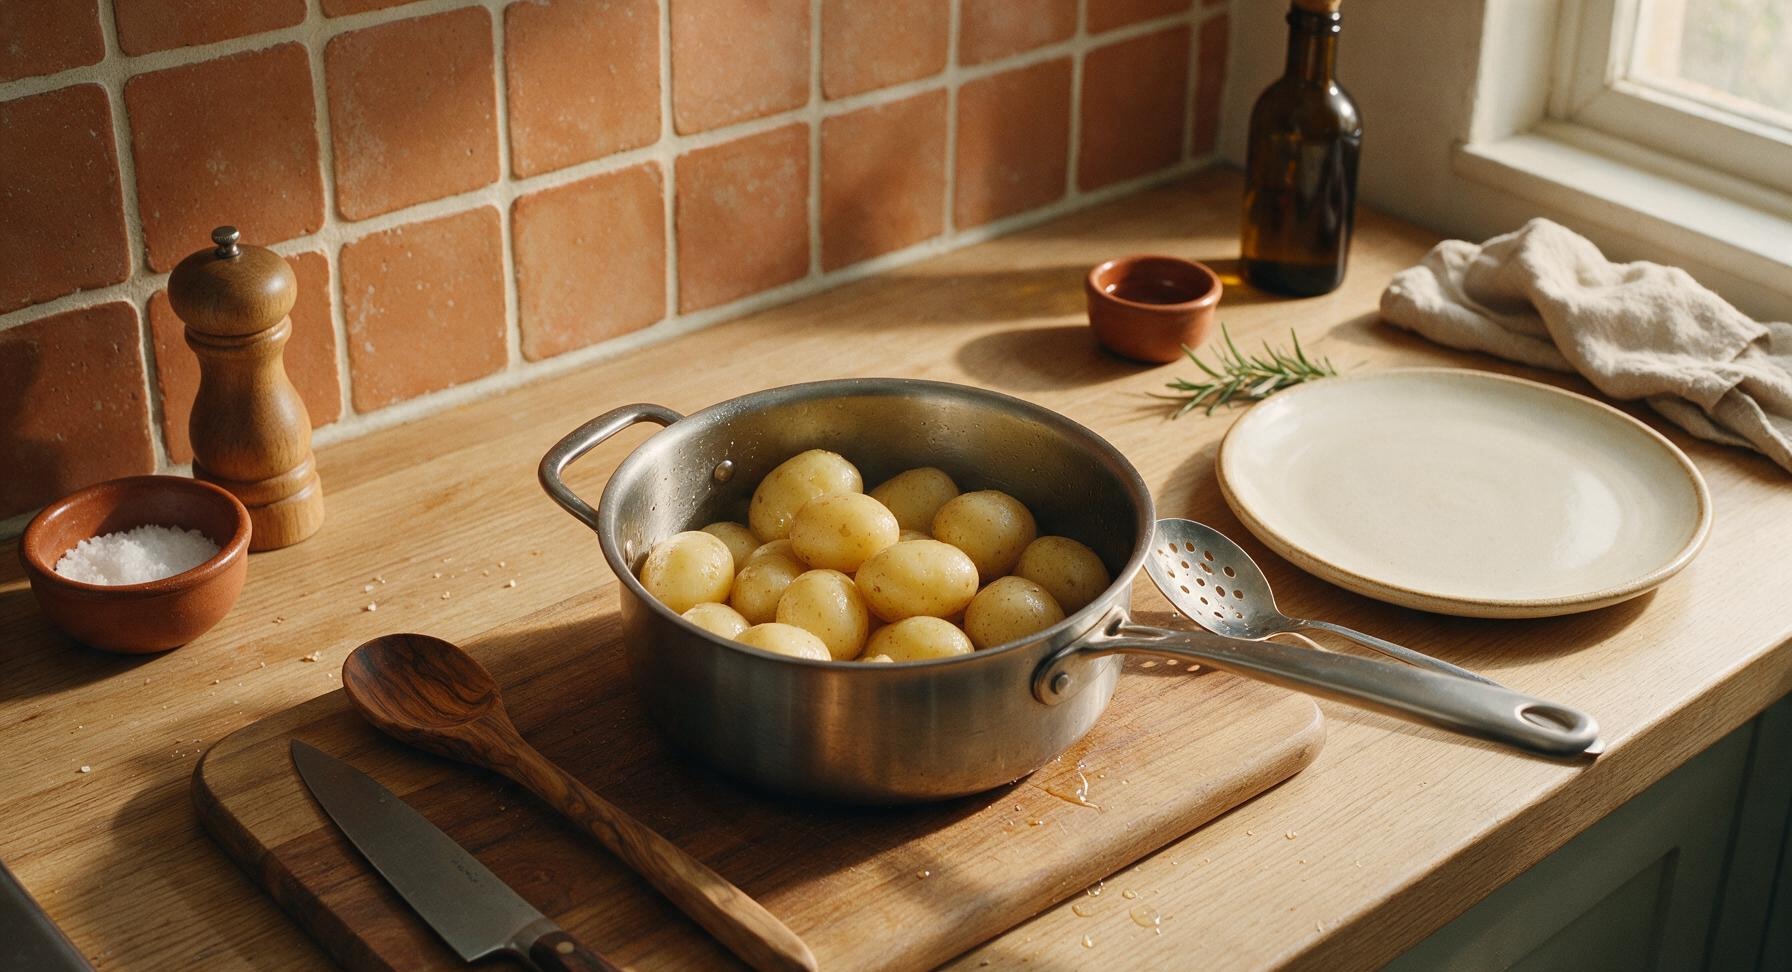
Boil Baby Potatoes
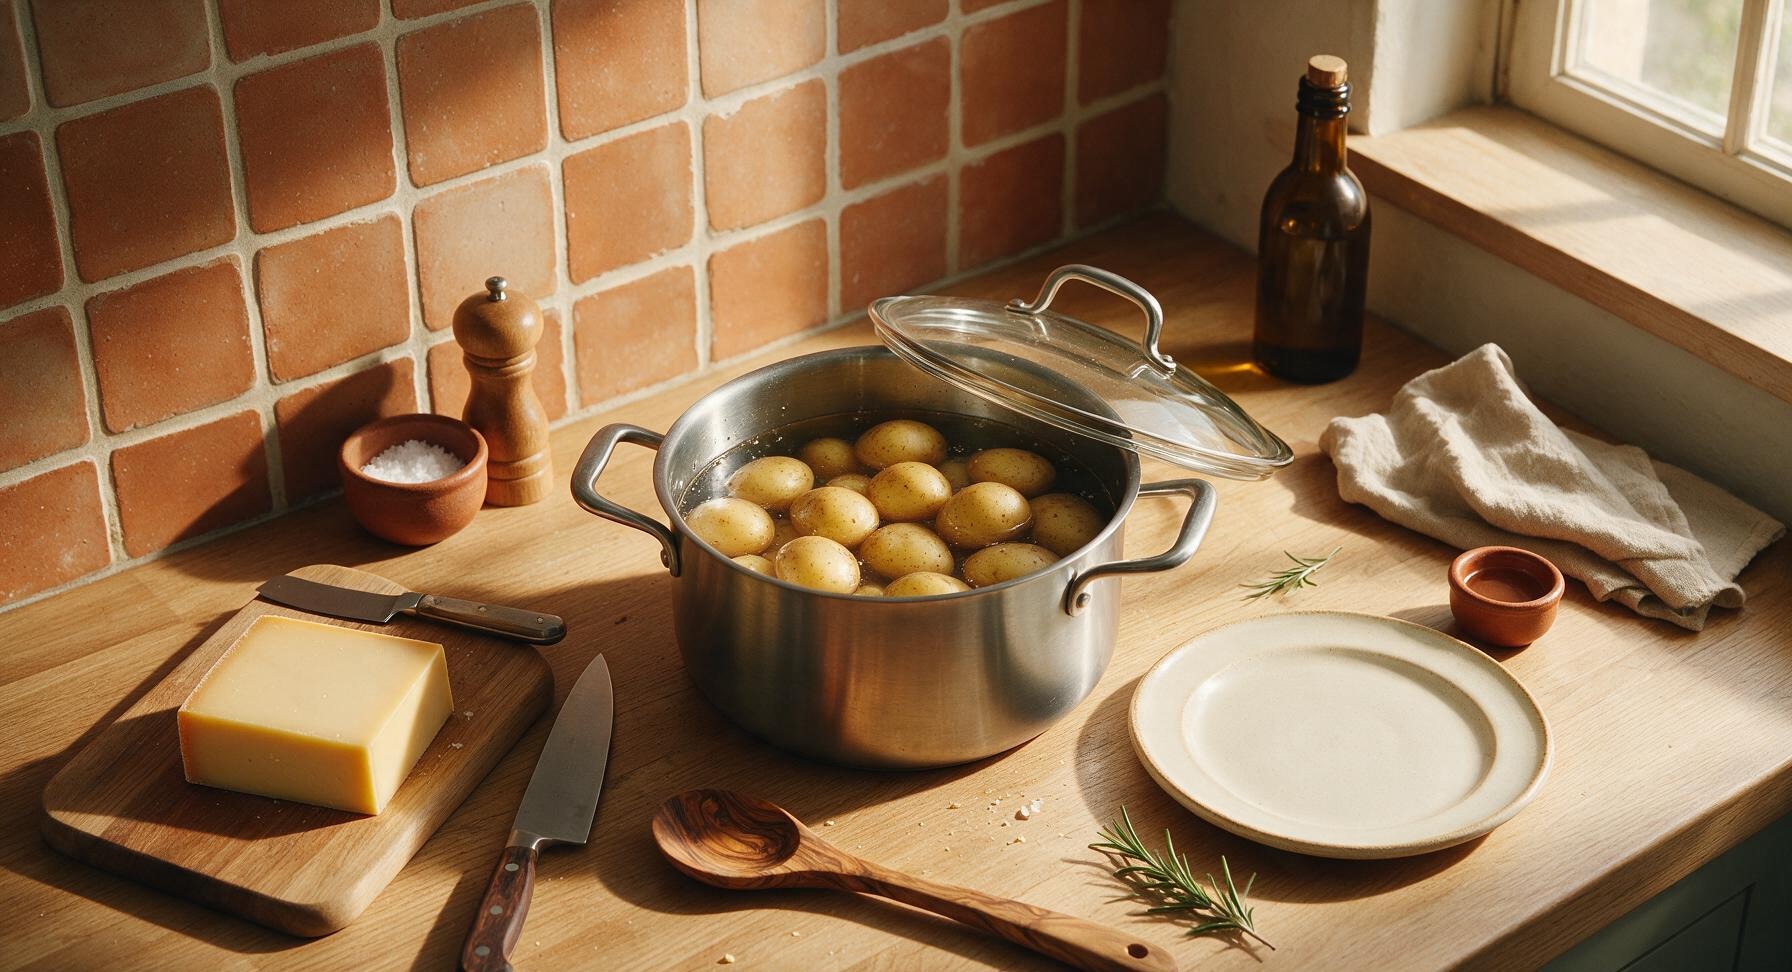
Place the baby Yukon Gold potatoes in the 3L stainless steel stock pot, cover with 2 inches of cold water, stir in 3/4 tsp of flaky sea salt. Bring to a rolling boil over medium-high heat, then reduce to a gentle simmer and cook for 12-15 minutes. Test doneness by piercing a potato with a fork: it should slide through the center easily with no resistance, but potatoes should hold their shape and not turn mushy.
Drain Cooked Potatoes
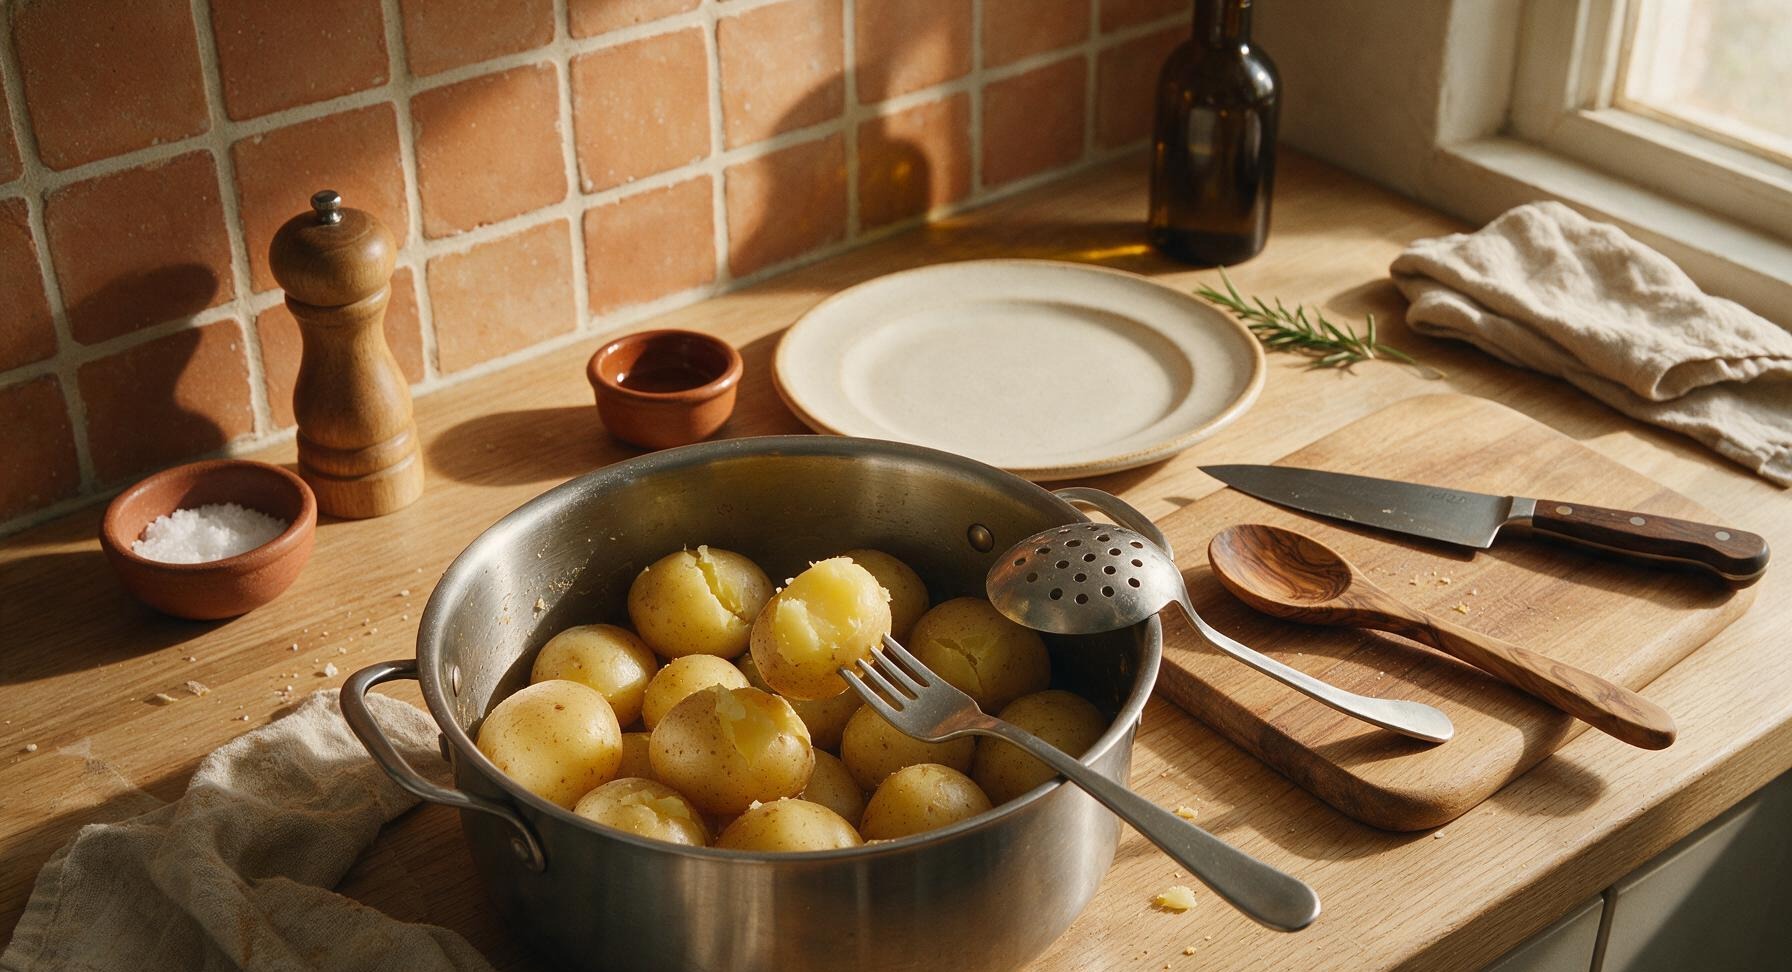
Once potatoes are fork-tender, turn off the heat. Use the slotted stainless steel spoon to lift potatoes from the boiling water, draining well, then return them to the warm empty stock pot. Cover the pot with the glass lid to trap heat and keep potatoes warm while you prep the cheese, and lightly season potato skins with the remaining pinch of flaky sea salt. Discard boiling water off-camera.
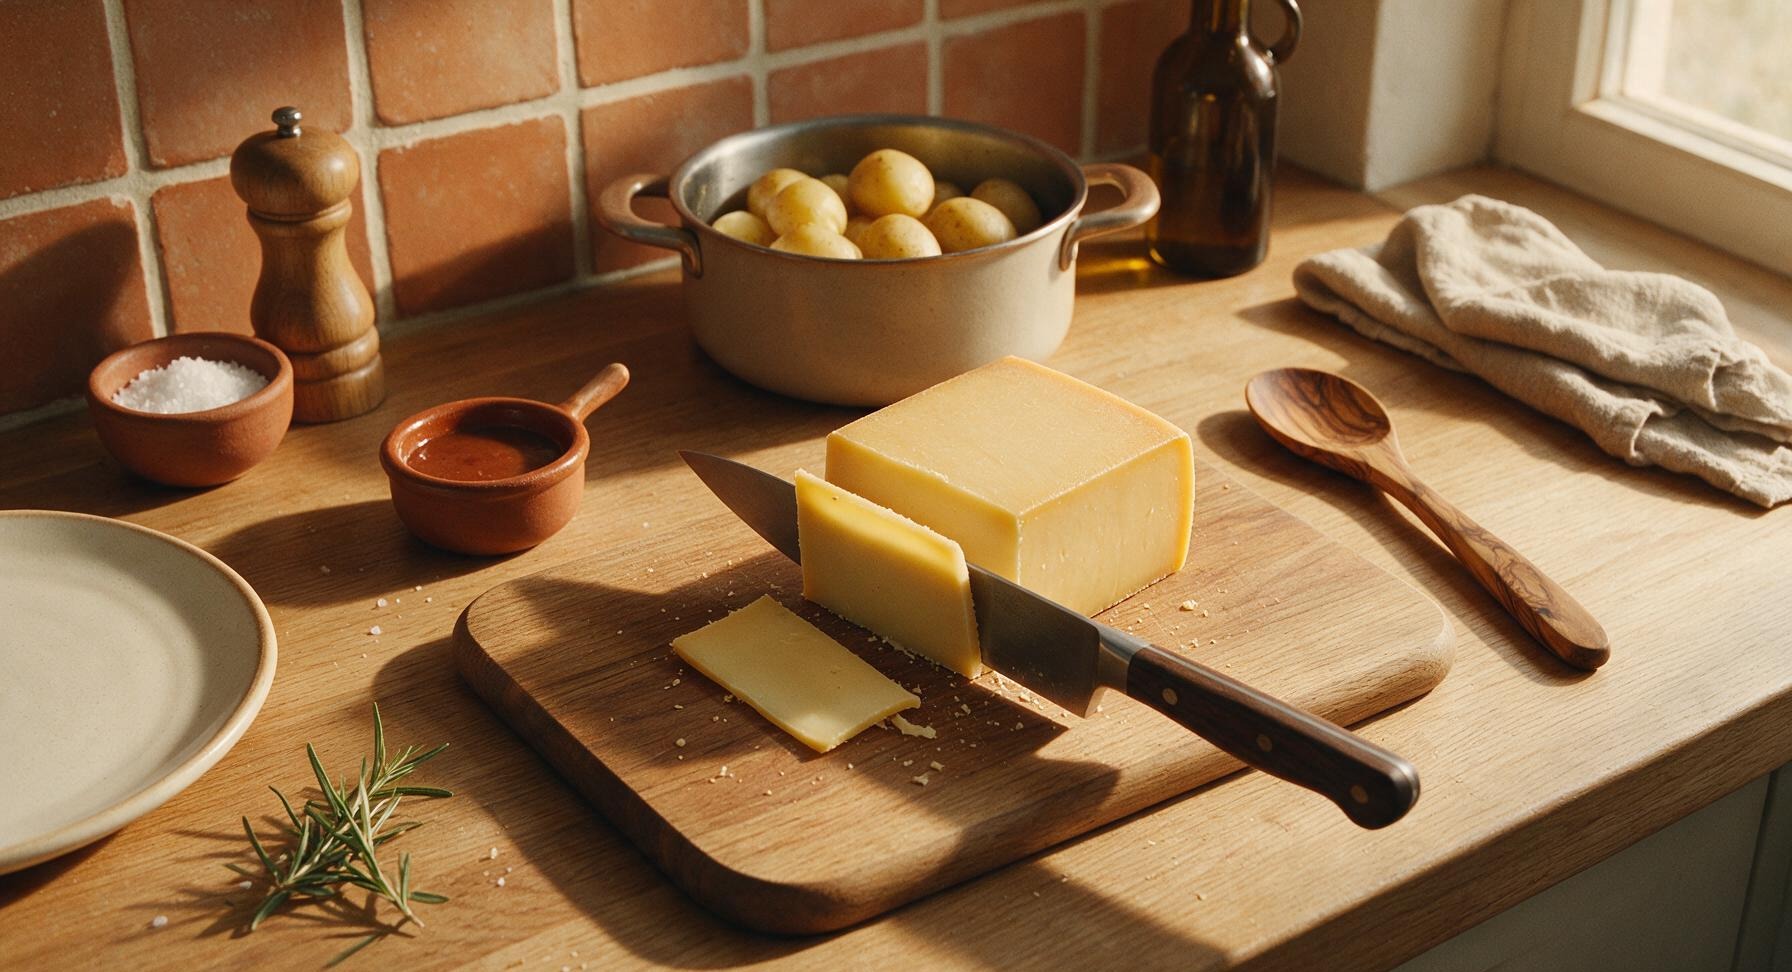
Slice Raclette Cheese
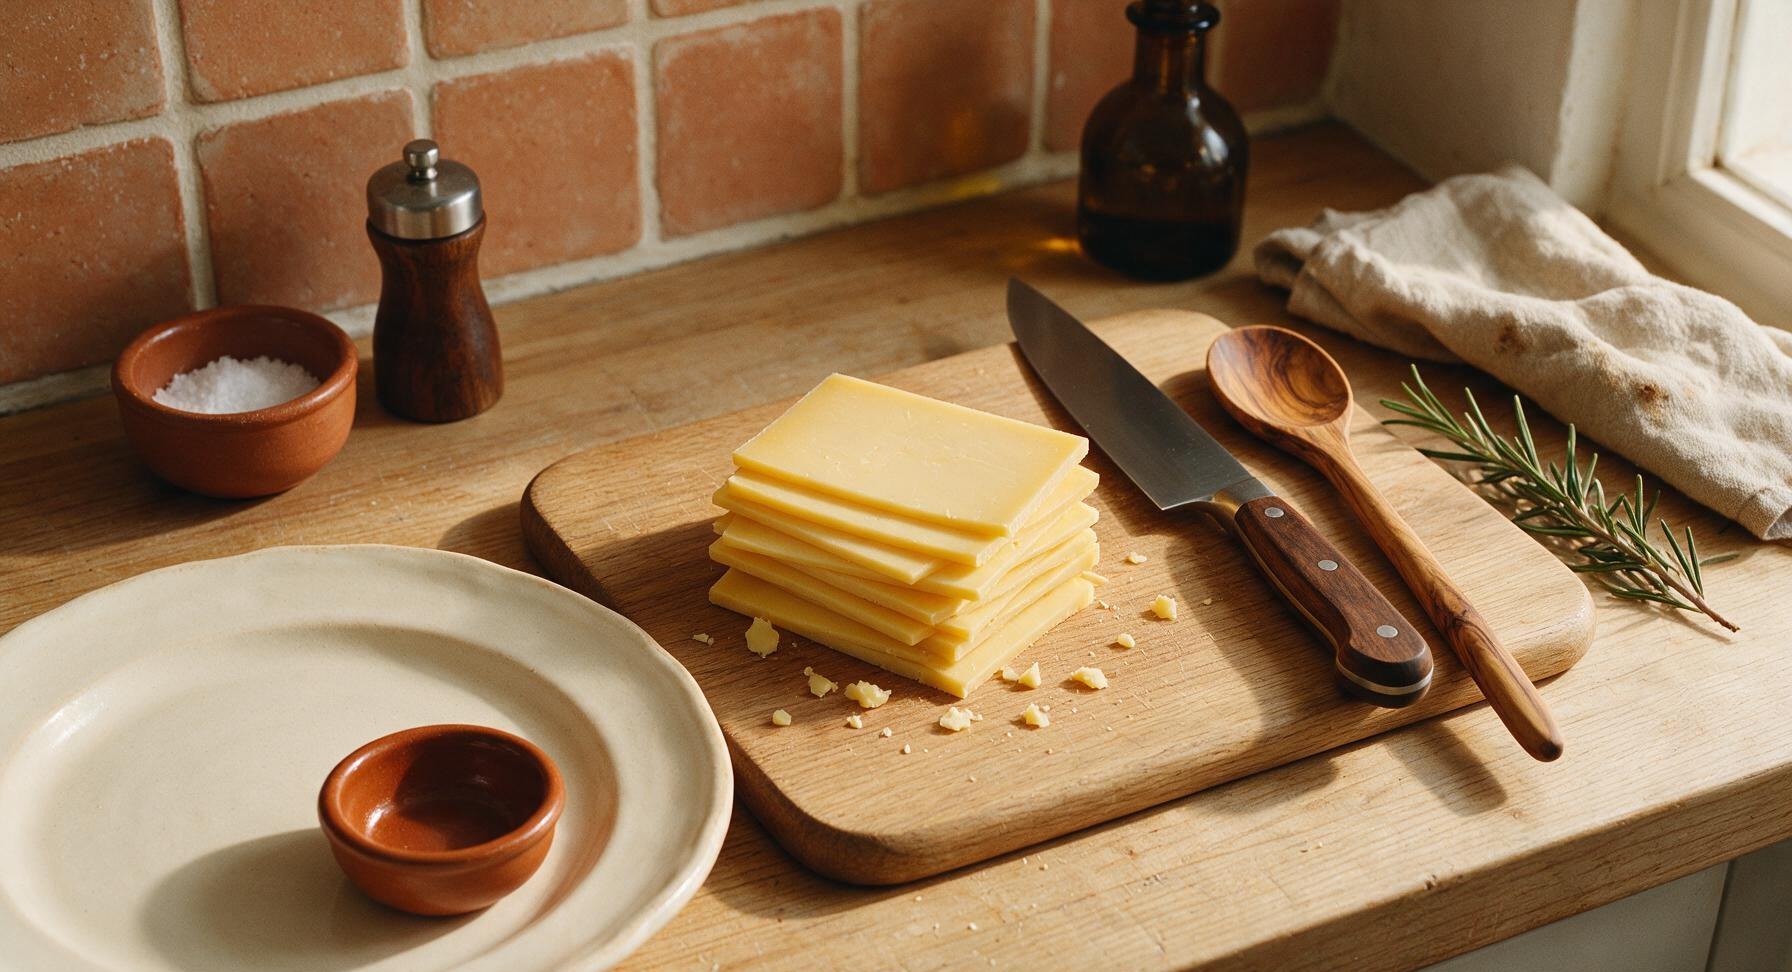
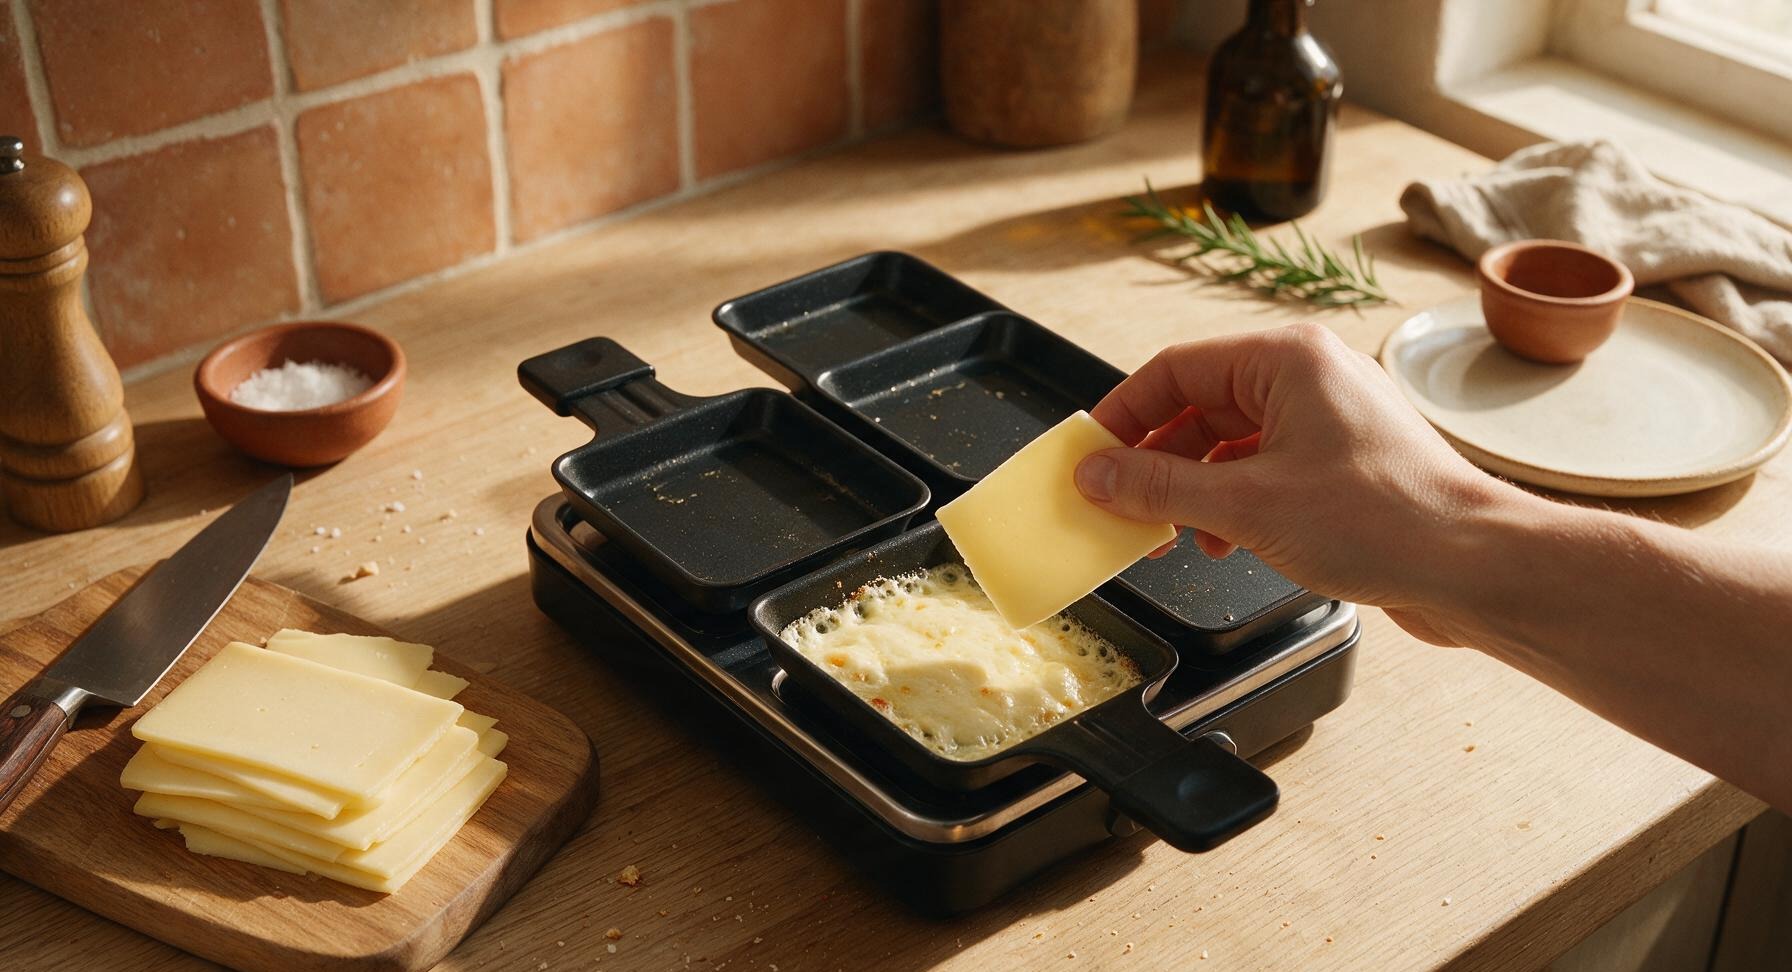
Place the block of raclette cheese on the light oak cutting board. Use the hard cheese knife to cut the cheese into uniform 5mm thick slices, sized to fit perfectly into the raclette grill's individual melting trays. Remove any hard, dry rind edges if desired, though thin, soft rind is edible and adds nutty flavor. Stack sliced cheese neatly on the edge of the cutting board.
Preheat Raclette Grill
Move the stock pot of warm potatoes off the center work zone to a cool out-of-frame spot to free up cooking space. Place the tabletop electric raclette grill in the center of the work zone, plug it in, and preheat to medium heat (180C / 350F) for 5 minutes. Set the individual non-stick melting trays on the counter beside the grill, ready to load with cheese slices.
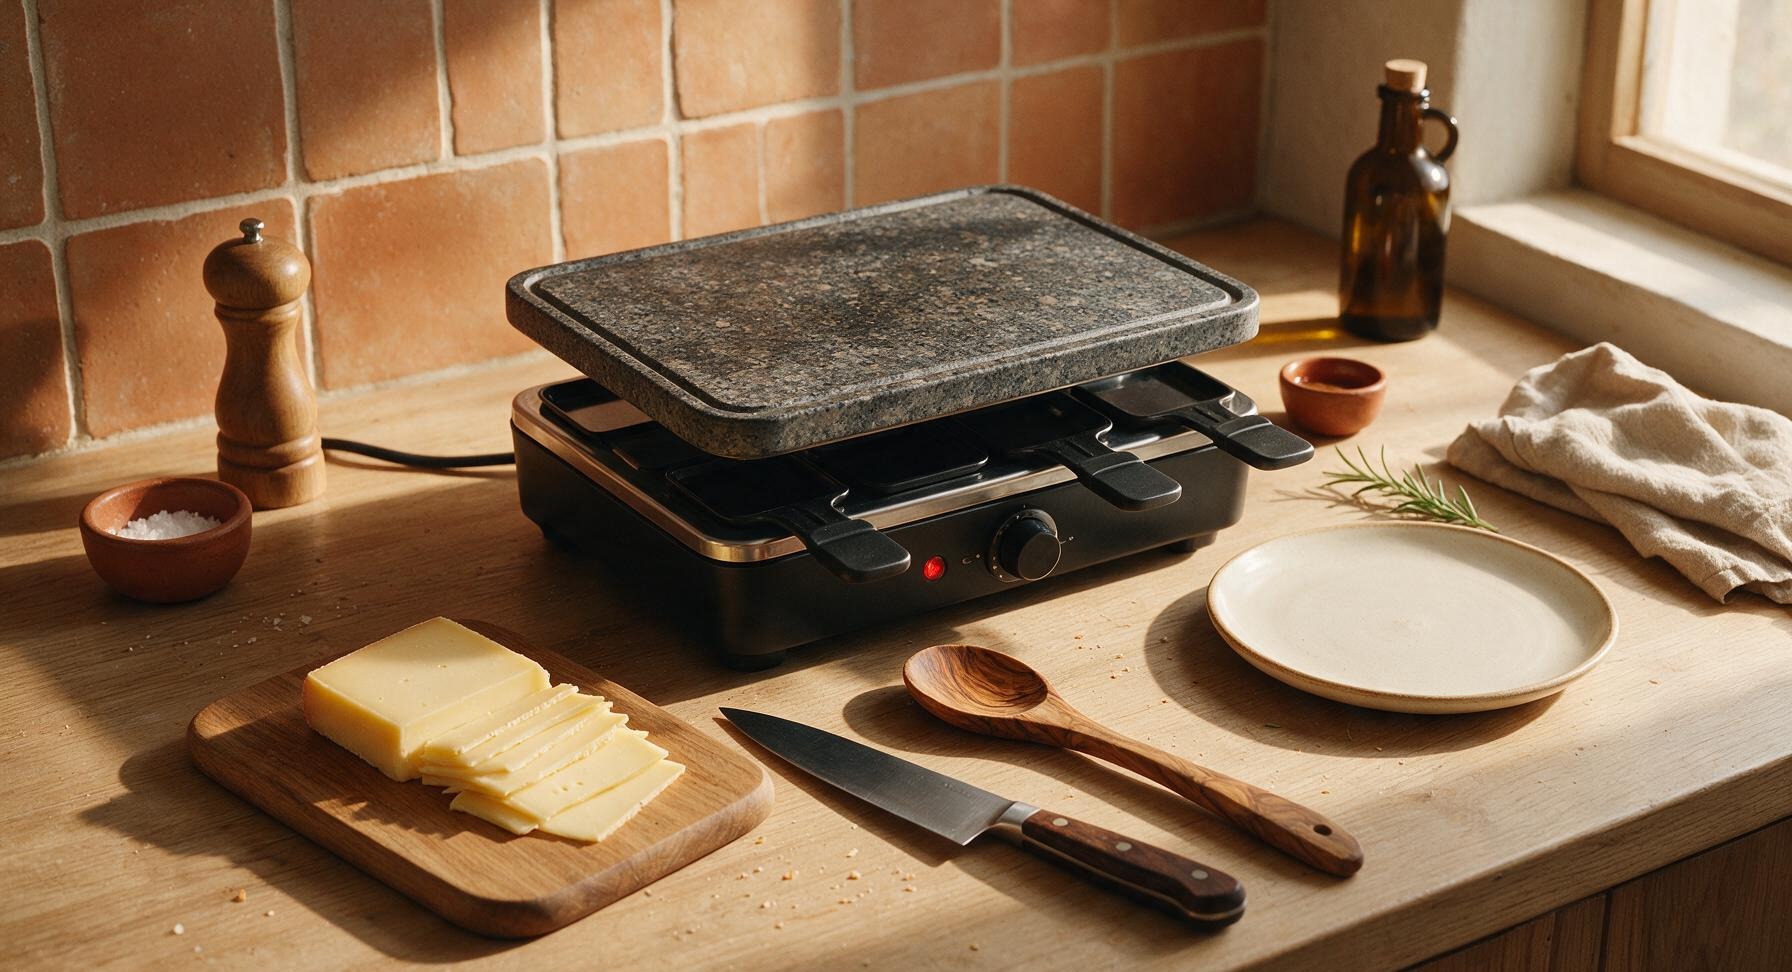
Melt Cheese in Trays
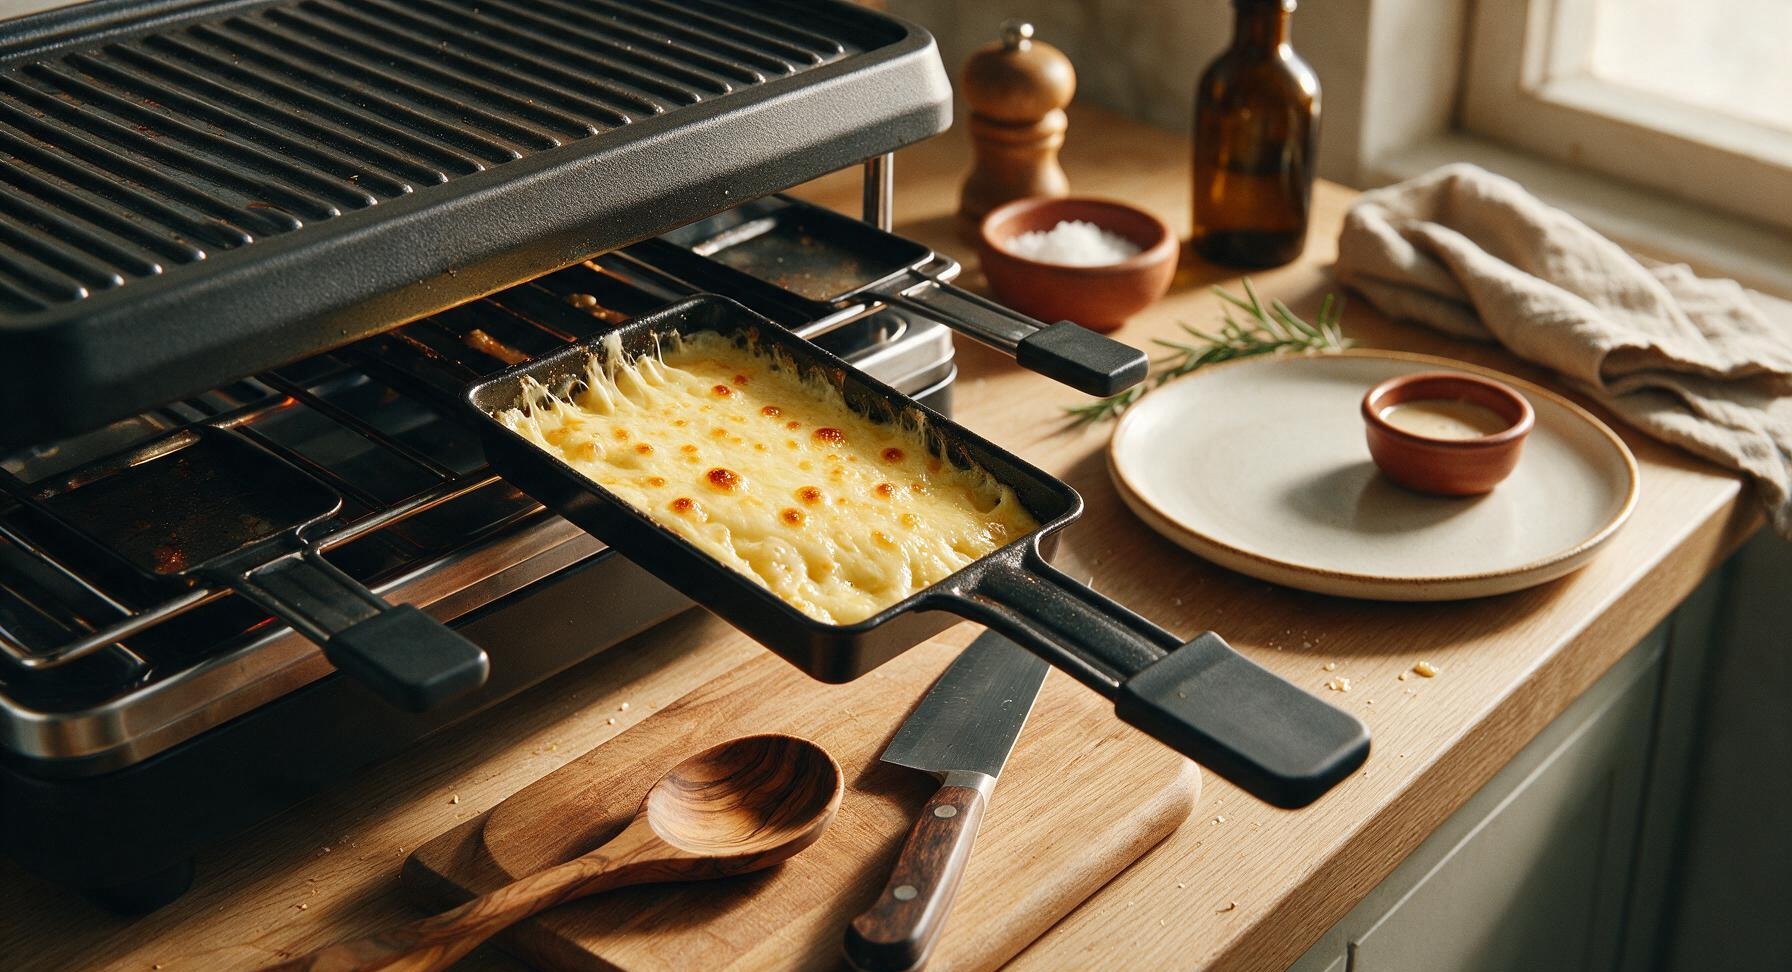
Load 1-2 slices of raclette into each individual melting tray, then slide trays into the upper heating rack of the preheated grill. Cook for 3-4 minutes, until cheese is fully melted, bubbly around the edges, and just starting to turn golden brown in spots. Do not overcook—cheese will become tough and rubbery if heated too long.
Arrange Serving Platter
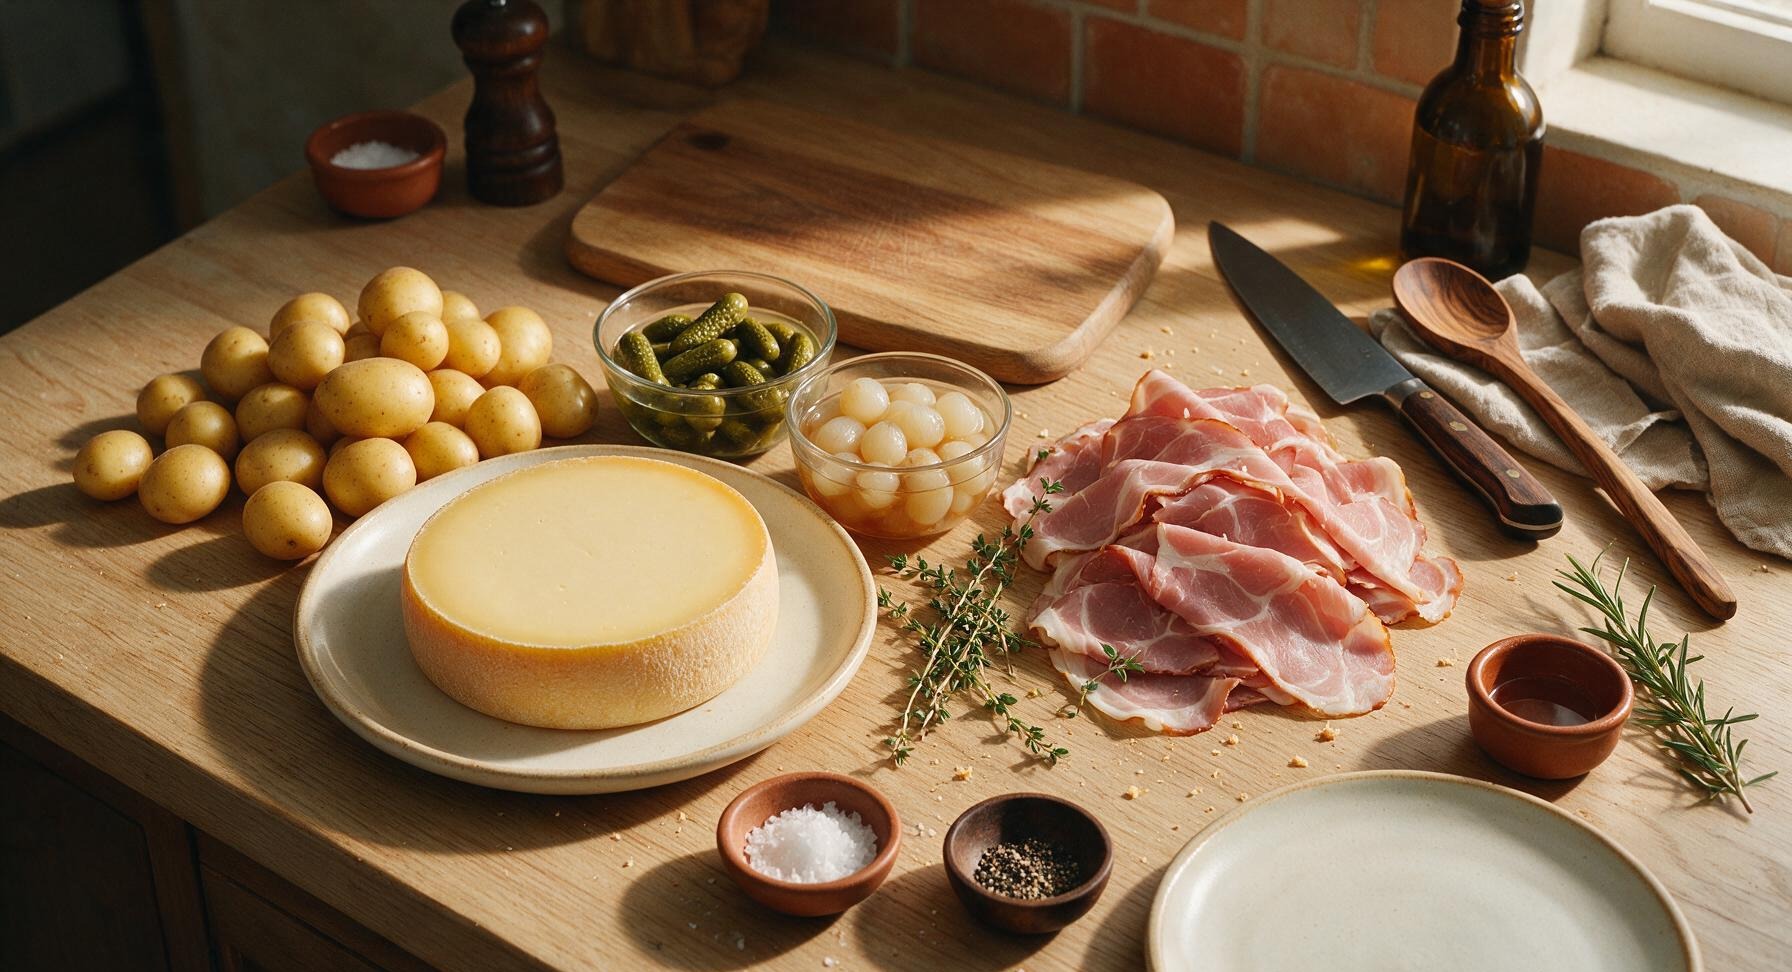
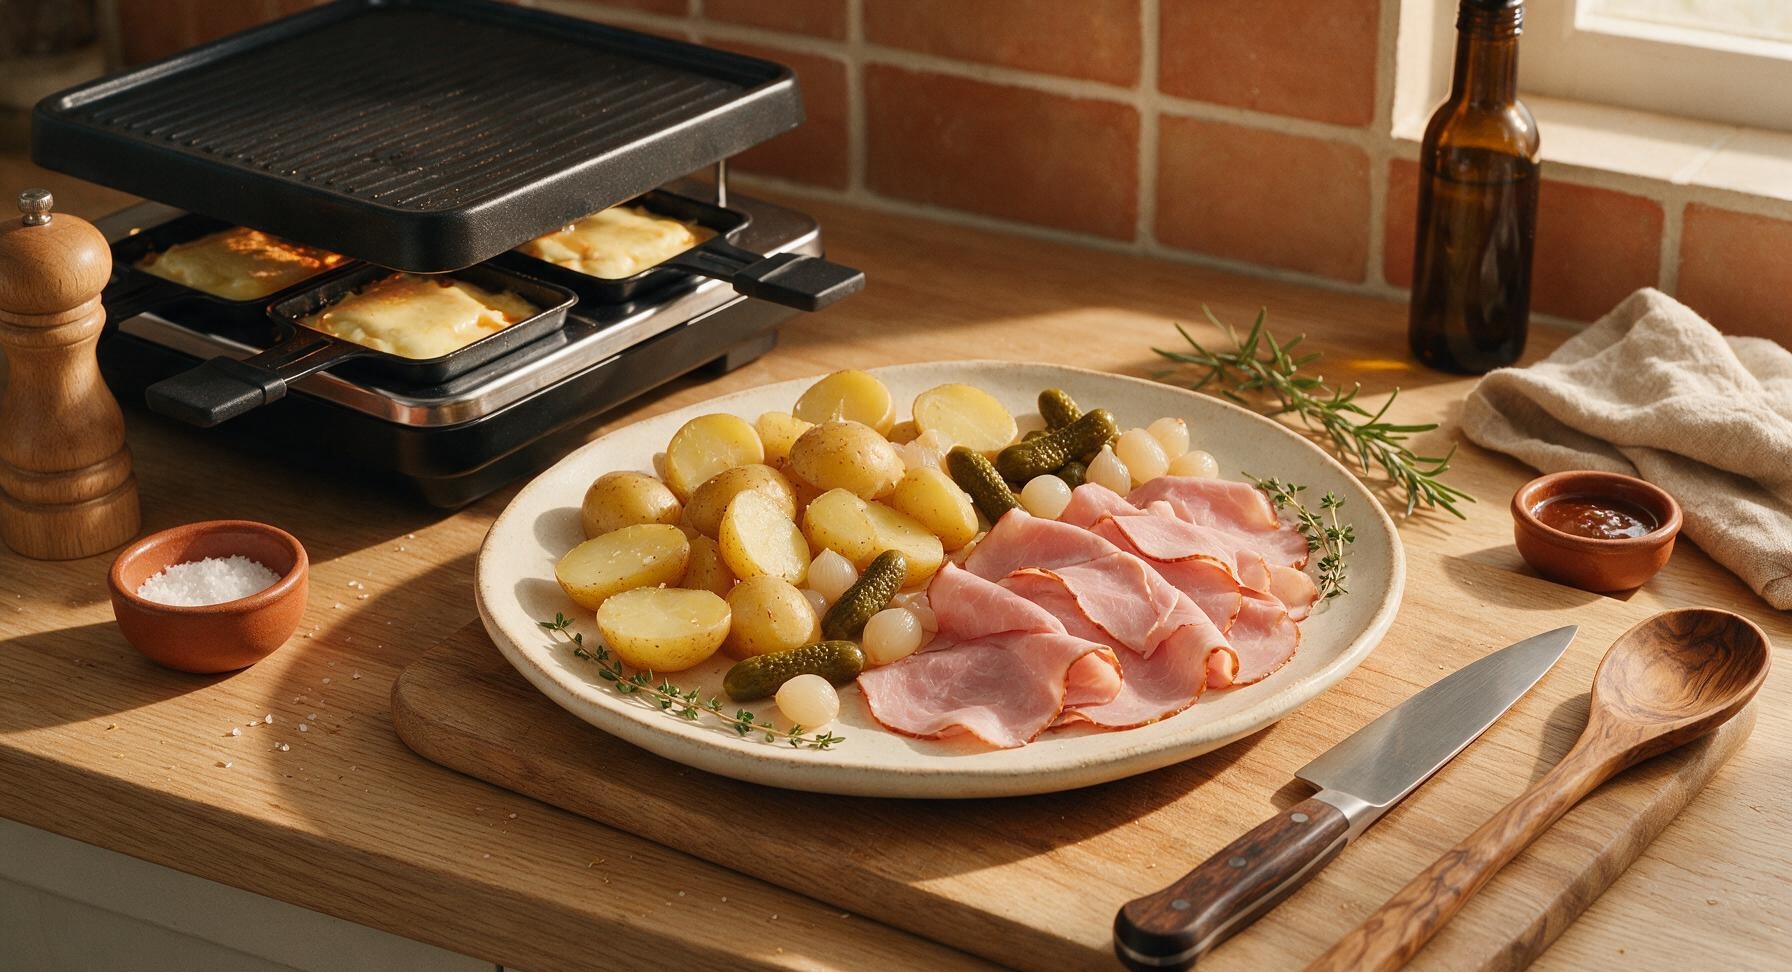
Set the matte cream ceramic serving platter to the right of the grill. Halve the warm boiled potatoes and arrange them across one half of the platter. Fan the thin slices of Black Forest ham across the opposite side, and pile cornichons and pickled pearl onions in the small gaps between the potatoes and ham. Tuck fresh thyme sprigs around the platter edge for a light, herby garnish.
Drape Melted Cheese
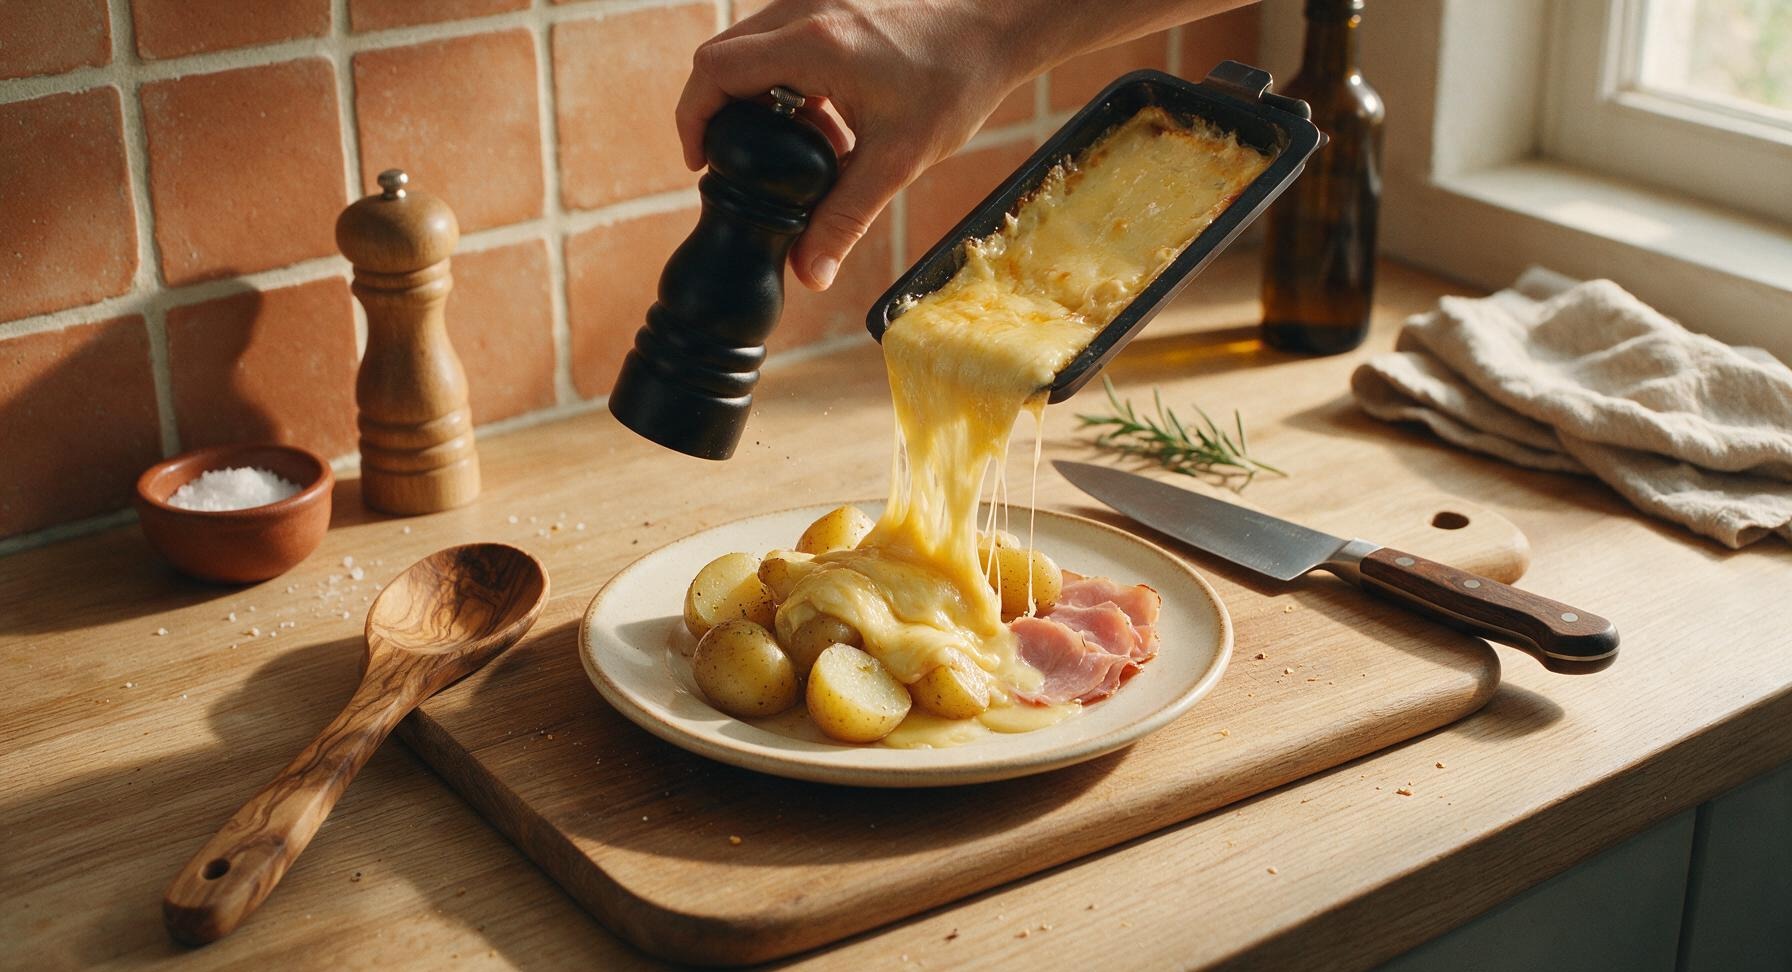
One tray at a time, pull the melted raclette from the grill, and pour/scrape the gooey melted cheese directly over the warm potatoes and ham on the serving platter, letting it pool slightly around the food. Continue melting batches of cheese until roughly 3/4 of the cheese is used, leaving remaining slices to melt fresh for second servings. Generously crack the 1/2 tsp fresh black pepper over the top of the melted cheese.
Tips
2.Keep boiled potatoes covered and warm while melting cheese: cold potatoes will cause hot melted cheese to seize and solidify instantly, instead of forming a silky coating that clings to every potato bite.
3.Leave the thin, soft rind on raclette slices: it melts seamlessly and adds a deep, nutty, earthy depth to the dish. Only trim away rind that is hard, dry, or cracked from extended storage.






OMG this classic raclette was such a game changer for our weekly family dinner night! I grabbed a block of authentic raclette from the local specialty cheese shop, followed the super simple instructions, and had it on the table in 25 minutes flat. I served it with boiled baby potatoes, briny cornichons, and sliced prosciutto, and my kids went back for thirds—even my super picky 7 year old! SO good, I’m already planning to make this for our neighborhood potluck next weekend. Quick question though—can I prep the cheese slices a day ahead to save time the day of the party?
I was so intimidated to make raclette at home because I thought you needed one of those fancy tabletop electric grills, turns out you don’t! This recipe was so easy to pull off, I just used my regular oven broiler and it came out perfectly gooey and melty, no weird burnt spots at all. Cook time was exactly the 25 minutes advertised too, no random guesswork. The only tweak I made was adding a layer of caramelized onions on top before melting, highly recommend that add-on if you love sweet-savory vibes. Only reason it’s 4 stars instead of 5 is I wish there were a few more suggested dipper ideas listed for first-timers!
Made this for my anniversary date night in last night and it was *chef’s kiss*. We paired it with a crisp dry white wine, some crusty sourdough, roasted broccoli, and a spread of cured meats. It felt so fancy and special but was zero stress, especially since it only took 25 minutes total! I was shocked how easy it was, no fancy skills required. 10/10 will be adding this to our regular rotation for quick, cozy weeknight meals and small friend gatherings.