
roast beef instant pot

title 1
roast beef instant pot
⏱️ cook time 1 hour 10 minutes
🍽️ servings 4
⚡ Difficulty easy

intro

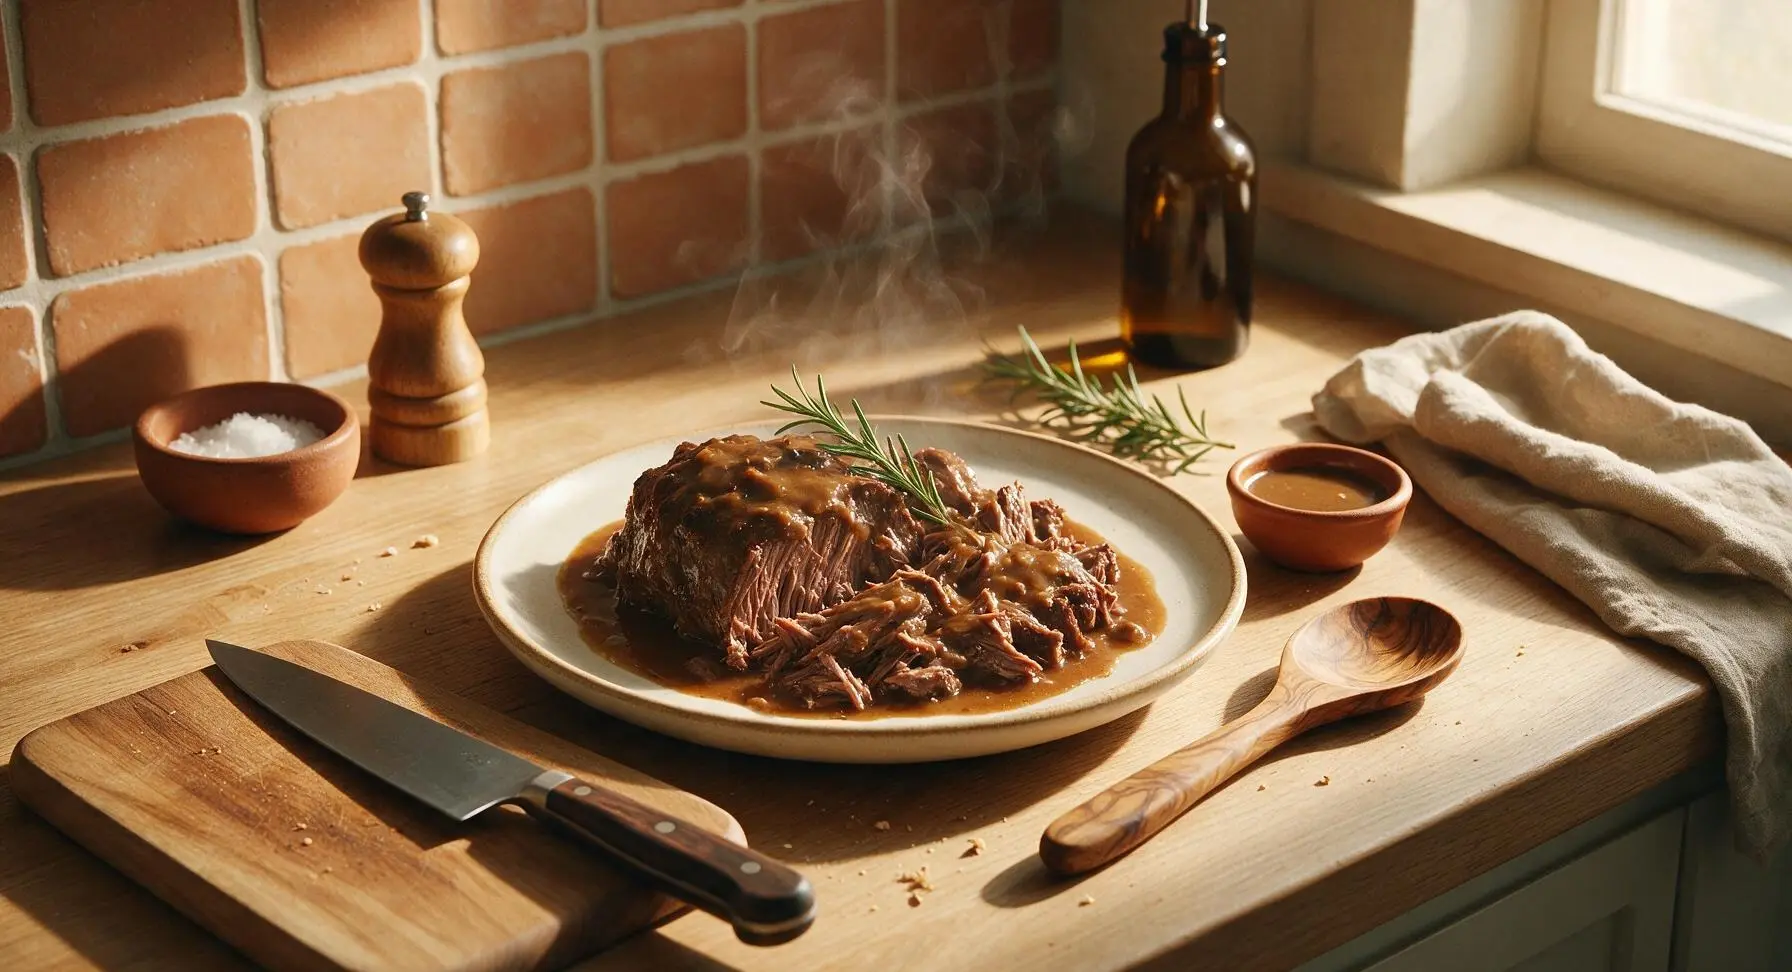
Tender, juicy roast beef with rich savory gravy, made fast in the Instant Pot for a no-fuss Sunday meal with fall-apart texture and deep, meaty flavor.

Ingredients
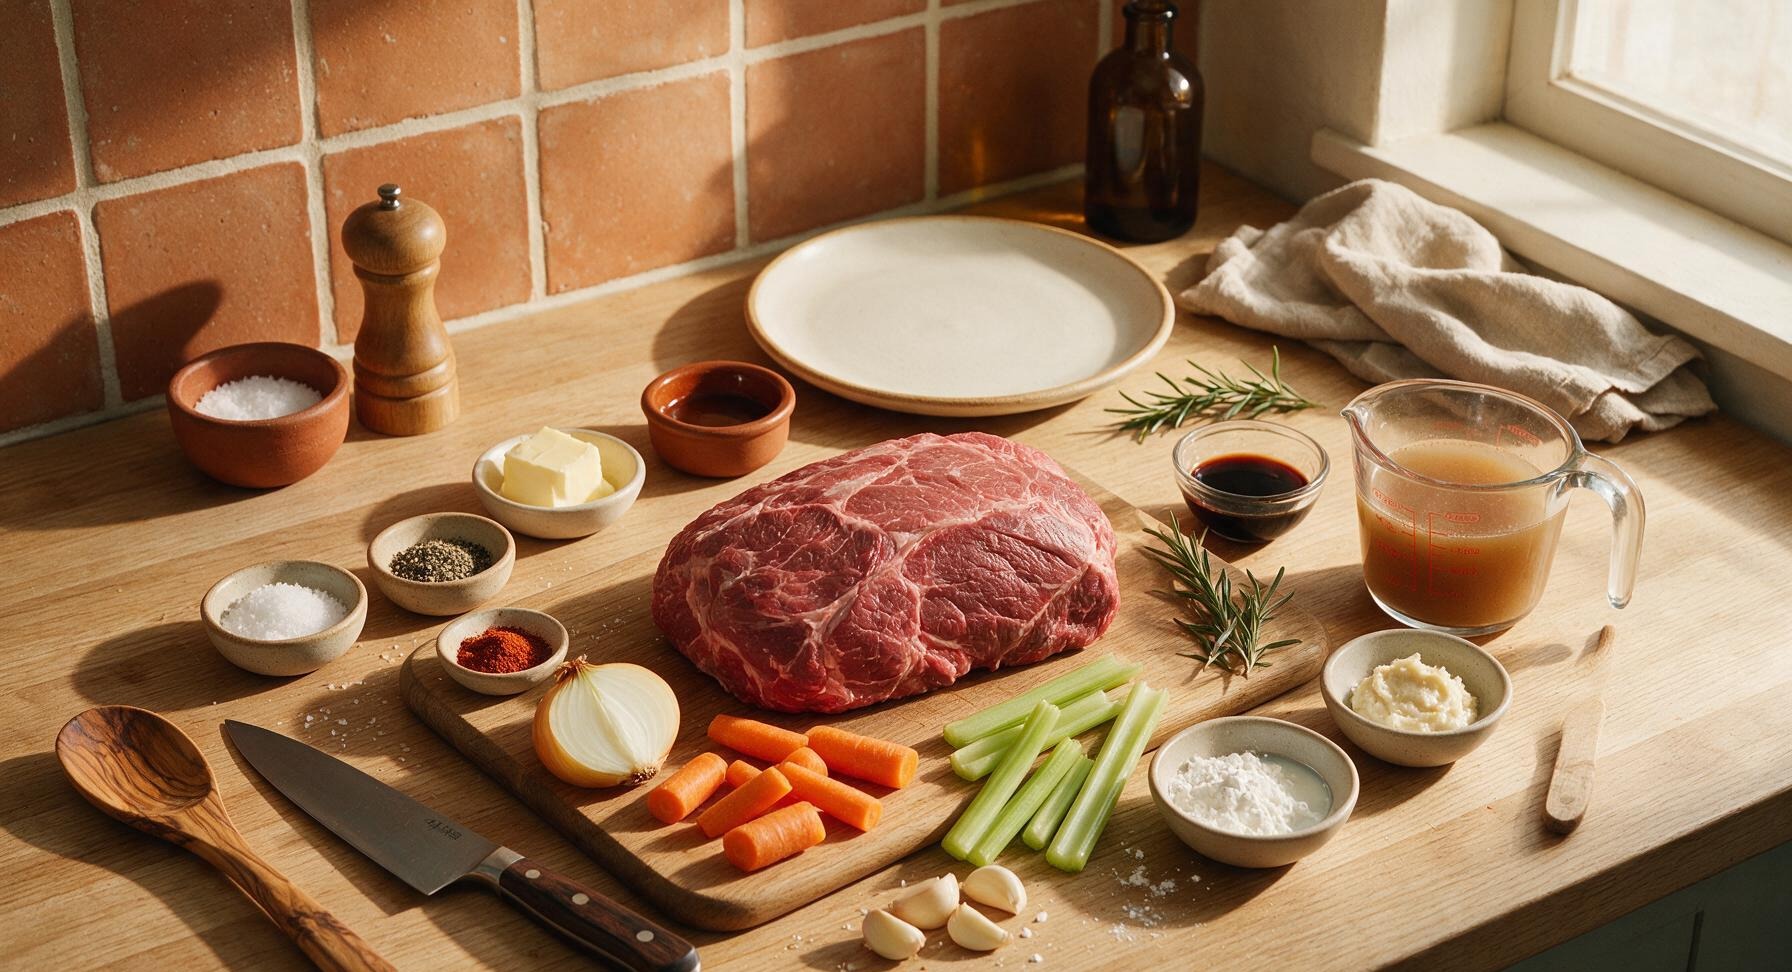
Boneless beef chuck roast 1.2 kg (2.7 lbs)
Kosher salt 1.5 tbsp
Freshly ground black pepper 1 tsp
Garlic powder 1 tsp
Smoked paprika ½ tsp
Unsalted butter 2 tbsp
Yellow onion 1 medium, quartered
Carrots 2 medium, cut into 5cm chunks
Celery stalks 2, cut into 5cm chunks
Garlic cloves 4, lightly crushed
Low-sodium beef broth 240ml (1 cup)
Worcestershire sauce 1 tbsp
Fresh rosemary sprigs 2
Cornstarch 2 tbsp
Cold water 2 tbsp
Prepared horseradish 2 tbsp, for serving

Steps

1

Season the Roast

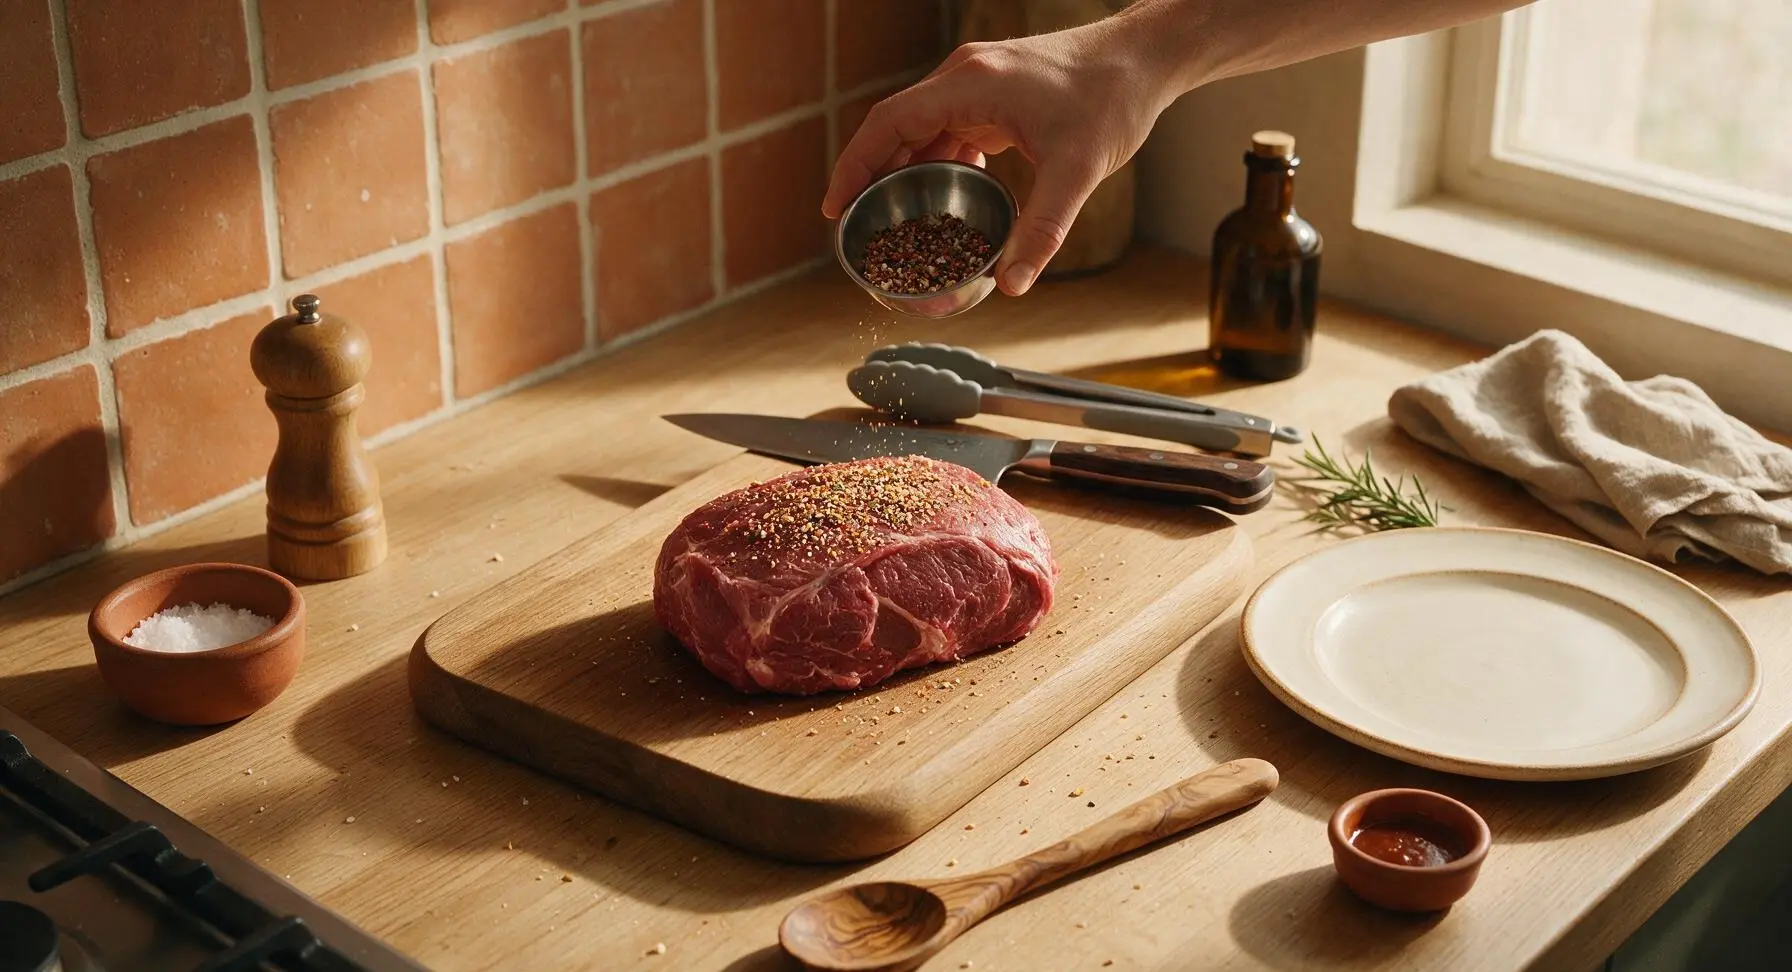
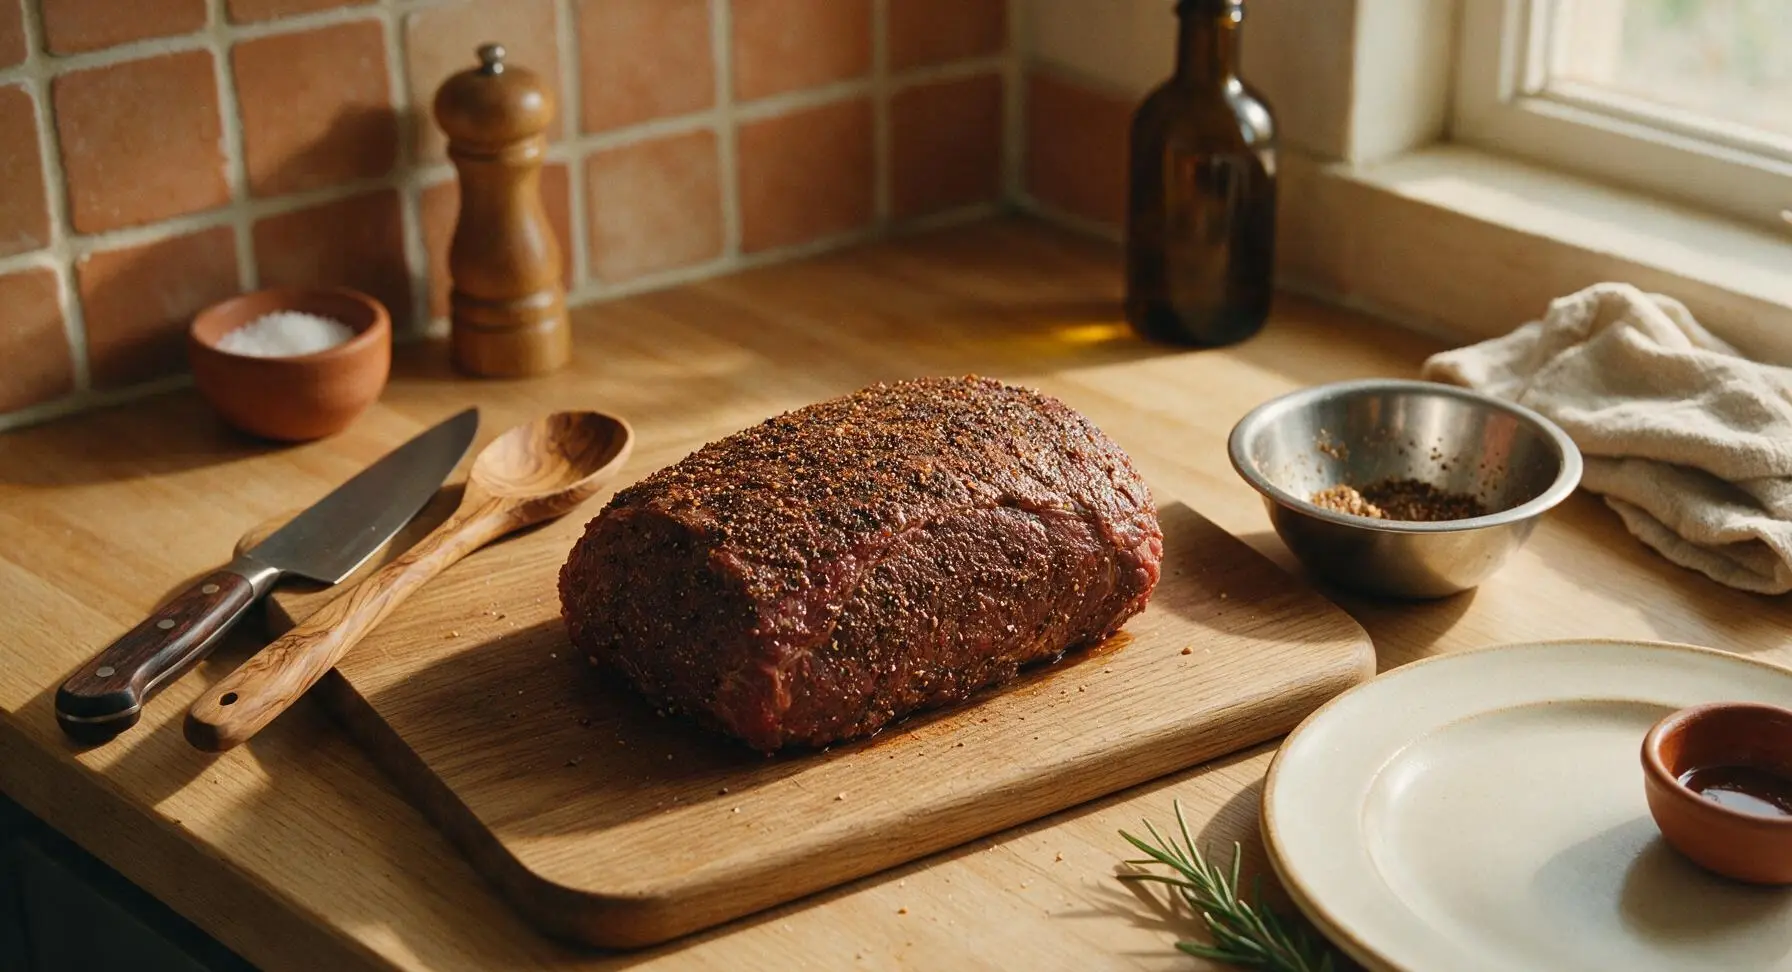
Pat the beef chuck roast completely dry with paper towels. Mix the kosher salt, black pepper, garlic powder, and smoked paprika in the small stainless steel mixing bowl until evenly combined. Rub the spice mixture firmly over every surface of the roast (top, bottom, and all sides), pressing gently to help the spices adhere to the meat. Let the seasoned roast rest for 10 minutes at room temperature while you prep the vegetables.
Step 1
step1:Season the Roast
Step 1
step1:Season the Roast
2

Sear All Sides

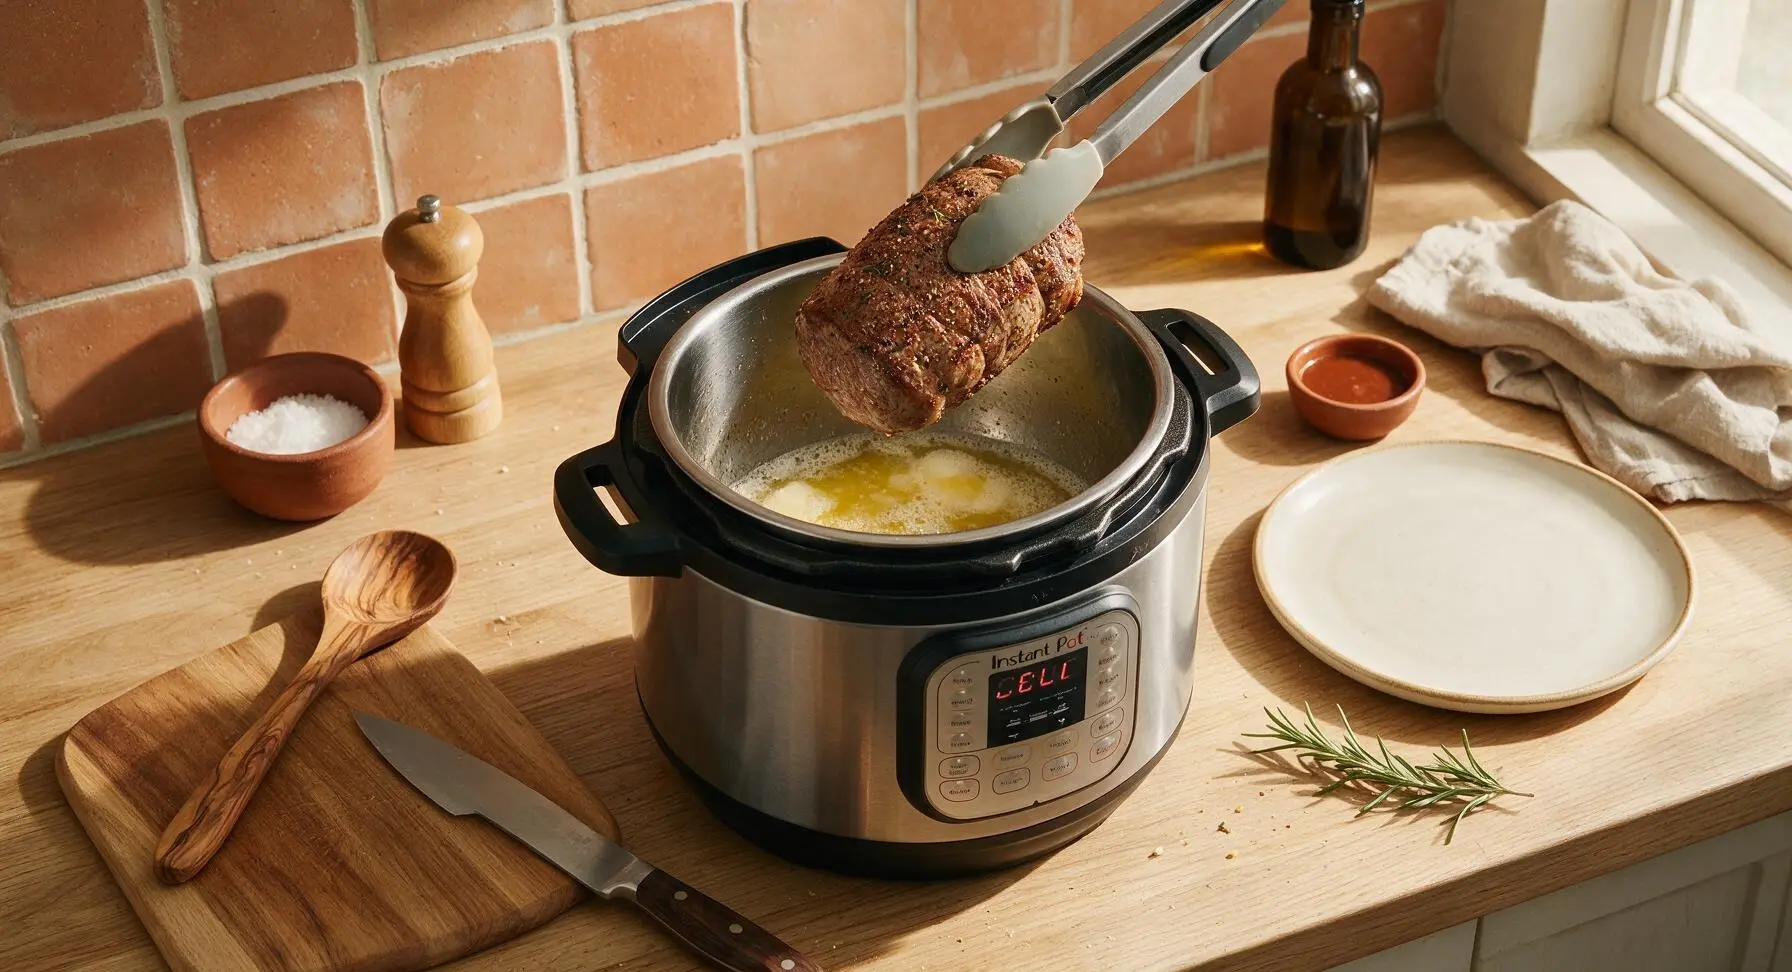
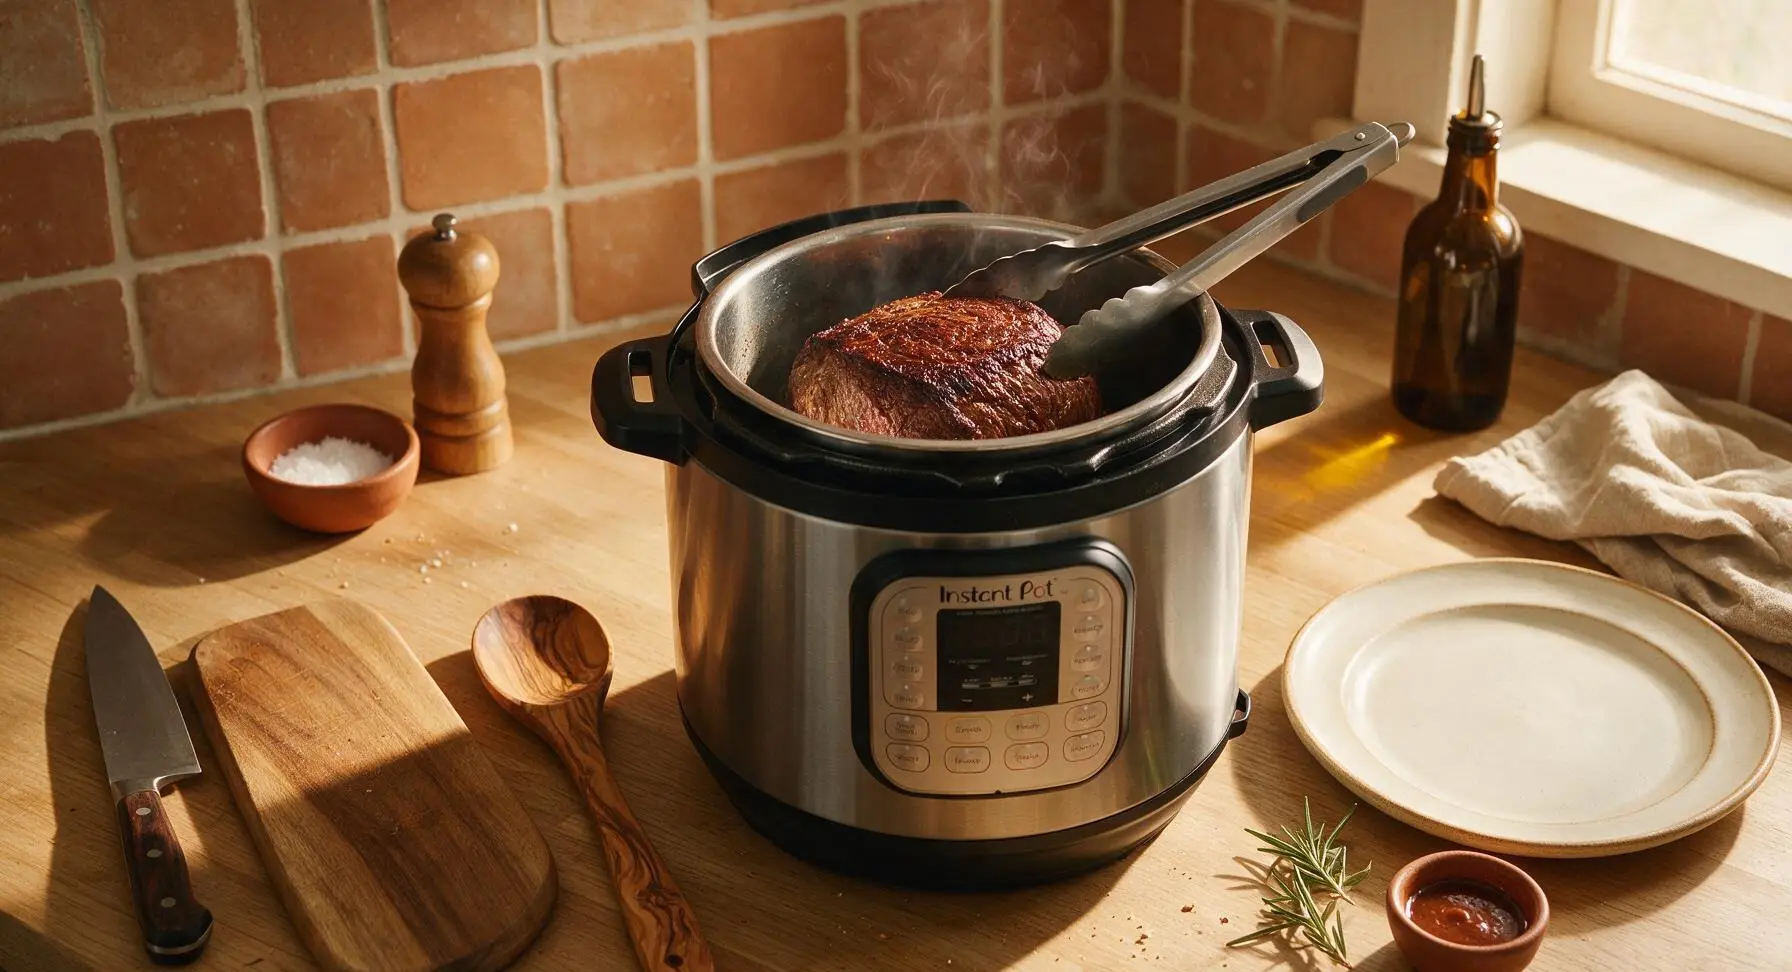
Select the 'Sauté' function on the Instant Pot and set to high heat. Add the unsalted butter to the inner pot, and once melted and foaming (about 1 minute), use the tongs to lower the seasoned roast into the pot. Sear for 3 minutes per side (top, bottom, and both long edges), until a deep, rich golden-brown crust forms on every surface. Avoid moving the roast while searing each side to build a thick, flavor-dense crust.
Step 2
step2:Sear All Sides
Step 2
step2:Sear All Sides
3

Add Aromatics & Broth

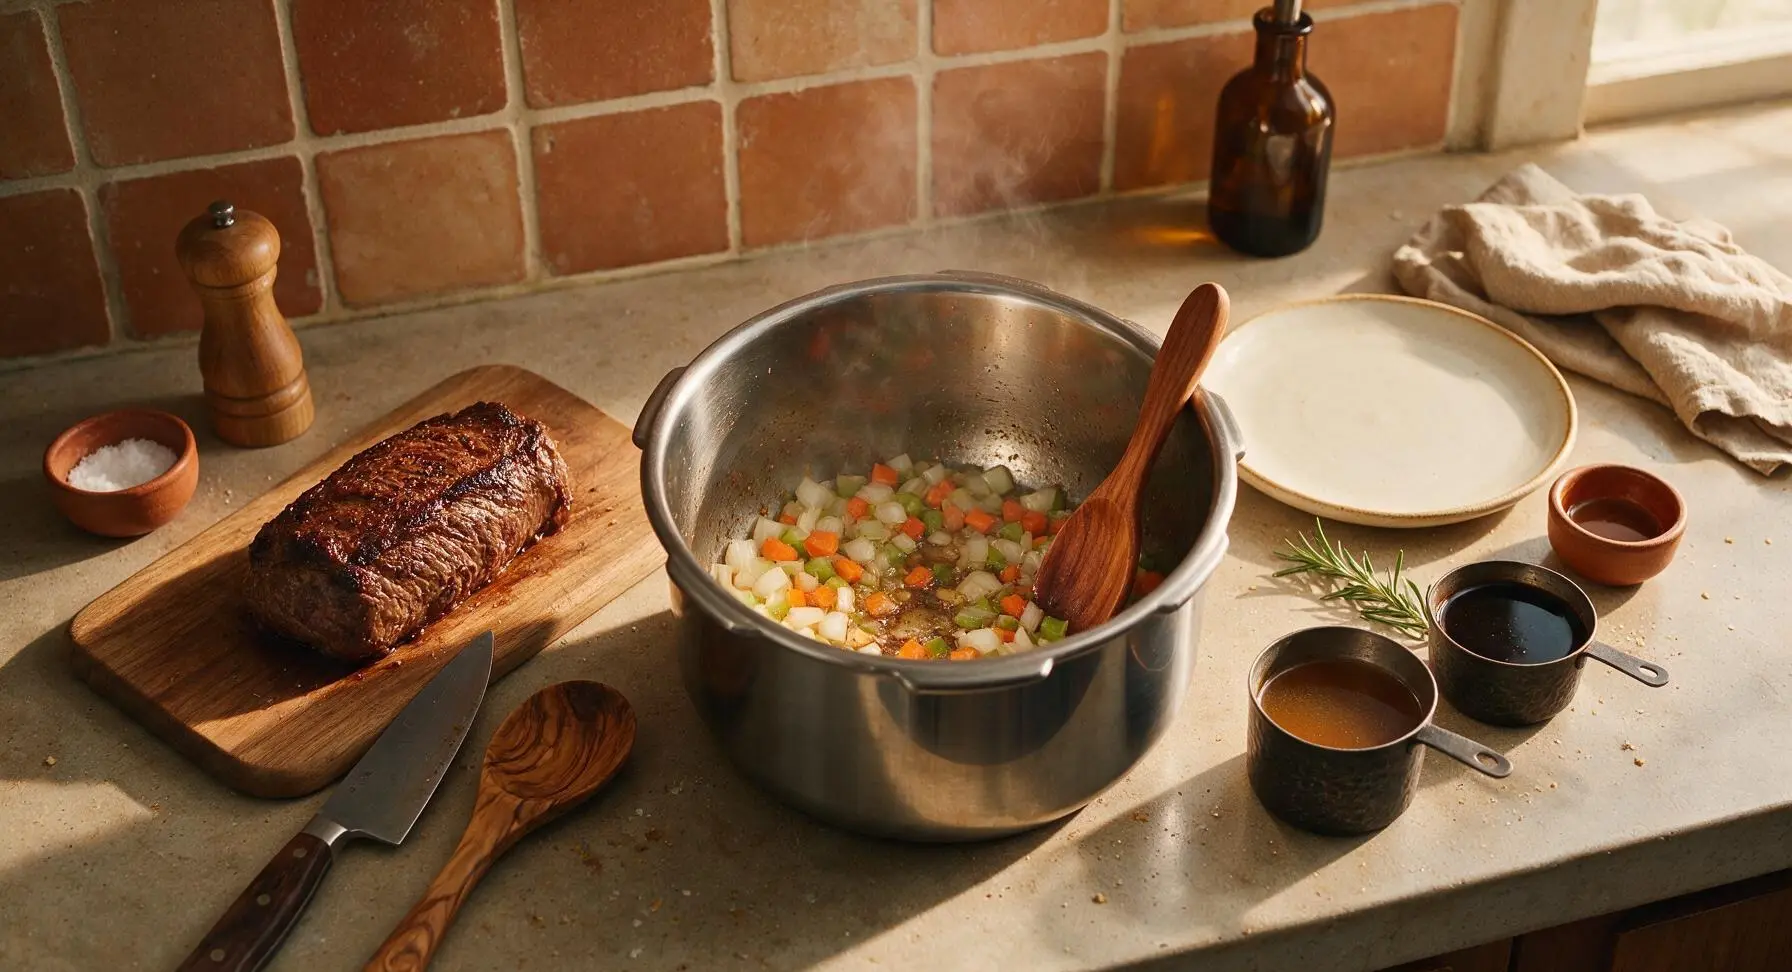
Once the roast is fully seared on all sides, use the tongs to lift it out of the Instant Pot and set it temporarily on the maple cutting board. Add the quartered onion, carrot chunks, celery chunks, and crushed garlic to the remaining hot butter and beef drippings in the pot. Sauté for 2 minutes, stirring occasionally with the cherry wood spoon, until vegetables are slightly softened and fragrant. Pour in the beef broth and Worcestershire sauce, scraping the bottom of the inner pot firmly to lift all browned, flavorful fond bits. Nestle the seared roast back on top of the vegetable bed, and tuck the rosemary sprigs against the sides of the meat.
Step 3
step3:Add Aromatics & Broth
4

Pressure Cook Roast

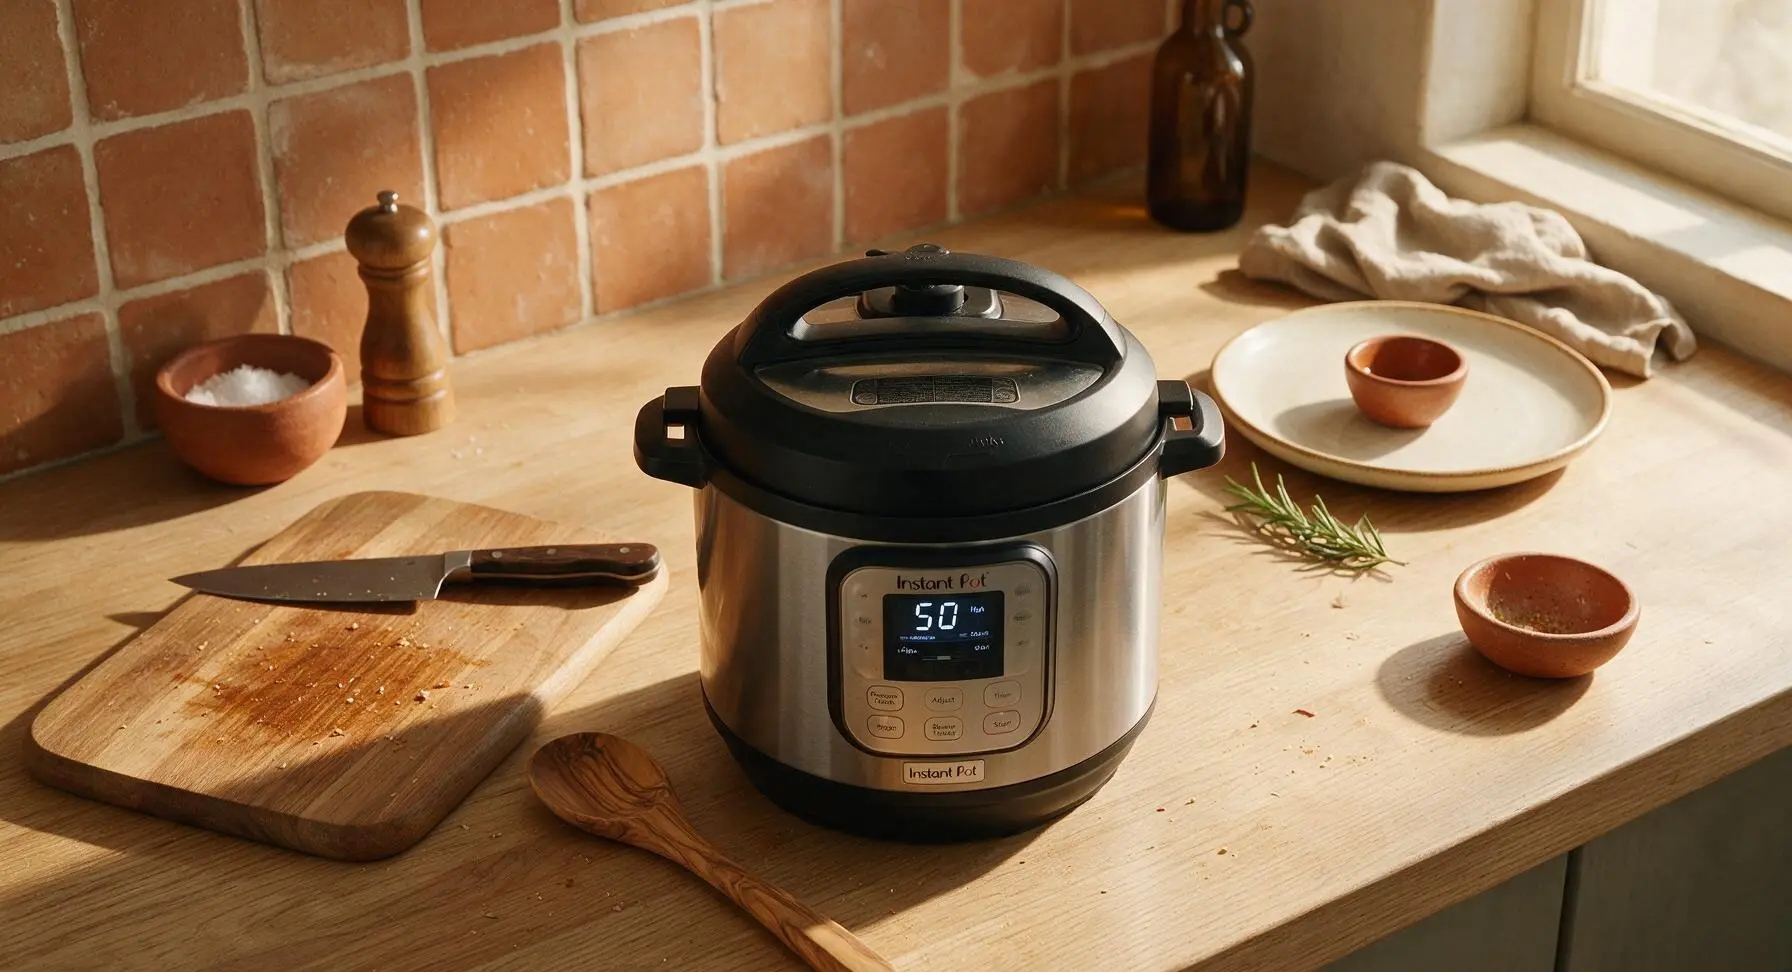
Lock the Instant Pot lid into place, turn the pressure release valve to the 'Sealing' position, and select the 'Pressure Cook' (High) setting. Set the cook time to 50 minutes for a tender, medium doneness roast (add 10 minutes for well-done, subtract 10 minutes for rare). Once the cook time finishes, allow a 10-minute natural pressure release, then carefully turn the valve to 'Venting' to release any remaining steam before opening the lid.
Step 4
step4:Pressure Cook Roast
5

Rest the Cooked Roast

Once all pressure is released and the lid is safe to open, use the tongs to carefully lift the cooked roast out of the pot and transfer it back to the maple cutting board. Loosely tent the roast with a small sheet of aluminum foil, and let it rest for 10 minutes to allow juices to redistribute back into the meat fibers—this prevents excessive juice runoff when slicing. Leave the cooked vegetables and deep brown cooking liquid in the Instant Pot for gravy.
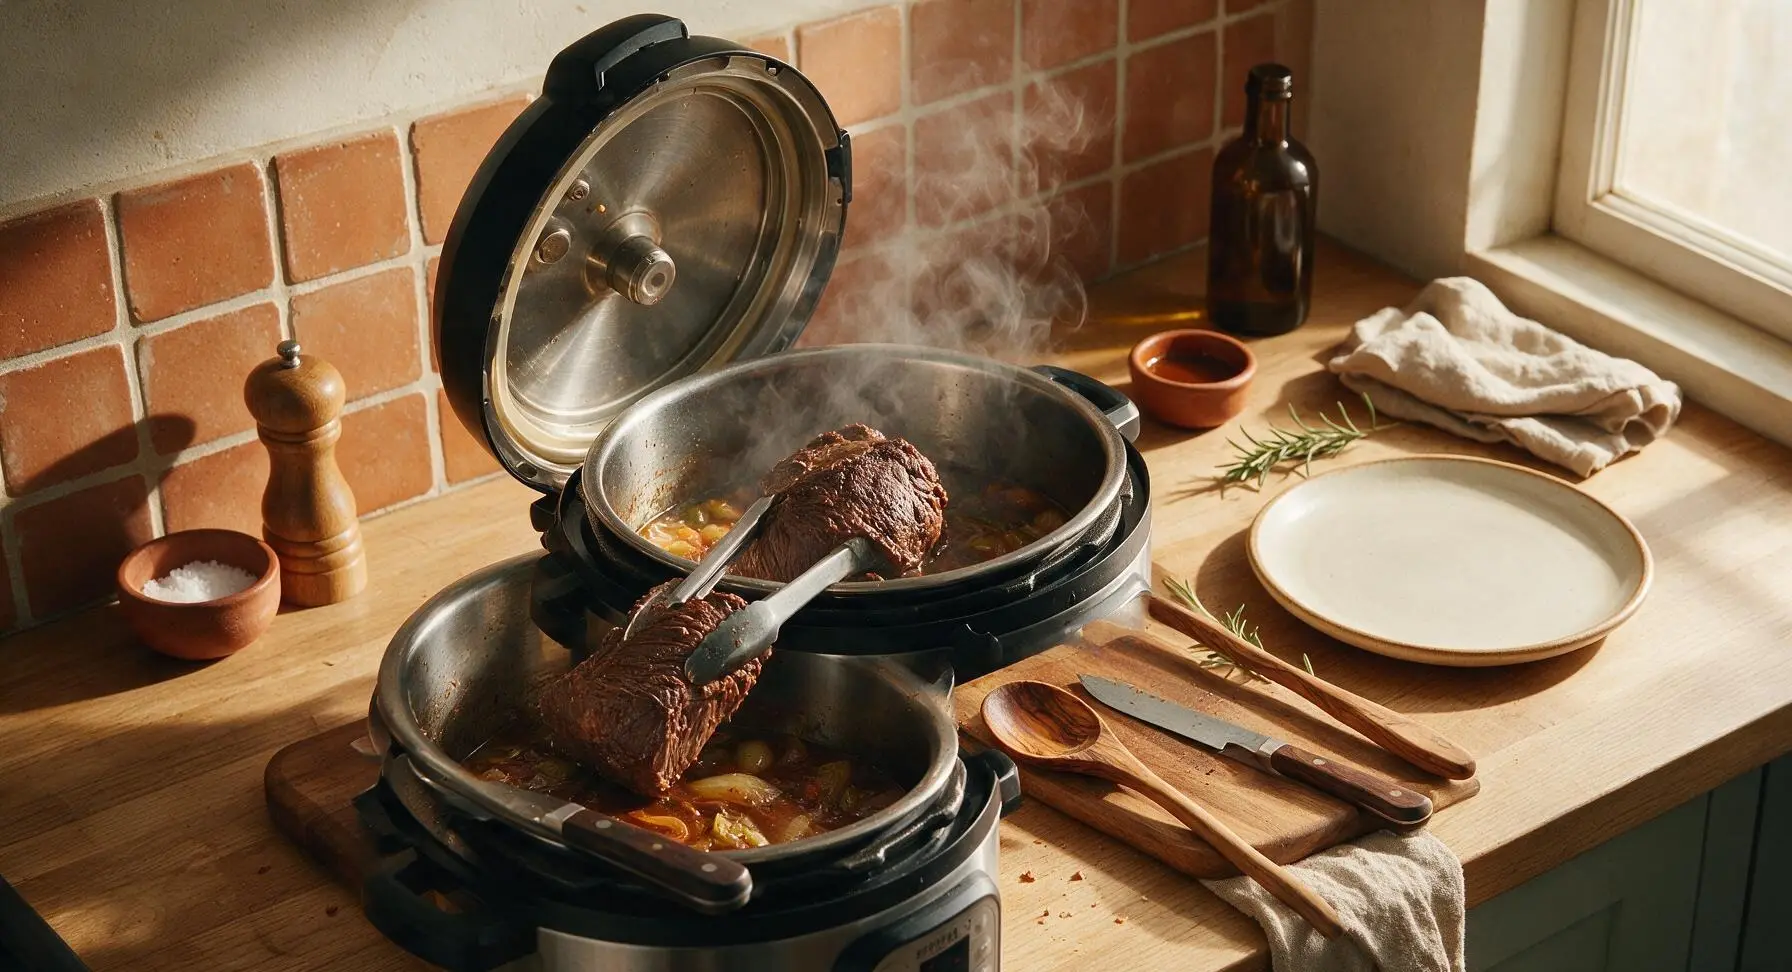
Step 5
step5:Rest the Cooked Roast
6

Make the Pan Gravy

Turn the Instant Pot back to the 'Sauté' setting on high heat. Stir together the cornstarch and cold water in a small dish to make a smooth, lump-free slurry. Slowly pour the slurry into the simmering cooking liquid, stirring constantly with the cherry wood spoon for 2-3 minutes, until the gravy thickens to a consistency that coats the back of the spoon. Season with extra salt and pepper to taste if needed.
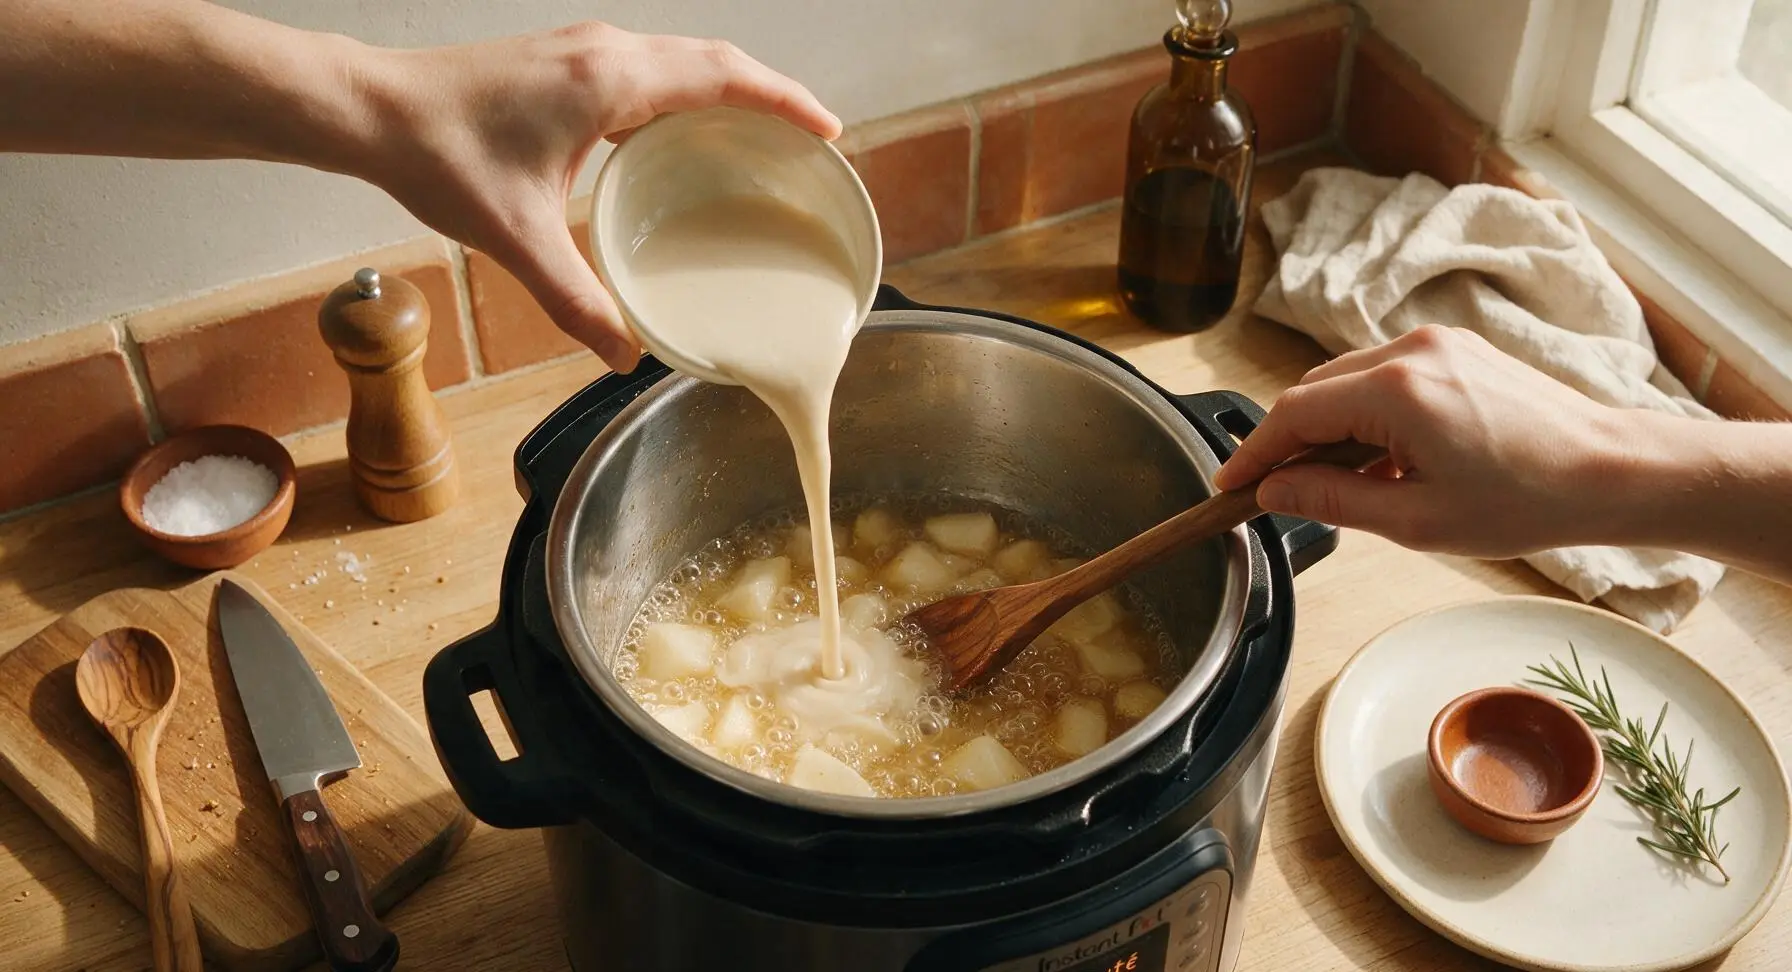
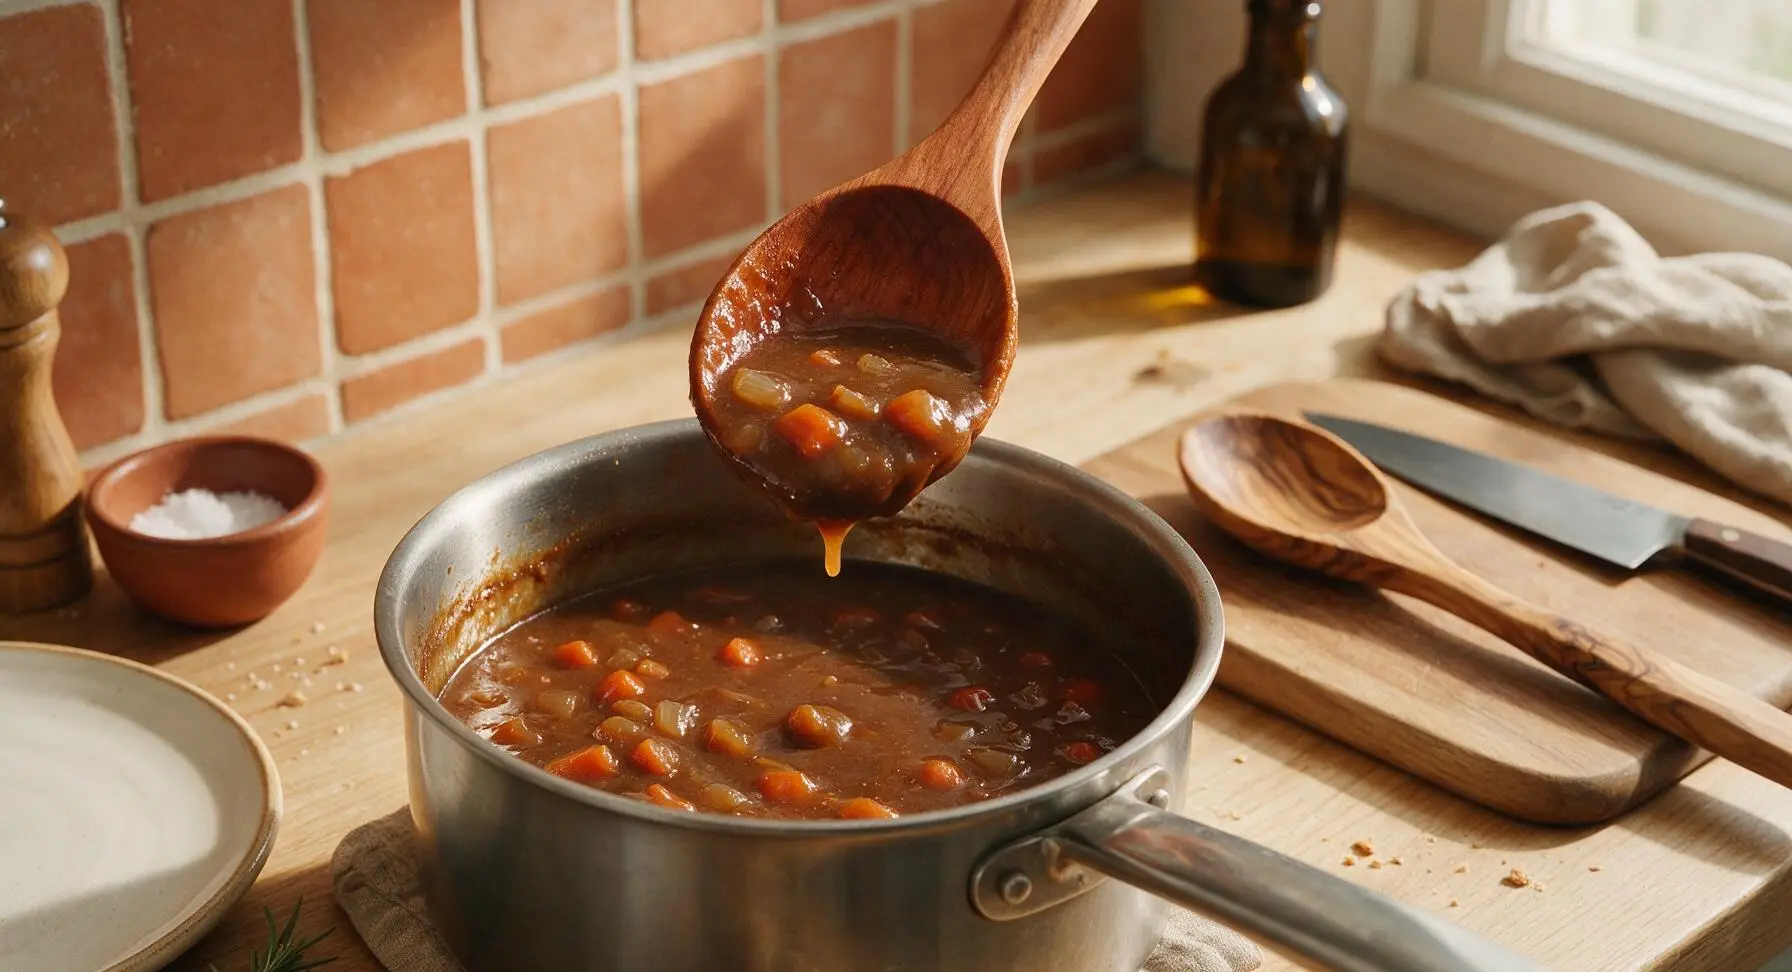
Step 6
step6:Make the Pan Gravy
Step 6
step6:Make the Pan Gravy
7

Slice and Plate

After the 10-minute rest, use the chef knife to slice the roast against the grain into 1cm thick slices. Fan the slices on the off-white speckled stoneware dinner plate, spoon a generous portion of gravy and cooked vegetables alongside the beef, and add a small dollop of prepared horseradish to the adjacent white ramekin for serving.
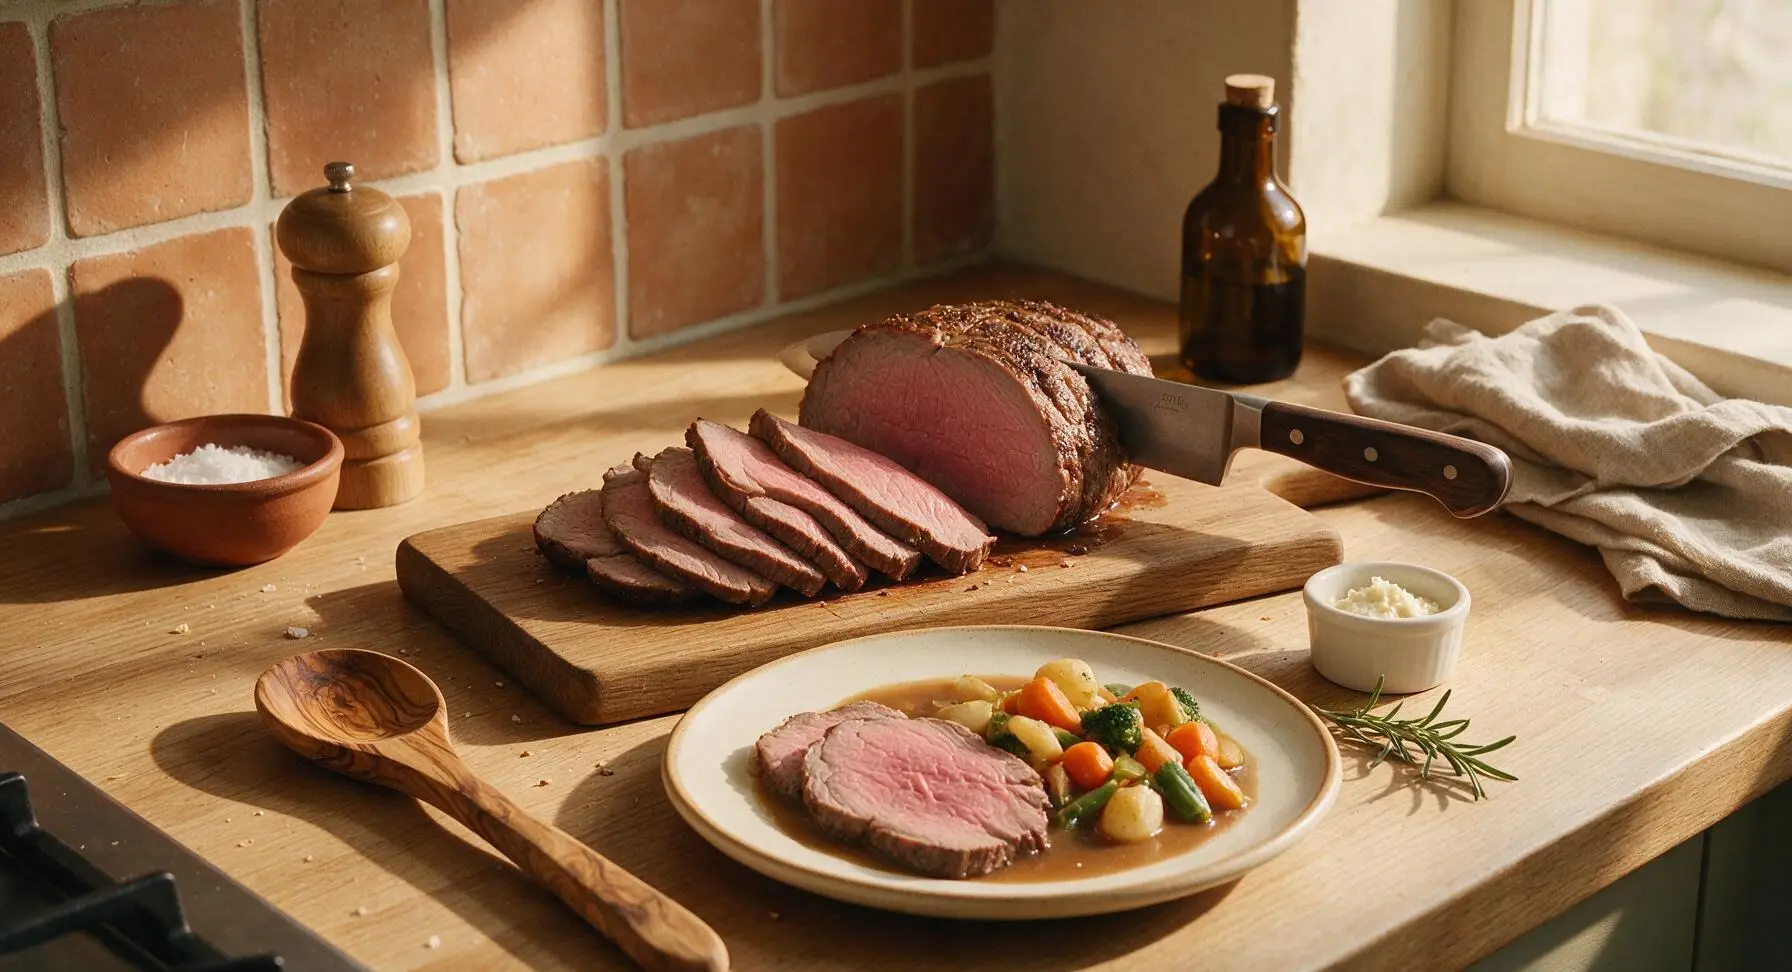
Step 7
step7:Slice and Plate

Tips

1.Always pat the roast completely dry with paper towels before searing: surface moisture creates steam instead of a deep, crispy maillard crust, which is the primary source of the gravy’s rich, savory depth.
2.Do not skip the 10-minute natural pressure release: venting all pressure immediately causes meat fibers to seize up and expel their juices, resulting in tough, dry roast instead of tender, juicy slices.
3.Slice the rested roast against the grain: cutting perpendicular to the long, tough muscle fibers shortens them, making every bite feel extra tender even if you slightly overcook the meat.


✨ You May Also Like

Main Course
🍜 United Kingdom

A showstopping classic of tender seared beef, savory mushroom duxelles, and crisp prosciutto wrapped in flaky golden puff pastry, baked to juicy perfection.

⏱️ 2 hours 1Main Course ★ 4.7
Main Course
🍜 India

Tender charred marinated chicken simmered in a rich, spiced creamy tomato sauce, this iconic Anglo-Indian curry pairs perfectly with basmati rice or warm naan.

⏱️ 50 minuteMain Course ★ 4.6
Main Course
🍜 Thailand

Classic tangy, sweet, and savory Thai stir-fried rice noodles with shrimp, tofu, and crunchy garnishes, balancing all five core Thai flavor profiles.

⏱️ 30 minuteMain Course ★ 4.5
Main Course
🍜 United Kingdom

Crispy golden beer-battered cod and fluffy double-fried chips, served with tangy tartar sauce and malt vinegar: the timeless, beloved British pub comfort classic.

⏱️ 45 minuteMain Course ★ 4.7
Main Course
🍜 Mexico

Smoky, chile-marinated pork tacos with caramelized pineapple, fresh cilantro, and lime: a beloved classic Mexican street food perfect for casual summer gatherings.

⏱️ 1 hour 45Main Course ★ 4.8
Main Course
🍜 United States

Crunchy Fritos corn chips layered with savory beef chili and melted cheddar, topped with cool, zesty fixings for a beloved, cozy Tex-Mex comfort food.

⏱️ 35 minuteMain Course ★ 4.8

roast beef instant pot:Frequently Asked Questions

1.What’s the best cut of beef for this Instant Pot roast beef recipe? ▾
Boneless beef chuck roast is my non-negotiable top pick here. It has the perfect amount of intramuscular marbling that melts under high pressure to create that signature fall-apart tender texture and deep, meaty flavor. Skip ultra-lean cuts like eye of round or top round—they’ll turn tough and dry even with pressure cooking.
2.Do I really need to sear the roast before pressure cooking it? ▾
Absolutely, don’t skip this 5-minute step! Pat the roast dry first, rub it with your blend of kosher salt, freshly ground black pepper, garlic powder, and smoked paprika, then sear it on all sides directly in the Instant Pot insert on the sauté setting. That deep brown crust builds rich, savory flavor you can’t get from pressure cooking alone.
3.How much kosher salt should I use to season the roast? ▾
For a standard 3 to 4 pound boneless chuck roast, use 1 to 1.5 teaspoons of kosher salt, applied evenly across all sides right before searing. If you only have fine table salt on hand, cut that amount in half to avoid over-salting, since table salt is denser and more concentrated by volume.
4.Why is my roast beef coming out tough instead of tender? ▾
Tough roast almost always traces back to two issues: either you used an overly lean cut of beef, or you didn’t pressure cook it long enough. A 3-pound chuck roast needs 60 to 70 minutes of high pressure to break down tough connective tissue, plus a 15-minute natural release to let juices settle.
5.Can I use regular paprika instead of smoked paprika? ▾
You can swap in regular sweet paprika in a pinch, but you’ll miss that warm, subtle smoky depth that makes both the beef and gravy taste so rich. If you don’t have smoked paprika, add a tiny pinch of ground cumin or dash of Worcestershire sauce to make up for that missing savoriness.
6.How do I make the rich savory gravy mentioned in the recipe? ▾
Once you remove the cooked roast from the Instant Pot, switch the unit back to the sauté setting. Let the leftover cooking juices simmer for 3 to 5 minutes, whisking occasionally, to thicken slightly. Stir in a quick cornstarch slurry if you prefer a thicker, velvety gravy to serve over slices of beef.
7.How long does it take the Instant Pot to come to pressure before cooking? ▾
For a standard 3-pound roast with 1 cup of beef broth or water as cooking liquid, expect the pot to take 10 to 15 minutes to build to high pressure before the active cook time starts. Be sure to factor this into your timeline, especially if you’re serving for a set Sunday dinner.
8.Should I use quick release or natural release when cook time ends? ▾
Do a 15-minute natural pressure release first, then manually release any remaining trapped pressure before opening the lid. Doing a full quick release right away makes meat fibers seize up and push out all their juicy moisture, leaving you with dry, stringy roast instead of tender, juicy slices.
9.Can I add potatoes and carrots to make this a one-pot meal? ▾
Absolutely! Toss 2-inch chunks of russet potato, carrot, and yellow onion into the bottom of the insert under the roast for a full, no-fuss meal. Cut veggies to that uniform size so they don’t turn to mush during cooking, and season them lightly with the same spice blend you use on the beef.
10.What’s the best way to store leftover roast beef? ▾
Let the cooked roast and gravy cool completely within 2 hours of cooking, then store them in an airtight container in the fridge for up to 4 days. The beef actually gets more flavorful as it rests in the gravy! Reheat slices gently in leftover gravy over low stovetop heat to avoid drying the meat out.
11.Can I use fresh garlic instead of garlic powder for the seasoning? ▾
You can absolutely swap garlic powder for 4 to 5 crushed fresh garlic cloves if you prefer! Sauté the fresh garlic in the pot for 30 seconds right after searing the roast to mellow its sharp bite before adding your liquid and beef. Garlic powder is just convenient and distributes more evenly for consistent flavor.
12.What size roast fits in a standard 6-quart Instant Pot? ▾
A standard 6-quart model can comfortably fit a 3 to 4 pound boneless chuck roast, which feeds 4 to 6 people for a casual Sunday meal. If your roast is a little too large to fit as-is, cut it into two equal chunks, searing each separately to lock in that deep, flavorful crust.

Comments (5)

3 days ago

OMG this Instant Pot roast beef is an absolute game changer for our Sunday family dinners! I was so sick of waiting 3+ hours for a tender roast in the oven, and this was fall-apart perfect in just over an hour? My kids devoured two servings each, even my picky 7 year old who turns his nose up at most red meat. I tossed in some baby carrots and potatoes with it too, and everything soaked up that savory juice so well. SO good, will be making this at least twice a month for meal prep too!

2 days ago

Wait did you sear the roast first before pressure cooking? I’m nervous I’ll skip that step and miss out on the crispy crust flavor!

2 days ago

Great question! We do recommend searing the roast on all sides using the saute function on your Instant Pot before pressure cooking — it locks in flavor and gives that delicious crispy outer layer you’re looking for, and only adds about 5 minutes of extra prep time! So worth it.

30 minutes ago

Tried this last night for a random weeknight potluck with my neighbors and everyone was asking for the recipe! I was worried it would be too bland because I didn’t have any fancy fresh herbs on hand, just the dried stuff in my pantry, but it came out so juicy and flavorful. Only note is that I let it naturally release for 15 minutes instead of quick release and it was even more tender, for anyone curious!

5 minutes ago

Love that natural release tip! That extra resting time lets the fibers relax so the meat holds onto all its juicy goodness instead of letting it all run out when you slice it. So glad it was a hit at your potluck!

yesterday

Super easy recipe, perfect for when I’m running behind on dinner after soccer practice. Cook time was almost exactly as stated, no guessing games — I added 5 extra minutes because my roast was a little thicker than the recipe called for. I used a 3lb chuck roast and it came out tender and juicy, sliced thin for roast beef sandwiches the next day too. Only knocking off one star because I wish there was a note about adjusting seasoning for bigger roasts, but I eyeballed it and it still turned out great. Will absolutely add this to our regular rotation.

1 week ago

I’ve heard nothing but great things about this recipe, can’t wait to try it! Quick question: has anyone tried making this with a rump roast instead of chuck? I have one in my freezer I need to use up this week and don’t want to make a special trip to the grocery store. Looks so good, giving it 5 stars upfront because I know it’s gonna be a hit!

5 days ago

I used a rump roast last week when I made this! Just added an extra 10 minutes of cook time and it was just as tender as the chuck I usually use, came out great.

2 weeks ago

This was SO good! I used gluten free Worcestershire sauce to fit my dietary needs and it didn’t alter the flavor at all. My only tiny gripe is that my 6 quart Instant Pot gave me a burn notice about 10 minutes into cook time, but I did a quick vent, scraped the bottom of the pot really well, and restarted it and it turned out perfect. Don’t let the burn notice scare you off!

1 week ago

Oh thank you for saying that! I got the same burn notice the first time I made it and thought I ruined the whole dinner, scraping the bottom fixed it right up for me too.

5 days ago

So glad you were able to troubleshoot that burn notice! That usually happens if there are too many browned bits stuck to the bottom of the pot after searing — deglazing with a little broth before adding the roast helps prevent that, but it’s an easy fix if it pops up!



