
salt and chilli chicken

title 1
salt and chilli chicken
⏱️ cook time 15 minutes
🍽️ servings 4
⚡ Difficulty easy

intro

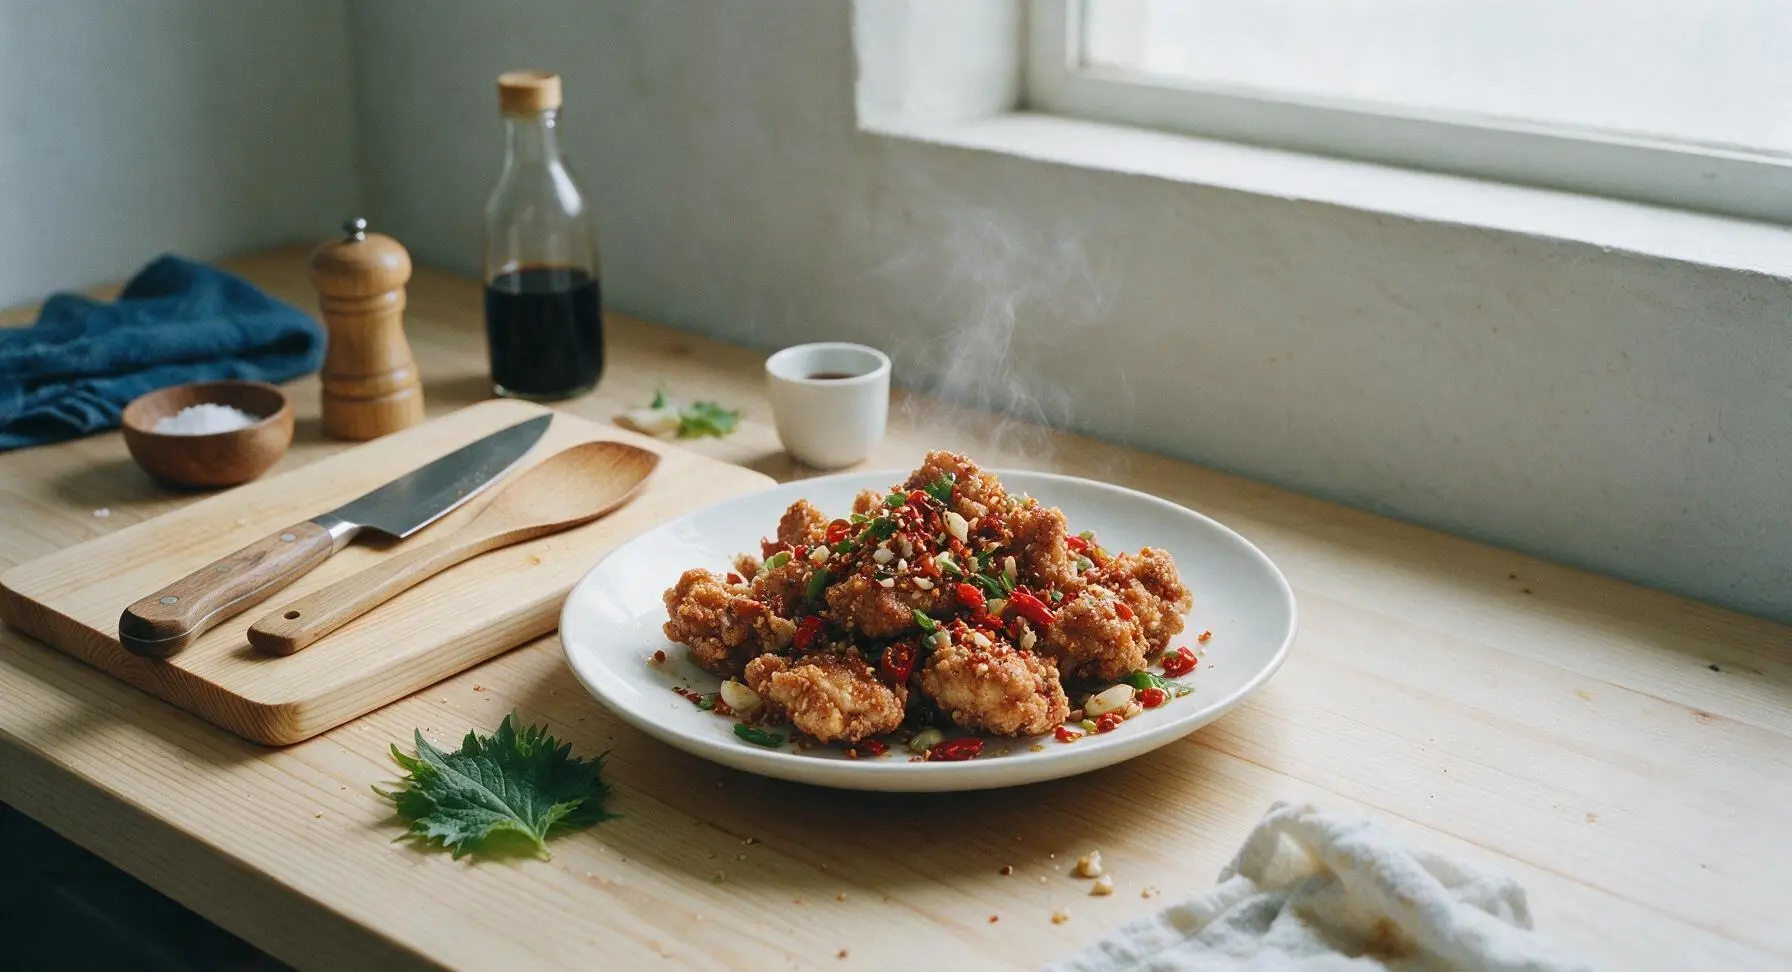
Shatteringly crisp chicken tossed with fiery chilli, fragrant garlic, and warm five spice: the iconic Chinese takeaway favourite made quick and easy at home.

Ingredients
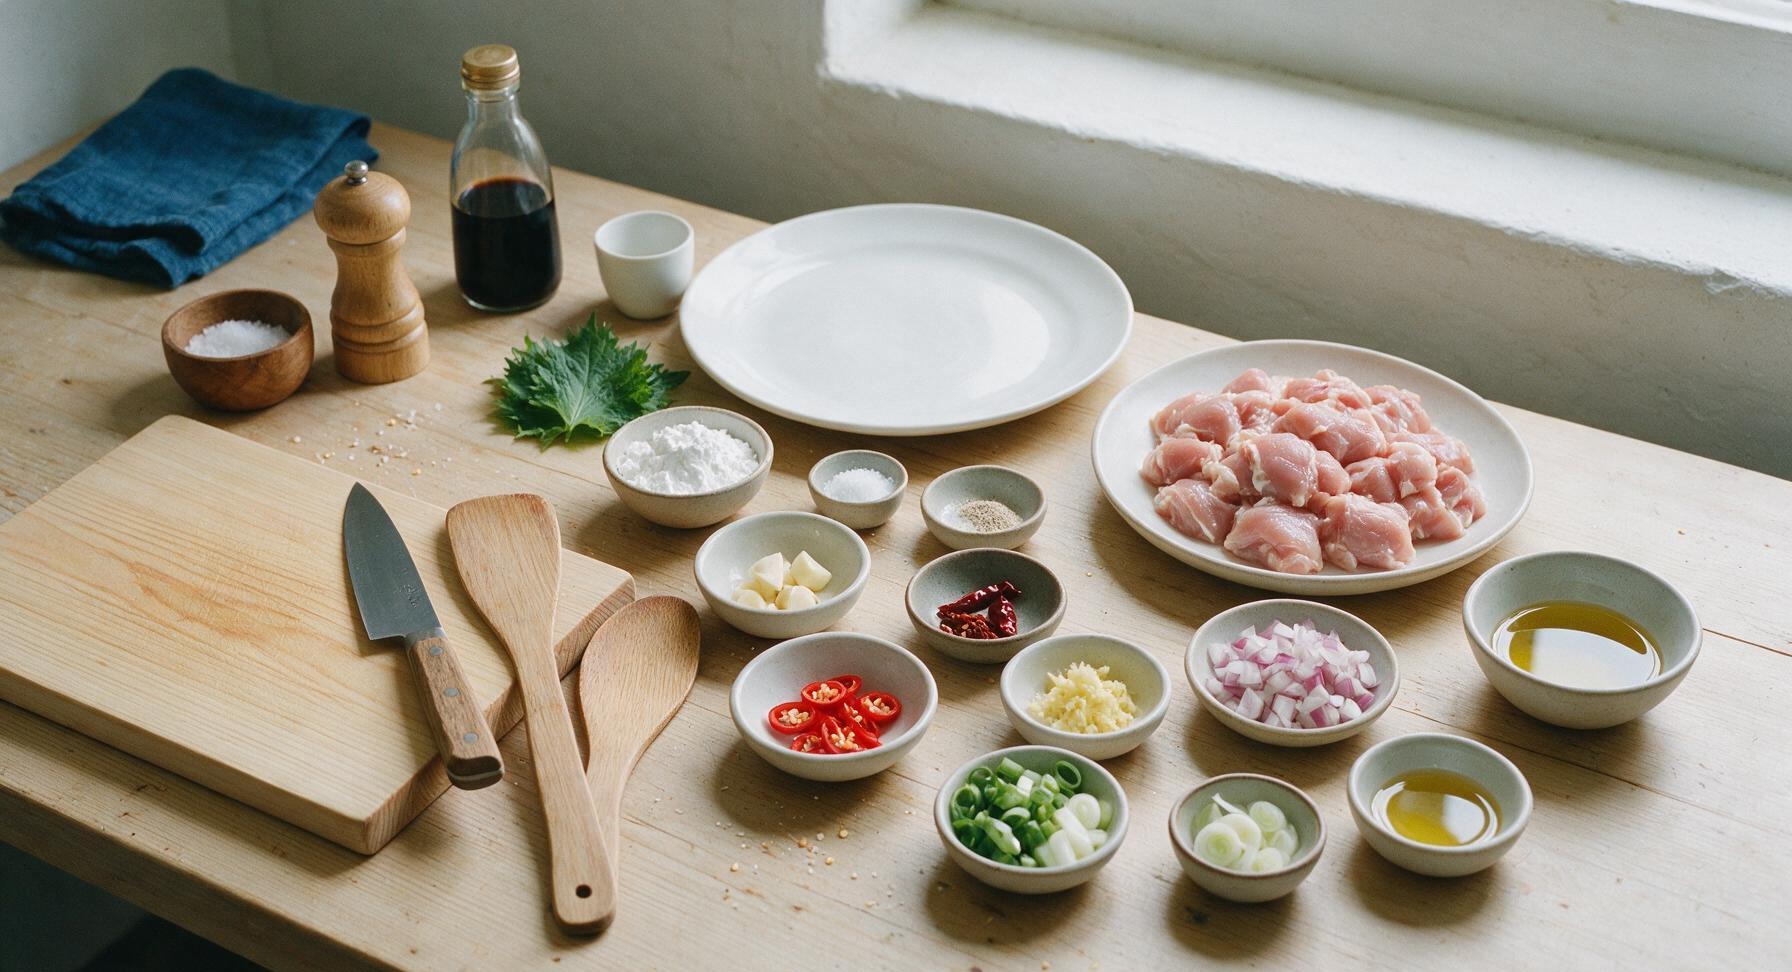
Boneless skinless chicken thighs 500g, cut into 3cm chunks
Cornstarch (cornflour) 6 tablespoons
Fine sea salt 1 teaspoon, divided
Ground white pepper ½ teaspoon
Chinese five spice powder ¼ teaspoon
Garlic cloves 4, finely chopped
Fresh ginger 1 tablespoon, finely grated
Fresh red bird's eye chillies 3, thinly sliced (seeds retained for extra heat)
Dried red chillies 2, snapped in half, seeds removed
Spring onions 4, sliced, green and white parts separated
Small red onion ½ (100g), cut into 1cm dice
Neutral canola oil 300ml (for shallow frying, plus 1 tablespoon for stir-frying)

Steps

1

Season Chicken Chunks

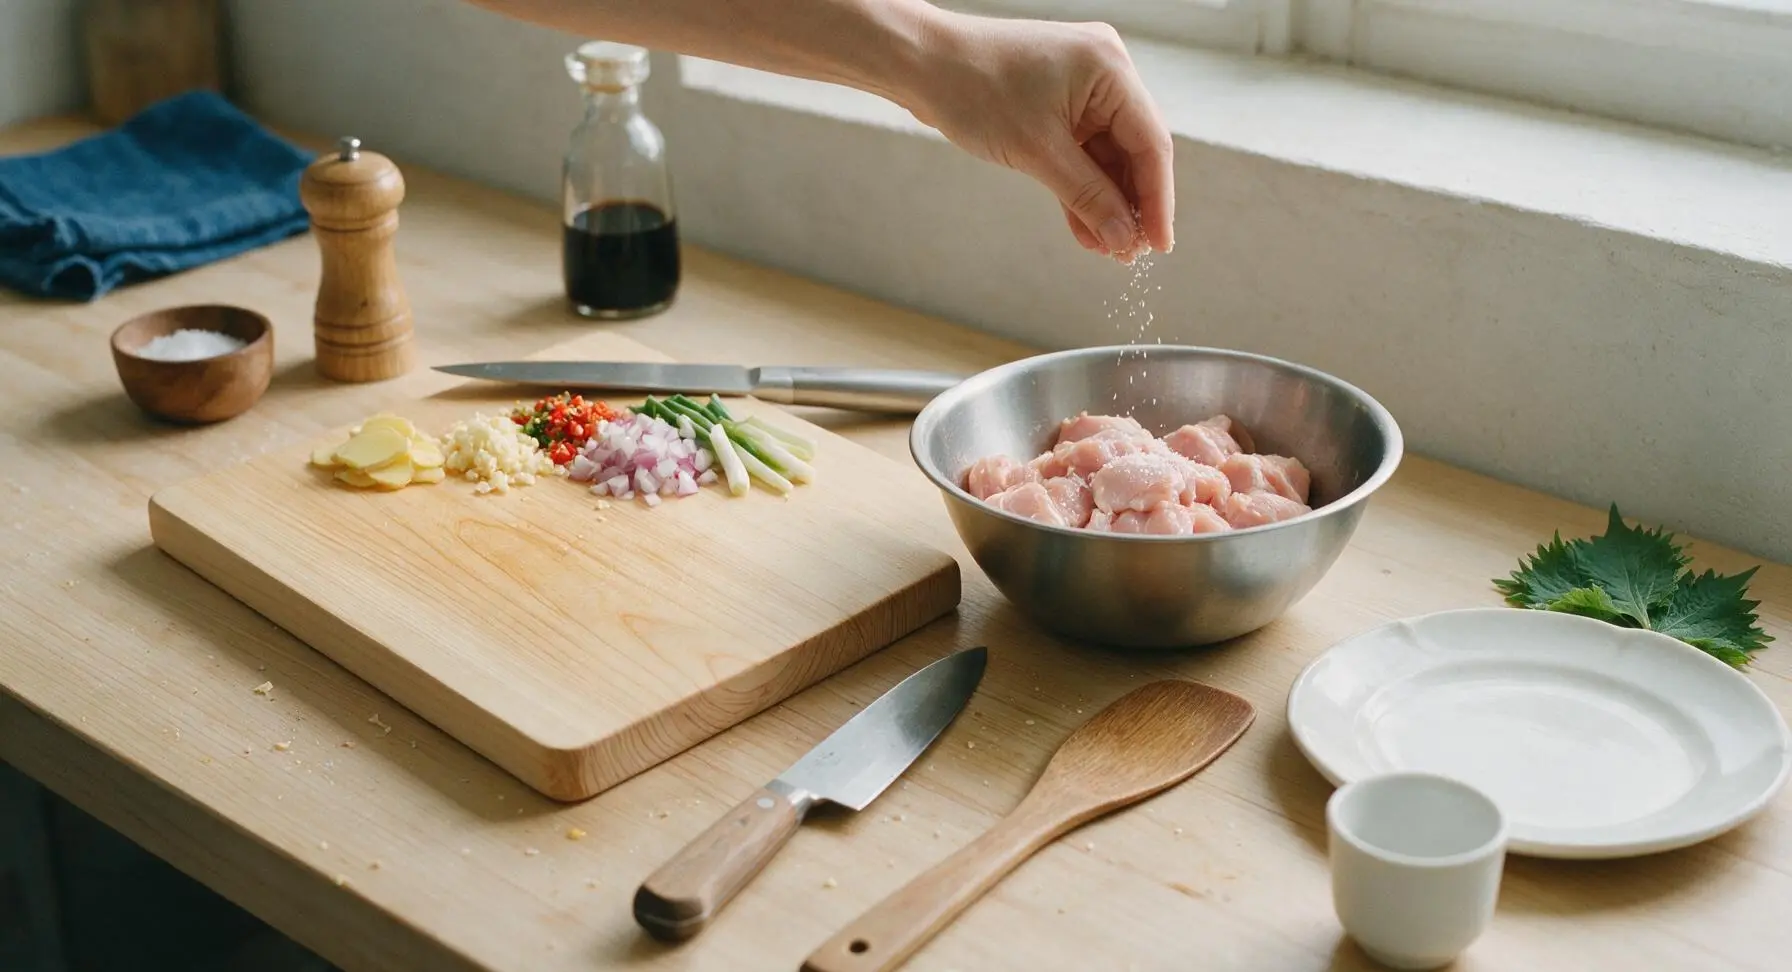
Place the 3cm chicken thigh chunks into the brushed stainless steel mixing bowl. Add ½ teaspoon of the fine sea salt, all of the ground white pepper, and 1 tablespoon of the cornstarch. Toss well to coat every piece evenly, then set aside to marinate for 10 minutes at room temperature. The chicken will feel slightly tacky to the touch, with no excess liquid pooling at the bottom of the bowl.
Step 1
step1:Season Chicken Chunks
2

Coat with Cornstarch

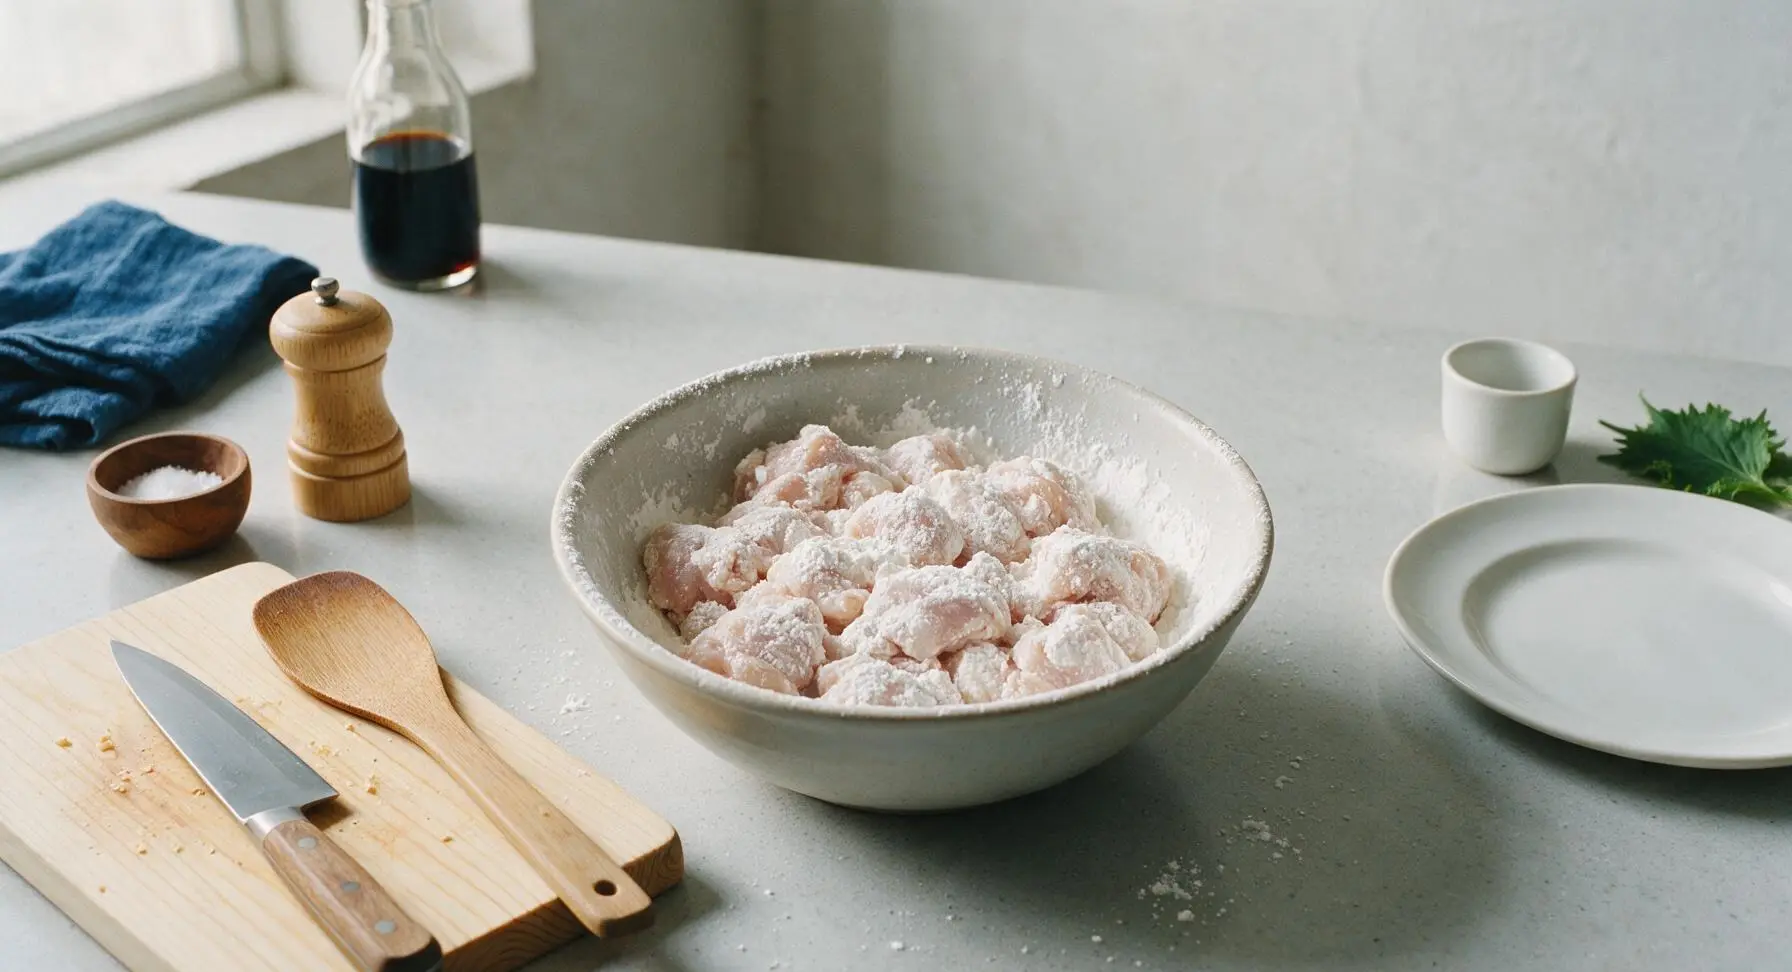
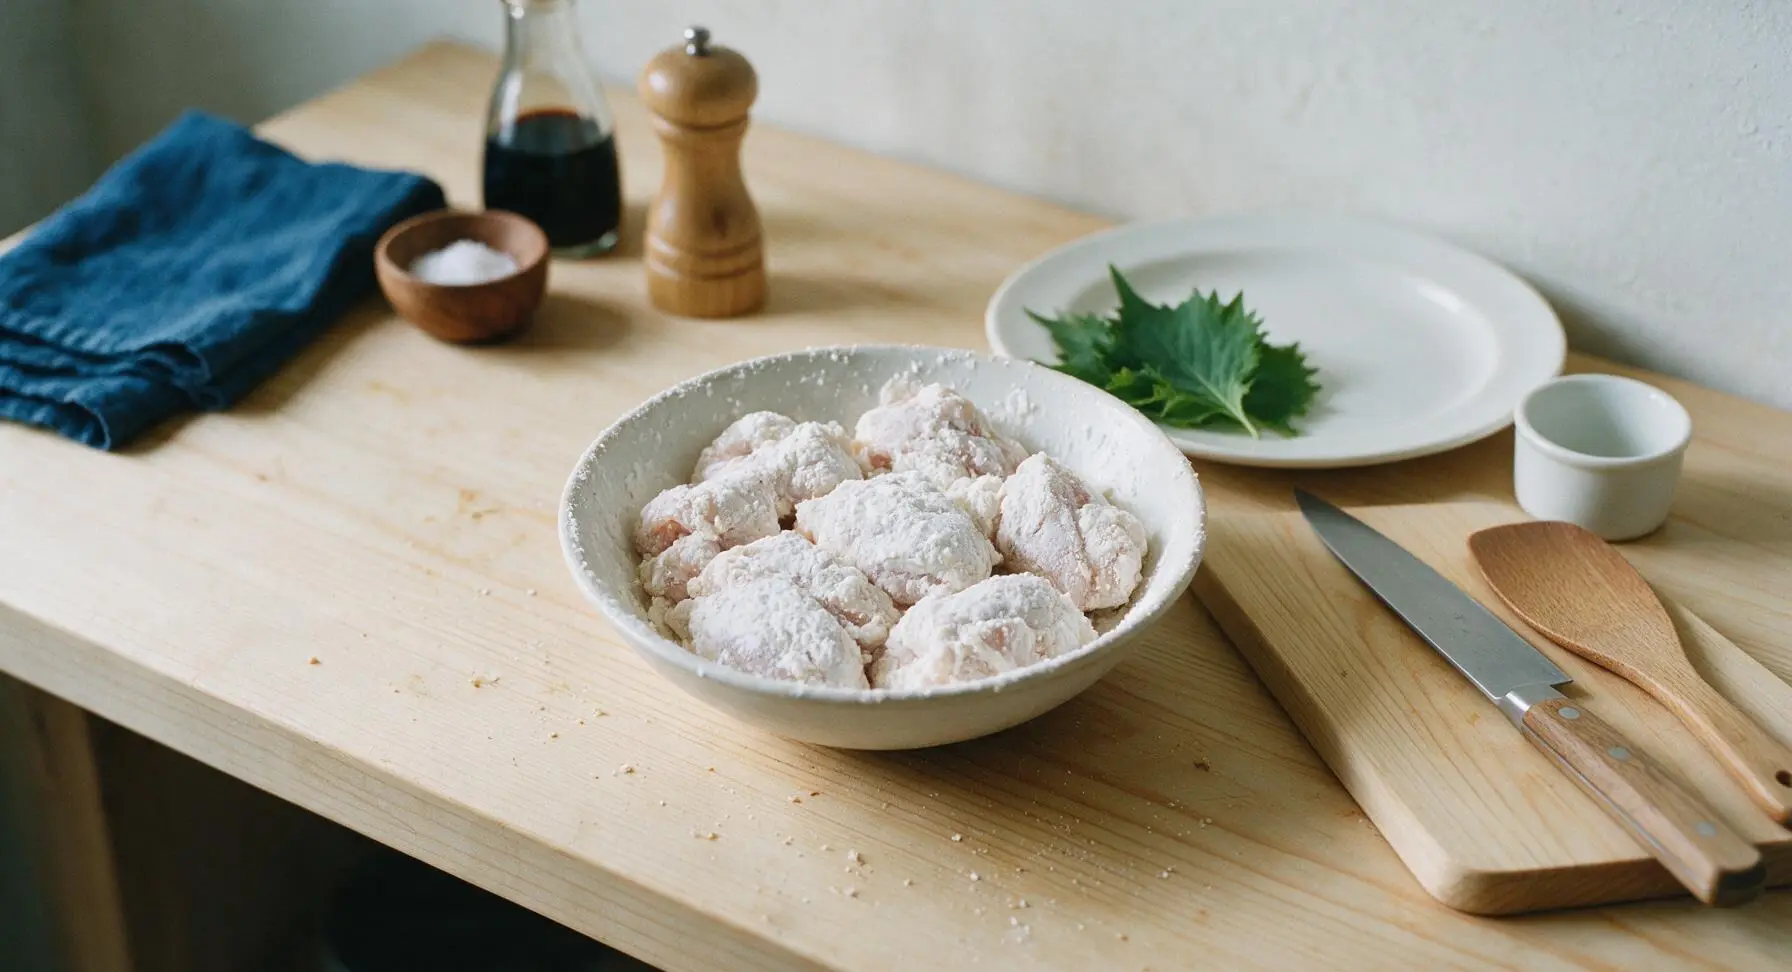
After the 10 minute marinade, add the remaining 5 tablespoons of cornstarch to the mixing bowl with the chicken. Toss thoroughly until every piece is fully coated in a dry, powdery cornstarch layer, with no damp, uncoated spots visible on the chicken surface. Let the coated chicken rest for 5 minutes so the starch adheres tightly to the chicken, preventing the coating from falling off during frying.
Step 2
step2:Coat with Cornstarch
Step 2
step2:Coat with Cornstarch
3

Heat Frying Oil

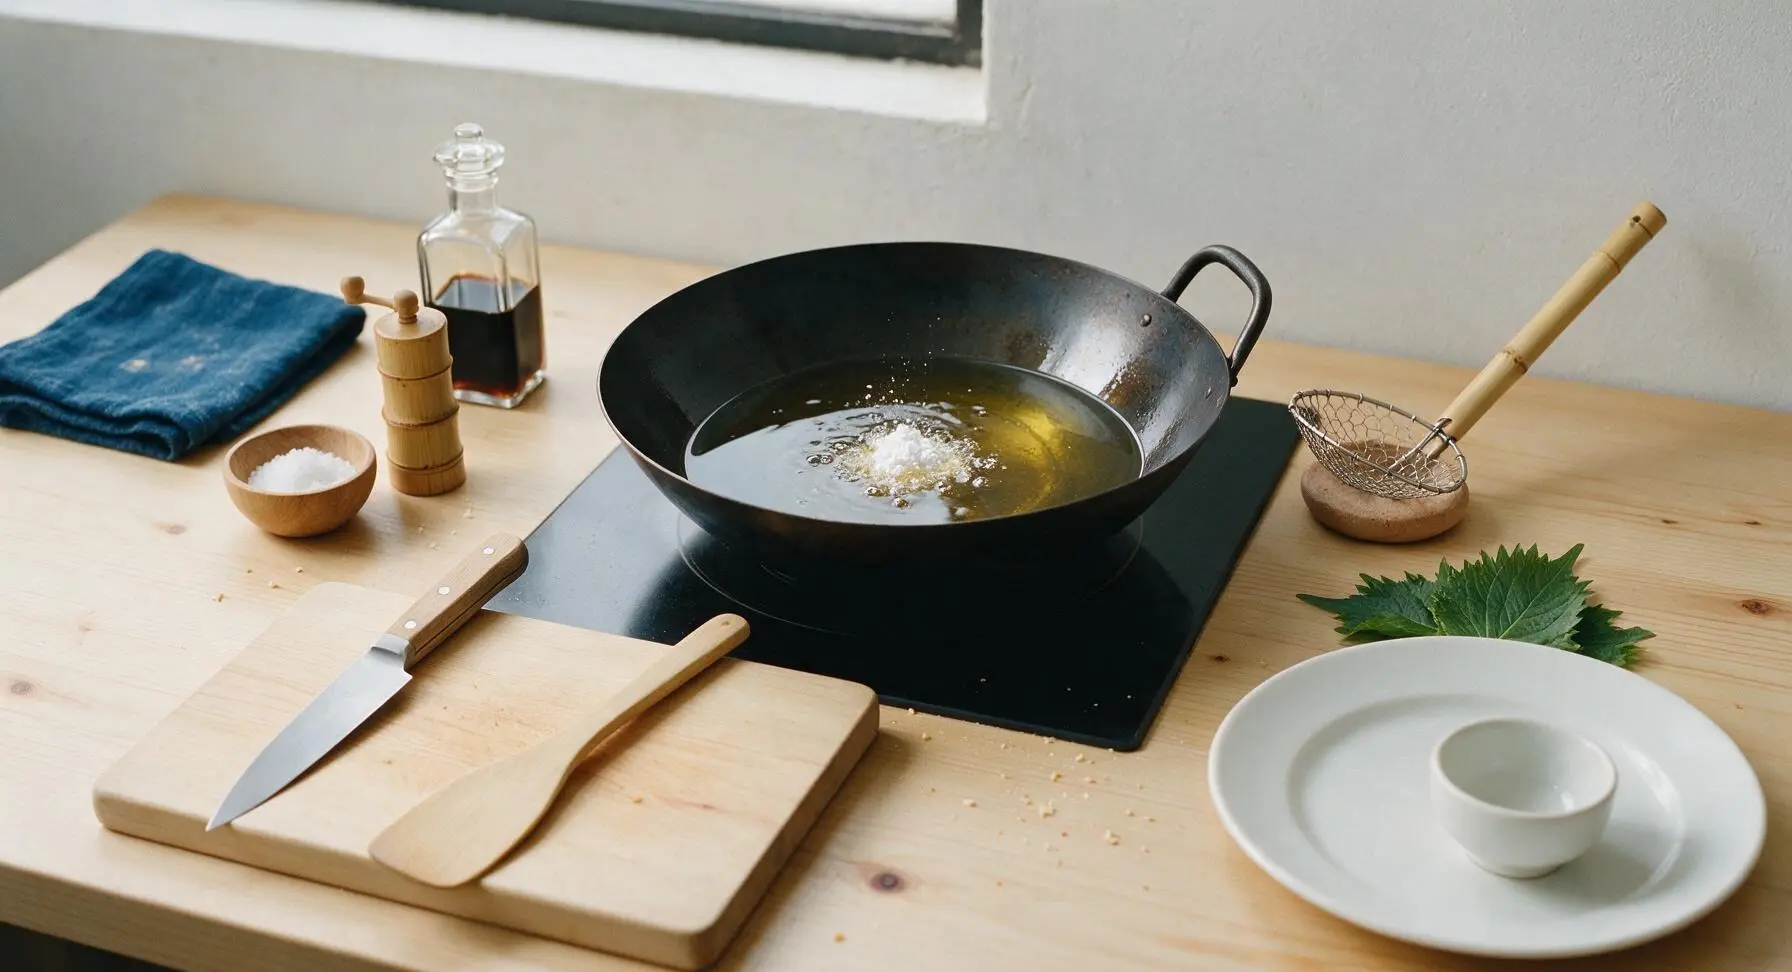
Place the seasoned matte black carbon steel wok on the center-back induction burner. Pour in 300ml of canola oil, and heat over medium-high heat until the oil reaches 180°C (350°F). Test the temperature by dropping a small pinch of cornstarch into the oil: it should sizzle immediately and rise to the surface within 2 seconds, without turning brown instantly (a sign the oil is too hot).
Step 3
step3:Heat Frying Oil
4

Fry Chicken Until Crisp

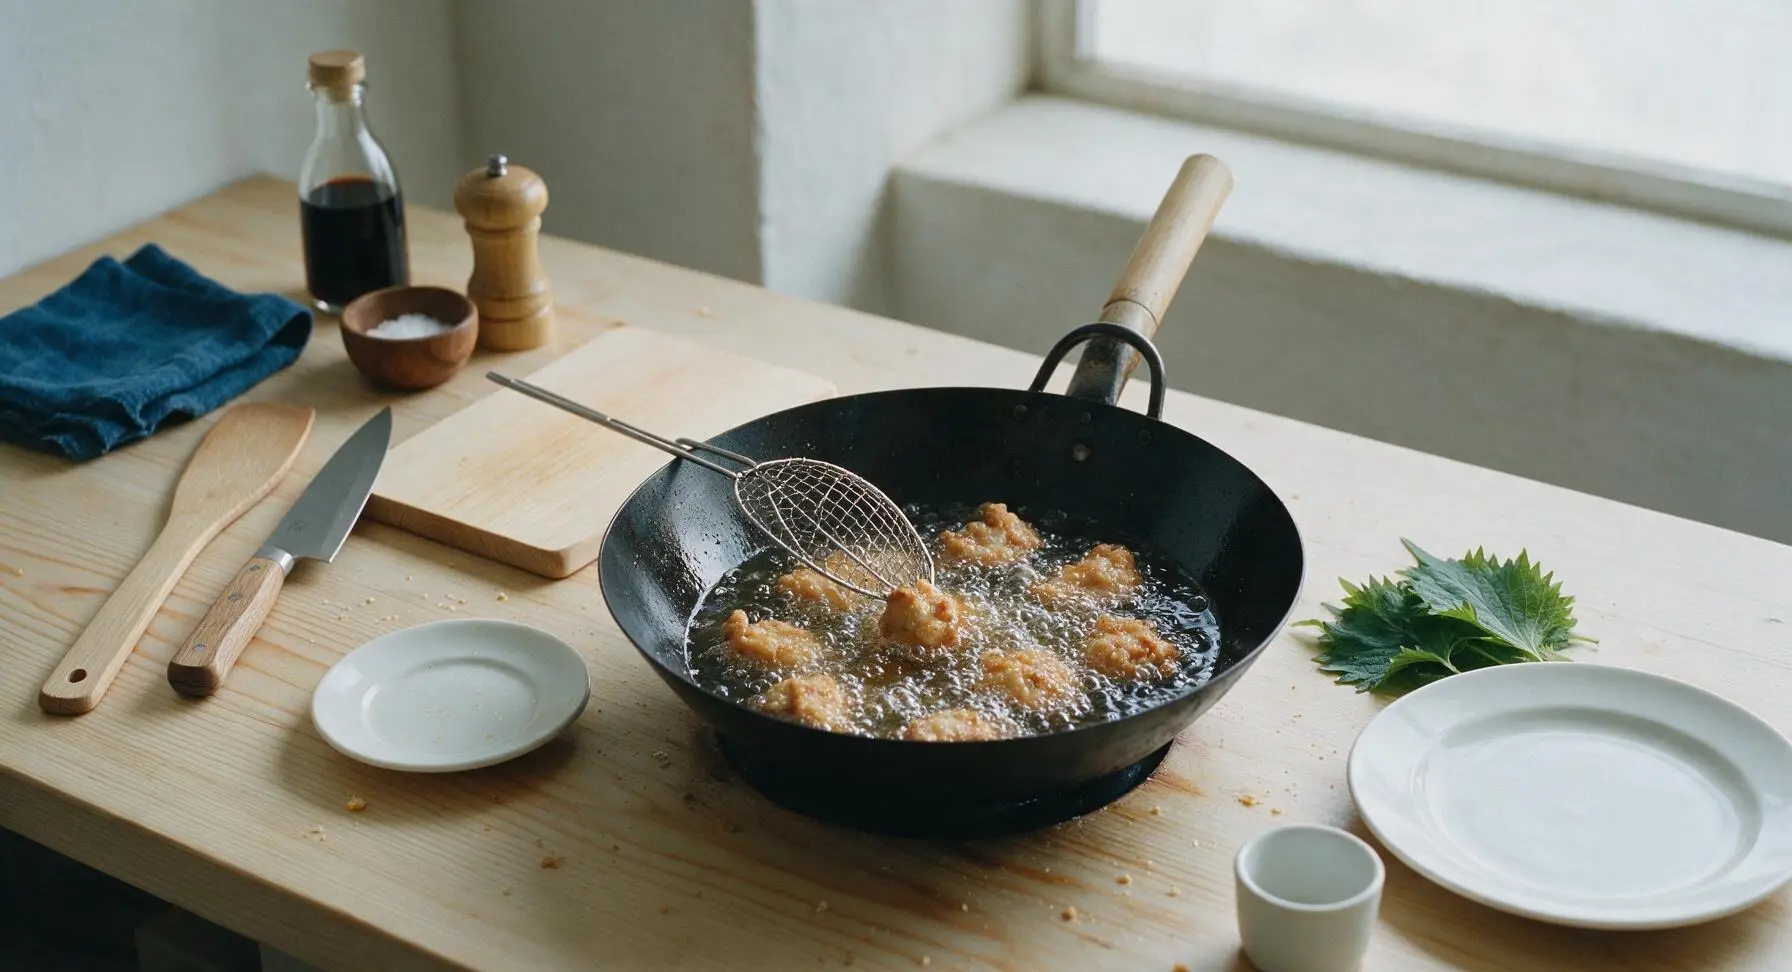
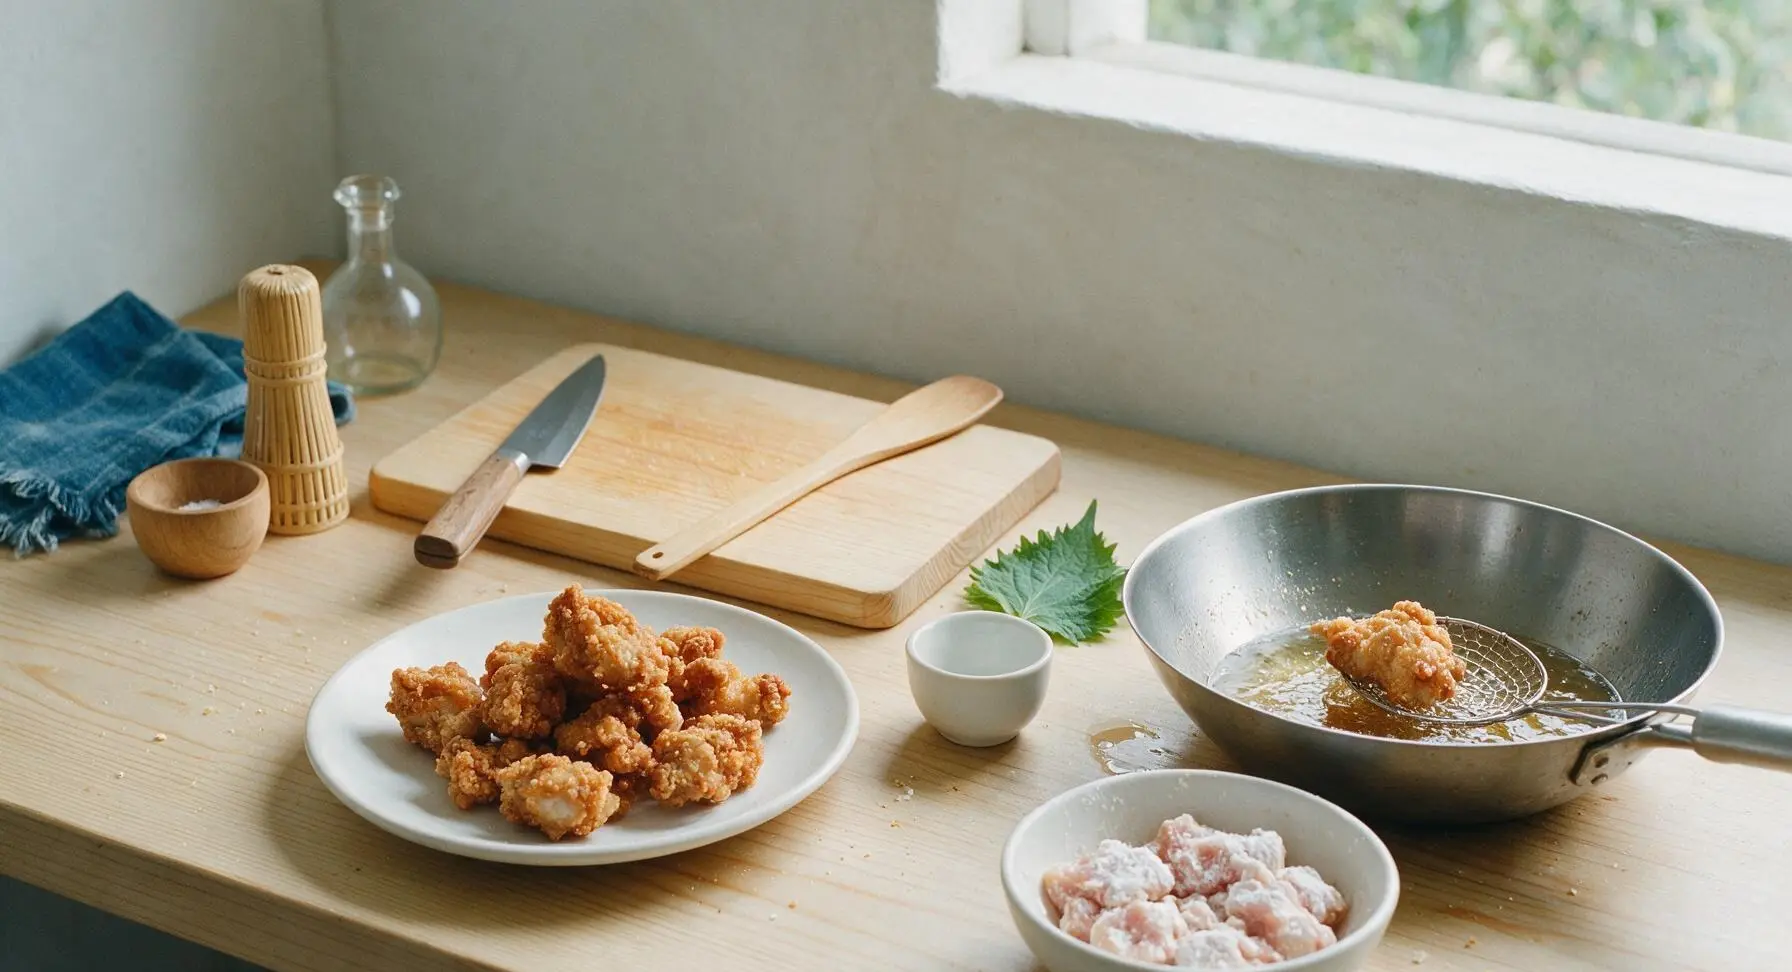
Working in 2 equal batches to avoid overcrowding the wok (which drops oil temperature and causes soggy chicken), carefully lower half the coated chicken pieces into the hot oil. Fry for 4–5 minutes per batch, turning pieces halfway with the wire skimmer, until the coating is deep golden, shatteringly crisp, and the chicken reaches an internal temperature of 75°C (165°F). Lift chicken out with the skimmer, hold over the wok for 10 seconds to drain excess oil, then set aside temporarily on a small clean plate placed to the left of the wok. Repeat with the second batch.
Step 4
step4:Fry Chicken Until Crisp
Step 4
step4:Fry Chicken Until Crisp
5

Stir-Fry Aromatic Base

Carefully pour off all but 1 tablespoon of the frying oil from the wok, returning the wok to medium heat. Add the diced red onion, white parts of the spring onion, grated ginger, chopped garlic, sliced fresh chillies, and seeded dried red chillies. Stir-fry continuously with the beech wood spatula for 30–45 seconds, until the aromatics release a bright, savoury fragrance and the garlic is just turning pale golden. Do not let the garlic turn dark brown, as it will turn bitter.
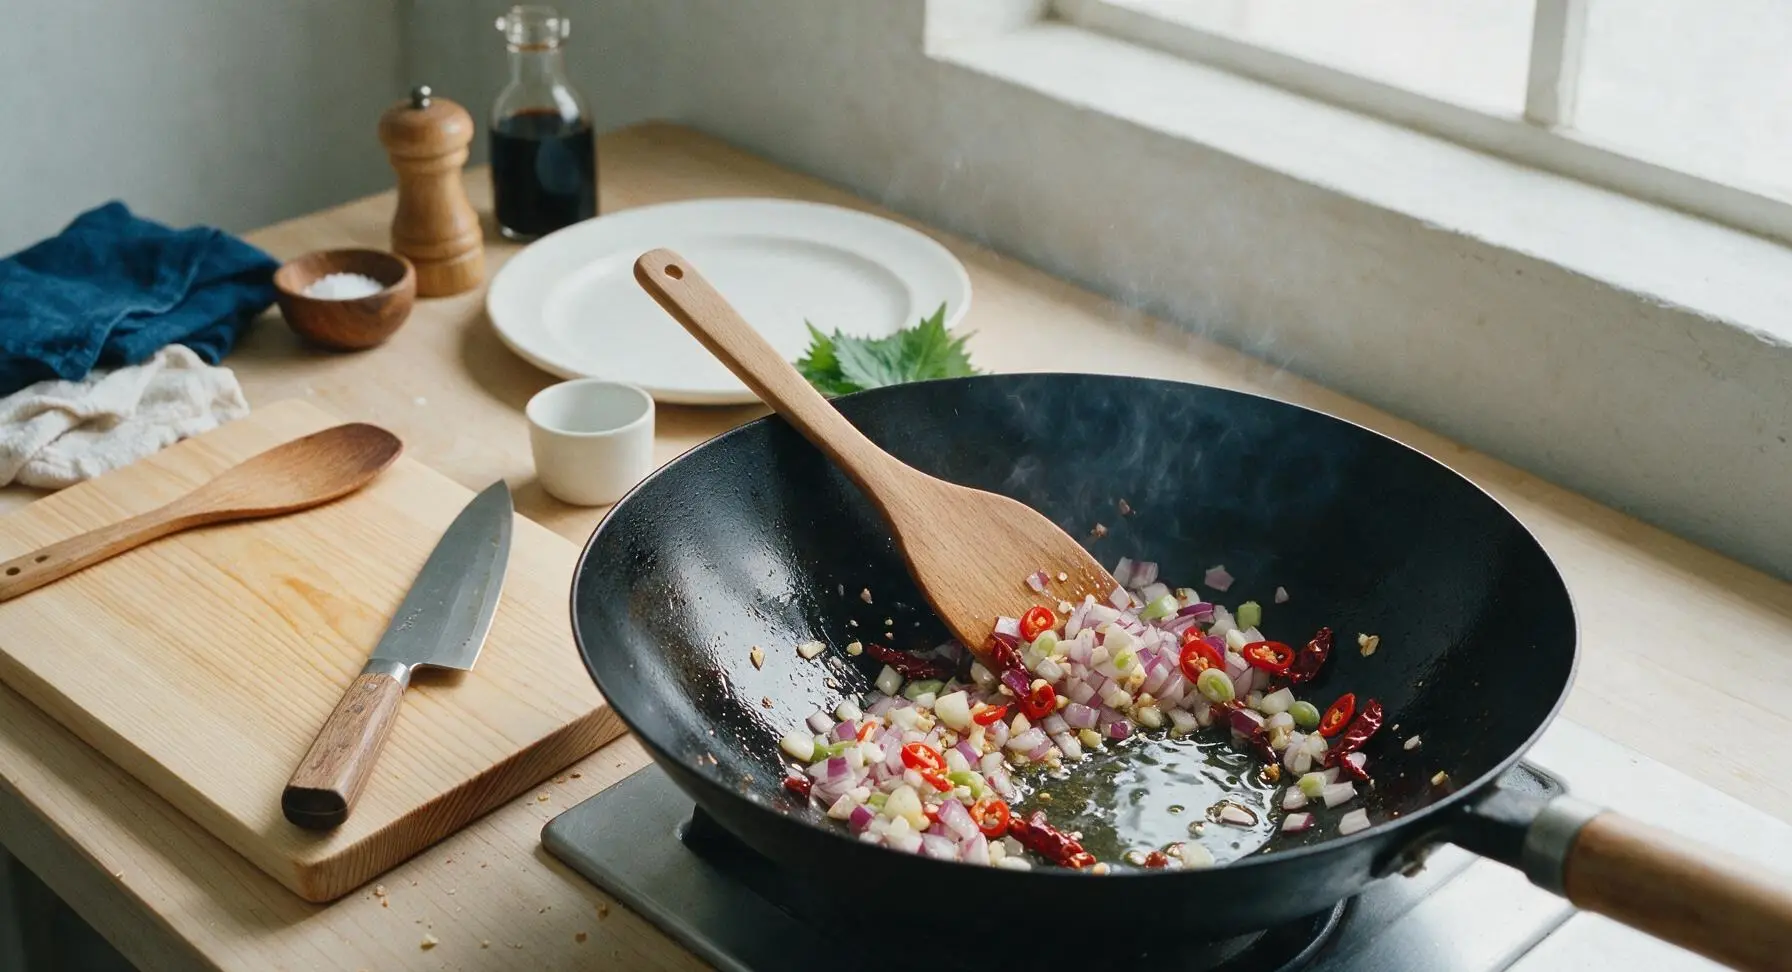
Step 5
step5:Stir-Fry Aromatic Base
6

Toss Chicken with Spices

Return all the crispy fried chicken pieces to the wok with the cooked aromatics. Sprinkle over the remaining ½ teaspoon of sea salt and all of the Chinese five spice powder. Toss continuously over high heat for 20–30 seconds, until every piece of chicken is evenly coated in spice and mixed with the aromatic bits, with no dry spice powder left at the bottom of the wok.
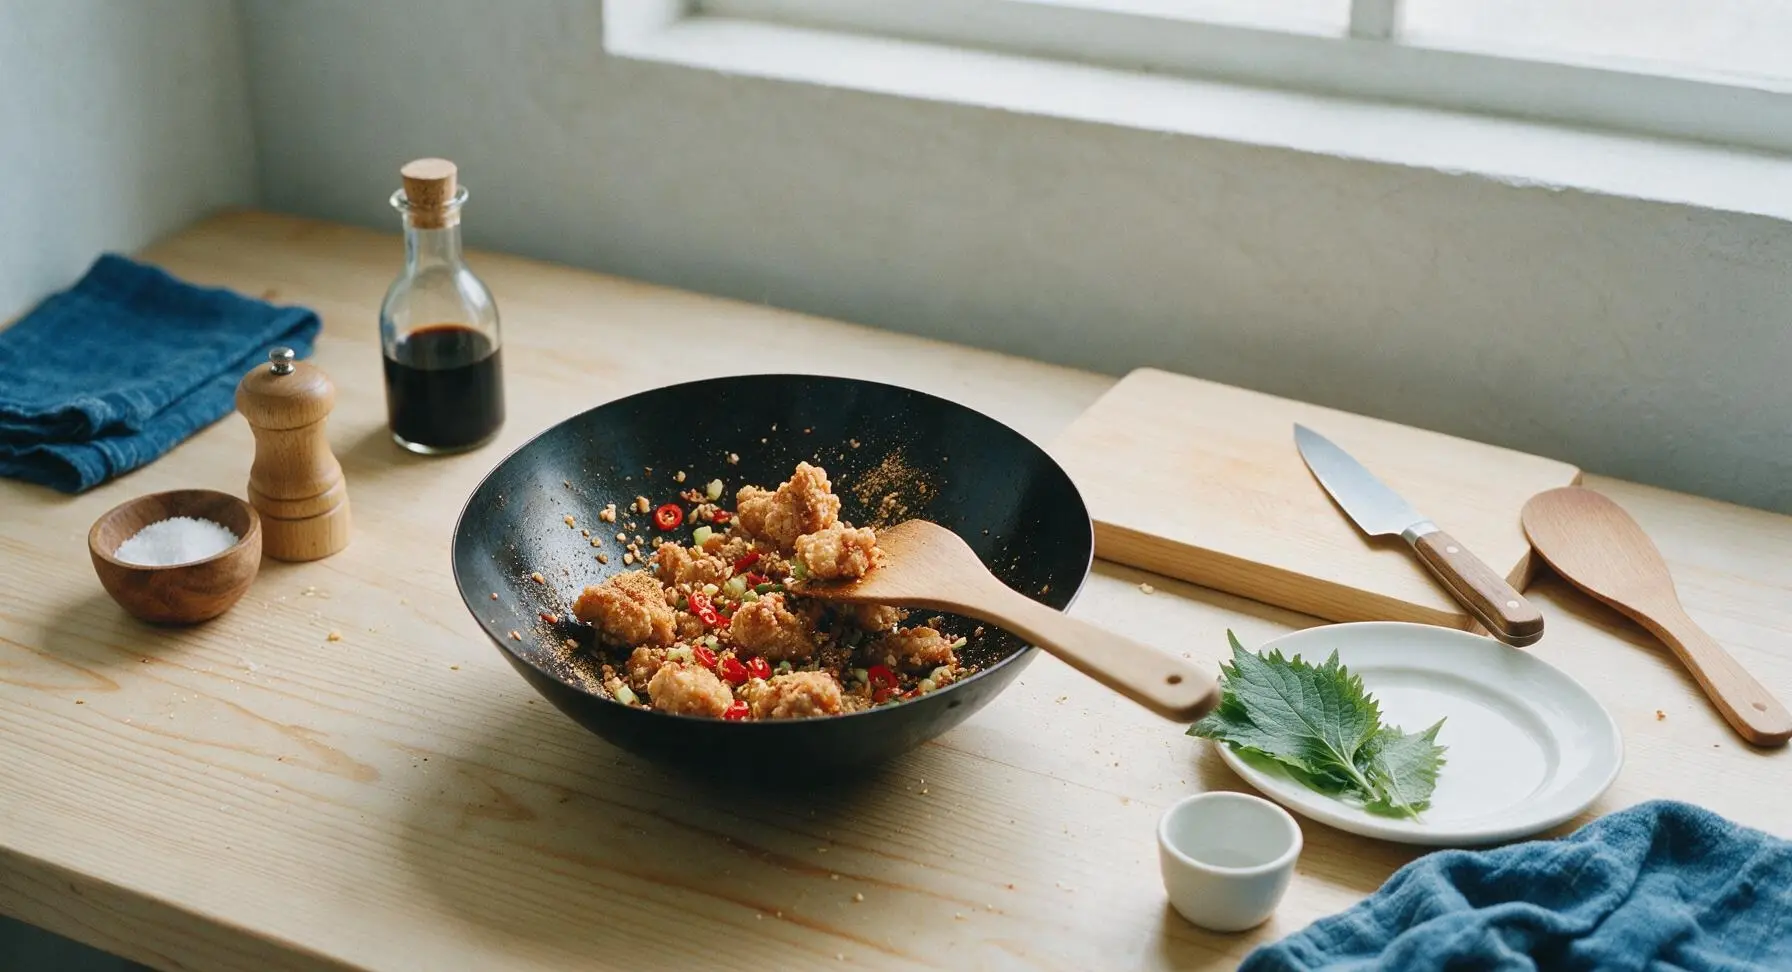
Step 6
step6:Toss Chicken with Spices
7

Add Spring Onion Greens

Turn off the heat under the wok. Add the sliced green parts of the spring onions, and give the chicken one final quick toss to lightly wilt the greens from the residual heat of the wok. Taste a small piece, and add a tiny pinch more salt if needed, keeping the flavour profile bright, salty, and gently spicy with warm five spice notes.
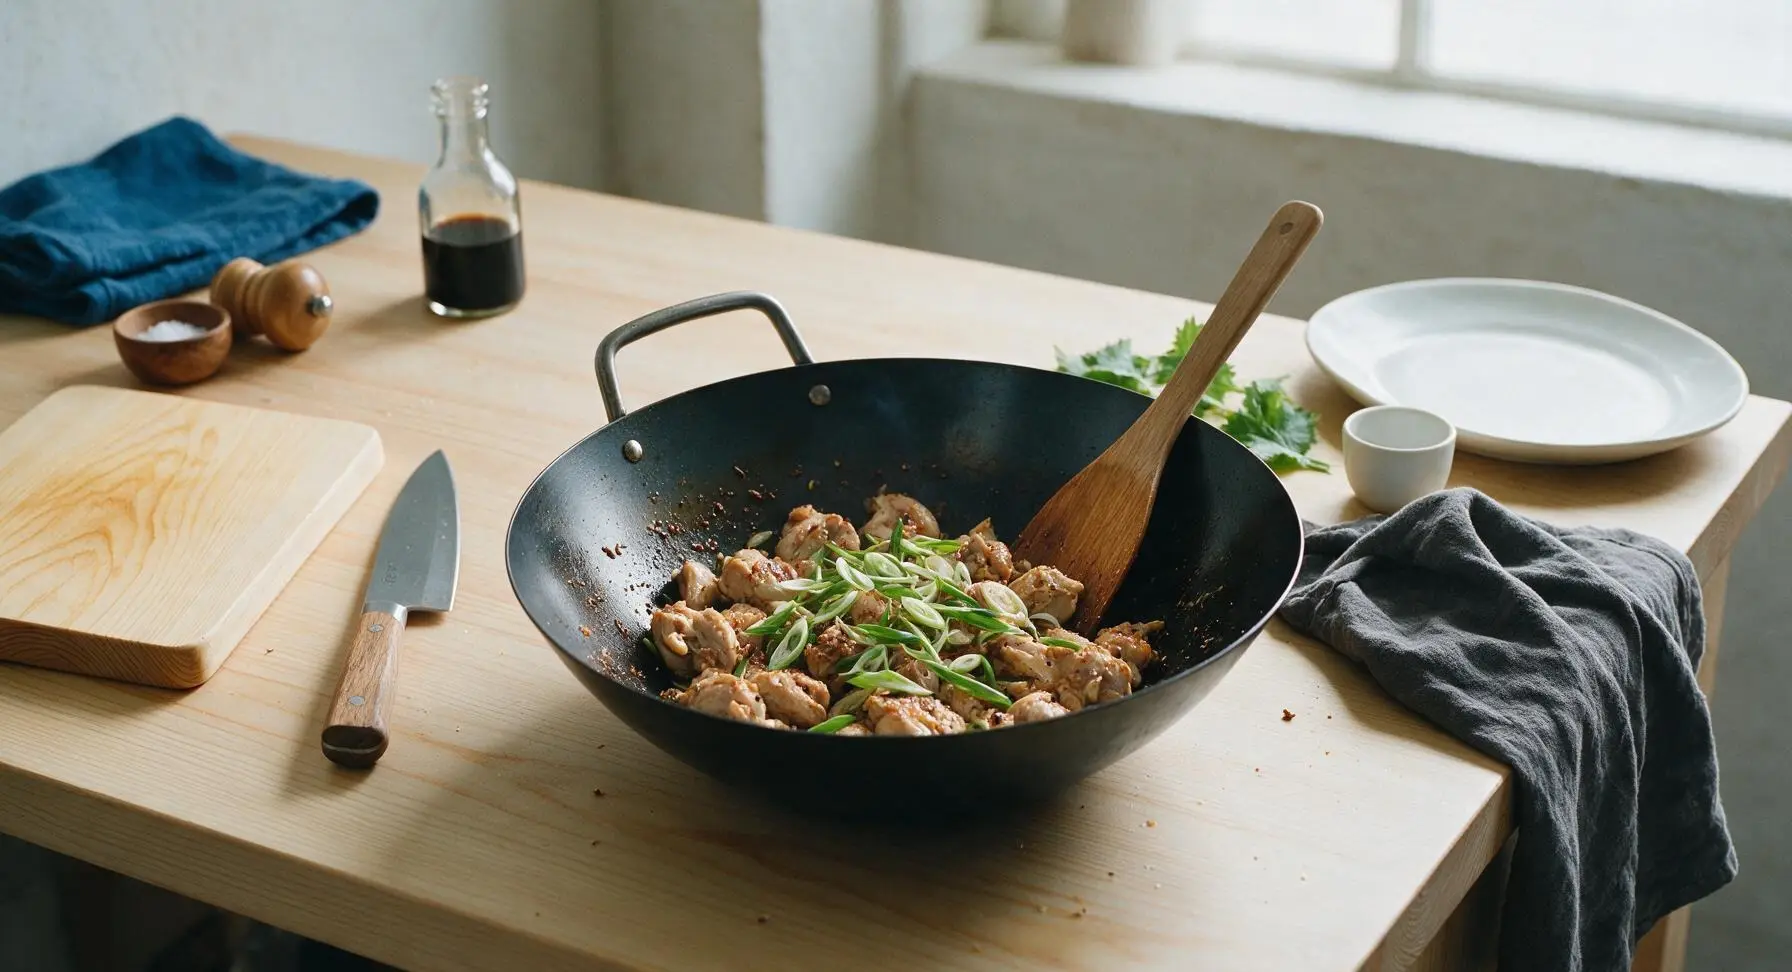
Step 7
step7:Add Spring Onion Greens
8

Plate and Serve Hot

Transfer all the tossed salt and chilli chicken to the waiting warm off-white stoneware dinner plate, piling the pieces slightly in the center. Scrape any remaining crispy garlic, chilli, and onion bits from the wok over the top of the chicken to add extra crunch and flavour. Serve immediately while the coating is still hot and crisp.
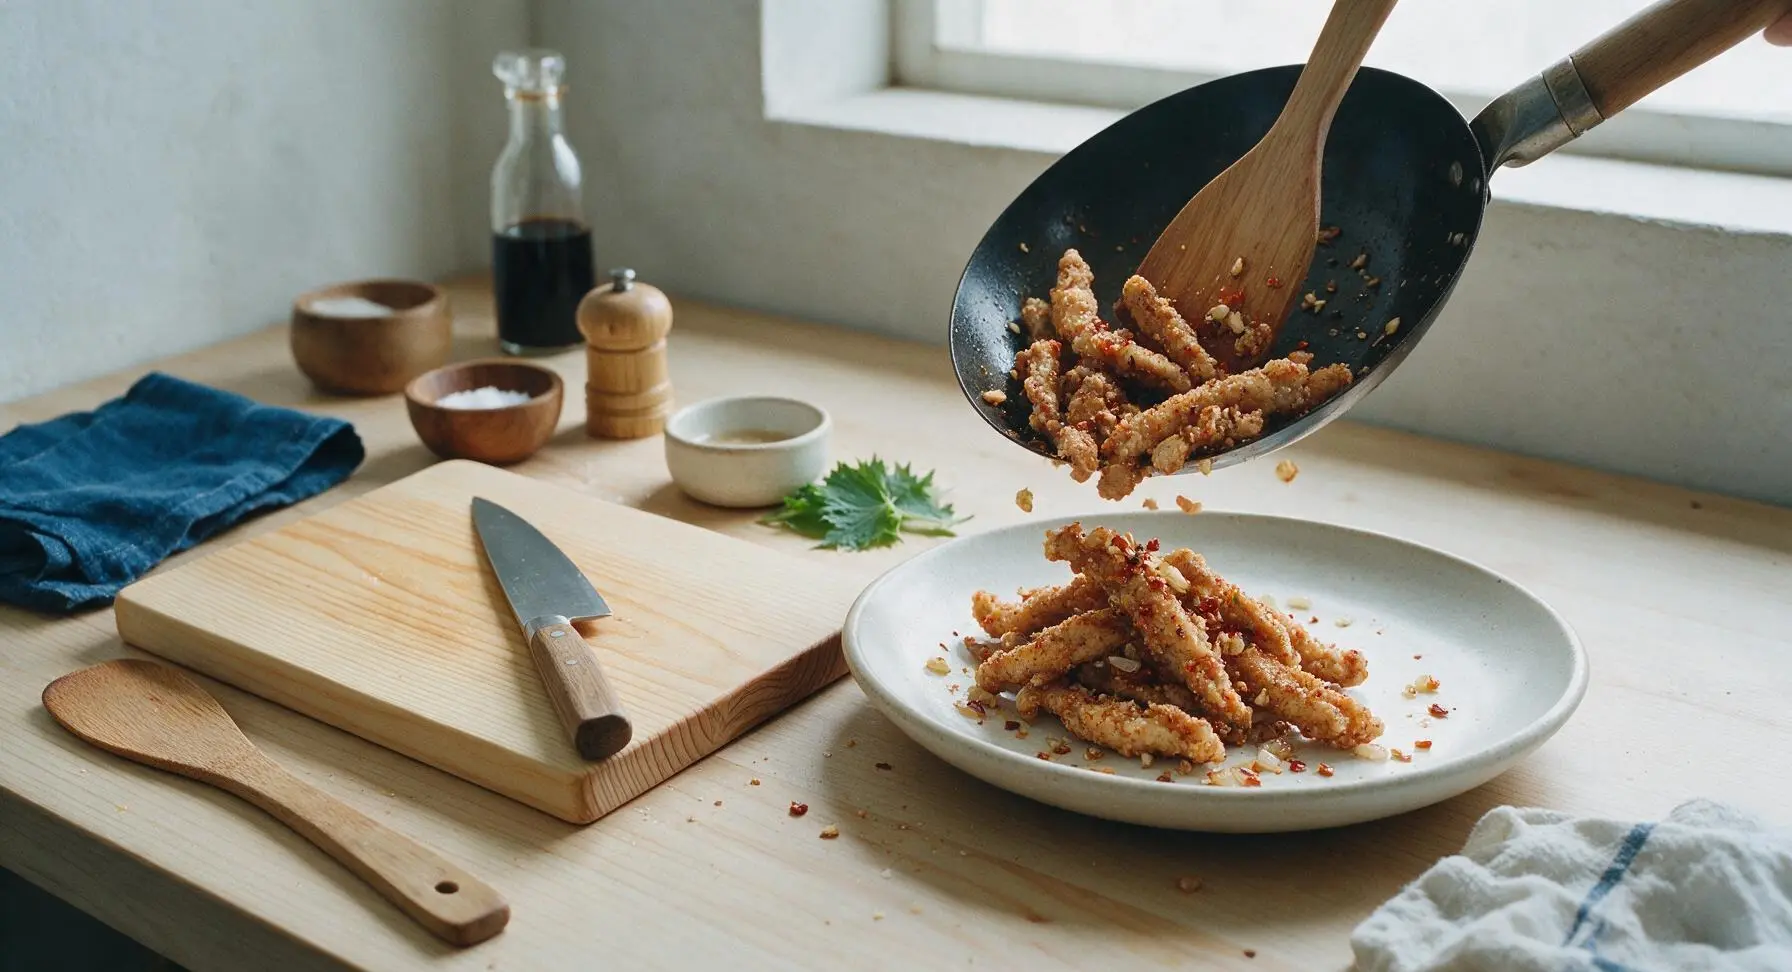
Step 8
step8:Plate and Serve Hot

Tips

1.Don’t overcrowd the wok when frying chicken: overcrowding drops the oil temperature rapidly, which causes the cornstarch coating to absorb excess oil and turn soggy instead of crisp. Frying in 2 small batches ensures the oil holds a steady 180°C for shatteringly crisp results every time.
2.Use boneless chicken thighs instead of breast for this recipe: thigh meat has a slightly higher fat content that stays juicy and tender even after high-heat frying, while lean chicken breast will dry out quickly and become tough under the crispy coating.
3.Watch the garlic closely when stir-frying the aromatics: garlic burns in as little as 10 seconds over high heat, turning dark brown and developing a harsh, bitter flavour that ruins the dish. Pull the wok slightly off the heat if you see garlic browning too fast, and discard any fully burnt bits before adding the chicken back.


✨ You May Also Like

Main Course
🍜 United Kingdom

A showstopping classic of tender seared beef, savory mushroom duxelles, and crisp prosciutto wrapped in flaky golden puff pastry, baked to juicy perfection.

⏱️ 2 hours 1Main Course ★ 4.7
Main Course
🍜 India

Tender charred marinated chicken simmered in a rich, spiced creamy tomato sauce, this iconic Anglo-Indian curry pairs perfectly with basmati rice or warm naan.

⏱️ 50 minuteMain Course ★ 4.6
Main Course
🍜 Thailand

Classic tangy, sweet, and savory Thai stir-fried rice noodles with shrimp, tofu, and crunchy garnishes, balancing all five core Thai flavor profiles.

⏱️ 30 minuteMain Course ★ 4.5
Main Course
🍜 United Kingdom

Crispy golden beer-battered cod and fluffy double-fried chips, served with tangy tartar sauce and malt vinegar: the timeless, beloved British pub comfort classic.

⏱️ 45 minuteMain Course ★ 4.7
Main Course
🍜 Mexico

Smoky, chile-marinated pork tacos with caramelized pineapple, fresh cilantro, and lime: a beloved classic Mexican street food perfect for casual summer gatherings.

⏱️ 1 hour 45Main Course ★ 4.8
Main Course
🍜 United States

Crunchy Fritos corn chips layered with savory beef chili and melted cheddar, topped with cool, zesty fixings for a beloved, cozy Tex-Mex comfort food.

⏱️ 35 minuteMain Course ★ 4.8

salt and chilli chicken:Frequently Asked Questions

1.Why do you recommend boneless, skinless chicken thighs instead of chicken breast for this recipe? ▾
Boneless, skinless chicken thighs stay juicy and tender even after high-heat crisping, unlike lean chicken breast which easily dries out and turns tough. Their subtle natural fat content also locks in seasoning better for that classic rich takeout flavor. If you do use breast, cut it 1-inch thick and pull it once it hits 165°F internal to avoid dryness.
2.How do I get that signature shatteringly crisp chicken without a deep fryer? ▾
You don’t need special equipment! Cook your cornstarch-coated chicken pieces in ¼ inch of neutral oil (like canola or avocado) in a heavy skillet over medium-high heat, 3-4 minutes per side until golden. Don’t crowd the pan—work in batches if needed—so chicken crisps instead of steaming, then drain briefly on paper towels before seasoning.
3.Is this salt and chili chicken easy to make gluten-free? ▾
This recipe is almost naturally gluten-free as written! Just double-check that your Chinese five-spice blend has no hidden wheat-based fillers, and use certified gluten-free cornstarch if you have severe celiac sensitivities. Skip any optional soy sauce drizzles, or swap them for gluten-free tamari to keep the dish fully safe for gluten-free eaters.
4.Why does my cornstarch coating turn out soggy instead of crisp? ▾
Soggy coating almost always traces back to two common missteps: crowding the pan, which drops oil temperature fast and makes chicken steam instead of fry, or tossing chicken with seasonings too far ahead of serving. For the best crunch, toss freshly fried, drained chicken with your chili, garlic, and spice mix right before you’re ready to eat.
5.How do I adjust the spice level for people who don’t like very hot food? ▾
It’s simple to tune the heat to your group’s preference! Start with half the amount of chili called for, and remove the seeds and white pith from any fresh chilies (where most capsaicin heat lives) before cooking. You can always add a pinch more chili at the end, but you can’t dial heat back once it’s mixed in.
6.Can I prep components of this recipe ahead for faster weeknight meals? ▾
You can absolutely cut chicken thighs into bite-sized pieces and toss them with pre-measured salt, white pepper, and five-spice 1-2 days ahead, stored in an airtight container in the fridge. Wait to coat chicken in cornstarch right before frying, though—coating too early makes starch turn gummy and ruins that signature crisp texture.
7.What sides pair best with this salt and chili chicken? ▾
This bold, crisp chicken pairs perfectly with plain steamed jasmine rice to cut through the heat, or fluffy garlic noodles for a full takeout-style feast. For a lighter option, serve it over a tangy rice vinegar slaw or alongside quick stir-fried bok choy with a pinch of sesame oil to balance the rich, spiced flavors.

Comments (5)

just now

As someone who burns 90% of the things I try to cook, I was shocked how easy this was to pull off! The seasoning is perfectly balanced, not too spicy but has just enough kick, and the chicken came out crispy even when I used a regular non-stick pan instead of a wok. My roommate walked in and thought I ordered takeout from our usual Chinese spot, lmao. Already added the ingredients to my grocery list for next week!

yesterday

Made this for my office potluck yesterday and people were begging for the recipe before I even left! It was crispy, perfectly salty-spicy, and held up great even after sitting out for a little bit. Only note: I’d double the batch next time because every single piece was gone in 10 minutes flat.

5 days ago

Game changer! I’ve been ordering takeout salt and chilli chicken for years and this tastes exactly like my local spot’s version, for half the cost. I added a little extra Sichuan peppercorn because I love that numbing kick, and tossed in some bell peppers and onions to bulk it up. So easy even my teen could make it without help!

3 days ago

Love the extra veggie add-in! Bell peppers and onions are such a great call to turn this into a full one-pan meal. It means the world that it stacks up to your favorite takeout—that’s exactly what we’re going for!

1 week ago

OMG this is SO good! I made this for my family dinner last night and my picky 7 year old asked for seconds! The only swap I did was use boneless thighs instead of breast because that’s what I had in the fridge. Cook time was actually even faster than 15 minutes for me, total weeknight win. 10/10 will be adding this to my regular meal prep rotation!

3 days ago

Wait how did you adjust the cook time for thighs? I always worry I’ll undercook them when doing quick stir fries!

2 weeks ago

Perfect easy weeknight meal! I threw this together after getting home late from my kid’s soccer practice and it was on the table in literally 12 minutes. I used the air fryer for the chicken first to get it extra crispy without a ton of oil, then tossed it in the chilli salt mix. Chef’s kiss.

1 week ago

What temp and time did you use in the air fryer? I’ve been trying to make crispy chicken in mine without it getting dried out and rubbery!

5 days ago

Such a smart air fryer hack! If you’re going that route, 400°F for 8 minutes, tossing the chicken halfway through, gives the perfect crispy crust without drying out the meat. So glad this worked for your busy post-practice dinner!



