
Shirred Eggs
intro
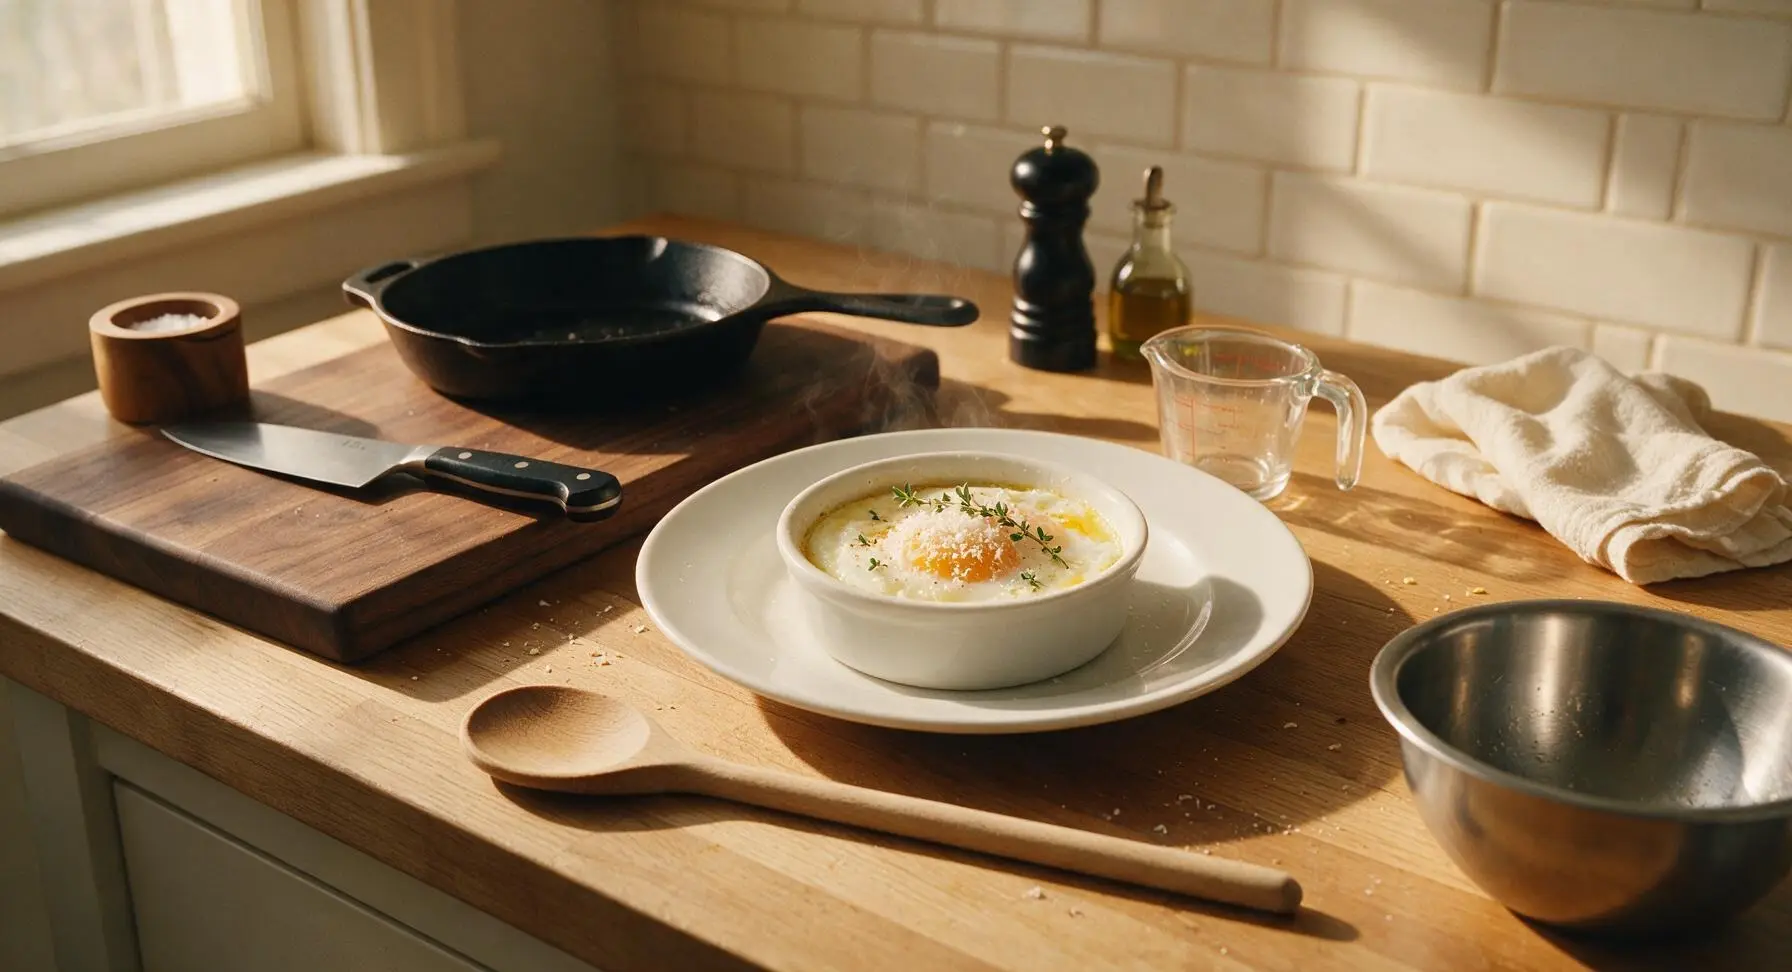
Silky baked eggs with set, tender whites and golden runny yolks, topped with nutty parmesan and fresh thyme. Simple, elegant, and ready in under 20 minutes.
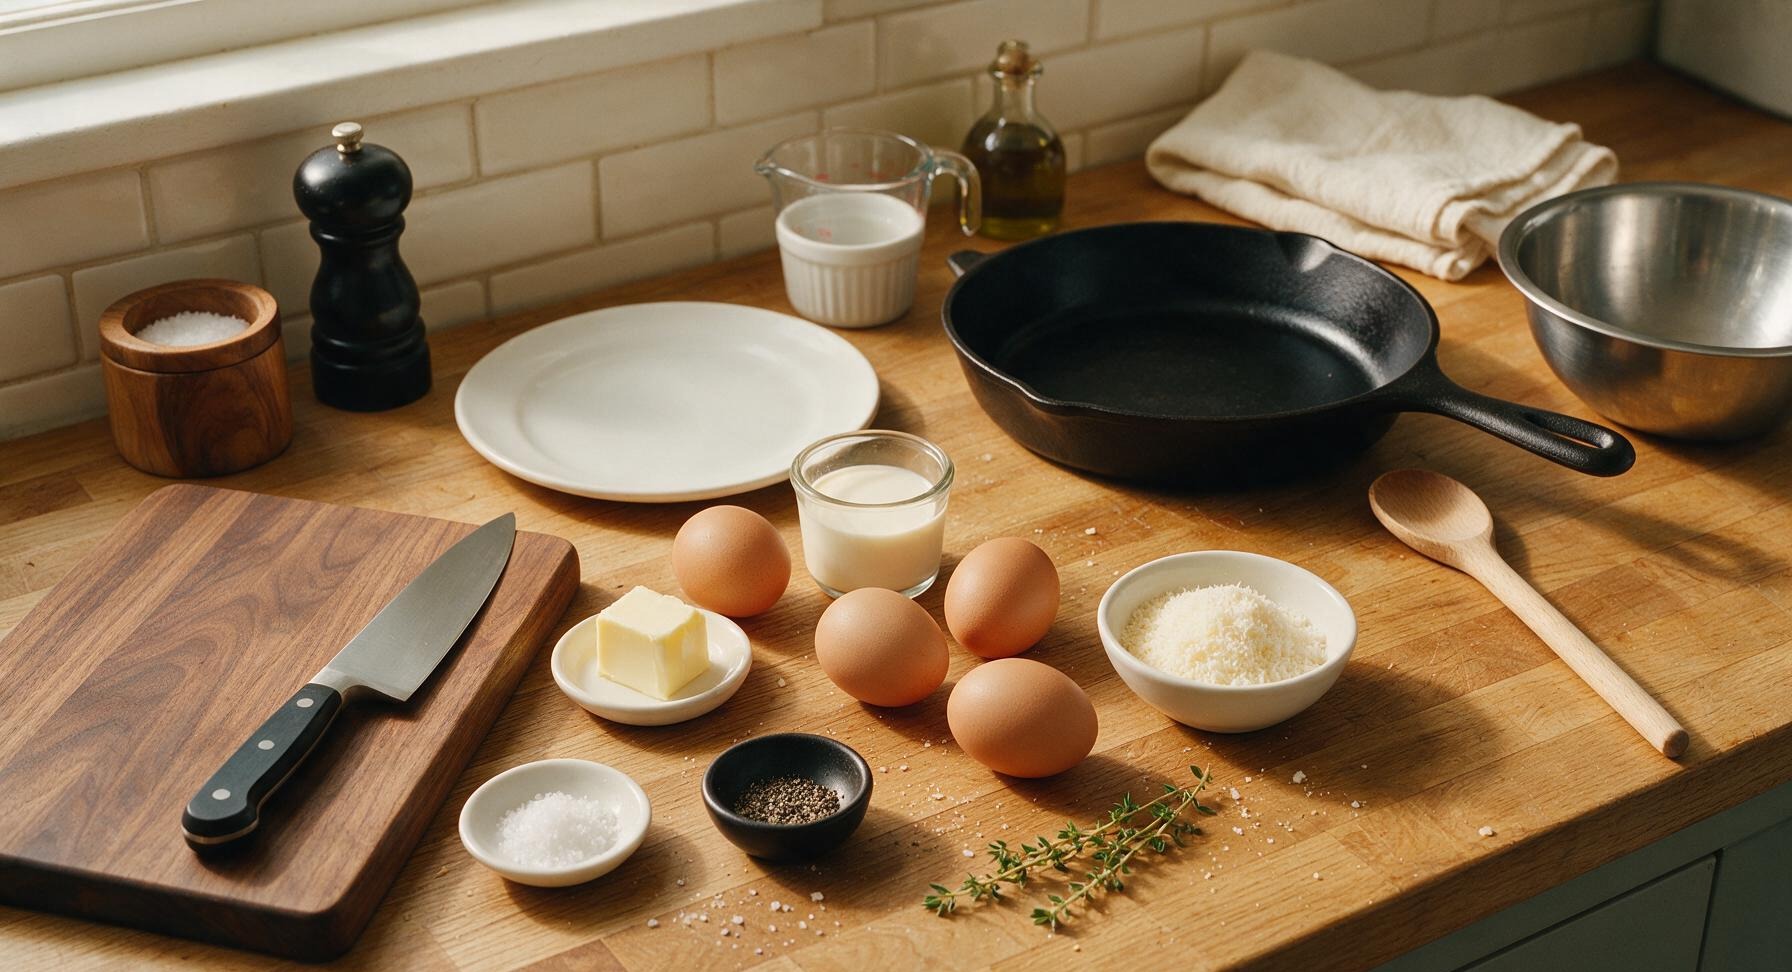
Ingredients
Steps
Preheat the Oven
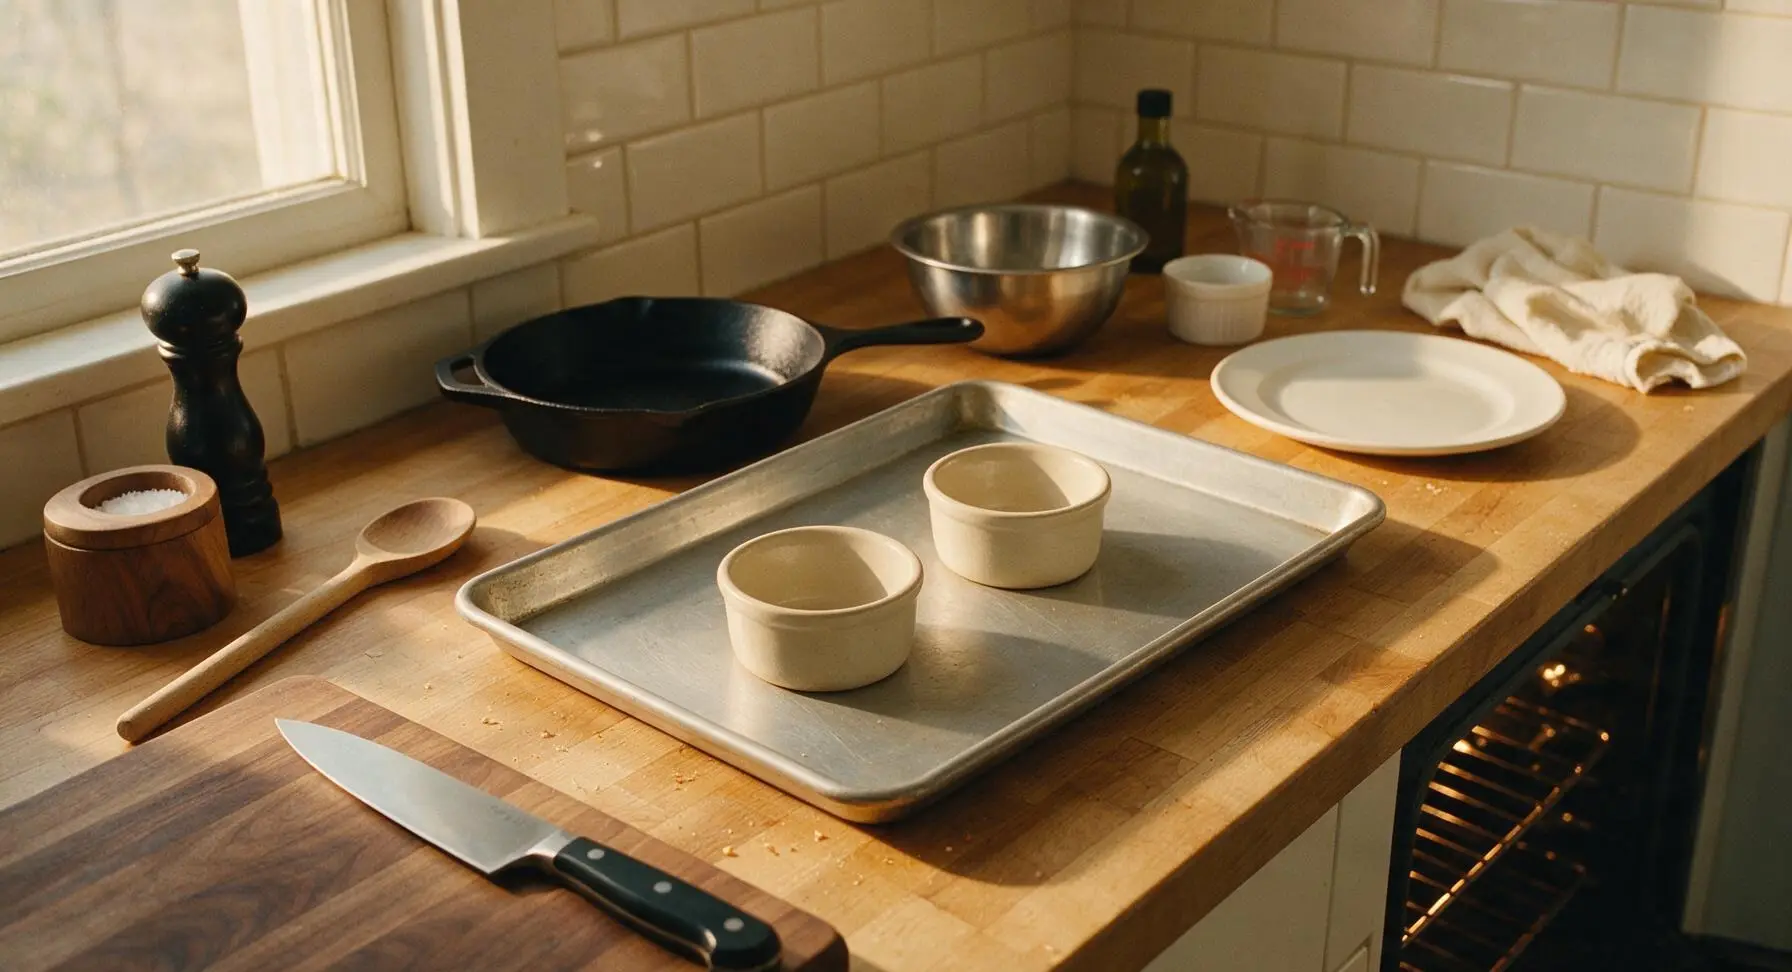
Adjust your oven rack to the middle position, and preheat the oven to 375°F (190°C). Pull the heavy gauge aluminum rimmed baking sheet from its resting spot against the right backsplash, and set it on the center of the marble counter. Place the two matte off-white ceramic ramekins on the baking sheet, spaced 5cm apart to allow for even air flow as they bake.
Butter the Ramekins
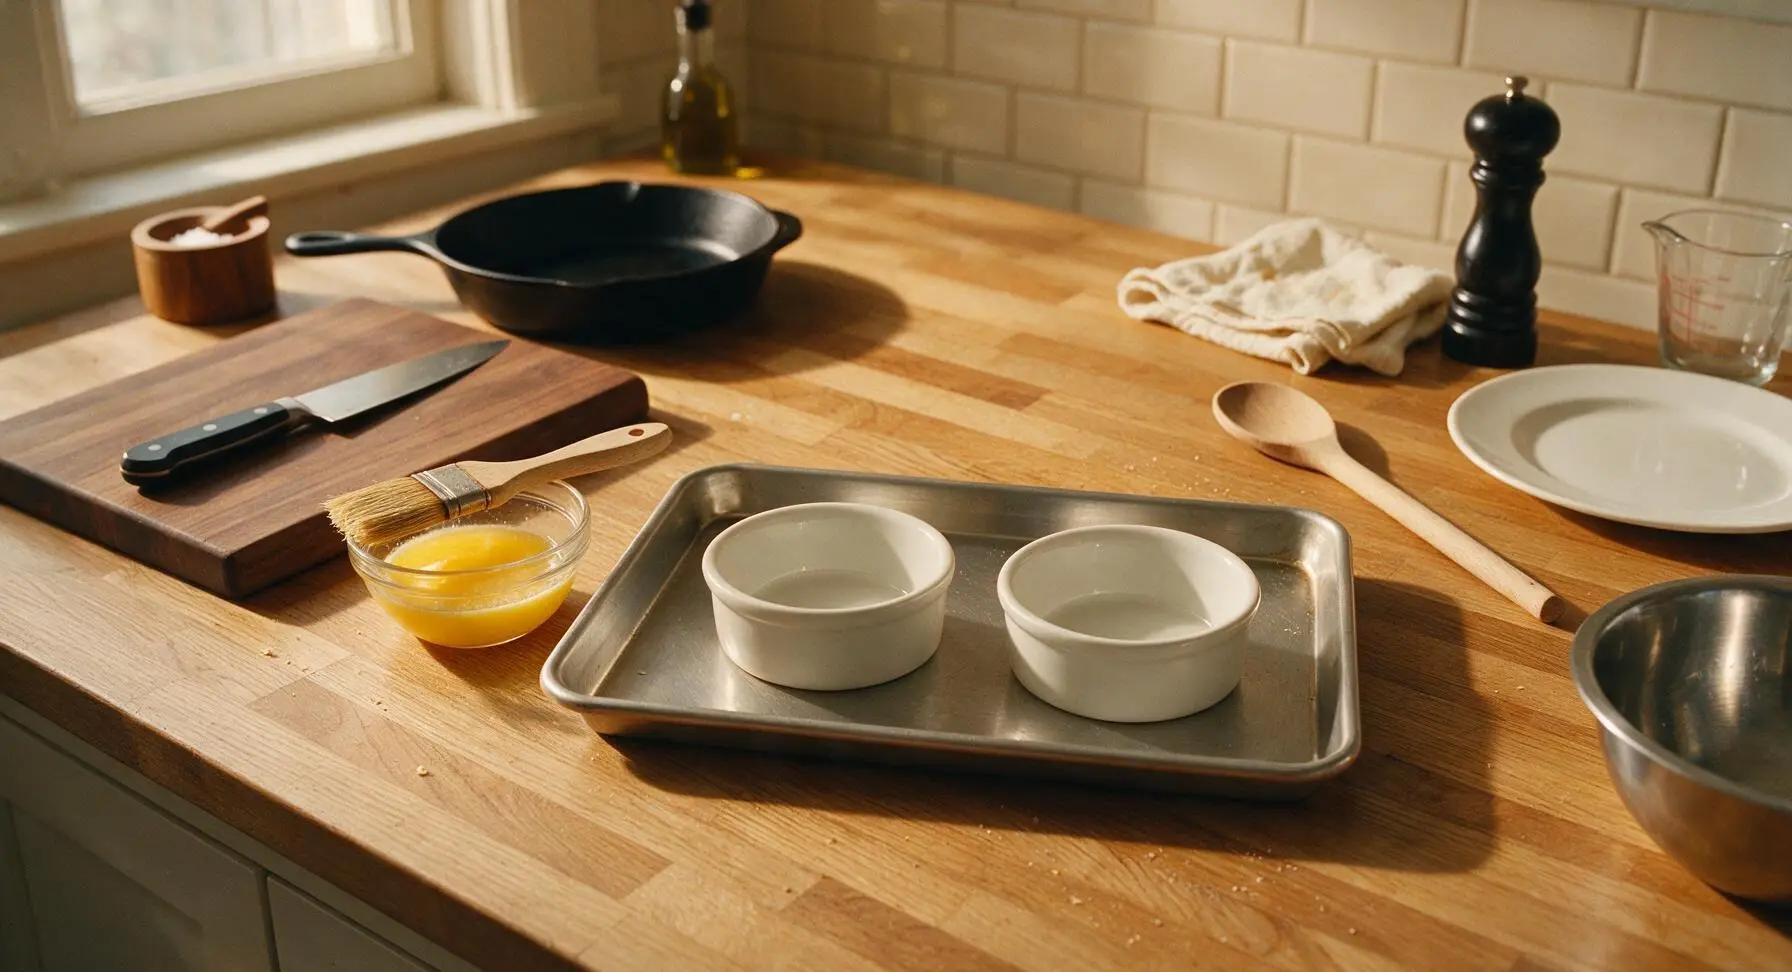
Place 2 teaspoons of unsalted butter in one small clear glass prep bowl, and warm for 10 seconds in the microwave until fully melted to a smooth golden liquid. Pick up the natural bristle pastry brush from its terracotta rest, and use it to spread a thin, even coat of melted butter across the entire interior (bottom and 2cm up the sides) of both ramekins. Check for any dry, uncoated ceramic spots, as these will cause eggs to stick during baking.
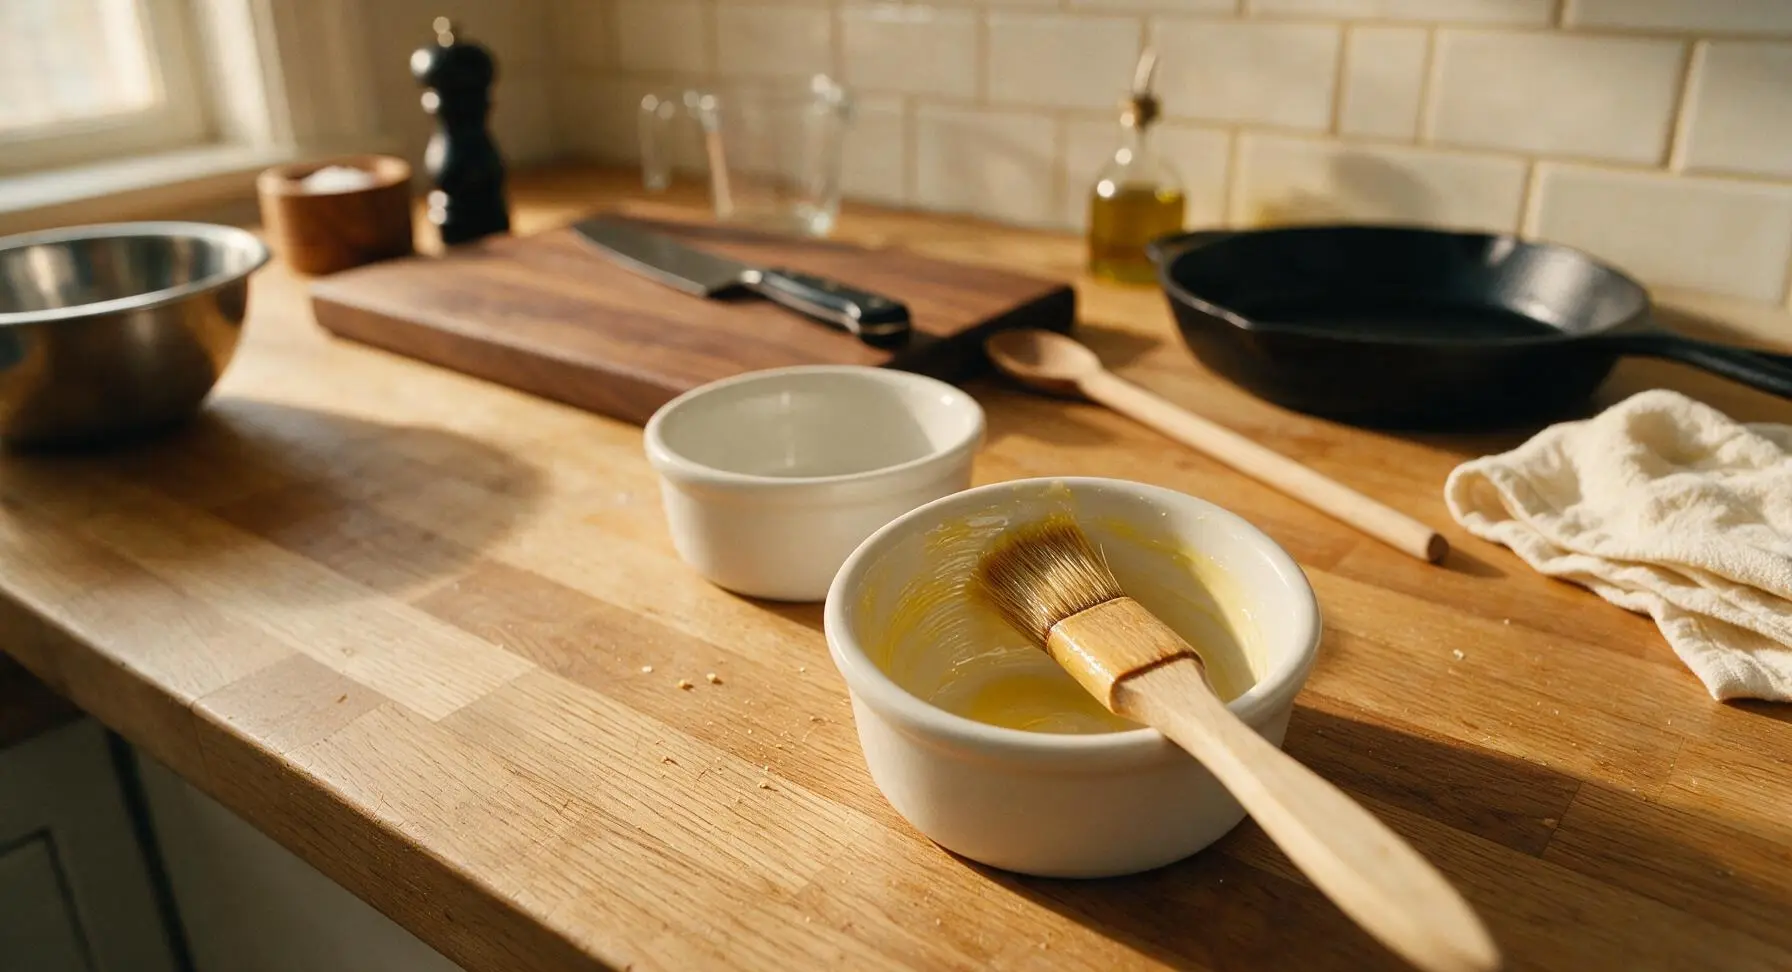
Add Cream Base
Use the 1 tbsp measuring spoon to add 1 tablespoon of heavy cream to the bottom of each buttered ramekin. The cream forms a rich, silky base that keeps egg yolks tender and prevents them from drying out against the hot ceramic during baking. Tilt each ramekin slightly to spread the cream evenly across the buttered bottom.
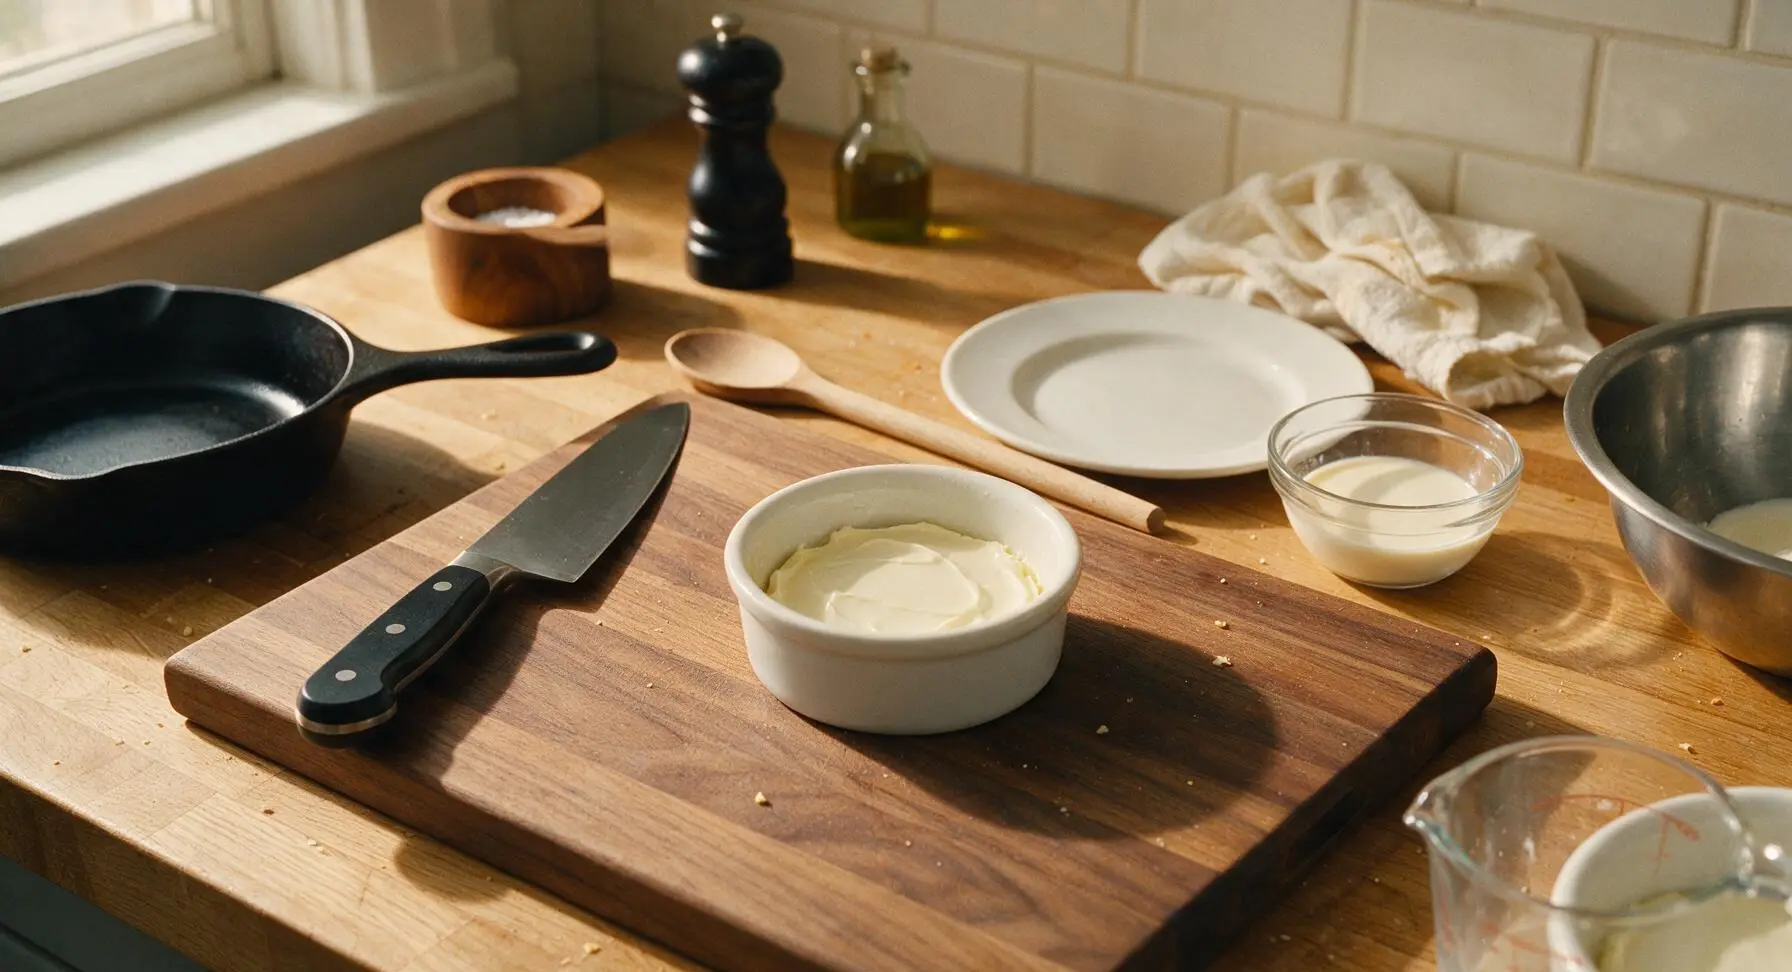
Crack Eggs Gently
Crack 2 large, cold eggs into each ramekin, pouring them low over the cream to avoid splashing and to keep the yolks intact. Crack eggs on the flat marble counter rather than the ramekin edge to reduce the chance of shell fragments falling in and to prevent piercing the yolk. If any small shell pieces land in the ramekin, use a half-piece of empty eggshell to scoop them out easily—eggshell sticks to itself better than it sticks to a spoon or finger.
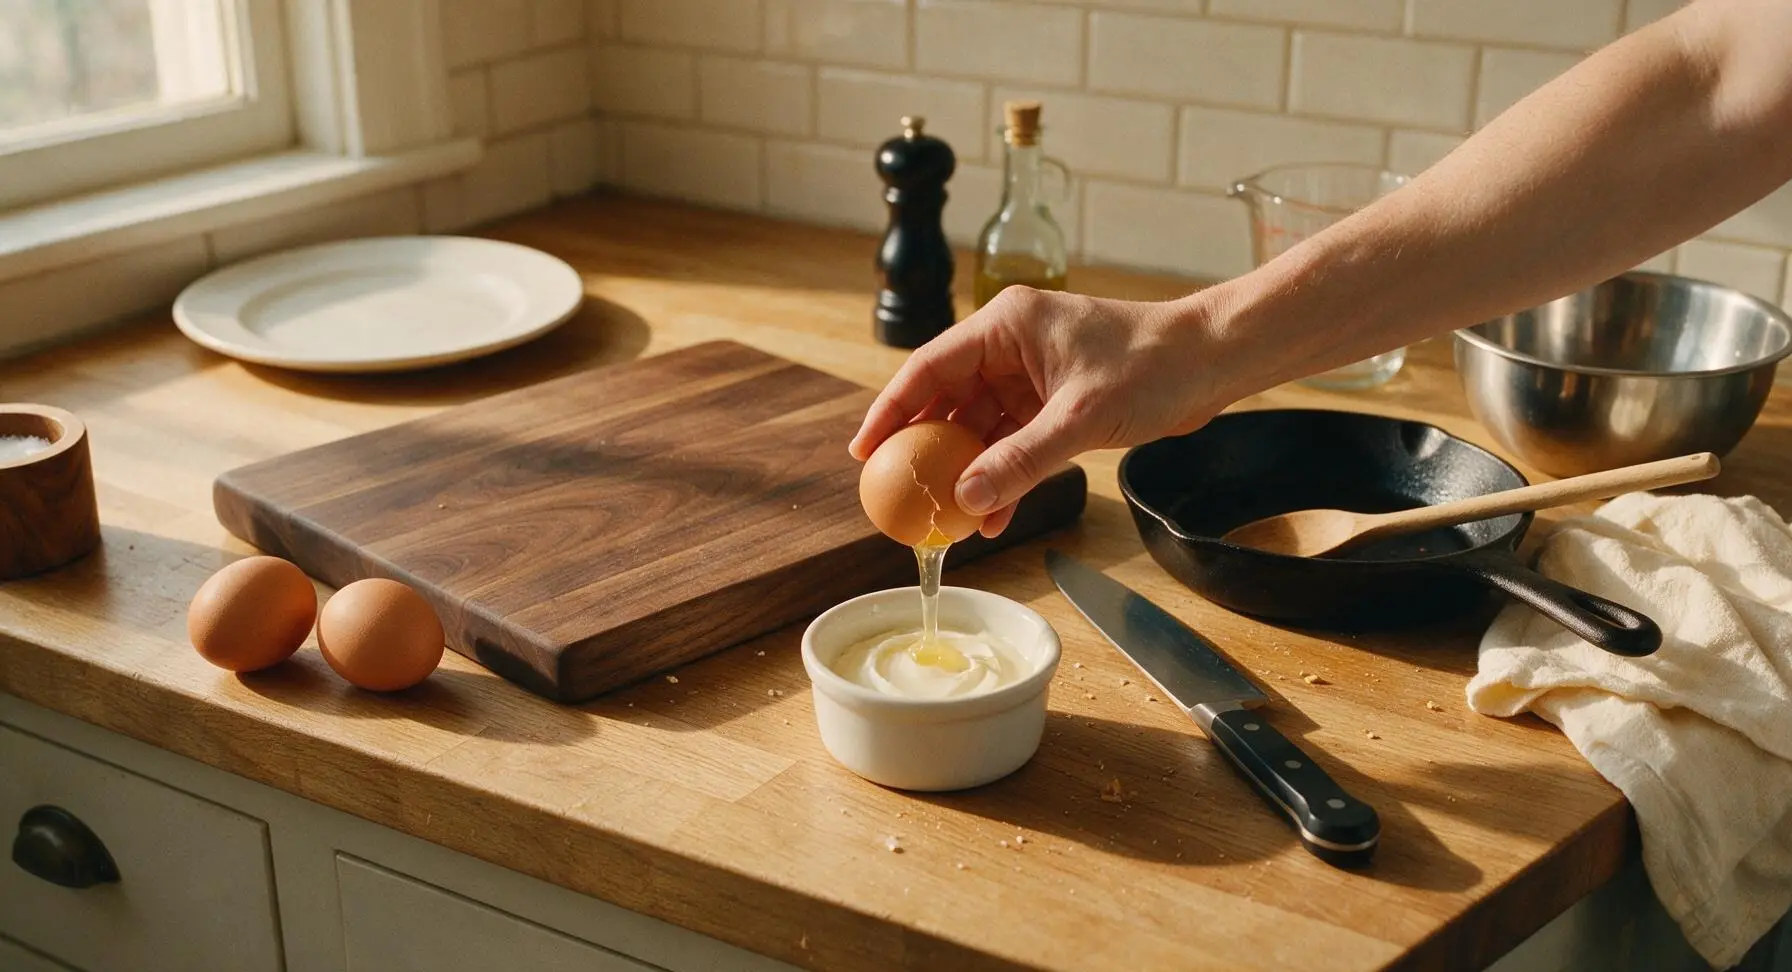
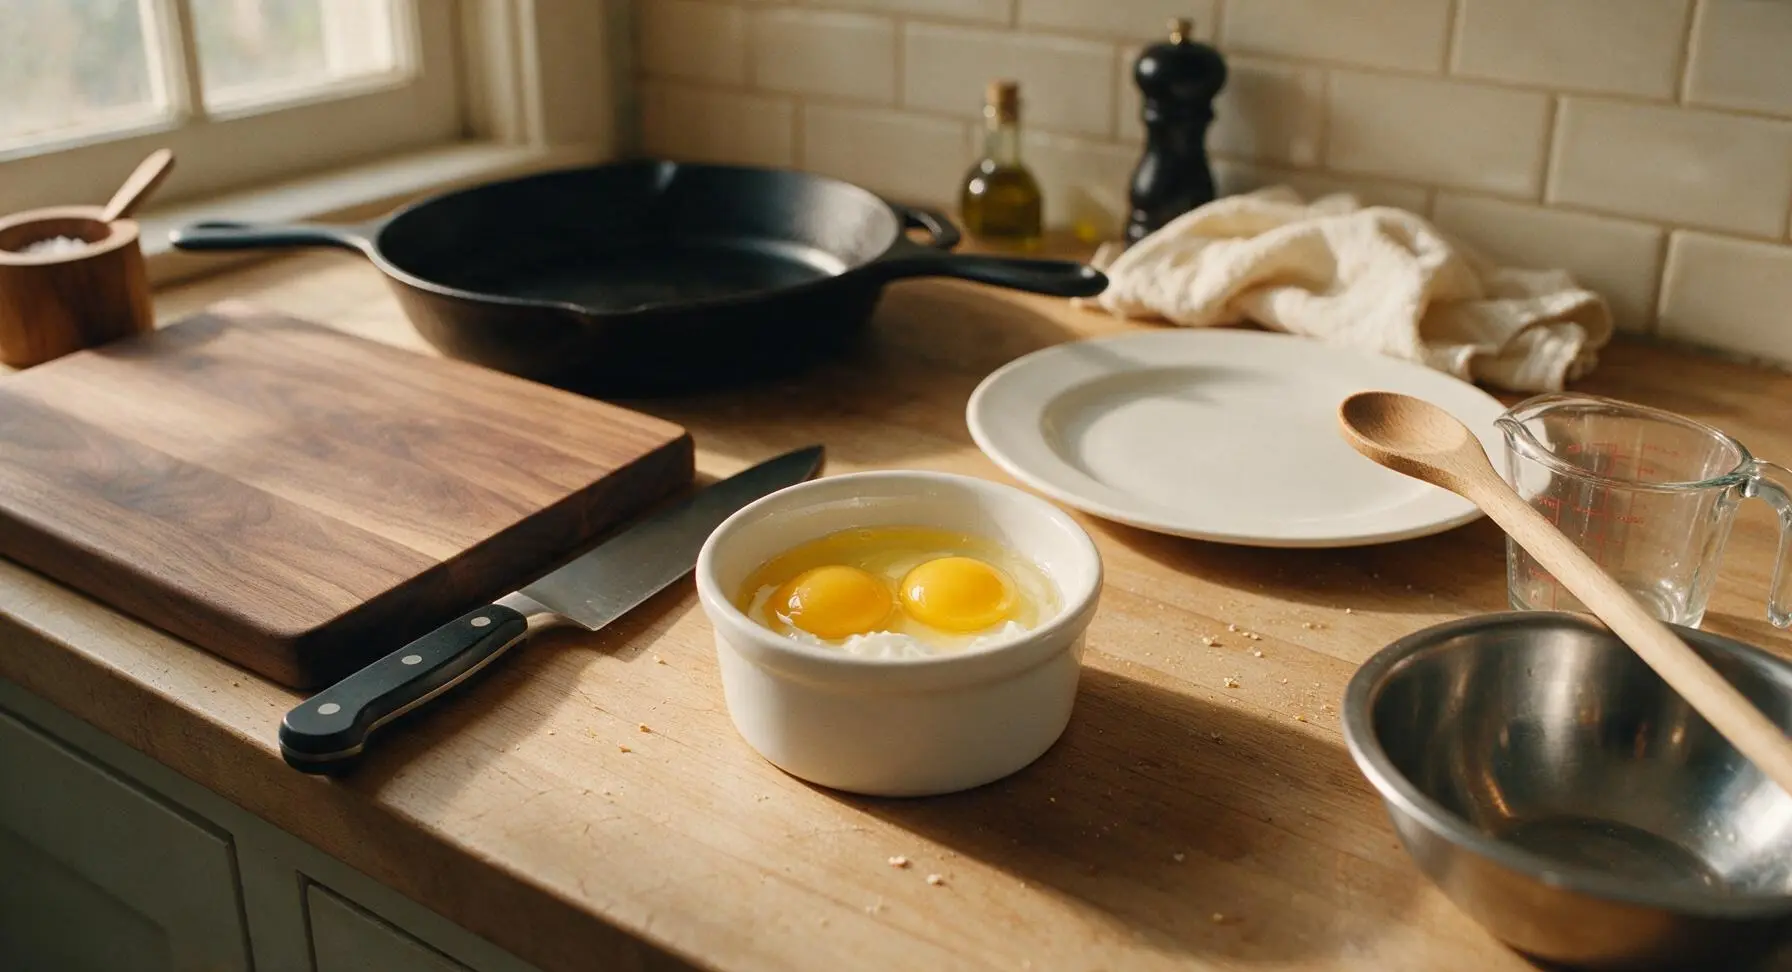
Season and Top Cheese
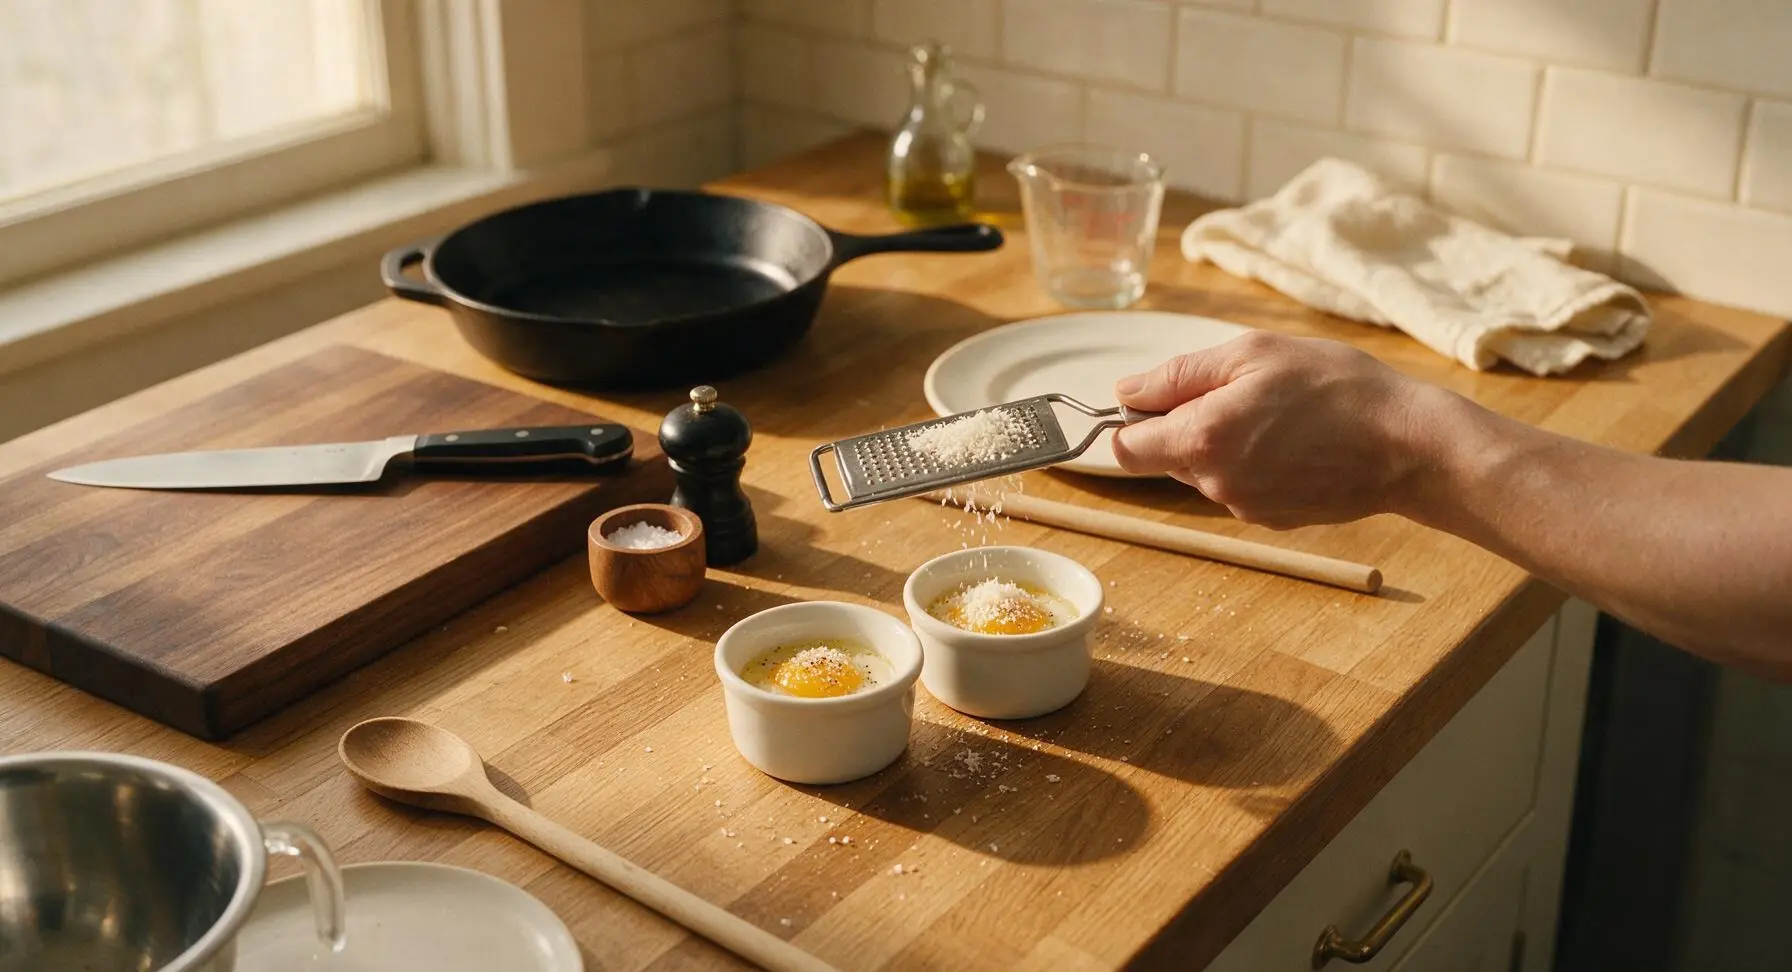
Sprinkle 1/8 teaspoon of flaky sea salt and a light crack of fresh black pepper over the eggs in each ramekin. Use the small stainless steel box grater to grate 1 tablespoon of finely shredded parmesan cheese over the top of each ramekin, leaving a light even layer that will melt into a nutty, slightly crisp top as it bakes. Avoid piling cheese too thickly, as it will block heat and prevent the eggs from cooking evenly.
Bake Until Set
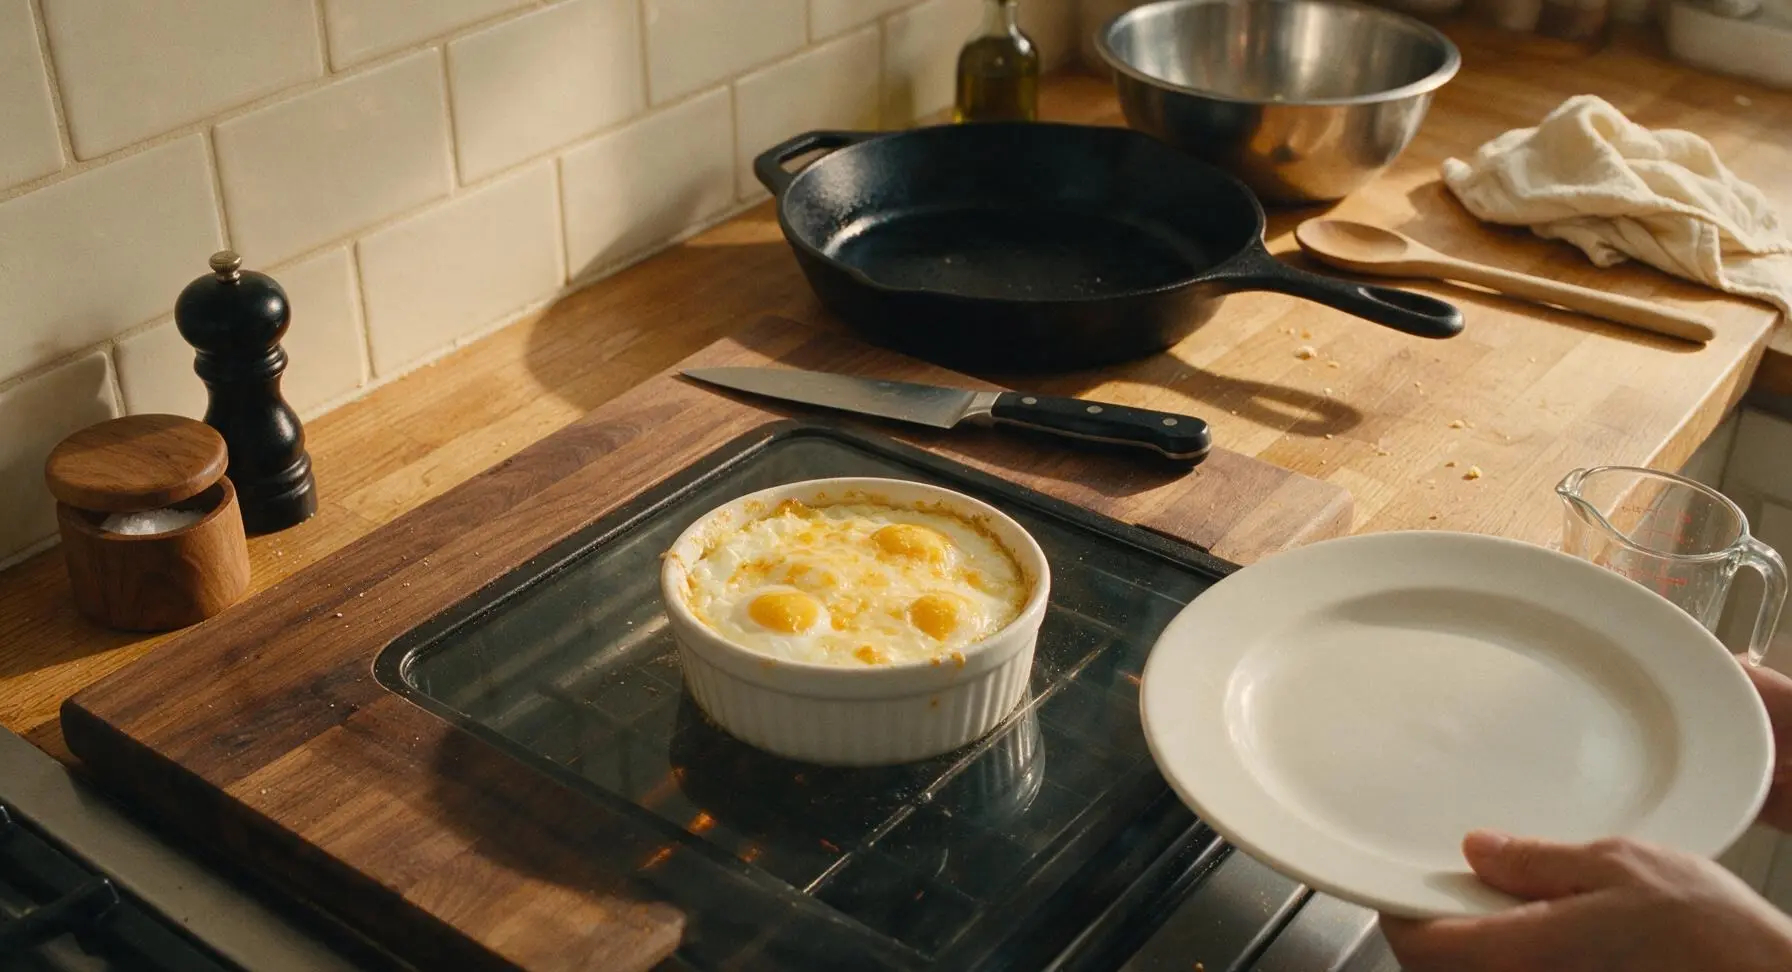
Use the quilted cotton oven mitts to carefully lift the baking sheet, and slide it onto the middle rack of the preheated 375°F (190°C) oven. Bake for 10 to 12 minutes, starting to check doneness at the 10 minute mark. The ideal shirred egg has fully opaque, firm egg whites around the ramekin edges, with a soft, slightly jiggly 2cm circle around the yolk when you gently tap the side of the ramekin. Remember that eggs will continue to cook for 1-2 minutes after being removed from the oven from residual heat, so pull them out just before the centers look fully set to avoid rubbery, overcooked yolks.

Garnish and Rest
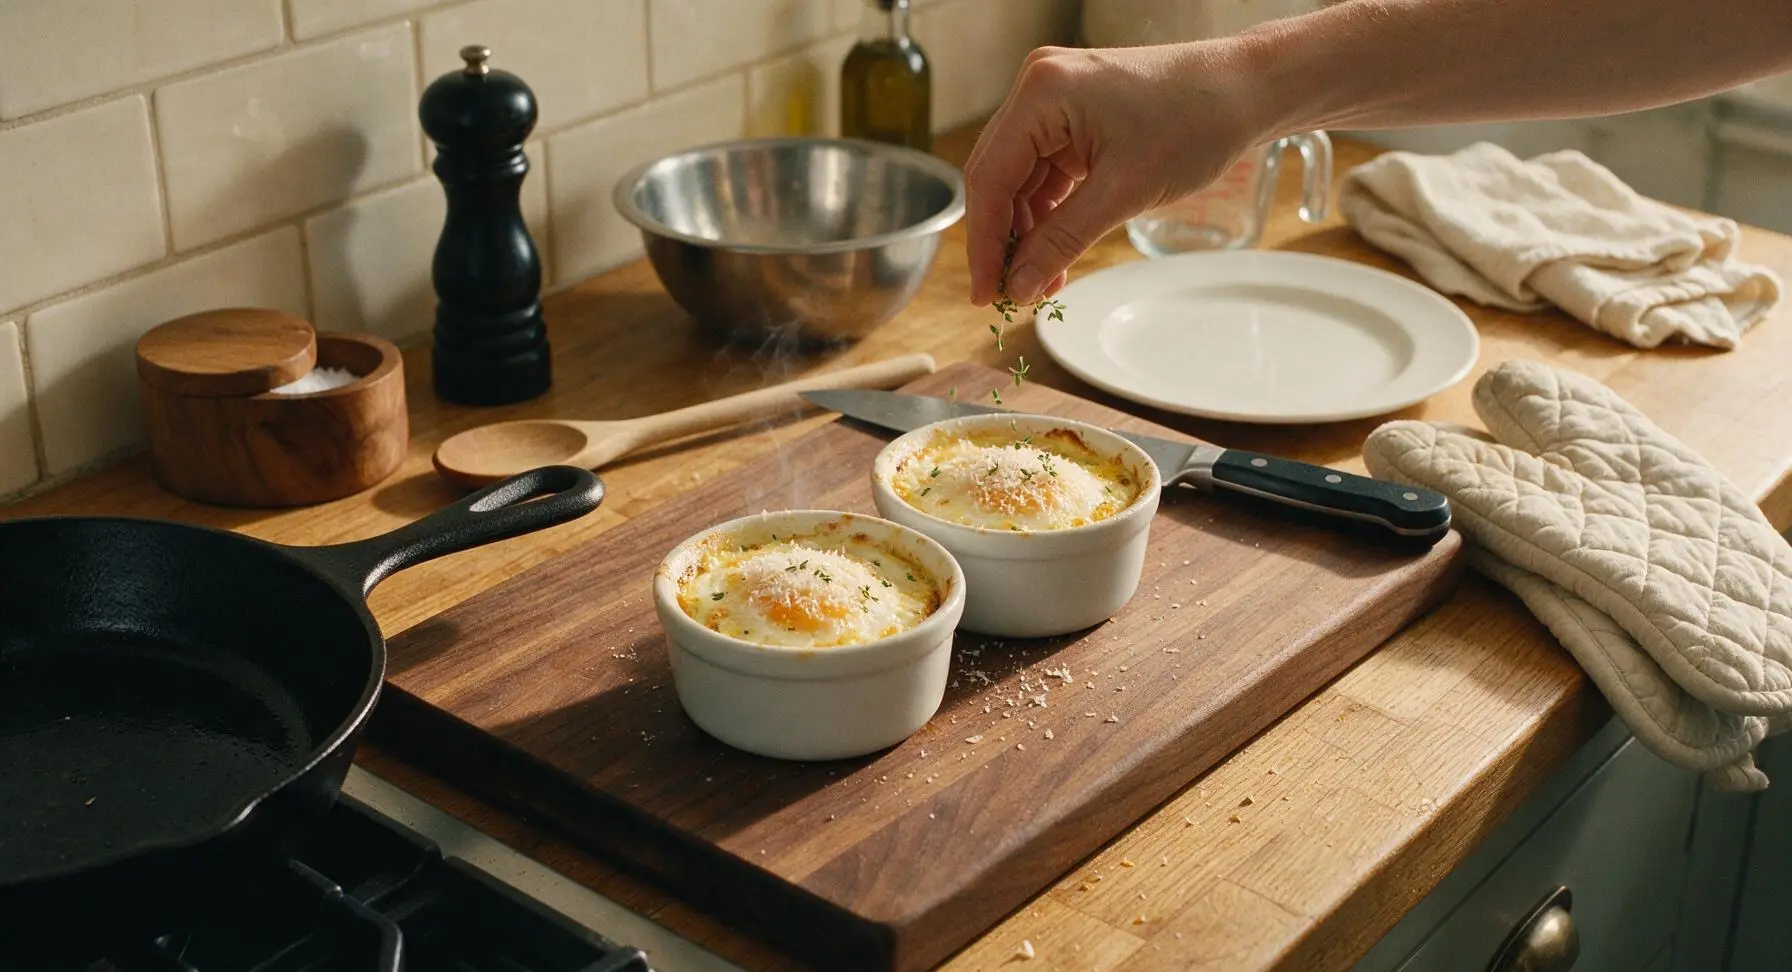
Use the oven mitts to pull the baking sheet out of the oven, and set it back on the center of the marble counter. Sprinkle 1/2 teaspoon of fresh thyme leaves over the top of each ramekin, and add one final light crack of black pepper. Let the eggs rest for 1 minute, so residual heat finishes setting the whites and the ramekins cool enough to touch, then place a demitasse spoon to the right of each ramekin to serve.
Tips
2.Avoid overbaking: if the egg whites look fully set all the way to the yolk when you pull the ramekins from the oven, residual heat will overcook the yolk into a hard, crumbly texture instead of the desired runny, dippable center. A slight 2cm jiggle around the yolk is the most reliable doneness cue.
3.Pat any add-ins (like sautéed spinach, ham, or caramelized onions) completely dry before adding them to the ramekin: excess moisture will make the egg whites watery and prevent them from setting properly, leading to a soggy final texture.






OMG I made these for my weekend brunch with the girls and everyone was begging for the recipe! So rich and creamy, way easier than fancy poached eggs I always mess up. I added a tiny sprinkle of gruyere on top and *chef’s kiss*.
Game changer for busy school mornings! My kids loved it, they’re super picky about eggs and they both cleaned their ramekins in 5 minutes flat. Cook time was exactly 12 minutes like the recipe says, no guesswork.
SO good, I prepped a batch of these for my weekday breakfasts and they reheat way better than scrambled eggs. Only note is I cooked mine 2 minutes extra because I like my yolks fully set, otherwise perfect.
Wait why did I sleep on shirred eggs for so long? I always thought they were super fancy and hard to make but this took zero effort. Dipped crusty sourdough toast in the runny yolk and I think I found my new go-to Sunday breakfast.
Made these for our church potluck breakfast y’all and they were the first dish gone! I put a little piece of cooked bacon in the bottom of each ramekin before adding the eggs, everyone raved.
Super easy even for someone who burns toast half the time! My only issue was my ramekins were a little bigger than the recipe recommended so the eggs spread thinner, still tasted great though.
Made these before an early morning hike and they kept me full for hours! Way more satisfying than a boring protein bar, I added a dash of hot sauce on top for a little kick.
Tastes exactly like the shirred eggs my grandma used to make when I was a kid! I can’t believe how simple the recipe is, I was overcomplicating it for years.
Macro-friendly, high protein, zero fancy ingredients? This recipe was made for me! I skipped the cream to cut a few calories and used a spray of olive oil in the ramekin, still came out perfectly.
Made these for a lazy anniversary breakfast in bed with my partner and they were obsessed! Paired it with champagne and fresh berries, felt like a 5 star hotel meal for a fraction of the cost.
Really tasty base recipe! I wish it had a little more built-in flavor, so I added a pinch of cayenne and some diced roasted red peppers on top, next time I might add a little feta too.
I cook a lot of meals out of my truck’s little convection oven and this recipe works perfectly! No fancy equipment needed, just a couple ramekins, eggs, and a little cream. Filling and quick.
So happy to find a simple egg recipe that’s easy to adapt for my kid’s dairy allergy! I used oat milk instead of cream and it came out perfectly, no weird texture or anything.
I saw someone on TikTok make these and decided to give this recipe a shot since the cook time was so short. 10/10, my cat was begging for a bite the whole time I was eating lmao.
Served these at my monthly book club brunch and everyone asked for the recipe before they even left! I paired them with a side of arugula salad and mimosas, total hit.
First time making any kind of baked egg and I think I did okay! I accidentally got a little shell in one ramekin but the cook time was spot on, yolk was perfectly runny when I cut into it.
Perfect cozy breakfast for all these cold rainy days we’ve been having! I added a little sprinkle of parmesan and black pepper on top, it’s like a warm hug in a ramekin.
Quick, high protein breakfast that doesn’t taste like boring meal prep chicken and rice? Sign me up. I added a little turkey sausage crumble to mine and it hit every single macro I needed for the day.
Brought these to my office potluck breakfast and people were coming back for seconds (and thirds)! I made a few varieties: plain, bacon and cheese, and veggie with spinach and mushrooms, all were a hit.
This recipe is so easy I even let my 10 year old help make them for breakfast last weekend! They loved cracking the eggs into the ramekins and sprinkling cheese on top, such a fun kid-friendly cooking activity.