
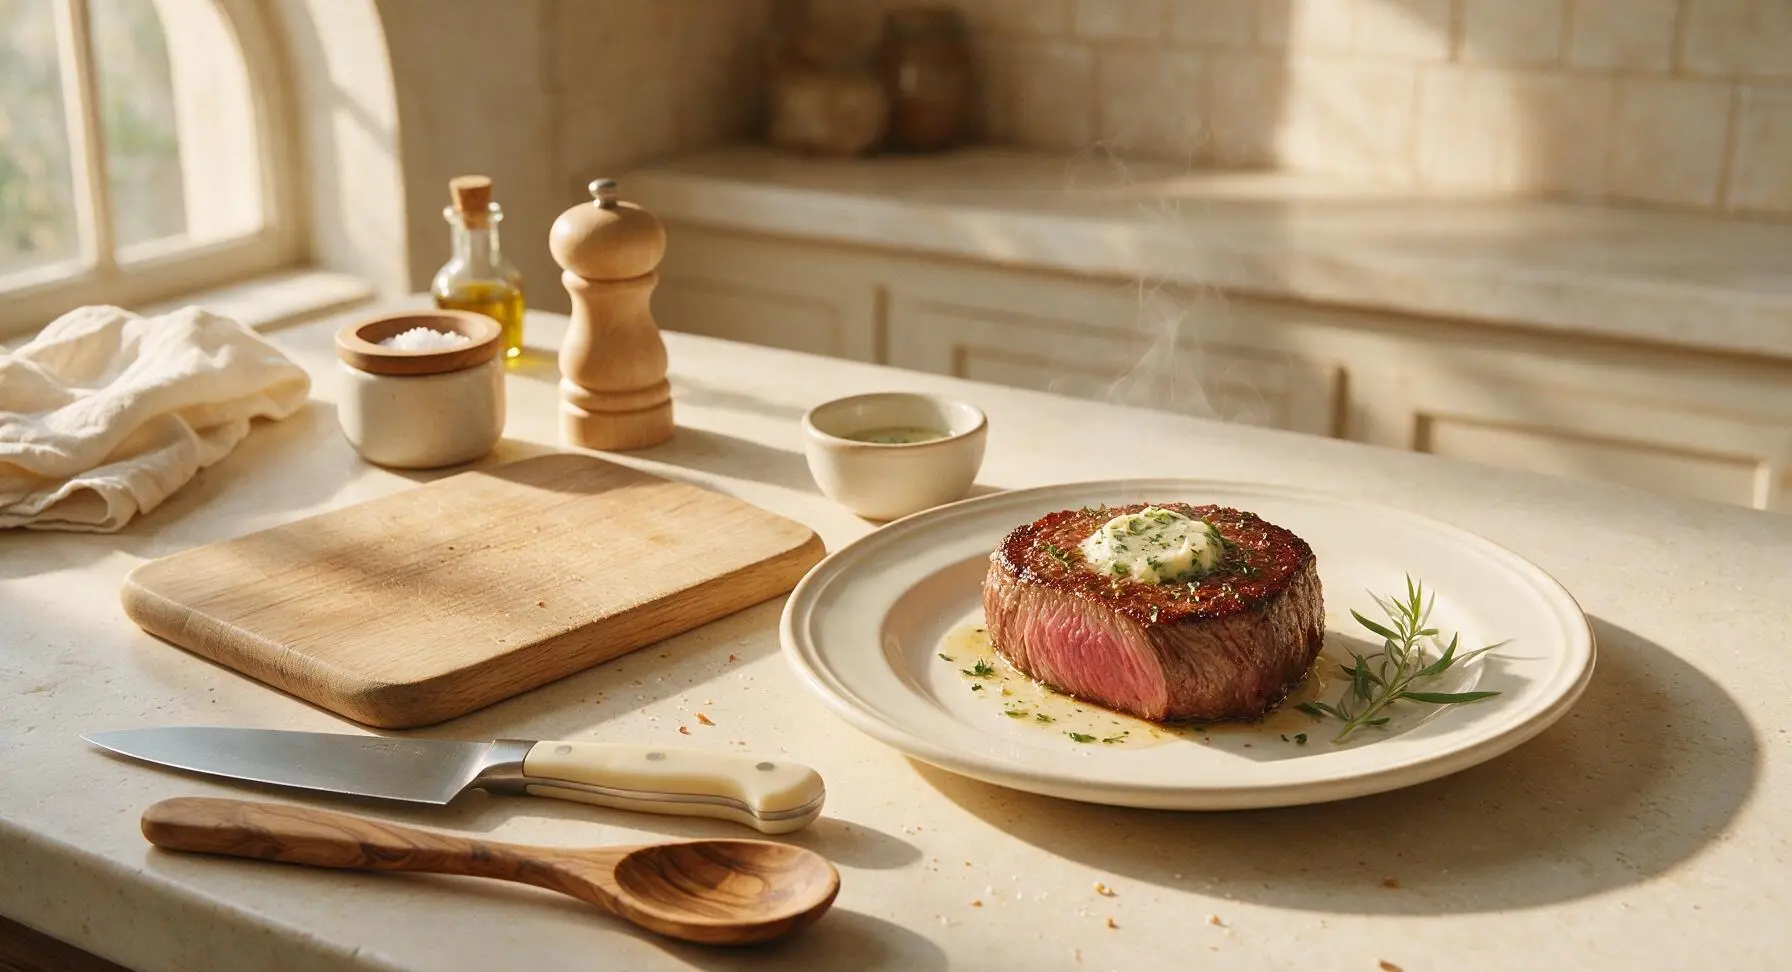
sous vide beef

title 1
sous vide beef
⏱️ cook time 2 hours 15 minutes
🍽️ servings 4
⚡ Difficulty medium

intro

Buttery, melt-in-your-mouth beef tenderloin cooked to precise edge-to-edge doneness, seared to a crisp golden crust for a low-fuss, showstopping special meal.

Ingredients
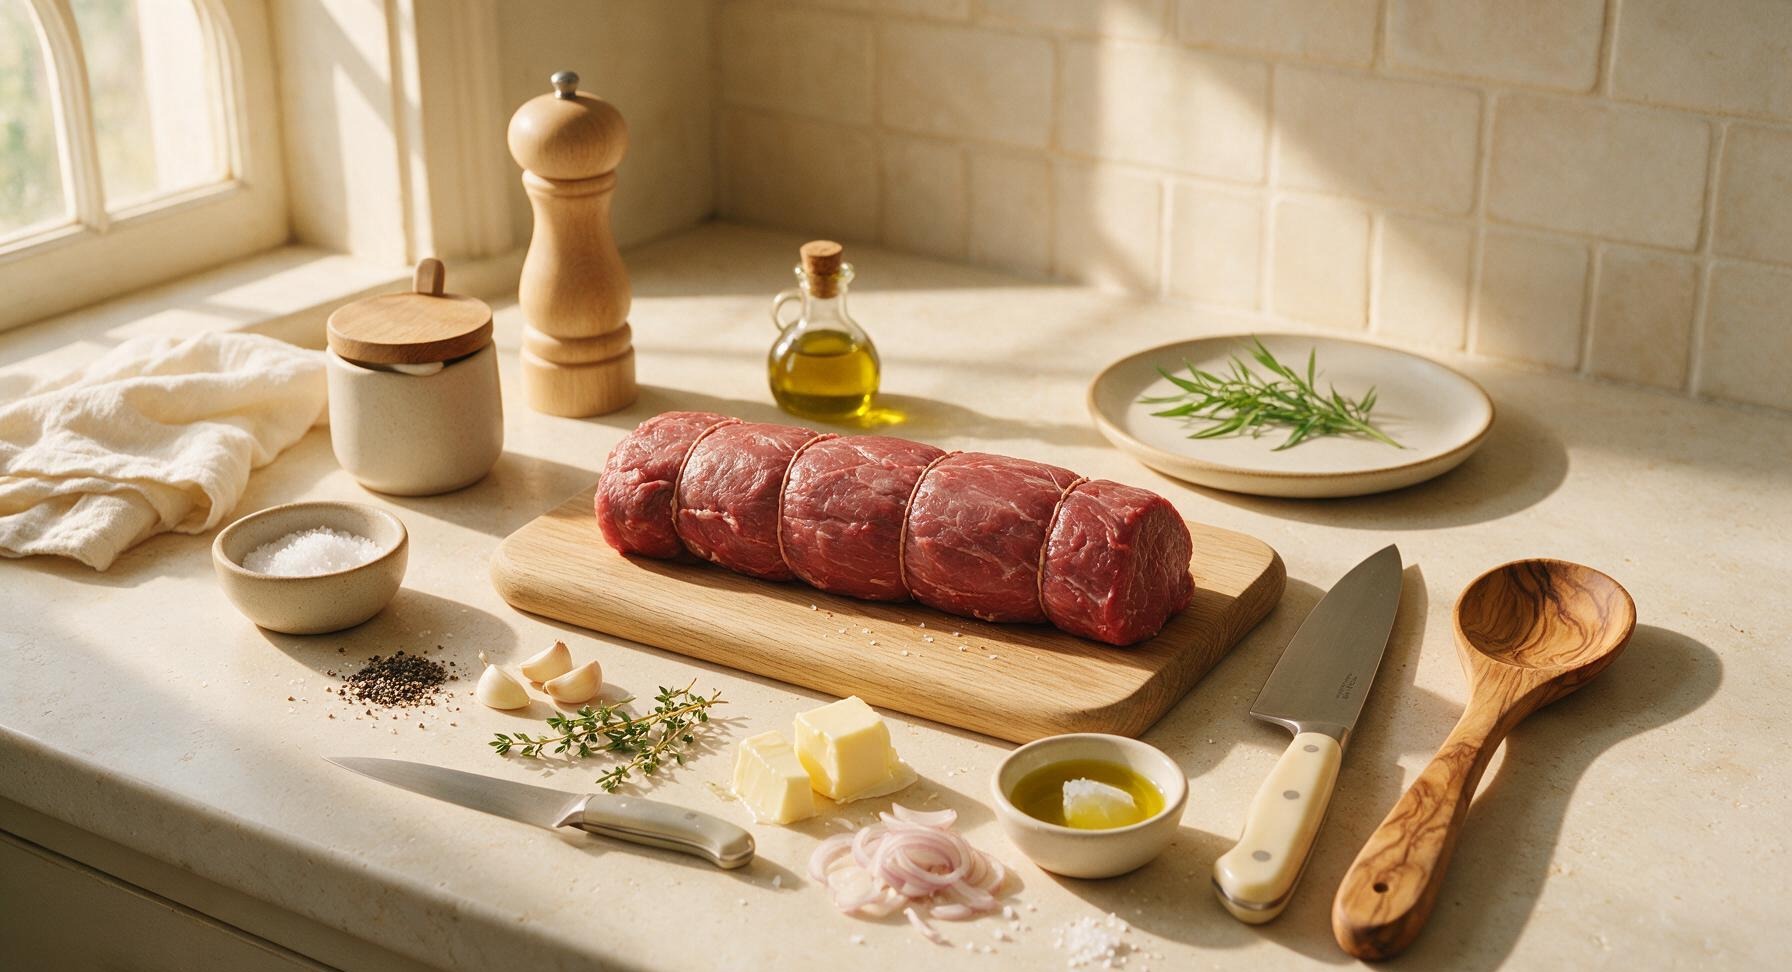
Beef tenderloin roast (butcher-trimmed, tied at 2-inch intervals) 1kg (2.2lb)
Kosher salt 2 tsp
Freshly ground black pepper 1 tsp
Garlic cloves (crushed, divided) 3
Fresh thyme sprigs (divided) 4
Unsalted butter (divided) 4 tbsp (56g)
Shallot (thinly sliced) 1
Avocado oil (high smoke point) 2 tbsp
Flaky sea salt (for finishing) 1/2 tsp

Steps

1

Preheat Sous Vide Bath

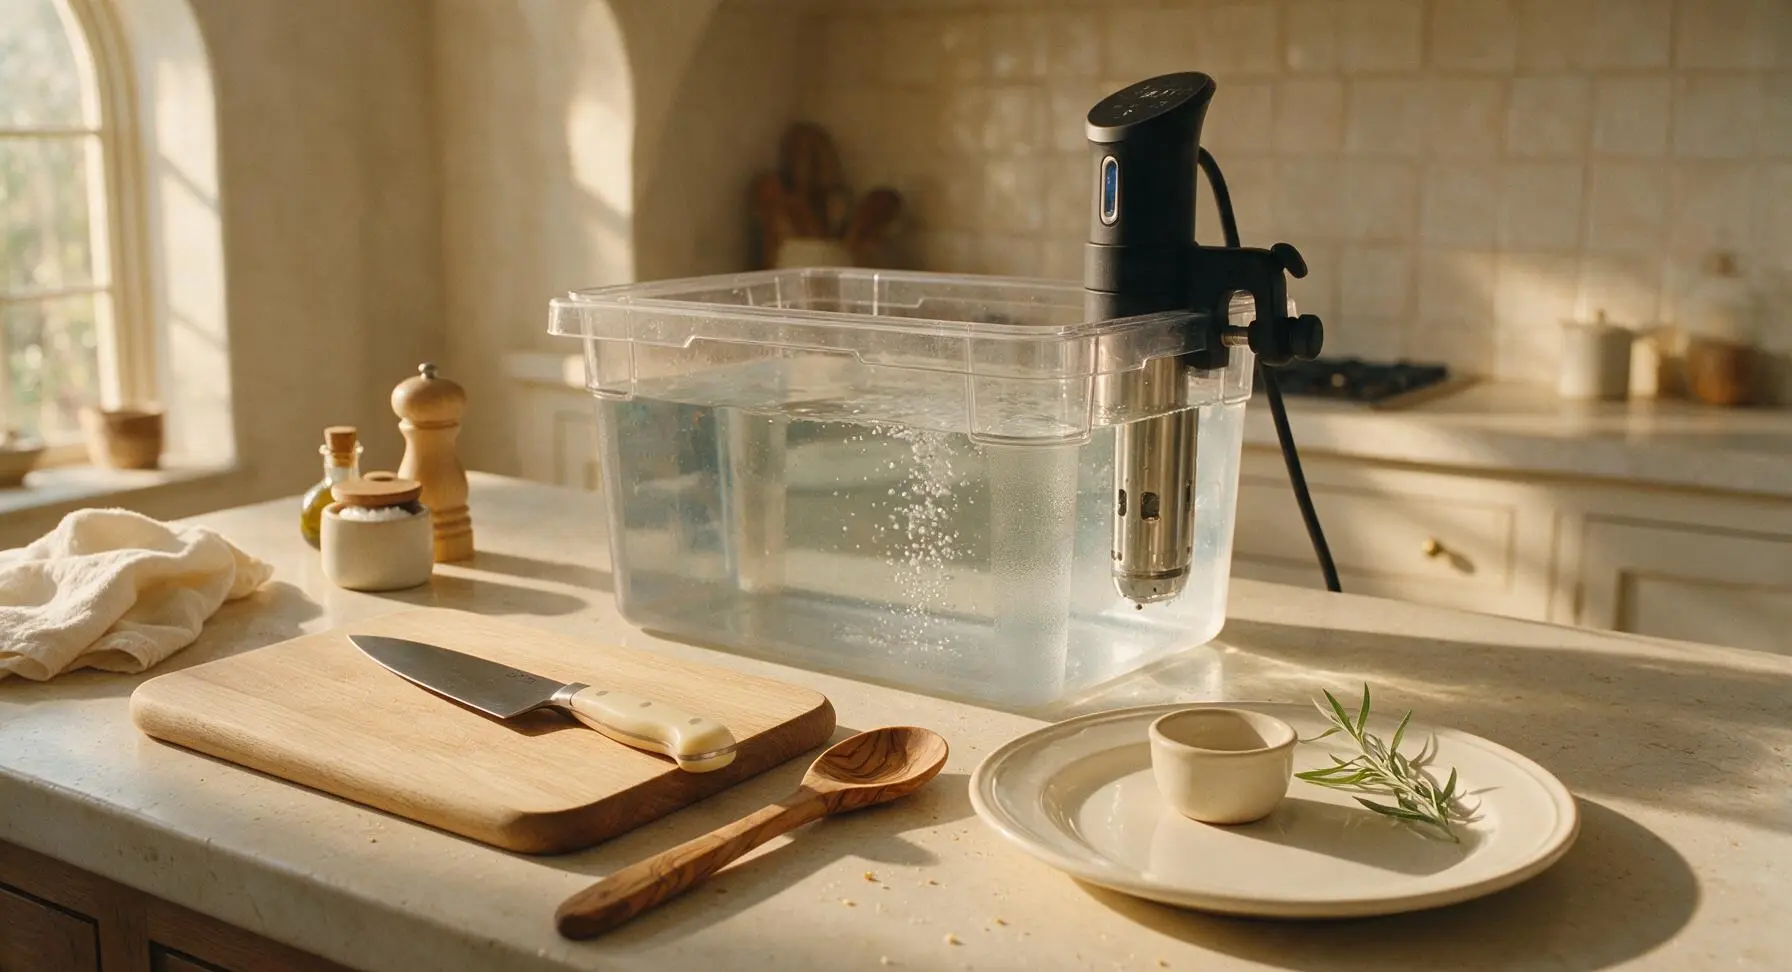
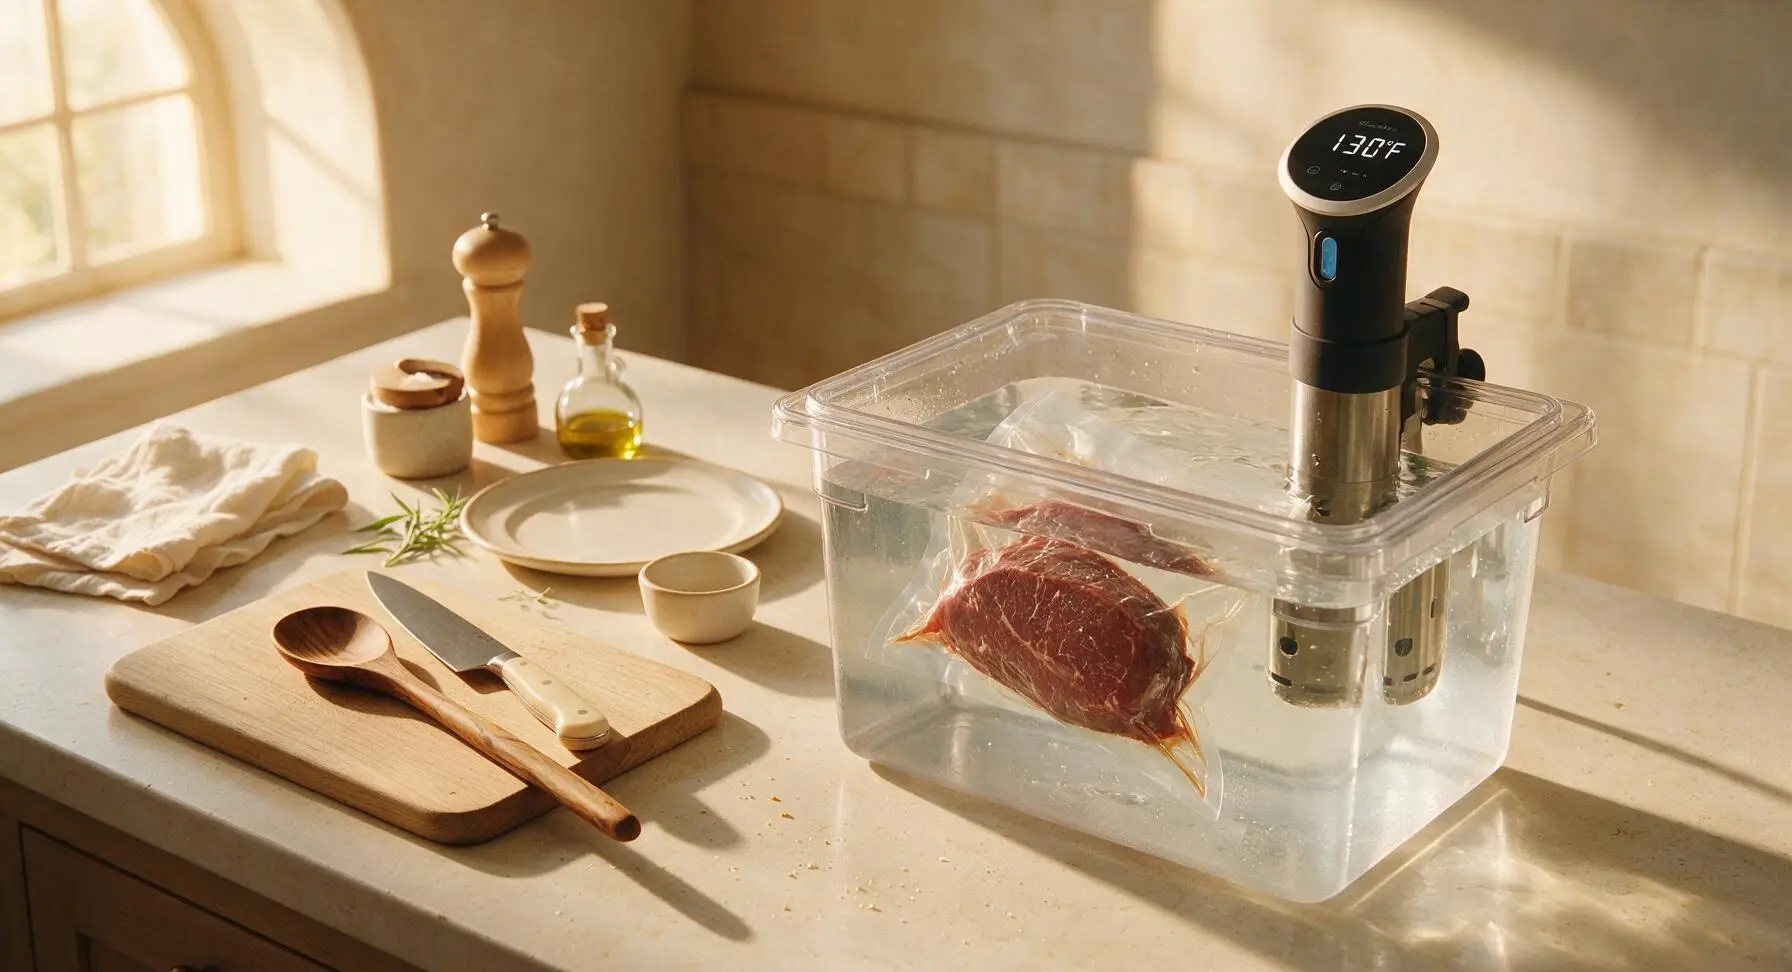
Fill the 12-quart clear polycarbonate container with warm tap water, clip the matte black sous vide immersion circulator to the side, and set the temperature to 130°F (54°C) for perfect medium-rare doneness. Allow the water to come to a full, stable temperature before adding beef—this takes approximately 10 minutes. For medium doneness, adjust to 140°F (60°C); for rare, set to 125°F (52°C).
Step 1
step1:Preheat Sous Vide Bath
2

Season Beef Generously

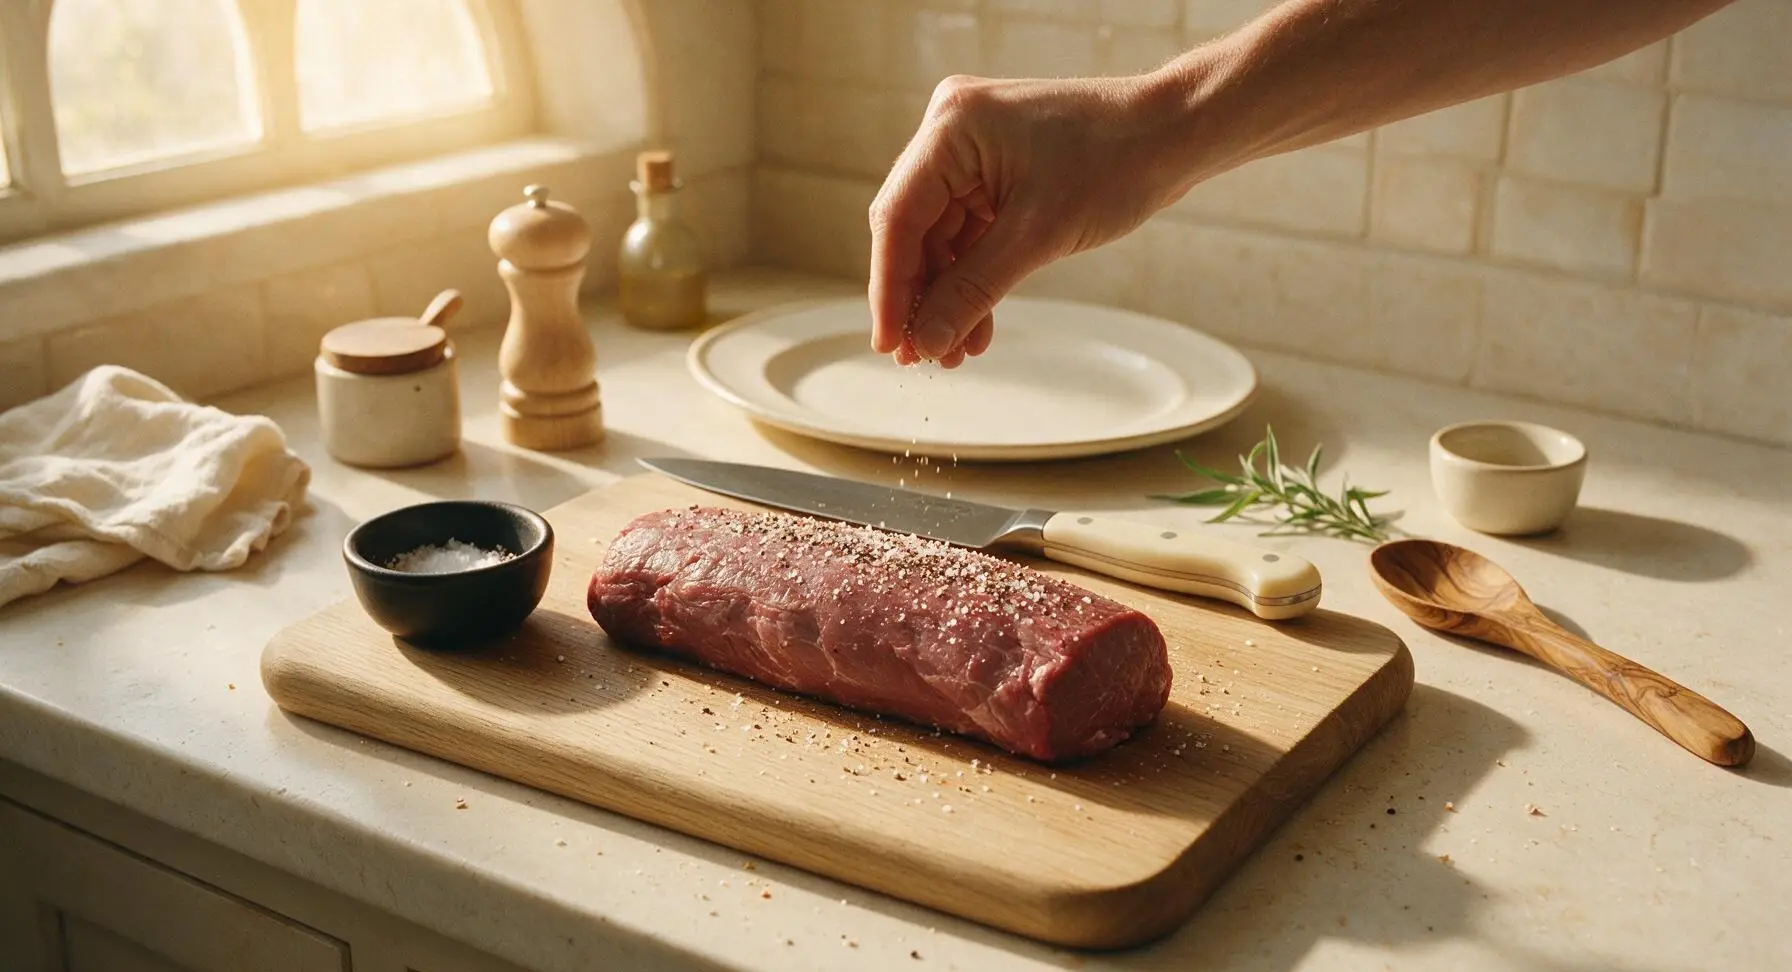
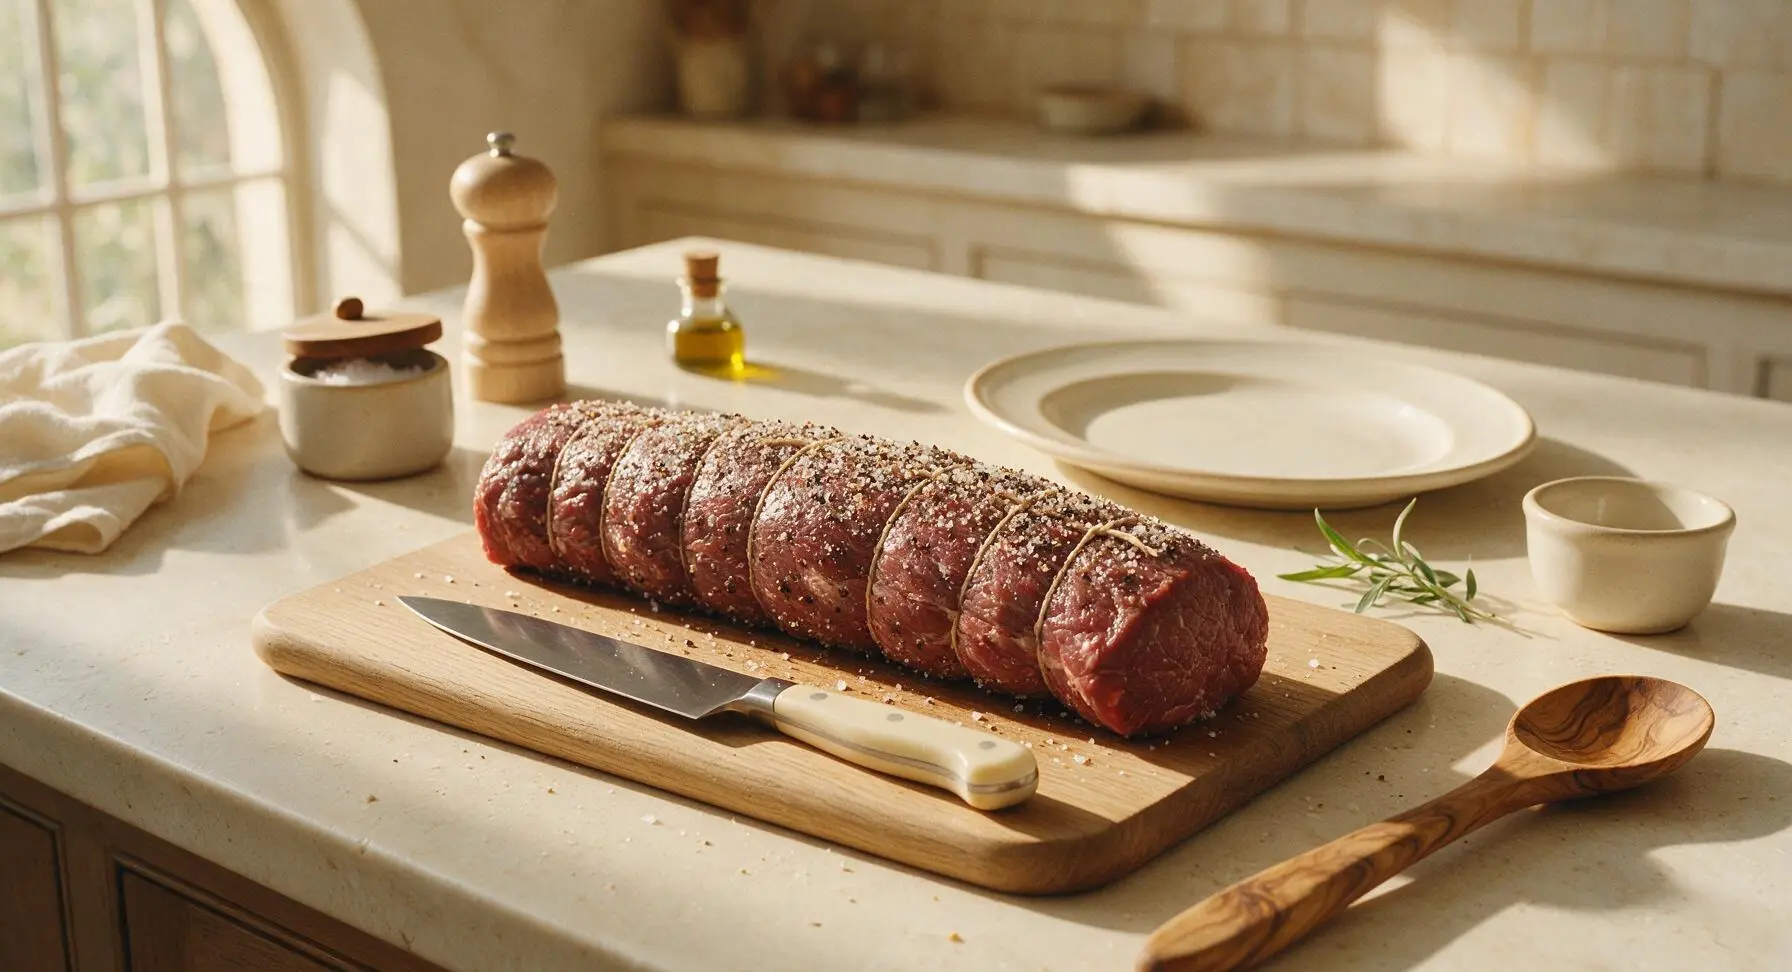
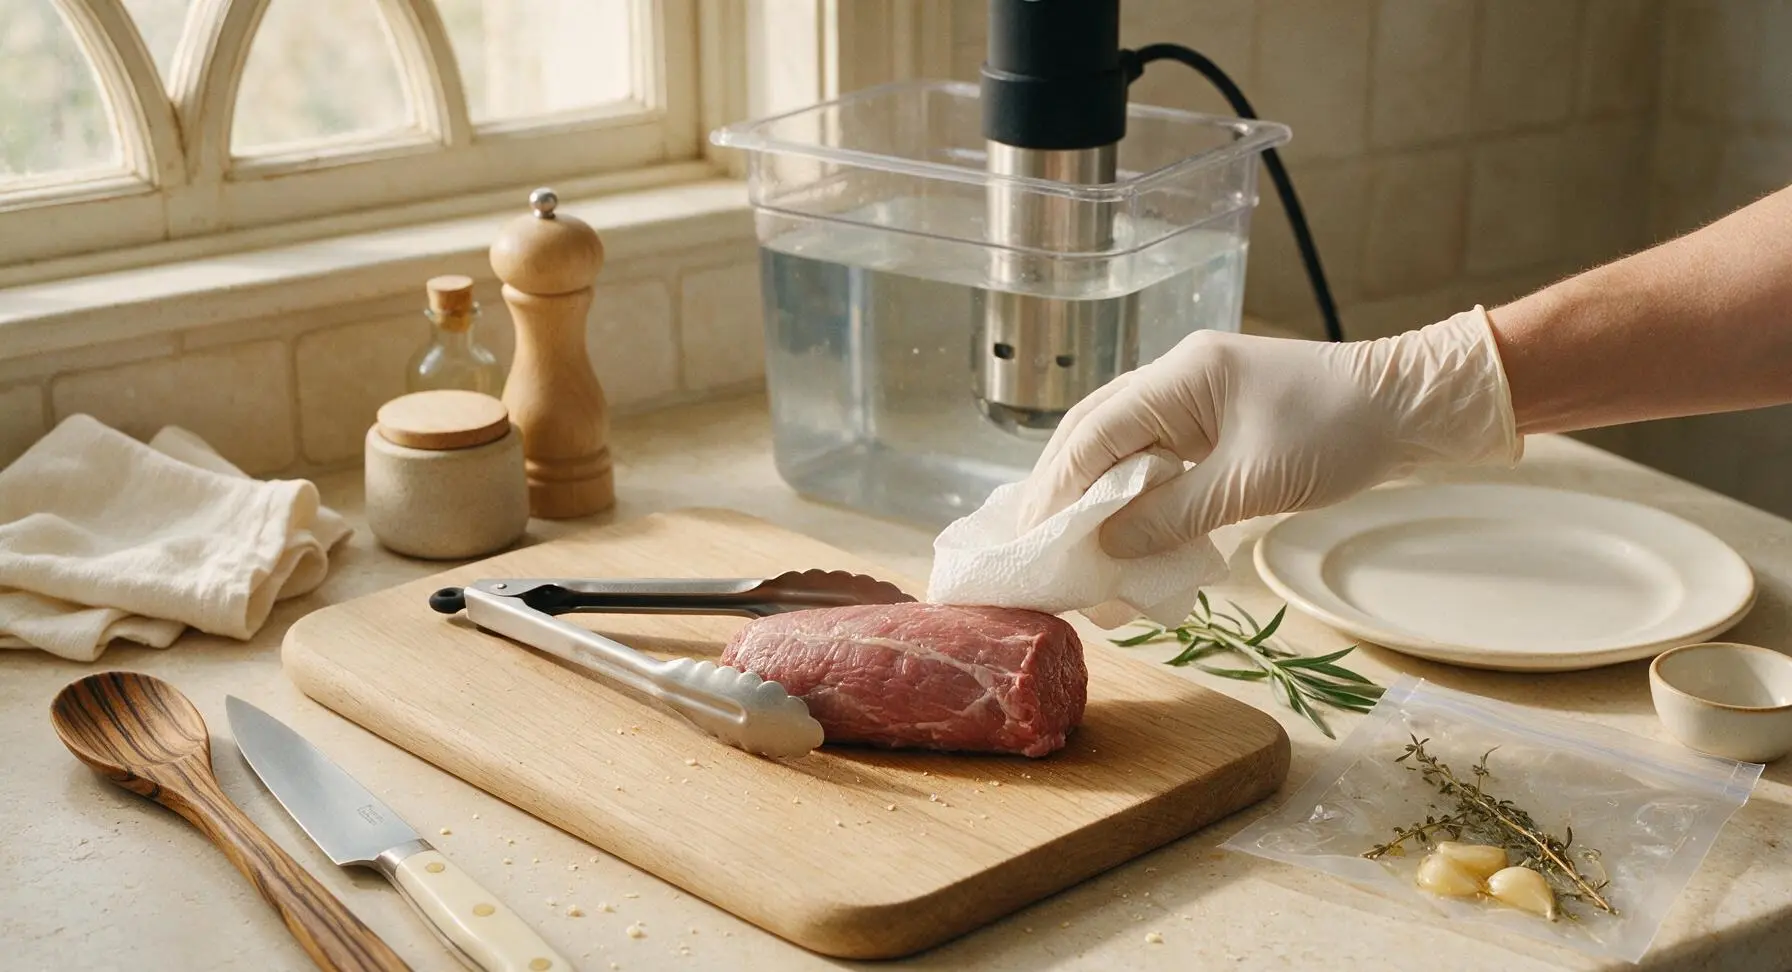
Pat the trimmed, tied beef tenderloin completely dry with paper towels (discard paper towels off-frame). Rub the entire surface of the roast with 2 tsp kosher salt and all of the black pepper, pressing gently to make sure the seasoning adheres to every side. The beef should have an even, light coating of seasoning with no bare patches.
Step 2
step2:Season Beef Generously
Step 2
step2:Season Beef Generously
3

Bag Beef with Aromatics

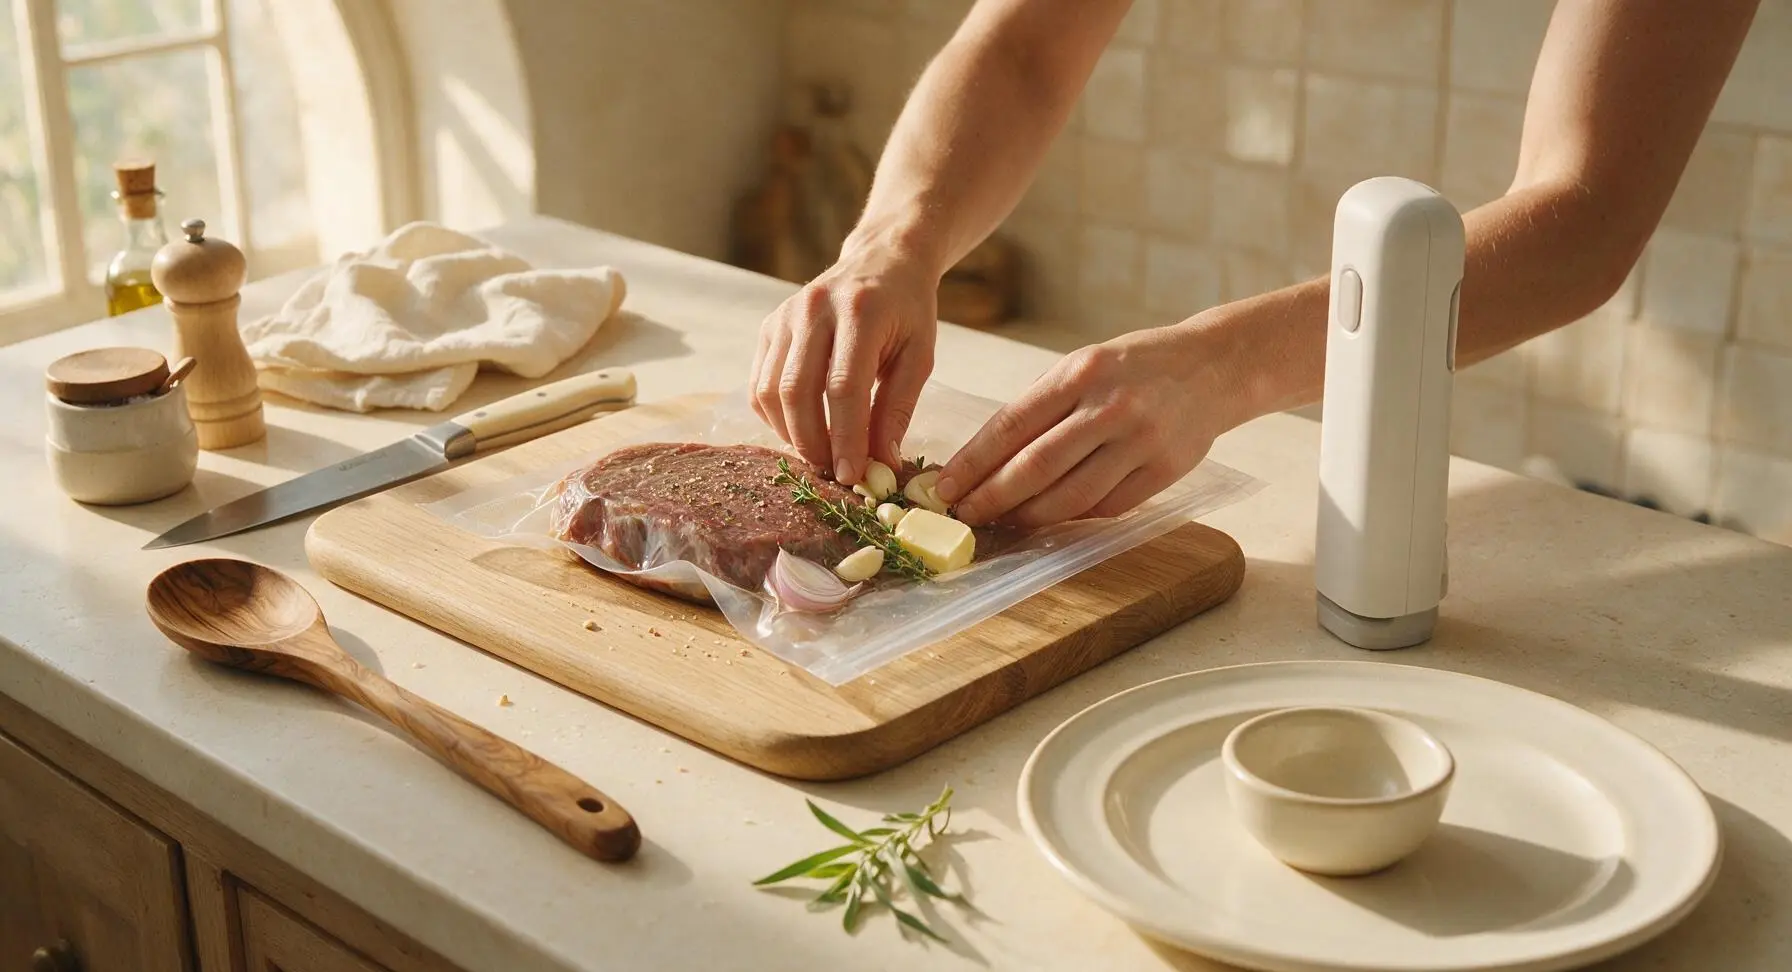
Place the seasoned beef into a BPA-free vacuum sealer bag. Add 2 crushed garlic cloves, 2 thyme sprigs, 1 tbsp of unsalted butter, and the sliced shallot to the bag, arranging the aromatics evenly around the beef. Do not overstuff the bag, as this will prevent a tight seal.
Step 3
step3:Bag Beef with Aromatics
4

Seal and Cook Sous Vide

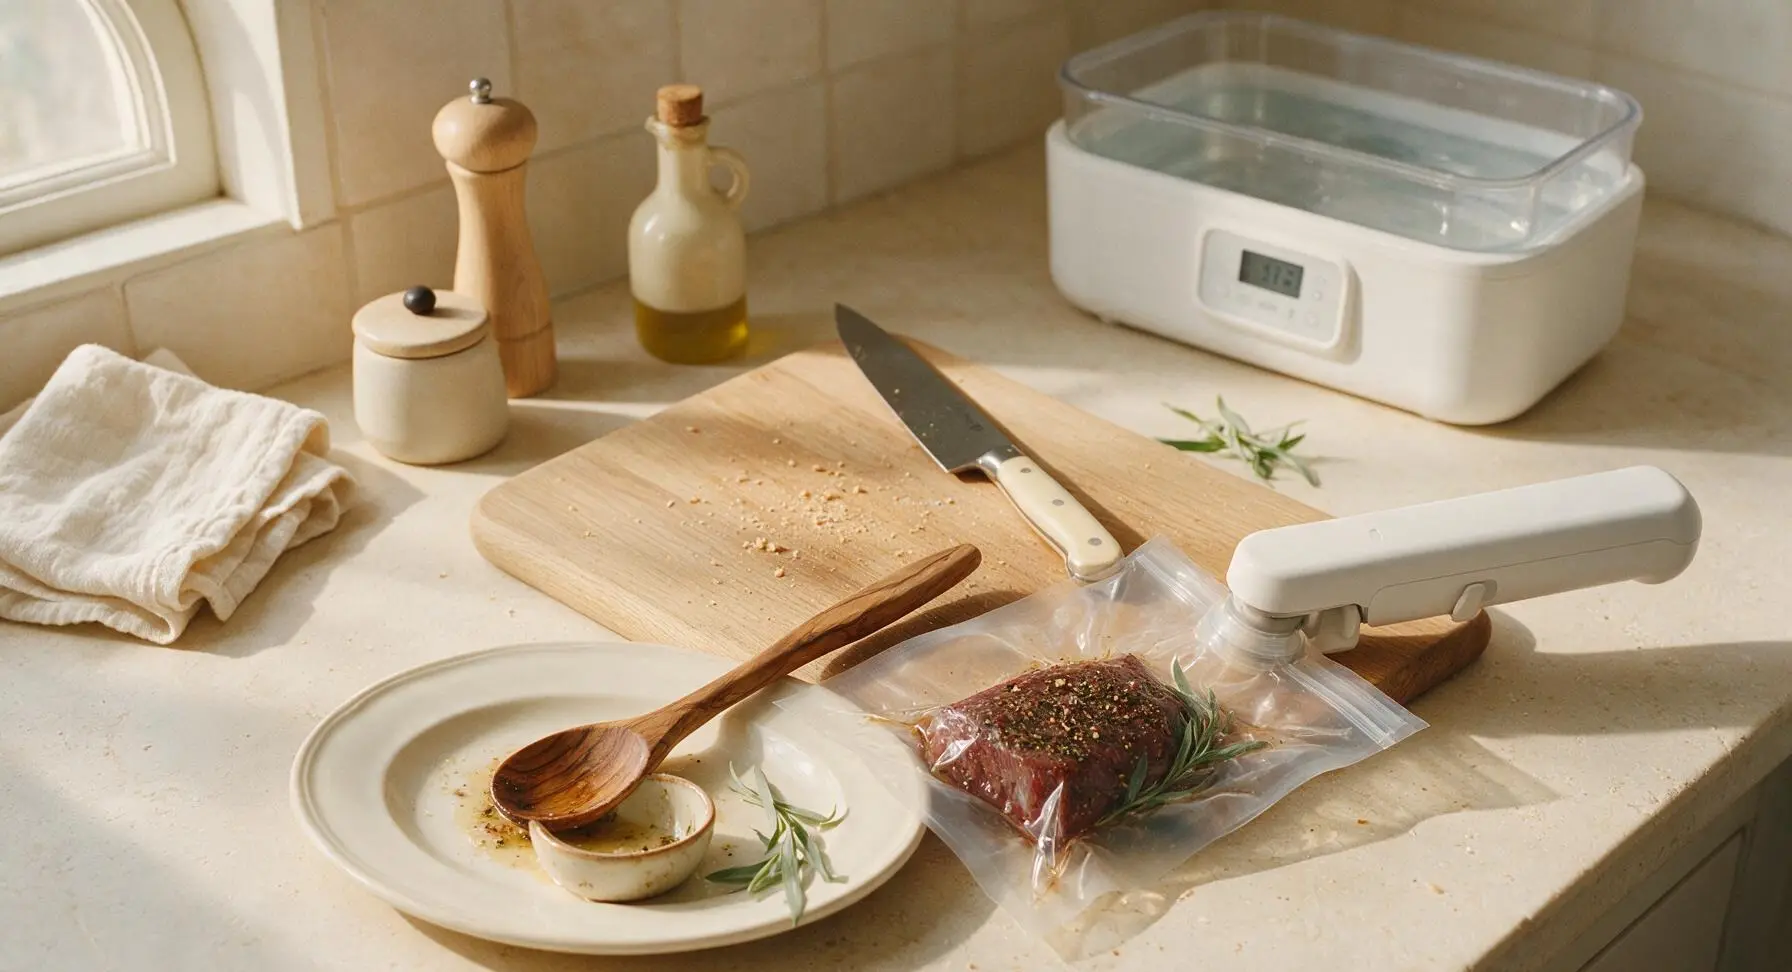
Use the handheld vacuum sealer to remove all air from the bag, creating a tight, wrinkle-free seal around the beef (no air bubbles should be trapped against the meat surface). Lower the sealed bag fully into the preheated 130°F water bath, making sure the beef is completely submerged. Cook for 2 hours—do not cook for less than 1.5 hours, and the beef can hold at temperature for up to 4 hours with no loss of quality.
Step 4
step4:Seal and Cook Sous Vide
Step 4
step4:Seal and Cook Sous Vide
5

Remove and Pat Dry

After 2 hours of cooking, use the stainless steel tongs to lift the bag out of the water bath. Carefully cut the bag open, pour out the reserved cooking liquid and aromatics (reserve 2 tbsp of the liquid for sauce if desired), and transfer the beef to the cutting board. Pat the entire surface of the beef completely dry with paper towels—this is critical for a crisp, golden sear. Discard the used aromatics from the bag.
Step 5
step5:Remove and Pat Dry
6

Sear for Crisp Crust

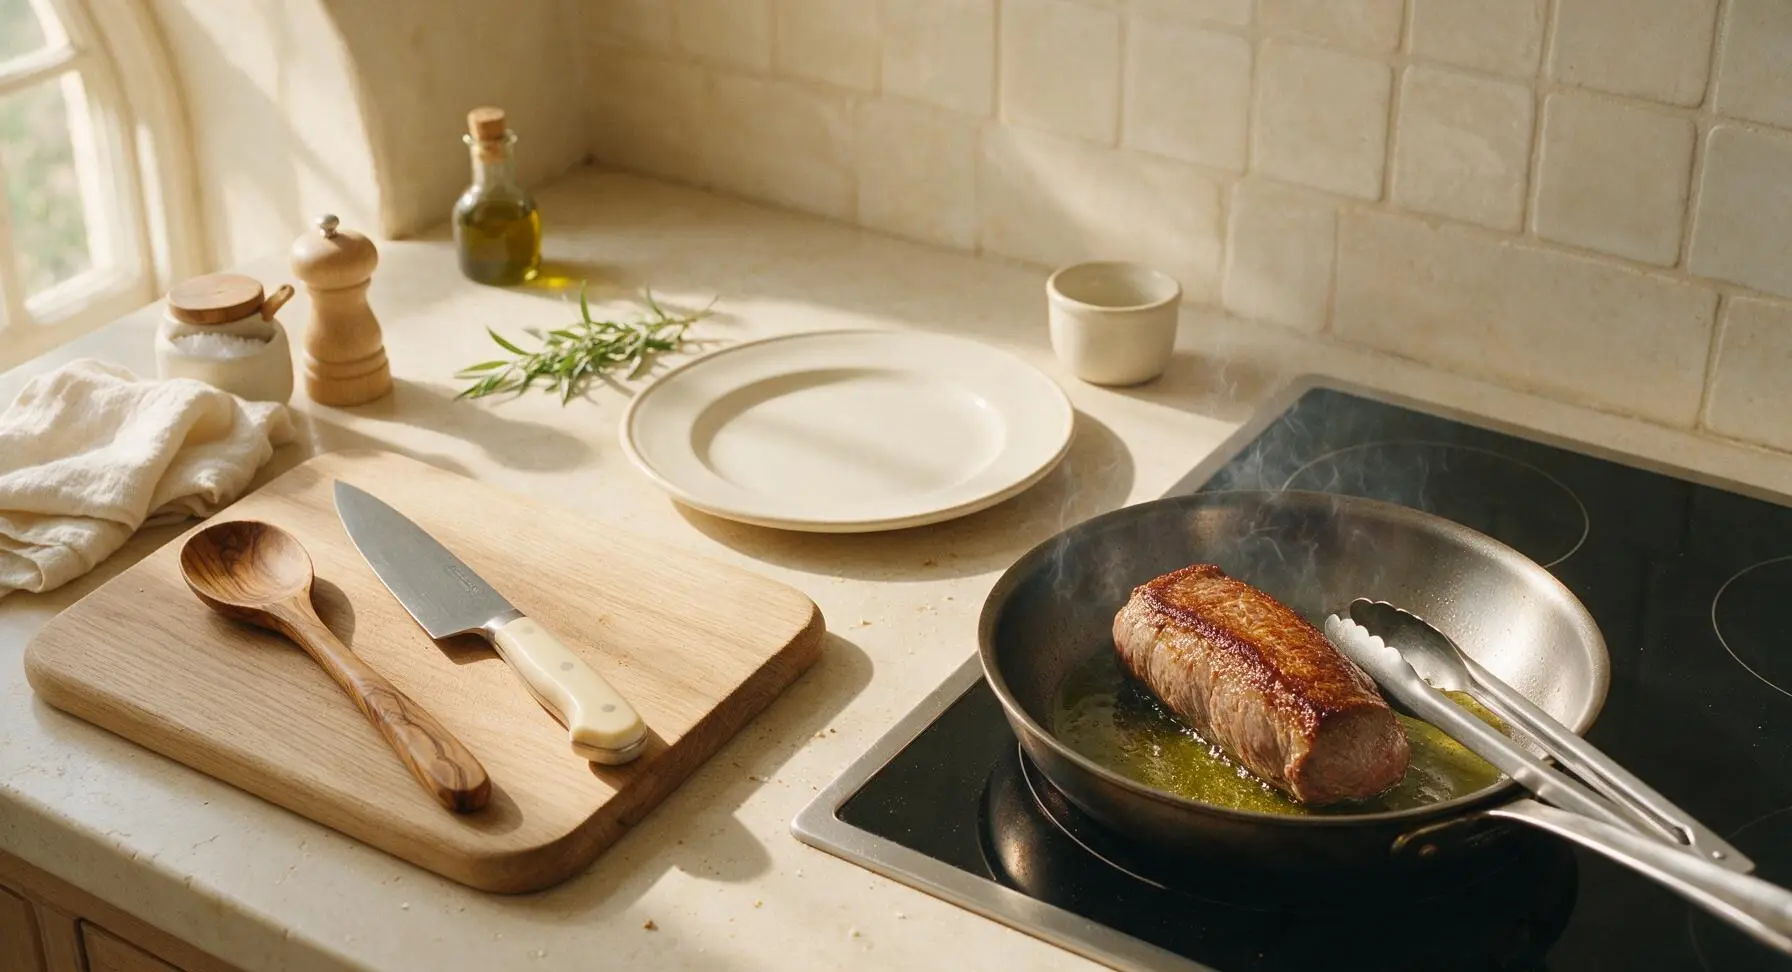
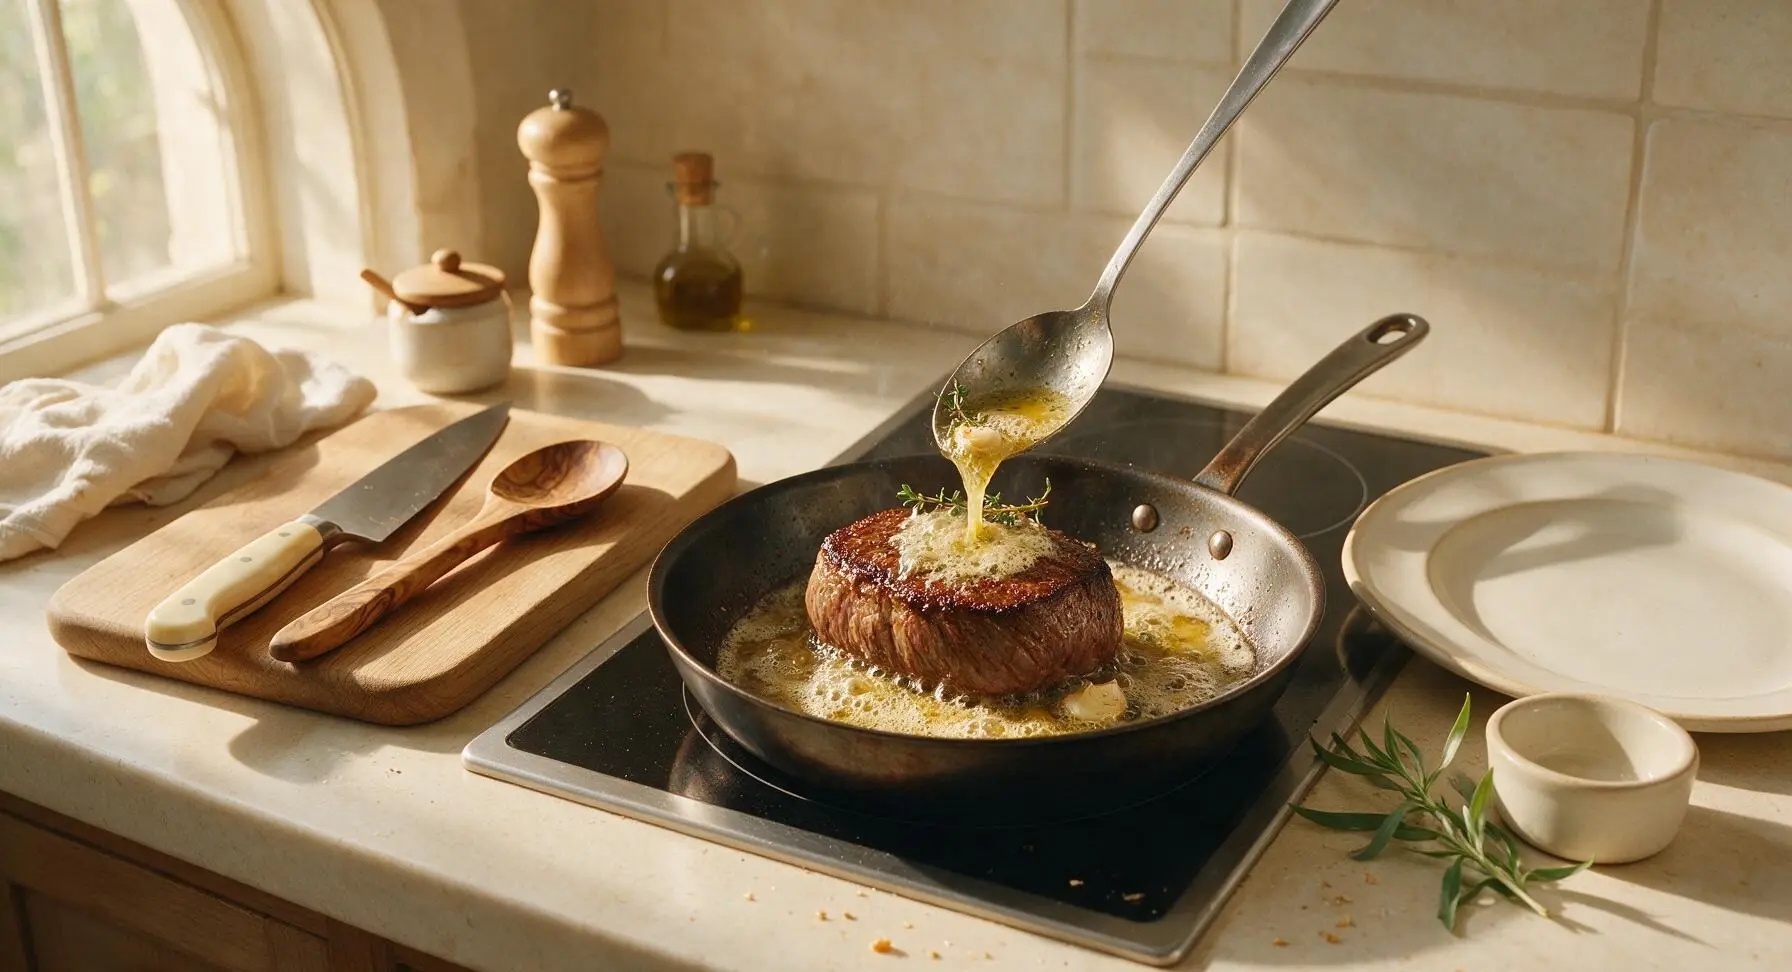
Place the 10-inch carbon steel skillet on the back-right induction burner, heat over high heat, and add 2 tbsp avocado oil. When the oil is shimmering and just starting to smoke, carefully lay the dried beef in the skillet. Sear for 45 seconds to 1 minute per side, using tongs to turn the roast, until a deep, golden-brown crispy crust forms on every surface. Add the remaining 3 tbsp butter, 1 crushed garlic clove, and 2 remaining thyme sprigs to the skillet, tilt the pan, and baste the beef continuously with the foaming butter for 30 seconds using the basting spoon. Do not over-sear, as the beef is already fully cooked to temperature.
Step 6
step6:Sear for Crisp Crust
Step 6
step6:Sear for Crisp Crust
7

Rest Beef Before Slicing

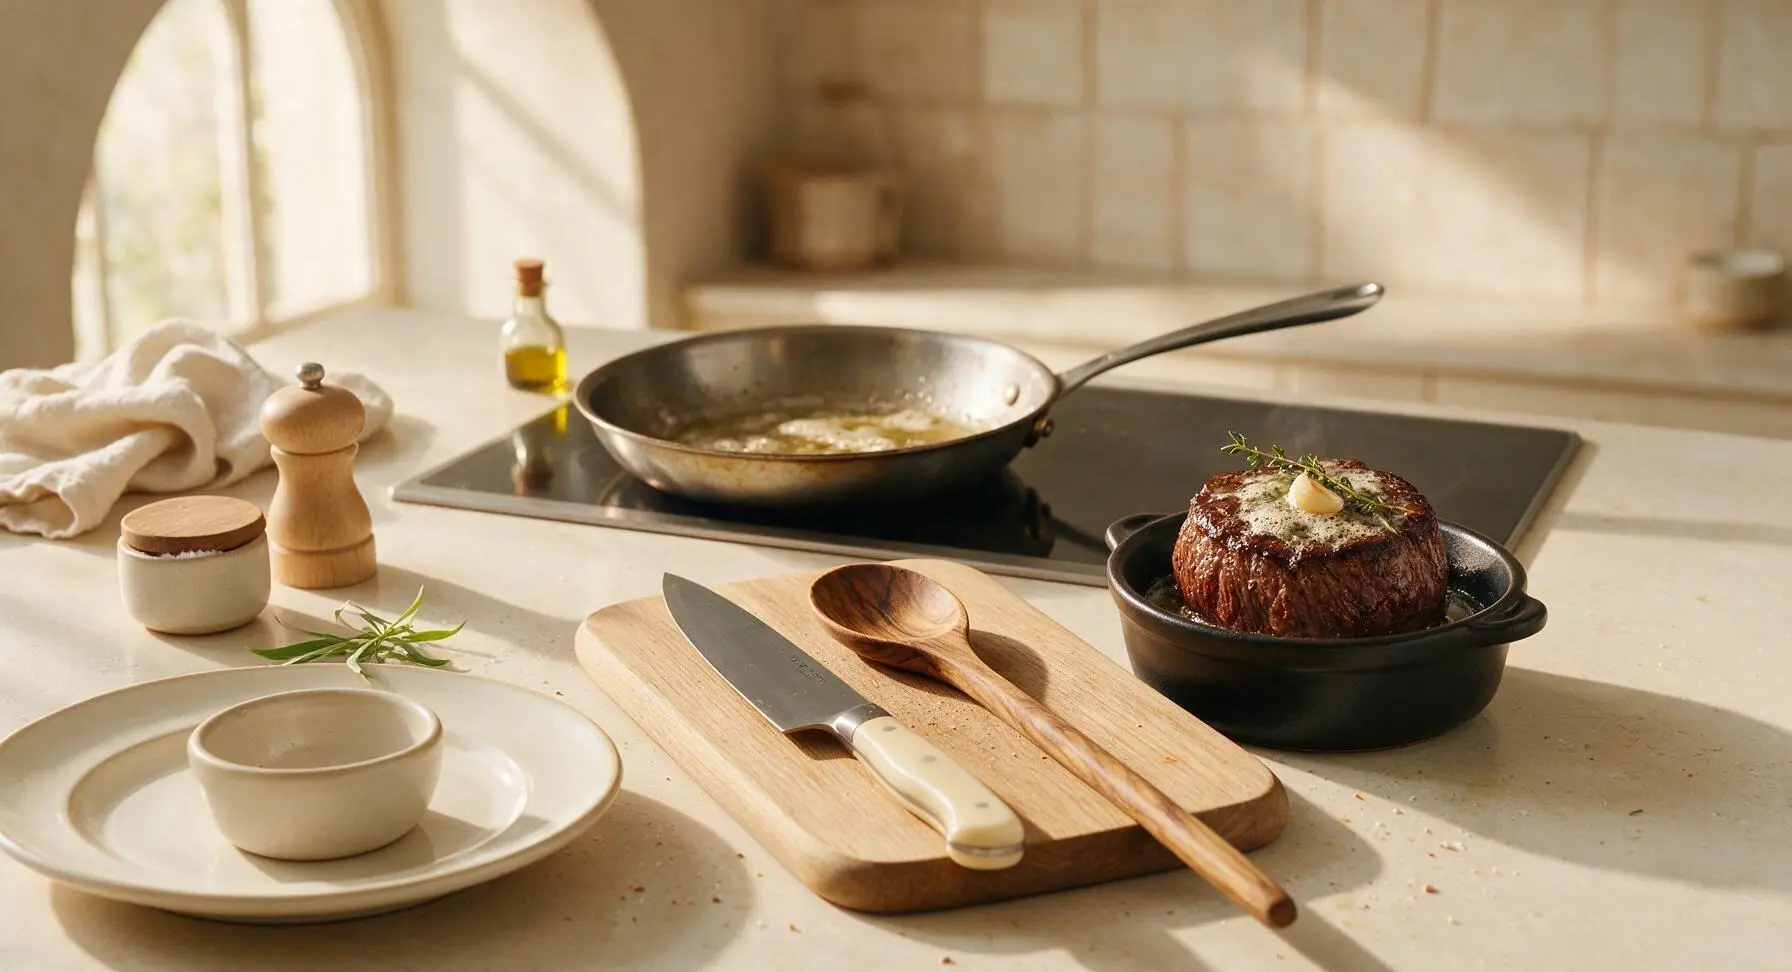
Transfer the seared beef to the small black ceramic ramekin (set on the counter to the right of the cutting board) and let it rest for 10 minutes. There is no need to tent with foil, as the beef will hold its temperature well from the sous vide cook. Pour the remaining browned butter and herbs from the skillet over the top of the resting beef.
Step 7
step7:Rest Beef Before Slicing
8

Slice and Plate to Serve

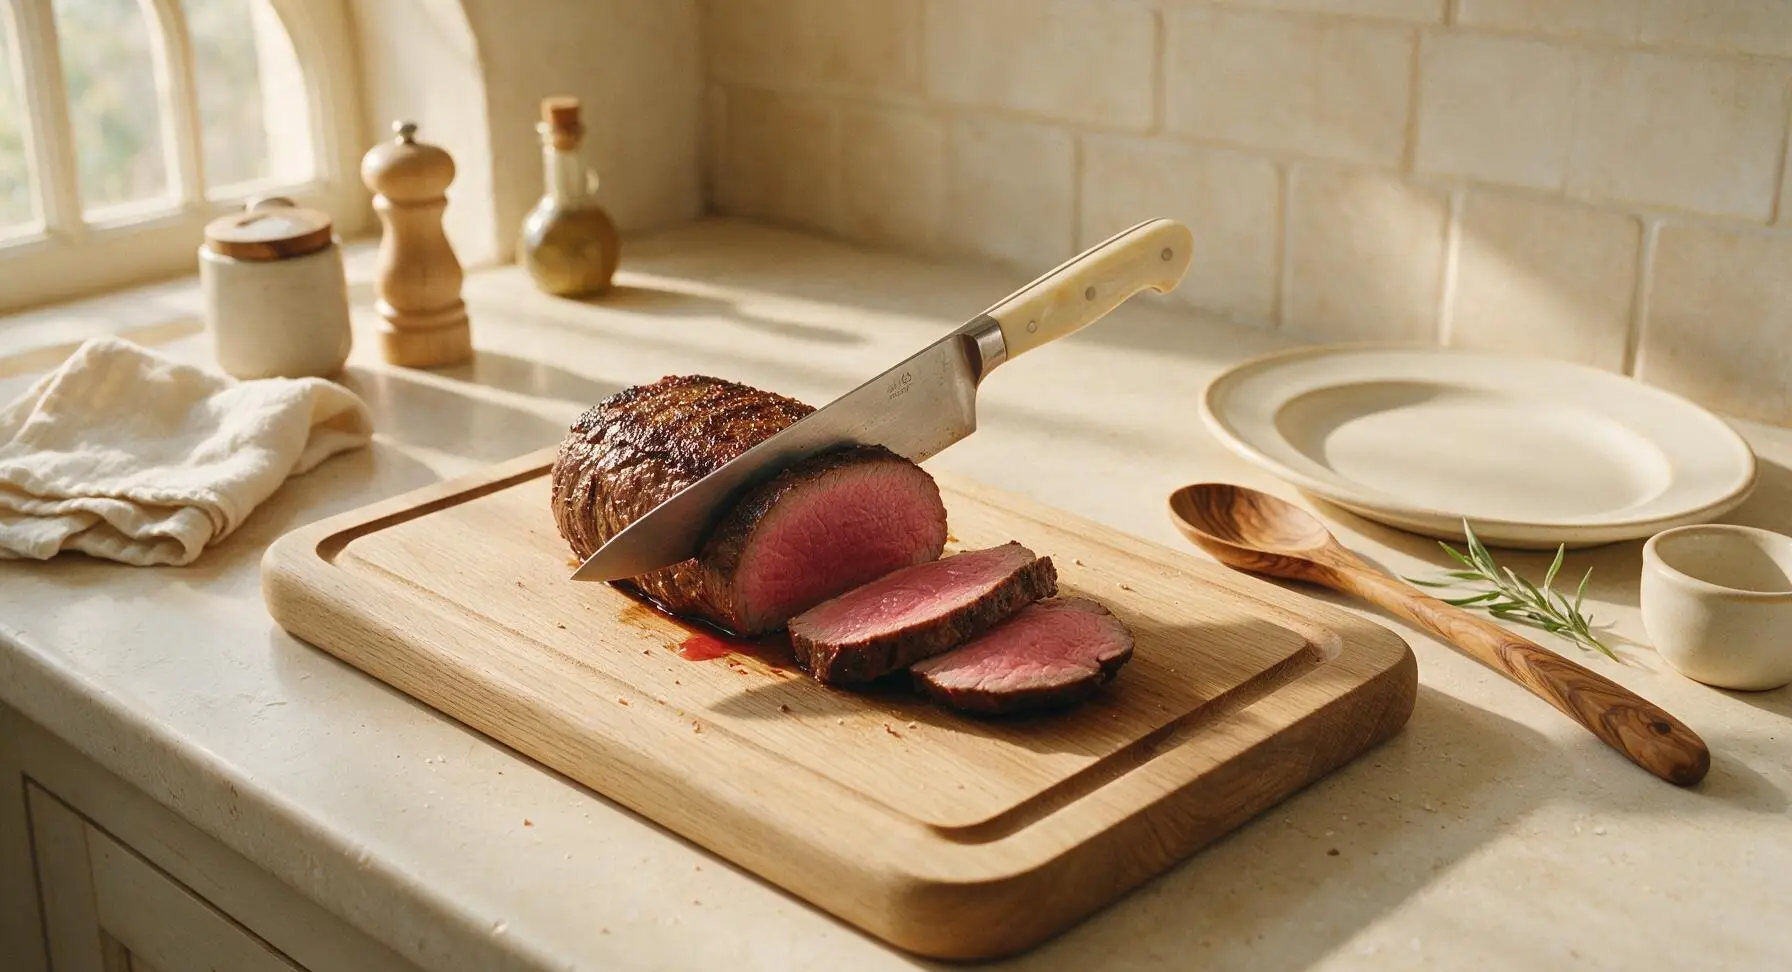
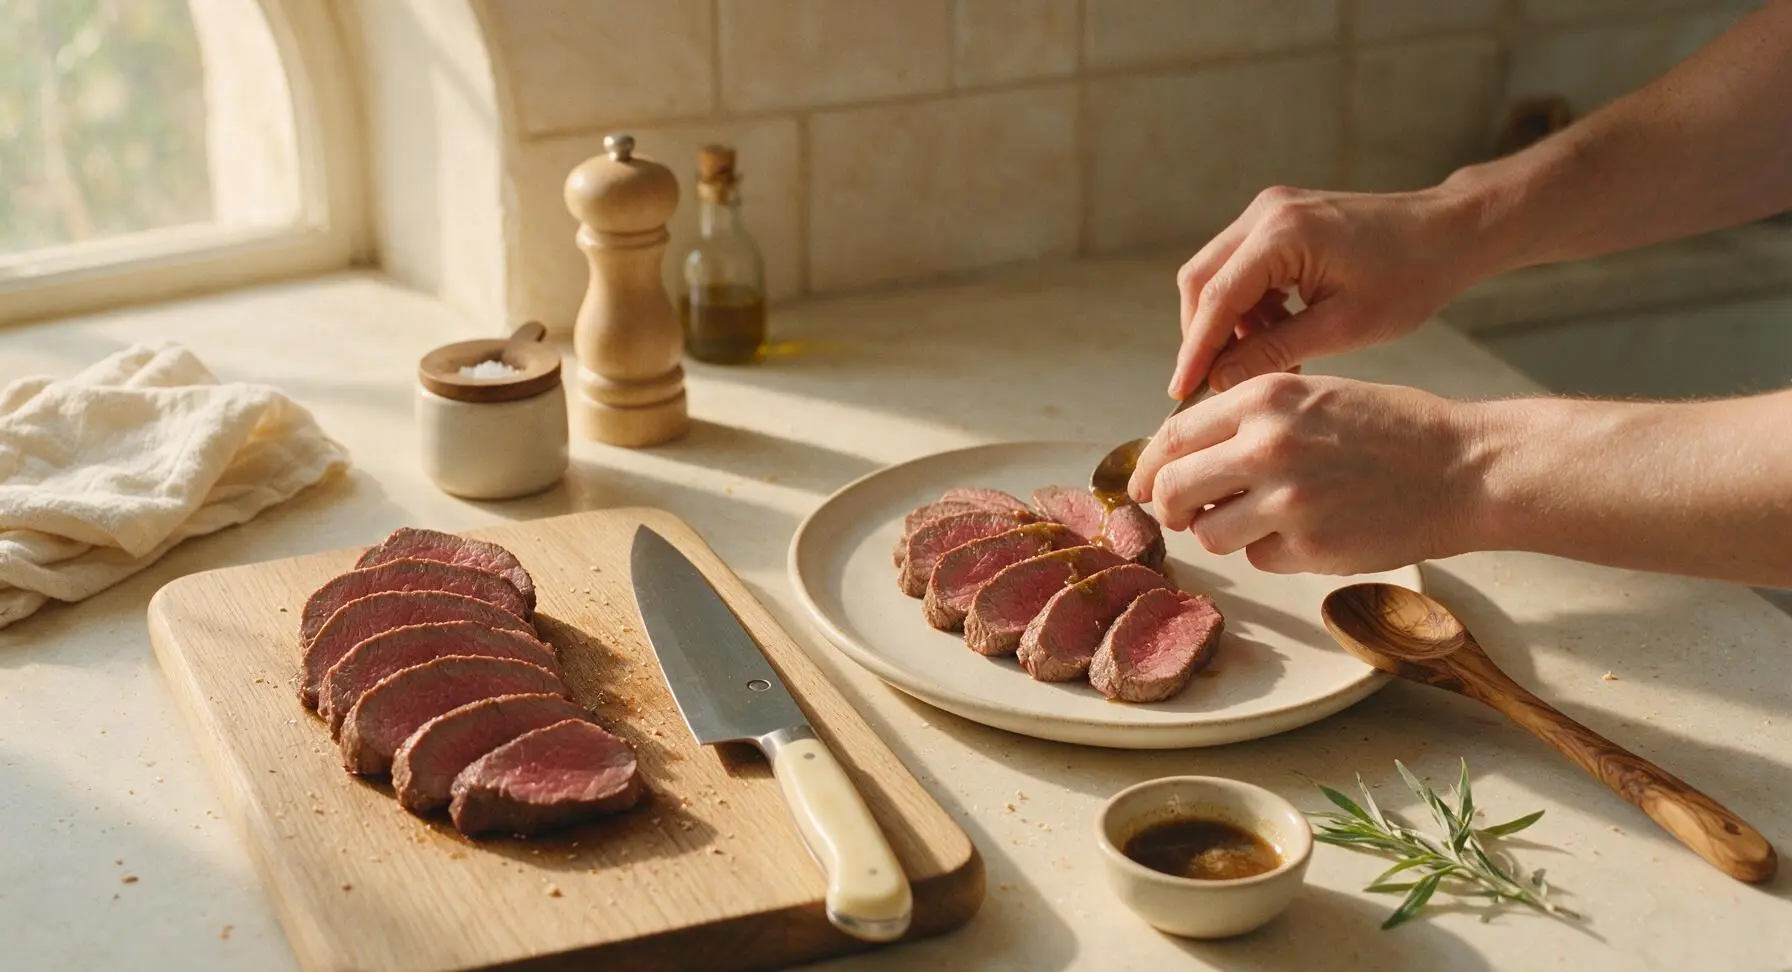
After resting, transfer the beef to the cutting board. Use the 8-inch chef’s knife to slice the roast against the grain into 1/2-inch thick slices. Arrange the slices fanned on the matte off-white ceramic dinner plate, spoon a small amount of the reserved browned butter over the top, and finish with a light sprinkle of flaky sea salt. Serve immediately.
Step 8
step8:Slice and Plate to Serve
Step 8
step8:Slice and Plate to Serve

Tips

1.Pat beef bone-dry before searing: Any surface moisture will create steam instead of the Maillard reaction, leading to a pale, soft crust instead of the deep, crispy, flavorful golden exterior you want. Keep patting until paper towels come away completely clean with no pink moisture.
2.Use a high-smoke-point oil for searing: Olive oil or plain butter will burn at the high heat needed for a fast sear, creating bitter, acrid off-flavors. Save butter for the final basting step, when pan temperature drops slightly after the initial sear.
3.Keep searing time short: Sous vide cooks beef evenly to your exact target doneness from edge to edge, so searing is only for crust development. More than 60 seconds per side will raise internal temperature and overcook the perfectly pink, tender interior.


✨ You May Also Like

Main Course
🍜 United Kingdom

A showstopping classic of tender seared beef, savory mushroom duxelles, and crisp prosciutto wrapped in flaky golden puff pastry, baked to juicy perfection.

⏱️ 2 hours 1Main Course ★ 4.7
Main Course
🍜 India

Tender charred marinated chicken simmered in a rich, spiced creamy tomato sauce, this iconic Anglo-Indian curry pairs perfectly with basmati rice or warm naan.

⏱️ 50 minuteMain Course ★ 4.6
Main Course
🍜 Thailand

Classic tangy, sweet, and savory Thai stir-fried rice noodles with shrimp, tofu, and crunchy garnishes, balancing all five core Thai flavor profiles.

⏱️ 30 minuteMain Course ★ 4.5
Main Course
🍜 United Kingdom

Crispy golden beer-battered cod and fluffy double-fried chips, served with tangy tartar sauce and malt vinegar: the timeless, beloved British pub comfort classic.

⏱️ 45 minuteMain Course ★ 4.7
Main Course
🍜 Mexico

Smoky, chile-marinated pork tacos with caramelized pineapple, fresh cilantro, and lime: a beloved classic Mexican street food perfect for casual summer gatherings.

⏱️ 1 hour 45Main Course ★ 4.8
Main Course
🍜 United States

Crunchy Fritos corn chips layered with savory beef chili and melted cheddar, topped with cool, zesty fixings for a beloved, cozy Tex-Mex comfort food.

⏱️ 35 minuteMain Course ★ 4.8

sous vide beef:Frequently Asked Questions

1.What sous vide temperature should I use for perfect medium-rare beef tenderloin? ▾
For that classic, buttery edge-to-edge medium-rare everyone loves for special meals, set your circulator to 130°F (54°C). If you prefer rare, use 125°F; for medium, bump it to 135°F. You can hold the roast at your target temp for 2–3 hours without it overcooking, so timing is really forgiving.
2.Why does the recipe recommend getting a butcher-trimmed, tied tenderloin? ▾
Tenderloin is covered in tough, chewy silver skin that’s tricky to fully remove at home without good butchery practice. Tying it at 2-inch intervals creates a uniform, even thickness so every slice cooks consistently, with no thin overcooked ends or thick undercooked sections in the middle.
3.How long do I need to sous vide a standard 2–3 pound beef tenderloin roast? ▾
For a standard 2–3 pound tied tenderloin, 2.5 hours at your target doneness temp is the sweet spot to get even heating all the way through. You can leave it in the water bath for up to 4 hours total without the texture turning mushy, which is a lifesaver if your dinner timeline shifts.
4.Do I need to season the beef before putting it in the sous vide bag? ▾
Absolutely! Season the roast generously all over with kosher salt and black pepper before bagging, then tuck half the crushed garlic and half the thyme sprigs in the bag with it. This lets the salt and herb flavors infuse deep into the meat as it cooks, instead of only sitting on the surface.
5.How do I get a crispy golden crust after sous vide, since the meat comes out wet? ▾
First, pat the cooked tenderloin completely dry with paper towels—surface moisture is the biggest enemy of a good, crisp sear. Heat a cast iron skillet over high heat, add a splash of high-smoke-point oil, then sear all sides for 30–45 seconds per side, adding butter and remaining herbs to baste at the end.
6.Can I prep this tenderloin ahead of time for a dinner party? ▾
You sure can! Season, bag, and chill the raw tenderloin in the fridge up to 24 hours before you plan to cook it. Once it’s done sous vide, you can chill it quickly in an ice bath, keep it cold for up to 2 days, then do the final sear right before serving for low-fuss entertaining.
7.Why are the garlic and thyme divided instead of added all at once? ▾
The first half goes in the sous vide bag to mellow and infuse deep into the beef as it cooks at low temperature. The second half gets added to the hot pan with butter during the final sear, creating bright, aromatic garlic herb butter to spoon over the roast for a fresh, bold flavor contrast.
8.Do I need a vacuum sealer to make this sous vide recipe? ▾
Not at all! You can use the water displacement method with a regular heavy-duty zip-top freezer bag. Just lower the seasoned beef and herbs into the water slowly, letting water pressure push all air out of the bag, then seal it right above the water line, making sure no water leaks in as it cooks.
9.How long should I let the tenderloin rest after searing before slicing? ▾
Unlike traditionally roasted tenderloin, sous vide meat barely needs a long rest—5 to 10 minutes tented loosely with foil is all you need. Since the meat is evenly cooked all the way through, very little juice will run out when you slice, so you don’t have to wait long to serve.
10.Do I need to adjust cook time if I’m using a larger 4+ pound tenderloin? ▾
For roasts 4 pounds and up, bump the sous vide cook time to 3.5 to 4 hours to make sure the center hits your target doneness temp evenly. Don’t cut the cook time short, and double check that your roast stays fully submerged the whole time to avoid cold spots that cause uneven cooking.
11.Will the garlic in the sous vide bag turn bitter during the long cook? ▾
The crushed garlic you add to the sous vide bag won’t turn bitter at all, because the low, consistent sous vide temperature (usually 125–135°F for tenderloin) is too low to burn or harshly caramelize garlic. It will mellow into a soft, sweet garlic flavor that infuses gently into the beef as it cooks.
12.Can I use dried thyme instead of fresh sprigs if that’s all I have on hand? ▾
Fresh thyme delivers the brightest, most balanced flavor for this recipe, but if you only have dried, use 1 teaspoon of dried thyme in the sous vide bag (dried herbs are far more concentrated than fresh). Skip adding dried thyme to the searing butter, as it burns quickly and leaves a harsh, bitter aftertaste.

Comments (14)

2 days ago

OMG, made this for my husband’s birthday dinner last weekend and he said it’s better than the $80 steakhouse tenderloin we splurge on for our anniversary! The garlic herb butter is absolute perfection—I made a double batch to slather on roasted veggies too. SO good, even my super picky 10 year old cleaned his entire plate without complaining. Total game changer for our special occasion family meals!

1 day ago

Wait, did you get a nice crispy sear on it after the sous vide? I tried a different tenderloin recipe last month and couldn’t get that crust right without overcooking the edges!

20 hours ago

Great question! Pat the beef completely dry with paper towels immediately after taking it out of the sous vide bag, then sear in a ripping hot cast iron skillet with a splash of avocado oil for just 60-90 seconds per side. You’ll get that perfect crispy crust without raising the internal temp too much!

5 days ago

This was so delicious! The only tweak I made was adding a little extra rosemary to the butter because my household is obsessed with rosemary. Cooked it for our weekly Sunday potluck with neighbors and everyone asked for the recipe. My kids loved it so much they asked for it again this weekend! Only reason it’s not 5 stars is I wish the cook time was a little shorter for weeknights, but totally worth it for weekends!

4 days ago

So glad it was a hit at your potluck! If you’re short on time during the week, you can pre-make the garlic herb butter 2-3 days ahead and store it in the fridge to cut down on prep work!

30 minutes ago

Just pulled this off the stove, seared it up, and had my first bite. Are you KIDDING me? This is so tender I barely needed a knife. Garlic butter is so flavorful I could eat it by the spoonful. 10/10, will be making this for every holiday from now on.

1 week ago

Was nervous to try sous vide for the first time because I thought it’d be super complicated, but this recipe was so straightforward! Took it to my buddy’s game night and the guys went crazy for it. My 7 year old said it tastes like “fancy restaurant cow” which is the highest compliment I’ve ever gotten on a home cooked meal.😂

5 days ago

How did you season it before putting it in the water bath? I’m about to make this for my first sous vide cook too and I don’t want to mess it up!

2 weeks ago

Obsessed! We’ve been looking for a showstopper gluten free main for our annual Christmas dinner and this checks every box. The beef comes out perfectly edge-to-edge medium rare just like the recipe says, no weird gray bands at all. The garlic herb butter adds so much depth without overpowering the beef flavor. 100% adding this to our permanent recipe rotation!

1 week ago

Did you serve this with anything specific? I’m making this for my Christmas dinner this year and need side ideas!

6 days ago

We served it with roasted garlic mashed potatoes and roasted asparagus! It paired perfectly, and everyone went back for seconds. Would definitely recommend!

5 minutes ago

Made this for my post-backpacking trip dinner with my trail crew and everyone was raving. We’d been eating dehydrated meals for 5 days straight, so this juicy, buttery tenderloin felt like a 5 star meal. The cook time was totally manageable even when I was tired from driving back from the trailhead. No notes, perfect recipe!

3 days ago

Made this for date night with my partner and they were so impressed they thought I ordered takeout from a fancy steakhouse! Only small issue I had was my butter started to burn a little when I was searing, but that was totally my fault for having the pan too hot at first. Flavor was unreal though, will absolutely make again.

2 days ago

So happy your date night was a hit! To prevent the butter from burning during searing, add the butter to the pan right at the end of the searing process, baste for 30 seconds or so, then pull the tenderloin off the heat. Works every time!

yesterday

Brought this to my office potluck today and people were literally standing around the platter asking who made it. I cooked it to 135F for medium, which was perfect for most people’s preferences. The garlic herb butter solidified a little on the top while it rested, but that just made it taste even better tbh. Zero leftovers, that’s how you know it’s good!

3 hours ago

Wait, did you slice it before bringing it in or keep it whole? I need to bring a main to our office potluck next week and this looks perfect!

1 week ago

This recipe is a staple in our low carb meal prep rotation! I make a big tenderloin every Sunday, slice it up, and eat it with salads and roasted veggies all week. It stays juicy even after reheating, which I was worried about with sous vide. The garlic herb butter adds so much fat and flavor, no need for any extra sauces. Obsessed!

5 days ago

How do you reheat it without making it tough? I tried reheating sous vide steak in the microwave once and it turned into shoe leather lmao

4 days ago

Great question! For best results when reheating, either dunk the sealed slices in a 130F water bath for 5 minutes, or sear quickly in a hot pan for 30 seconds per side. The microwave will make it tough fast, so we recommend avoiding that if you can!

just now

Flavor was great, don’t get me wrong, but I’m used to grilling my steaks over charcoal so I missed that smoky flavor. I’ll probably add a little smoked paprika to the rub next time to mimic that, and maybe toss a tiny bit of liquid smoke in the butter. If you don’t care about smoky flavor this is a perfect tenderloin recipe, just not 100% for my personal taste.

2 weeks ago

I’ve been cooking beef tenderloin for family holidays for over 40 years, and this is hands down the best method I’ve ever tried. It was so juicy and evenly cooked, no more well done ends and rare middle like I get when I roast it in the oven. My grandkids kept asking for seconds, which never happens with my usual roast! Thank you for sharing this wonderful recipe.

1 week ago

This makes our day to hear, Maggie! There’s no higher compliment than a home cook with decades of experience loving a recipe. So happy this worked out for your family dinner!

2 hours ago

Made this for my fraternity’s formal dinner last night and it was a hit. We had like 30 guys over and I cooked two full tenderloins, not a single piece left. Was worried I’d mess up cooking for that many people but the sous vide method made it impossible to overcook, even when I got distracted playing beer pong for 20 minutes extra.😂

1 hour ago

Lmao did you really leave it in 20 minutes extra? That’s the best part of sous vide, you can’t mess up the timing too bad! Adding this to our rush week menu now

3 days ago

Loved how this turned out! Beef tenderloin is a splurge for our family, so I was nervous to waste money on a bad recipe, but this delivered. The only reason for 4 stars instead of 5 is I wish the recipe had specific temperature recs for different doneness levels – I like medium rare, my husband likes medium, my kids like medium well, so I had to look that up elsewhere to time pulling their pieces out. Flavor was 10/10 though!

2 days ago

Pro tip! If you have different doneness preferences, you can clip the tenderloin to the side of the sous vide container so the thinner end (which cooks faster for well done) is higher up in the water, which is a little cooler! I do that for my family all the time

1 day ago

Thank you so much for the feedback, Beth! We’ll be updating the recipe card this week to include temperature guides for rare, medium rare, medium, and medium well so future cooks don’t have to look that up. We appreciate you letting us know!

yesterday

Paired this with a bold cabernet sauvignon for our small dinner party last night and it was *chef’s kiss*. The herbs in the butter (thyme, rosemary, garlic) paired perfectly with the wine, and the beef was so melt-in-your-mouth tender. All three of our guests asked for the recipe before they left, and one is already making it for her anniversary next weekend. Can’t ask for a better review than that!



