
takeaway chicken fried rice

title 1
takeaway chicken fried rice
⏱️ cook time 12 minutes
🍽️ servings 4
⚡ Difficulty easy

intro

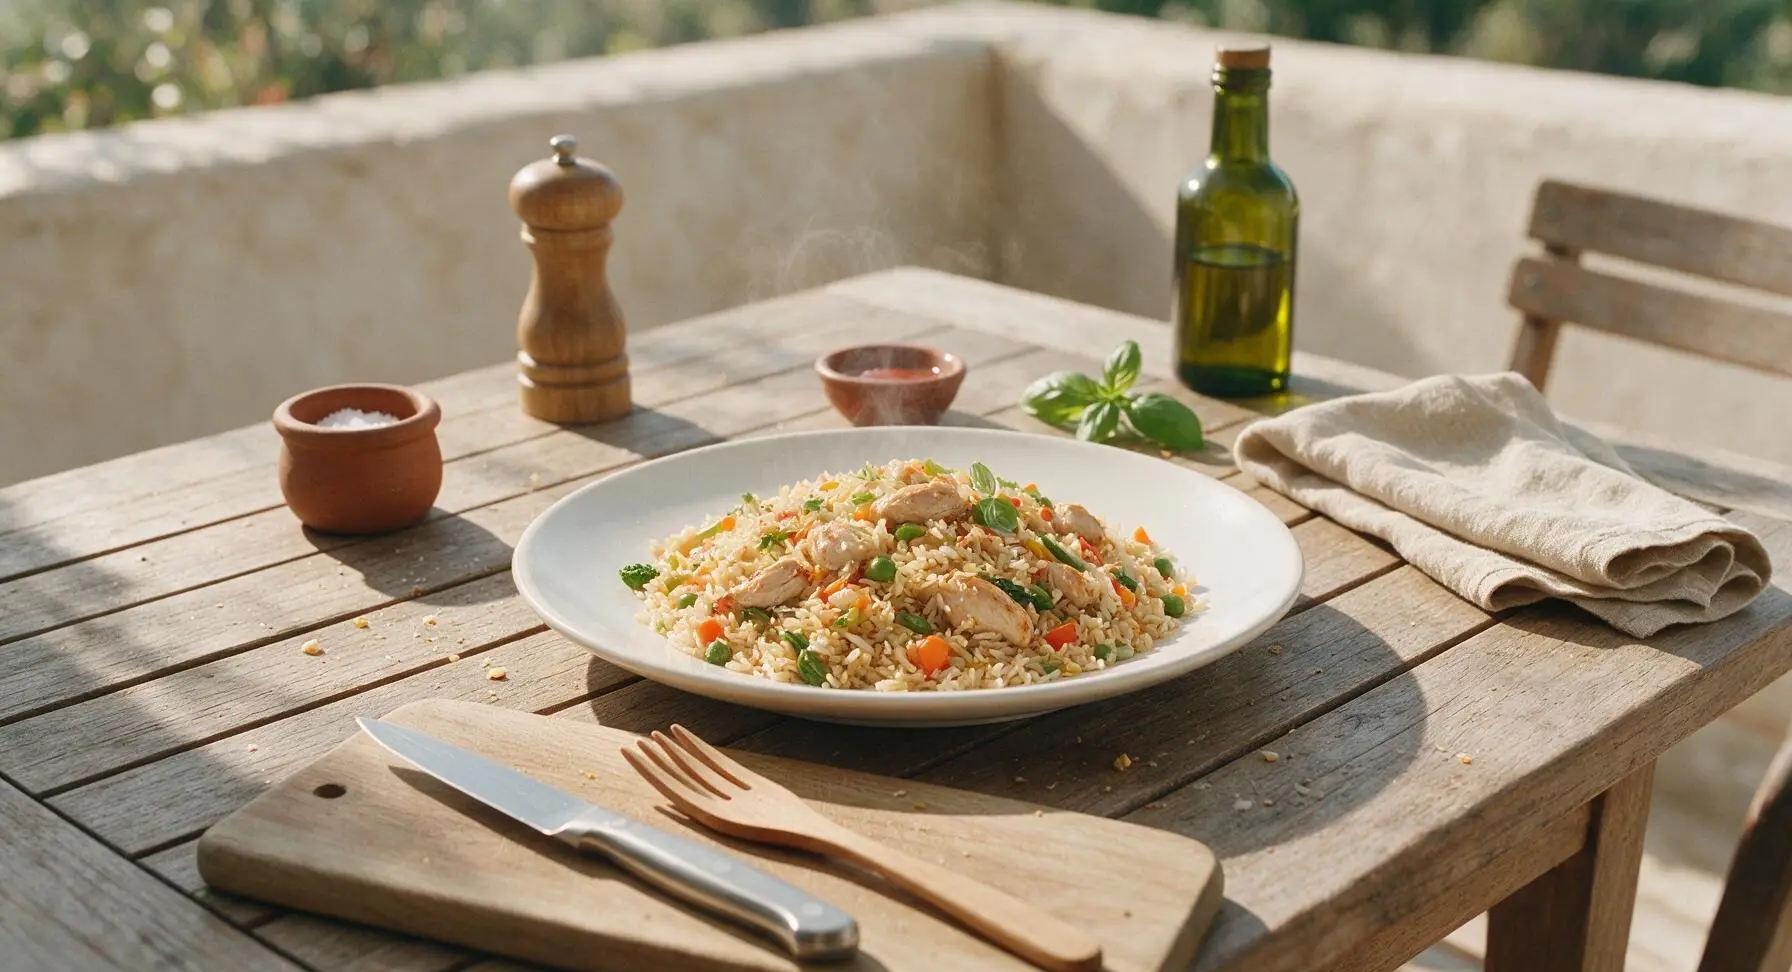
Fluffy, umami-packed takeaway-style chicken fried rice with glossy separate grains, tender chicken, and classic veg, ready faster than waiting for delivery.

Ingredients
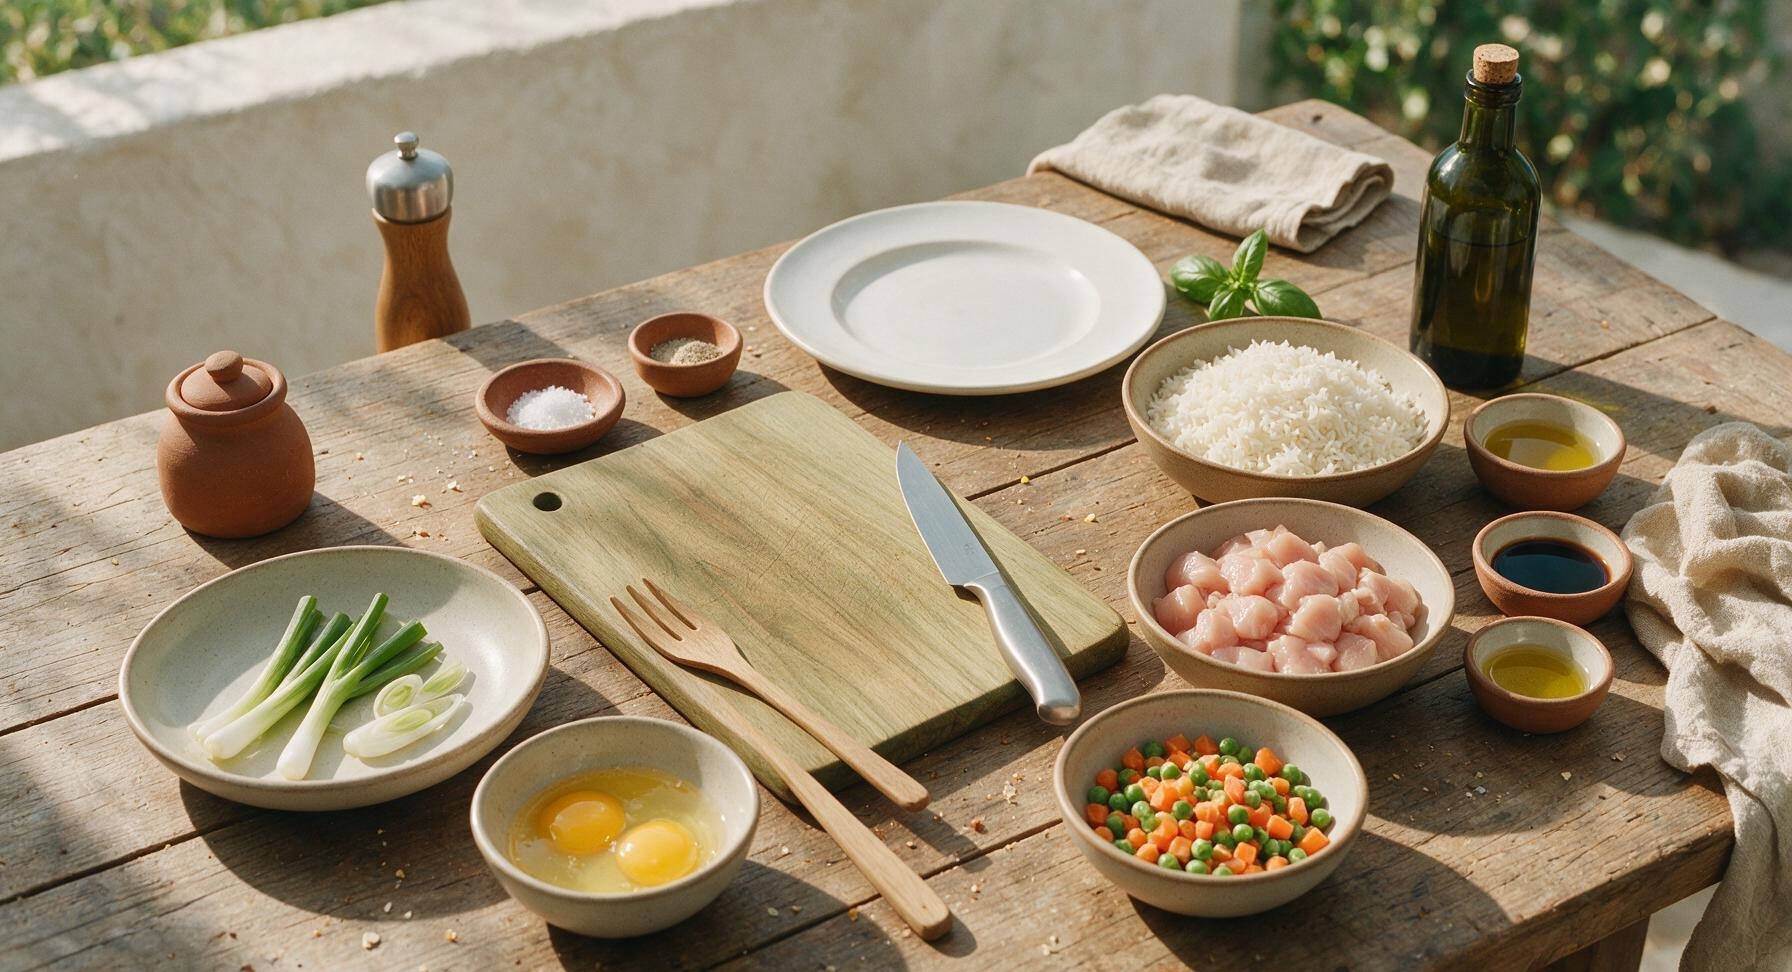
Cold cooked long-grain white rice (day-old preferred) 600g (approx 4 cups)
Boneless skinless chicken breast, diced into 1cm cubes 300g
Large eggs, lightly beaten 2
Frozen mixed peas and carrots 150g
Spring onions (scallions), sliced, white and green parts separated 4 stalks
Light soy sauce 3 tbsp
Neutral cooking oil (canola/sunflower) 2 tbsp
Toasted sesame oil 1 tsp
Ground white pepper 1/4 tsp
Fine sea salt 1/4 tsp

Steps

1

Prep all ingredients

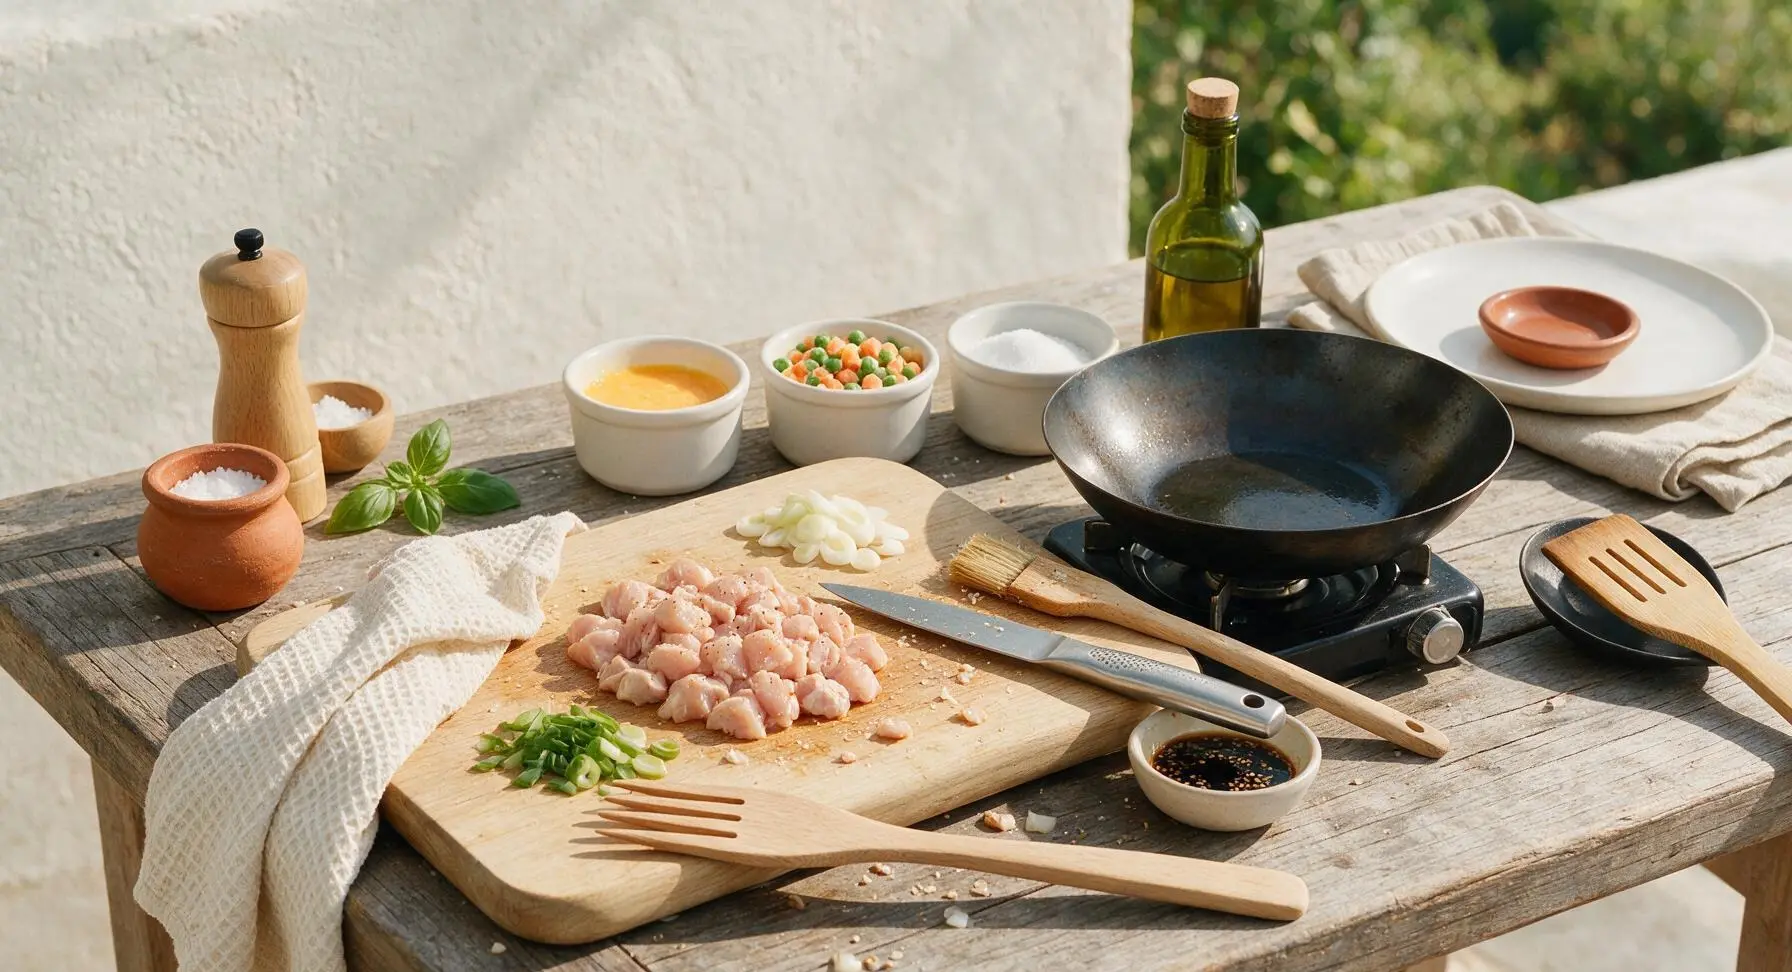
Pat diced chicken dry with a corner of the draped cream tea towel, season with 1/8 tsp fine sea salt and a pinch of ground white pepper. Slice spring onions, separating firm white bulb parts from tender green tops. Lightly beat eggs in one small matte white ramekin, measure frozen peas and carrots into a second ramekin, and portion soy sauce and sesame oil within easy reach. This fast-moving stir-fry requires all ingredients to be prepped before heating the wok.
Step 1
step1:Prep all ingredients
2

Scramble soft egg curds

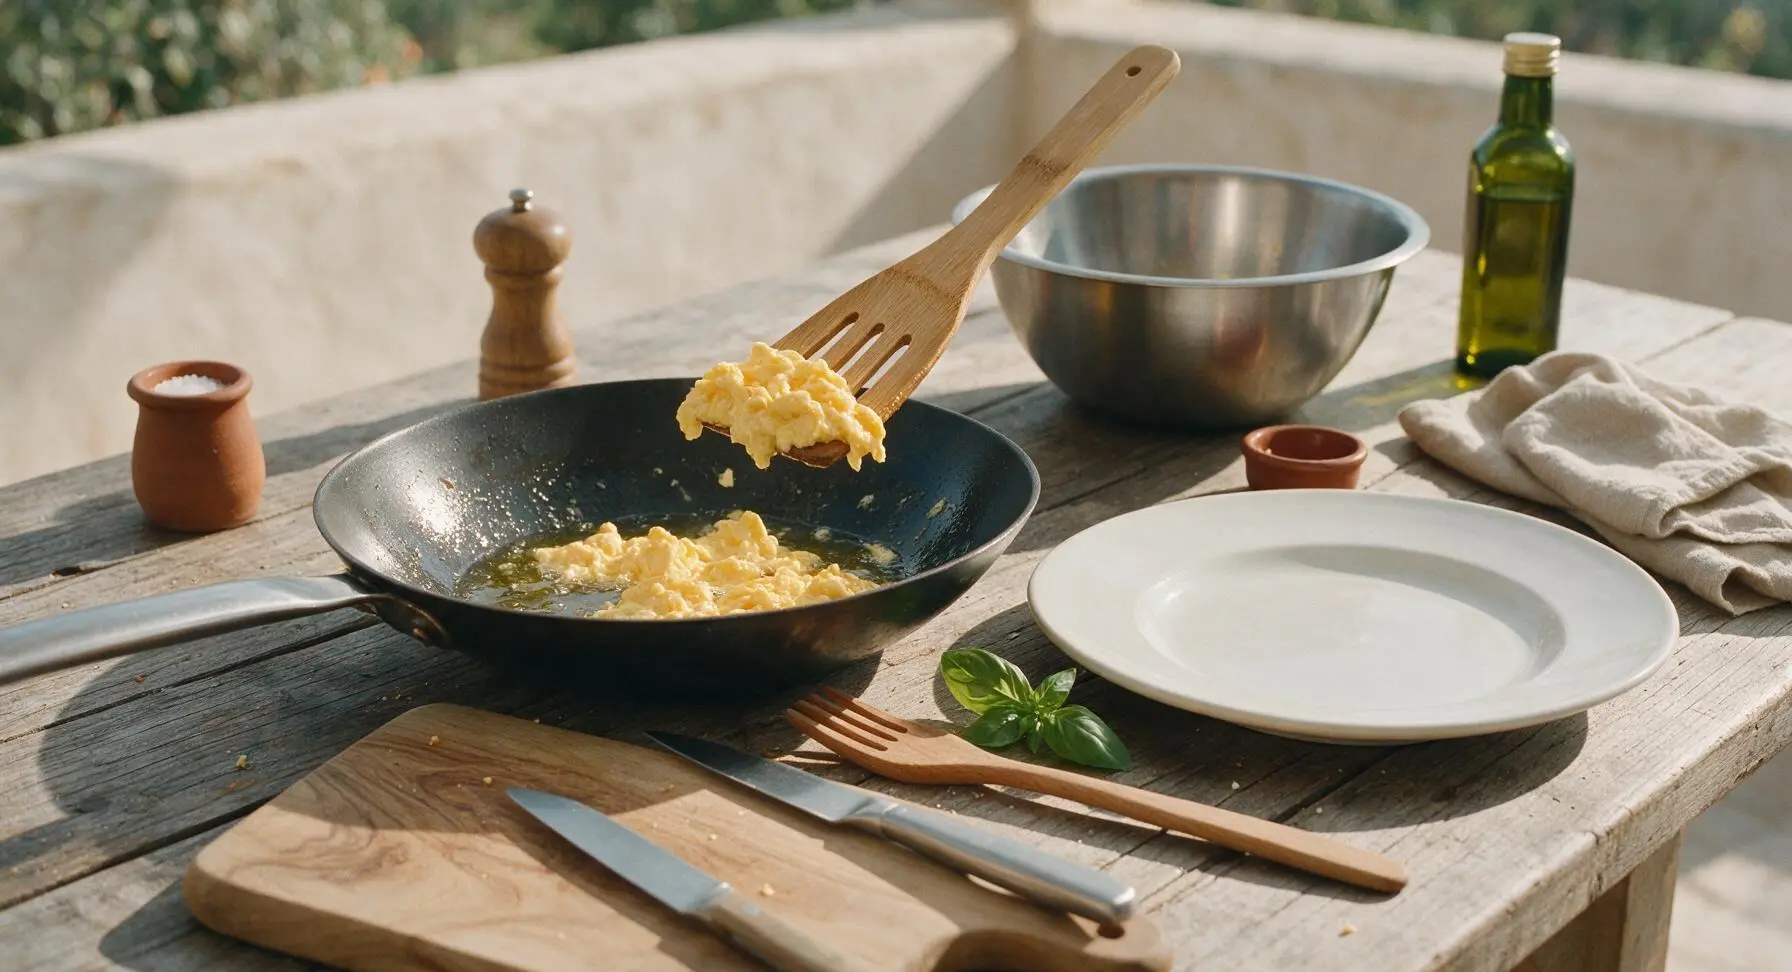
Heat 1/2 tbsp neutral cooking oil in the wok over medium-high heat (180°C/350°F) until the oil shimmers and moves easily across the pan surface. Pour in the beaten eggs, and use the bamboo spatula to gently push and scramble the eggs for 45-60 seconds, forming soft, pale golden curds that are just fully set with no runny liquid remaining. Do not brown the eggs. Scoop cooked eggs into the stainless steel mixing bowl positioned at back right, and set aside temporarily.
Step 2
step2:Scramble soft egg curds
3

Sear diced chicken

Add another 1/2 tbsp neutral oil to the same wok, turning heat up to high (220°C/425°F). Add the seasoned diced chicken in a single, even layer, and leave completely undisturbed for 1 full minute to develop a light golden sear on the bottom. Toss and stir-fry for an additional 1.5-2 minutes, until chicken is fully opaque, cooked through (internal temperature 75°C/165°F, no pink remaining), and lightly browned at the edges. Scoop seared chicken into the same stainless steel mixing bowl as the scrambled eggs.
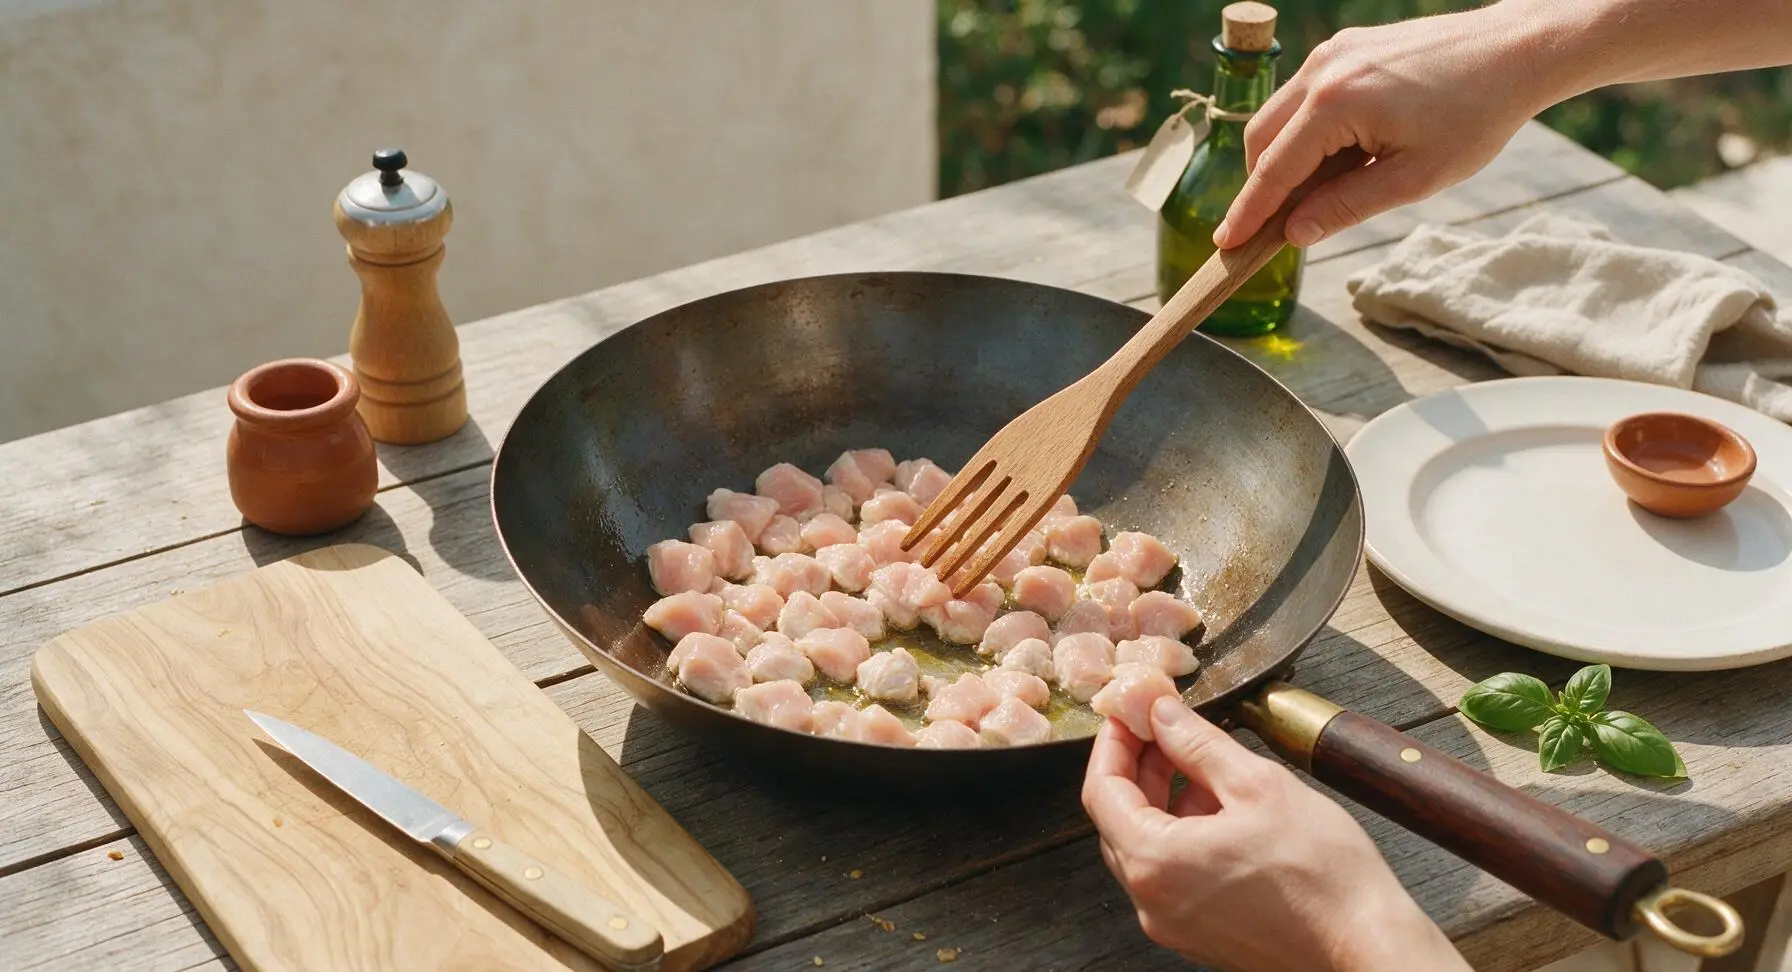
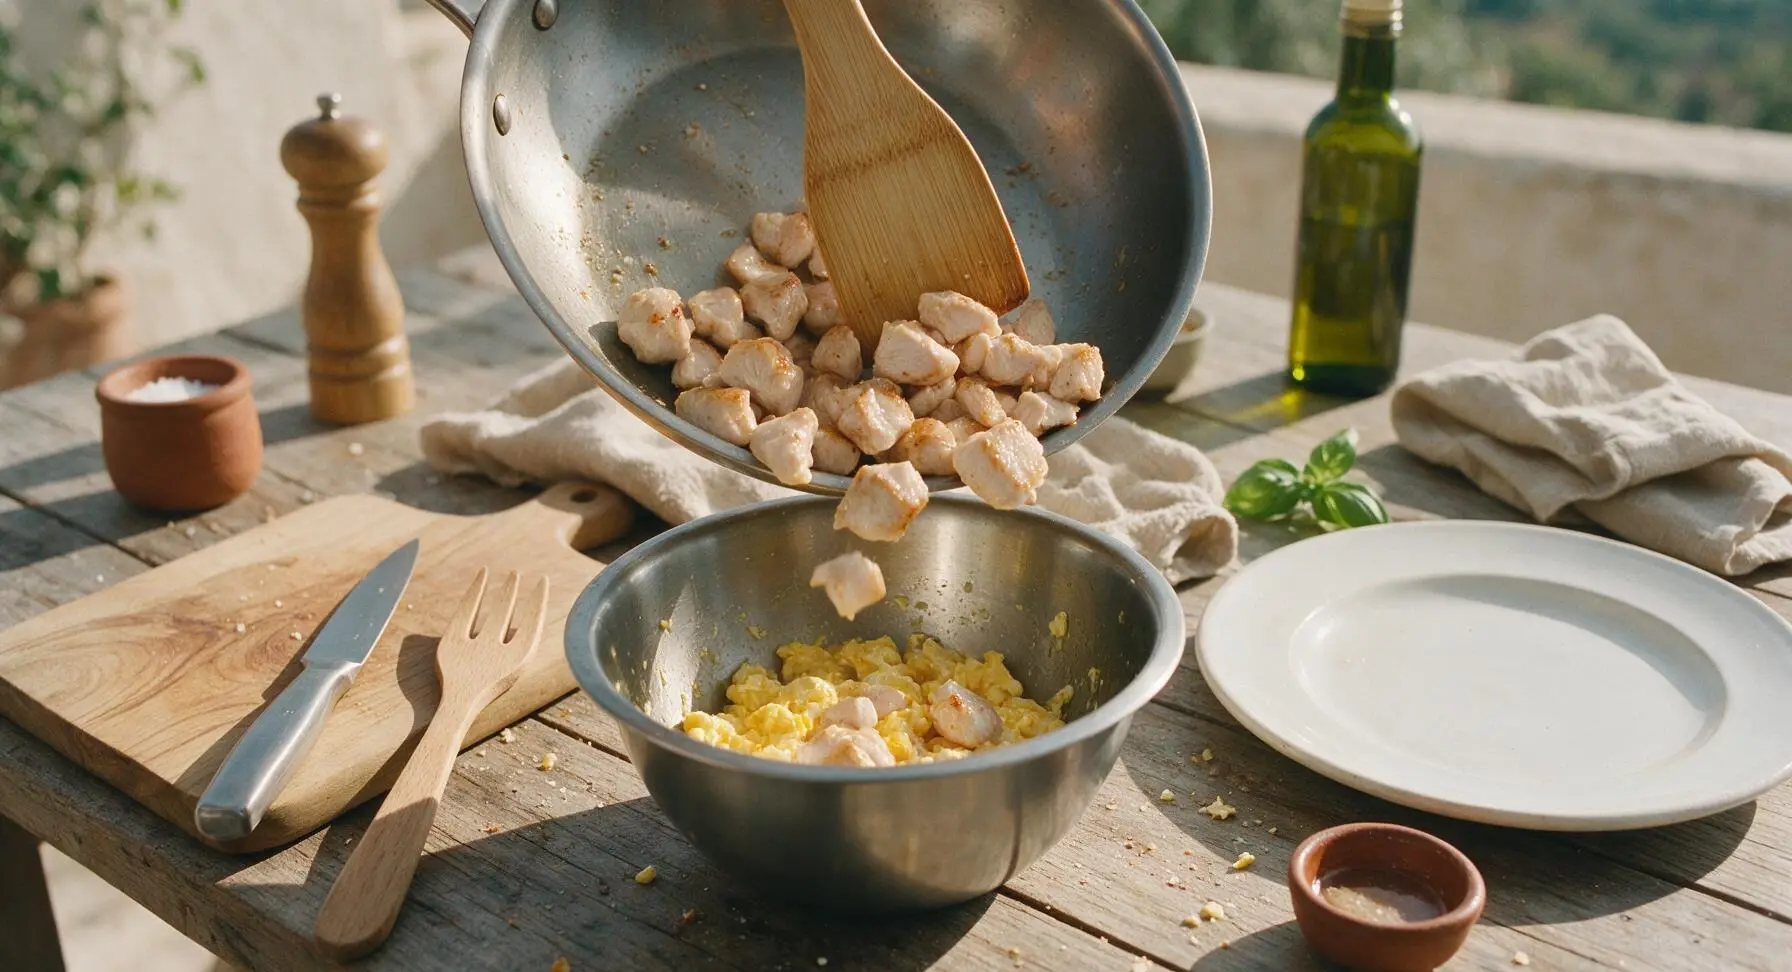
Step 3
step3:Sear diced chicken
Step 3
step3:Sear diced chicken
4

Sauté aromatics and veg

Add the remaining 1 tbsp neutral oil to the wok, keeping heat on high. Toss in the sliced spring onion whites, and stir-fry for 15 seconds until fragrant and slightly softened. Add frozen peas and carrots, and stir-fry continuously for 2 minutes, until vegetables are crisp-tender, bright in color, and all frozen ice clumps have fully melted and evaporated.
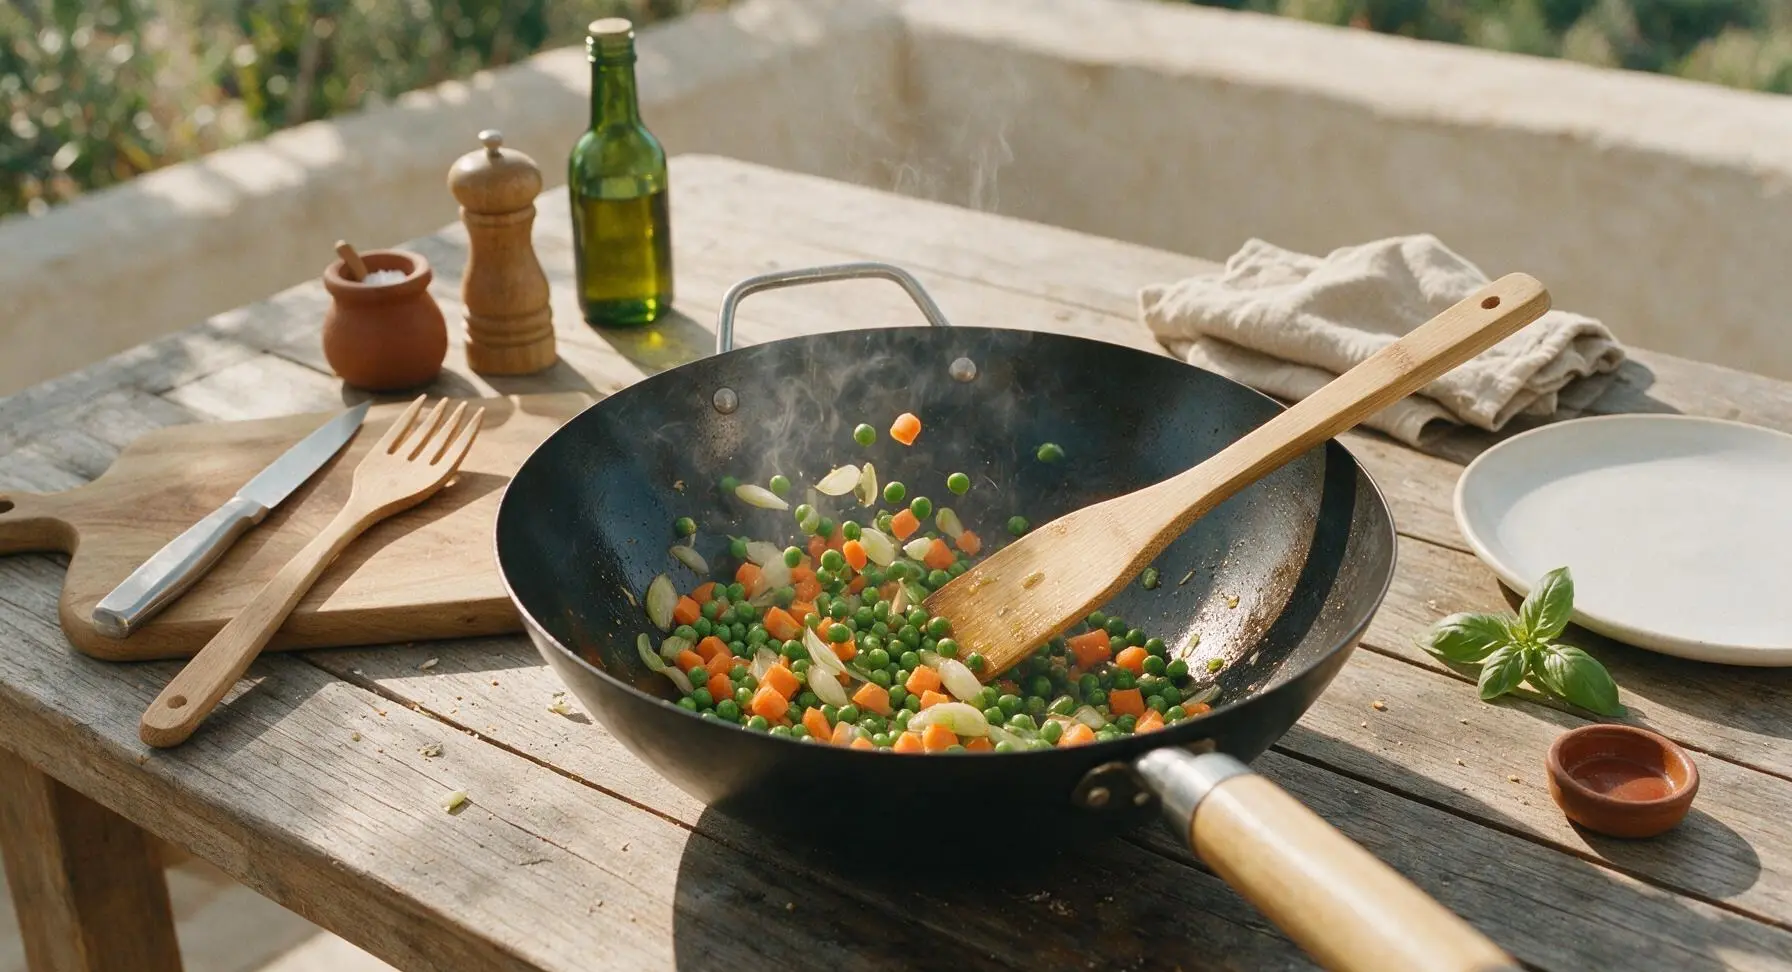
Step 4
step4:Sauté aromatics and veg
5

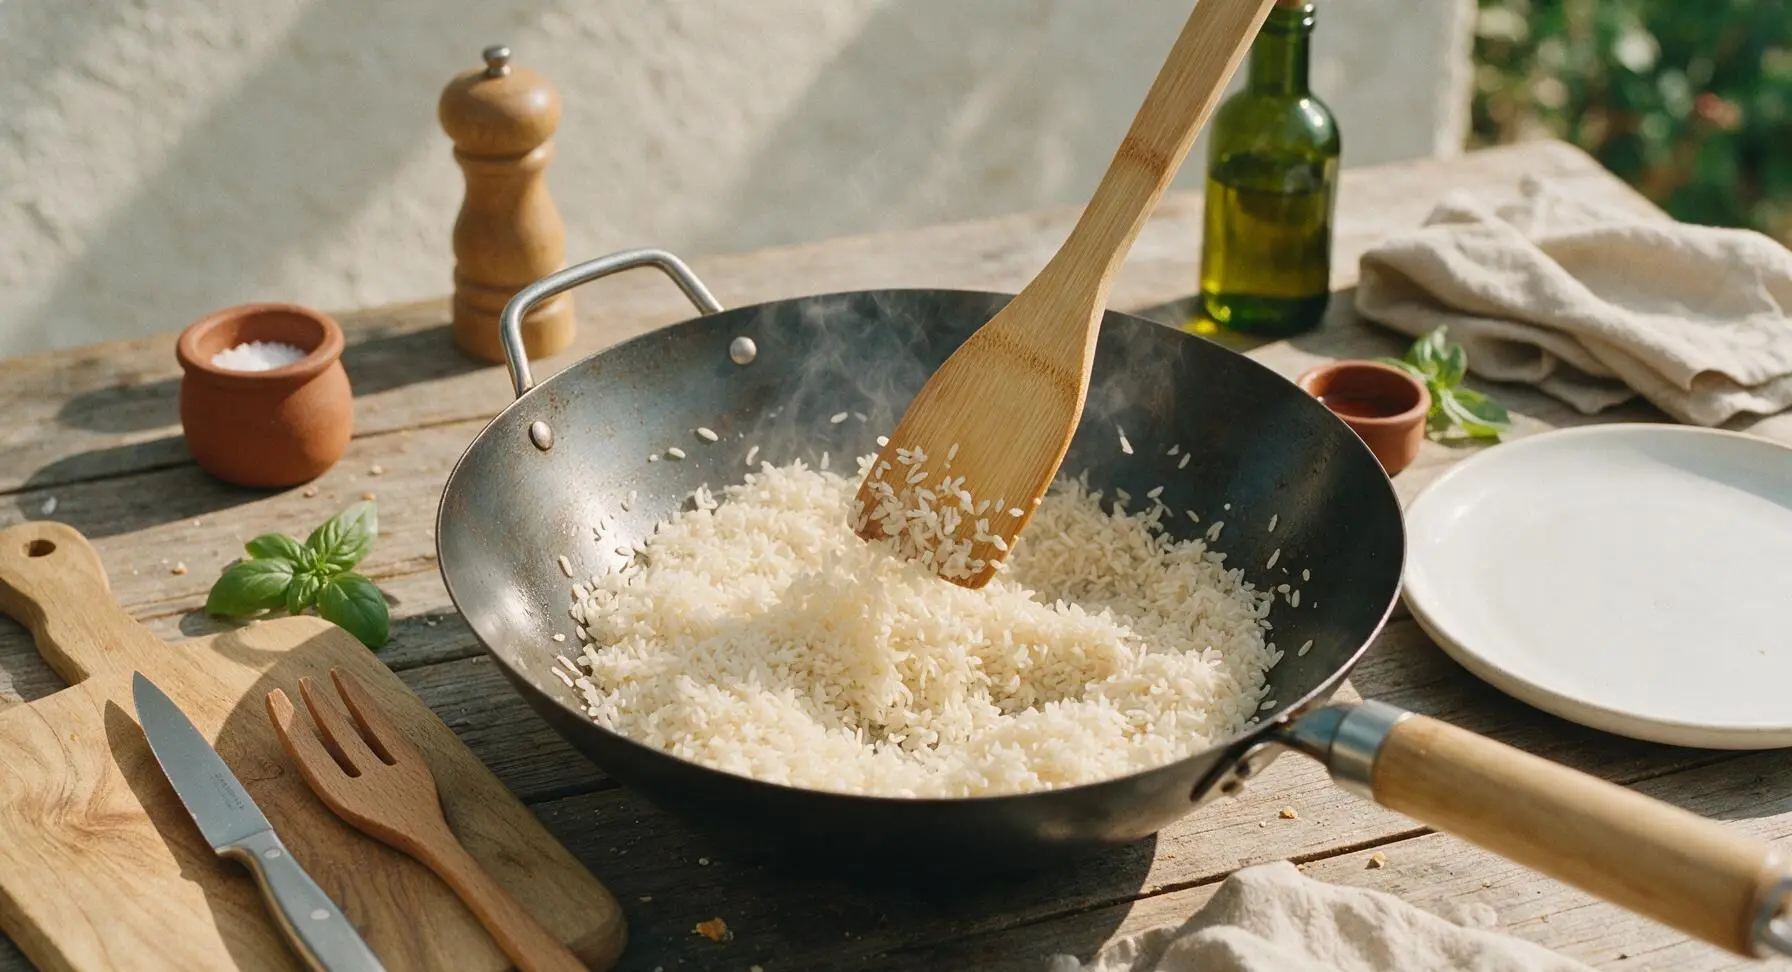
Toast and separate rice

Add all cold, day-old cooked rice to the wok on top of the sautéed vegetables. Use the flat edge of the bamboo spatula to gently press and break apart any large, compacted rice clumps, taking care not to mash or crush individual grains. Toss continuously over high heat for 3 full minutes, toasting the rice until every grain is separate, warmed through, and has a faint nutty, toasty aroma.
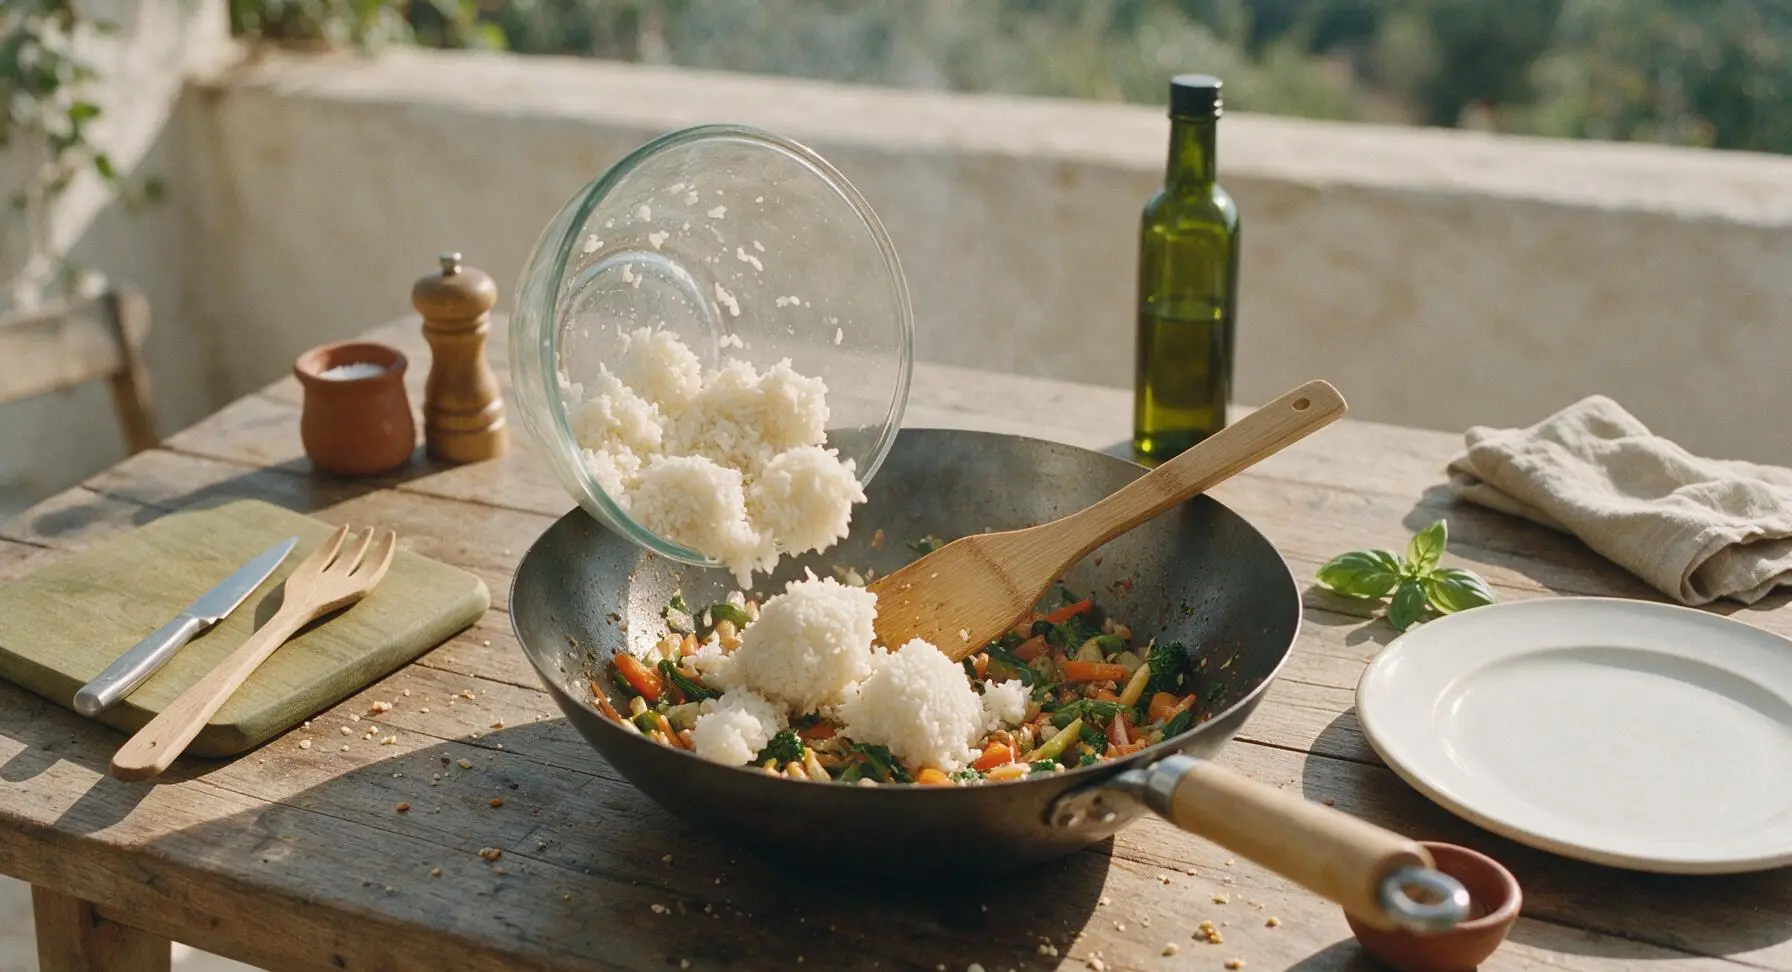
Step 5
step5:Toast and separate rice
Step 5
step5:Toast and separate rice
6

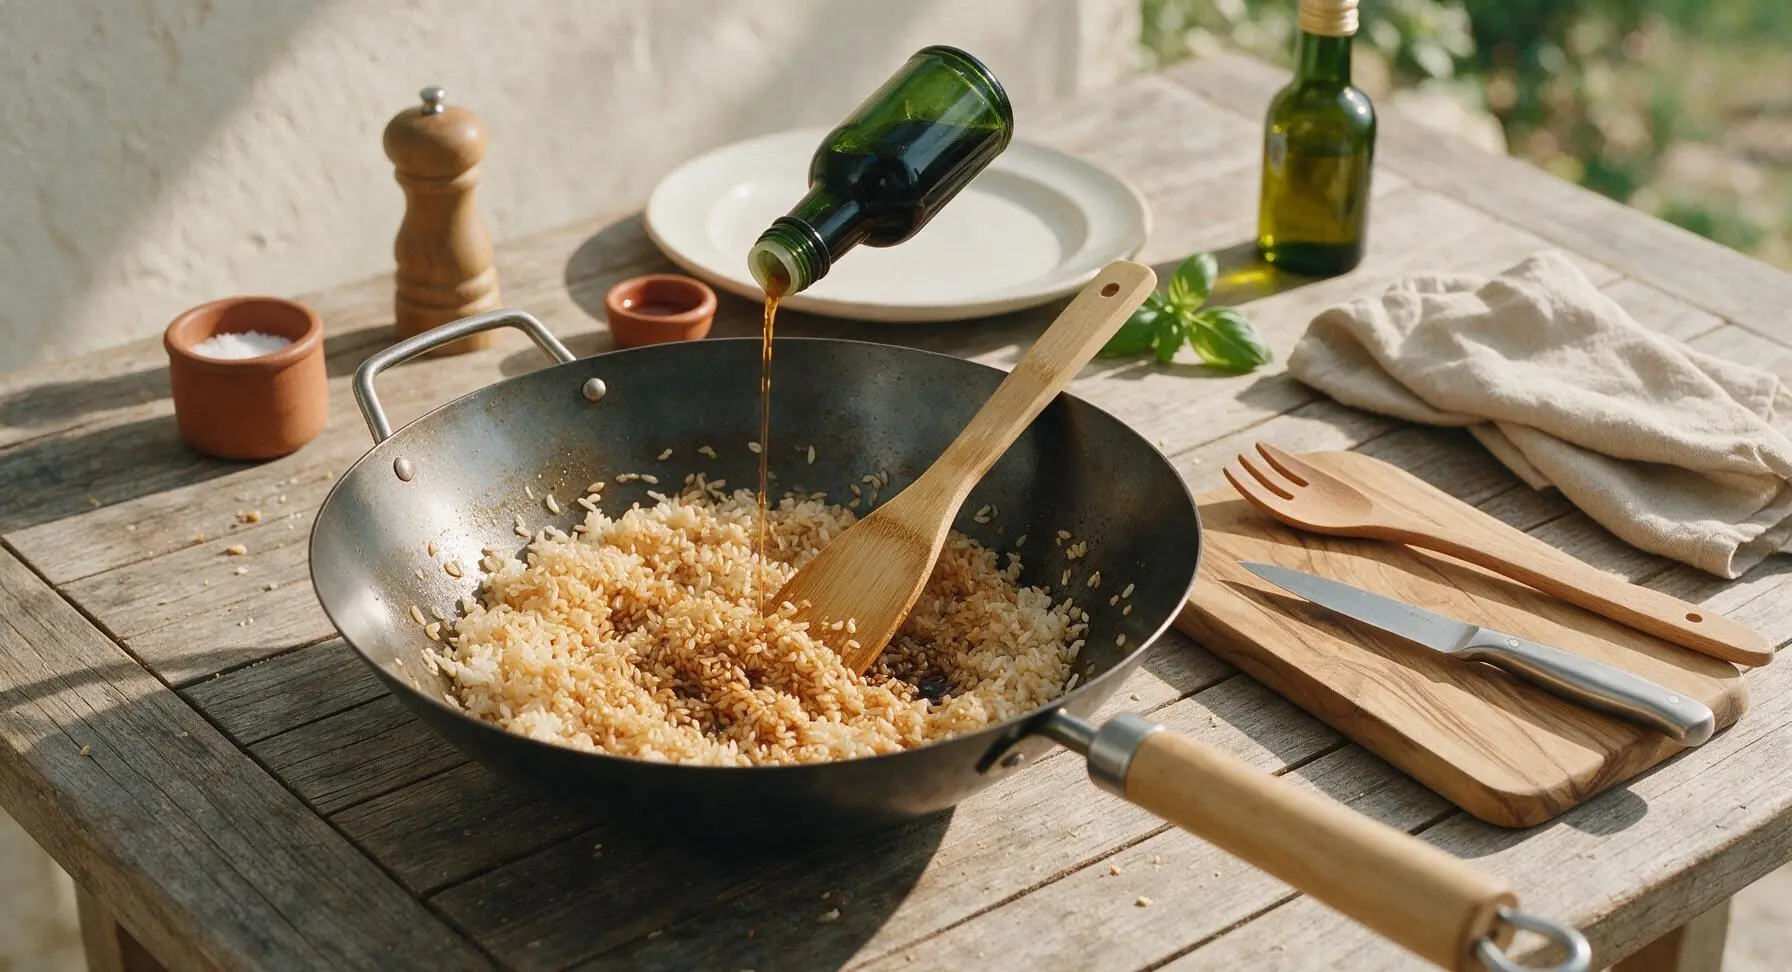
Add seasonings evenly

Drizzle light soy sauce in a thin, even stream across the entire surface of the rice (avoid pouring all soy sauce in one spot, which creates soggy, overly salty patches). Add ground white pepper and the remaining 1/8 tsp sea salt, then toss continuously over high heat for 2 minutes, until every grain of rice is coated in an even, light golden tan color, with no pale, unseasoned white clumps remaining.
Step 6
step6:Add seasonings evenly
7

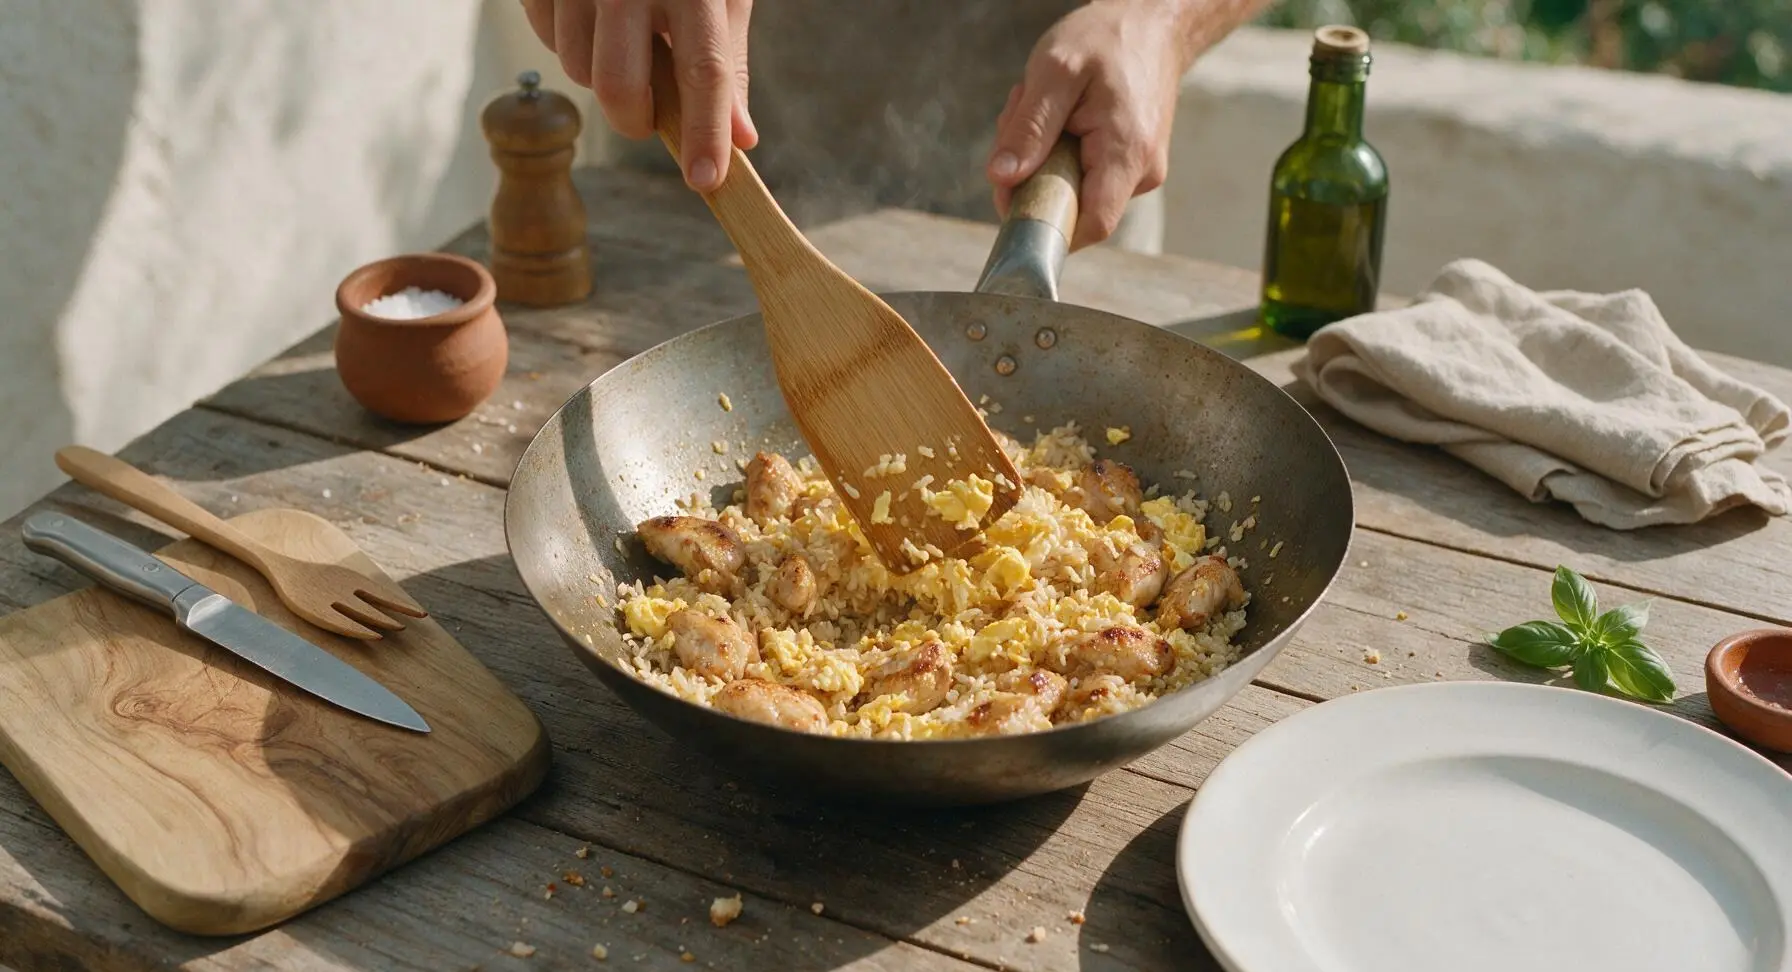
Combine all components

Add the reserved cooked chicken and scrambled eggs back into the wok with the seasoned rice. Use the edge of the bamboo spatula to break the scrambled eggs into small, bite-sized curds as you toss all ingredients together over high heat for 1 minute, until chicken and egg are evenly distributed throughout the rice, with no large clumps of egg or chicken clustered together.
Step 7
step7:Combine all components
8

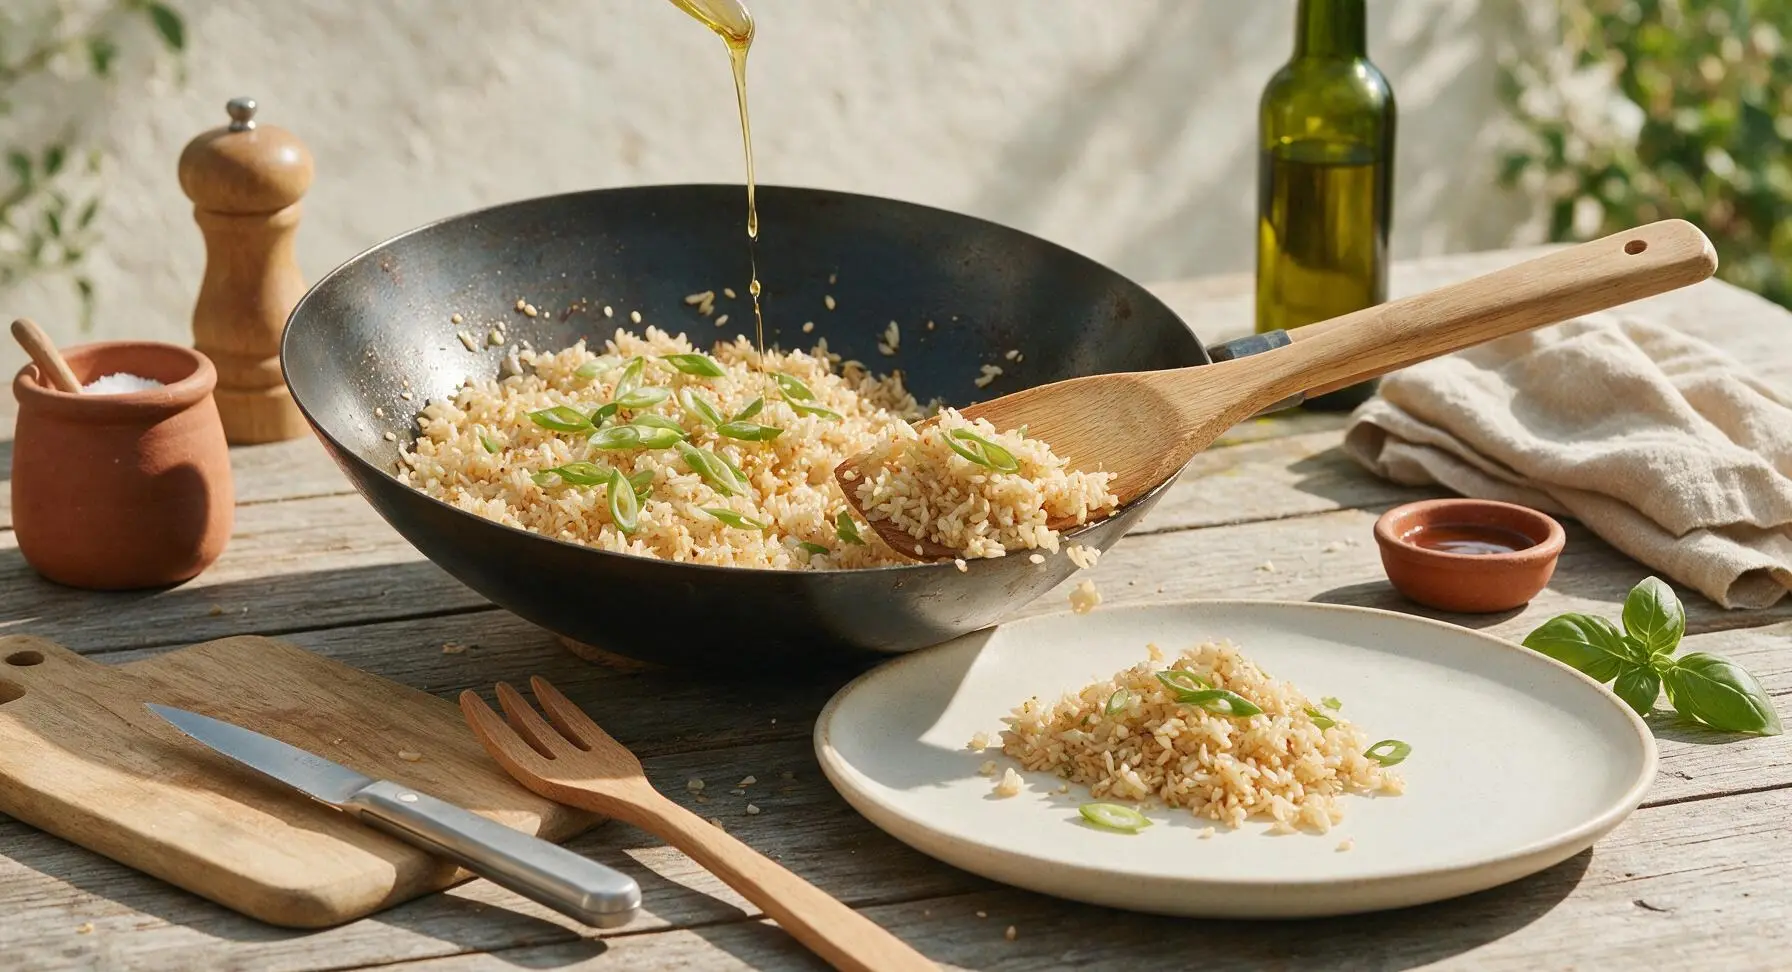
Finish and serve hot

Turn off the stovetop heat. Drizzle toasted sesame oil over the rice, add 3/4 of the sliced spring onion greens, and give one final, gentle toss to combine. Transfer the finished fried rice to the fixed matte off-white ceramic dinner plate at front right, mounding it slightly in the plate center, and top with the remaining spring onion greens as a fresh garnish.
Step 8
step8:Finish and serve hot

Tips

1.Always use cold, day-old cooked long-grain rice instead of fresh, warm rice. Freshly cooked rice holds excess surface moisture that will turn fried rice mushy and clumpy, while cold rice firms up in the refrigerator for light, separate grains that match takeaway texture.
2.Keep stovetop heat on high for all stir-frying steps (except the final off-heat finish). Takeaway fried rice gets its signature subtle smoky 'wok hei' flavor from fast, high-heat cooking; low heat will steam the rice instead of toasting it, leading to soggy, bland results.
3.For the most authentic takeaway taste, drizzle soy sauce along the hot inner edge of the wok instead of pouring directly onto cold rice. The hot metal lightly caramelizes the soy sauce as it flows down into the rice, creating a deep, savory depth instead of a flat, harsh salty flavor.


✨ You May Also Like

Main Course
🍜 United Kingdom

A showstopping classic of tender seared beef, savory mushroom duxelles, and crisp prosciutto wrapped in flaky golden puff pastry, baked to juicy perfection.

⏱️ 2 hours 1Main Course ★ 4.7
Main Course
🍜 India

Tender charred marinated chicken simmered in a rich, spiced creamy tomato sauce, this iconic Anglo-Indian curry pairs perfectly with basmati rice or warm naan.

⏱️ 50 minuteMain Course ★ 4.6
Main Course
🍜 Thailand

Classic tangy, sweet, and savory Thai stir-fried rice noodles with shrimp, tofu, and crunchy garnishes, balancing all five core Thai flavor profiles.

⏱️ 30 minuteMain Course ★ 4.5
Main Course
🍜 United Kingdom

Crispy golden beer-battered cod and fluffy double-fried chips, served with tangy tartar sauce and malt vinegar: the timeless, beloved British pub comfort classic.

⏱️ 45 minuteMain Course ★ 4.7
Main Course
🍜 Mexico

Smoky, chile-marinated pork tacos with caramelized pineapple, fresh cilantro, and lime: a beloved classic Mexican street food perfect for casual summer gatherings.

⏱️ 1 hour 45Main Course ★ 4.8
Main Course
🍜 United States

Crunchy Fritos corn chips layered with savory beef chili and melted cheddar, topped with cool, zesty fixings for a beloved, cozy Tex-Mex comfort food.

⏱️ 35 minuteMain Course ★ 4.8

takeaway chicken fried rice:Frequently Asked Questions

1.Why does the recipe call for day-old cold long-grain rice instead of fresh cooked rice? ▾
Freshly cooked rice holds too much surface moisture, which leads to mushy, clumped fried rice instead of the glossy, separate grains takeout is known for. Day-old cold rice dries out slightly as it chills, so grains hold their shape and soak up seasoning without turning soggy. If you’re short on time, spread fresh rice on a tray and chill it for 1 hour before use.
2.Can I substitute boneless, skinless chicken thighs for the chicken breast in this recipe? ▾
Absolutely! Boneless, skinless chicken thighs have a touch more fat, so they stay extra tender and juicy even over the high heat used for stir frying, which works beautifully here. Just dice them to the same 1cm cube size the recipe specifies for breast, and cook them the same way, confirming they reach 165°F internal temp before adding other ingredients.
3.Why do I need to separate the white and green parts of the scallions when prepping? ▾
The firm, sharp-tasting white parts of scallions need a short cook time to mellow their bite, so we add them early alongside veggies to build the recipe’s savory flavor base. The delicate, mild green parts cook in seconds, so we toss them in at the very end to add a bright, fresh pop of color and light onion flavor just like your local takeout spot.
4.How do I keep the frozen peas and carrots from turning mushy in the fried rice? ▾
Skip thawing your frozen peas and carrots entirely! Thawing makes them release excess water that leads to soggy, oversoft veggies and watery rice. Toss them straight from the freezer into the hot pan right after cooking the chicken, and stir fry for just 1 to 2 minutes—they’ll heat through fully, stay tender-crisp, and won’t dilute the dish’s savory flavor.
5.How do I get that signature glossy, separate rice grain texture just like takeout? ▾
The trick is using fully preheated high heat, a well-oiled pan, and not over-stirring the rice too early. Once you add cold rice to the pan, gently break up clumps with a spatula, then let it sit for 30 seconds at a time to toast slightly before tossing. Drizzle seasonings along the pan edge instead of directly on rice to distribute evenly without sogginess.
6.Do I need a wok to make this recipe, or will a regular kitchen skillet work? ▾
You don’t need a specialty wok to nail perfect takeout-style fried rice! A large, 12-inch heavy-bottomed cast iron or carbon steel skillet works perfectly, as long as you preheat it fully before adding oil to prevent sticking. If your skillet is smaller, cook the recipe in two batches so ingredients fry instead of steam, which preserves that classic light, non-mushy texture.
7.What simple seasonings give this rice that classic takeout umami flavor? ▾
Most local takeout spots use a no-fuss, balanced mix: light soy sauce for salt and savoriness, a tiny pinch of ground white pepper for subtle warmth, and a small dash of oyster sauce or MSG for deep, rounded umami. Skip heavy pours of thick dark soy sauce, which will turn rice mushy and overly dark, and taste as you go to avoid over-salting.
8.Does this fried rice work well for meal prep, and how should I store leftovers? ▾
This recipe is ideal for meal prep, since it’s made with dry, chilled rice that holds its texture beautifully. Let finished rice cool completely, then portion it into airtight containers and refrigerate for up to 4 days. Reheat in a skillet over medium heat with a tiny splash of water, or in the microwave for 1 to 2 minutes, fluffing halfway to restore separate grains.

Comments (6)

3 days ago

OMG this is the EXACT takeout fried rice I’ve been trying to replicate for YEARS! 12 minute cook time is no joke, I threw this together last night for my kids after soccer practice and they asked for seconds before I even sat down. Game changer for busy weeknights, no more dropping $30 on takeout for our family of 4. SO good!

2 days ago

Wait did you use day old rice like the recipe says? I only have fresh rice right now and wondering if it’ll still turn out ok

2 days ago

Great question! Fresh rice works too if you spread it out on a baking sheet and pop it in the fridge for 20 minutes to dry out a bit first. Day old is ideal for that classic fluffy, not mushy texture, but that shortcut works in a pinch!

1 week ago

This is going into my weekly meal prep rotation STAT. Super easy, minimal ingredients, doesn’t get soggy when I reheat it for lunch at the office all week. I added a little extra sesame oil because I’m obsessed, would 10/10 make again. Took me exactly 11 minutes from start to finish, wild.

5 days ago

So happy to hear this works for your meal prep! The extra sesame oil is such a good call, that nutty flavor really hits. Thanks for leaving a review!

5 days ago

I brought this to our neighborhood block party potluck last weekend and people were hounding me for the recipe the whole time! Even my picky sister in law who hates ‘takeout copycats’ went back for three servings. I tossed in some extra peas and carrots because I had them in the fridge, zero regrets.

30 minutes ago

Wait y’all this is so easy even I didn’t burn it lmao. I didn’t have chicken so I used frozen shrimp I had in my freezer and it still slapped. Way cheaper than ordering from the Chinese place down the street that charges $12 for a tiny container of fried rice.

5 minutes ago

Ooh shrimp swap sounds so good! Did you cook the shrimp first before tossing it in the rice?

just now

Yeah I sautéed it quick in a little soy sauce and garlic for like 2 minutes before setting it aside, just tossed it back in at the end so it didn’t get rubbery! Worked perfect.

yesterday

Taste was great, but I had to swap the soy sauce for tamari to make it gluten free and it worked pretty well! Only reason I’m not giving 5 stars is I wish the recipe noted what kind of oil to use – I used olive oil first and it smoked a little before I switched to canola. Still turned out tasty though!

yesterday

So glad the tamari swap worked for you! Great note on the oil – I usually use a neutral oil like canola or avocado oil for high heat cooking, I’ll add that note to the recipe card right now to make it clearer for next time! Thanks for the feedback.

2 hours ago

Made this for my girlfriend last night when she said she was craving takeout and she thought I ordered it until I showed her the dirty pan lmao. Win for me. Didn’t have green onions so I skipped that garnish, didn’t even matter. Will be making this every time we’re too lazy to go pick up food.



