
the best bread for french toast

title 1
the best bread for french toast
⏱️ cook time 35 minutes
🍽️ servings 4
⚡ Difficulty medium

intro

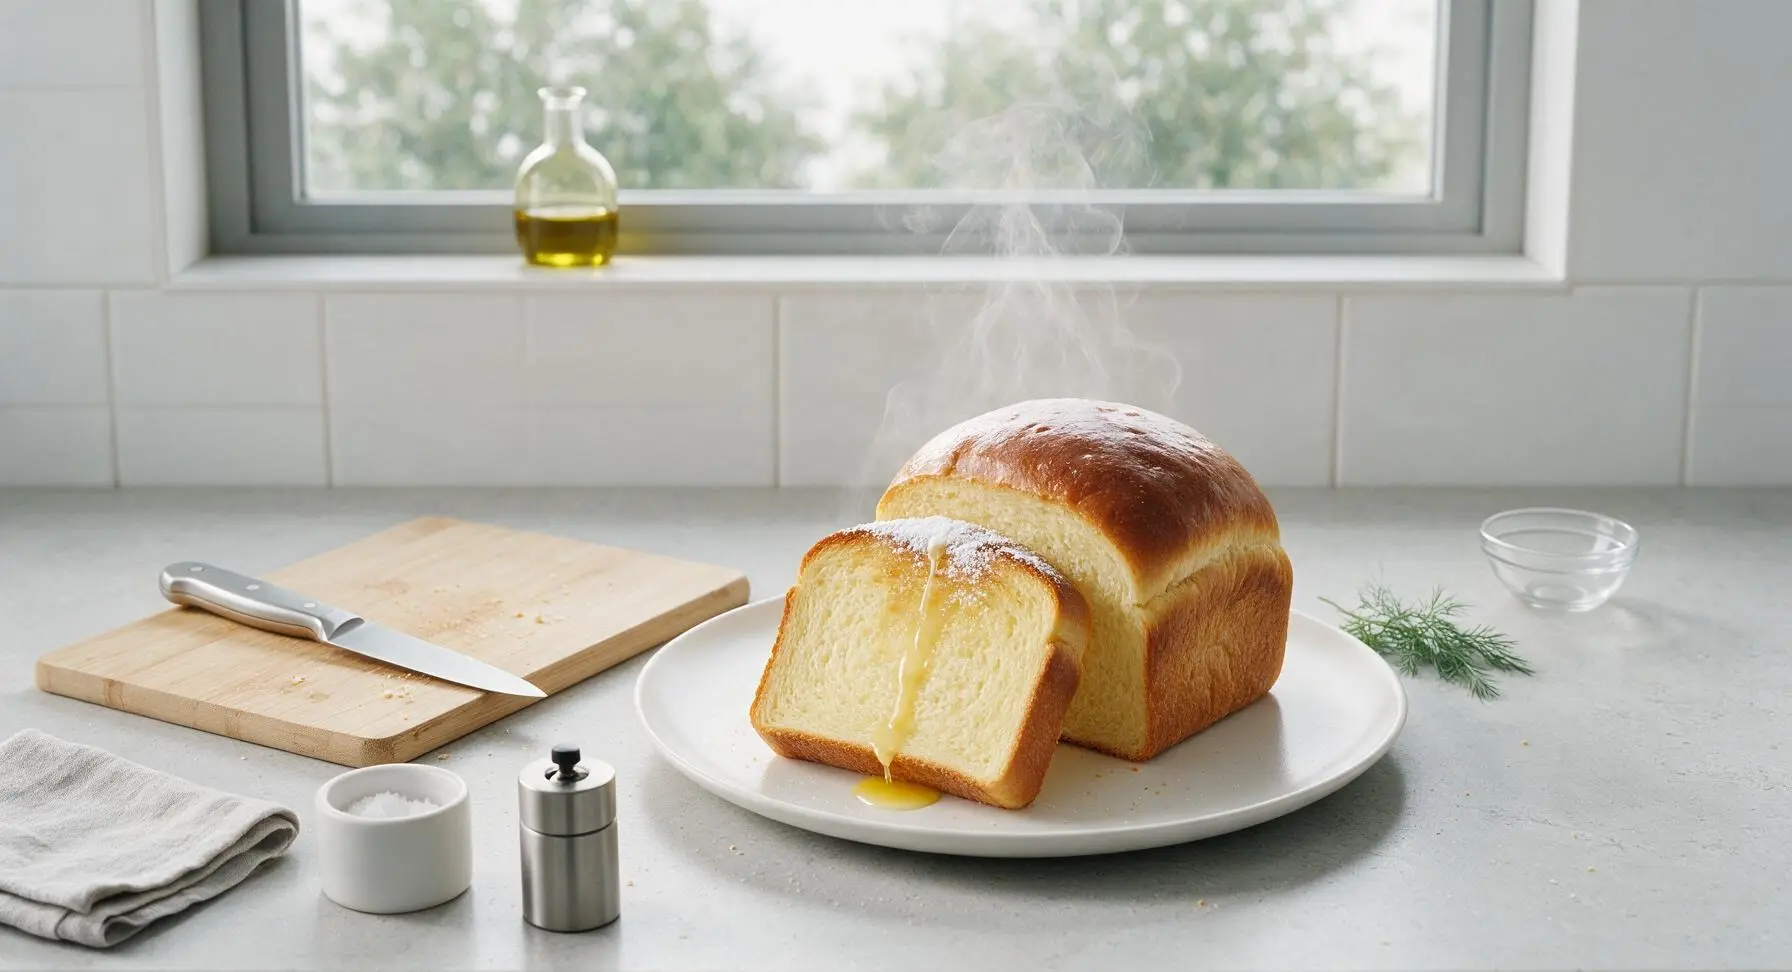
This sturdy, soft enriched loaf is custom-built for French toast: buttery, lightly sweet, with a tight crumb that soaks up custard without turning soggy for crisp, fluffy slices every time.

Ingredients
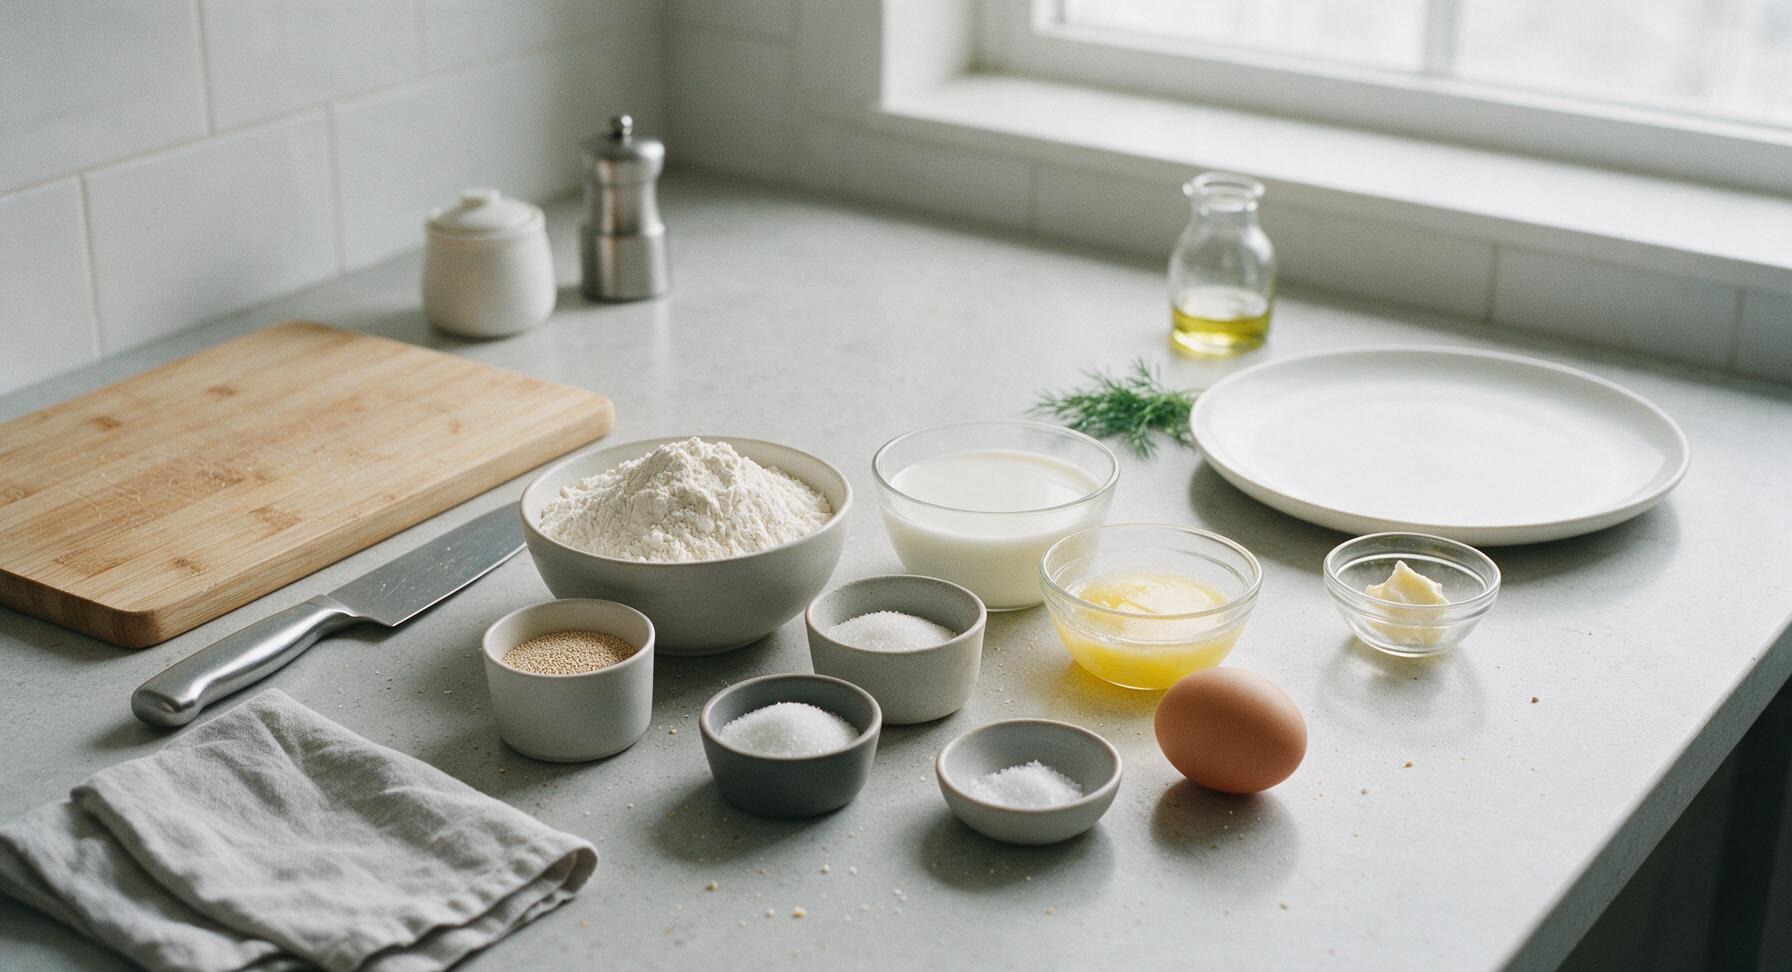
All-purpose flour 3 cups (360g)
Instant yeast 2 1/4 tsp (7g, 1 standard packet)
Granulated sugar 2 tbsp (25g)
Fine sea salt 1 tsp (5g)
Whole milk 1 cup (240ml), warmed to 110°F (43°C)
Unsalted butter (melted, cooled) 3 tbsp (42g)
Large egg 1 (50g), room temperature
Unsalted butter (softened, for pan) 1 tsp (5g)

Steps

1

Measure and Mix Dough

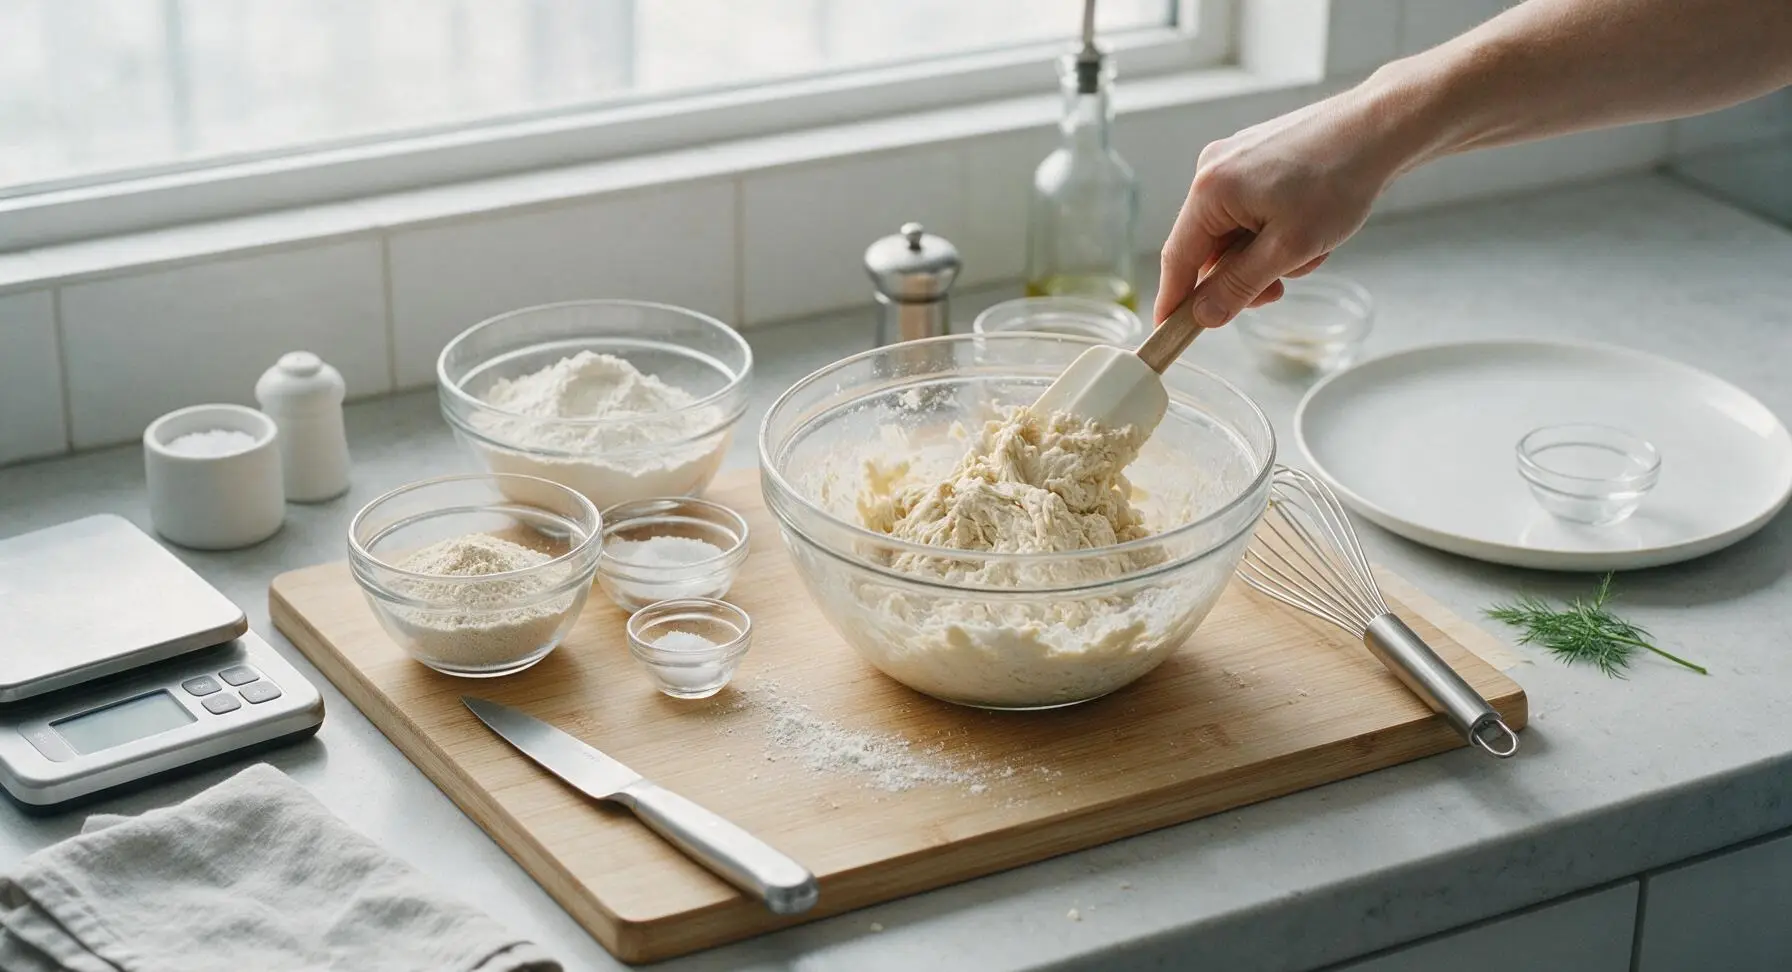
Place the digital kitchen scale to the left of the maple cutting board. Measure 360g (3 cups) all-purpose flour, 7g (2 1/4 tsp) instant yeast, 25g (2 tbsp) granulated sugar, and 5g (1 tsp) fine sea salt into a large clear glass prep bowl, whisking with the stainless steel balloon whisk to combine evenly. Add 240ml (1 cup) warm whole milk (110°F/43°C, feels like warm bath water, not hot to the touch), 42g (3 tbsp) cooled melted unsalted butter, and 1 room-temperature large egg. Stir with the silicone dough scraper until a shaggy, sticky mass forms, with no dry flour pockets left at the bottom of the bowl.
Step 1
step1:Measure and Mix Dough
2

Knead the Dough

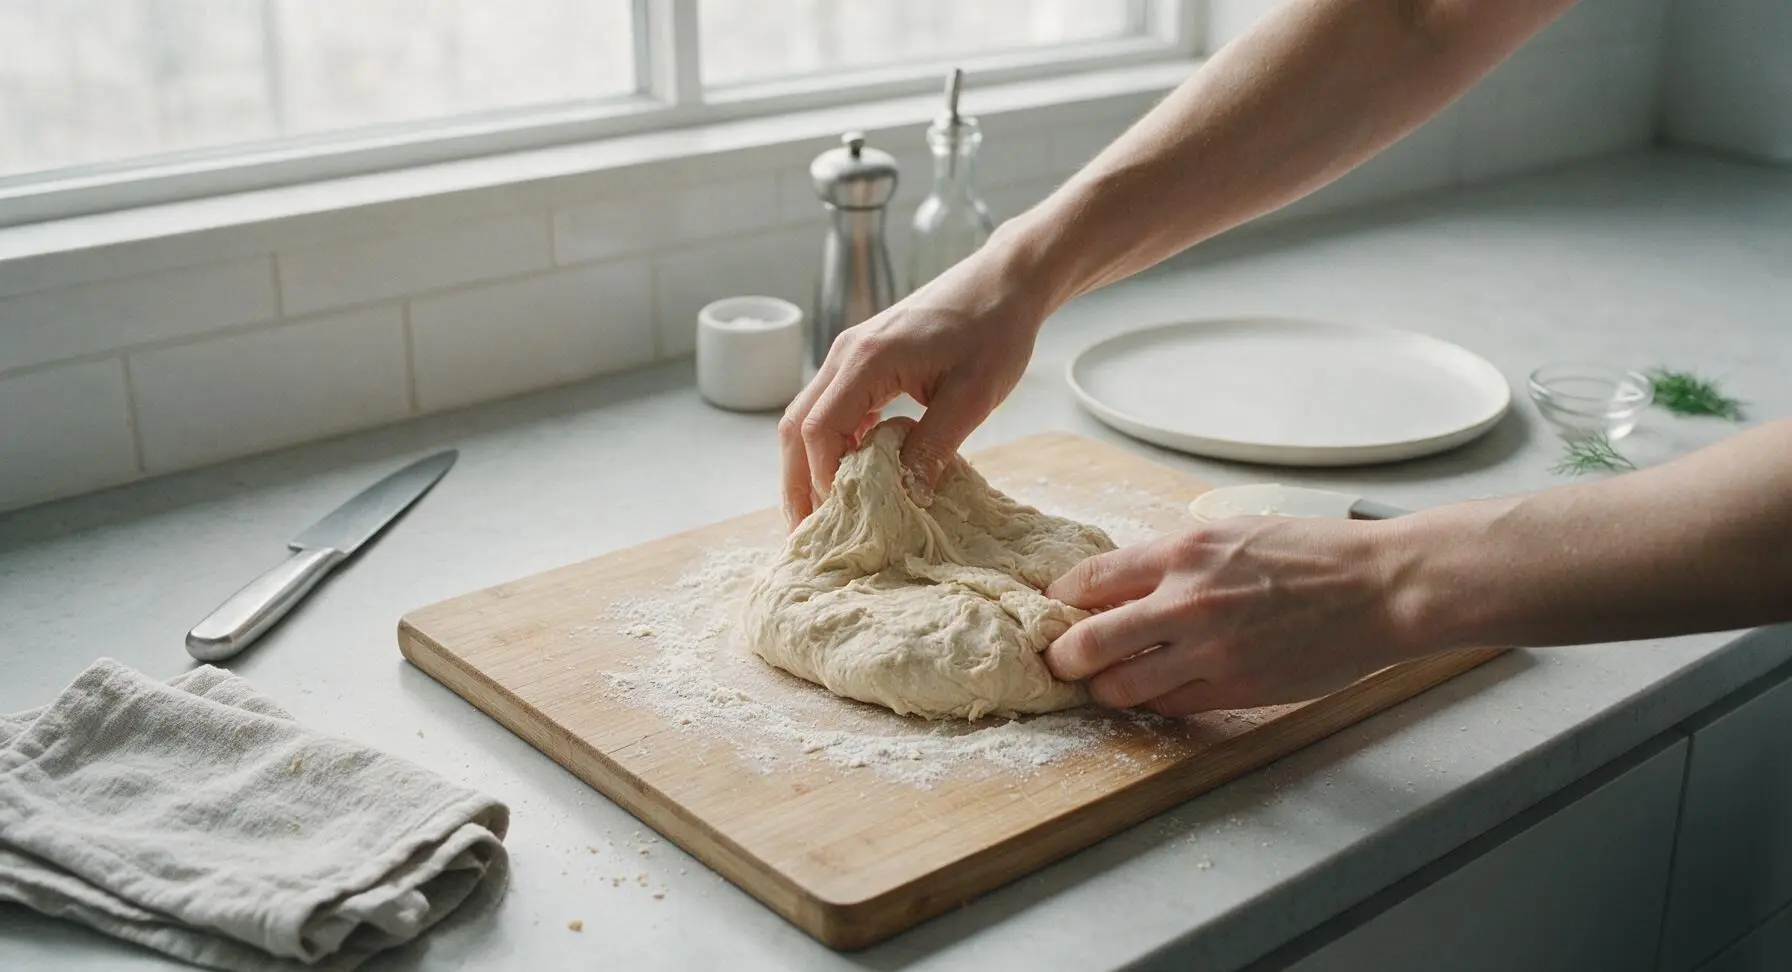
Turn the shaggy dough out onto the lightly floured surface of the maple cutting board. Knead for 8-10 minutes by hand: fold the dough over itself, push forward with the heel of your hand, rotate a quarter turn, and repeat. The dough is ready when it is smooth, elastic, and springs back slowly when poked with a finger, no longer sticking aggressively to the board or your hands.
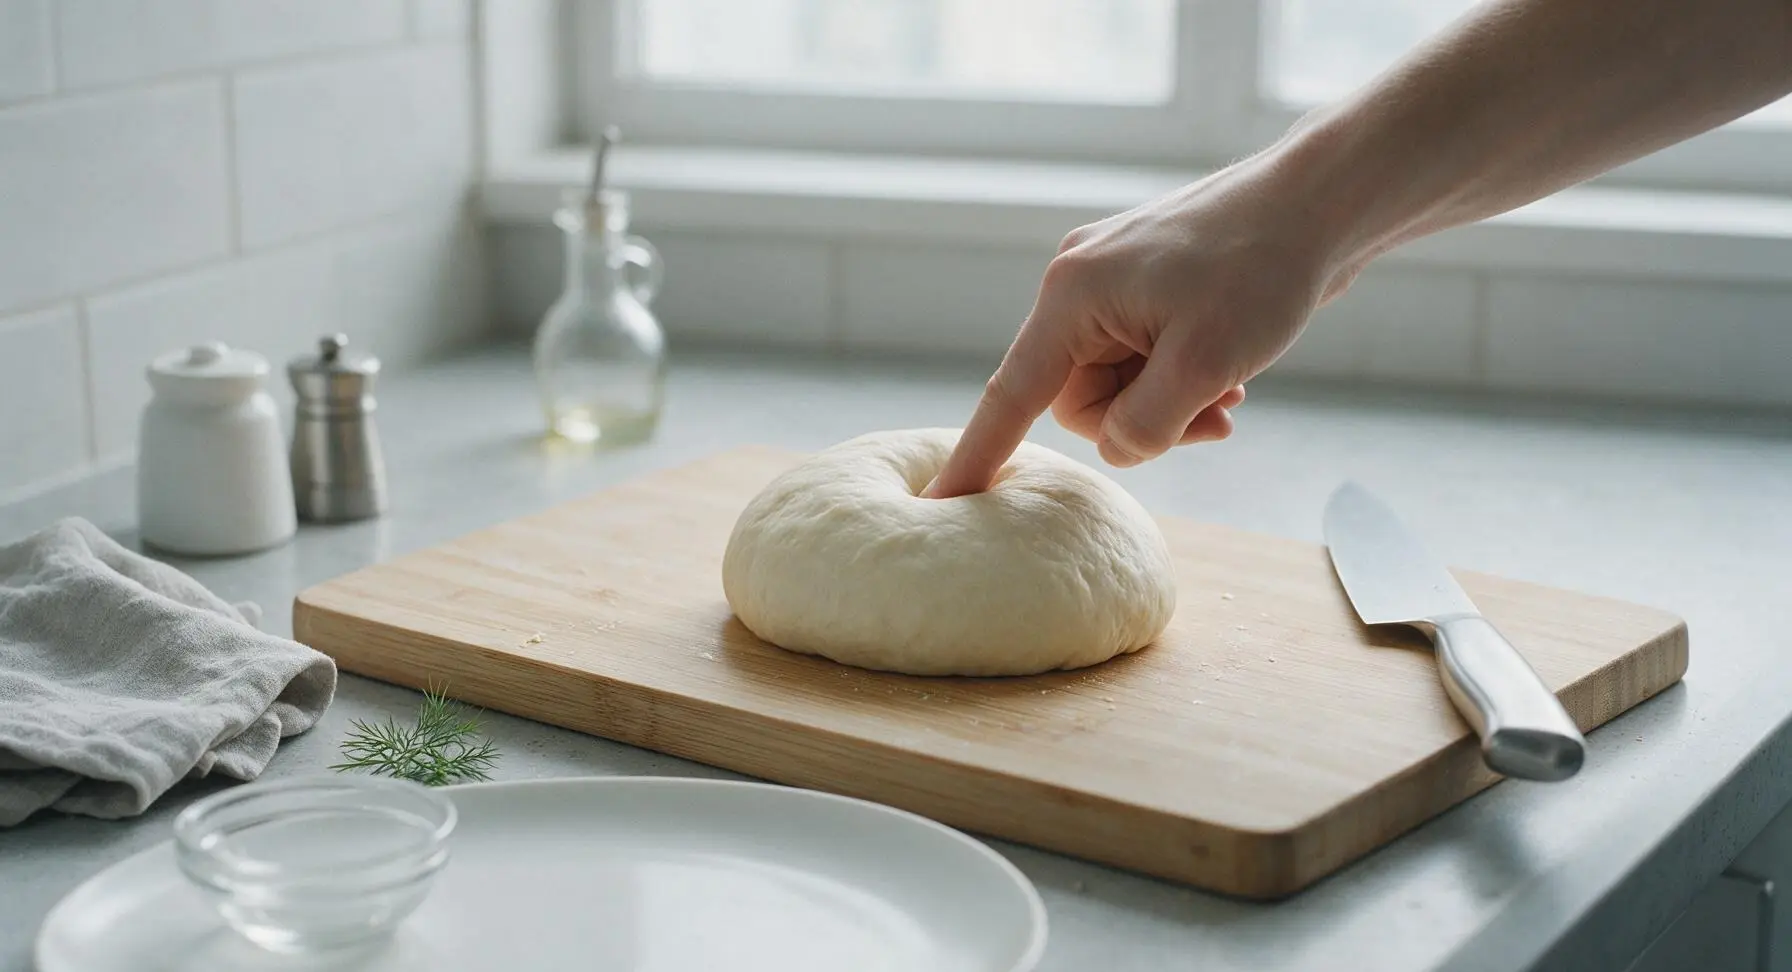
Step 2
step2:Knead the Dough
Step 2
step2:Knead the Dough
3

First Dough Rise

Form the kneaded dough into a tight, smooth ball, and place it back into the lightly greased large glass prep bowl. Cover the bowl with a damp corner of the linen towel (returned to its fixed position after rising) and let it rise in a warm, draft-free spot on the counter for 45-60 minutes, until it doubles in size. Test readiness by poking a floured finger 1 inch into the dough: if the indentation stays and does not spring back immediately, it is ready.
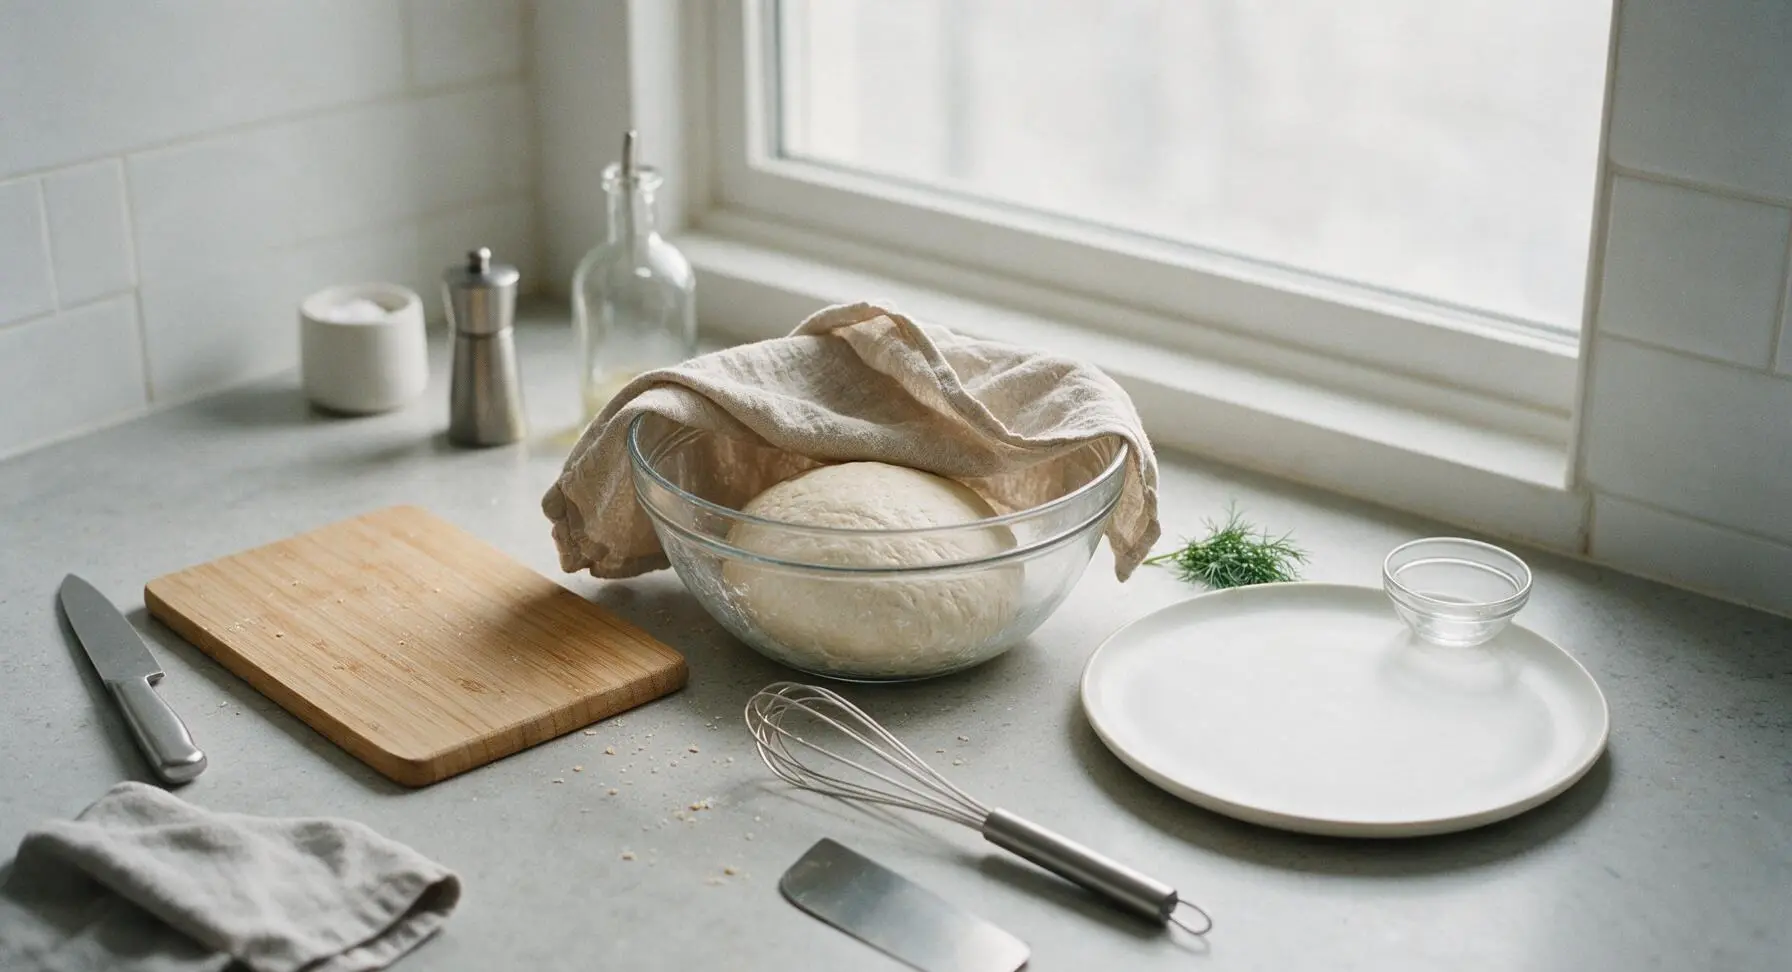
Step 3
step3:First Dough Rise
4

Shape the Loaf

Once doubled, turn the risen dough out onto the unfloured maple cutting board. Gently press it into a 9x12 inch rectangle, pressing out all large air bubbles with your fingertips to avoid large holes in the finished crumb. Starting from the short 9-inch end, roll the dough tightly into a log, pinching the seam and the ends closed to seal. Tuck the ends under slightly to form a neat, even loaf shape that fits perfectly into the 9x5 inch greased loaf pan.
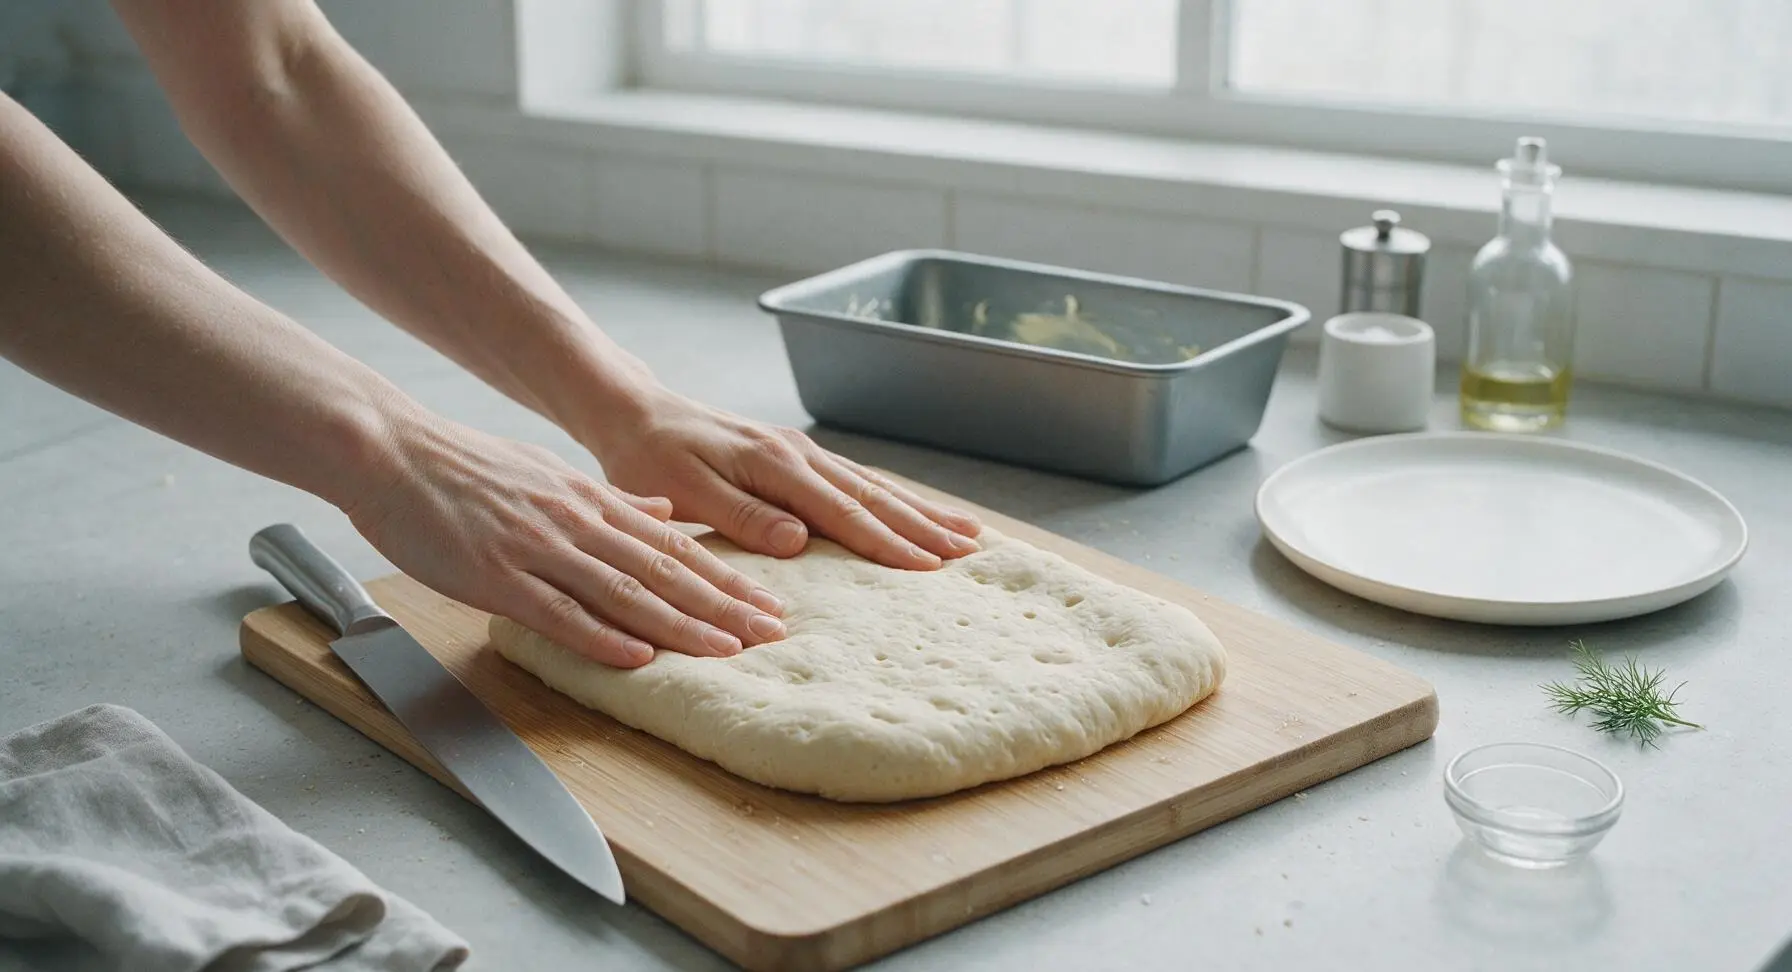

Step 4
step4:Shape the Loaf
Step 4
step4:Shape the Loaf
5

Second Loaf Rise

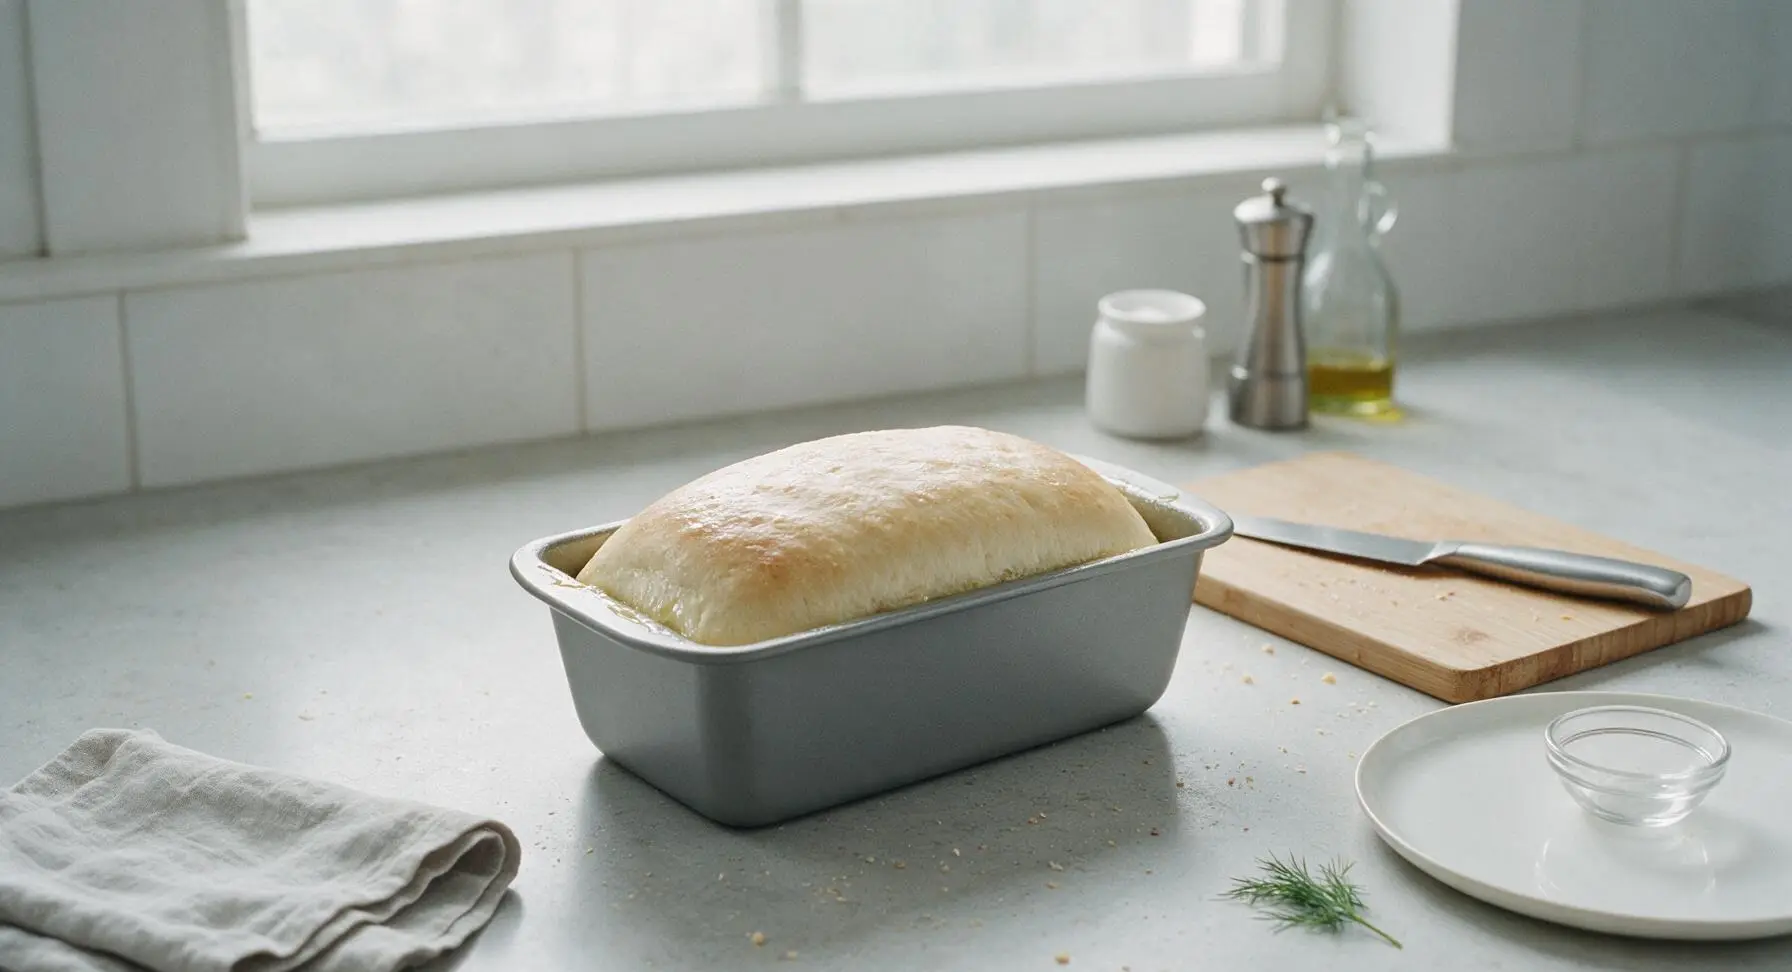
Place the shaped dough log seam-side down into the greased 9x5 inch loaf pan. Cover loosely with the damp linen towel again, and let it rise for a second 30-40 minutes, until the dough creeps 1 inch above the rim of the loaf pan, and a gentle poke leaves a slow-recovering indentation. While the dough rises, preheat your oven to 375°F (190°C).
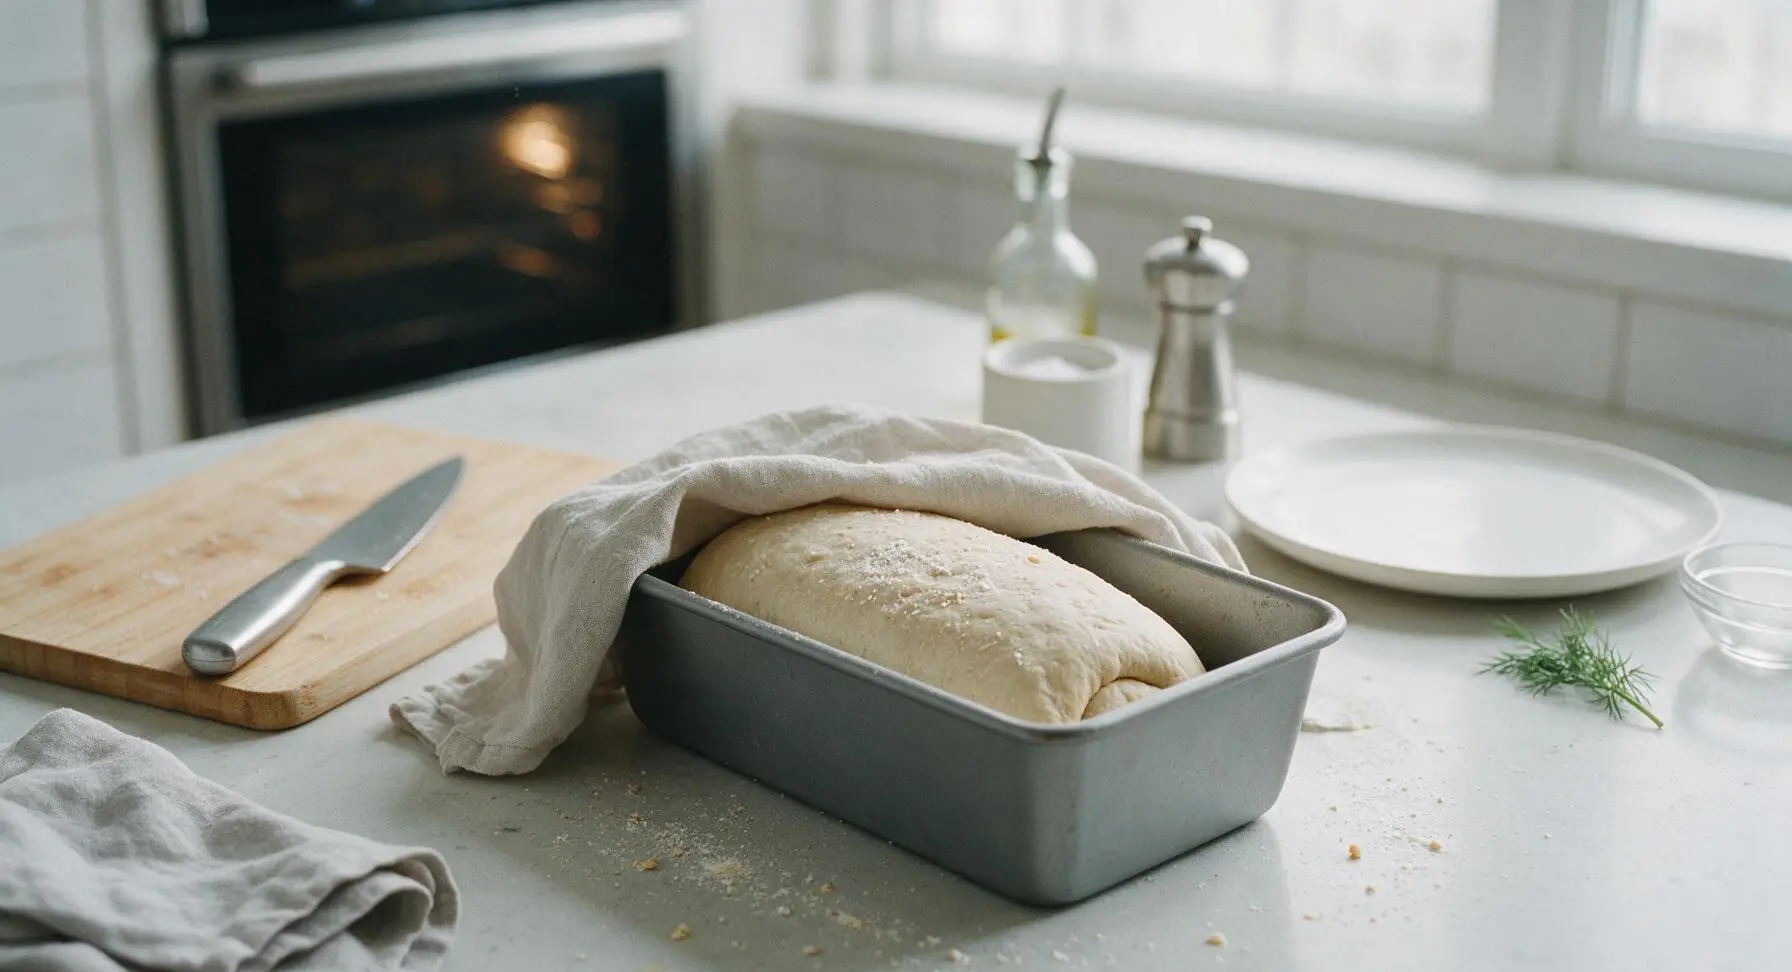
Step 5
step5:Second Loaf Rise
6

Bake the Loaf

Once the dough has risen 1 inch above the pan rim, remove the linen towel and return it to its fixed top-right position. Place the loaf pan on the middle rack of the preheated 375°F (190°C) oven. Bake for 30-35 minutes, until the top is deep golden brown, and the internal temperature of the loaf reads 190°F (88°C) on an instant-read thermometer. The crust will sound hollow when tapped on the bottom if the loaf is fully baked.
Step 6
step6:Bake the Loaf
7

Cool Completely

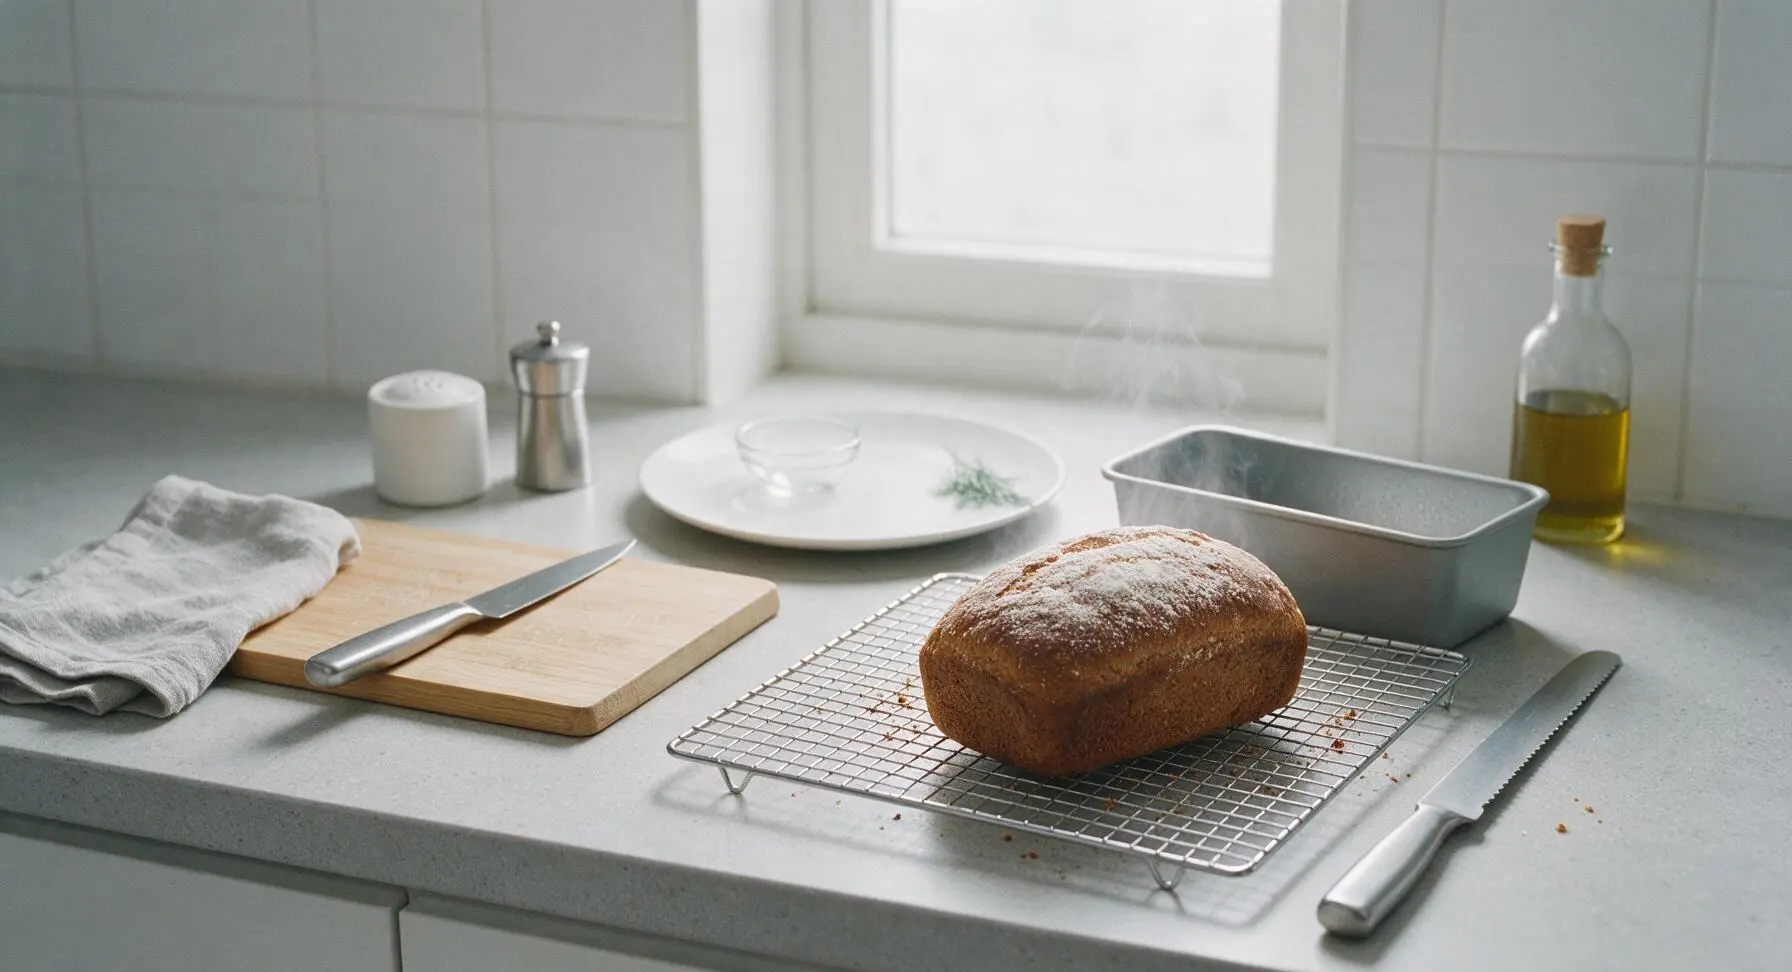
Remove the baked loaf from the oven, and immediately turn it out of the loaf pan onto the chrome wire cooling rack positioned to the right of the counter work area. Let the loaf cool completely for a full 1 hour before slicing—this is critical, as warm bread will tear when sliced, and will turn mushy if used for French toast before cooling. The crust will crisp slightly as it cools, while the interior stays soft and tender.
Step 7
step7:Cool Completely
8

Slice for French Toast

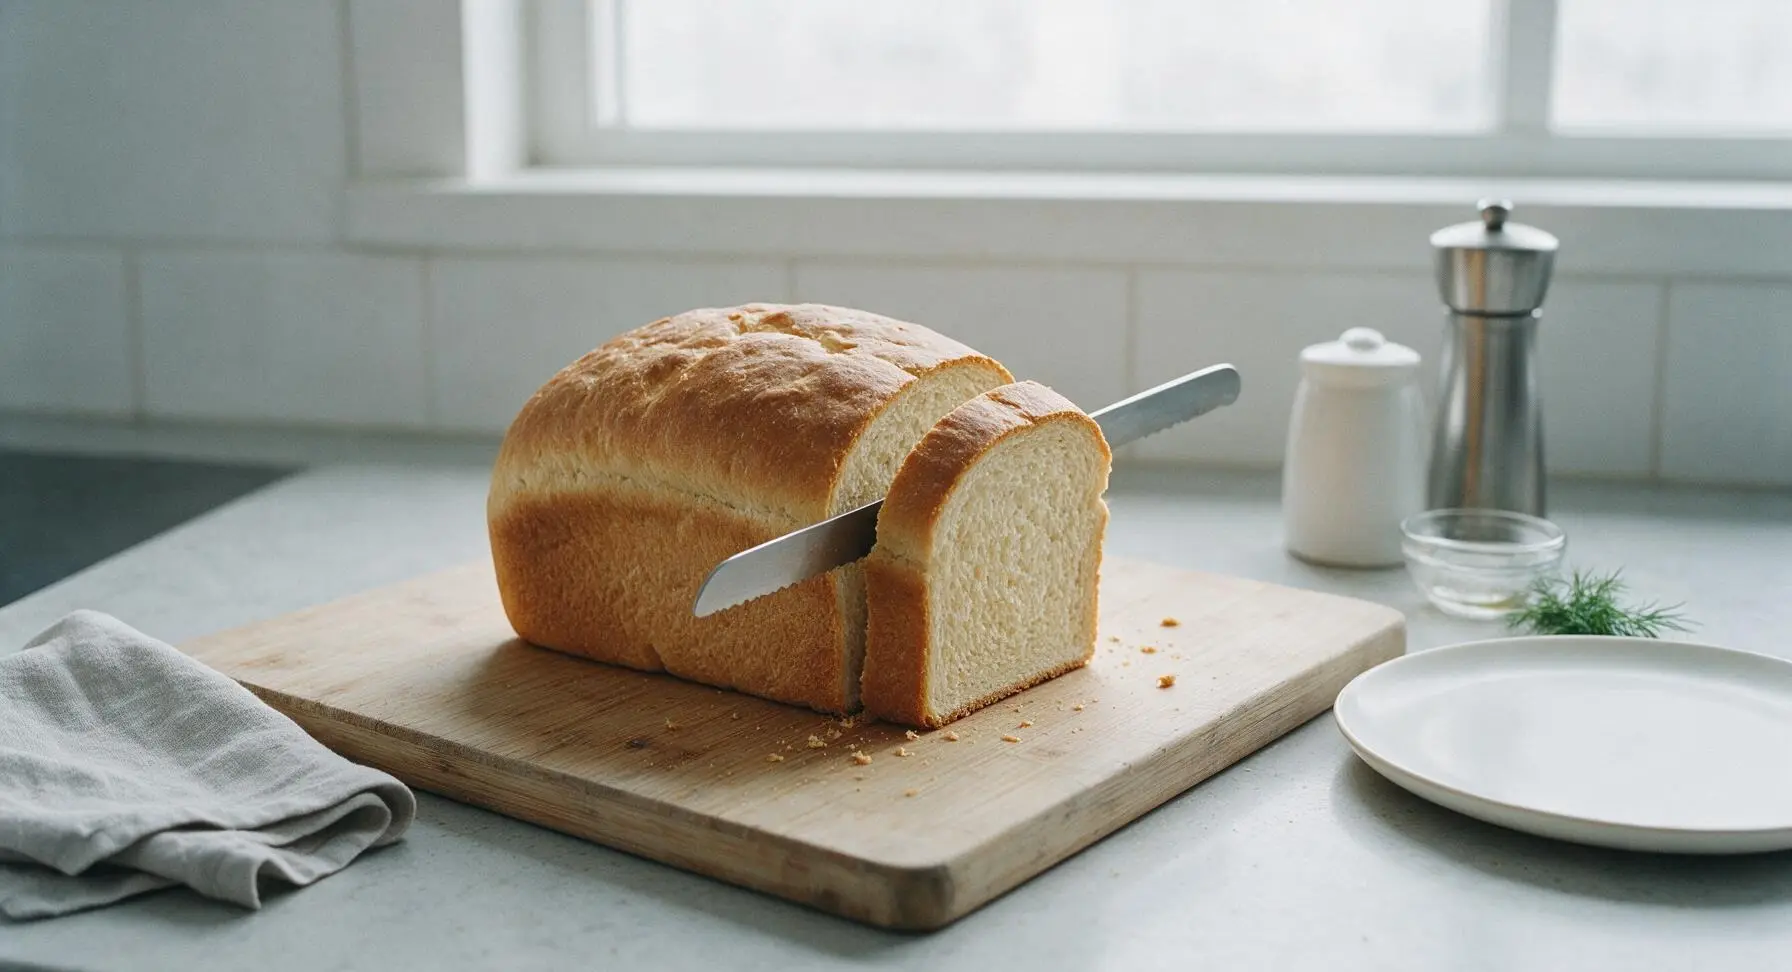
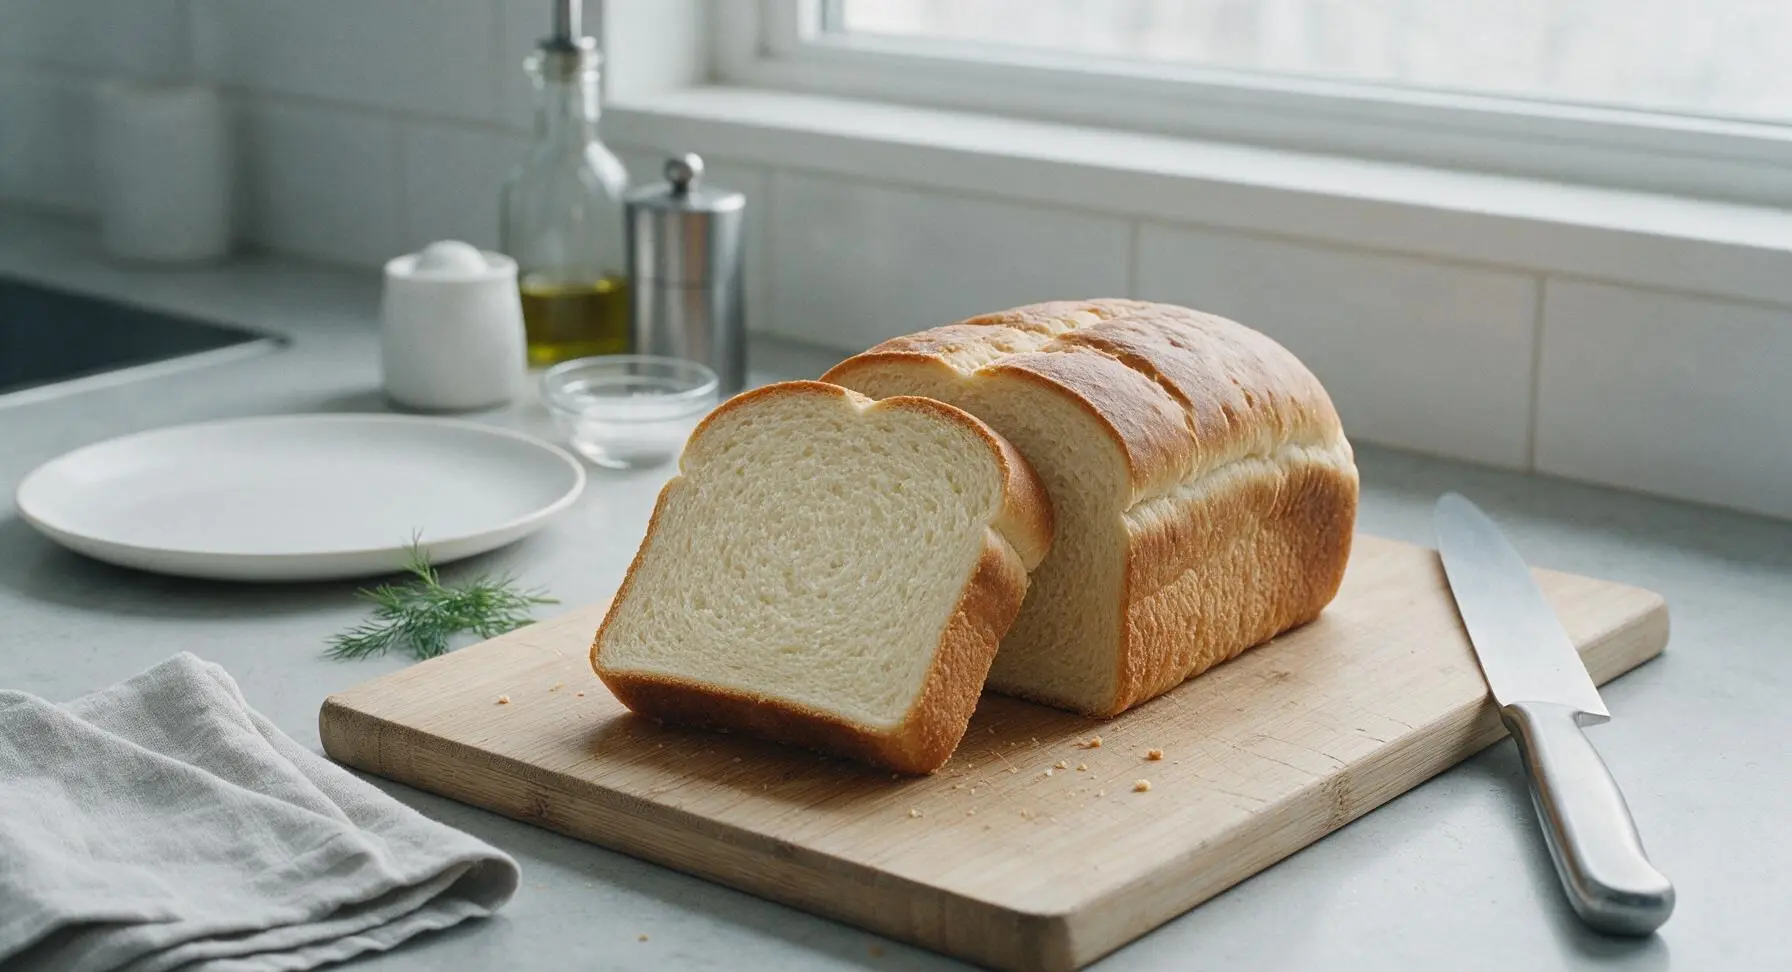
Once fully cooled, transfer the loaf to the maple cutting board. Using the serrated bread knife, cut the loaf into thick 1.5-inch slices, taking care to cut evenly so each slice is the same thickness for consistent custard soaking. Do not cut thinner than 1 inch, as thin slices will fall apart when dipped in French toast custard. The finished slices will show a tight, even crumb with no large air pockets, ideal for holding custard without leaking or turning soggy.
Step 8
step8:Slice for French Toast
Step 8
step8:Slice for French Toast

Tips

1.Do not substitute bread flour for all-purpose flour in this recipe: all-purpose flour creates a softer, less chewy crumb that soaks up custard evenly without becoming tough, while bread flour’s higher protein content creates a denser, chewier texture better suited for hearty sandwich loaves.
2.Let the loaf cool completely for a full hour before slicing or using for French toast: cutting warm bread compresses the soft crumb and causes tearing, and warm bread will absorb too much custard too quickly, leading to soggy, mushy French toast instead of slices with crisp exteriors and fluffy centers.
3.For restaurant-quality French toast, let the sliced bread sit uncovered on the cooling rack for 4-6 hours (or overnight) to stale slightly: the dry, firm surface soaks up custard without falling apart, and caramelizes to a perfectly crisp crust when cooked, while the interior stays soft and creamy.


✨ You May Also Like

Breakfast
🍜 United States

Crisp-edged, fluffy lard griddle cakes are a nostalgic homestyle staple, with rich savoriness from rendered lard, perfect topped with maple syrup or savory gravy.

⏱️ 25 minuteBreakfast ★ 4.8
Breakfast
🍜 United States

Flaky, buttery homemade buttermilk biscuits smothered in creamy, peppery pork sausage gravy: a beloved, hearty Southern American comfort food classic.

⏱️ 35 minuteBreakfast ★ 4.8
Breakfast
🍜 United States

Golden, custardy brioche stuffed with sweet cream cheese and fresh berries, pan-fried to crisp perfection. An indulgent, cozy breakfast perfect for slow weekend mornings.

⏱️ 30 minuteBreakfast ★ 4.7
Breakfast
🍜 United States

Flaky, buttery Southern-style biscuits stuffed with savory salty country ham, a portable, satisfying classic perfect for casual on-the-go meals.

⏱️ 25 minuteBreakfast ★ 4.8
Breakfast
🍜 United States

Iconic puffy baked pancake popularized in Seattle, with crisp golden edges and soft custardy center, served warm with classic sweet toppings.

⏱️ 35 minuteBreakfast ★ 4.6
Breakfast
🍜 United States

Fluffy, golden pancakes studded with juicy peak-summer mixed berries, drizzled with maple syrup for a bright, comforting, crowd-pleasing family breakfast.

⏱️ 25 minuteBreakfast ★ 4.7

the best bread for french toast:Frequently Asked Questions

1.Why is this bread better than store-bought sandwich bread for French toast? ▾
Regular store-bought sandwich bread has a soft, open crumb and minimal structure, so it turns soggy and falls apart when soaked in custard. This custom enriched loaf has a tight, sturdy crumb that holds just the right amount of custard without disintegrating, for crisp edges and fluffy, not mushy, centers every time.
2.Can I use active dry yeast instead of instant yeast for this recipe? ▾
Absolutely! Swap instant yeast for an equal volume of active dry yeast, but you’ll need to activate it first. Warm your measured whole milk to 105–110°F, stir in a pinch of the recipe’s sugar, add the yeast, and let it sit 5–7 minutes until foamy before mixing it into the rest of your ingredients.
3.How long do I need to let this bread cool before using it for French toast? ▾
Let the loaf cool completely on a wire rack for at least 2 hours, ideally overnight, before slicing. If you cut into it while it’s still warm, the crumb will be gummy and compress easily, which will keep it from soaking up custard evenly and lead to soggy, uneven French toast slices.
4.Can I substitute low-fat or plant-based milk for the whole milk in the recipe? ▾
You can, but note that whole milk’s fat content adds richness and softness to the crumb that lower-fat options won’t match. If using plant-based milk, pick an unsweetened, plain oat or soy milk for the closest texture; almond milk will work but produces a slightly drier, less tender finished loaf.
5.How thick should I slice this bread for the best French toast results? ▾
Aim for slices that are 1 to 1.5 inches thick. Thinner slices will soak up too much custard and turn soggy in the pan, while slices thicker than 1.5 inches won’t cook all the way through before the outside burns, leaving you with a raw, doughy center instead of light, fluffy French toast.
6.Why do you add fine sea salt to a sweet bread meant for French toast? ▾
The small amount of fine sea salt doesn’t make the bread taste salty—it balances the light sugar and buttery richness, amplifies the bread’s wheat flavor, and cuts through the sweetness of French toast custard and toppings so your finished breakfast doesn’t taste cloyingly one-note.
7.Can I make this bread a few days ahead of when I plan to make French toast? ▾
Definitely! Once the loaf is fully cooled, store it whole (unsliced) in an airtight plastic bag or bread box at cool room temperature for up to 3 days. Slicing it right before you make French toast will keep the crumb from drying out, so it soaks up custard just as well as it did on bake day.
8.Will this bread work for other uses besides making French toast? ▾
It sure will! This soft, lightly sweet, buttery enriched loaf makes fantastic everyday sandwich bread for peanut butter and jelly, simple breakfast toast with jam, bread pudding, or even sweet croutons for fruit salads if it gets a little stale. It’s versatile enough to keep on hand for all kinds of quick meals.
9.Do I need to cut the crusts off when using this bread for French toast? ▾
You don’t have to remove the crusts at all! This loaf bakes up a soft, golden, buttery crust that crisps up beautifully when pan-fried in custard, adding a nice textural contrast to the soft, fluffy center. If you prefer extra-soft French toast for kids, you can trim crusts off after slicing with no issues.
10.Can I freeze this loaf to use for French toast later? ▾
Absolutely! Let the loaf cool completely, wrap it tightly in two layers of plastic wrap followed by a layer of aluminum foil, and freeze for up to 3 months. Thaw it whole in the fridge overnight before slicing, or slice it before freezing so you can pull out exactly the number of pieces you need for quick weekday French toast.
11.Why doesn’t this bread get soggy when soaked in custard like other breads do? ▾
This loaf is formulated with a tight, even crumb structure and just enough enrichment from milk and butter to stay sturdy, rather than the large, airy holes you find in sourdough or crusty artisanal loaves. It absorbs custard slowly and evenly, so it cooks up crisp outside and fluffy inside instead of turning mushy.
12.Can I add mix-ins like cinnamon or raisins to this bread dough? ▾
You absolutely can, without ruining its French toast performance! Stir in 1 teaspoon of ground cinnamon, ½ cup of raisins, or even ½ cup of mini chocolate chips during the final minute of kneading if you want extra flavor. Just avoid very wet mix-ins, which can throw off the dough’s moisture balance and make the crumb too soft.
13.Do I need a bread machine to make this loaf successfully? ▾
Not at all! You can mix and knead this dough by hand on a lightly floured counter for 8–10 minutes, or use the dough hook attachment on a stand mixer on low speed for 4–6 minutes, until it’s smooth and elastic. It’s a forgiving, straightforward enriched dough that doesn’t require any special equipment to turn out perfectly.
14.How do I know when the loaf is done baking so it has the right texture for French toast? ▾
The loaf is done when it’s a deep golden brown on top, sounds hollow when you tap the bottom, and hits an internal temperature of 190°F on an instant-read thermometer. If you underbake it, the crumb will be gummy and too soft to hold custard, leading to soggy French toast no matter how carefully you soak and cook it.

Comments (3)

3 days ago

OMG, I have been using sad sliced sandwich bread for French toast for YEARS and this bread is a total game changer! It’s got the perfect chewy texture so it doesn’t turn soggy even when I douse it in that cinnamon custard I make. My kids devoured a whole batch last Sunday before our soccer carpool, even asked for seconds before they grabbed their gear. I did let the slices sit out overnight to get a little stale like the tip suggested and *chef’s kiss* — so good. Already told my whole book club potluck group about this one!

2 days ago

Wait I always skip the stale step! Did you notice a huge difference vs using fresh bread? I’m making this for my partner’s birthday brunch this weekend and don’t want to mess it up

yesterday

Great question! Letting the bread dry out a bit helps it soak up the custard without falling apart, but if you’re short on time you can toast slices lightly in the oven for 5 minutes at 300F to get the same effect! Hope the birthday brunch is a hit

yesterday

This was way easier to pull off than I thought it would be for a medium difficulty recipe! I was worried I’d mess up the bake time since I’m still pretty new to bread making, but 35 minutes was exactly right for my oven. I used a little extra vanilla in the custard when I made the French toast this morning and the bread held up perfectly, no mushy centers at all. Meal prepped a whole loaf sliced up in the freezer so I can grab a couple pieces for quick breakfasts all week.

30 minutes ago

So glad the bake time worked out for you! Freezing pre-sliced portions is such a smart meal prep hack, it holds up great for up to 3 months in the freezer if it’s wrapped tight.

1 week ago

Tried this last weekend for my family’s Saturday breakfast and wow. Usually I grab brioche from the grocery store bakery but homemade hits different. The crust gets that perfect little crisp when you fry it up, and the inside stays soft but not soggy. Knocked a star off because the dough rose a lot slower than I expected in my cold kitchen, so it added almost an hour to my total prep time — definitely plan ahead if your kitchen runs chilly! Next time I make it I’ll add a tiny pinch of nutmeg to the bread dough for a little extra warm spice, but that’s just personal preference. Will still be my go-to from now on.



