

veg cheese sandwich

title 1
veg cheese sandwich
⏱️ cook time 8 minutes
🍽️ servings 2
⚡ Difficulty easy

intro

Crisp golden toasted bread layered with melted cheddar, crunchy fresh veggies, and a zesty hint of spice—this veg cheese sandwich is quick, satisfying, and perfect for busy nights.

Ingredients
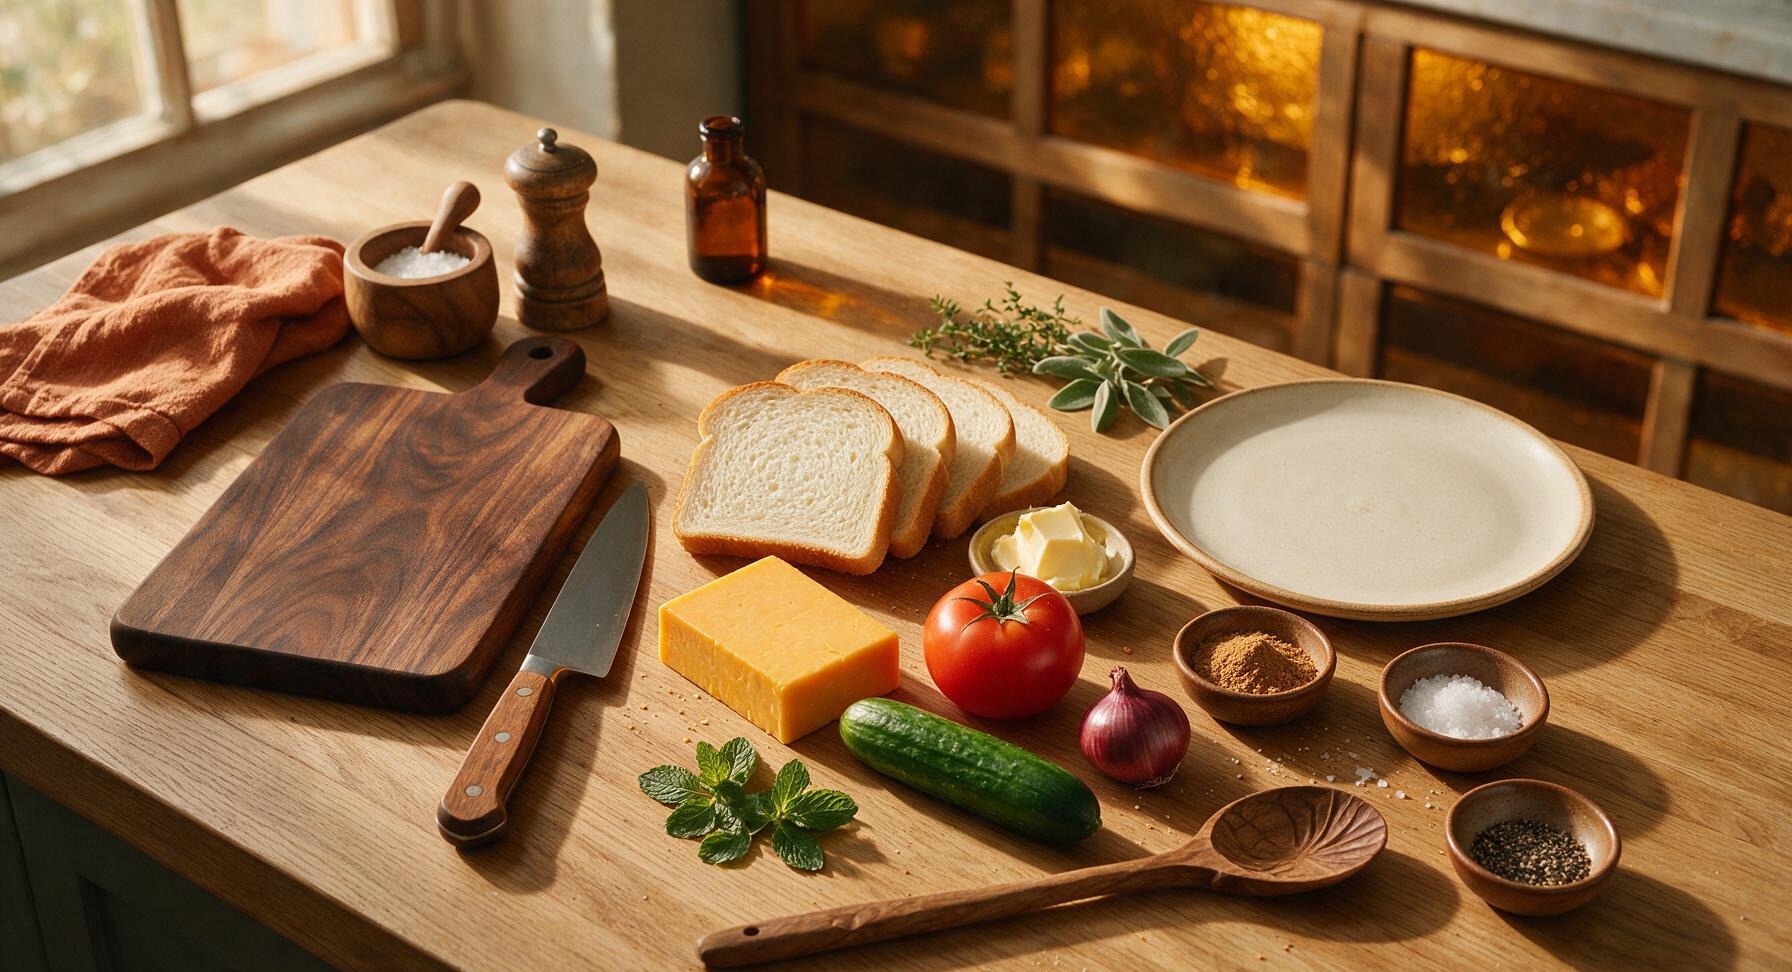
Thick-cut white sandwich bread 4 slices
Sharp cheddar cheese 120g
Unsalted butter (softened) 2 tbsp
Ripe red tomato 1 medium (120g)
English cucumber 1 small (100g)
Small red onion 1 (60g)
Fresh mint leaves 10 leaves
Chaat masala 1 tsp
Flaky sea salt 1/4 tsp
Freshly ground black pepper 1/4 tsp

Steps

1

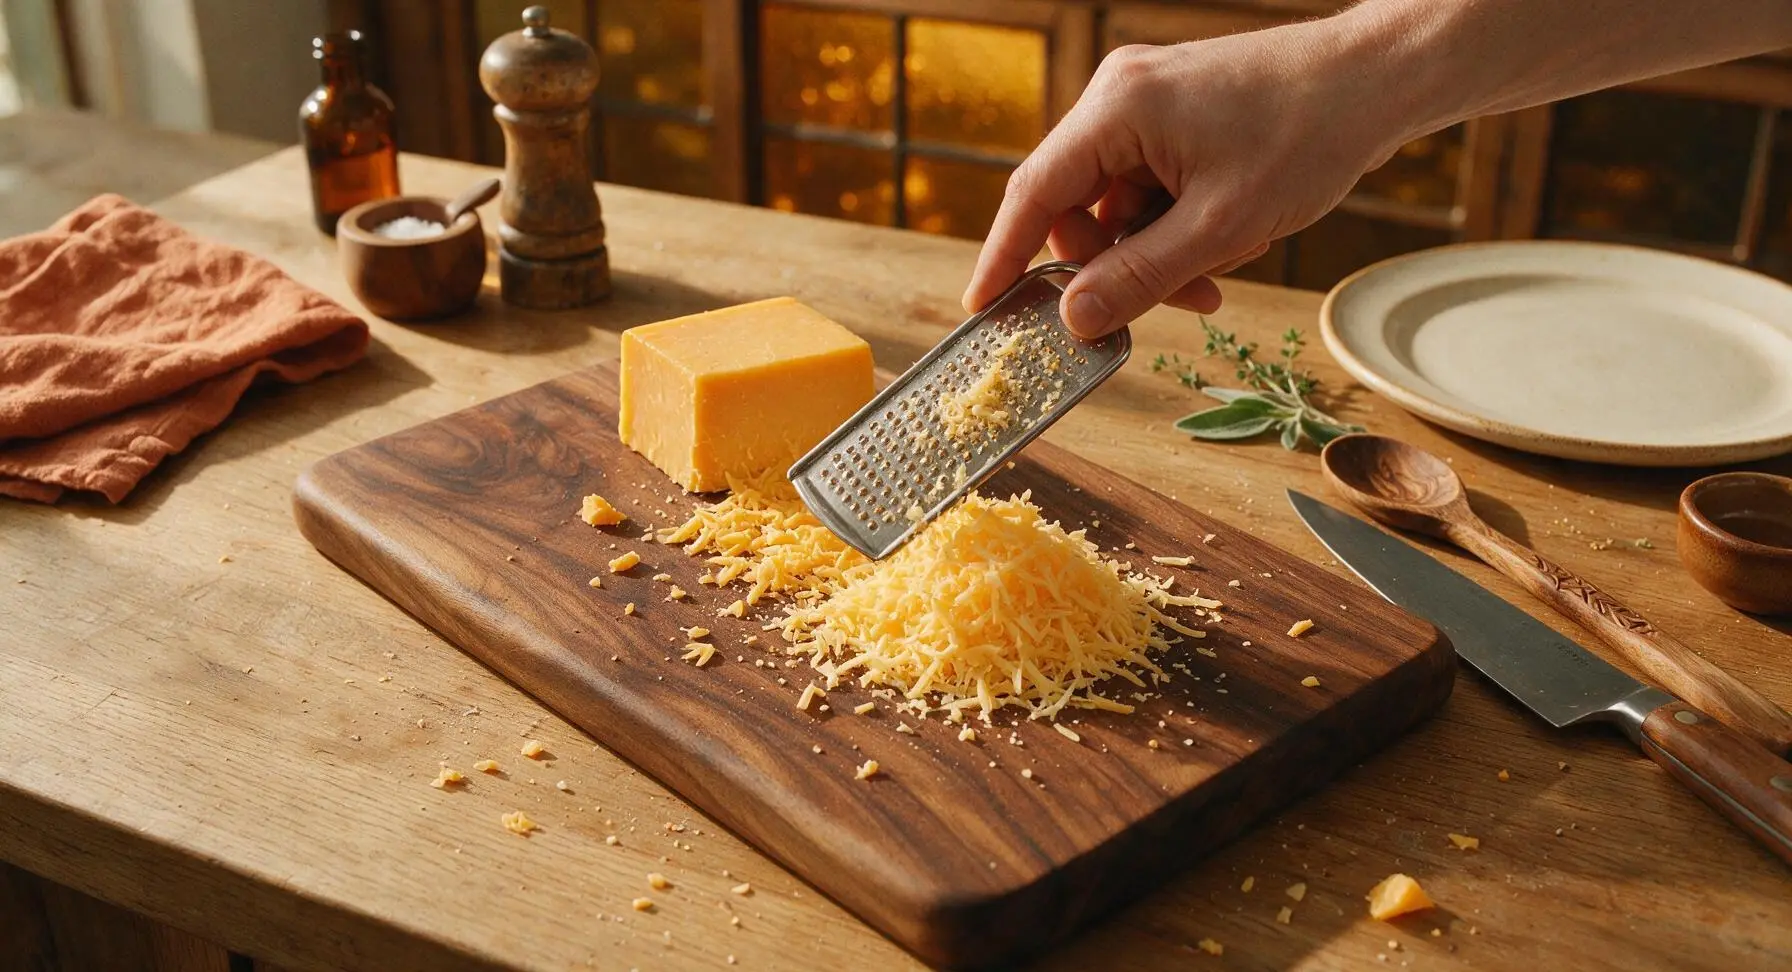
Grate the cheddar cheese

Place the 120g block of sharp cheddar on the center of the bamboo cutting board. Hold the small stainless steel coarse cheese grater at a 45-degree angle against the board, and grate all the cheese into light, fluffy coarse shreds. Pile the grated cheese loosely at the top right edge of the cutting board—do not pack the shreds tightly, as this prevents even, smooth melting during toasting. Wipe any stray cheese residue from the grater before returning it to its fixed position at the bottom right of the board.
Step 1
step1:Grate the cheddar cheese
2

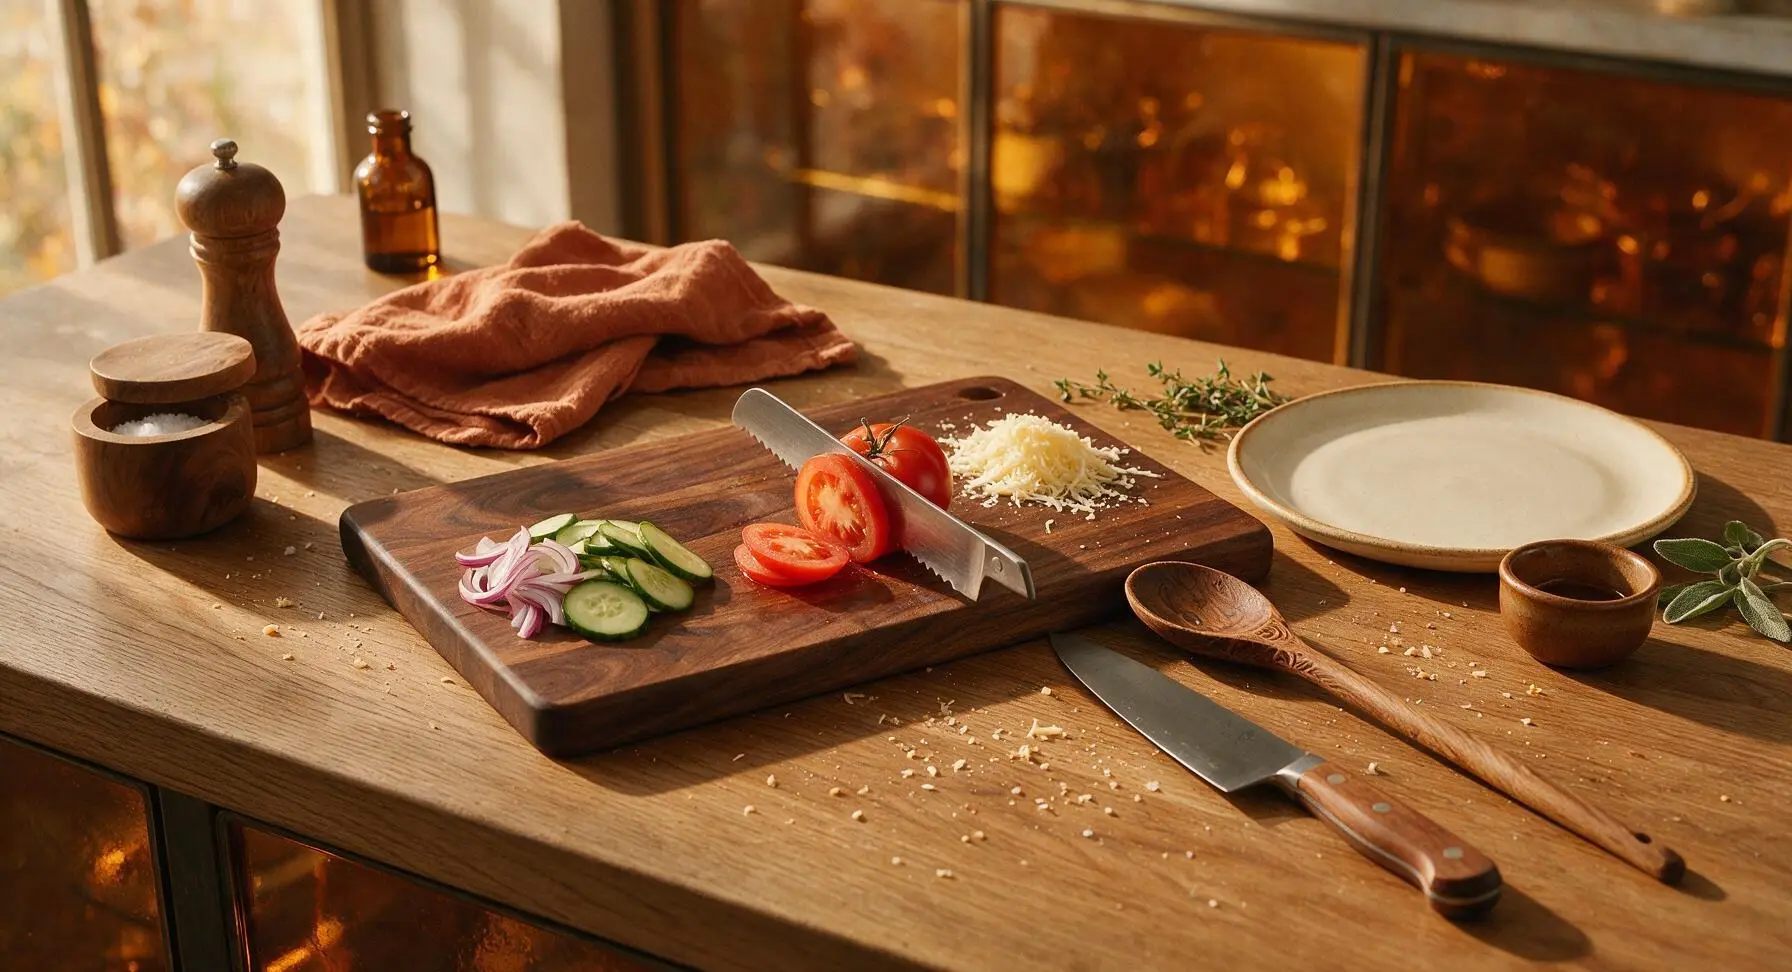
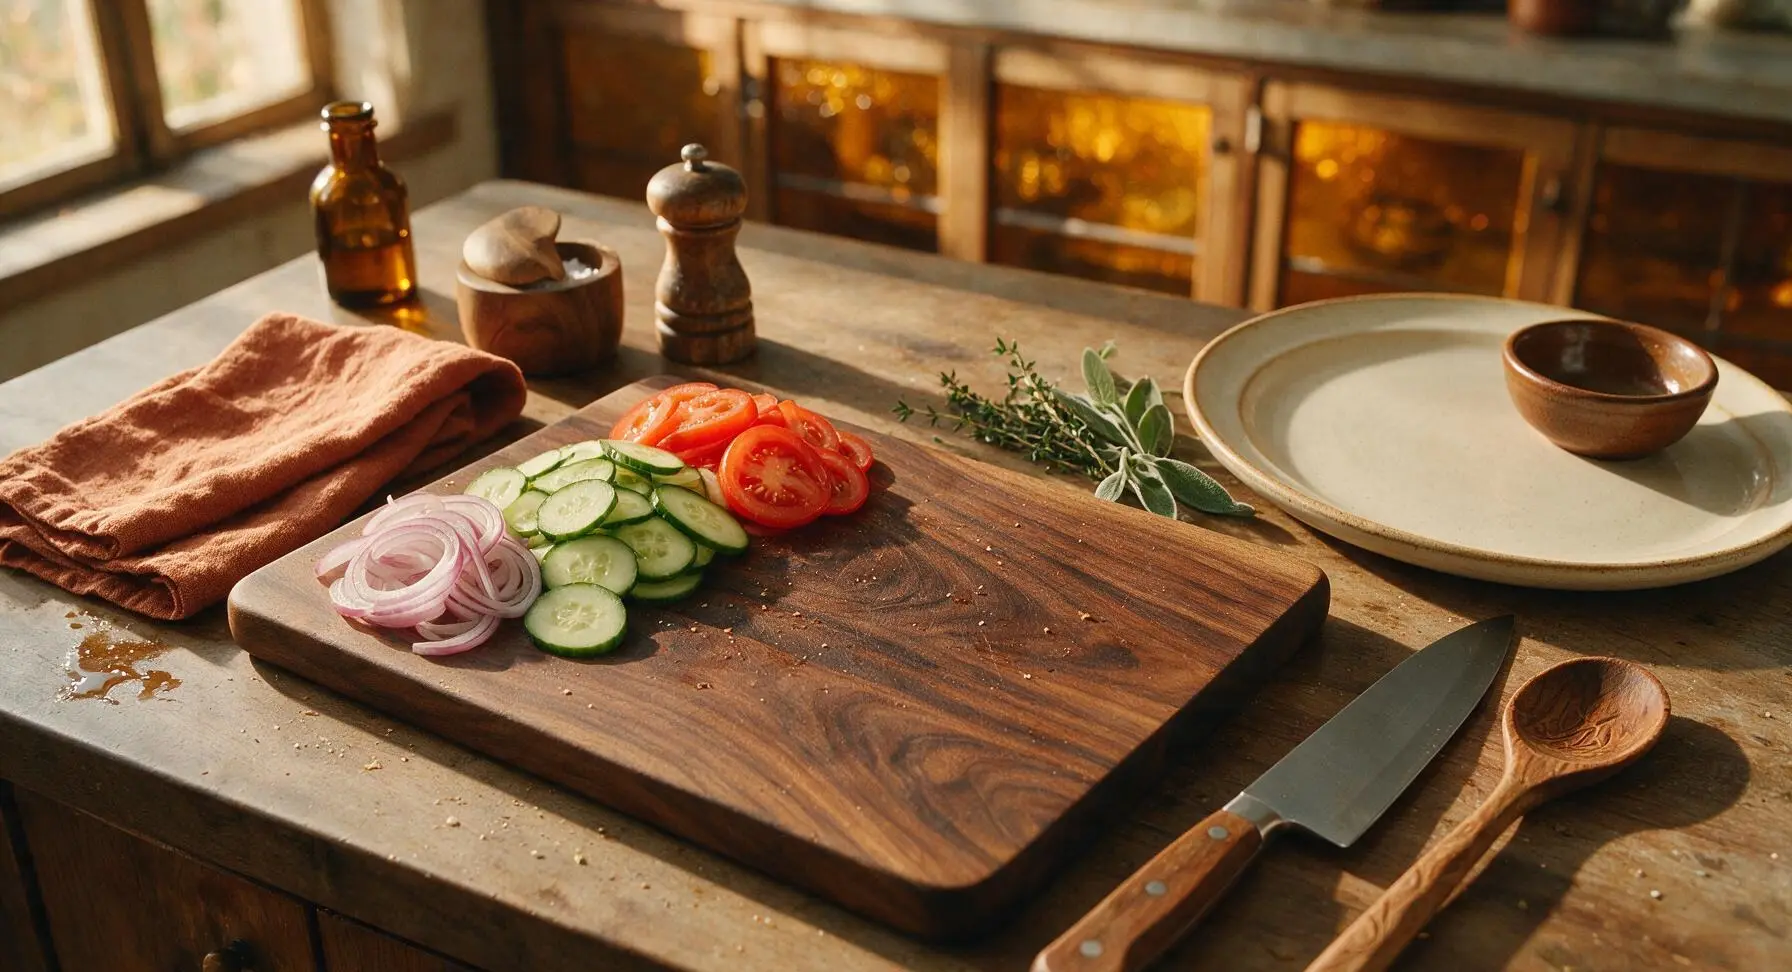
Slice fresh vegetables thinly

Use the stainless steel serrated bread knife to slice the tomato, cucumber, and red onion into uniform 3mm-thick slices. Pat the tomato slices lightly with a clean corner of the fixed cream kitchen towel to remove excess seeds and watery pulp—this prevents the sandwich from becoming soggy during toasting. Arrange the sliced veggies in separate small piles at the left edge of the cutting board, discarding any tough, thick onion core pieces.
Step 2
step2:Slice fresh vegetables thinly
Step 2
step2:Slice fresh vegetables thinly
3

Butter bread slices evenly

Lay all 4 bread slices flat on the center of the bamboo cutting board. Use the tip of the pale grey silicone spatula to spread 1/2 tablespoon of softened unsalted butter evenly across one entire side of each bread slice, spreading all the way to the crust edges. Keep the butter layer thin, not thickly slathered, to create a crisp, golden crust without making the bread greasy.
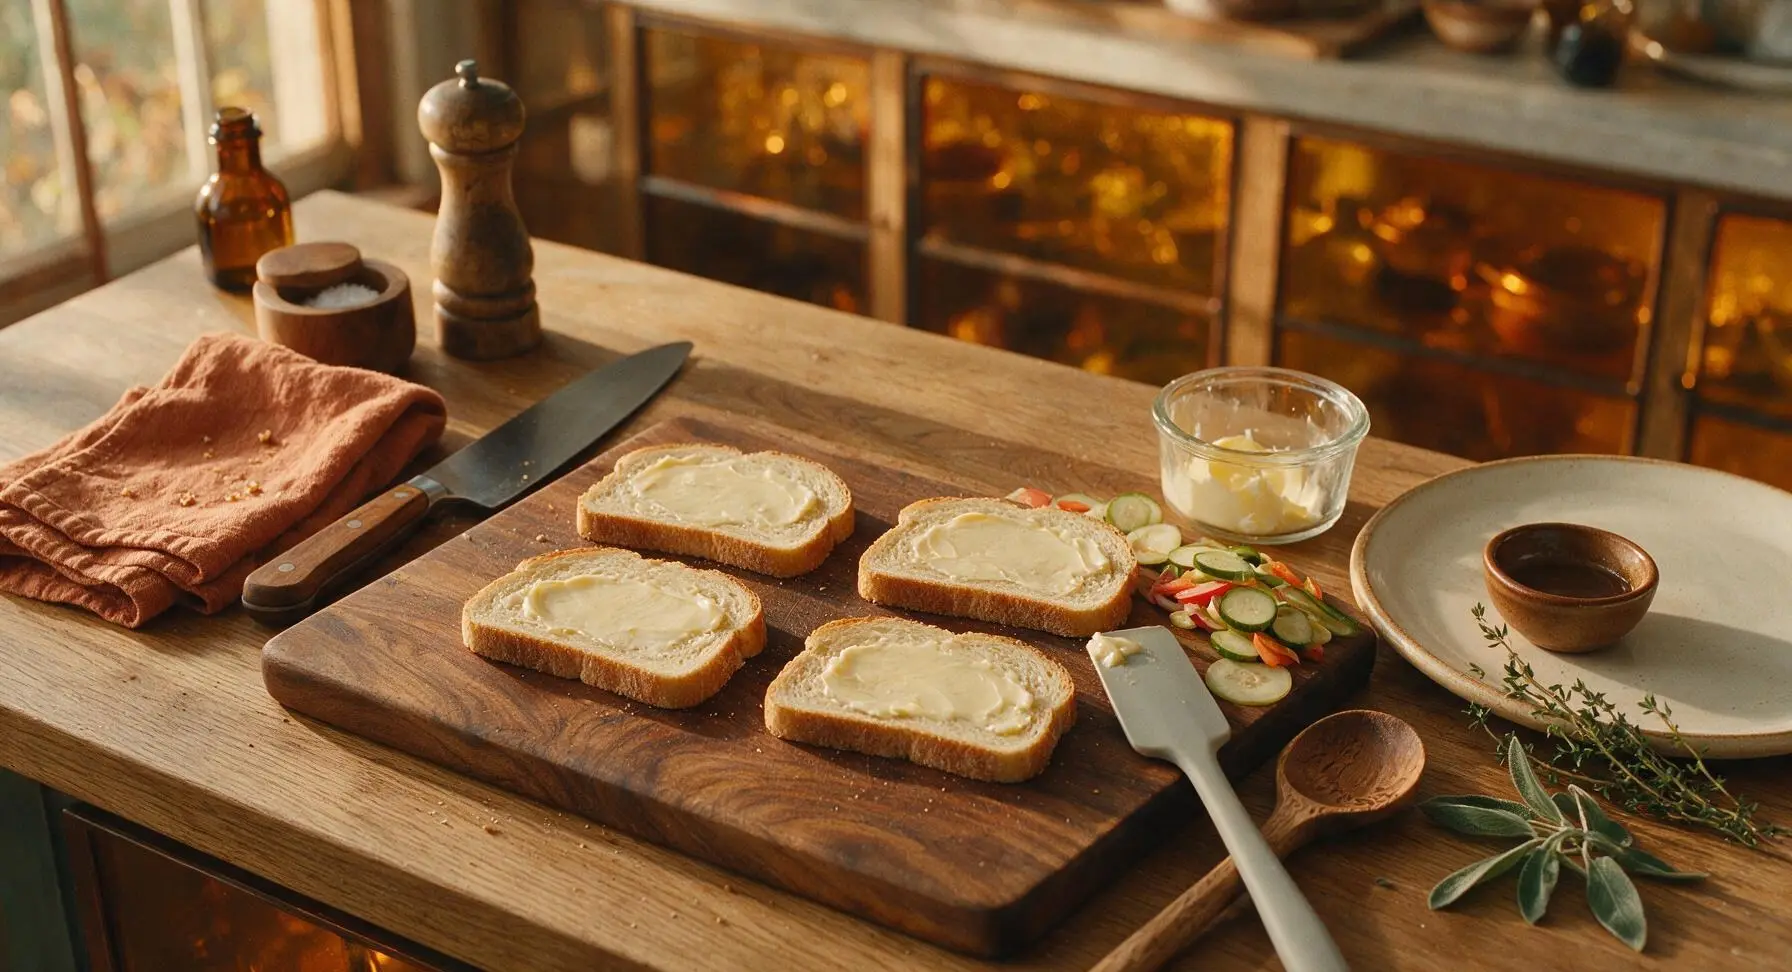
Step 3
step3:Butter bread slices evenly
4

Layer sandwich fillings

Flip two of the bread slices so the buttered side faces down to form the sandwich bottoms. Sprinkle half of the grated cheese evenly across each bottom slice, then layer 3-4 cucumber slices, 2-3 tomato slices, and 2 thin onion slices over the cheese. Top the veggies with 4-5 fresh mint leaves, a light pinch of flaky sea salt, one twist of freshly ground black pepper, and 1/4 teaspoon of chaat masala per sandwich. Sprinkle the remaining grated cheese over the seasoned veggies, then place the top bread slices on with the buttered side facing out to form two full sandwiches.
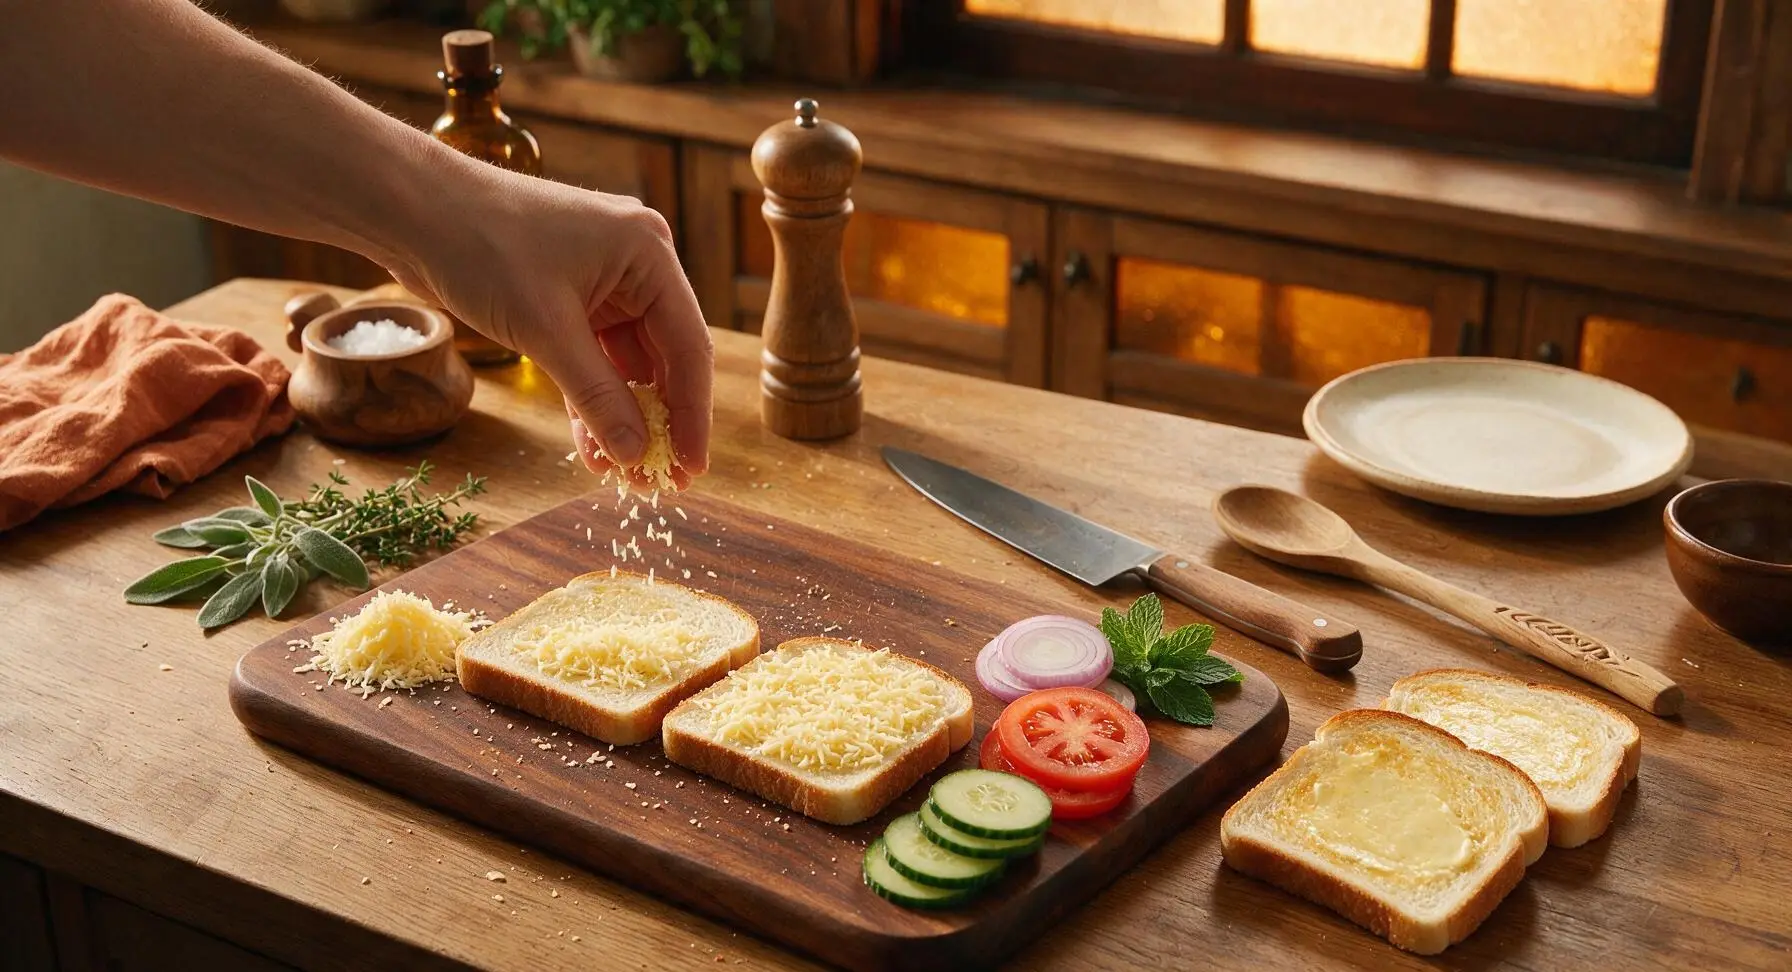
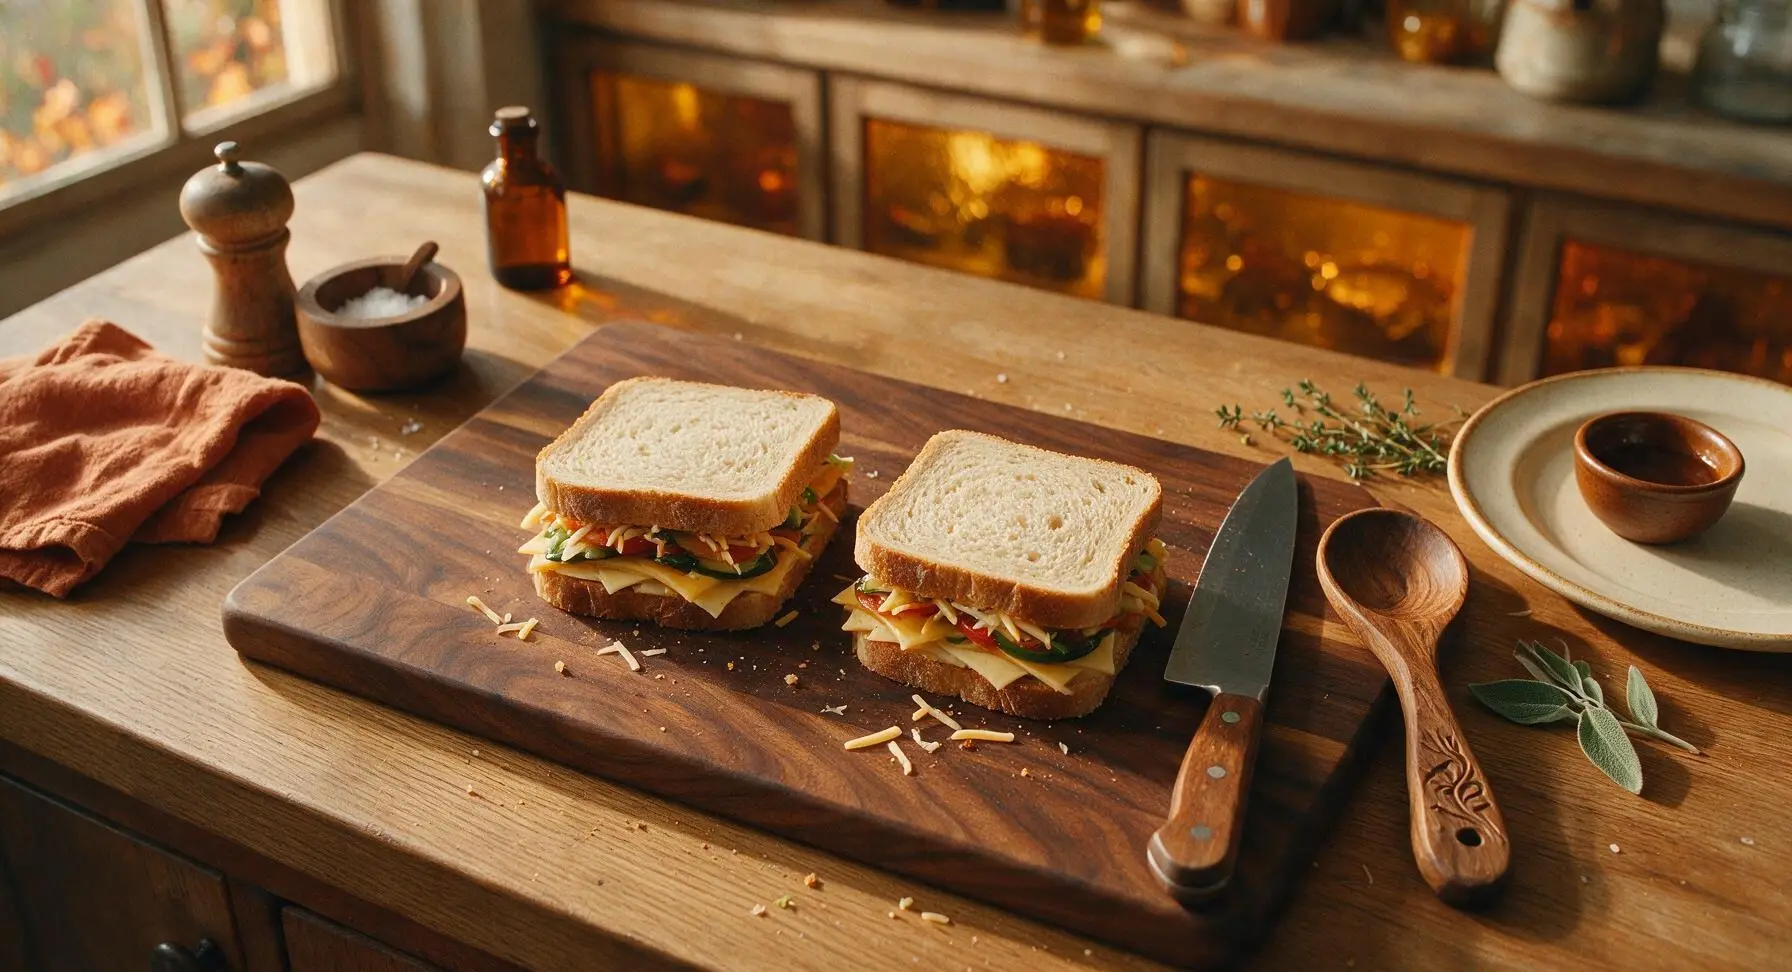
Step 4
step4:Layer sandwich fillings
Step 4
step4:Layer sandwich fillings
5

Preheat the grill pan

Retrieve the matte black non-stick sandwich grill pan from below-counter storage and place it in its fixed bottom-center position on the countertop. Turn the stovetop burner to medium-low heat, and let the pan preheat for 2 minutes. Test the pan temperature by sprinkling a single drop of water: it should sizzle and dance across the surface immediately when ready, not evaporate instantly (too hot) or sit without bubbling (too cool).
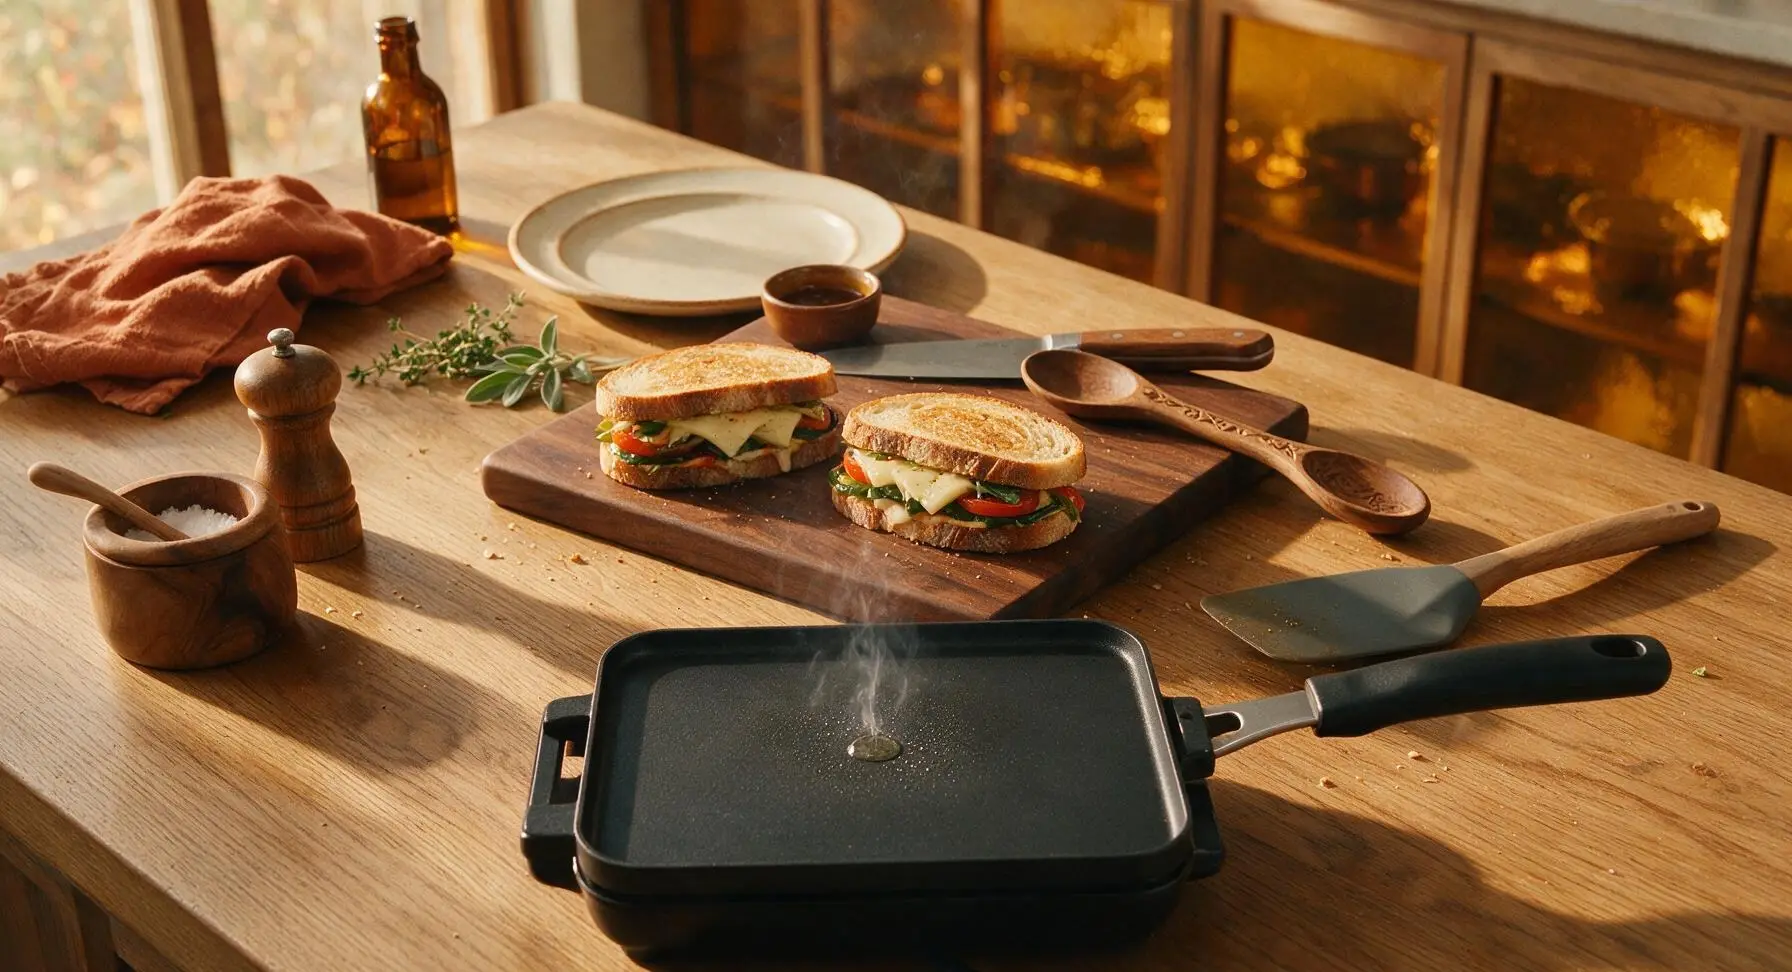
Step 5
step5:Preheat the grill pan
6

Toast until golden crisp

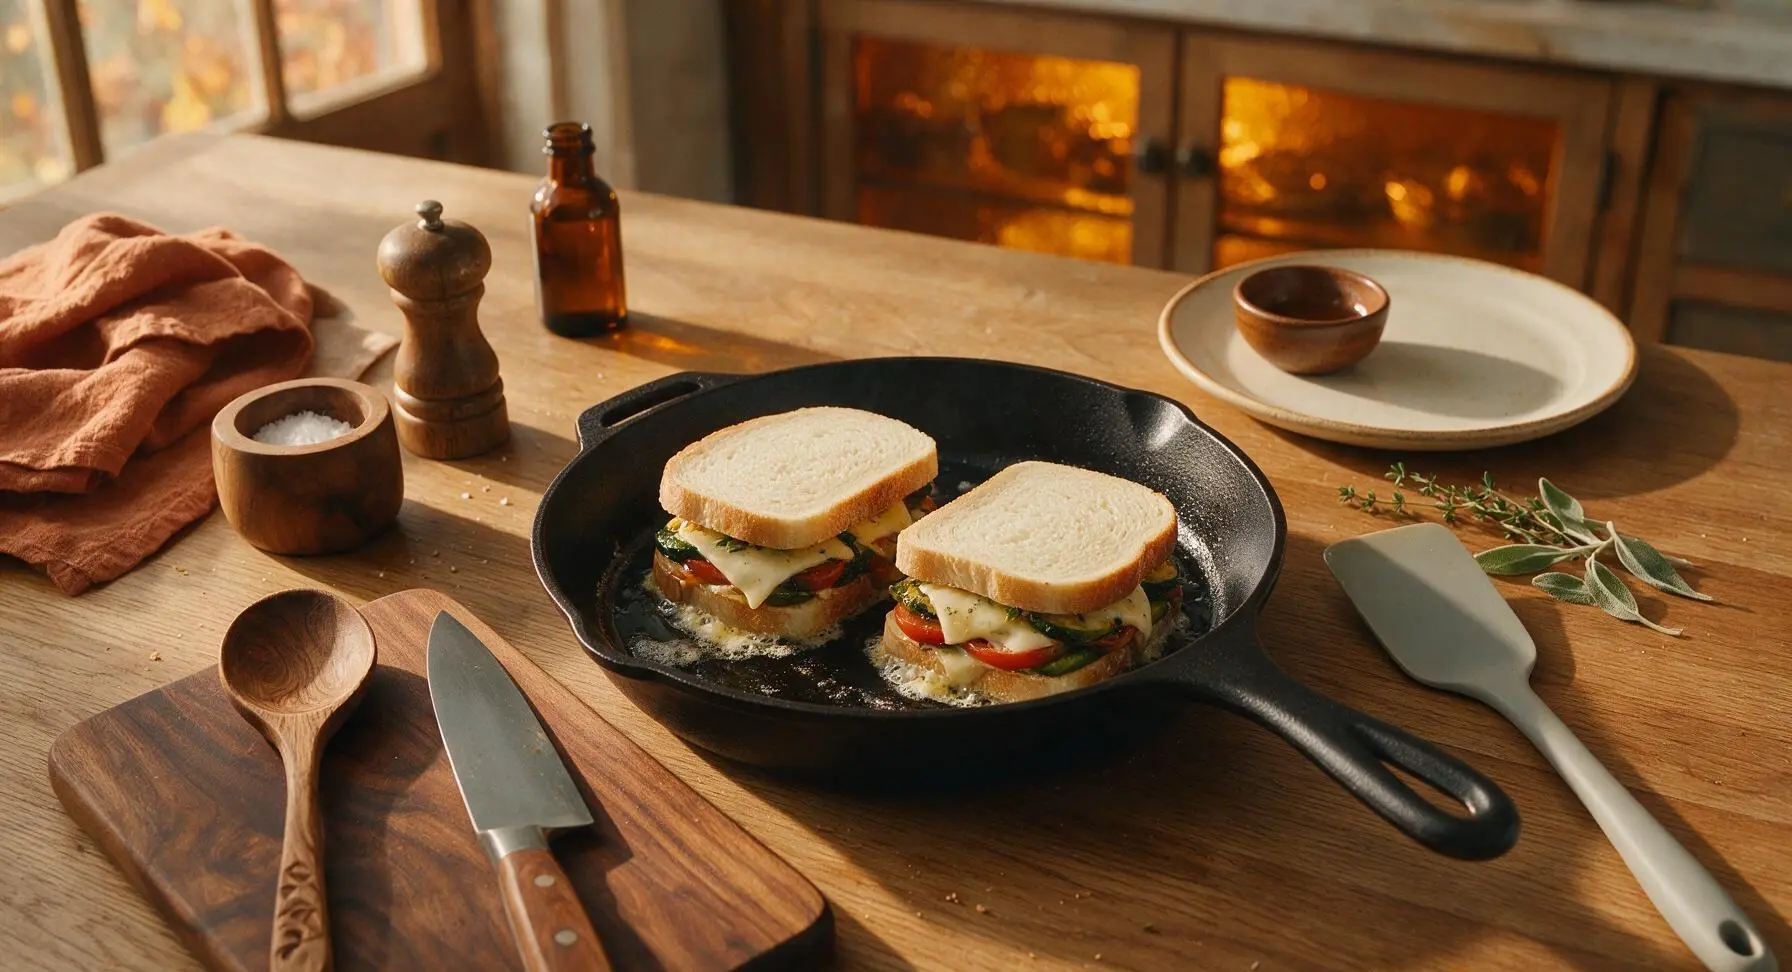
Carefully place both assembled sandwiches onto the preheated grill pan. Cook for 3-4 minutes on the first side, until the bread turns deep golden brown with distinct dark grill marks, and the cheese closest to the pan starts to melt. Use the pale grey silicone spatula to flip the sandwiches gently, then cook for another 3-4 minutes on the second side, pressing lightly with the spatula to help the bread crisp evenly and the cheese melt fully through the filling. The sandwiches are done when both sides are crisp, and cheese oozes slightly from the sandwich edges.

Step 6
step6:Toast until golden crisp
Step 6
step6:Toast until golden crisp
7

Cut and plate sandwiches

Transfer the toasted sandwiches from the pan to the fixed matte cream ceramic dinner plate. Use the serrated bread knife to cut each sandwich diagonally into two triangular halves, cutting firmly in one smooth motion to avoid squishing the filling out. Lightly dust the top of the sandwich triangles with the remaining 1/2 teaspoon of chaat masala for extra bright, zesty flavor.

Step 7
step7:Cut and plate sandwiches

Tips

1.Pat tomato slices dry before layering: Excess tomato juice and seed pulp will soak through the bread and create a soggy sandwich center, even with a perfectly crisp toasted exterior. Blotting removes watery liquid without diluting the bright, fresh tomato flavor.
2.Grate cheese fresh instead of using pre-shredded store-bought cheese: Pre-shredded cheese is coated in potato starch and anti-caking agents that prevent smooth, even melting, leading to clumpy, separated filling instead of the gooey, stretchy melted cheese texture that makes this sandwich satisfying.
3.Cook on medium-low heat, not high: High heat will quickly burn the buttered bread exterior before the cheese in the center of the sandwich has time to fully melt, leading to charred crusts and cold, unmelted filling. Slow, gentle toasting ensures even crispness and fully melted cheese all the way through the layers.


✨ You May Also Like

Main Course
🍜 United Kingdom

A showstopping classic of tender seared beef, savory mushroom duxelles, and crisp prosciutto wrapped in flaky golden puff pastry, baked to juicy perfection.

⏱️ 2 hours 1Main Course ★ 4.7
Main Course
🍜 India

Tender charred marinated chicken simmered in a rich, spiced creamy tomato sauce, this iconic Anglo-Indian curry pairs perfectly with basmati rice or warm naan.

⏱️ 50 minuteMain Course ★ 4.6
Main Course
🍜 Thailand

Classic tangy, sweet, and savory Thai stir-fried rice noodles with shrimp, tofu, and crunchy garnishes, balancing all five core Thai flavor profiles.

⏱️ 30 minuteMain Course ★ 4.5
Main Course
🍜 United Kingdom

Crispy golden beer-battered cod and fluffy double-fried chips, served with tangy tartar sauce and malt vinegar: the timeless, beloved British pub comfort classic.

⏱️ 45 minuteMain Course ★ 4.7
Main Course
🍜 Mexico

Smoky, chile-marinated pork tacos with caramelized pineapple, fresh cilantro, and lime: a beloved classic Mexican street food perfect for casual summer gatherings.

⏱️ 1 hour 45Main Course ★ 4.8
Main Course
🍜 United States

Crunchy Fritos corn chips layered with savory beef chili and melted cheddar, topped with cool, zesty fixings for a beloved, cozy Tex-Mex comfort food.

⏱️ 35 minuteMain Course ★ 4.8

veg cheese sandwich:Frequently Asked Questions

1.How do I keep my veg cheese sandwich from turning out soggy? ▾
Pat tomato and cucumber slices dry with a paper towel before layering, as excess vegetable moisture is the top cause of sogginess. Spread a thin, even layer of softened butter on the inner face of each bread slice first to create a moisture barrier, so your toasted bread stays crisp instead of getting mushy as the cheese melts.
2.Can I use a different type of cheese if I don’t have sharp cheddar? ▾
Absolutely, though sharp cheddar delivers a bold, tangy melt that pairs perfectly with mild fresh veggies, you can swap in pepper jack for extra heat, mozzarella for a stretchier, milder bite, or smoked gouda for nuttier depth. Just slice or shred cheese thin so it melts fully before the bread gets too dark.
3.Do I need a sandwich press to make this, or can I use a regular stovetop pan? ▾
You don’t need any fancy equipment! A standard nonstick skillet works perfectly. Melt a tiny pat of butter over medium-low heat, set your assembled sandwich in the pan, and cook 3–4 minutes per side, pressing gently with a spatula, until bread is golden crisp and cheddar is fully melted all the way through.
4.How thick should I cut the tomato and cucumber for the best bite? ▾
Aim for uniform 1/4-inch thick slices for both English cucumber and ripe tomato, and scoop out the seedy, juicy core of tomato slices before adding them. Too-thick slices will slide out when you bite in, while paper-thin slices won’t deliver that satisfying fresh crunch that balances rich, melted cheese.
5.How do I add the zesty spice note without making the sandwich messy? ▾
Mix a pinch of red pepper flakes, a dash of garlic powder, and a tiny squeeze of Dijon mustard into your softened butter before spreading it on the bread. This distributes zesty flavor evenly across every bite, with no gloopy sauce sliding out, and the butter still works as a reliable moisture barrier for veggies.
6.Can I make these sandwiches ahead of time for meal prep? ▾
These sandwiches taste best eaten fresh off the heat, when the bread is crisp and cheese is stretchy and fully melted, but you can prep components ahead. Slice and store veggies in an airtight container in the fridge, pre-slice your cheddar, and butter bread up to a day early, then assemble and toast right before serving.
7.Why does my cheese never fully melt before the bread gets too dark? ▾
This almost always happens when your stovetop heat is too high. Cook over medium-low heat, and thinly slice or shred your sharp cheddar instead of using thick chunks, which take longer to melt. You can also cover the pan with a lid for 1 minute while cooking to trap steam that melts cheese evenly without burning the bread.

Comments (3)

2 days ago

My kids loved this! I needed a super quick after-school snack that wasn’t just chips or pre-packaged junk, and this veg cheese sandwich hit every mark. It was so easy even my 10 year old helped assemble them. We added a little dash of garlic powder to the cheese mix and it was SO good, total chef’s kiss. Perfect for busy weeknights when we’re running between soccer practice and homework too!

3 days ago

Made these for our neighborhood potluck last weekend and they vanished in 10 minutes! Only reason I’m not giving 5 stars is I wish the recipe noted how to keep the bread from getting soggy if you prep them a little ahead of time. I made mine 20 minutes before leaving the house and the bottom slices were a little soft by the time we ate. Flavor was incredible though, everyone asked for the recipe!

2 days ago

So glad these were a hit at your potluck, Pete! Great question about sogginess—if you’re prepping ahead, try spreading a thin layer of softened butter on both inner sides of the bread before adding fillings, it creates a barrier that keeps moisture from the veggies from seeping into the bread. You can also pat sliced tomatoes and cucumbers dry with a paper towel before adding them for extra insurance! Hope that helps for next time.

1 week ago

OMG total game changer for my work from home lunches and Sunday meal prep! I was so sick of sad salads every day, and this sandwich takes literally 8 minutes to throw together midday, or holds up great for 2-3 days in the fridge if I make a batch ahead. I used whole grain sourdough and added a little pickled jalapeño for a kick, and oh my gosh it’s better than any sandwich I’ve gotten from the café down the street. 10/10, would recommend to anyone who needs a quick, satisfying vegetarian meal.

5 days ago

Wait the pickled jalapeño addition is genius! I made these last night for family dinner and just used plain cheddar and veggies, I’m definitely throwing some jalapeños on when I make a batch for meal prep this weekend. Thanks for the tip!

3 days ago

Love that custom twist, Mia! Adding pickled jalapeños is such a fun way to add a little zing, I’ll have to try that version myself this week. So happy this is sprucing up your work from home lunch rotation!



