
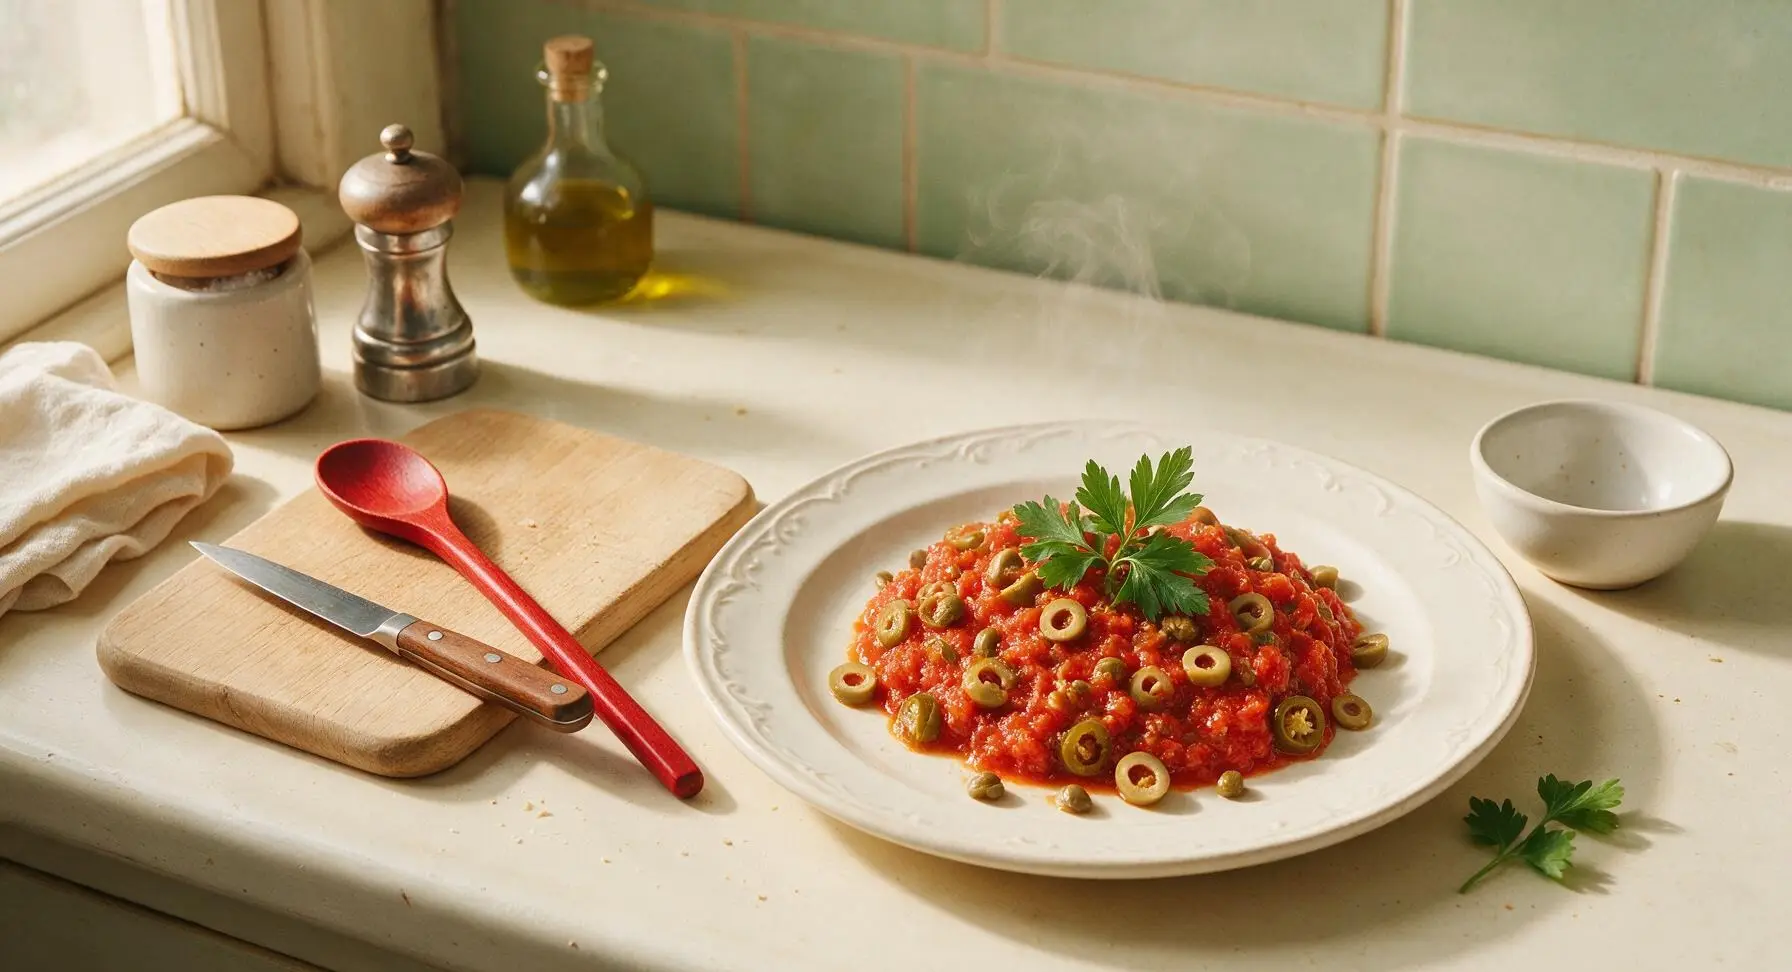
vera cruz sauce

title 1
vera cruz sauce
⏱️ cook time 25 minutes
🍽️ servings 4
⚡ Difficulty easy

intro

Bright, briny Veracruz-style tomato sauce studded with green olives, capers, and pickled jalapeños. Perfect for pairing with grilled fish, roasted chicken, or rice for a comforting, flavorful meal.

Ingredients
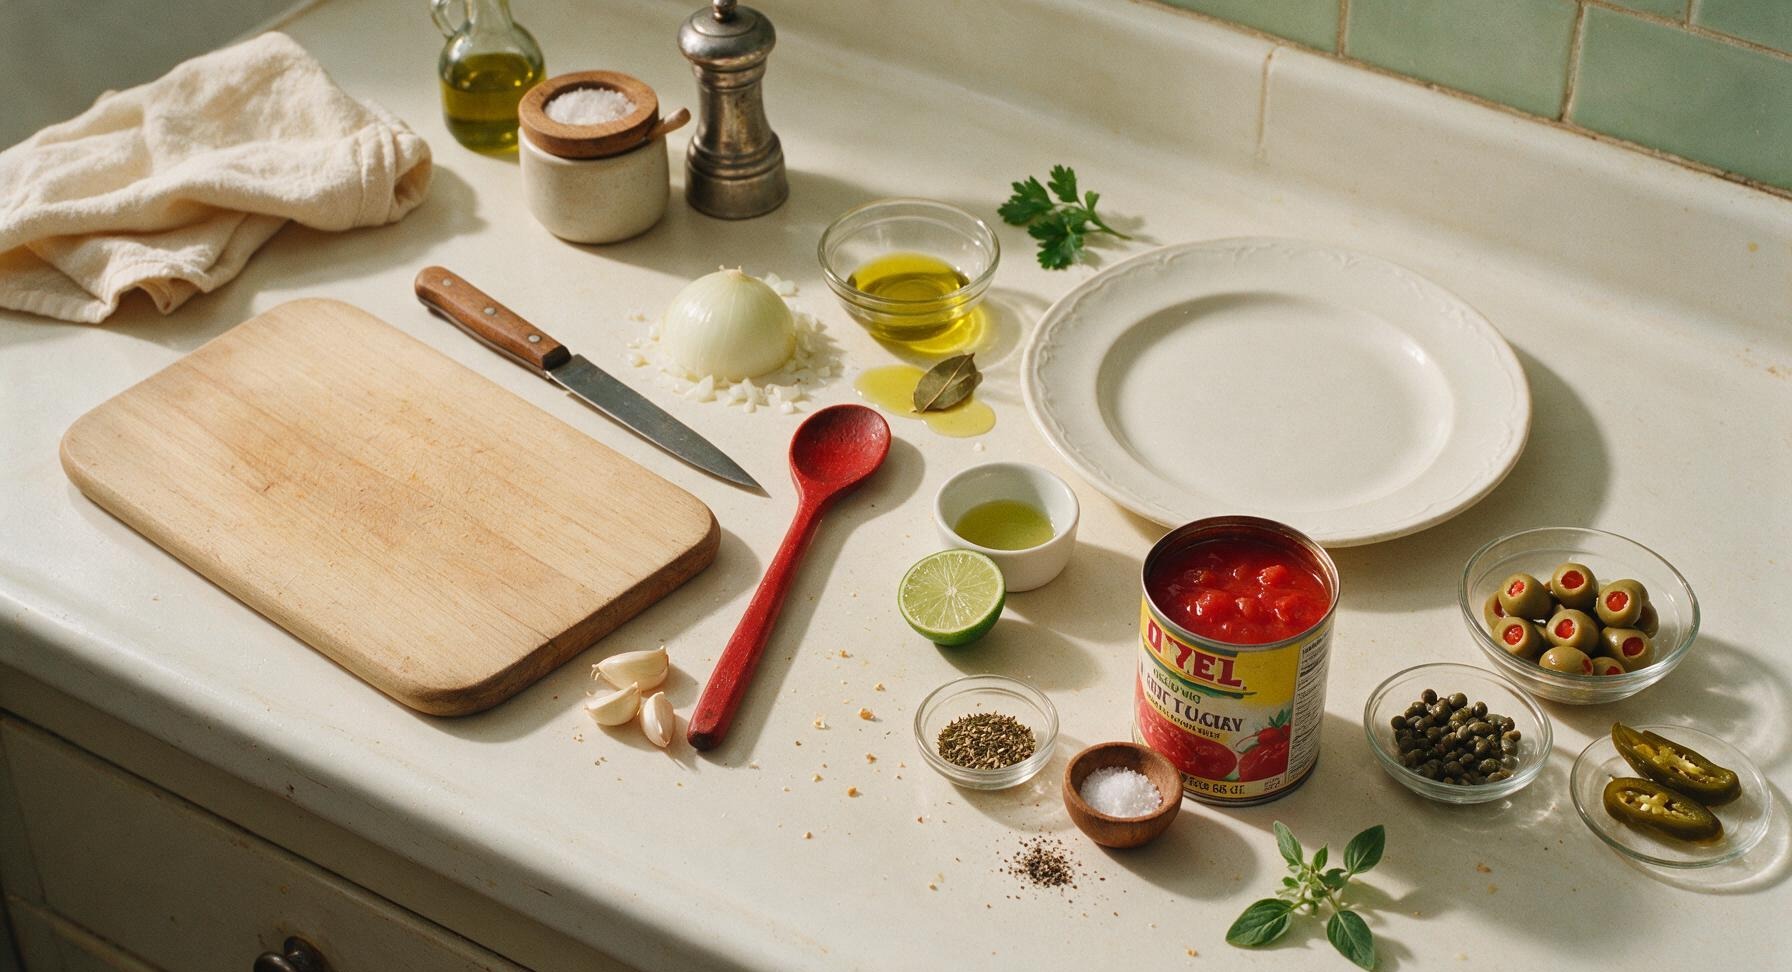
Extra-virgin olive oil 2 tbsp, plus extra for drizzling
White onion 1 medium (150g)
Garlic cloves 3
Whole peeled tomatoes (with juices) 1 (28oz/796ml) can
Pimento-stuffed green olives 1/2 cup (70g, sliced)
Capers (rinsed, drained) 2 tbsp (20g)
Pickled jalapeños 2 (30g, sliced into thin strips)
Dried Mexican oregano 1 tsp
Bay leaf 1
Kosher salt 1/4 tsp
Freshly ground black pepper 1/8 tsp
Fresh lime juice 1 tbsp (from 1/2 lime)
Fresh oregano sprigs 2, for garnish

Steps

1

Prep Aromatic Vegetables

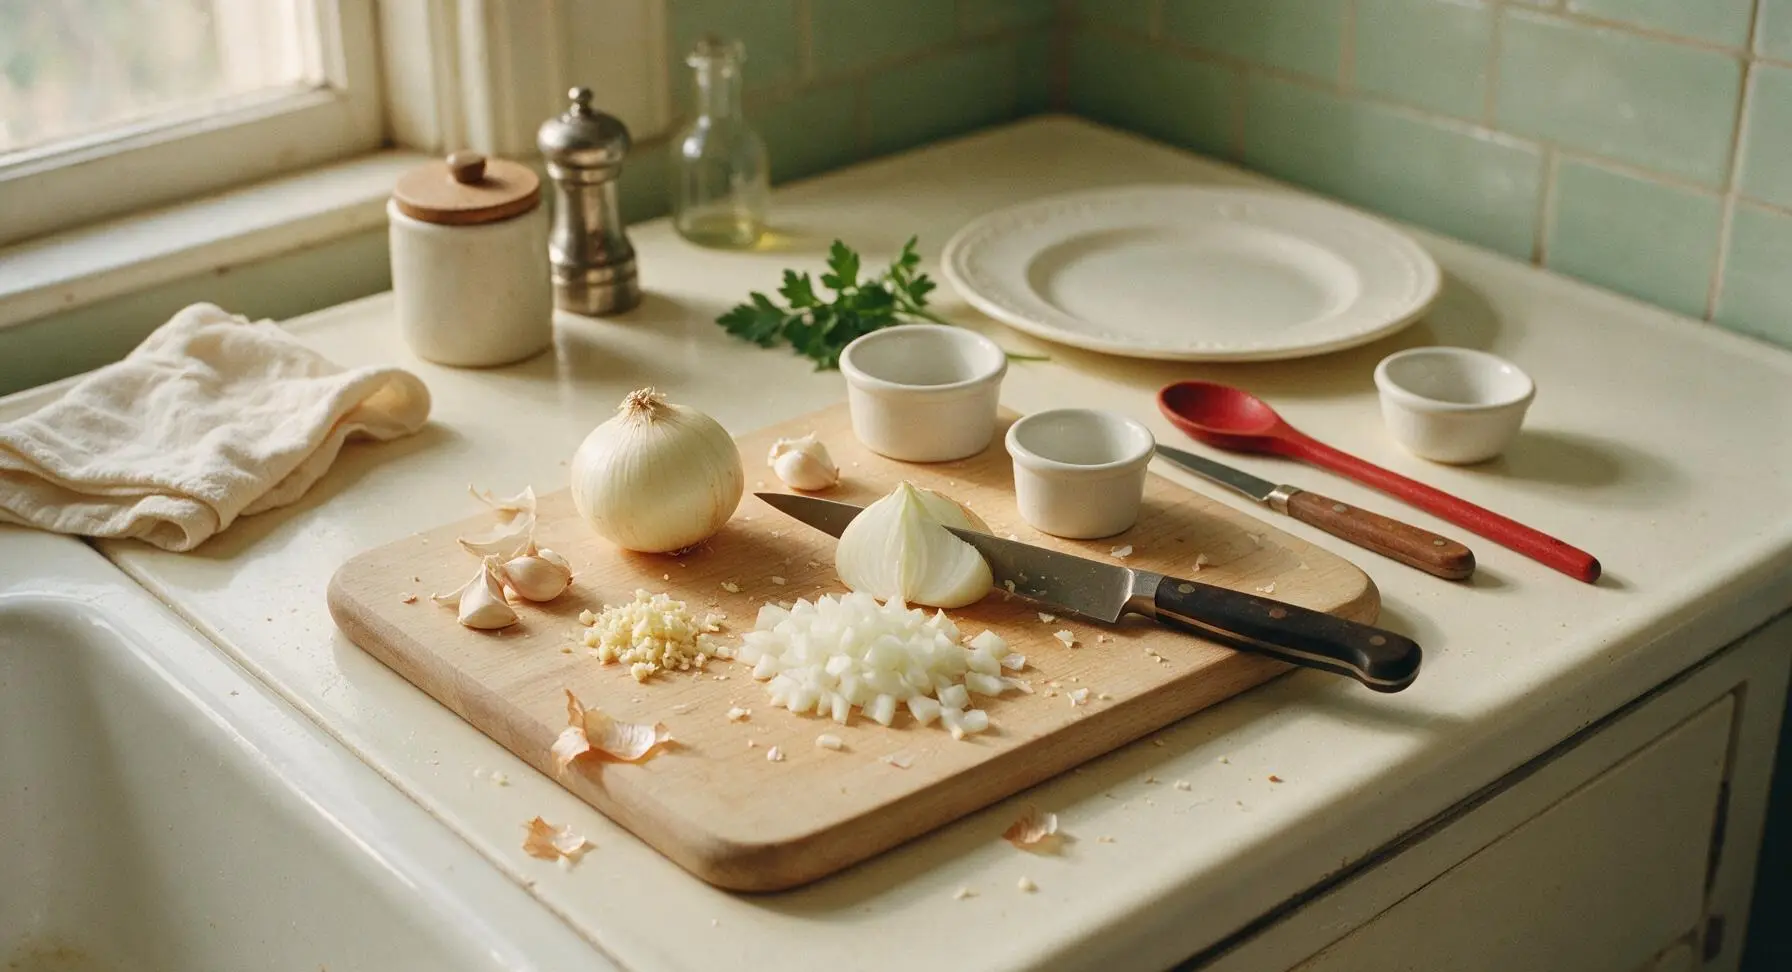
Place the light birch cutting board at the center of the counter. Using the 8-inch chef knife, dice the medium white onion into uniform 1cm (1/2 inch) pieces, mince the 3 garlic cloves finely, and transfer each to separate small matte white ramekins. Discard dry papery onion and garlic skins in a small scrap pile at the corner of the board, wiping away any small peel fragments as you work. Visual cue: onion pieces should be evenly sized so they cook at the same rate, with no large chunks remaining.
Step 1
step1:Prep Aromatic Vegetables
2

Sauté Diced Onion

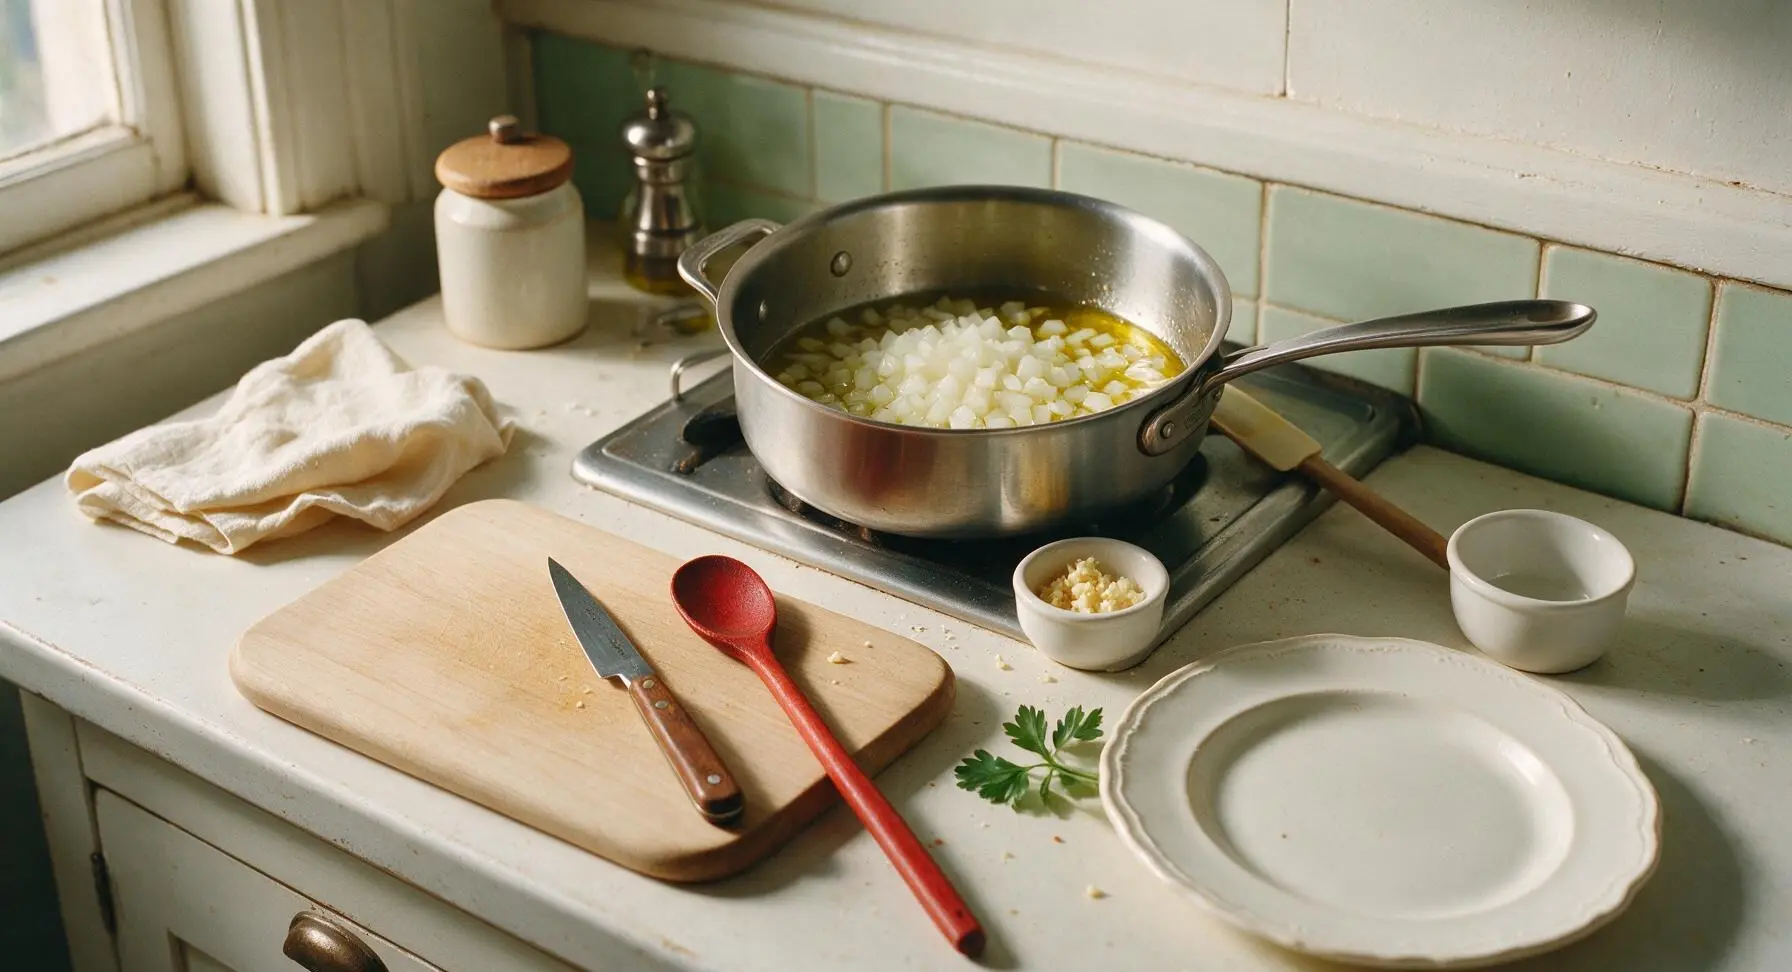
Set the 3-quart stainless steel saucepan on the stovetop burner over medium heat (350°F/175°C). Add 2 tablespoons of extra-virgin olive oil, and once the oil shimmers (about 1 minute of heating), add the diced white onion. Sauté for 5 minutes, stirring occasionally with the silicone spatula, until the onion is soft and fully translucent. Visual cue: no browned or crispy edges on the onion, which would indicate too high heat.
Step 2
step2:Sauté Diced Onion
3

Bloom Garlic and Spices

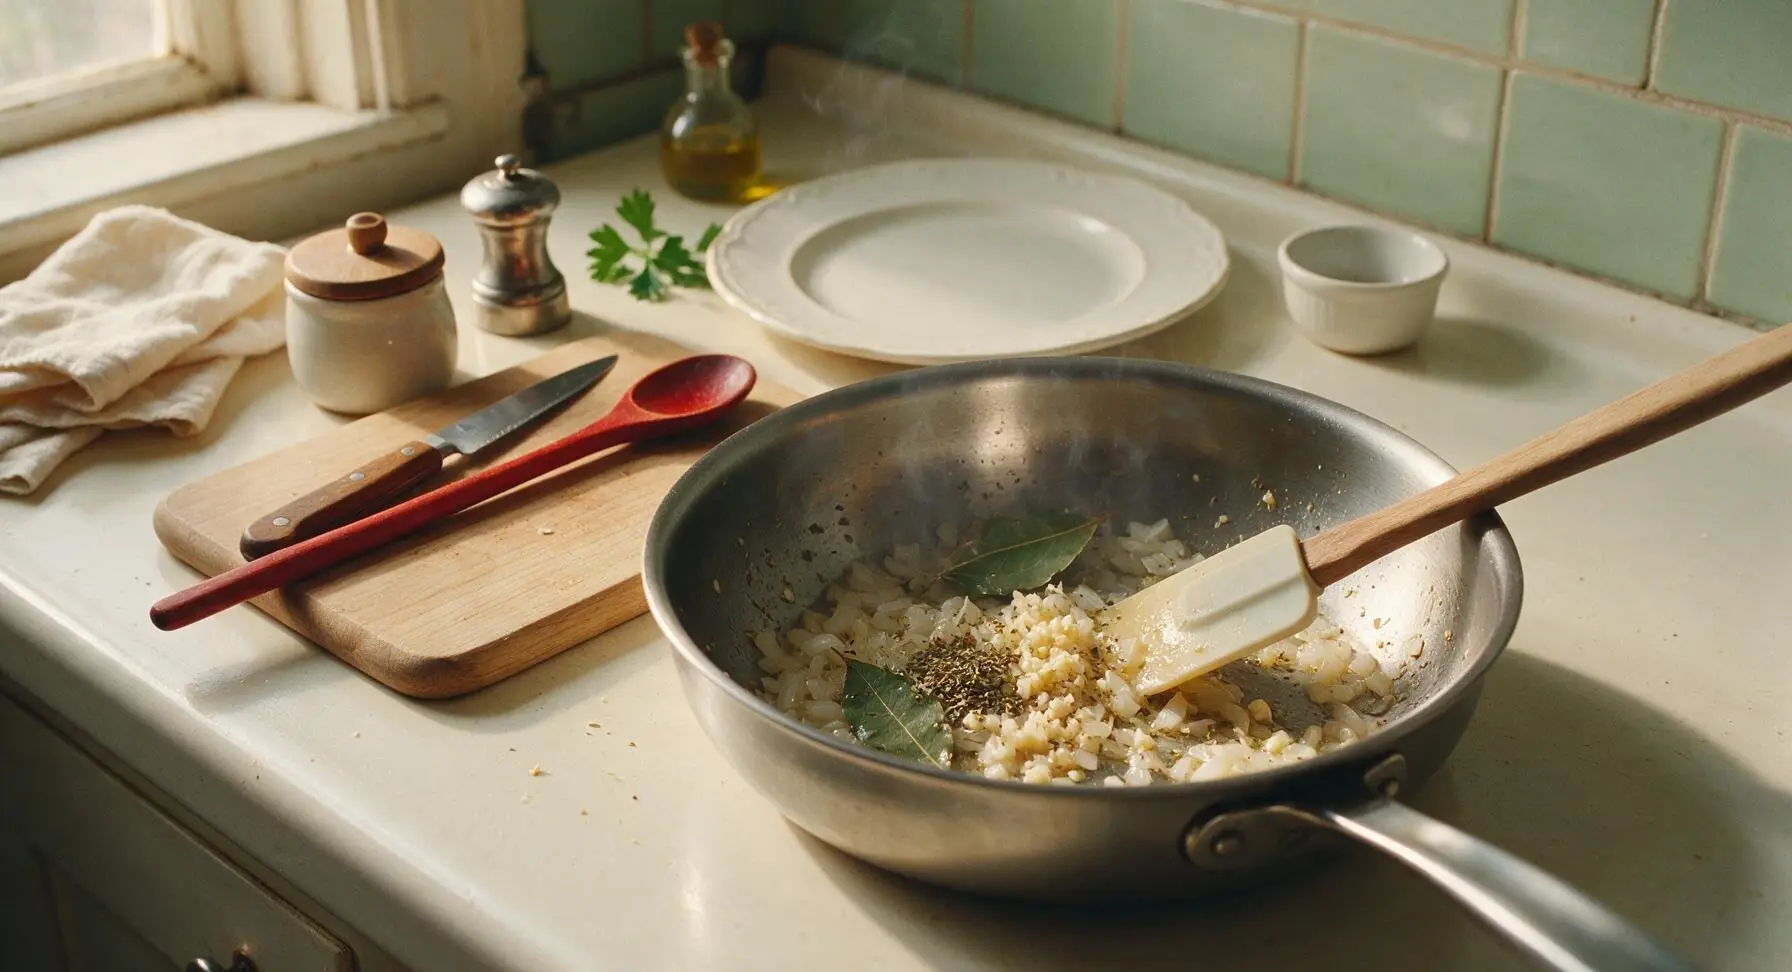
Add the minced garlic, 1 teaspoon of dried Mexican oregano, and 1 bay leaf to the saucepan with the softened onion. Stir constantly with the silicone spatula for 30 to 45 seconds, until the garlic releases a bright, savory aroma. Critical note: do not let the garlic turn dark brown, as this will create a harsh, bitter flavor in the finished sauce. Visual cue: garlic is pale golden and fragrant, no dark spots present.
Step 3
step3:Bloom Garlic and Spices
4

Simmer Tomato Base

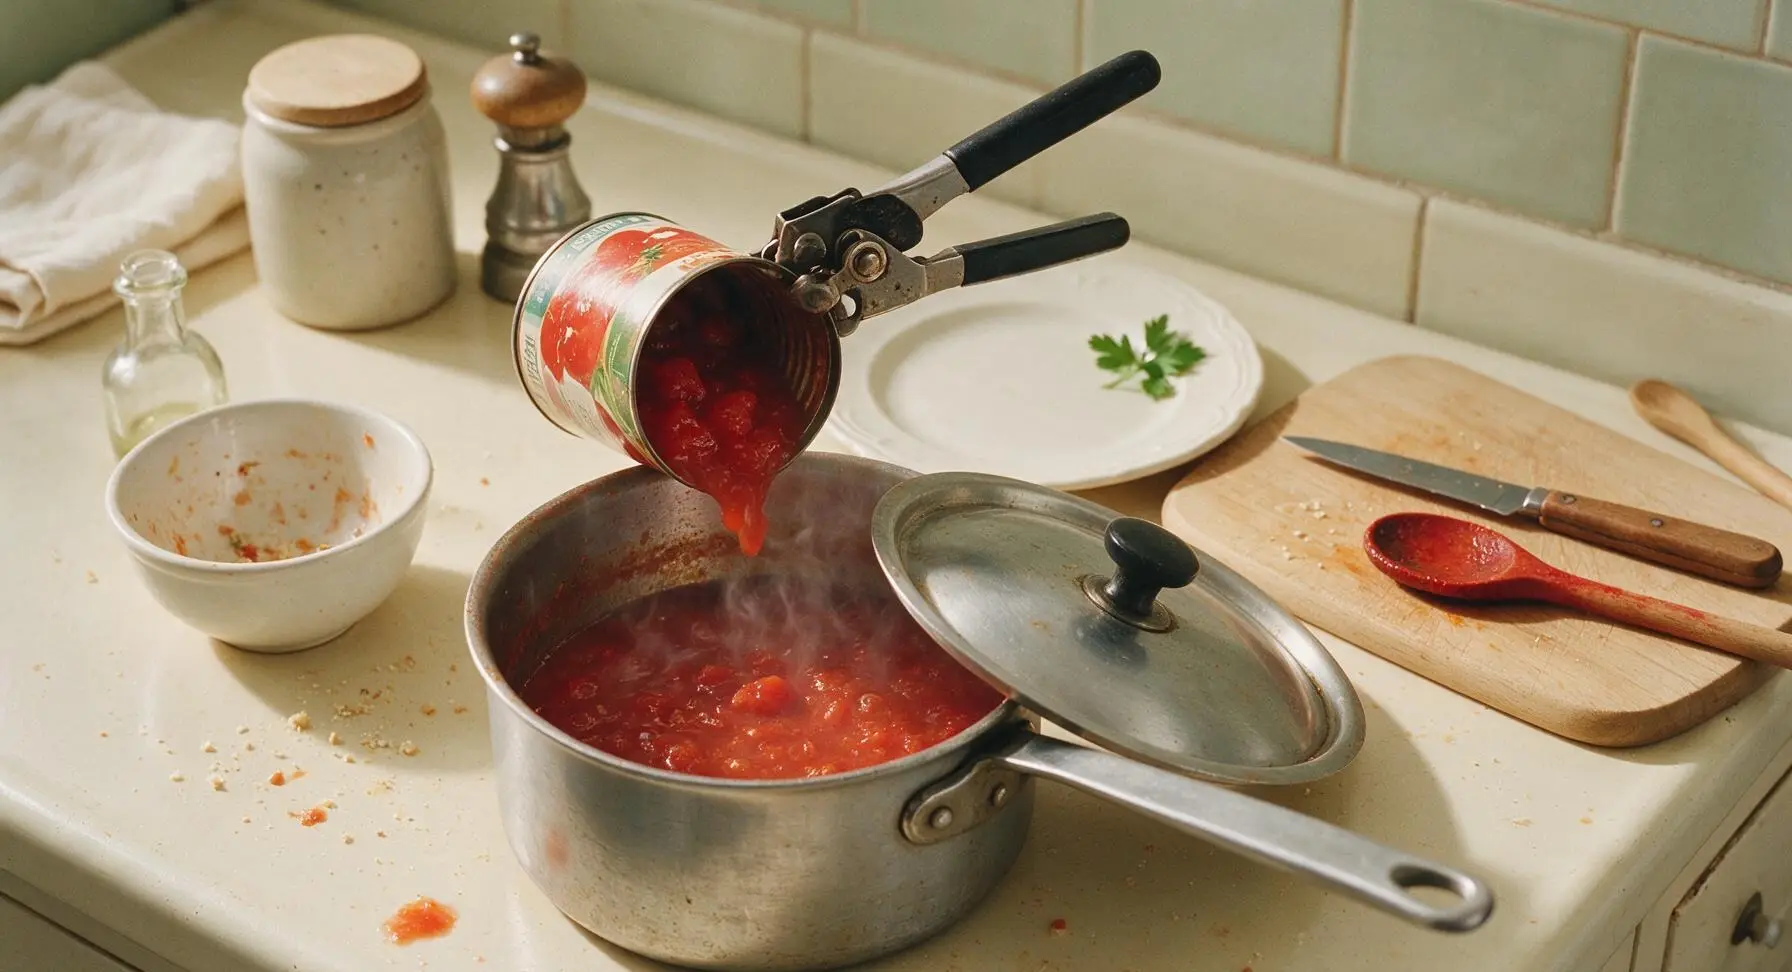
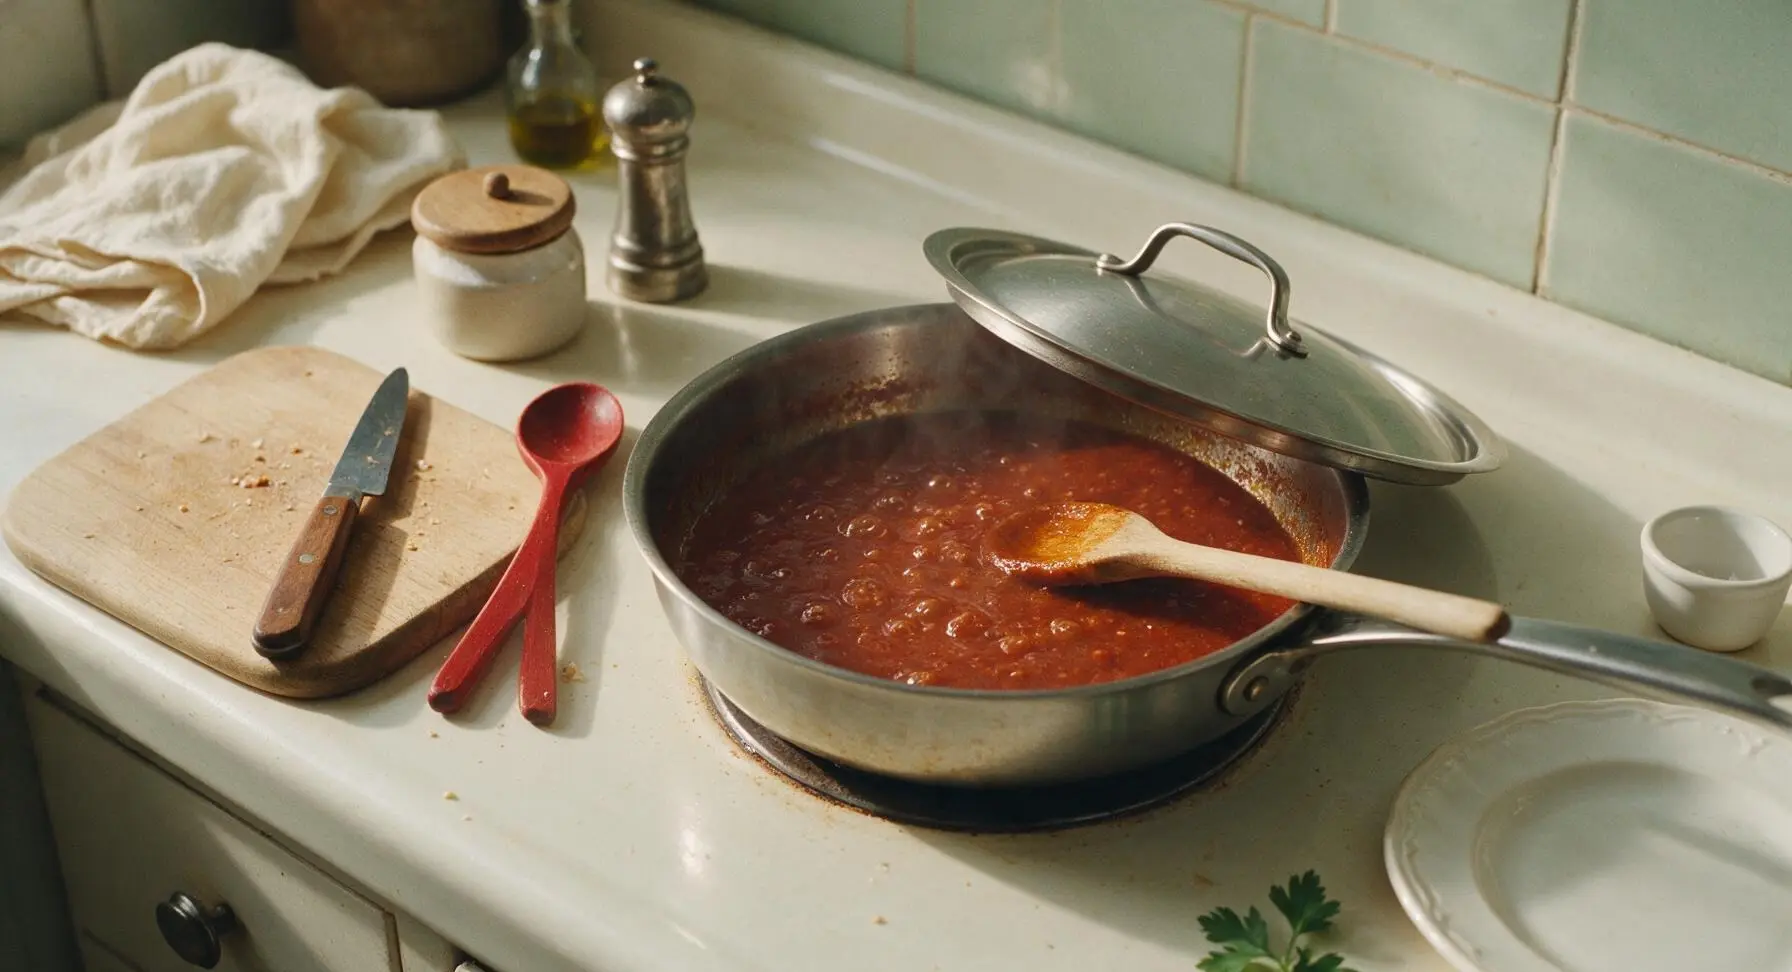
Use the small stainless steel can opener to open the 28oz can of whole peeled tomatoes. Pour the entire contents (tomatoes and all reserved juices) into the saucepan, crushing the tomatoes gently against the side of the pan with the beechwood wooden spoon to create a rustic, chunky texture. Bring the sauce to a gentle, low bubble, then reduce heat to medium-low (275°F/135°C), rest the pan lid partially ajar to vent steam, and simmer for 12 minutes, stirring every 3 minutes to prevent sticking to the pan bottom. Visual cue: sauce will thicken slightly, with a deep, rich red color rather than the bright raw red of fresh canned tomatoes.
Step 4
step4:Simmer Tomato Base
Step 4
step4:Simmer Tomato Base
5

Add Briny Ingredients

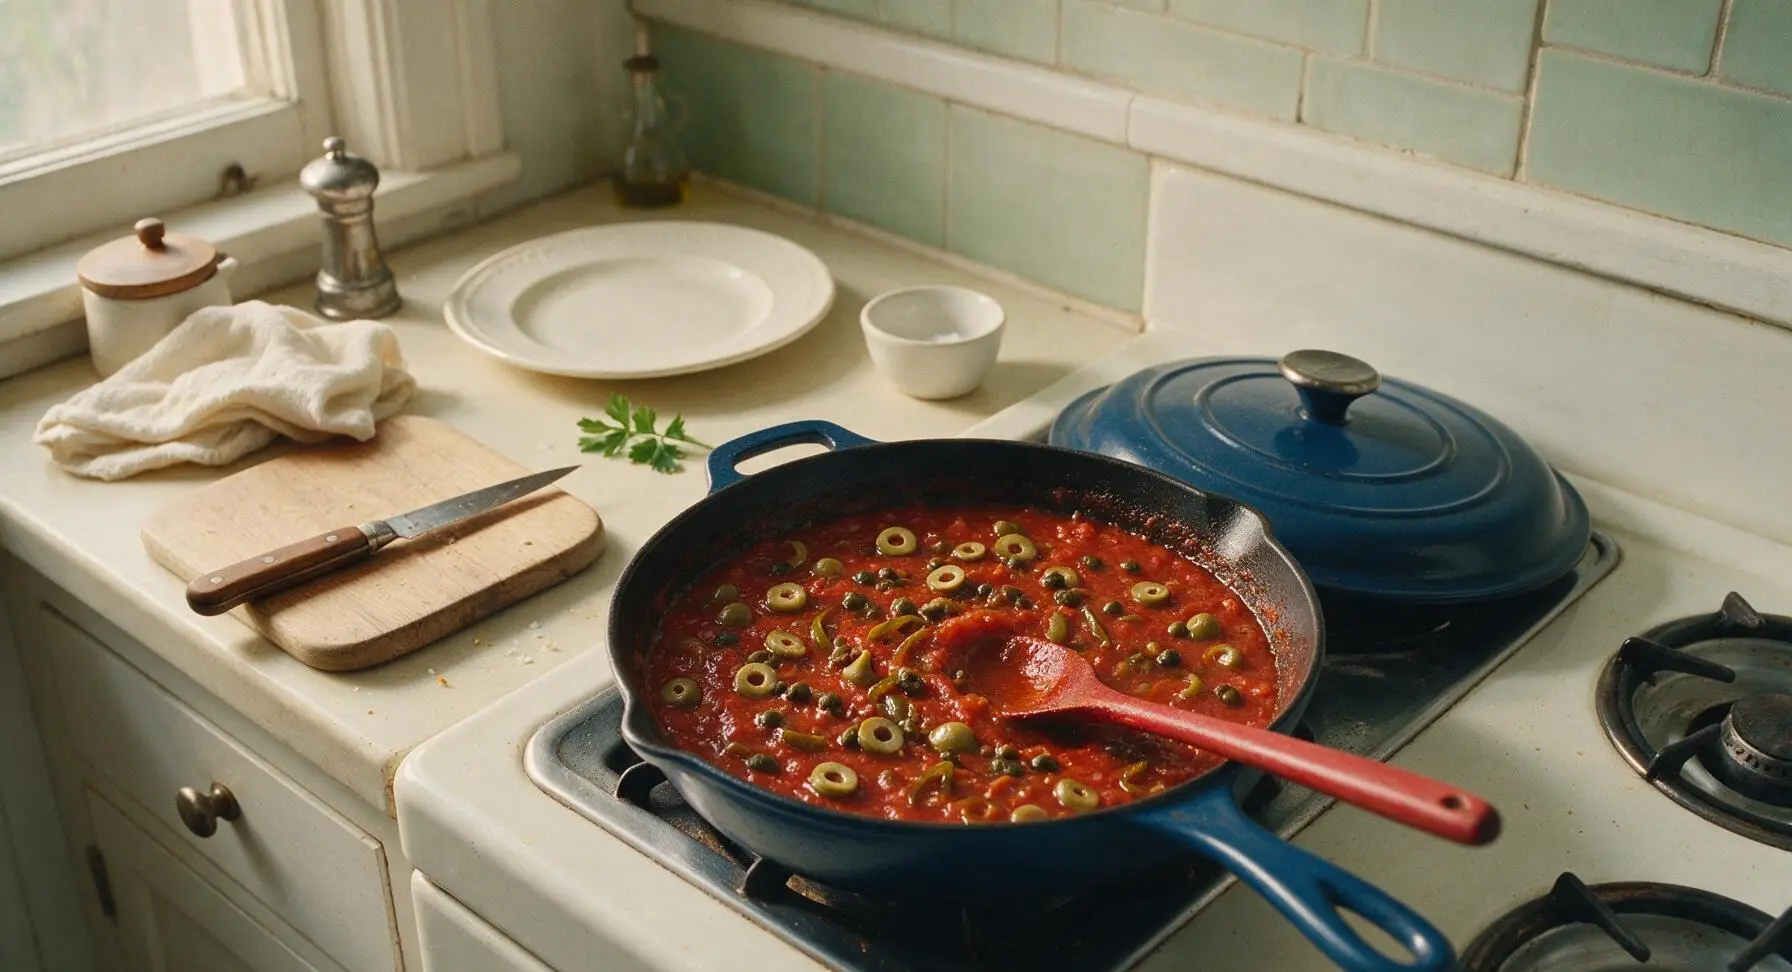
Slide the partial lid off the pan, then add the 1/2 cup sliced pimento-stuffed green olives, 2 tablespoons rinsed drained capers, and 2 sliced pickled jalapeños to the simmering tomato base. Stir to combine evenly with the wooden spoon, then continue to simmer uncovered for 5 more minutes to let the briny, tangy flavors meld into the tomato. Visual cue: olives, capers, and jalapeños are evenly distributed, no clumps of capers in one section of the pan.
Step 5
step5:Add Briny Ingredients
6

Season and Finish Sauce

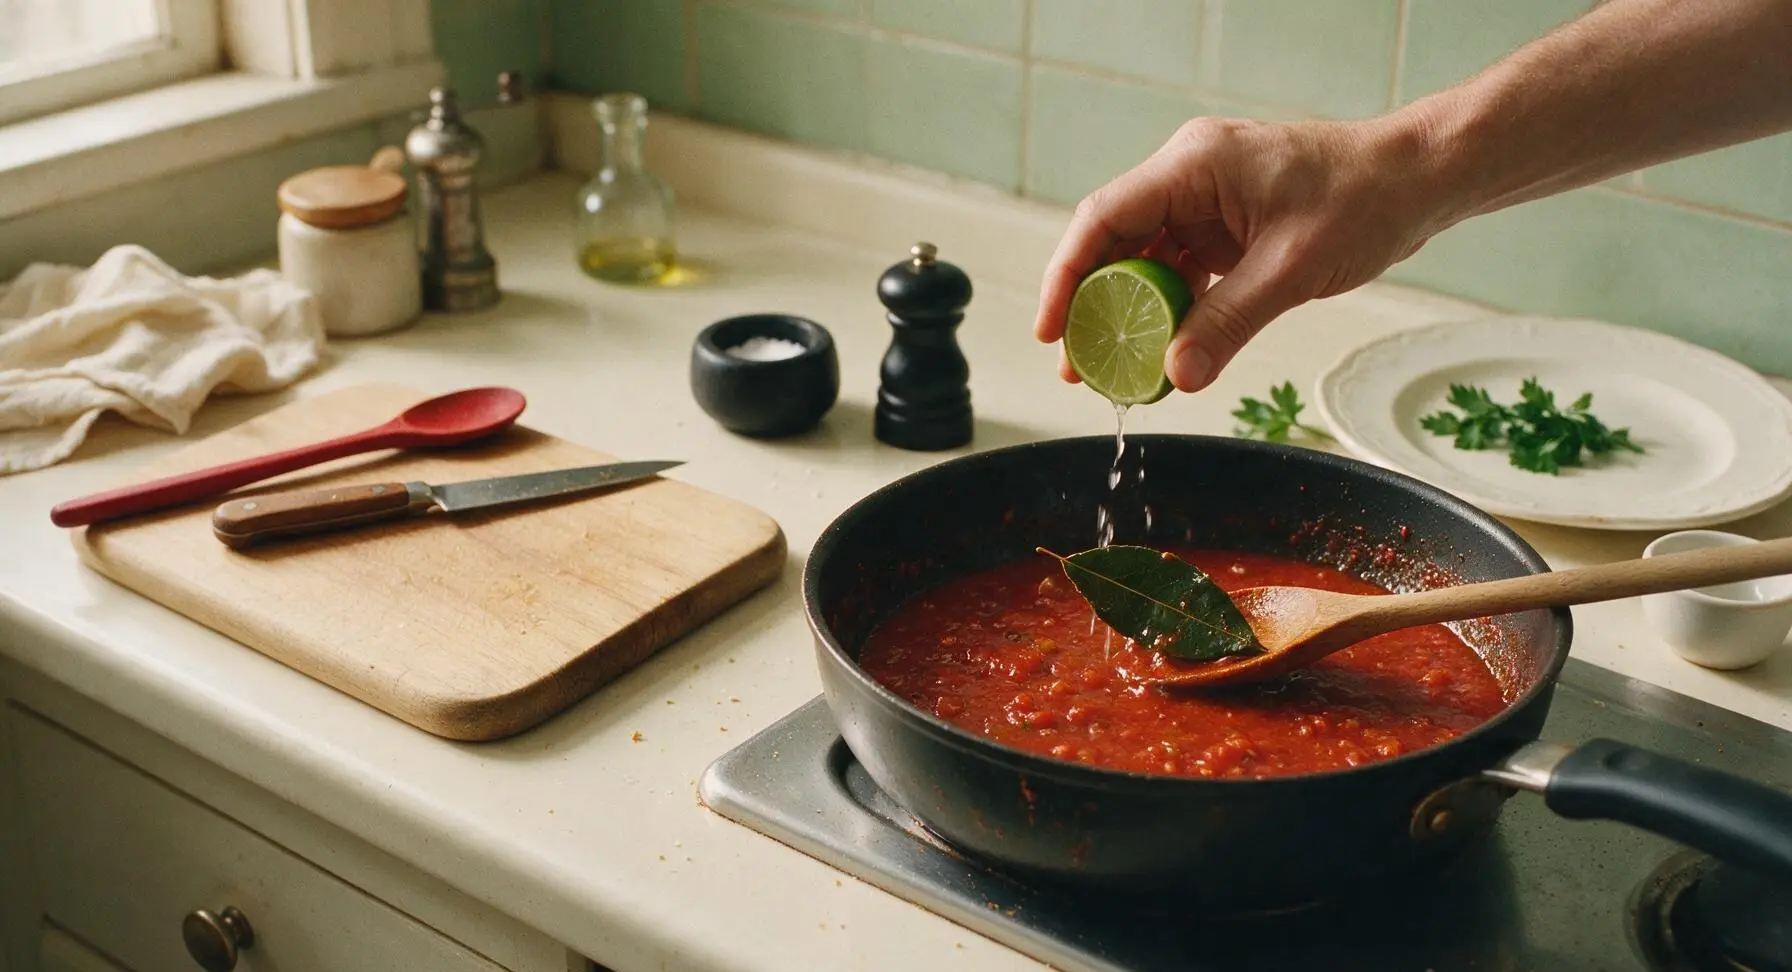
Taste a small spoonful of the sauce, then season with 1/4 teaspoon kosher salt and 1/8 teaspoon freshly ground black pepper, adjusting salt as needed (note that olives and capers are already high in sodium, so add salt sparingly). Remove the pan from heat, fish out and discard the bay leaf, then stir in 1 tablespoon of fresh lime juice to brighten the rich, savory flavors. Visual cue: sauce coats the back of a spoon thickly, with a balanced bright, briny, savory taste.
Step 6
step6:Season and Finish Sauce
7

Plate and Garnish

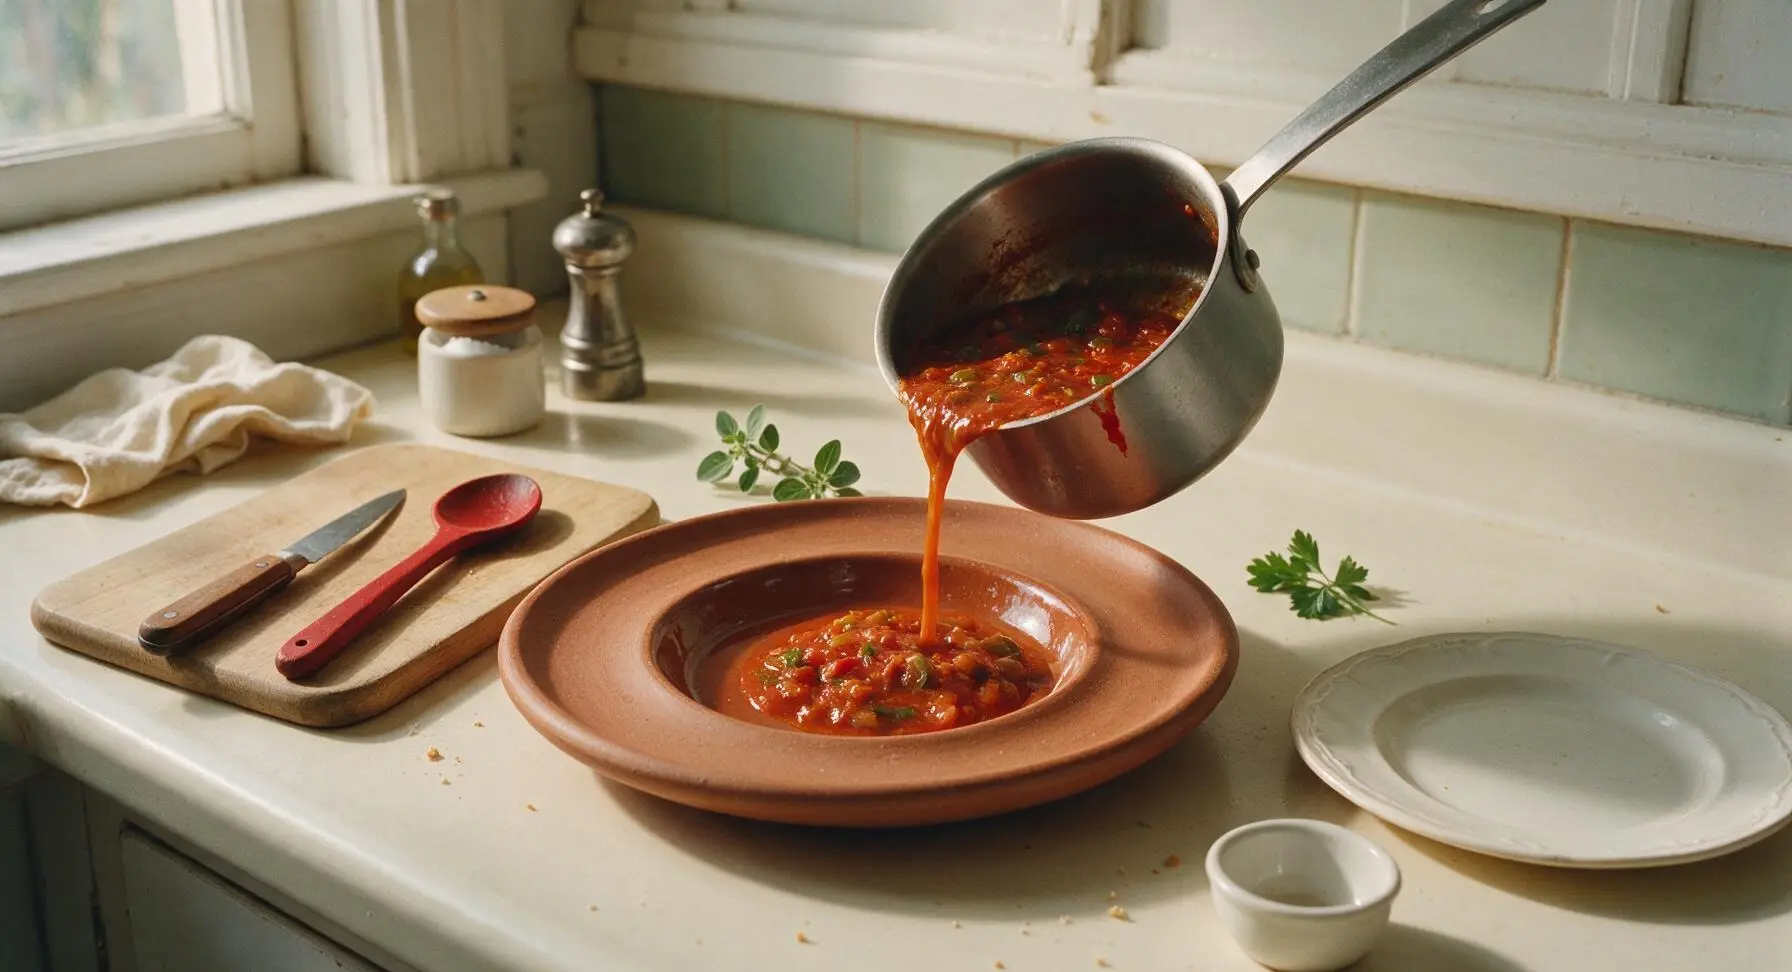
Carefully pour the finished warm sauce into the glazed inner well of the matte terracotta serving platter. Drizzle the surface with a tiny 1/4 teaspoon splash of extra-virgin olive oil, then top with 2 sprigs of fresh oregano for a bright, herby garnish. Let the sauce rest for 3 minutes before serving to allow flavors to meld and settle. The sauce is ready to serve over grilled white fish, roasted chicken, or cooked rice.
Step 7
step7:Plate and Garnish

Tips

1.Always rinse capers under cool running water for 30 seconds before adding them to the sauce: they are packed in an extremely salty brine, and rinsing removes excess surface salt so the sauce does not become overly briny, while preserving capers’ signature bright, tangy flavor.
2.For authentic rustic texture, crush canned whole tomatoes by hand or with a wooden spoon instead of using a blender: smooth blended sauce loses the traditional chunky mouthfeel of Veracruz sauce, and hand-crushing leaves varied tomato sizes that add pleasant textural interest.
3.Adjust heat to your preference: for mild sauce, scrape out and discard the seeds and inner membranes from pickled jalapeños before slicing; for extra bright heat, stir in 1 teaspoon of pickled jalapeño brine from the jar when adding the lime juice to amp up tangy spice without adding extra chunks of pepper.


✨ You May Also Like

Main Course
🍜 United Kingdom

A showstopping classic of tender seared beef, savory mushroom duxelles, and crisp prosciutto wrapped in flaky golden puff pastry, baked to juicy perfection.

⏱️ 2 hours 1Main Course ★ 4.7
Main Course
🍜 India

Tender charred marinated chicken simmered in a rich, spiced creamy tomato sauce, this iconic Anglo-Indian curry pairs perfectly with basmati rice or warm naan.

⏱️ 50 minuteMain Course ★ 4.6
Main Course
🍜 Thailand

Classic tangy, sweet, and savory Thai stir-fried rice noodles with shrimp, tofu, and crunchy garnishes, balancing all five core Thai flavor profiles.

⏱️ 30 minuteMain Course ★ 4.5
Main Course
🍜 United Kingdom

Crispy golden beer-battered cod and fluffy double-fried chips, served with tangy tartar sauce and malt vinegar: the timeless, beloved British pub comfort classic.

⏱️ 45 minuteMain Course ★ 4.7
Main Course
🍜 Mexico

Smoky, chile-marinated pork tacos with caramelized pineapple, fresh cilantro, and lime: a beloved classic Mexican street food perfect for casual summer gatherings.

⏱️ 1 hour 45Main Course ★ 4.8
Main Course
🍜 United States

Crunchy Fritos corn chips layered with savory beef chili and melted cheddar, topped with cool, zesty fixings for a beloved, cozy Tex-Mex comfort food.

⏱️ 35 minuteMain Course ★ 4.8

vera cruz sauce:Frequently Asked Questions

1.What dishes pair best with Classic Veracruz Sauce? ▾
It’s most famously served over mild, flaky white fish like red snapper for the iconic huachinango a la Veracruzana, but it also pairs beautifully with roasted chicken, seared shrimp, crispy roasted potatoes, or tossed with warm rice. Its bright, briny, tangy notes cut through rich, fatty proteins perfectly for well-balanced, satisfying meals.
2.Can I use fresh tomatoes instead of canned whole peeled tomatoes for this sauce? ▾
You can, but high-quality canned whole peeled tomatoes (preferably San Marzano or fire-roasted) are actually preferred. They’re picked and preserved at peak ripeness for consistent, sweet, deep tomato flavor year-round. If using fresh, blanch, peel, and seed 2 lbs of ripe Roma tomatoes, and add a tiny pinch of sugar to balance any sharp tartness.
3.Can I use black olives instead of the pimento-stuffed green olives the recipe calls for? ▾
Pimento-stuffed green olives and capers give the sauce its signature bright, briny, slightly tangy bite, so black olives aren’t a perfect 1:1 swap—they’re richer, earthier, and less tangy. If you only have black olives, add a teaspoon of extra pickled jalapeño brine to mimic that missing tang, and rinse olives and capers first to cut excess surface salt.
4.Can I use yellow or red onion instead of the called-for white onion? ▾
White onion is traditional for its mild, bright, slightly sharp flavor that doesn’t overpower the sauce’s other components, but you can swap in yellow onion if that’s what you have—it will add a slightly sweeter, more mellow base. Skip red onion, as its bold, peppery bite and deep color will throw off the sauce’s classic bright flavor and red hue.
5.Can I use pre-minced jarred garlic instead of fresh garlic cloves for this sauce? ▾
Fresh garlic cloves are strongly preferred for the best, brightest flavor, as jarred pre-minced garlic has a flat, slightly metallic taste that can dull the sauce’s bright profile. If you’re in a pinch, you can use it, but use 25% less than the recipe calls for, as jarred garlic often has a more concentrated, harsh bite than freshly minced.
6.Why does this recipe call for extra-virgin olive oil instead of neutral cooking oil? ▾
Extra-virgin olive oil is a core part of Veracruz sauce’s identity, a holdover from Spanish colonial influence on the coastal region’s cooking. It adds a subtle fruity, peppery base that complements briny olives and tangy tomatoes far better than neutral oil. You don’t need a pricey boutique bottle, just a reliable everyday EVOO works great.
7.How should I store leftover Veracruz Sauce, and how long does it keep? ▾
Stored in a tightly sealed airtight container, this sauce will keep for 4 to 5 days in the fridge, or freeze for up to 3 months. Its flavors meld and improve after 24 hours of resting, so making it a day ahead is a great pro trick for deeper, balanced taste. Thaw frozen sauce overnight in the fridge, and stir well before reheating gently over low heat.
8.My finished sauce turned out too watery—how do I fix that? ▾
If your sauce is thinner than you’d like, let it simmer uncovered over medium-low heat for 8 to 10 minutes, stirring occasionally, to let excess water evaporate and concentrate flavors. Skip thickeners like cornstarch or flour; traditional Veracruz sauce has a light, pourable consistency, not a thick gravy texture, so only reduce it slightly.
9.Should I blend Veracruz Sauce until it’s completely smooth? ▾
Traditional Salsa Veracruzana is meant to be lightly chunky, so full blending isn’t recommended. Just crush the canned tomatoes by hand as you add them to the pot, leaving soft, irregular chunks for that classic rustic texture. If you prefer a smoother sauce, use an immersion blender to pulse it a few times, but don’t blend it completely smooth.
10.What’s a good non-spicy substitute for pickled jalapeños if I don’t like heat? ▾
If you want to skip the heat entirely, swap pickled jalapeños for equal amounts of diced pickled banana peppers, or even roasted, peeled red bell pepper for a similar tangy, bright pop without any burn. If you want just a hint of heat, seed the pickled jalapeños fully before dicing to remove most of the capsaicin.

Comments (5)

2 days ago

OMG this salsa is such a game changer! I made it last night for our family taco night and even my super picky 7 year old asked for seconds. I used it on top of grilled tilapia like the recipe notes suggested, and it was SO good—bright, briny from the olives, just the right kick from the jalapeños. Already prepped a double batch to take to our neighborhood potluck this weekend, I know everyone’s gonna beg for the recipe!

yesterday

Second the potluck win! I brought this to my office potluck last month and the whole bowl was gone in 10 minutes. Pro tip: add a little extra lime if you’re making it ahead, it keeps the flavors bright even after a day in the fridge.

yesterday

So happy to hear it was a hit with your family, Jessie! Love the double batch idea for the potluck, and Ron’s make-ahead lime tip is spot on—just hold off on adding the fresh cilantro until right before serving if you can, it stays fresher that way!

3 days ago

Super easy to throw together after work on a weeknight, total cook time was actually even less than 25 minutes for me! I didn’t have green olives on hand so I swapped in kalamatas, and it still turned out delicious. Tossed it with some pan-seared chicken and rice for a quick dinner, will definitely be adding this to my regular meal prep rotation.

2 days ago

Great swap with the kalamata olives, Tyler! That briny, salty punch is what makes the sauce work, so any good brined olive will do the trick. So glad it fit into your busy weeknight schedule!

1 week ago

Wait, I was expecting this to be like the spicy red salsa I get at my local taco shop, but the capers and olives make it so much more complex! I spooned it over baked cod last night and my husband said it tasted like something we’d get at a fancy coastal restaurant. 10/10, no notes.

5 days ago

Has anyone tried canning this sauce? I have a ton of ripe tomatoes from my garden right now and I’d love to jar a bunch of this to use through the fall and winter.

3 days ago

I canned a batch last summer! Just make sure you use proper water bath canning methods and process jars for 15 minutes, mine stayed good on the shelf for 6 months no problem. It was so nice to pop open a jar for quick dinners on cold rainy days.

yesterday

My kids loved it! I was worried the capers would be too strong for them, so I chopped them up super fine and they didn’t even notice. Served it over crispy roasted potatoes for a meatless Monday dinner and everyone cleaned their plates. Only thing I changed was adding a pinch of extra sugar to cut the tomato acidity, worked like a charm.

2 hours ago

Oh the roasted potato idea is genius! I’ve only ever used this on fish, can’t wait to try it on potatoes next time. My kids are also super texture-sensitive so I’ll definitely be chopping the capers fine like you did!

30 minutes ago

Love that kid-approved hack of chopping the capers extra fine, Jenna! The pinch of sugar for acidity is such a smart move too—tomatoes can vary so much in sweetness, that adjustment makes total sense. And serving it over roasted potatoes? We’re definitely trying that next!



