
3-Ingredient Fried Cornmeal Mush
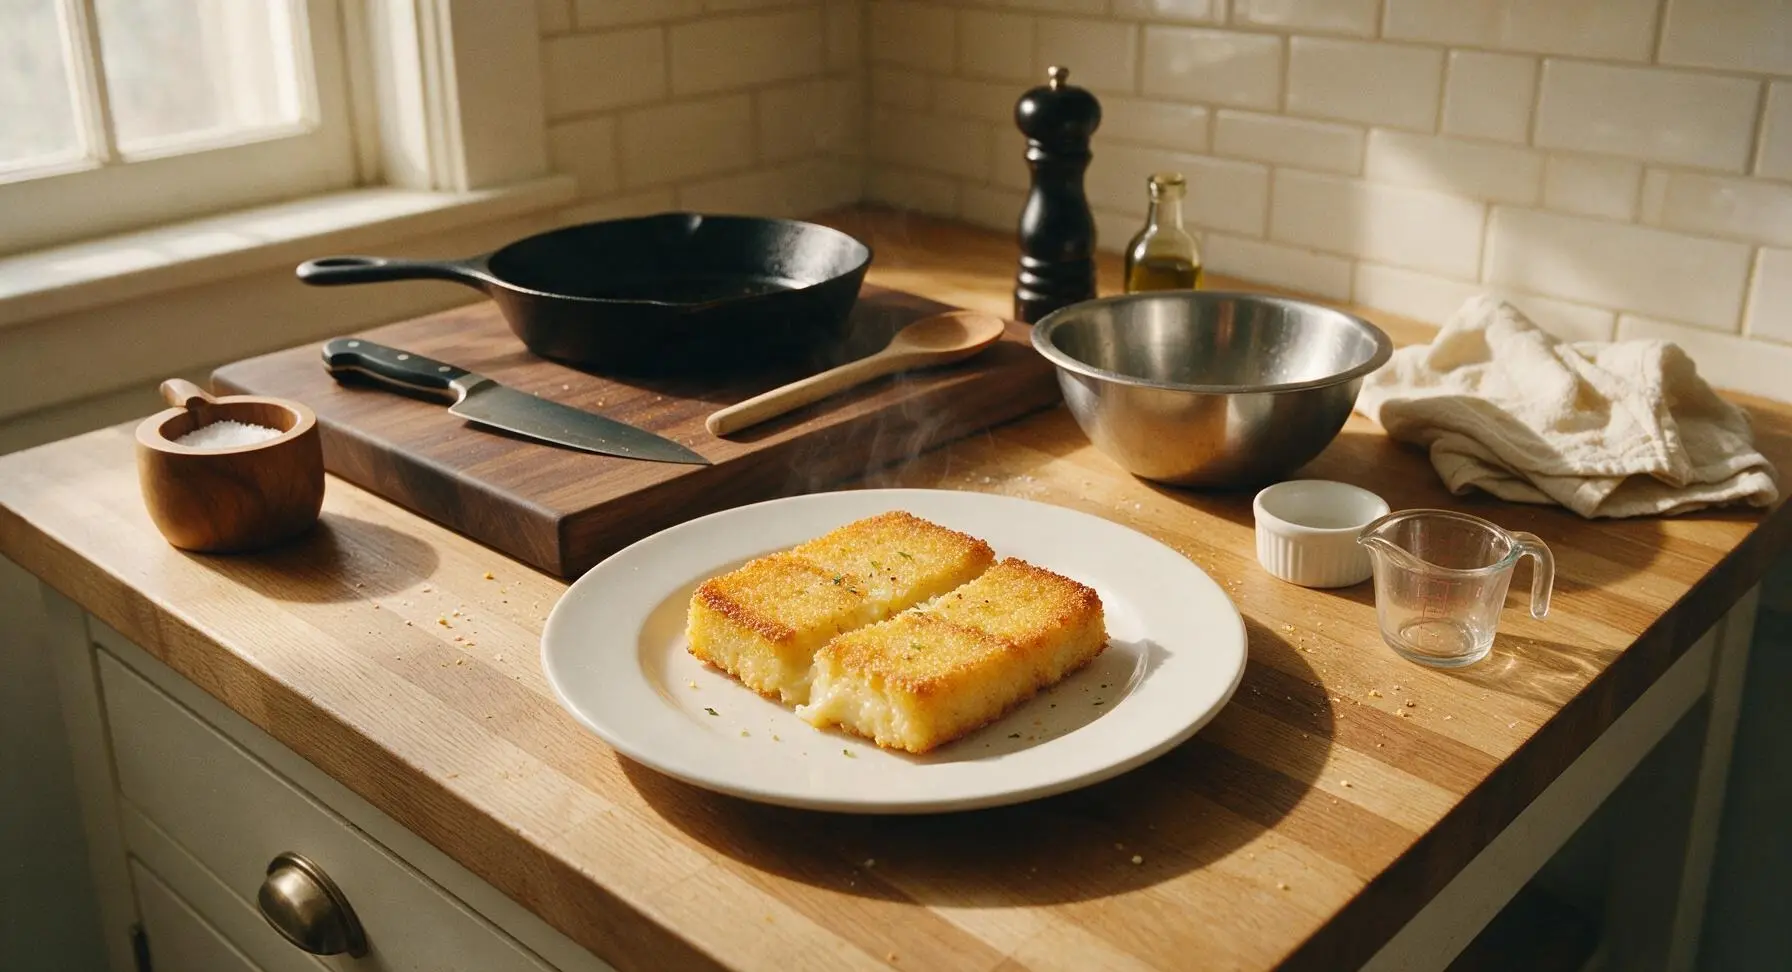
intro
Crisp golden outside, creamy soft inside, this old-fashioned 3-ingredient cornmeal mush is frugal, cozy comfort food, perfect for sweet or savory toppings.
Ingredients
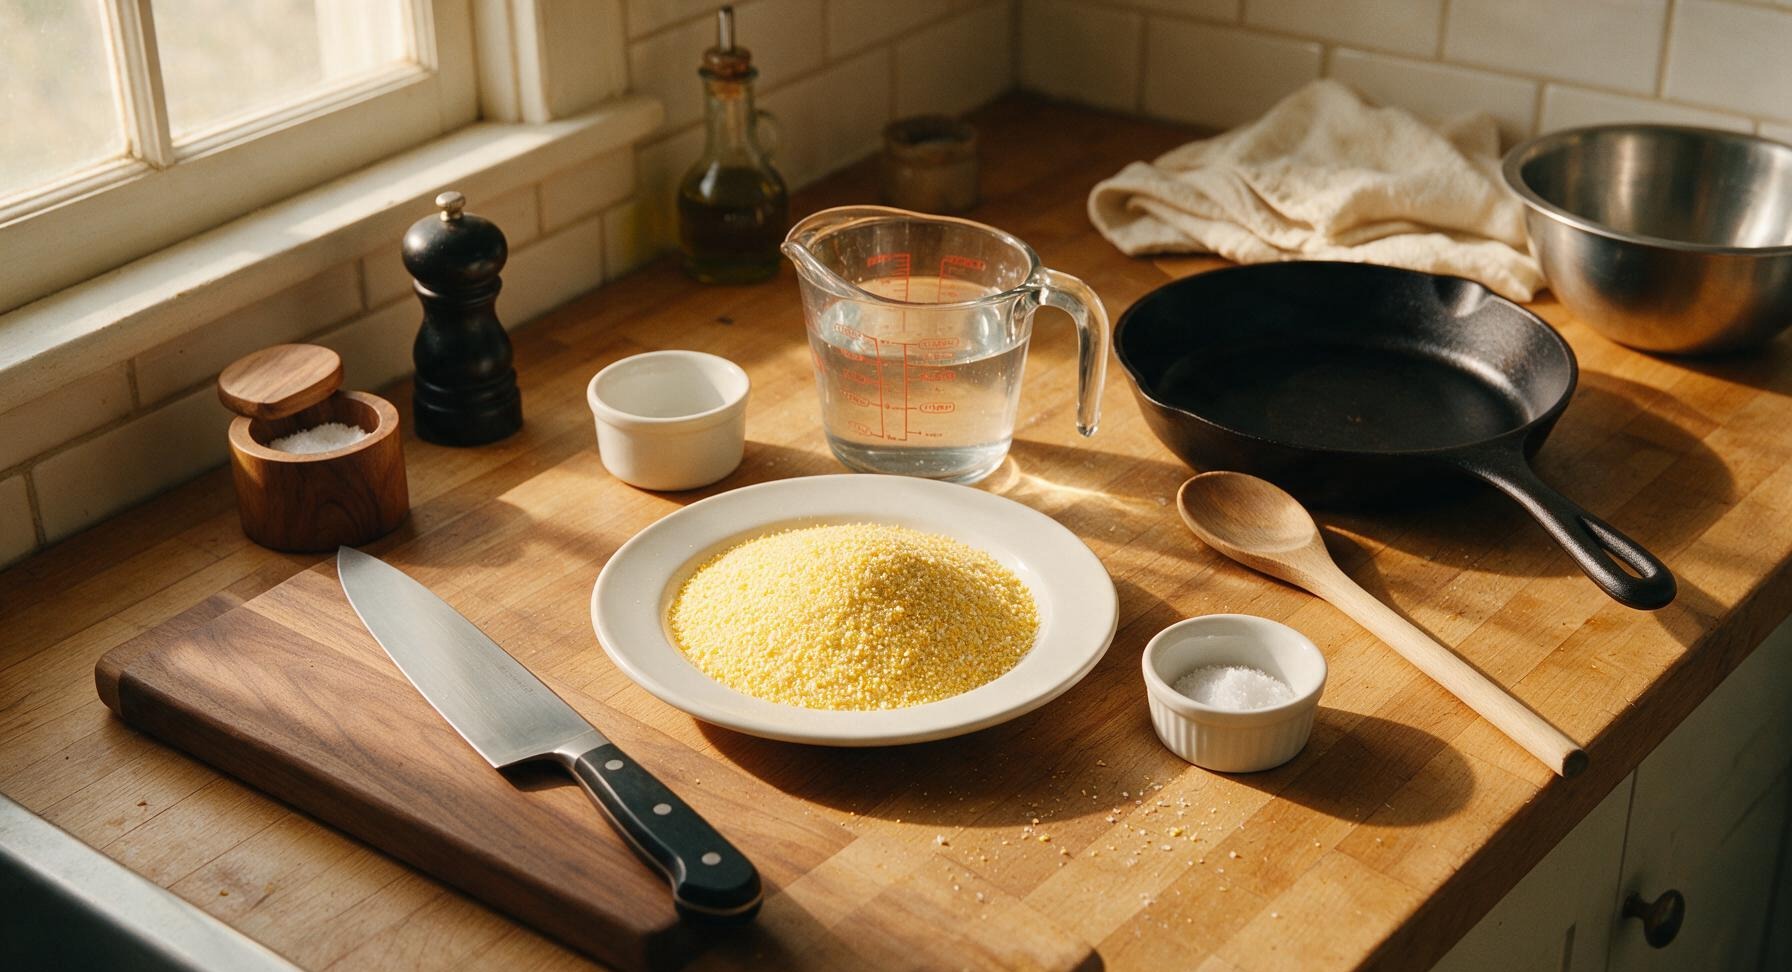
Steps
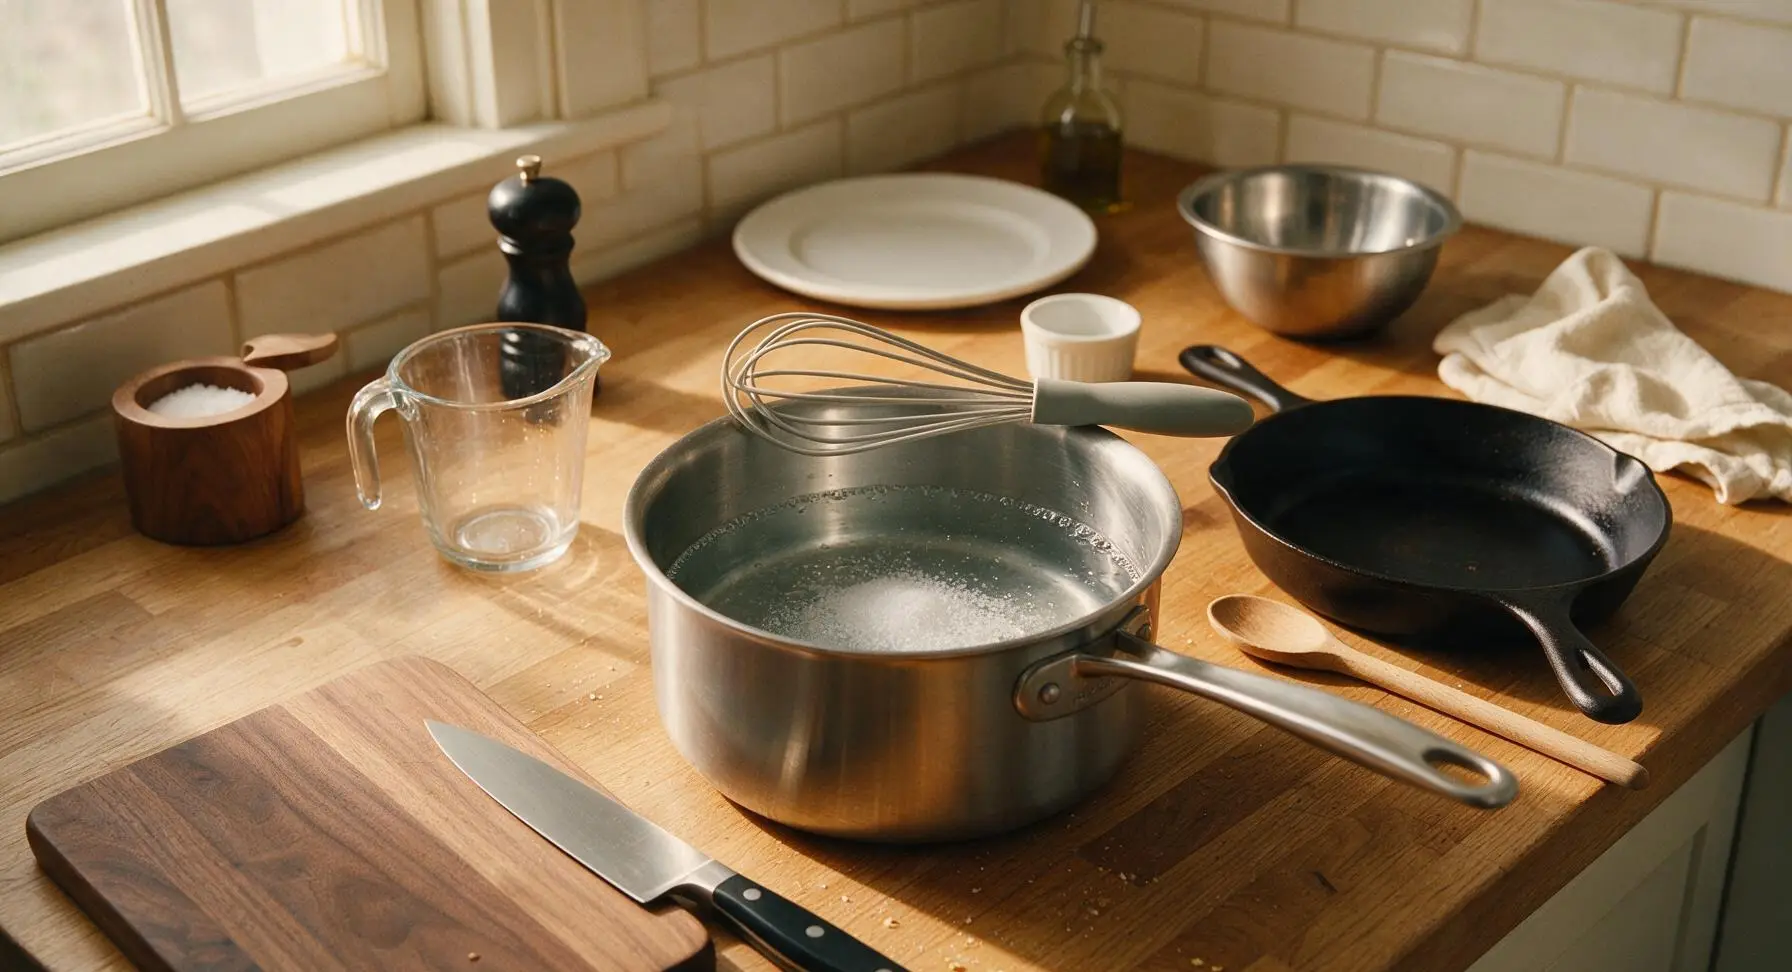
Boil Salted Water
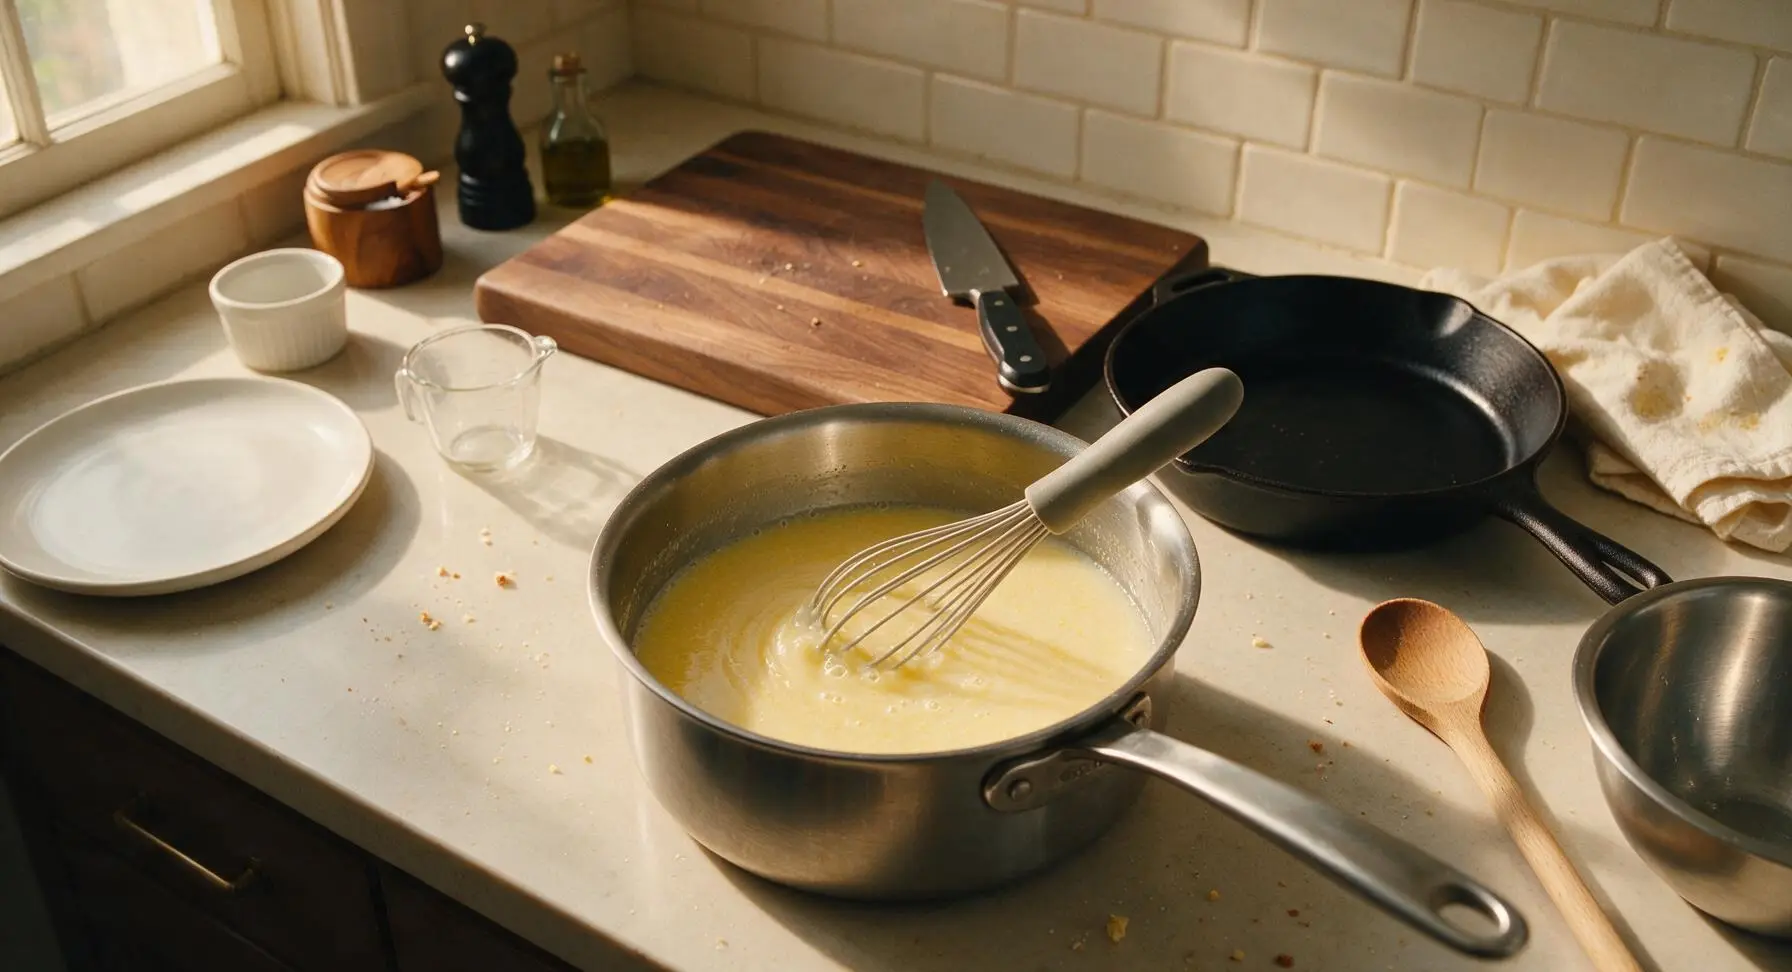
Place the 2L brushed stainless steel saucepan on the stovetop over medium-high heat. Add 4 cups cold water and 1 teaspoon fine sea salt, stir once with the silicone whisk. Bring to a rolling, bubbling boil over 4-5 minutes; small bubbles will break consistently across the entire water surface when ready.
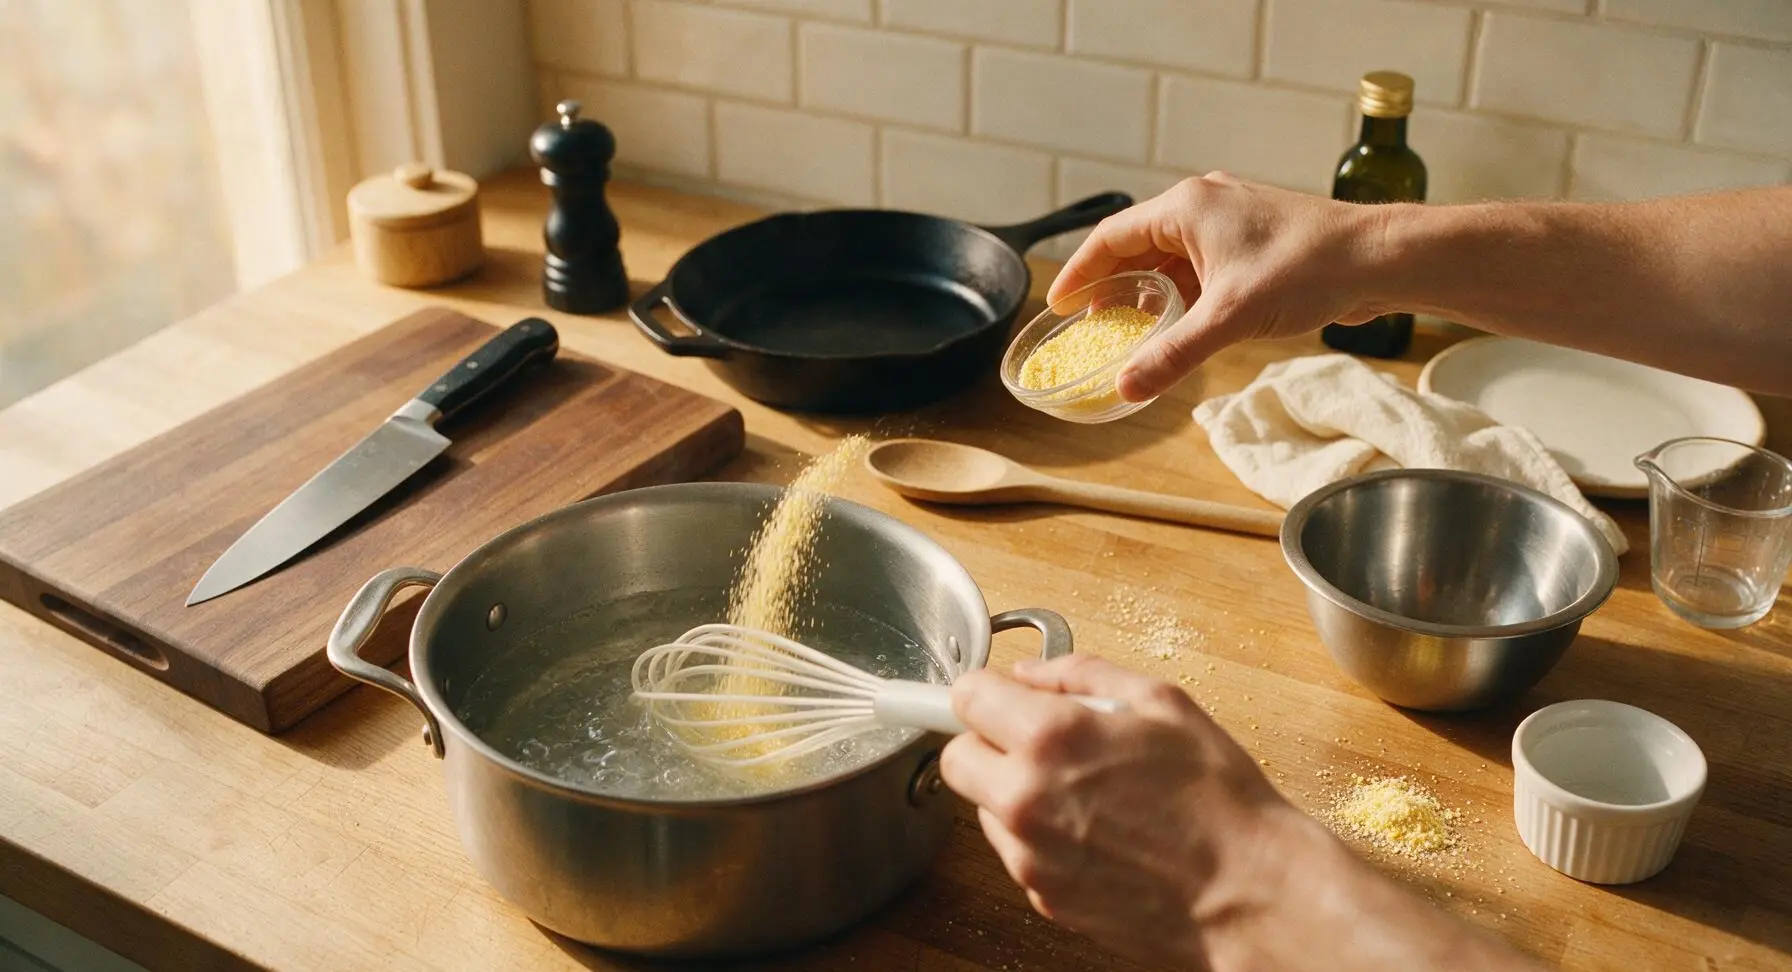
Whisk in Cornmeal
Once water reaches a full rolling boil, reduce heat to medium-low to maintain a gentle simmer. Slowly pour 1 cup coarse yellow cornmeal into the water in a thin, steady stream, whisking constantly with the silicone whisk to prevent lumps from forming. Do not dump cornmeal in all at once, as this will create dry lumps that cannot be whisked smooth.
Cook Thick Porridge
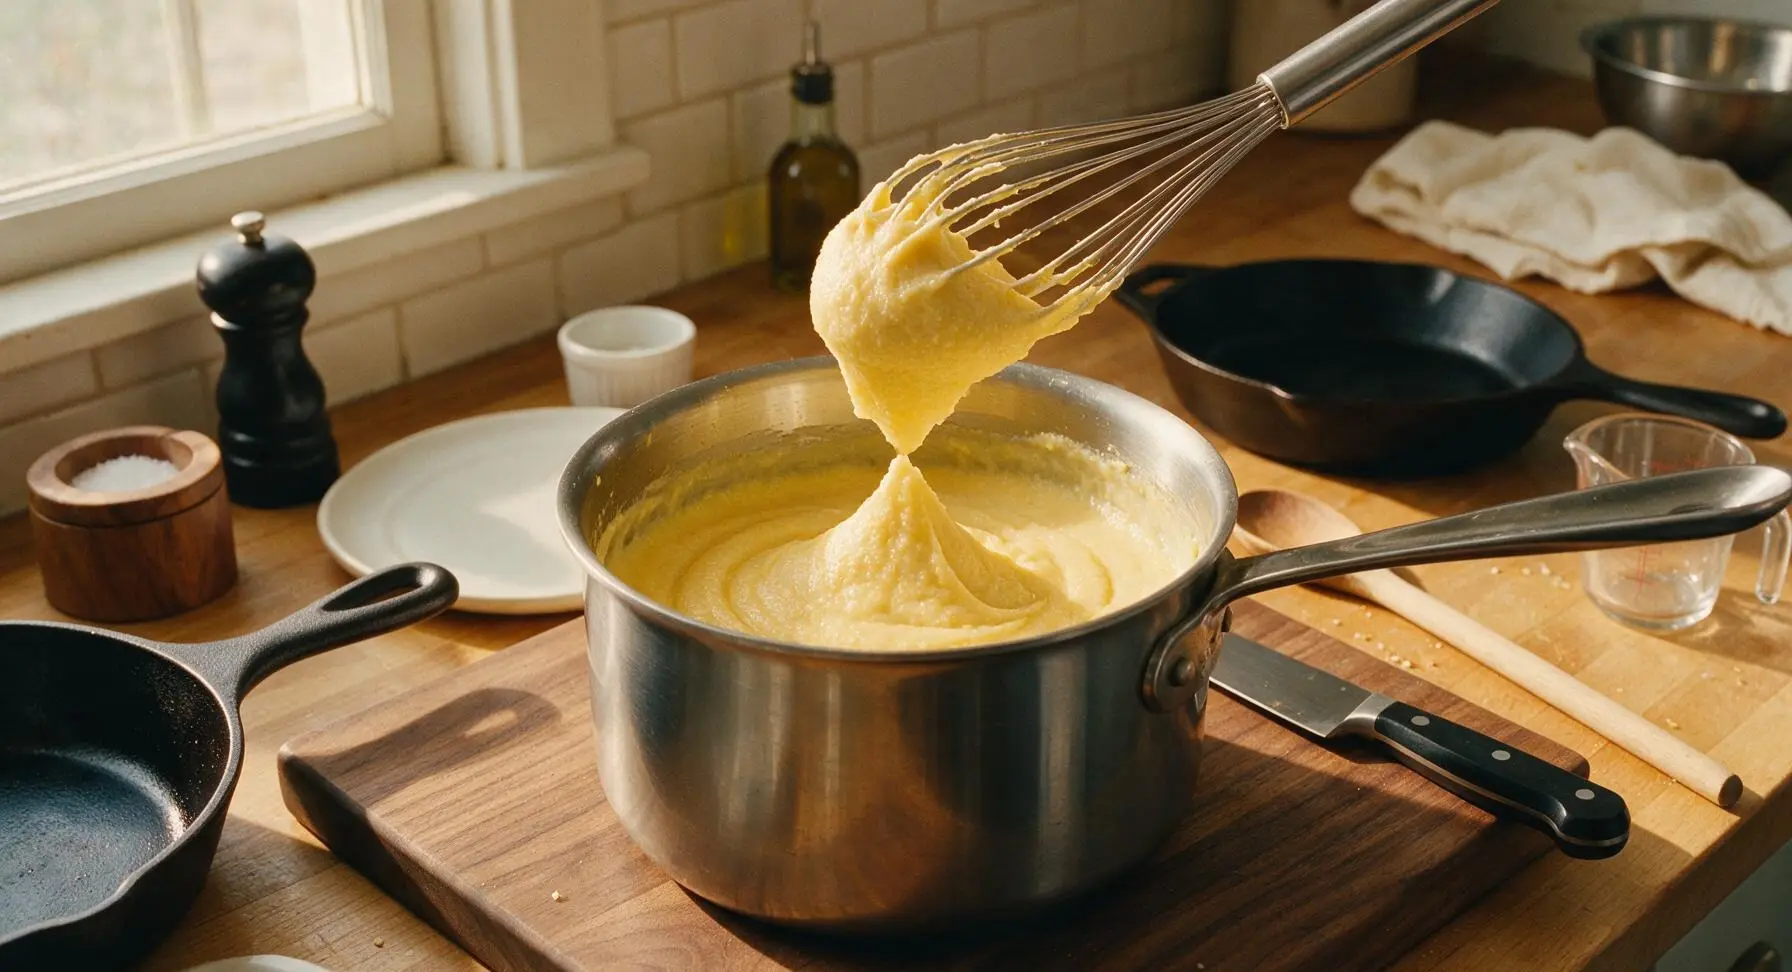
Continue cooking the cornmeal mixture, stirring frequently with the whisk, for 8-10 minutes over medium-low heat. The mixture will thicken dramatically, pulling away from the sides of the pan when stirred, and will hold soft peaks when the whisk is lifted. There should be no raw, gritty cornmeal texture when you taste a small cooled sample.
Pour Mush to Set
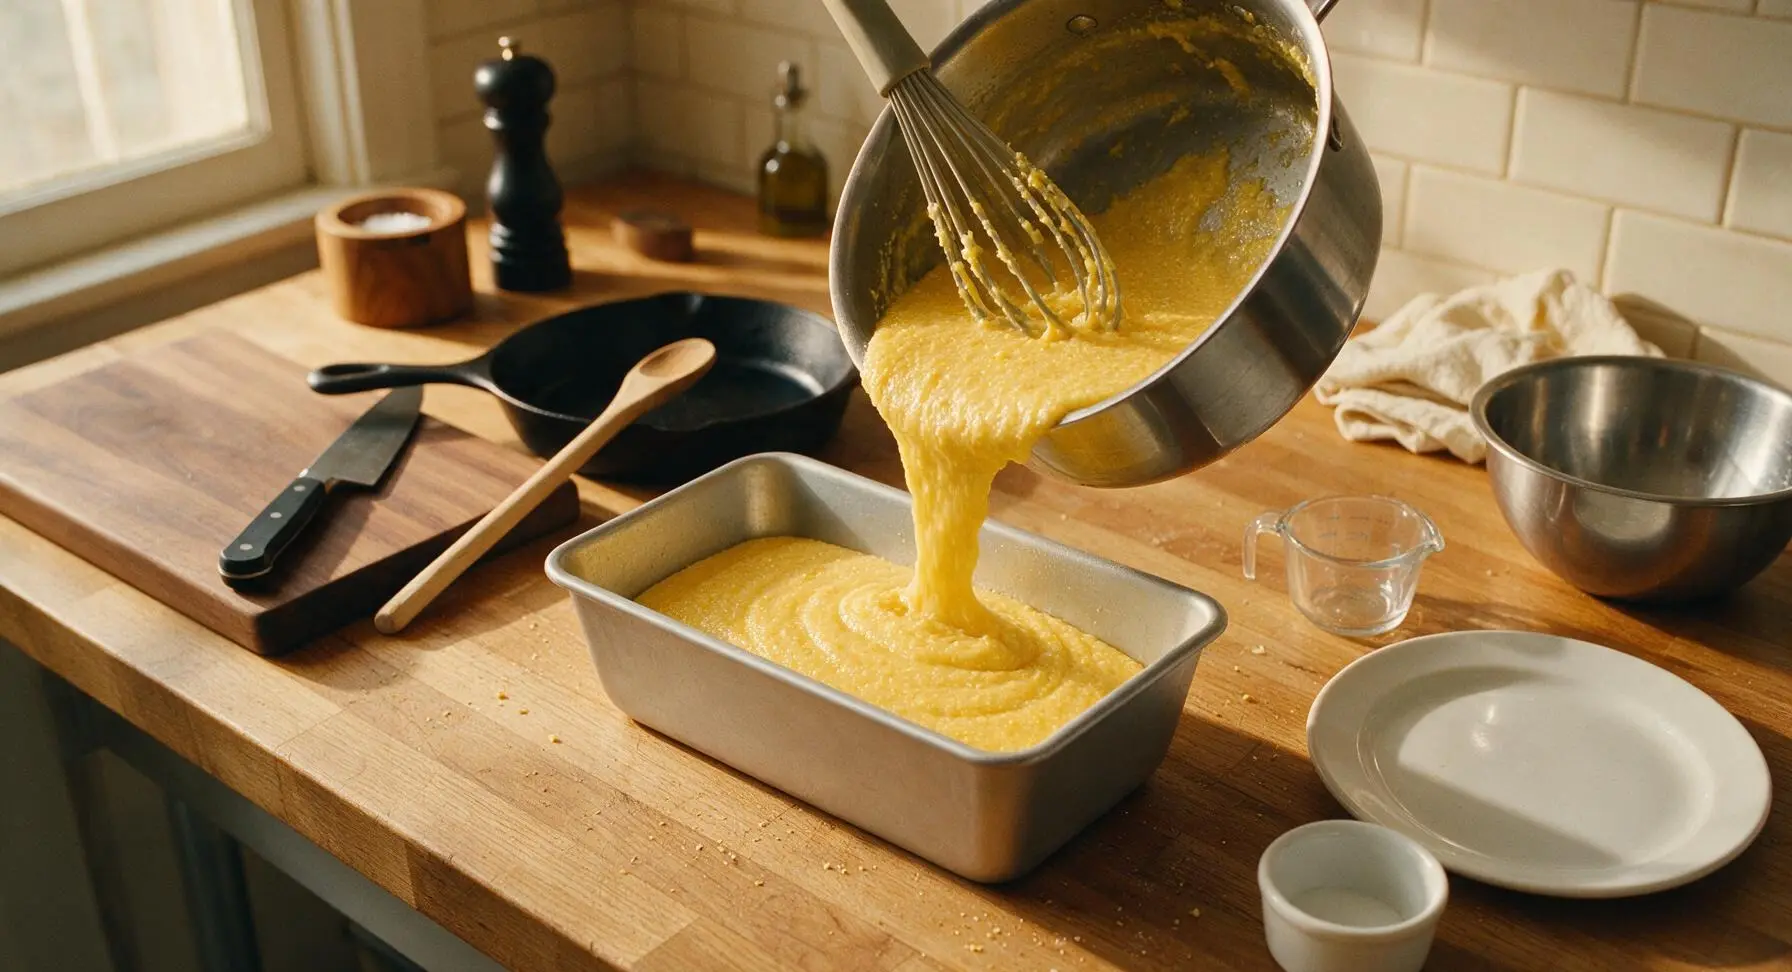
Once the porridge is fully thickened, remove the saucepan from heat. Carefully pour the hot cornmeal mush directly into the 9x5 inch matte silver aluminum loaf pan, using the whisk to scrape every bit from the pan sides. Smooth the top surface gently with the back of the whisk to create an even layer. Do not grease the pan, as the firm mush will release easily once chilled.
Chill Until Firm
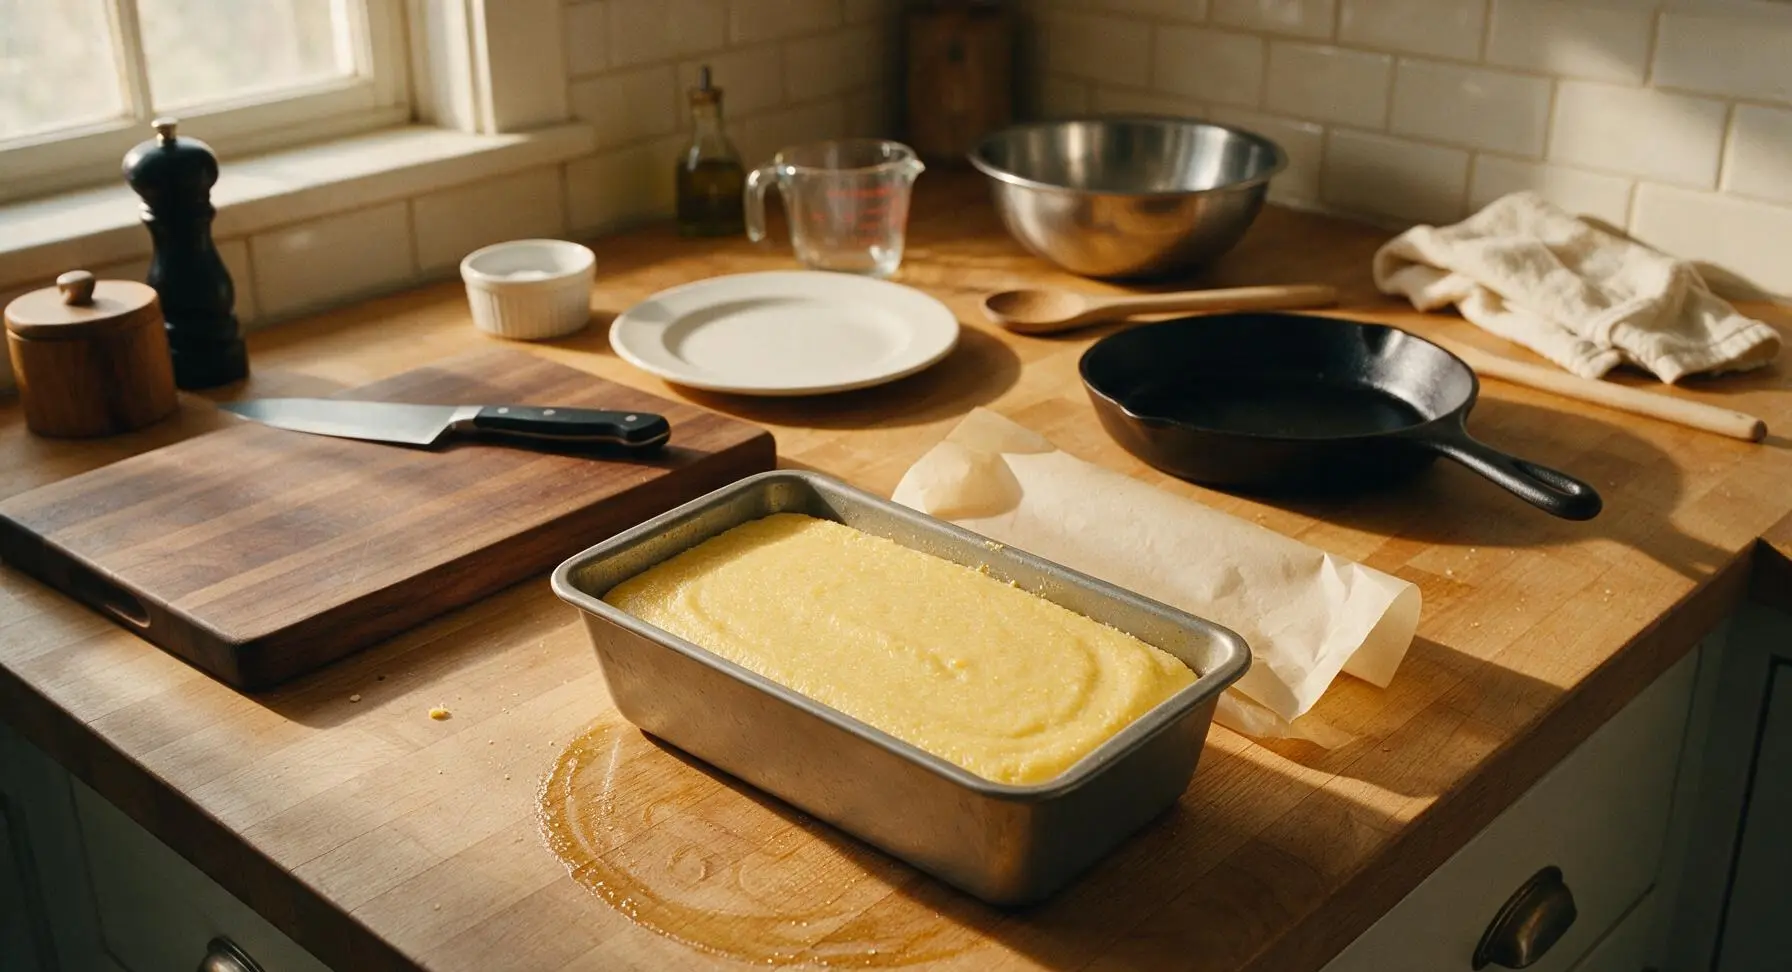
Let the mush cool to room temperature on the counter for 20 minutes, then cover loosely with a small piece of parchment paper and transfer to the refrigerator. Chill for a minimum of 2 hours, or up to 3 days, until the mush is completely firm to the touch, with no soft, jiggly spots in the center when pressed gently.
Slice Firm Mush
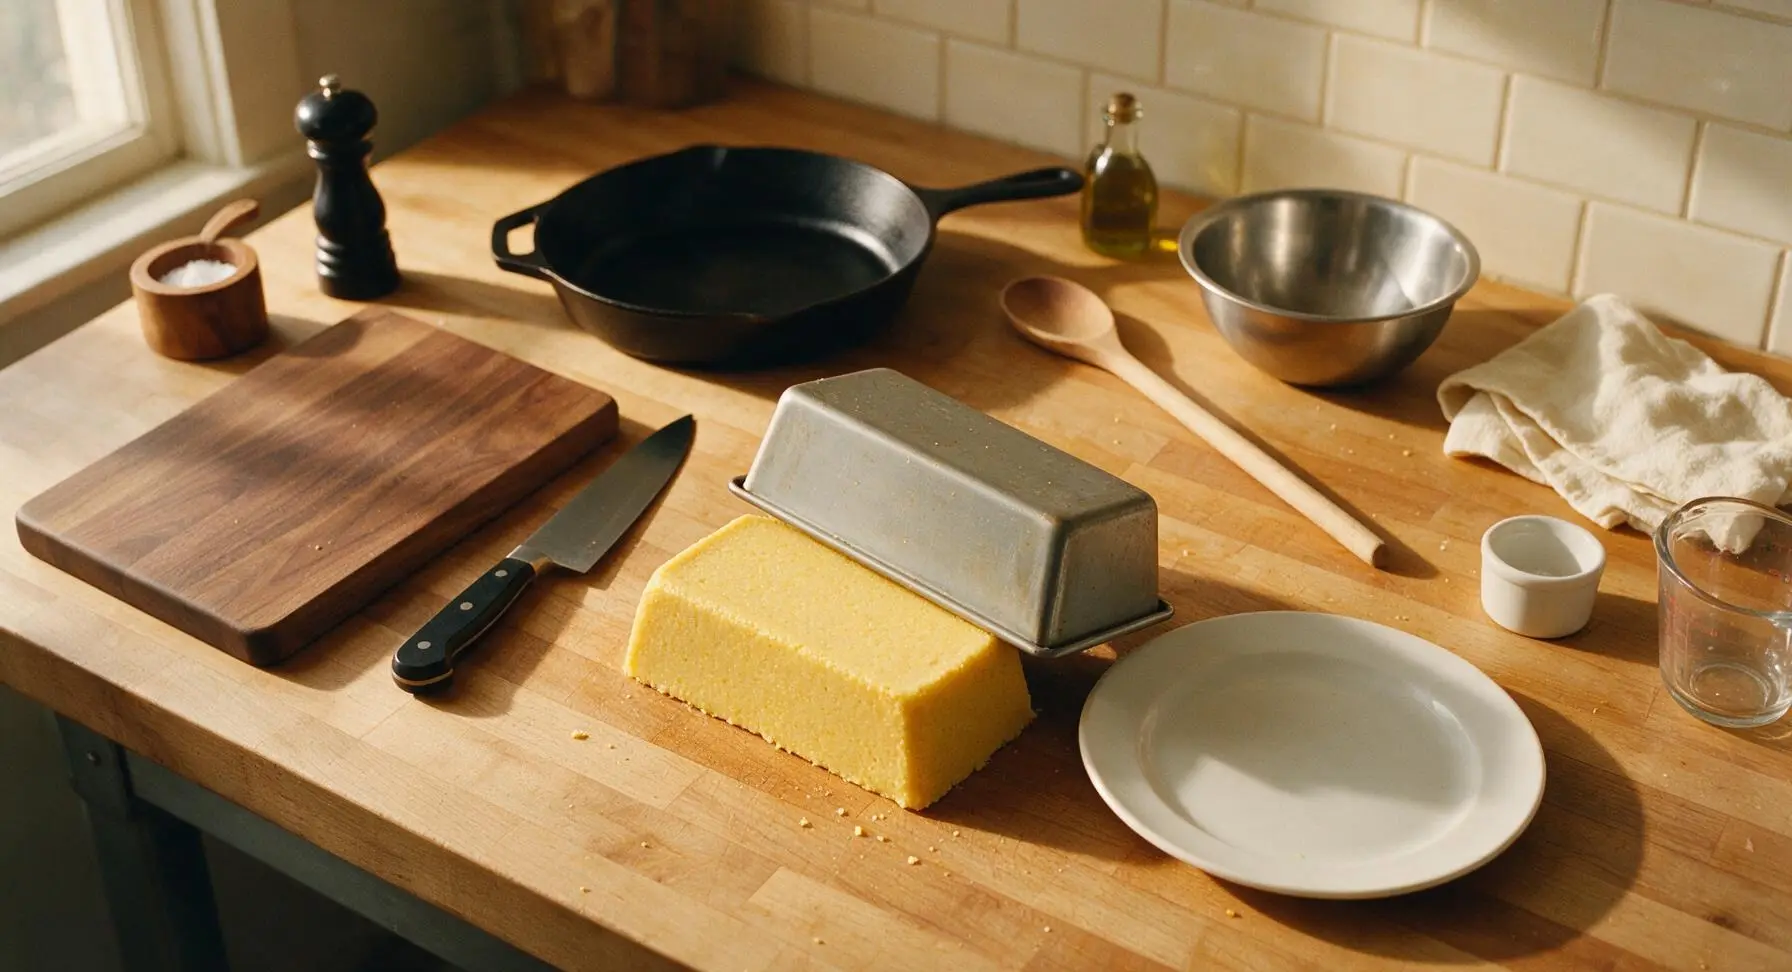
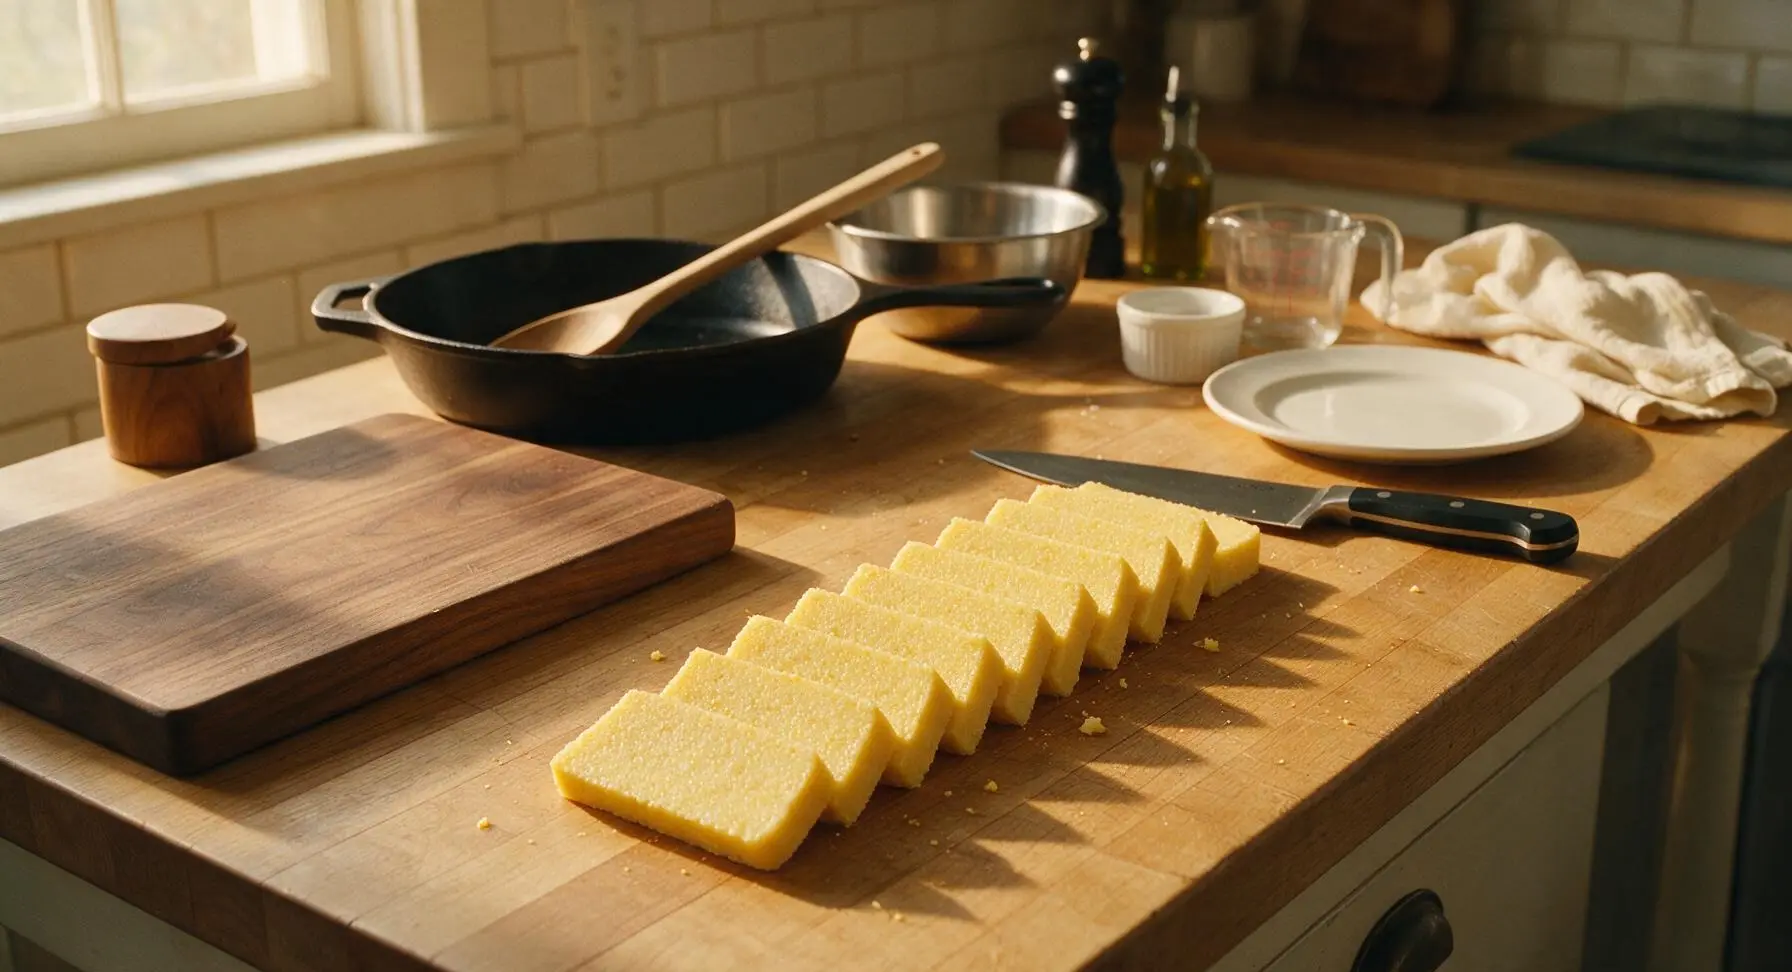
Run the thin edge of the metal turner spatula around the edges of the loaf pan to loosen the set mush. Invert the pan onto the clean counter surface to release the solid cornmeal block. Use the 8-inch chef knife to cut the block into 8 equal 1/2-inch thick slices. Slices will hold their clean edge without crumbling if the mush is properly chilled.
Heat Skillet for Frying
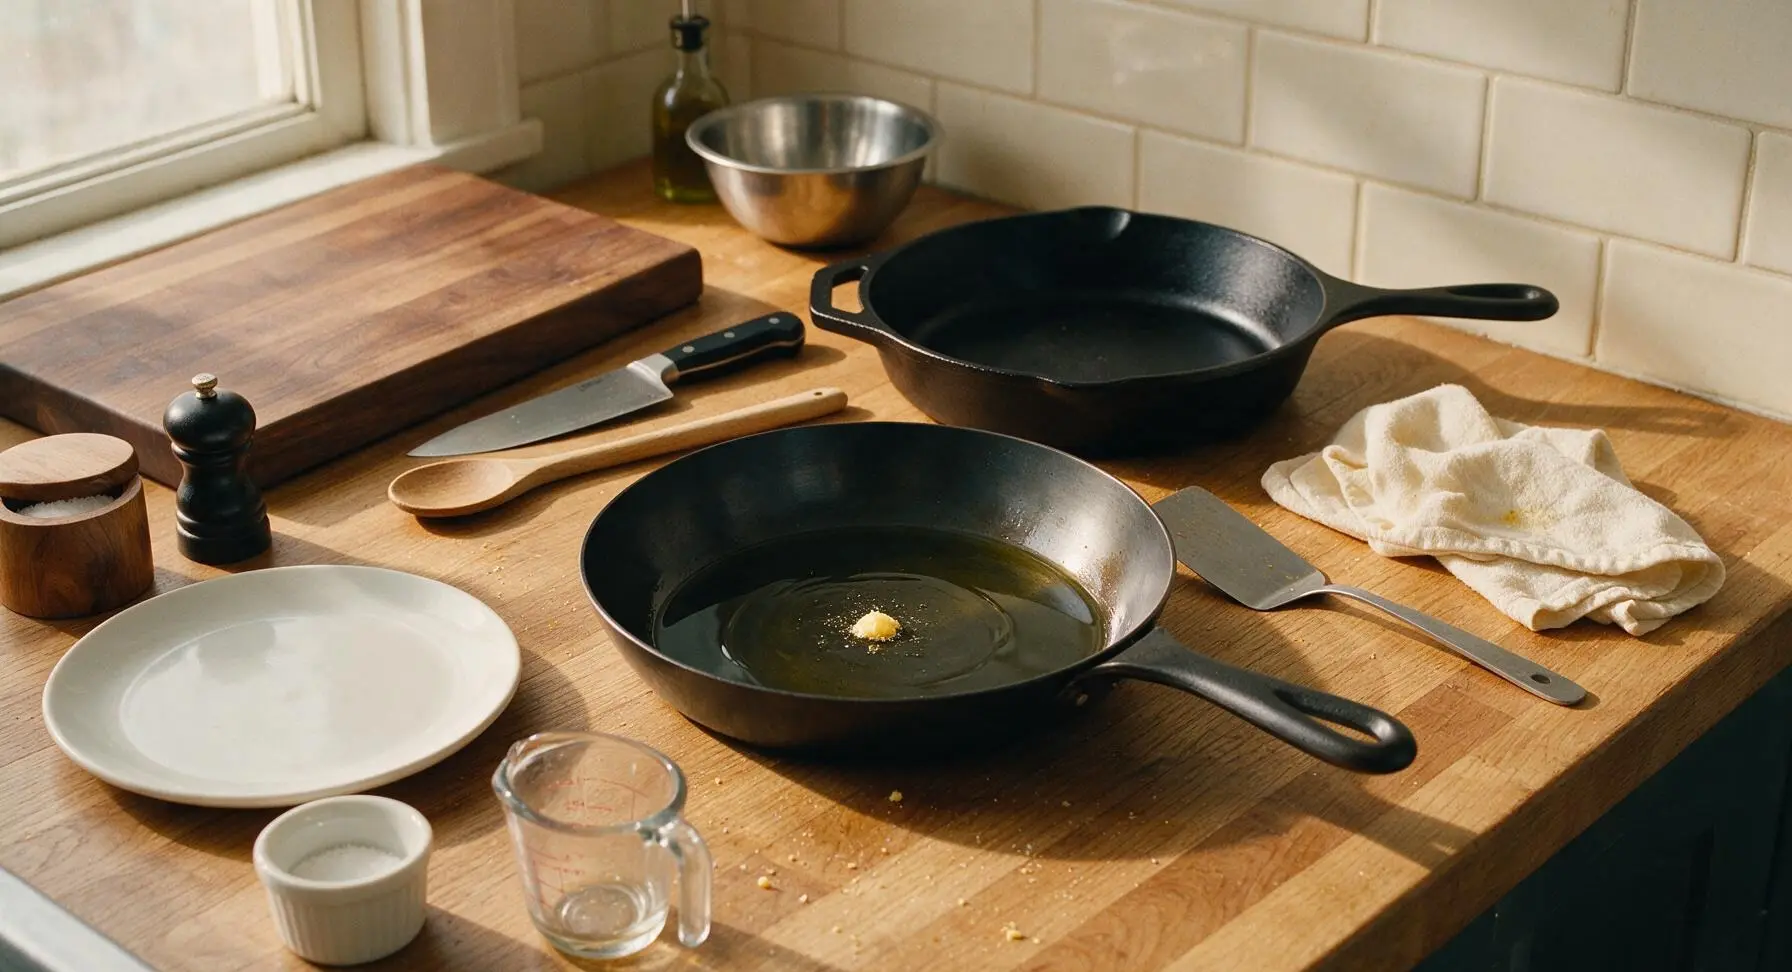
Place the 10-inch matte black carbon steel skillet on the stovetop over medium heat. Add 2 tablespoons neutral canola oil from the glass oil bottle and heat for 2-3 minutes, until the oil shimmers across the pan surface. Test if the pan is ready by dropping a single crumb of cornmeal into the oil: it should sizzle immediately on contact.
Fry Mush Slices
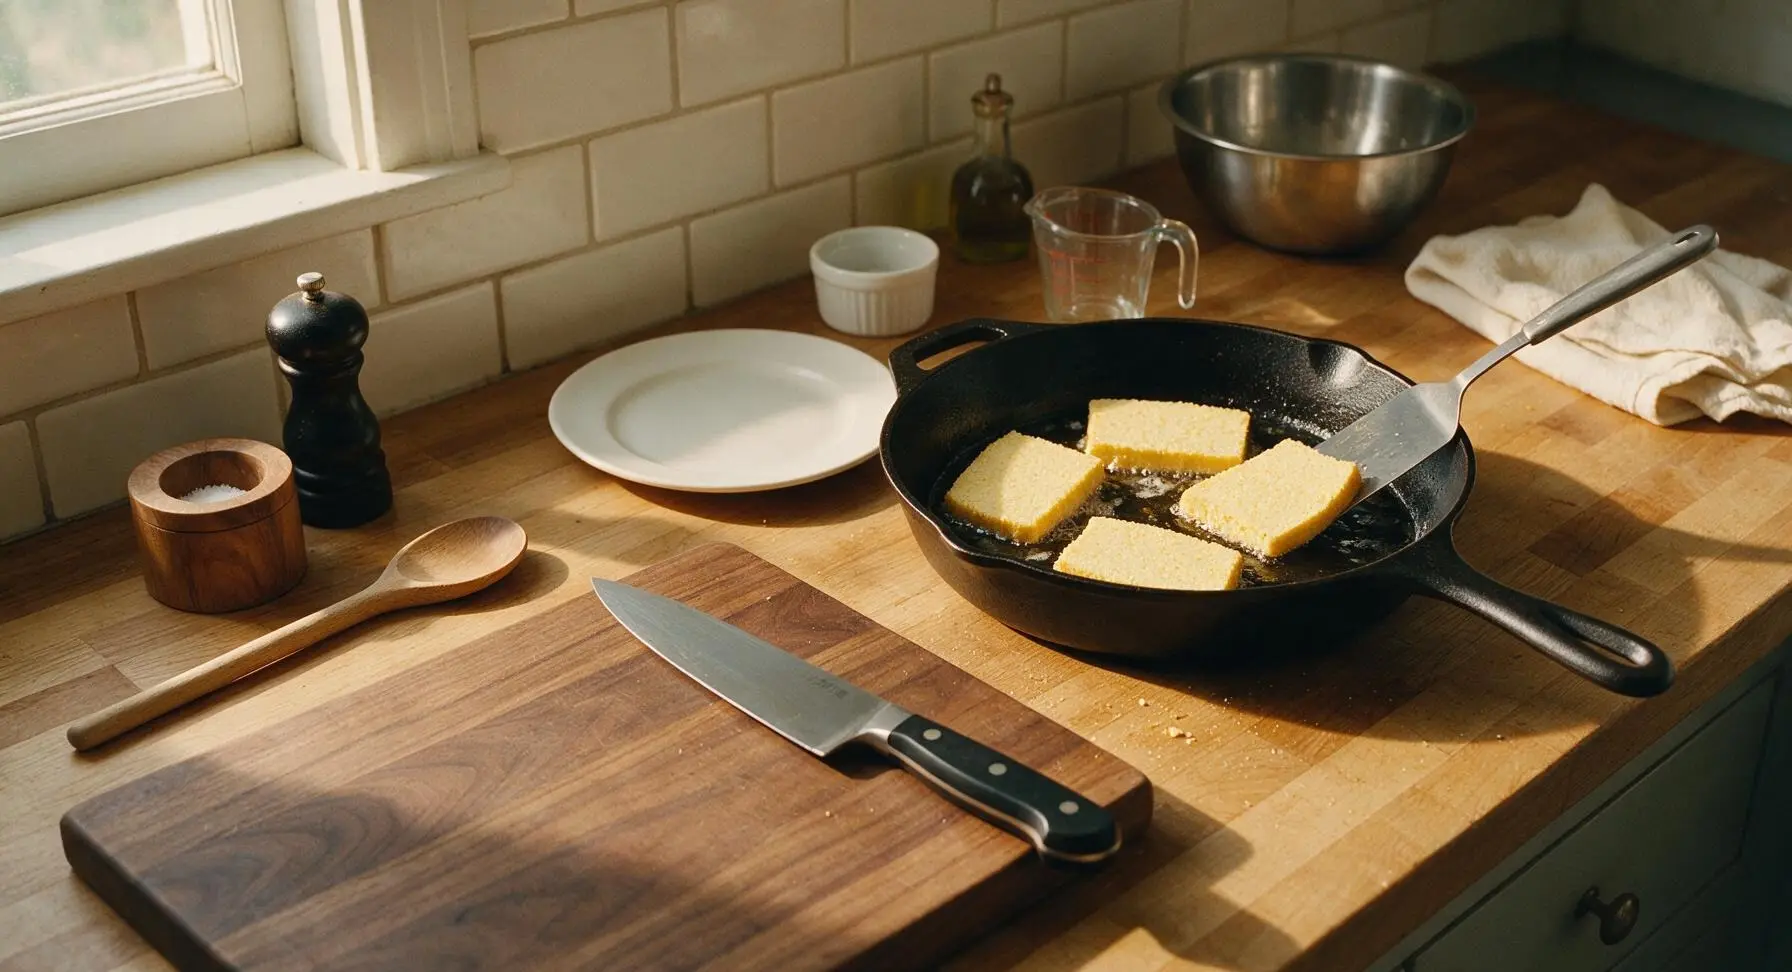
Carefully place 4 cornmeal slices into the hot skillet in a single layer, leaving 1/2 inch of space between each slice. Do not overcrowd the pan, as this will lower the oil temperature and make slices soggy. Fry for 4-5 minutes on the first side, until the bottom is deep golden brown and crisp to the touch.
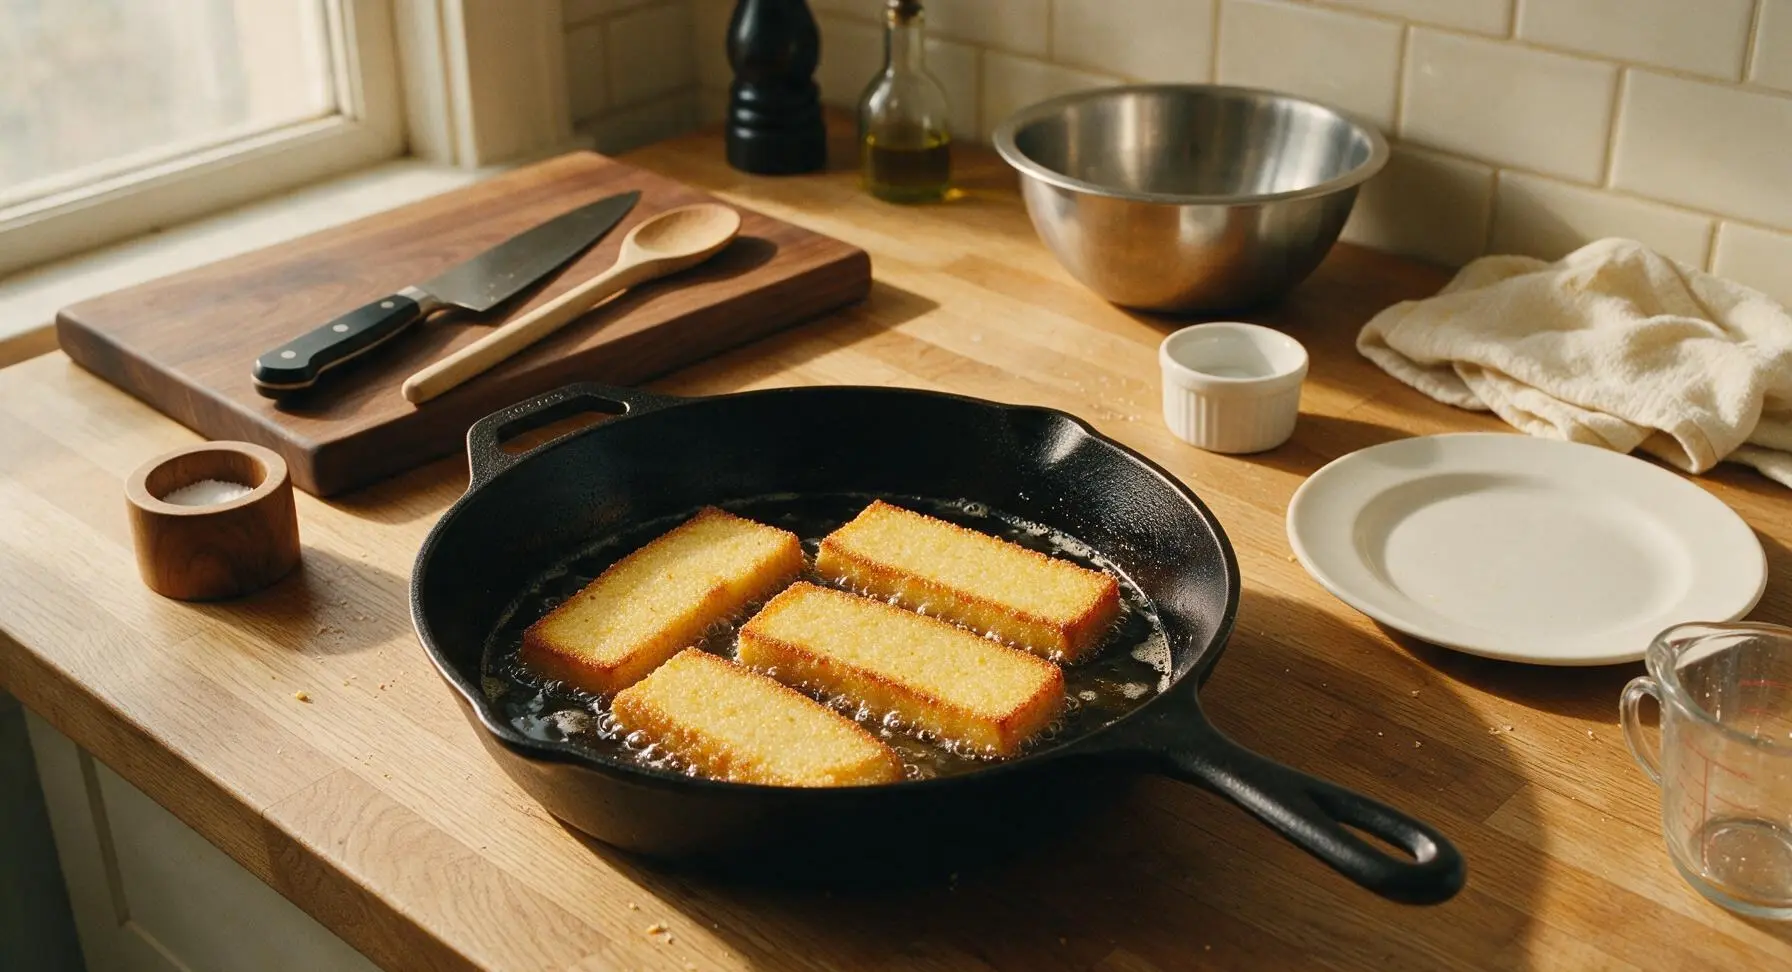
Flip and Finish Frying
Use the thin metal turner spatula to carefully flip each slice to the second side. Fry for an additional 3-4 minutes, until the second side is equally golden and crisp, and the interior of the slices is heated through and soft. Repeat the frying process with the remaining 4 slices, adding 1 extra teaspoon of oil to the pan if it becomes dry.
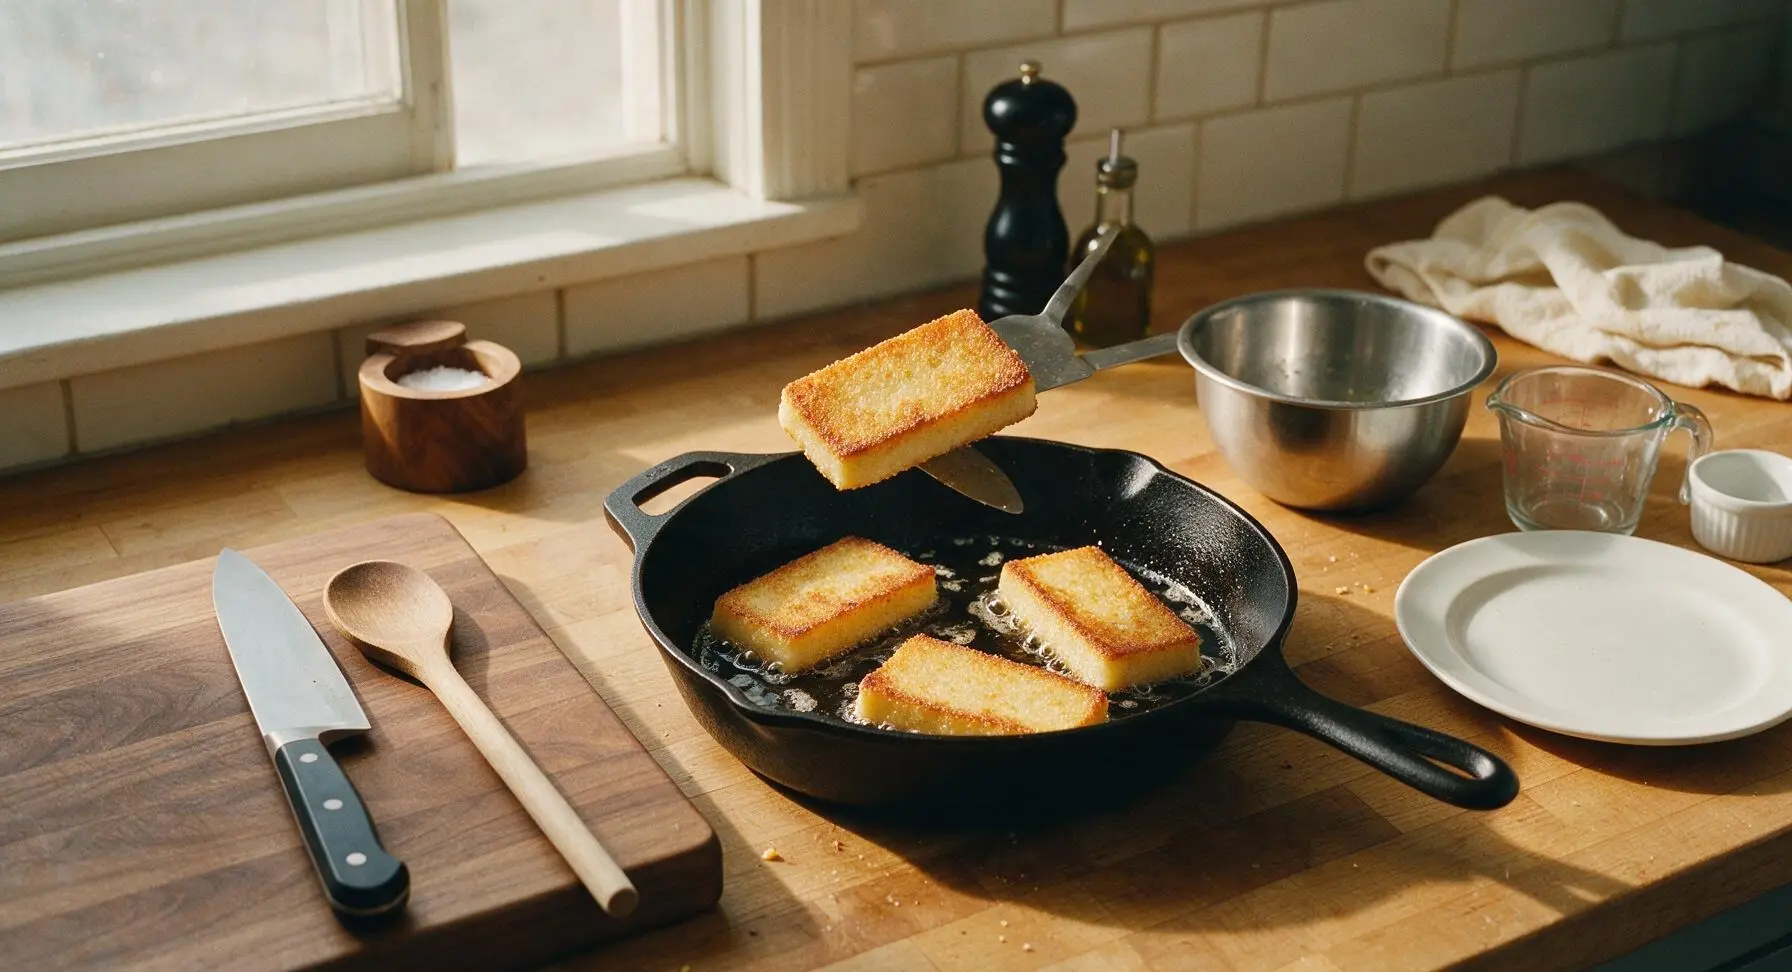
Plate and Serve
Transfer 3 fried cornmeal mush slices to the matte cream ceramic dinner plate, arranging them slightly overlapping. Blot any excess surface oil lightly with the corner of the oatmeal linen towel if desired. Serve immediately while hot and crisp, as slices will soften as they cool.
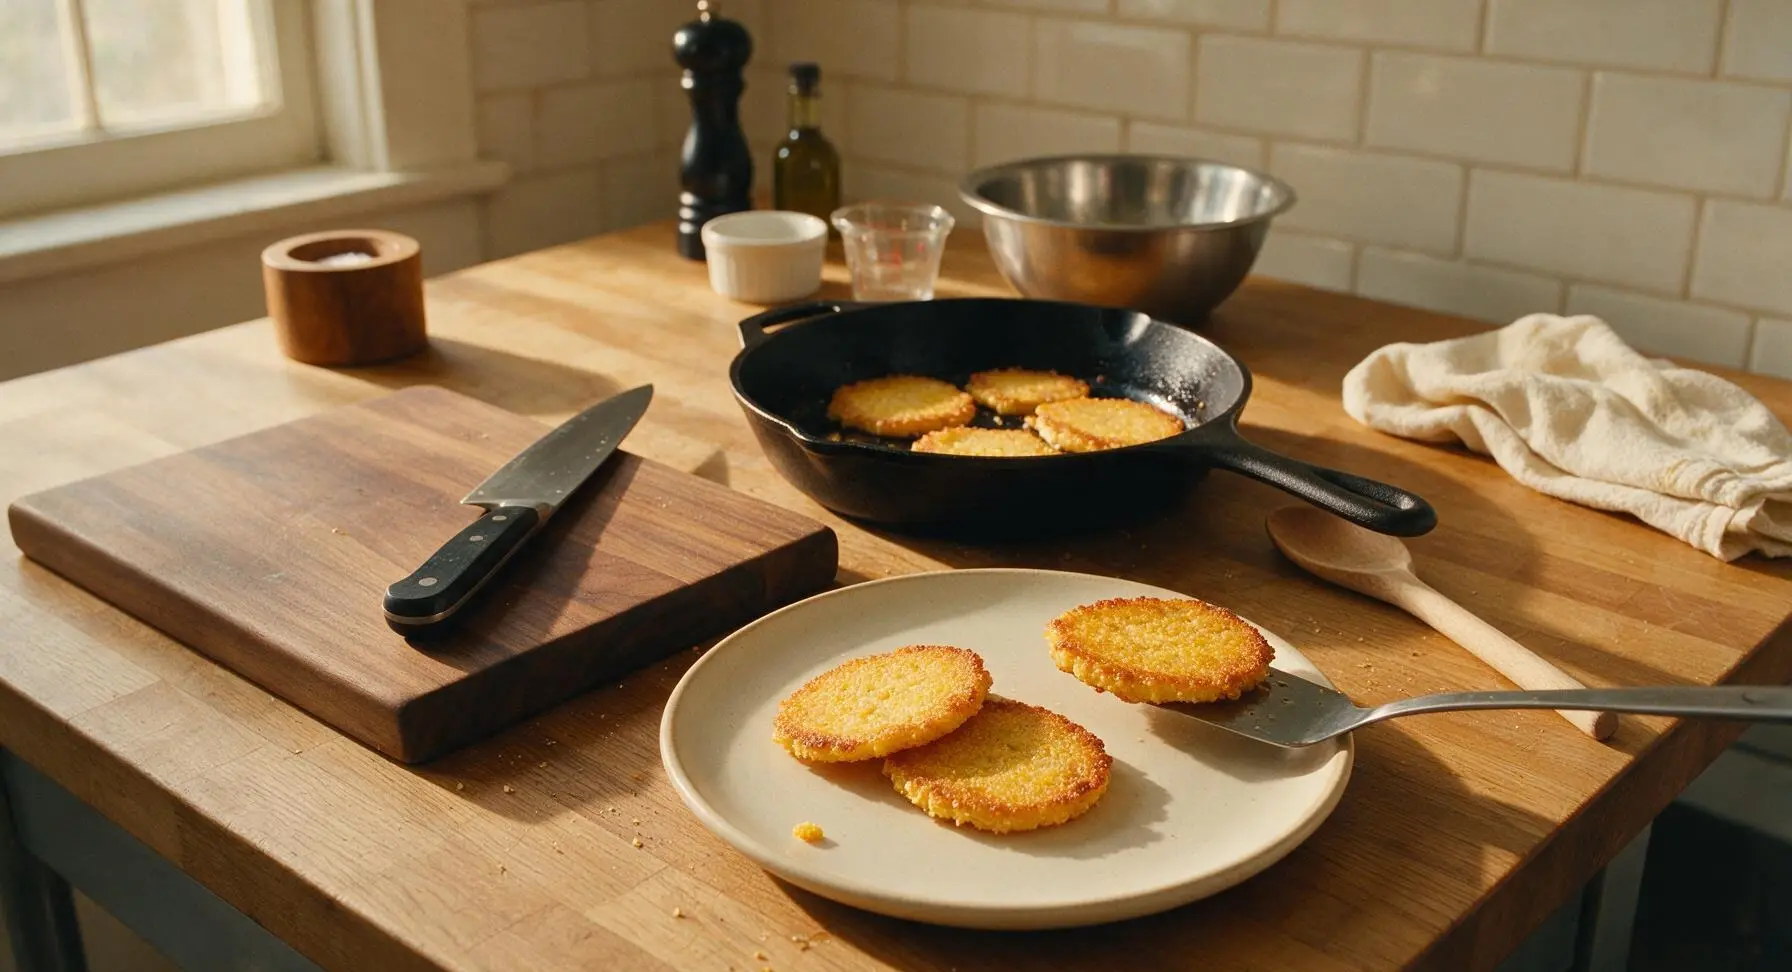
Tips
2.Chill the cooked mush for a full 2 hours (or overnight) before slicing: under-chilled, soft mush will crumble apart in the hot skillet instead of holding clean, even slices, and will not develop a thick, shatteringly crisp outer crust during frying. Prepping the mush up to 3 days ahead makes frying a 15-minute task on busy nights.
3.Do not move or flip slices too early during frying: letting the first side cook undisturbed for 4-5 minutes allows a solid, bonded crisp crust to form, so slices will not stick to the pan or break apart when flipped. If a slice resists lifting when you nudge it with the spatula, wait 30 more seconds before trying again.






OMG this is such a game changer for busy weeknights! I grew up eating my grandma’s cornmeal mush but never realized it only took 3 ingredients to make at home. Fried it up with a little drizzle of maple syrup for breakfast yesterday and my kids devoured it before I even got a second piece. SO good, will be adding this to our regular rotation!
Made this for a quick late night snack after work, came out pretty solid! I added a sprinkle of parmesan on top while it was frying which gave it a nice salty kick. Only reason it’s not 5 stars is I messed up the cornmeal to water ratio at first and it was a little runny, totally my bad though. Tasty, cheap, easy.
I’ve been making fried cornmeal mush for over 60 years and this recipe is exactly how my mother taught me! No fancy add-ins needed, just simple, comforting food that sticks to your ribs. I serve mine with a side of sausage links and a dollop of apple butter for Sunday breakfast, just like we did on the farm growing up.
Meal prepped a whole pan of this on Sunday and have been eating it for breakfast all week! Slice it up, fry it in the morning for 2 minutes per side, and I’m out the door with a filling breakfast that doesn’t cost a fortune. Way better than the sad frozen breakfast sandwiches I used to grab from the gas station.
Brought this to our neighborhood potluck last weekend and people were asking me for the recipe all night! I cut the fried slices into bite-sized pieces and put out little bowls of maple syrup and hot honey for dipping, it was gone in 15 minutes. Who knew something so simple would be such a hit?
Tried this as a side dish with my smoked brisket last weekend and it slapped! I seasoned the cornmeal with a little garlic powder and paprika while it was cooking to give it a smoky flavor that paired perfect with the brisket. Only knock is I wish I made a double batch, everyone went back for seconds.
Dude I’m a broke college kid with literally a mini fridge and a single hot plate in my dorm and I could make this?! All I need is cornmeal, water, and salt? That’s it? No fancy equipment? I’m running to the campus grocery store after class to grab supplies, this looks so much better than the ramen I’ve been eating every night.
My grandma used to make this all the time when I was little and I completely forgot about it until I saw this recipe! Made it for my kids last night and they kept saying it tasted like “savory cornbread pancakes” — they ate it with a side of scrambled eggs and asked for seconds. Total nostalgia win for me!
As someone who’s gluten free, I’m always on the hunt for easy breakfast options that don’t require buying 10 different expensive GF flours. This is PERFECT! No weird ingredients, naturally gluten free, crispy on the outside, soft on the inside. I topped mine with fresh berries and a little Greek yogurt and it felt like a fancy cafe breakfast.
If you haven’t tried fried cornmeal mush with a little drizzle of sorghum syrup, you are missing out. That’s the classic way we eat it in southern Ohio, and this recipe is the perfect base for it. Crispy edges, creamy center, pure comfort. 10/10, no notes.
Made this before an early morning hike last weekend and it kept me full for 4 hours of straight uphill trekking! Super portable when I wrapped the fried slices in a little parchment paper, no messy crumbs or anything. Next time I’m gonna add a little cinnamon to the mix for a warmer flavor.
I have the pickiest 7 year old on the planet who turns his nose up at literally everything, and he ate THREE pieces of this for dinner last night! I told him it was “crispy corn fries” and he didn’t even question it. Served it with ketchup for dipping (don’t @ me, it works for kids) and he asked if we can have it again tomorrow. Total mom win.
This is exactly the kind of no-fuss recipe my great aunt used to bring to family reunions back in the 70s. No weird processed ingredients, no fancy techniques, just plain good food. I love that recipes like this are making a comeback — we don’t need 15 spices and 3 different cooking methods to make something tasty.
The flavor was good, but I couldn’t get the slices to hold their shape when I fried them. They kept falling apart in the pan no matter how long I let them set in the fridge. Did I do something wrong? I followed the directions exactly as written, so I’m a little confused. It still tasted good, just wasn’t pretty.
Made this for brunch last weekend when my friends came over and everyone thought I spent hours on it! Joke’s on them, it was 3 ingredients and 25 minutes total cook time. I set out a whole topping bar: maple syrup, hot sauce, bacon bits, powdered sugar, jam. People went wild customizing their slices. 10/10 for easy entertaining.
I’ve been making this for years, but I recently tried frying it in bacon grease instead of vegetable oil and OH MY GOODNESS it’s a game changer. The salty, smoky bacon flavor seeps into the crispy edges and it tastes like pure heaven. If you have leftover bacon grease in a jar in your fridge, do yourself a favor and use it for this.
Did the math on this and a whole pan of this costs like $1.75 total to make? Are you kidding me? That’s cheaper than a single fast food breakfast sandwich, and it feeds 4 people. This is going straight into my regular rotation of ultra cheap, filling meals for when my grocery budget is tight at the end of the month.
Made this for my kids’ post-soccer practice snack this afternoon and they gobbled it up! Only reason I’m not giving 5 stars is I thought it was a little plain on its own, but once we added a little cinnamon sugar to the top it was perfect. Quick, easy, filling after a long practice running around.