1.What’s the ideal ice cream to milk ratio for a perfectly thick, creamy shake?
▾
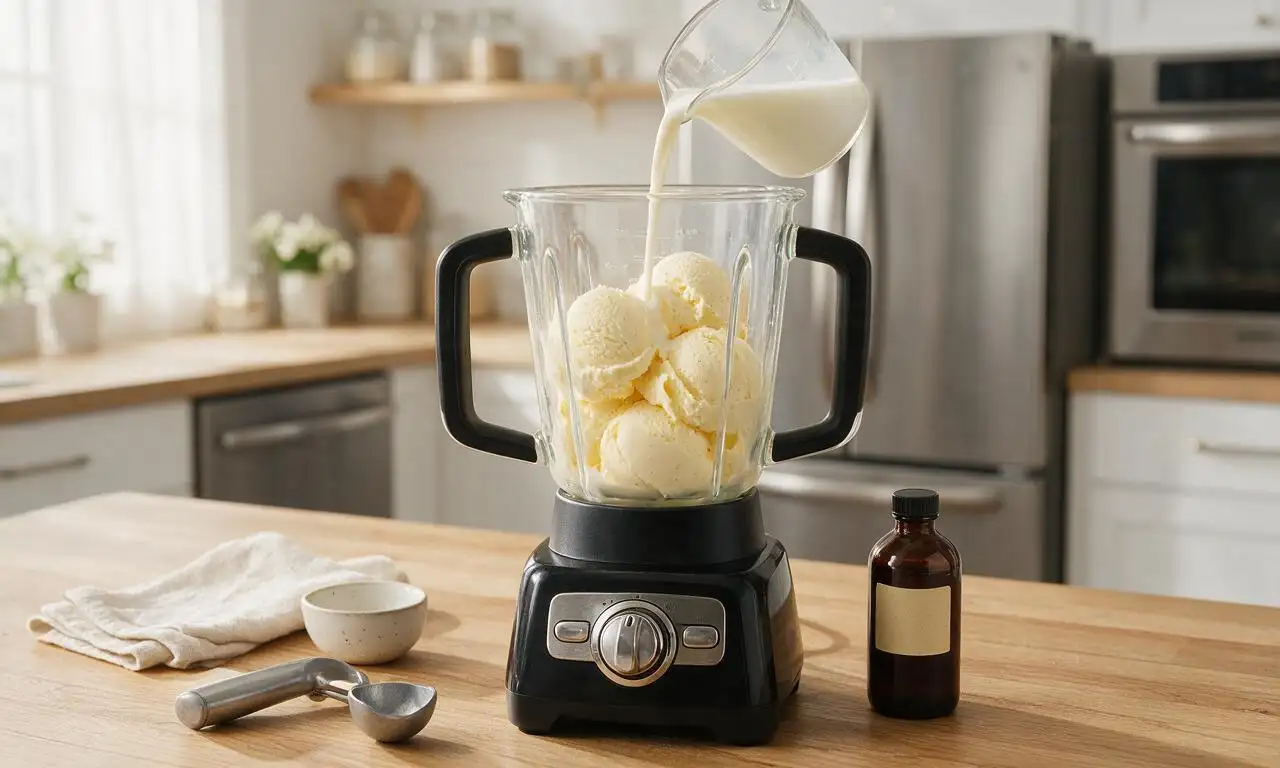
For that classic nostalgic thick texture, use 3 scoops (about 1.5 cups) of full-fat vanilla ice cream for every ¼ cup of cold whole milk. This ratio gives you a shake that holds its shape when topped, sips easily through a wide straw, and doesn’t turn watery within the first few minutes of serving.
2.Can I use low-fat or non-dairy milk instead of whole milk for this recipe?
▾
You can, but it will change the final texture and richness. Low-fat milk creates a thinner, less velvety shake, while unsweetened barista-blend oat milk is the closest non-dairy swap. Skip watery options like plain almond milk, as it will make the shake icy and thin instead of luxuriously creamy.
3.Why does my milkshake turn out watery and icy instead of smooth?
▾
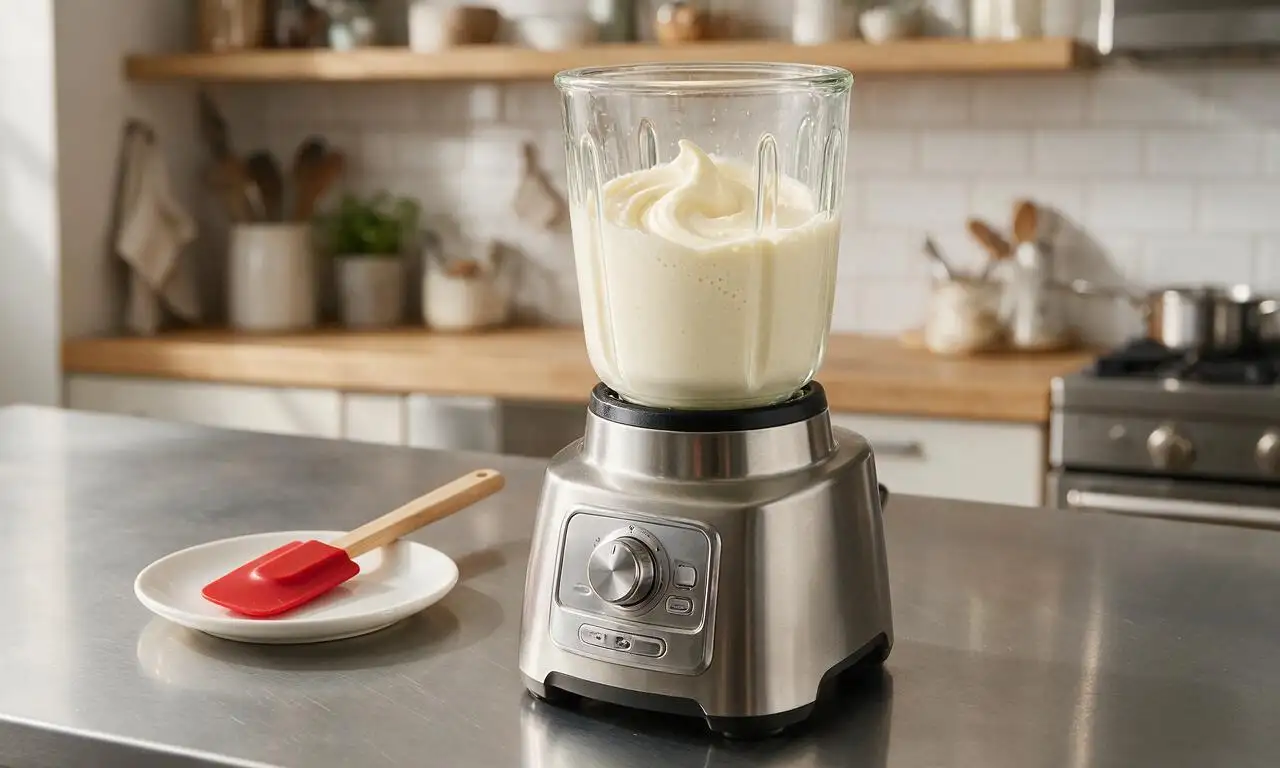
Watery, icy shakes almost always come from using too much milk, partially melted ice cream, or over-blending. Start with rock-hard, fully frozen full-fat ice cream, use the minimum amount of cold milk, and only blend on low speed for 10 to 15 seconds total to avoid melting the ice cream too fast.
4.Do I really need pure vanilla extract, or will imitation vanilla work?
▾
Pure vanilla extract gives the shake that warm, deep, nostalgic vanilla flavor artificial imitation vanilla can’t match, but imitation vanilla works in a pinch. If you use it, cut the amount by half, since it has a sharper, slightly chemical aftertaste that can overpower the creamy dairy notes if overused.
5.What style of vanilla ice cream makes the best-tasting shake?
▾
Reach for a premium, full-fat vanilla bean or French vanilla ice cream without added mix-ins or excess icy stabilizers. Budget low-fat ice creams have high water content that creates grainy shakes, while premium options have higher butterfat that blends into that perfectly smooth, rich texture we want.
6.Can I make this milkshake ahead of time for a party or cookout?
▾
Milkshakes are best served immediately after blending, but you can prep them 10 to 15 minutes ahead if stored in the freezer in airtight, lidded cups. Give them a quick 2-second blender pulse right before serving to restore smooth texture, then add toppings right as guests are ready to enjoy them.
7.What blender setting should I use to get the perfect shake texture?
▾
Skip the high-speed "smoothie" or "liquefy" settings—those over-blend and melt ice cream too fast. Use the lowest "stir" or dedicated "milkshake" setting if your blender has it, and pulse in short bursts just until the ice cream and milk come together into a smooth, lump-free mixture.
8.Can I add fun mix-ins to this vanilla base without ruining the creamy texture?
▾
Absolutely! Stir mix-ins like a tablespoon of malted milk powder, a splash of chocolate syrup, or crushed cookie bits in by hand right after blending the base, so you don’t over-process the shake. Skip adding too many heavy frozen mix-ins, as they can thin the shake or make it too chunky to sip easily.
9.Why do diner milkshakes taste so much creamier than homemade ones?
▾
Most diner-style milkshakes get that ultra-creamy texture from high-butterfat ice cream, ice cream left to soften 2 to 3 minutes before scooping, and very little milk, blended just enough to combine. Sticking to our full-fat ice cream and cold whole milk ratio will get you that same classic diner vibe at home.
10.How do I keep my milkshake from melting too fast on hot summer days?
▾
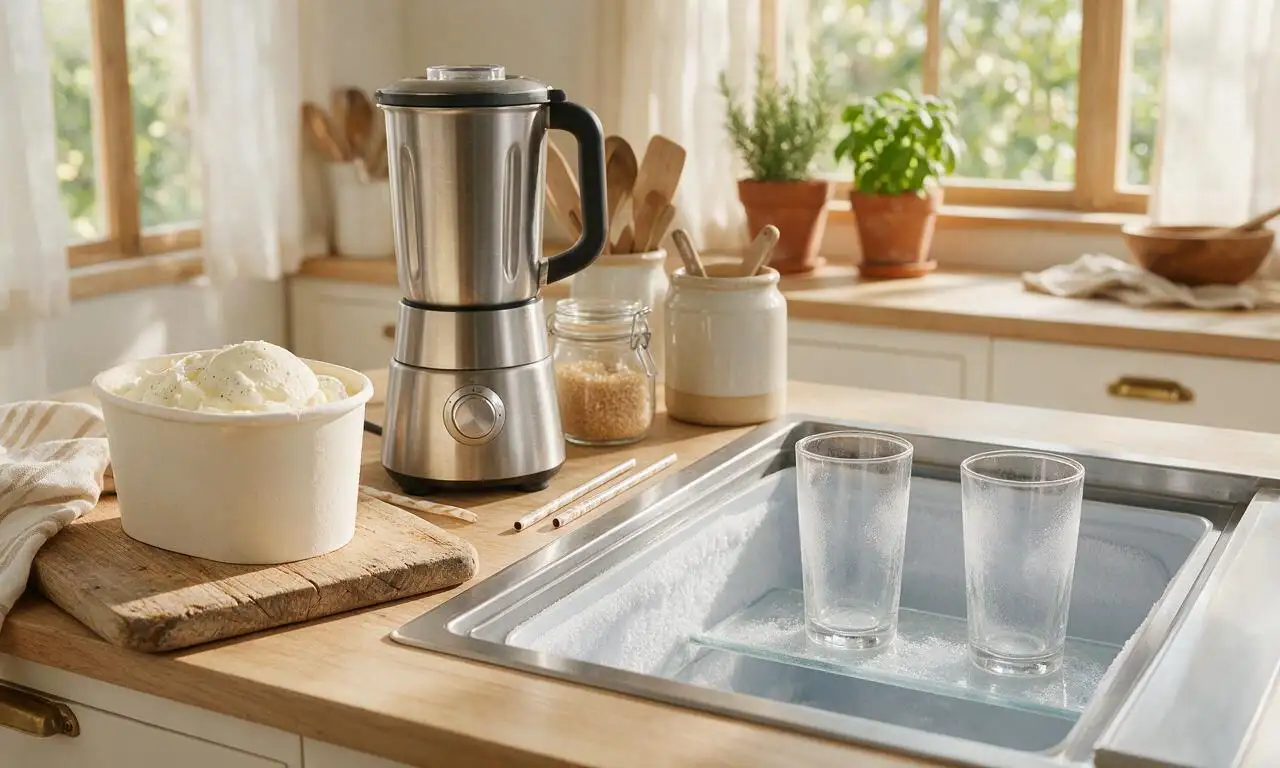
Start by chilling your serving glasses in the freezer for 10 to 15 minutes before pouring shakes, and make sure your milk is ice cold and ice cream is fully frozen before blending. Avoid over-blending, which melts ice cream prematurely, and add toppings right before serving to lock in thickness.
11.Can I make this milkshake if I don’t own a blender?
▾
You can! Let your ice cream soften at room temperature for 3 to 4 minutes until it’s scoopable but not fully melted, then add it to a large lidded jar with the cold milk and vanilla. Seal tightly and shake vigorously for 30 to 45 seconds until smooth, then pour and add your favorite toppings.
12.How do I top this shake for that classic retro diner look?
▾
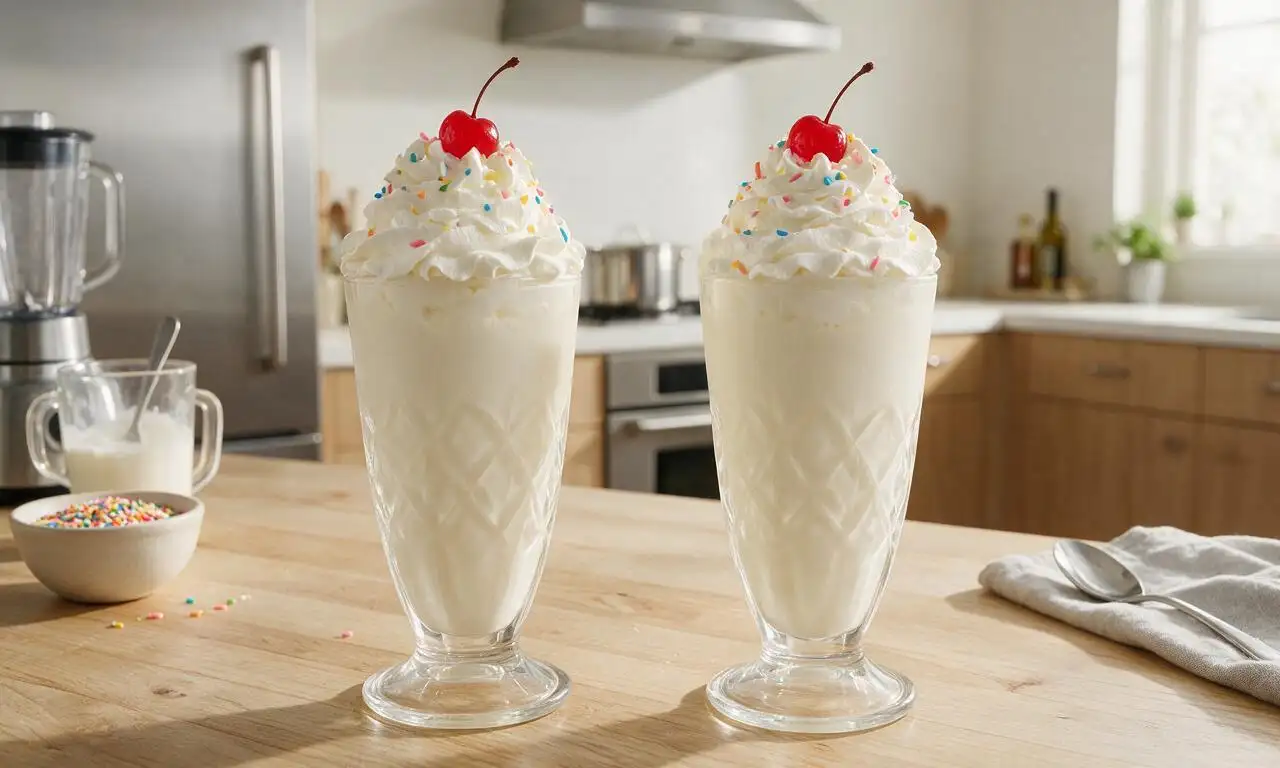
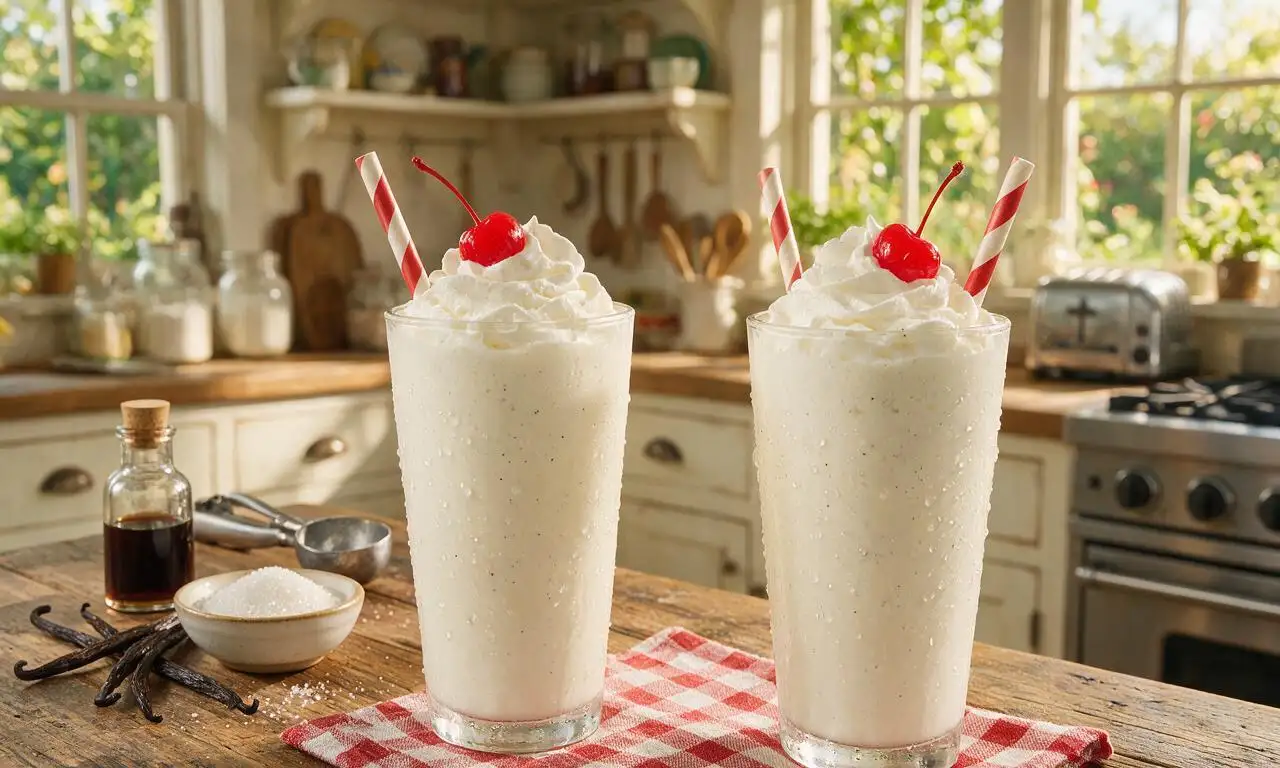
Dollop a generous swirl of sweetened whipped cream right on top, mounding it slightly over the edge of the glass, then tuck a single maraschino cherry (patted dry to avoid color bleed) right in the center of the whipped cream. Add a striped paper straw and long spoon for the full old-fashioned feel.
13.How can I make this shake less sweet without losing its creamy texture?
▾
If you prefer a less sweet shake, swap sweetened vanilla ice cream for unsweetened full-fat vanilla frozen custard, skip extra sweet add-ons, and use unsweetened whipped cream for topping. A tiny pinch of fine sea salt added to the blender also cuts cloying sweetness and amplifies vanilla flavor.
14.Is homemade whipped cream better than store-bought for the topping?
▾
Homemade whipped cream is actually my top pick for this shake! Whip ½ cup of cold heavy cream with 1 teaspoon of powdered sugar and a tiny splash of vanilla until it forms soft, billowy peaks. It has a fresher, richer flavor than canned store-bought whipped cream, and holds its shape perfectly on cold shakes.
15.Why does my maraschino cherry sink to the bottom instead of sitting on top?
▾
Cherries sink when the shake is too thin to support their weight, or if the cherry is dripping with excess jar syrup. First, make sure your shake is thick enough to hold its shape, pat the cherry dry with a paper towel, and set it on the firm whipped cream layer, not directly on the shake surface.
16.Can I turn this classic shake into a boozy adult version for gatherings?
▾
Absolutely! For a grown-up twist, add 1 to 1.5 ounces of vanilla vodka, bourbon, or dark rum to the blender with the ice cream, milk, and vanilla. Keep in mind alcohol melts ice cream faster, so add an extra half scoop of ice cream to keep the shake thick, and serve immediately for the best texture.







OMG this is the perfect vanilla milkshake! I’ve been chasing that old diner taste for years and this hits every single note. So creamy, not too sweet, took literally 5 minutes to throw together after dinner last night. My kids loved it, begged for seconds before they even finished their first glass!
Made these to go with our weekend burger night and WOW, game changer. I usually just buy the pre-made shake mix from the grocery store and I will never go back. So simple, I even let my 10 year old help blend it up. Only thing I added was a dollop of whipped cream and a maraschino cherry on top, classic!
Perfect for late night study sessions! I keep all the ingredients in my dorm mini fridge (blender stays under my bed, don’t tell the RA) and this takes no time at all. Way cheaper than hitting the ice cream shop down the street that charges $7 for a shake. 10/10
This was good but I felt like it was missing a little something? I added a tiny pinch of sea salt on top and a quarter teaspoon of extra vanilla extract and it blew my mind. Salt makes all the sweet flavors pop so much more!
This looks so good! I haven’t tried making it yet because I’m lactose intolerant — has anyone had luck swapping in lactose-free vanilla ice cream and oat milk for the regular dairy? I’ve been craving a classic shake forever and don’t want it to turn out grainy!
Made a big batch of these for our neighborhood block party potluck last weekend and people were coming back for thirds! I set up a little topping bar with sprinkles, whipped cream, chocolate syrup, and crushed cookies so people could customize theirs. Such an easy, crowd-pleasing treat for a hot day.
Great base recipe! I added a scoop of vanilla protein powder and a little extra almond milk to make a post-workout version, and it tasted like a treat instead of a boring protein shake. Will definitely be making this on repeat after leg days.
My picky toddler who refuses almost every sweet treat gobbled this up! I didn’t add any extra sugar, just let the vanilla ice cream do its thing, and it was perfect for his little tummy. We even shared one after our trip to the park yesterday.
I made milkshakes at a small town diner for 27 years, and let me tell you — this recipe is dead on for the classic we used to serve. The ratio of ice cream to milk is perfect, not too runny, not so thick you can’t get it through a straw. Great job on this one!
Made these for my partner for our at home movie date night last Friday, paired with burgers and fries, and they said it was better than the fancy steakhouse shakes we got on our first date. Total win, super easy to pull off even when you’re rushing to get everything on the table before the movie starts.
SO good! I will say, if you’re like me and love extra thick shakes, cut the milk amount by half and add a scoop more ice cream. I did that and it was so thick I had to eat it with a spoon for the first five minutes, which is exactly how I like it. Don’t skip the real vanilla extract either, that makes such a difference vs the imitation stuff.
I know milkshakes aren’t typical meal prep fare, but I pre-portioned the ice cream and vanilla into little freezer bags so I can just dump one in the blender with a splash of milk after work all week. It’s the perfect little weeknight treat when I don’t feel like making a whole dessert from scratch. Game changer for my sweet tooth!
Wait I tried this yesterday and mine came out super lumpy? Did I overblend it? Or maybe my ice cream was too frozen straight out of the deep freezer? I was so excited for it but the texture was off, any tips would be great!